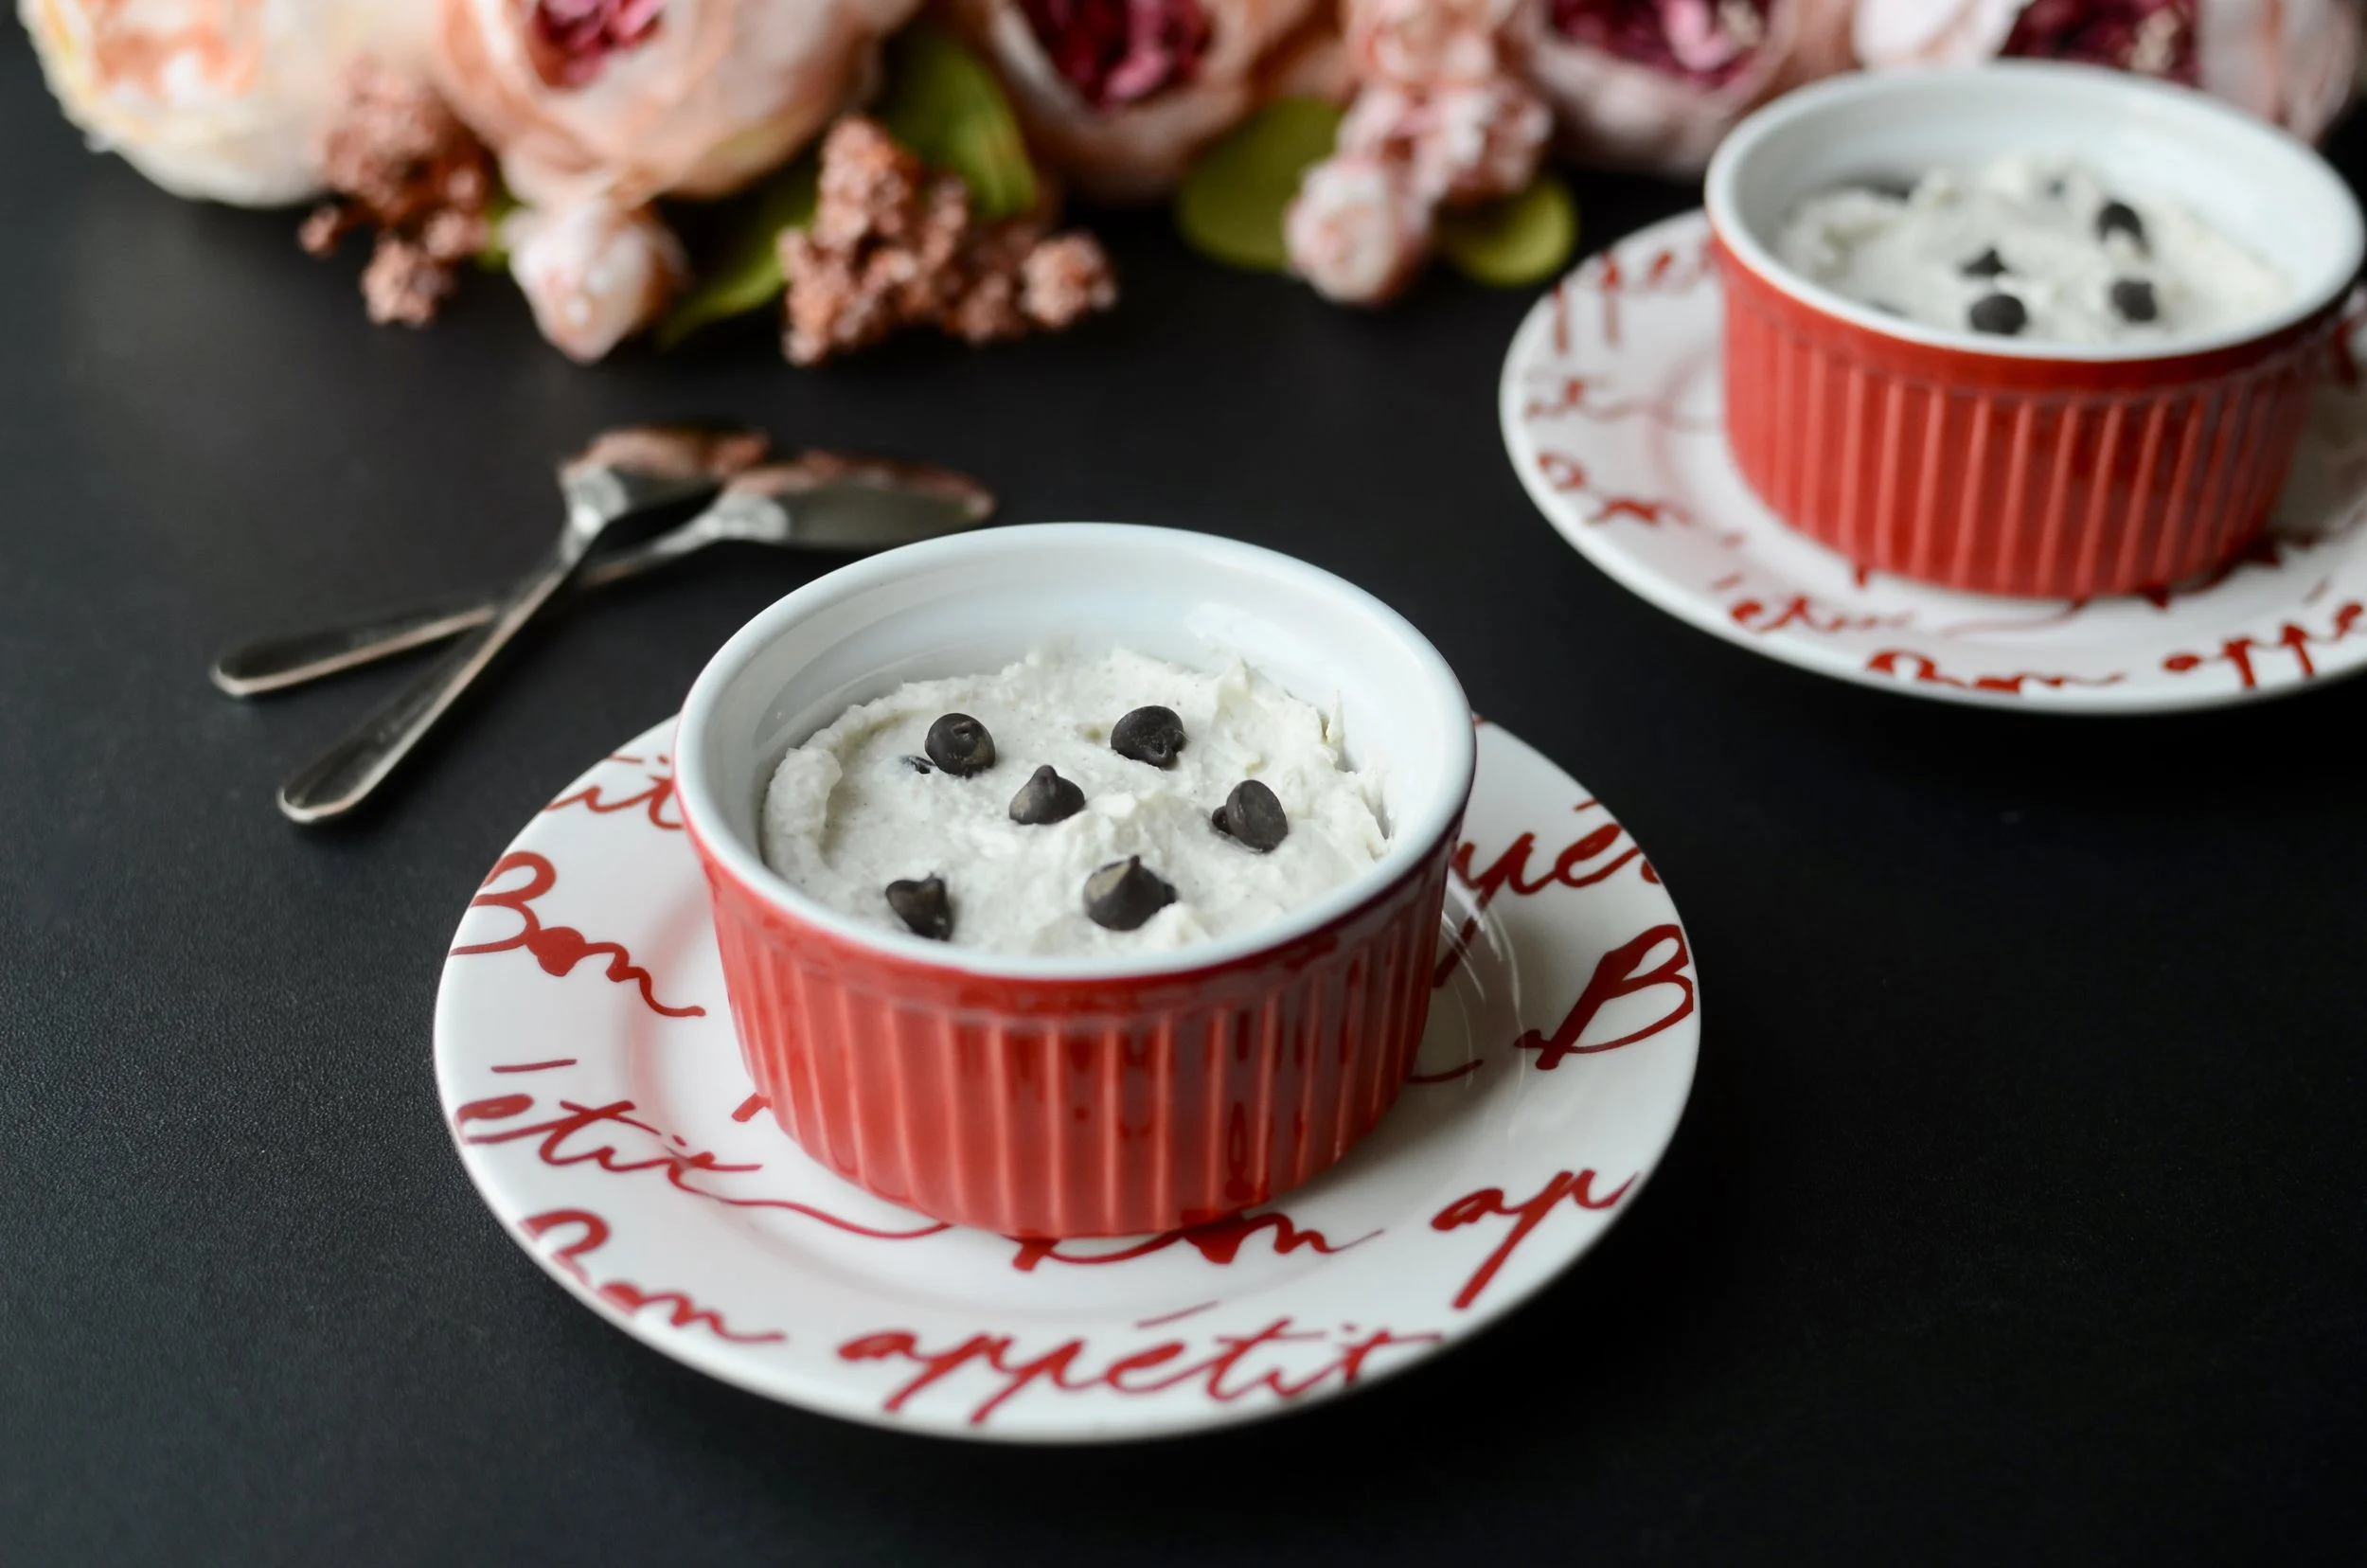
Keto Chocolate-Chocolate Chip Ice Cream
Patricia @ ButterYum

It seems like just about everyone is trying to reduce their carb intake these days, which can put a damper on eating some of your favorite foods, like ice cream. But today you're in luck because I've come up with an awesome chocolate ice cream recipe that has only 5 net carbs per 1/2-cup serving (leading national brands have 17 to 25 grams). When I served it to my oldest daughter, she said she would never have guessed it was low-carb. That makes this recipe a winner in my book! Plan ahead - the base should be made the day before you plan to serve and the mixture should be processed in your ice cream maker 30-90 minutes before serving (see below).
IMPORTANT: Because this ice cream contains no sugar (which helps to keeps the texture soft and scoopable), it's best served either soft-serve style right out of the machine, or freeze for 1 hour for a slightly firmer texture. If allowed to freeze longer than 1 hour, it will freeze solid like ice, which actually would be fine if you want to pour the mixture into freezer pop molds (just omit the dark chocolate baking chips from the recipe).

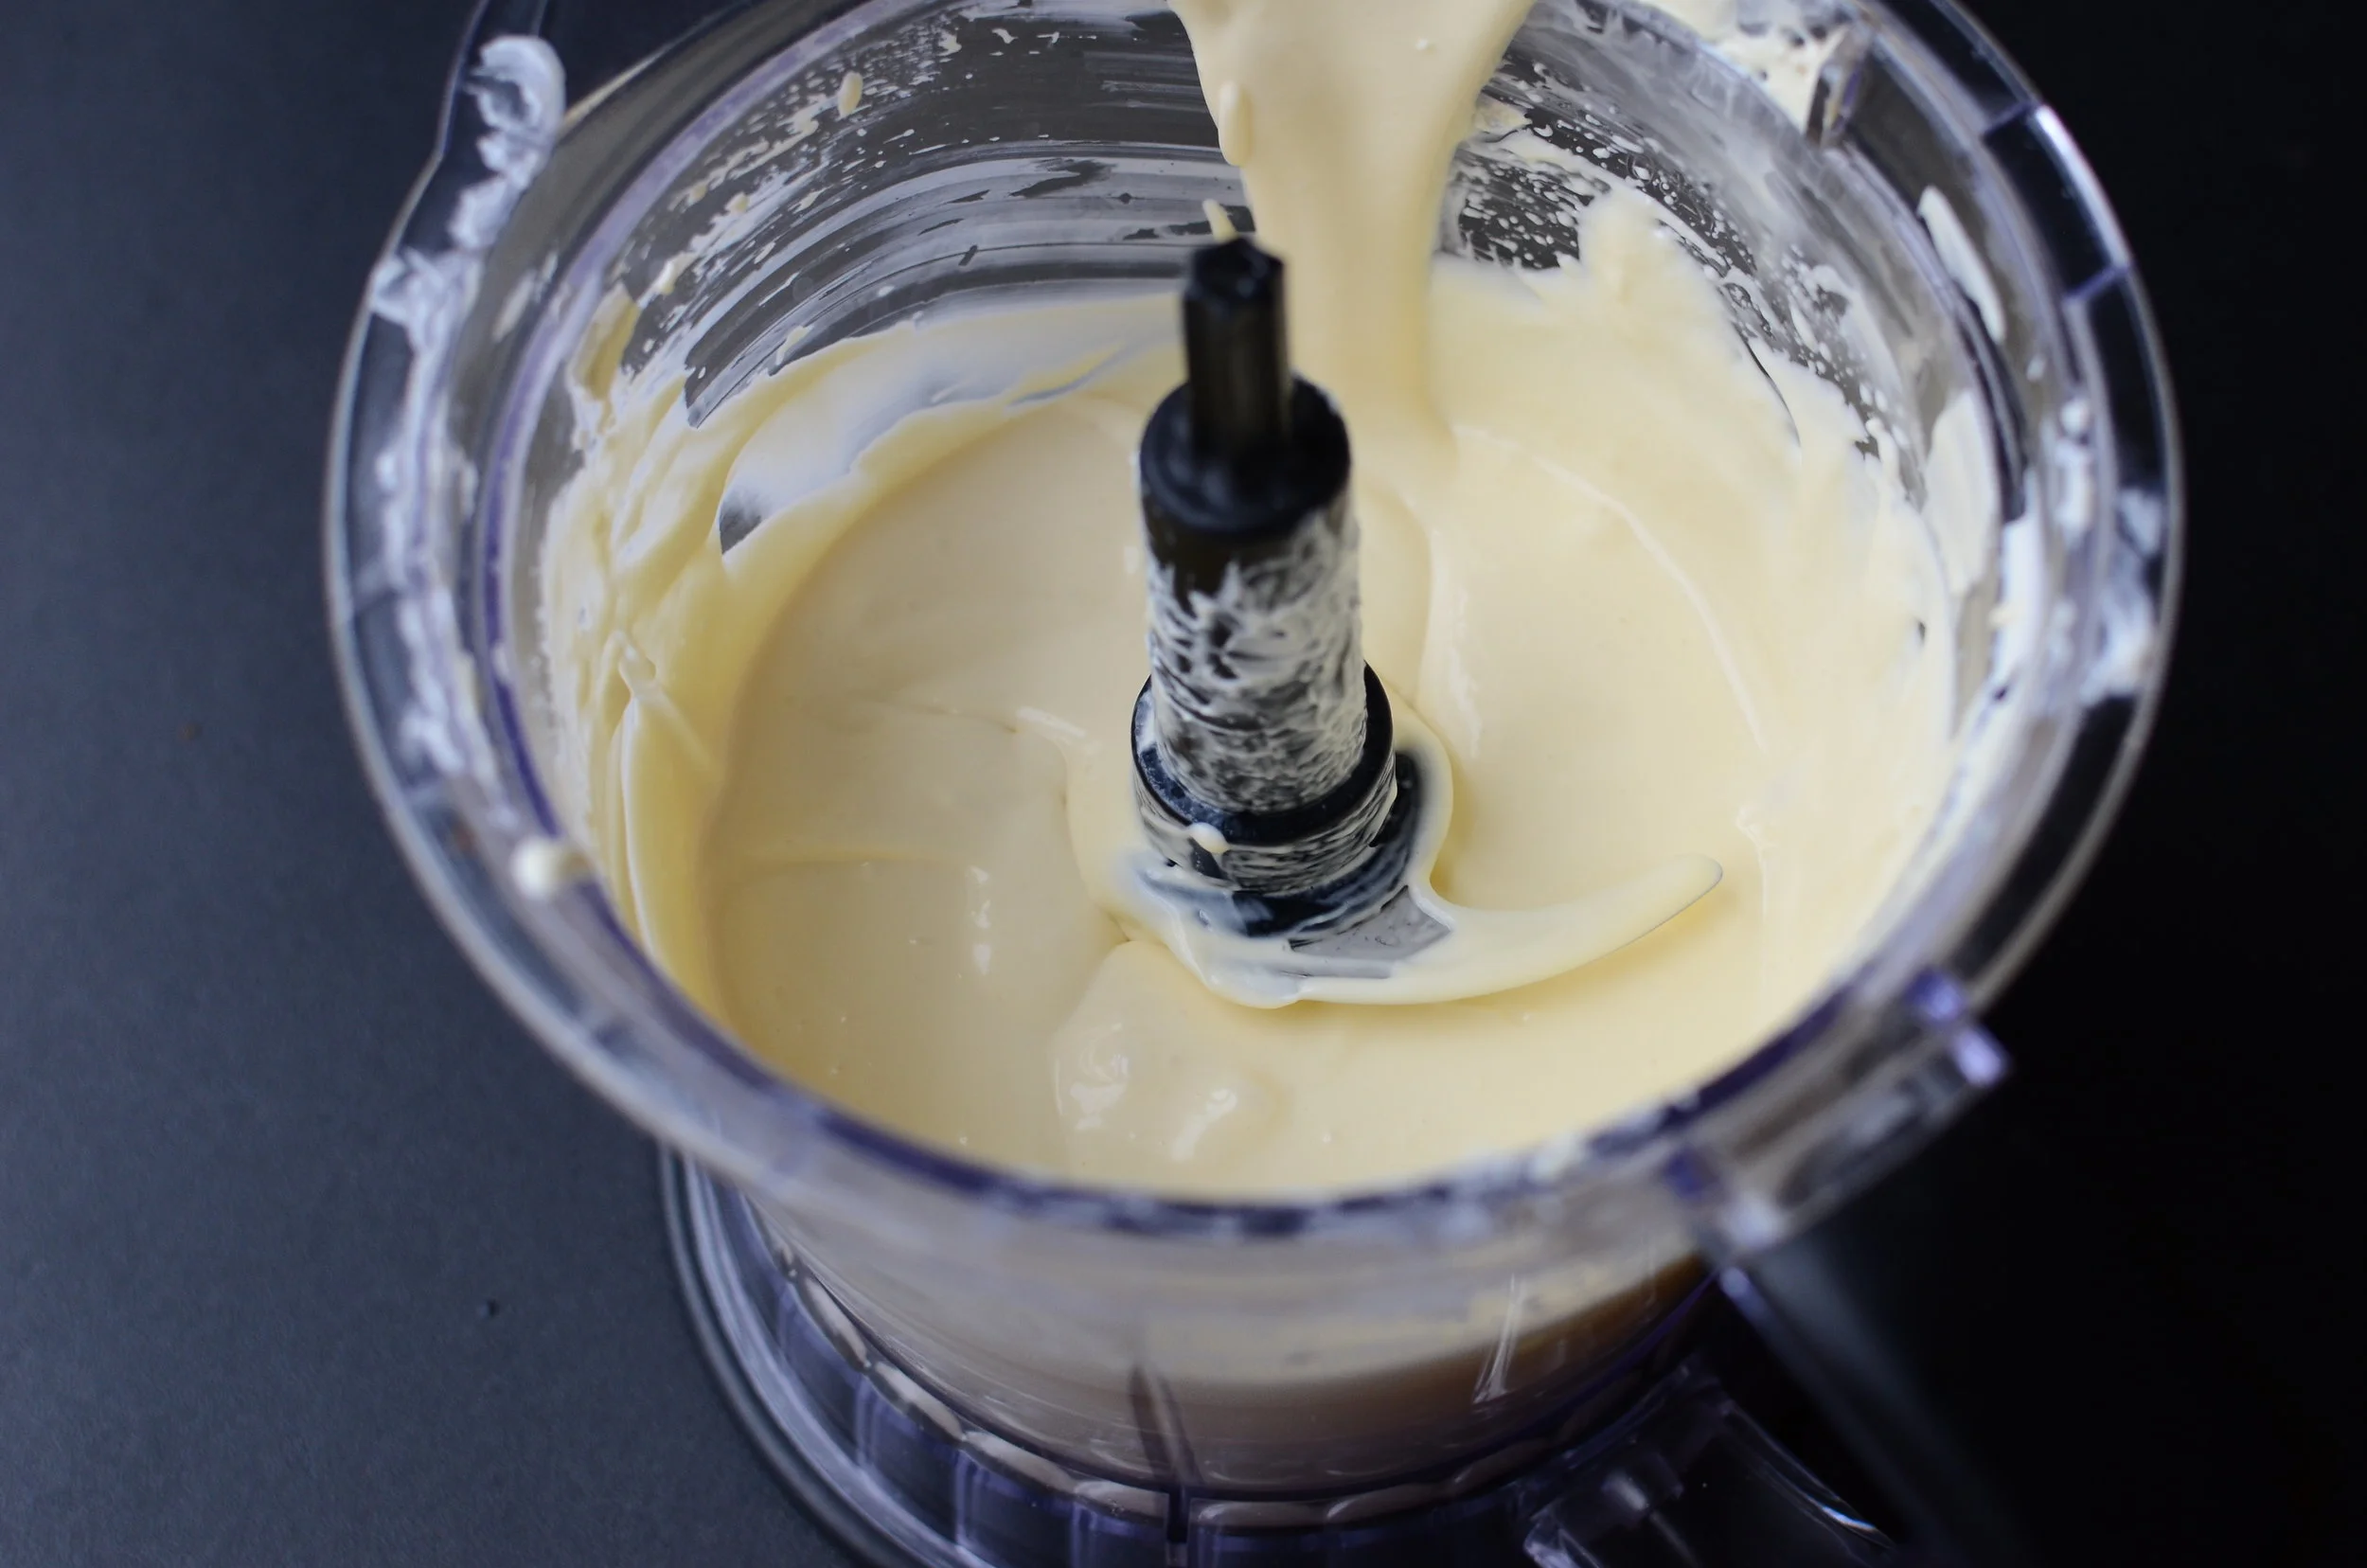
Start by whisking together the milk, half and half, egg yolks, and sifted cocoa powder. Those things that look like lumps of cocoa are actually cocoa powder covered bubbles - keep whisking.

Soon the mixture will look like this. Heat over medium high heat, stirring constantly, until it boils.

Boil mixture for 1 minute, being careful not to allow the mixture to overflow.

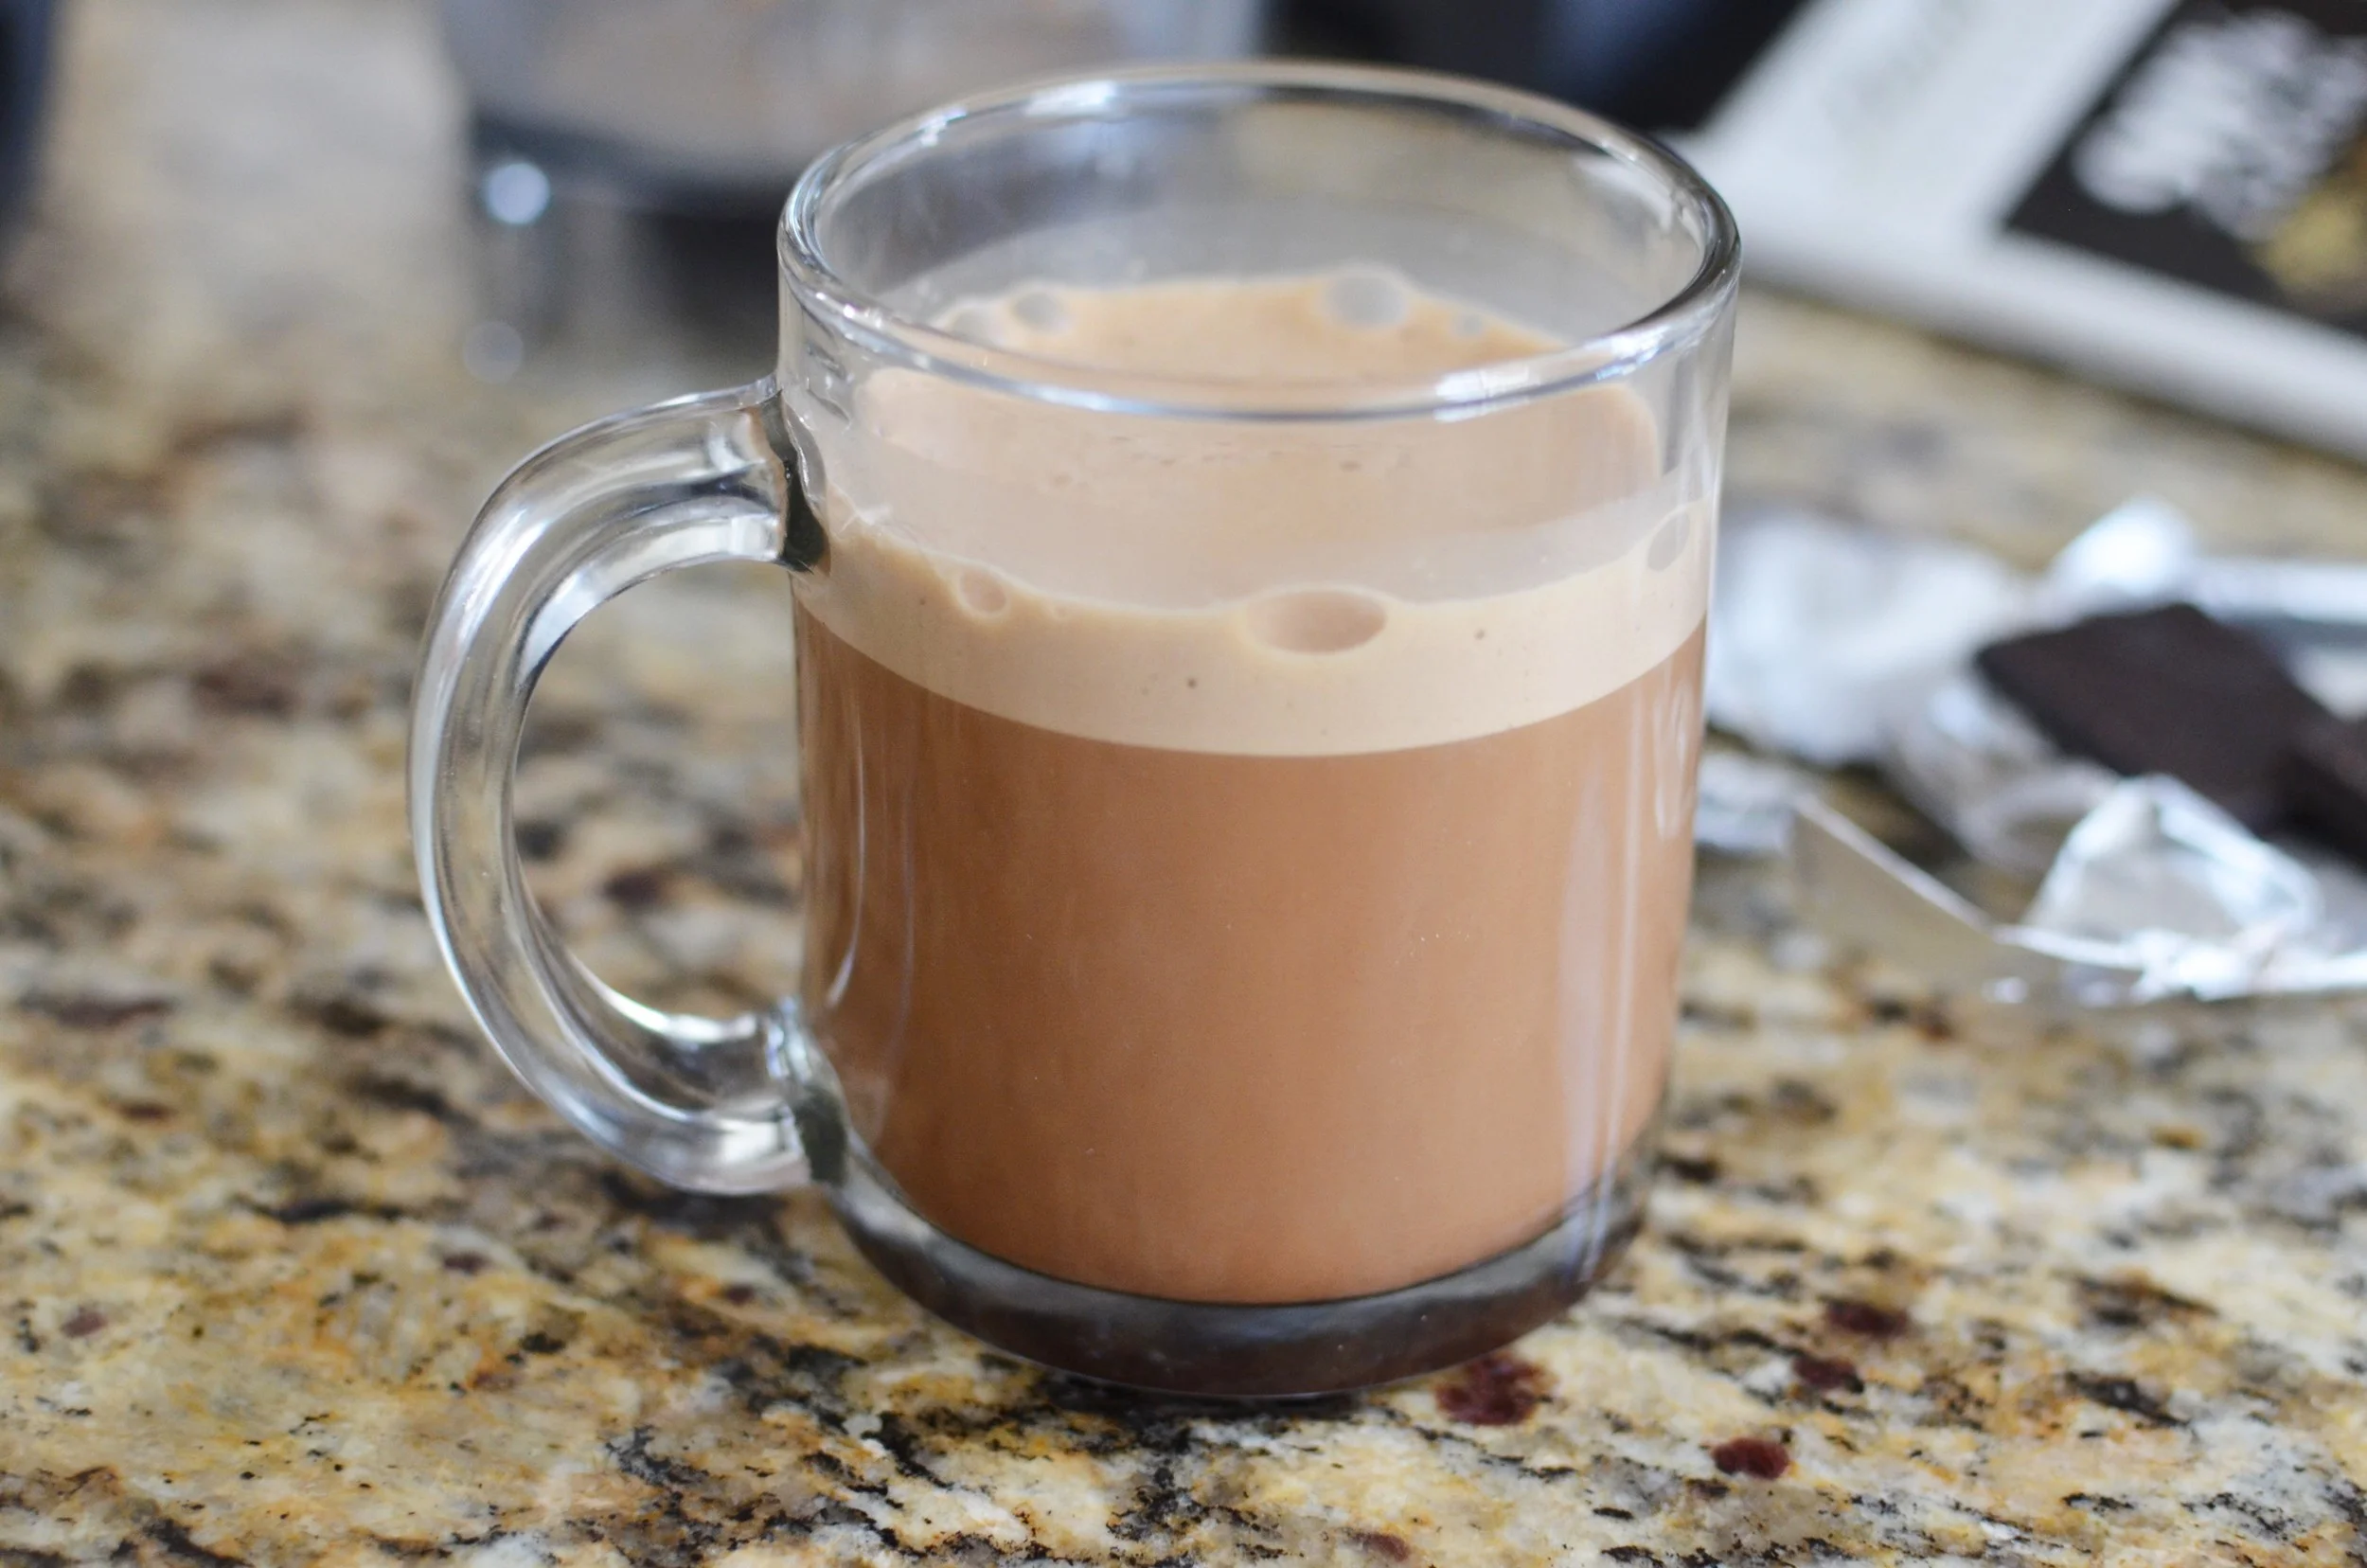
Remove from the heat and stir in the vanilla and powdered erythritol (Swerve).

Strain the mixture through sieve.

Chill mixture overnight.

Approximately 30-90 minutes before serving, pour mixture into ice cream machine and process according to manufacturer's instructions. This recipe is best served "soft-serve style" right away or freeze for 1 hour for a slightly firmer texture.
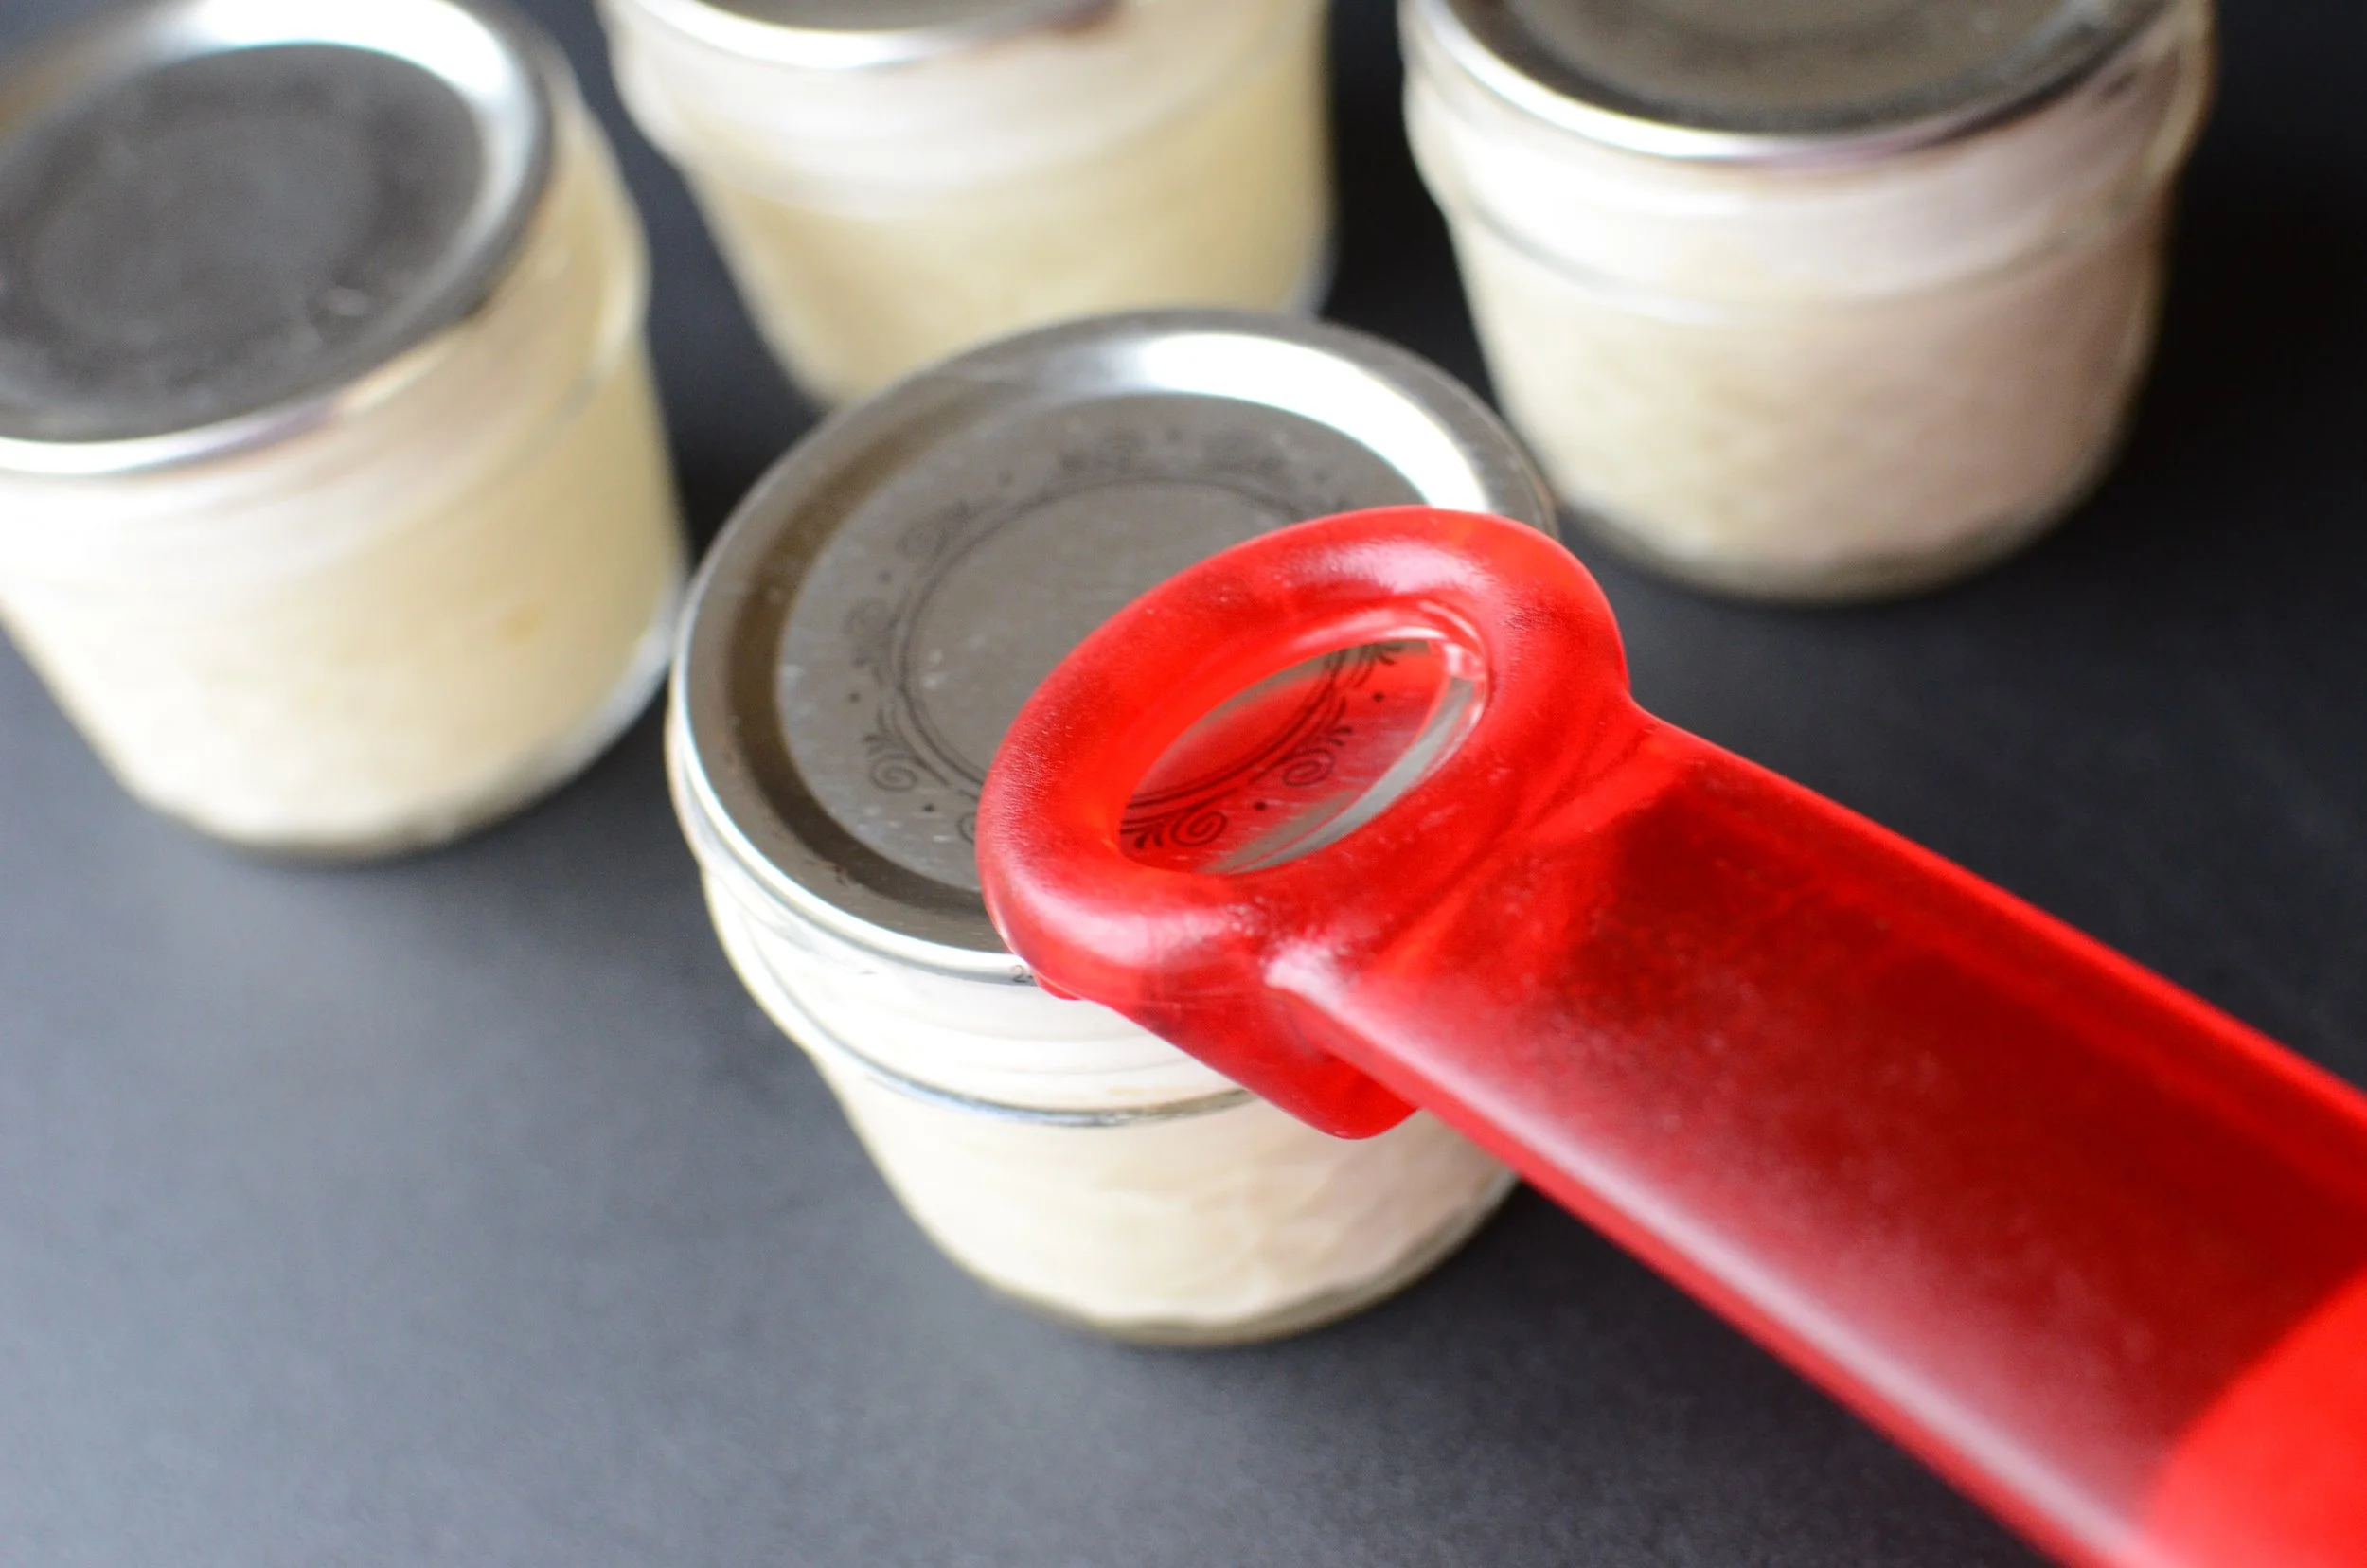
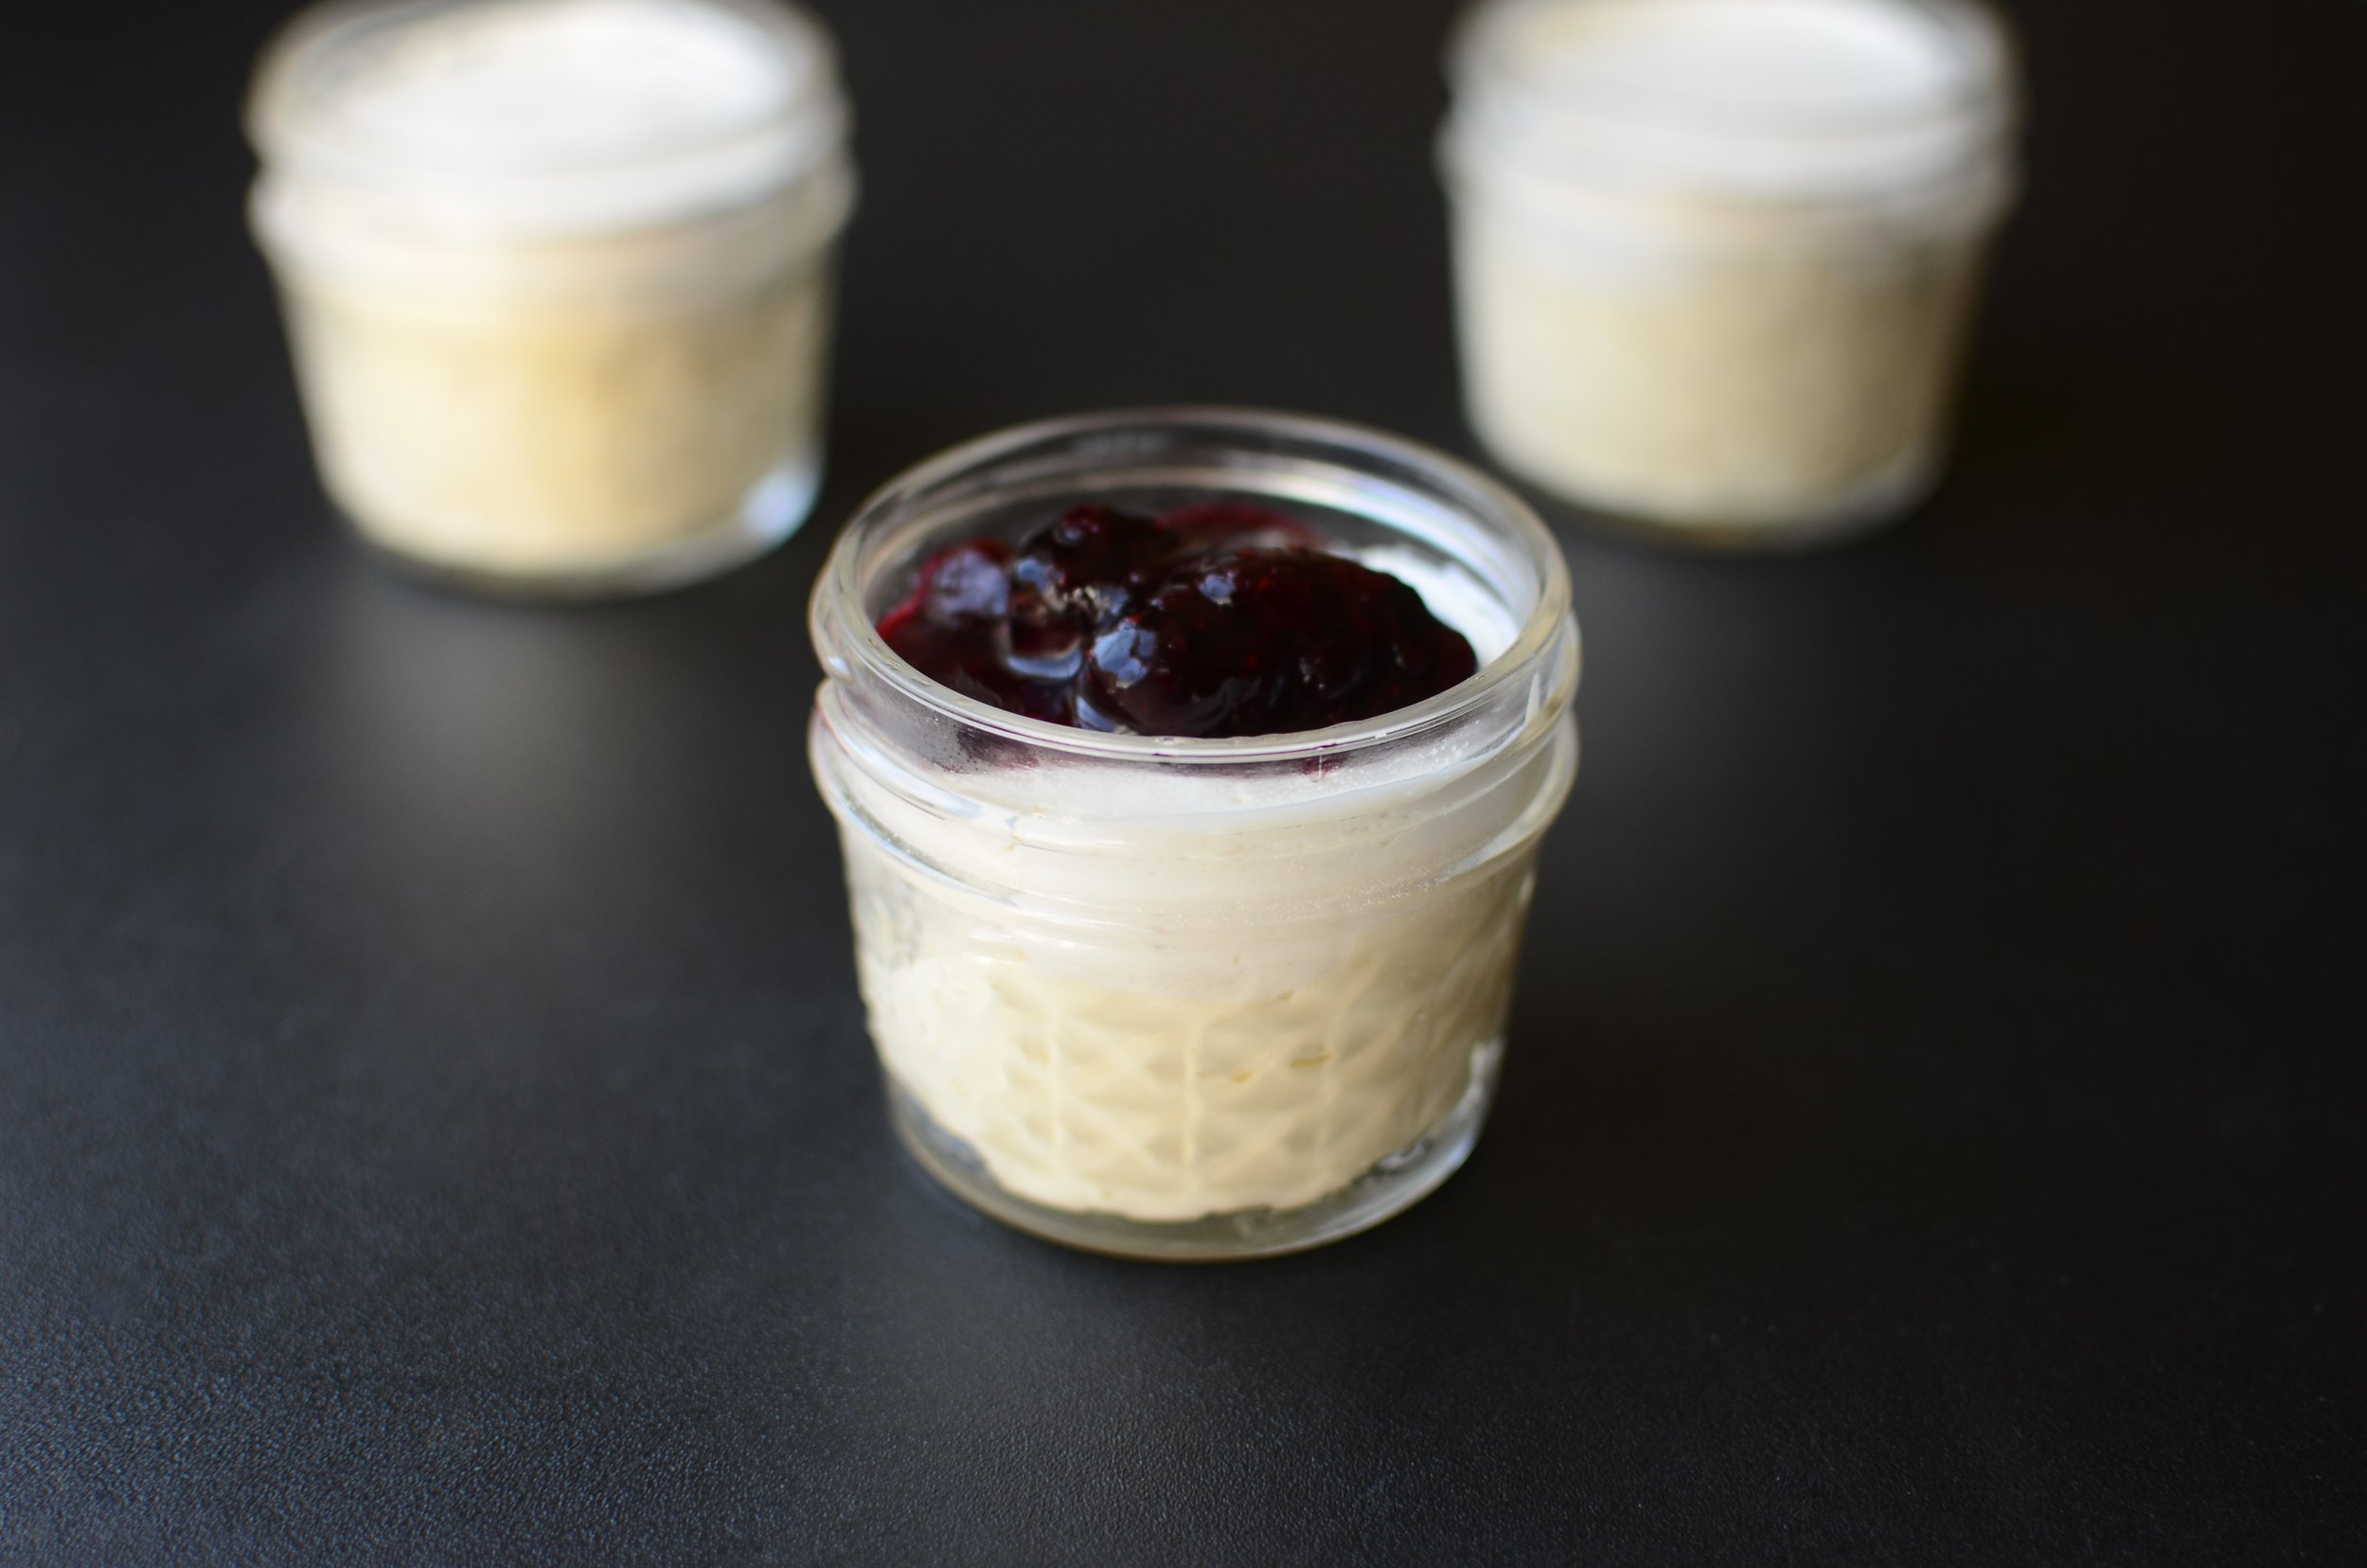
For longer storage, freeze mixture in ice pop molds.

Enjoy!


Items used to make this recipe:
(affiliate links)
Swerve Confectioners sugar substitute https://amzn.to/3B9MSzB
Lily's dark chocolate premium baking chips (sweetened with stevia) https://amzn.to/2MBrjxn
excellent quality dutch-processed cocoa powder https://amzn.to/3B8TBtA
the best pure vanilla extract https://amzn.to/3ovS9fE
2-quart electric ice cream maker https://amzn.to/2Kq4IHC
flat whisk https://amzn.to/3srCOhn
3 quart, heavy-bottomed saucepan https://amzn.to/2lLAtM8
stainless sieves https://amzn.to/3soFRH3
ice cream scoop https://amzn.to/2MEmdR5
freezer-safe ice cream containers https://amzn.to/2lHTOOt
Keto Chocolate-Chocolate Chip Ice Cream
makes twelve 1/2-cup servings (5 net carbs per serving)
Ingredients
2 cups whole milk
2 cups half and half (not fat-free)
1/2 cup dutch processed cocoa powder, sifted
6 large egg yolks
1 cup powdered erythritol sweetener (aka Swerve confectioners)
1 teaspoon pure vanilla extract
1/2 cup Lily's dark chocolate premium baking chips (sweetened with stevia)
Directions
In a 3-quart, heavy-bottom saucepan over medium high heat, combine milk, half and half, cocoa powder, and egg yolks, stirring constantly until the mixture comes to a boil; continue stirring and cook for 1 minute, being careful not to let the mixture boil over.
Remove from the heat and stir in the powdered erythritol and pure vanilla extract.
Strain mixture through a fine mesh sieve; cover well and chill overnight.
Process in your ice cream maker following the manufacturer's instructions.
When ice cream is done churning, serve immediately or transfer to a freezer-safe container and freeze for 1 hour for a slightly firmer texture.
Nutritional stats per 1/2-cup serving: 120 calories, 10g fat, 5g net carbs, 4g protein.
Notes
You can make your own powdered erythritol (swerve confectioners) by grinding granulated erythritol in an electric coffee grinder, a small food processor, or a nutribullet.
Because this ice cream contains no sugar (which helps to keeps the texture scoopable), it's best served either soft-serve style right out of the machine, or freeze for 1 hour for a slightly firmer texture. For longer storage, omit dark chocolate baking chips and freeze in ice pop molds.