contact us

Use the form on the right to contact us.

You can edit the text in this area, and change where the contact form on the right submits to, by entering edit mode using the modes on the bottom right.


123 Street Avenue, City Town, 99999

(123) 555-6789

email@address.com


You can set your address, phone number, email and site description in the settings tab.
Link to read me page with more information.

Blog

Butteryum food blog recipes

Filtering by Category: pudding and custard recipes

Cream Puffs

Patricia @ ButterYum

Cream puffs (aka profiteroles) are the perfect crowd-pleasing treat because absolutely everybody loves them. The pastry shells can be baked and frozen up to a month ahead of time, and the filling can be made and refrigerated a day or two ahead. When you’re ready to serve them, just whip up a batch of whipped cream, fold it into the pastry cream, and spoon or pipe it into the empty pastry shells. Finish with a quick sprinkling of confectioner’s sugar and get ready to be the hit of the party.

making-choux-paste-butteryum

We'll start by making the pastry which is technically called pate a choux (sounds like pot-ah-shoo).

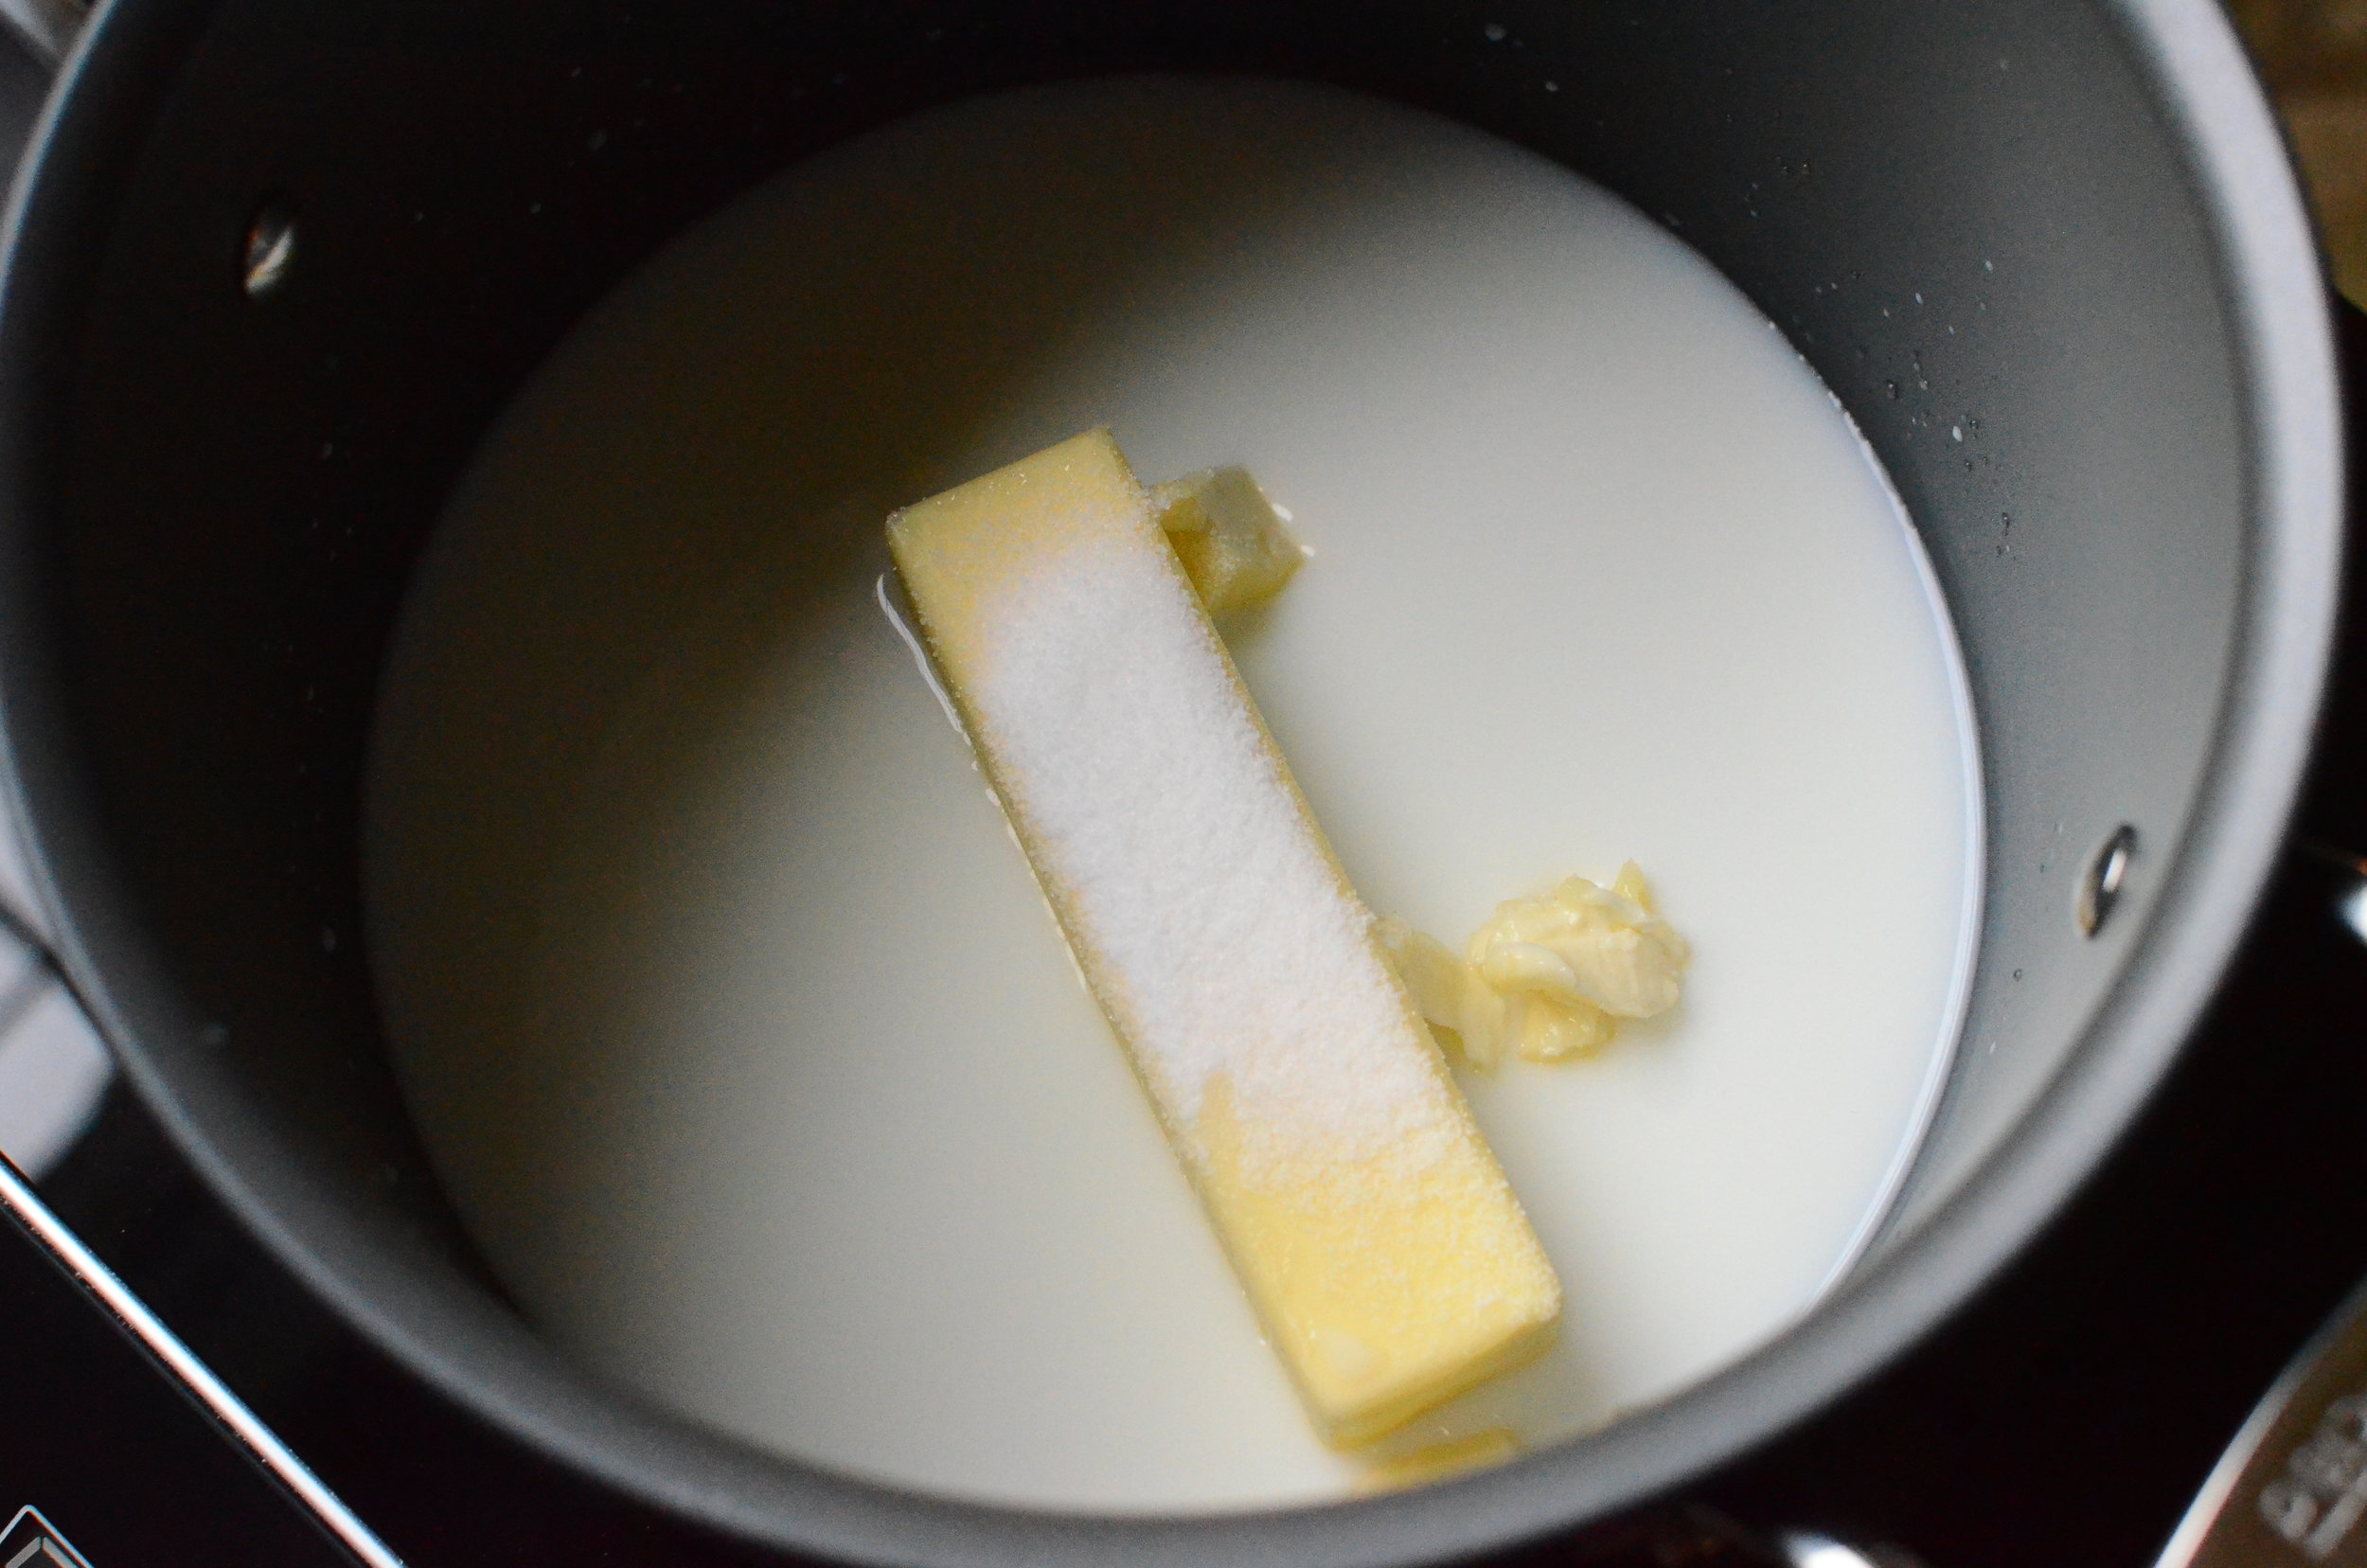
In a 4-quart nonstick saucepan, heat water, milk, butter, salt, and sugar until it boils.

flour-eggs-choux-paste

While you're waiting for the mixture to boil, have the flour and eggs ready to go.

making-choux-paste-butteryum

Okay, the milk mixture is just starting to boil - time to add the flour.

pate-a-choux-recipe

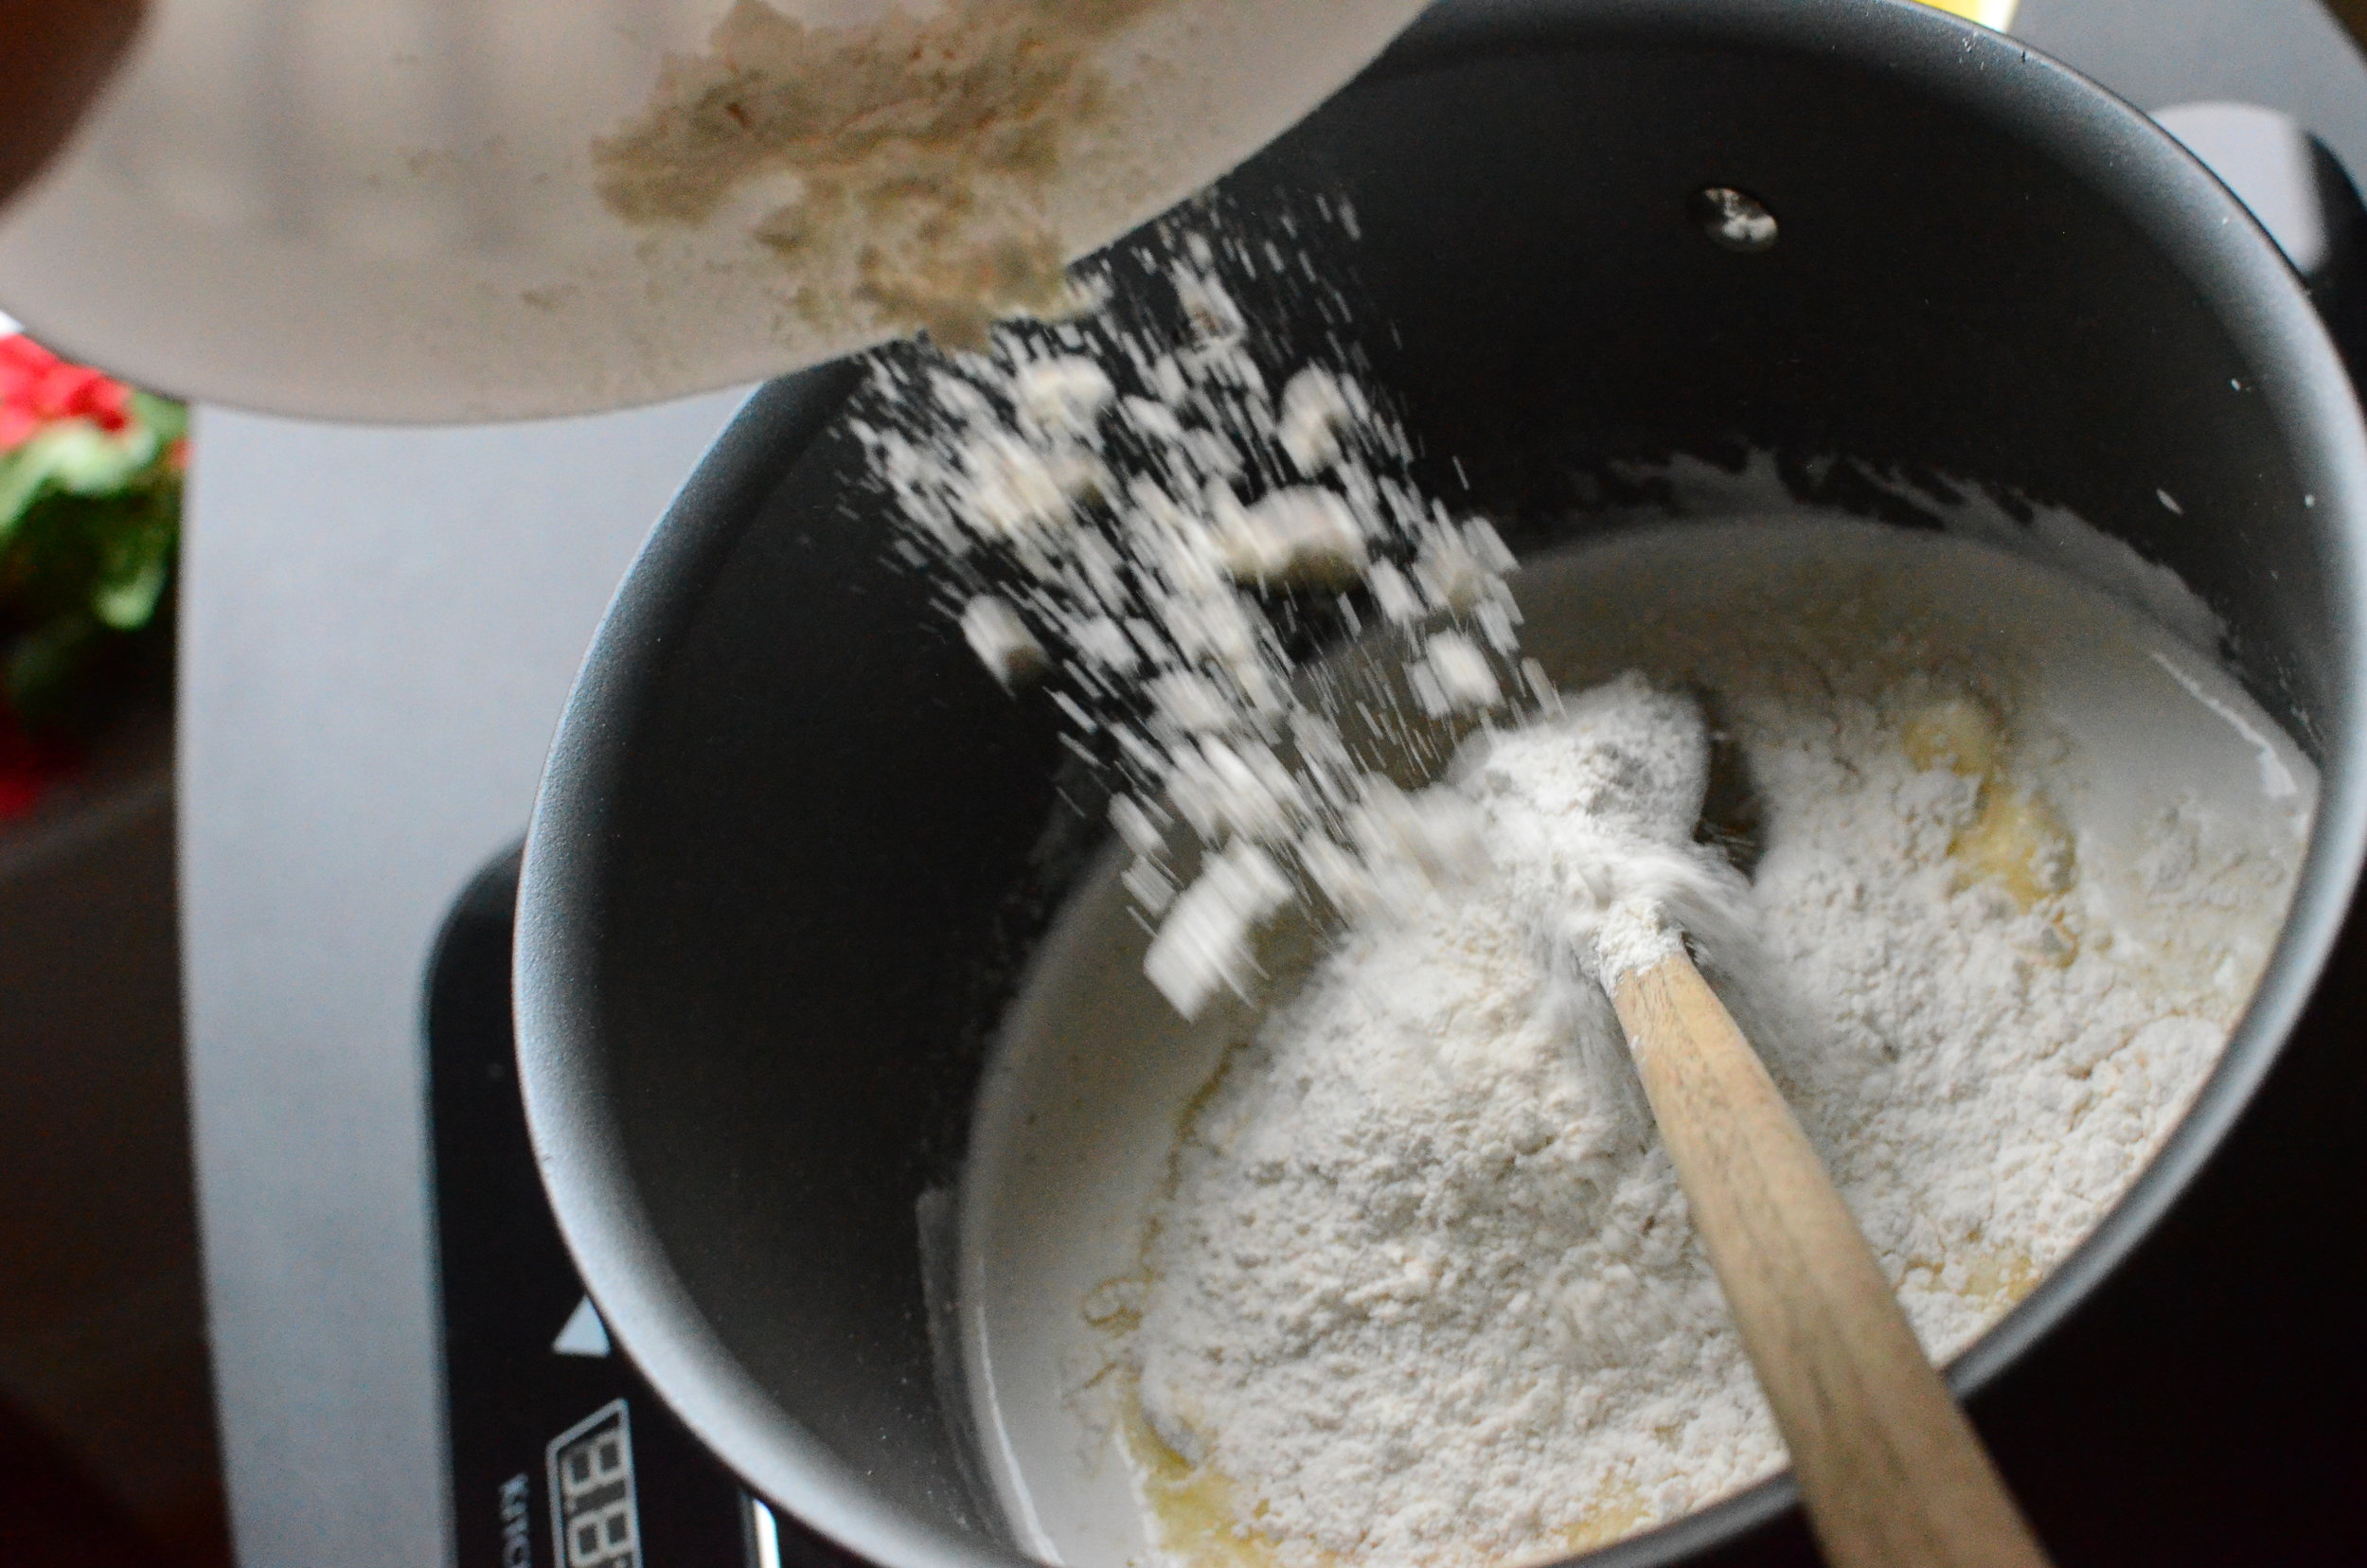
Add all the flour at once...

stirring-choux-paste

And stir vigorously until all the liquid is absorbed.

how to make cream puffs from scratch. cream puff recipe.

When all the liquid is absorbed, continue stirring constantly...

homemade pate a choux. homemade cream puff recipe.

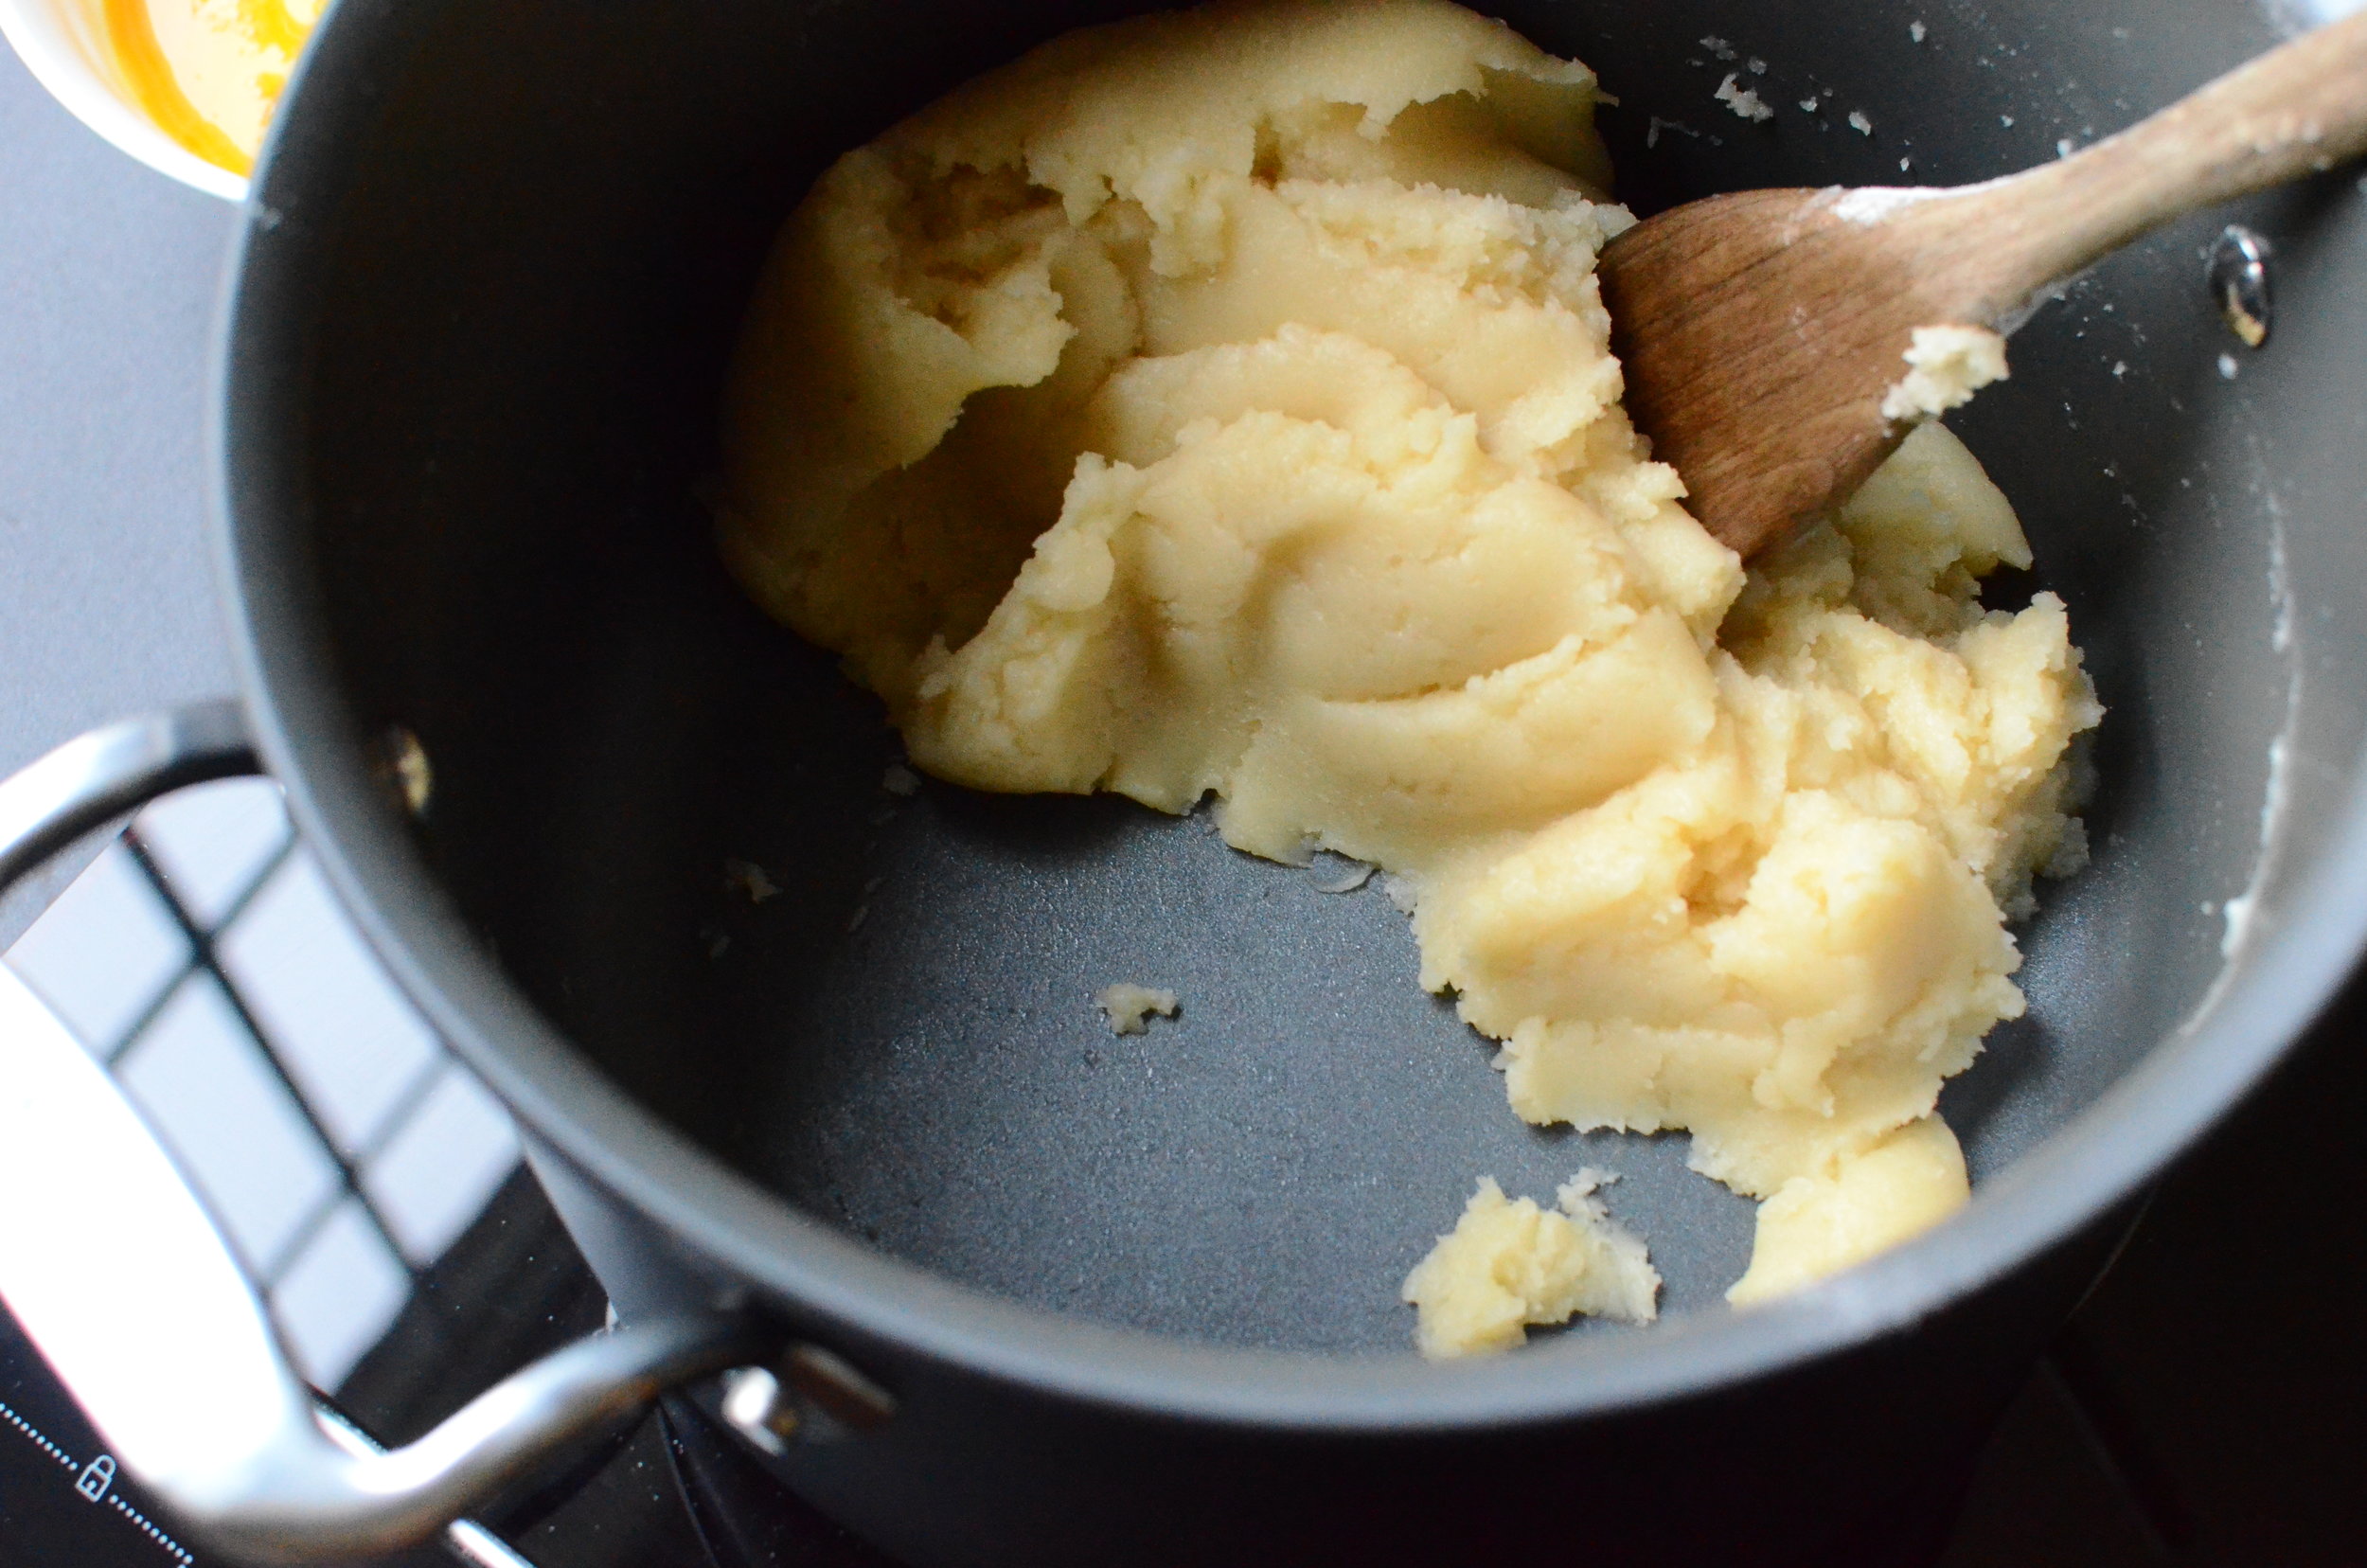
Until a smooth paste forms and pulls away from the sides of the pan.  We're not quite there yet, but almost.

adding-eggs-to-choux-paste-butteryum

Just a few more moments and we're done.  
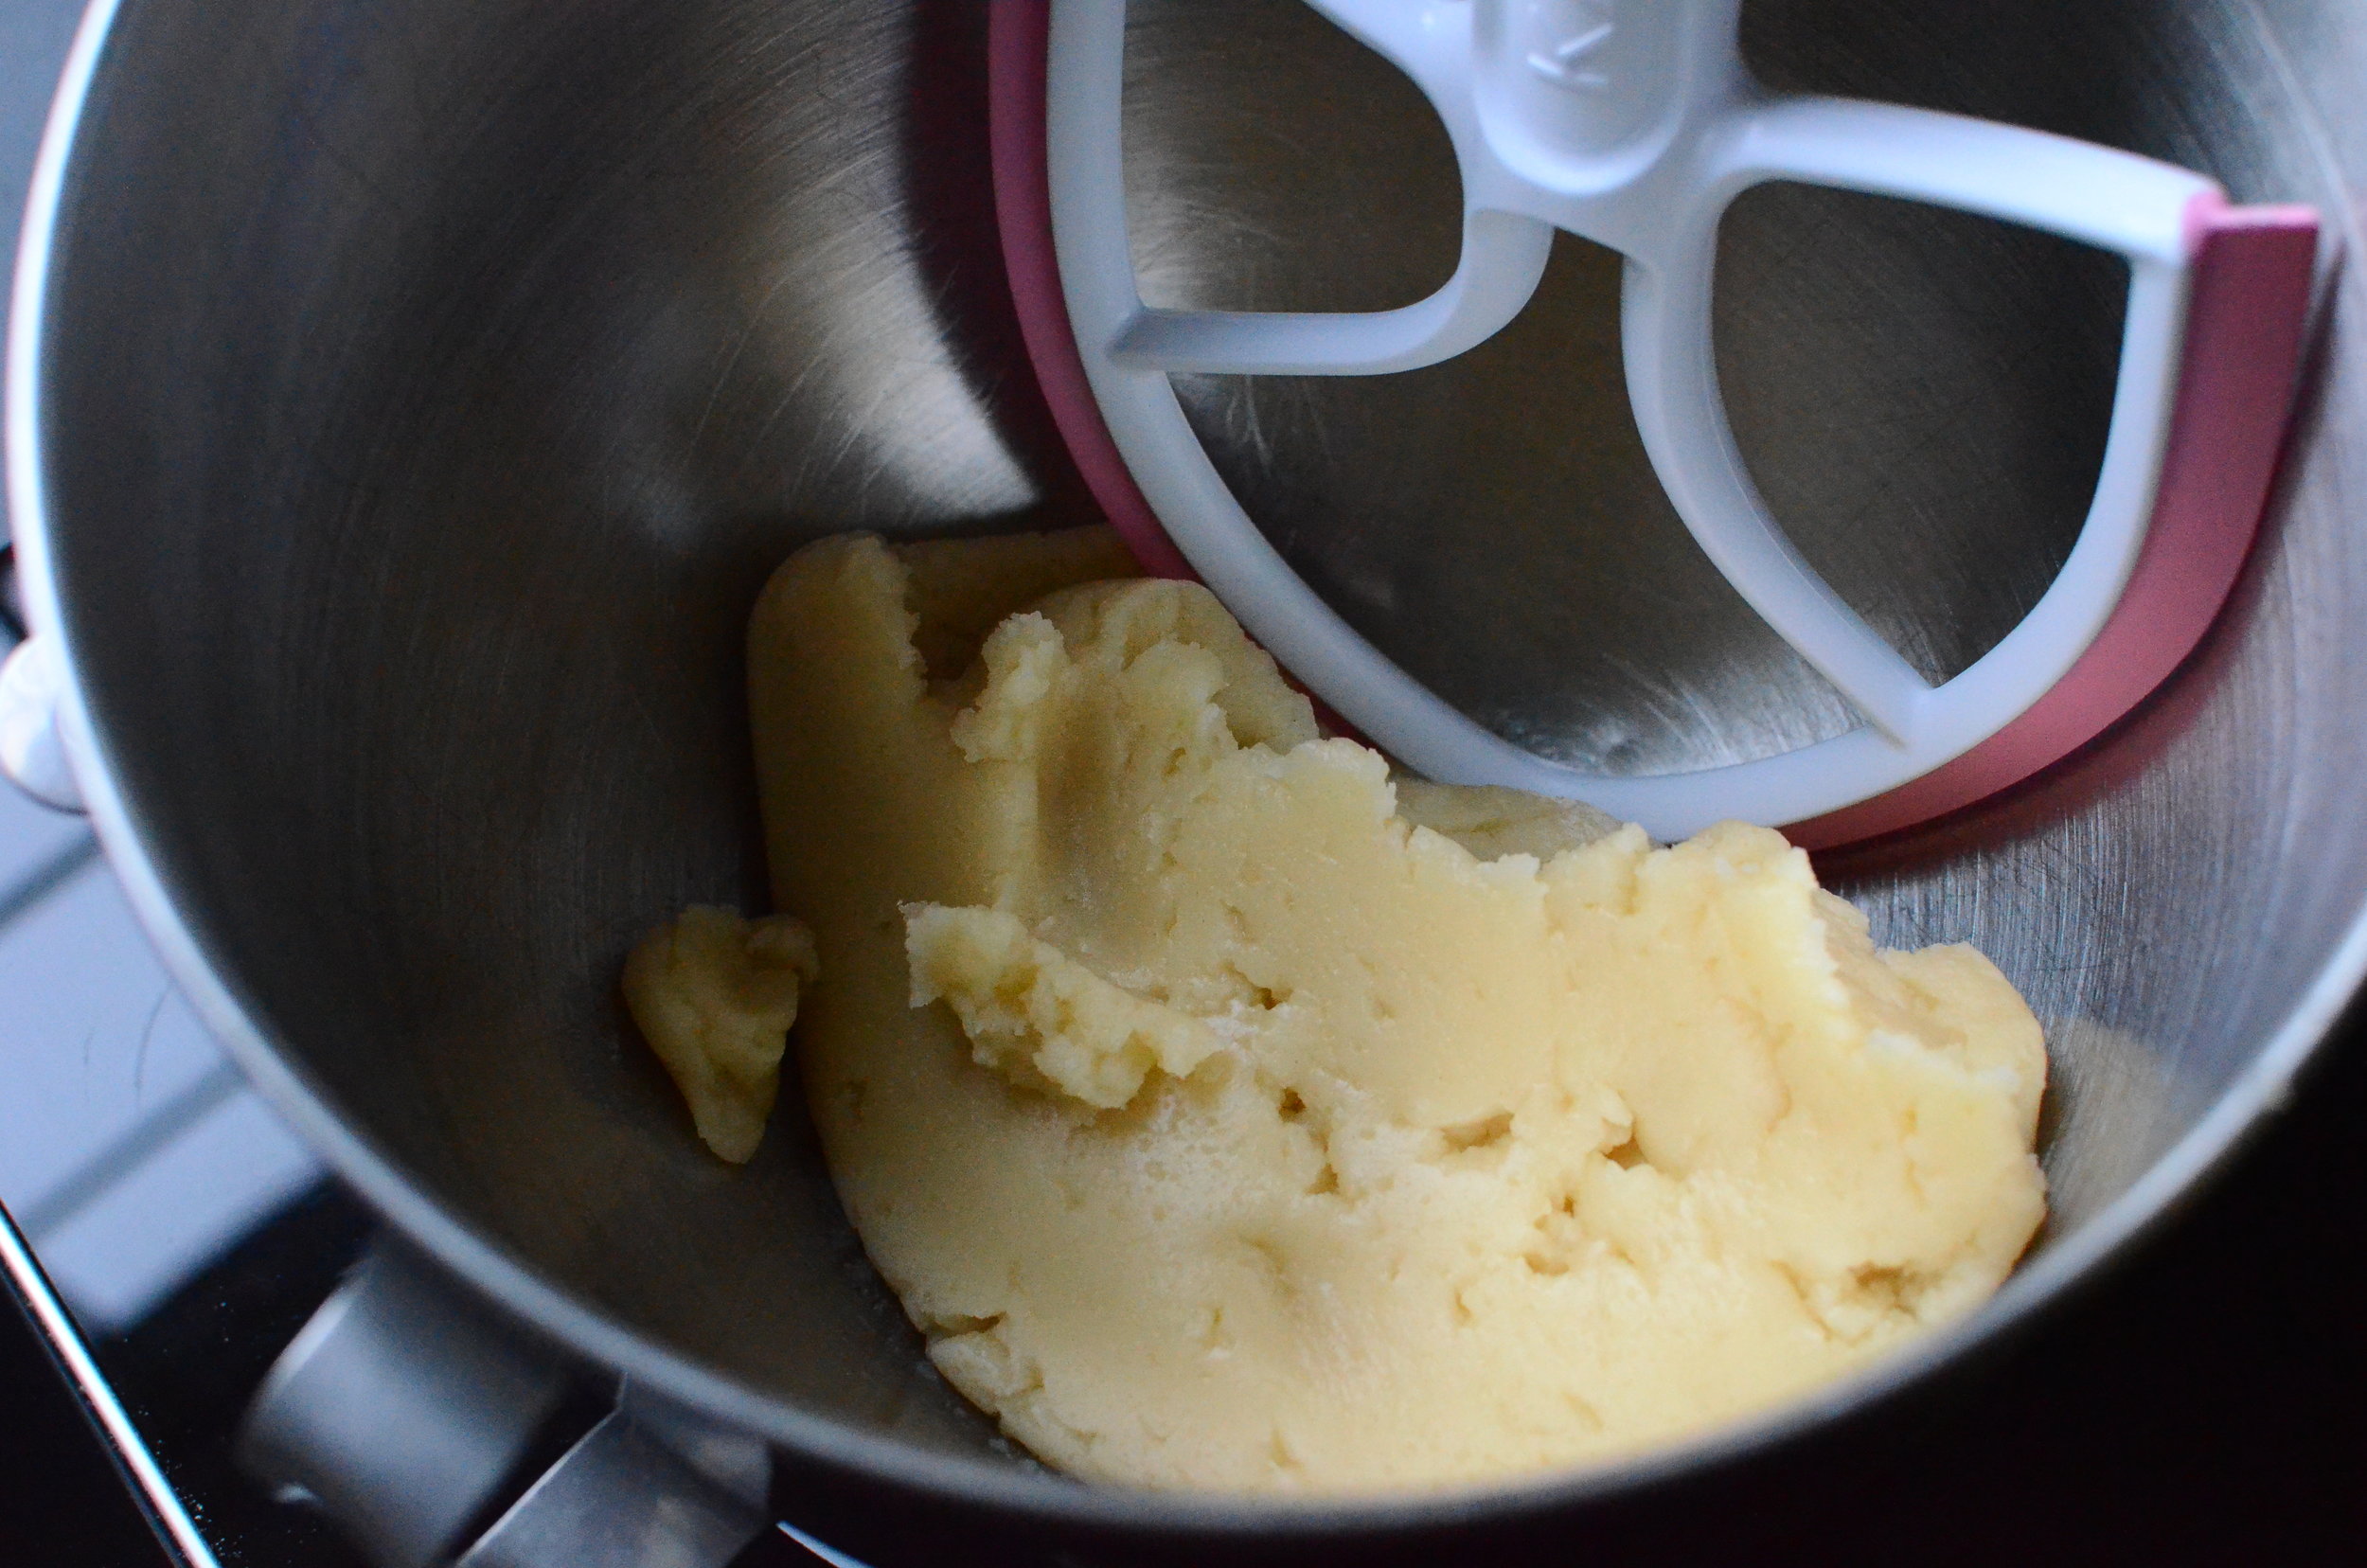
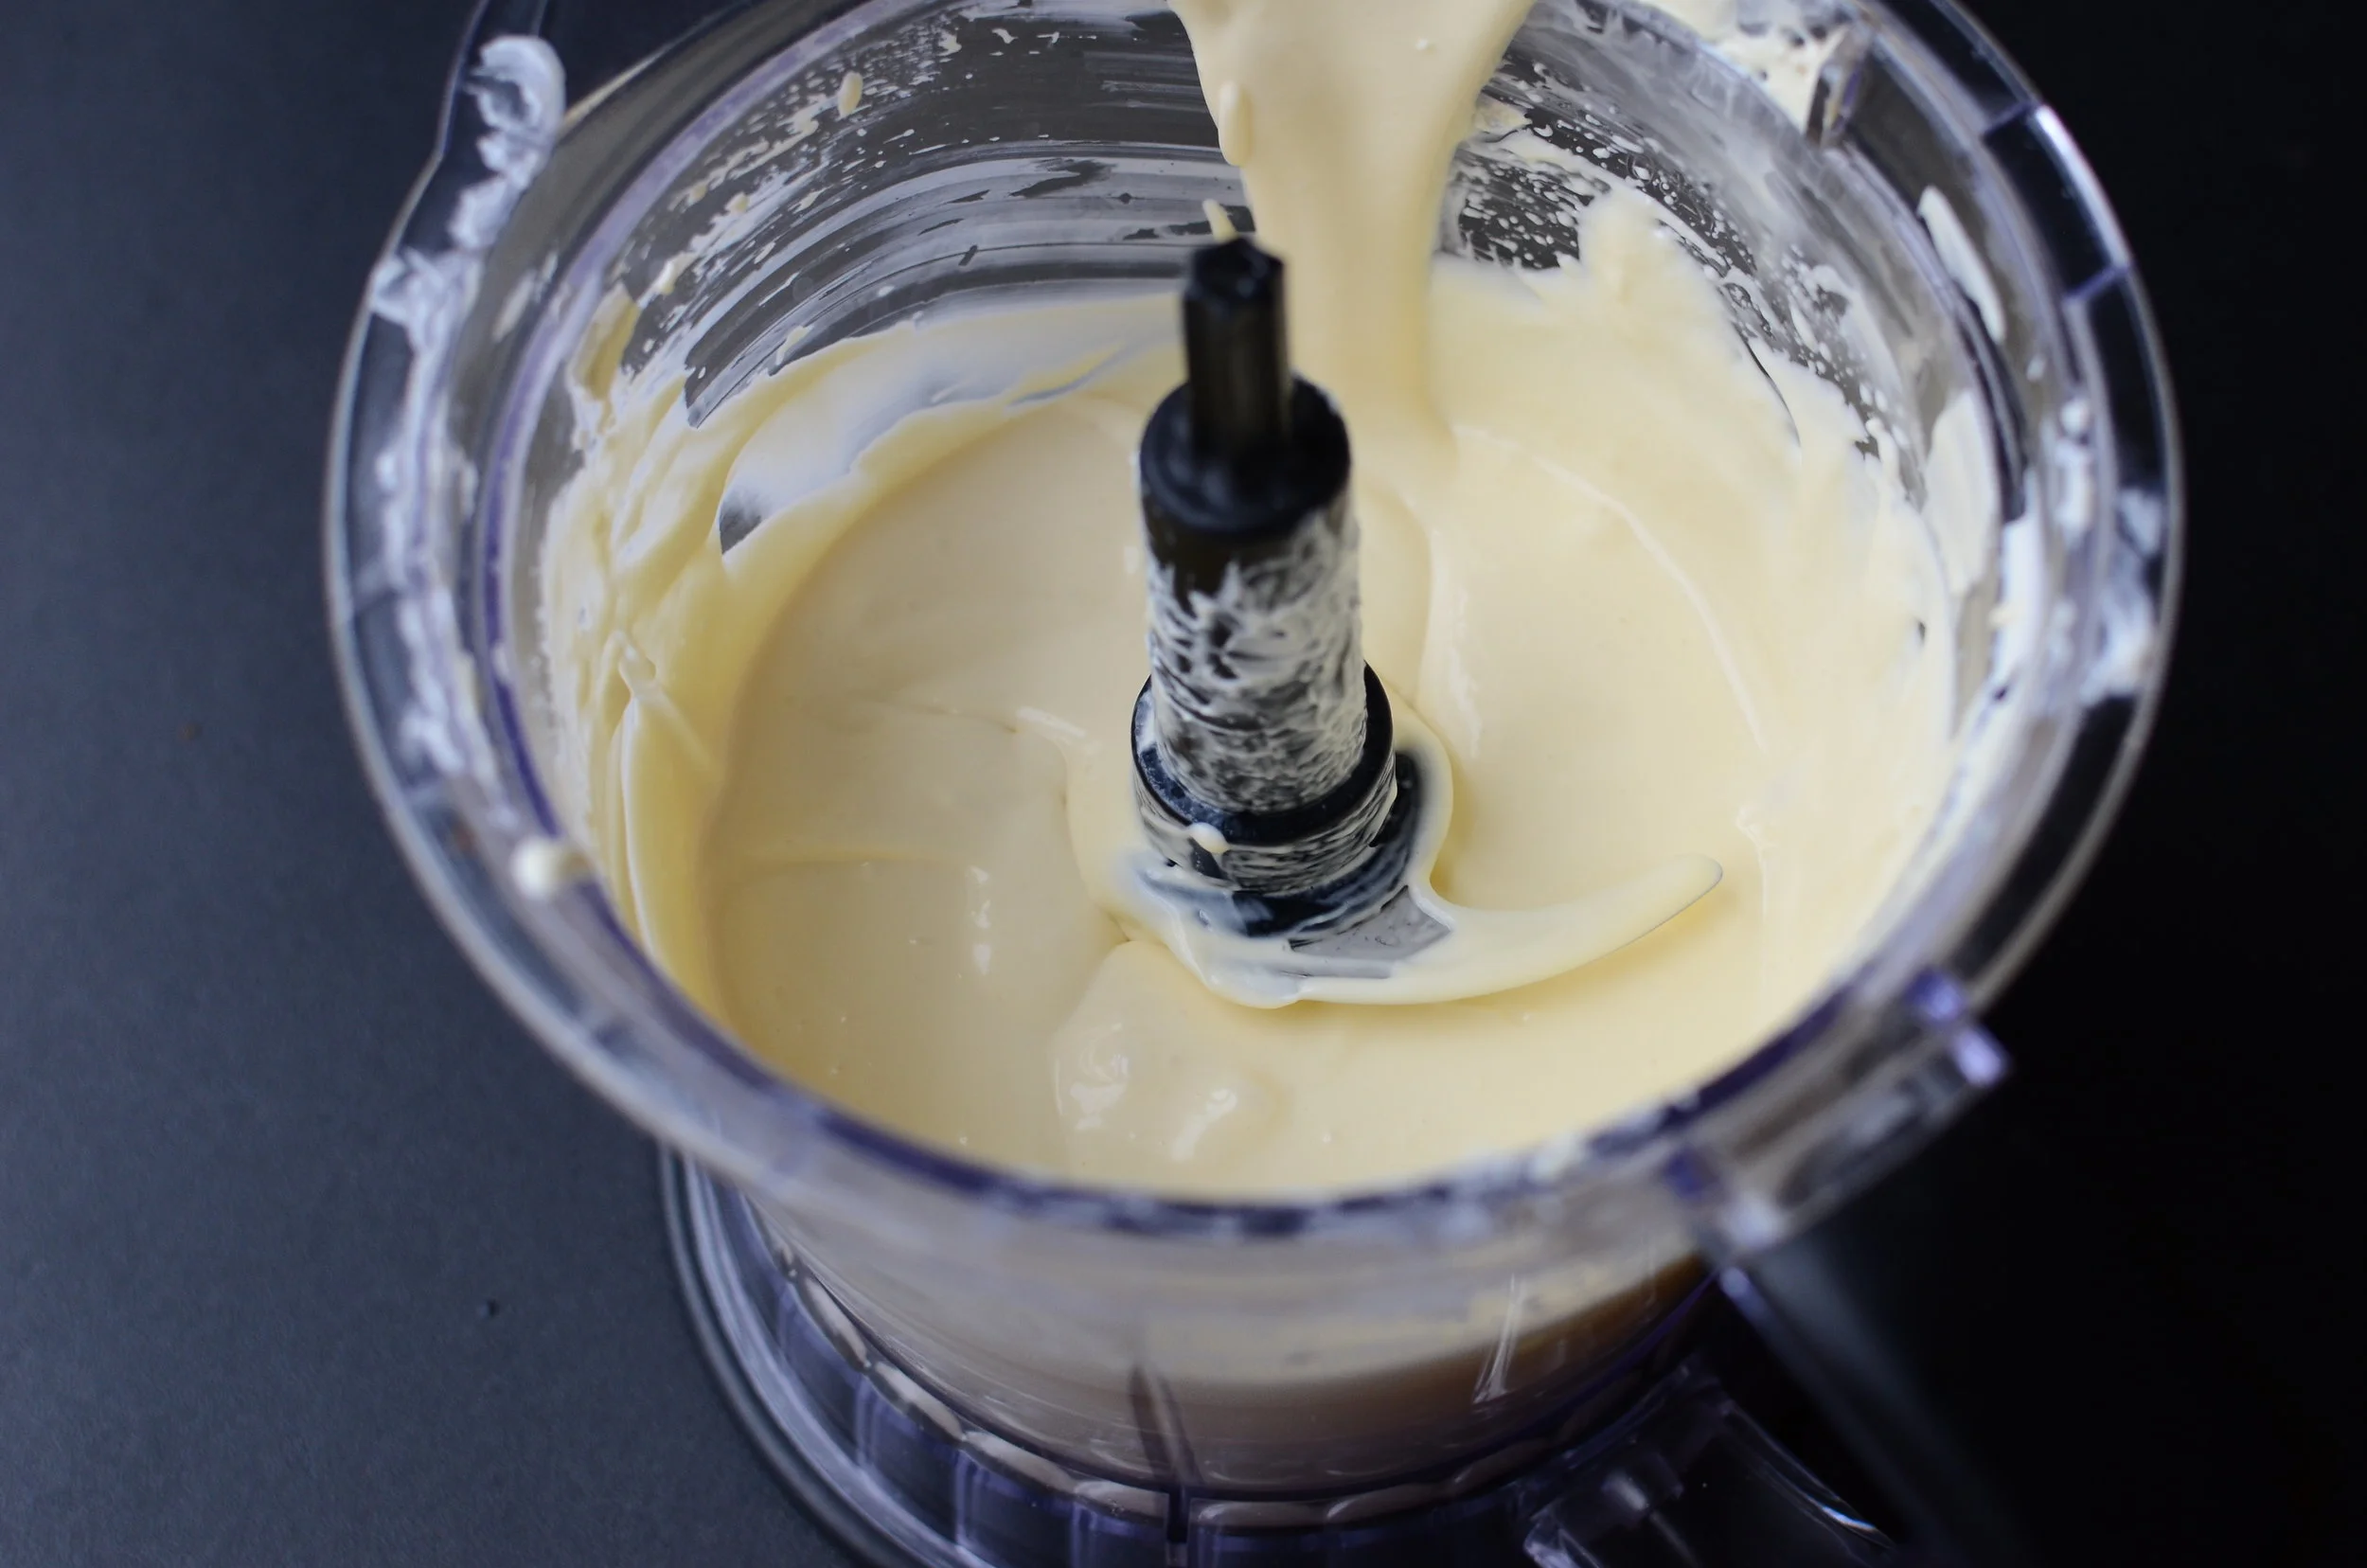
Remove the pan from the heat and transfer the dough to the bowl of a stand mixer.

how to make homemade cream puffs.

Using a flat paddle (one with silicone fins works particularly well), add the eggs, mixing one at a time, until no traces of raw egg remains. If you don’t have a stand mixer, you can stir the eggs in by hand - it’ll take some time, but you can do it.

disposable-pastry-bag-buttryum

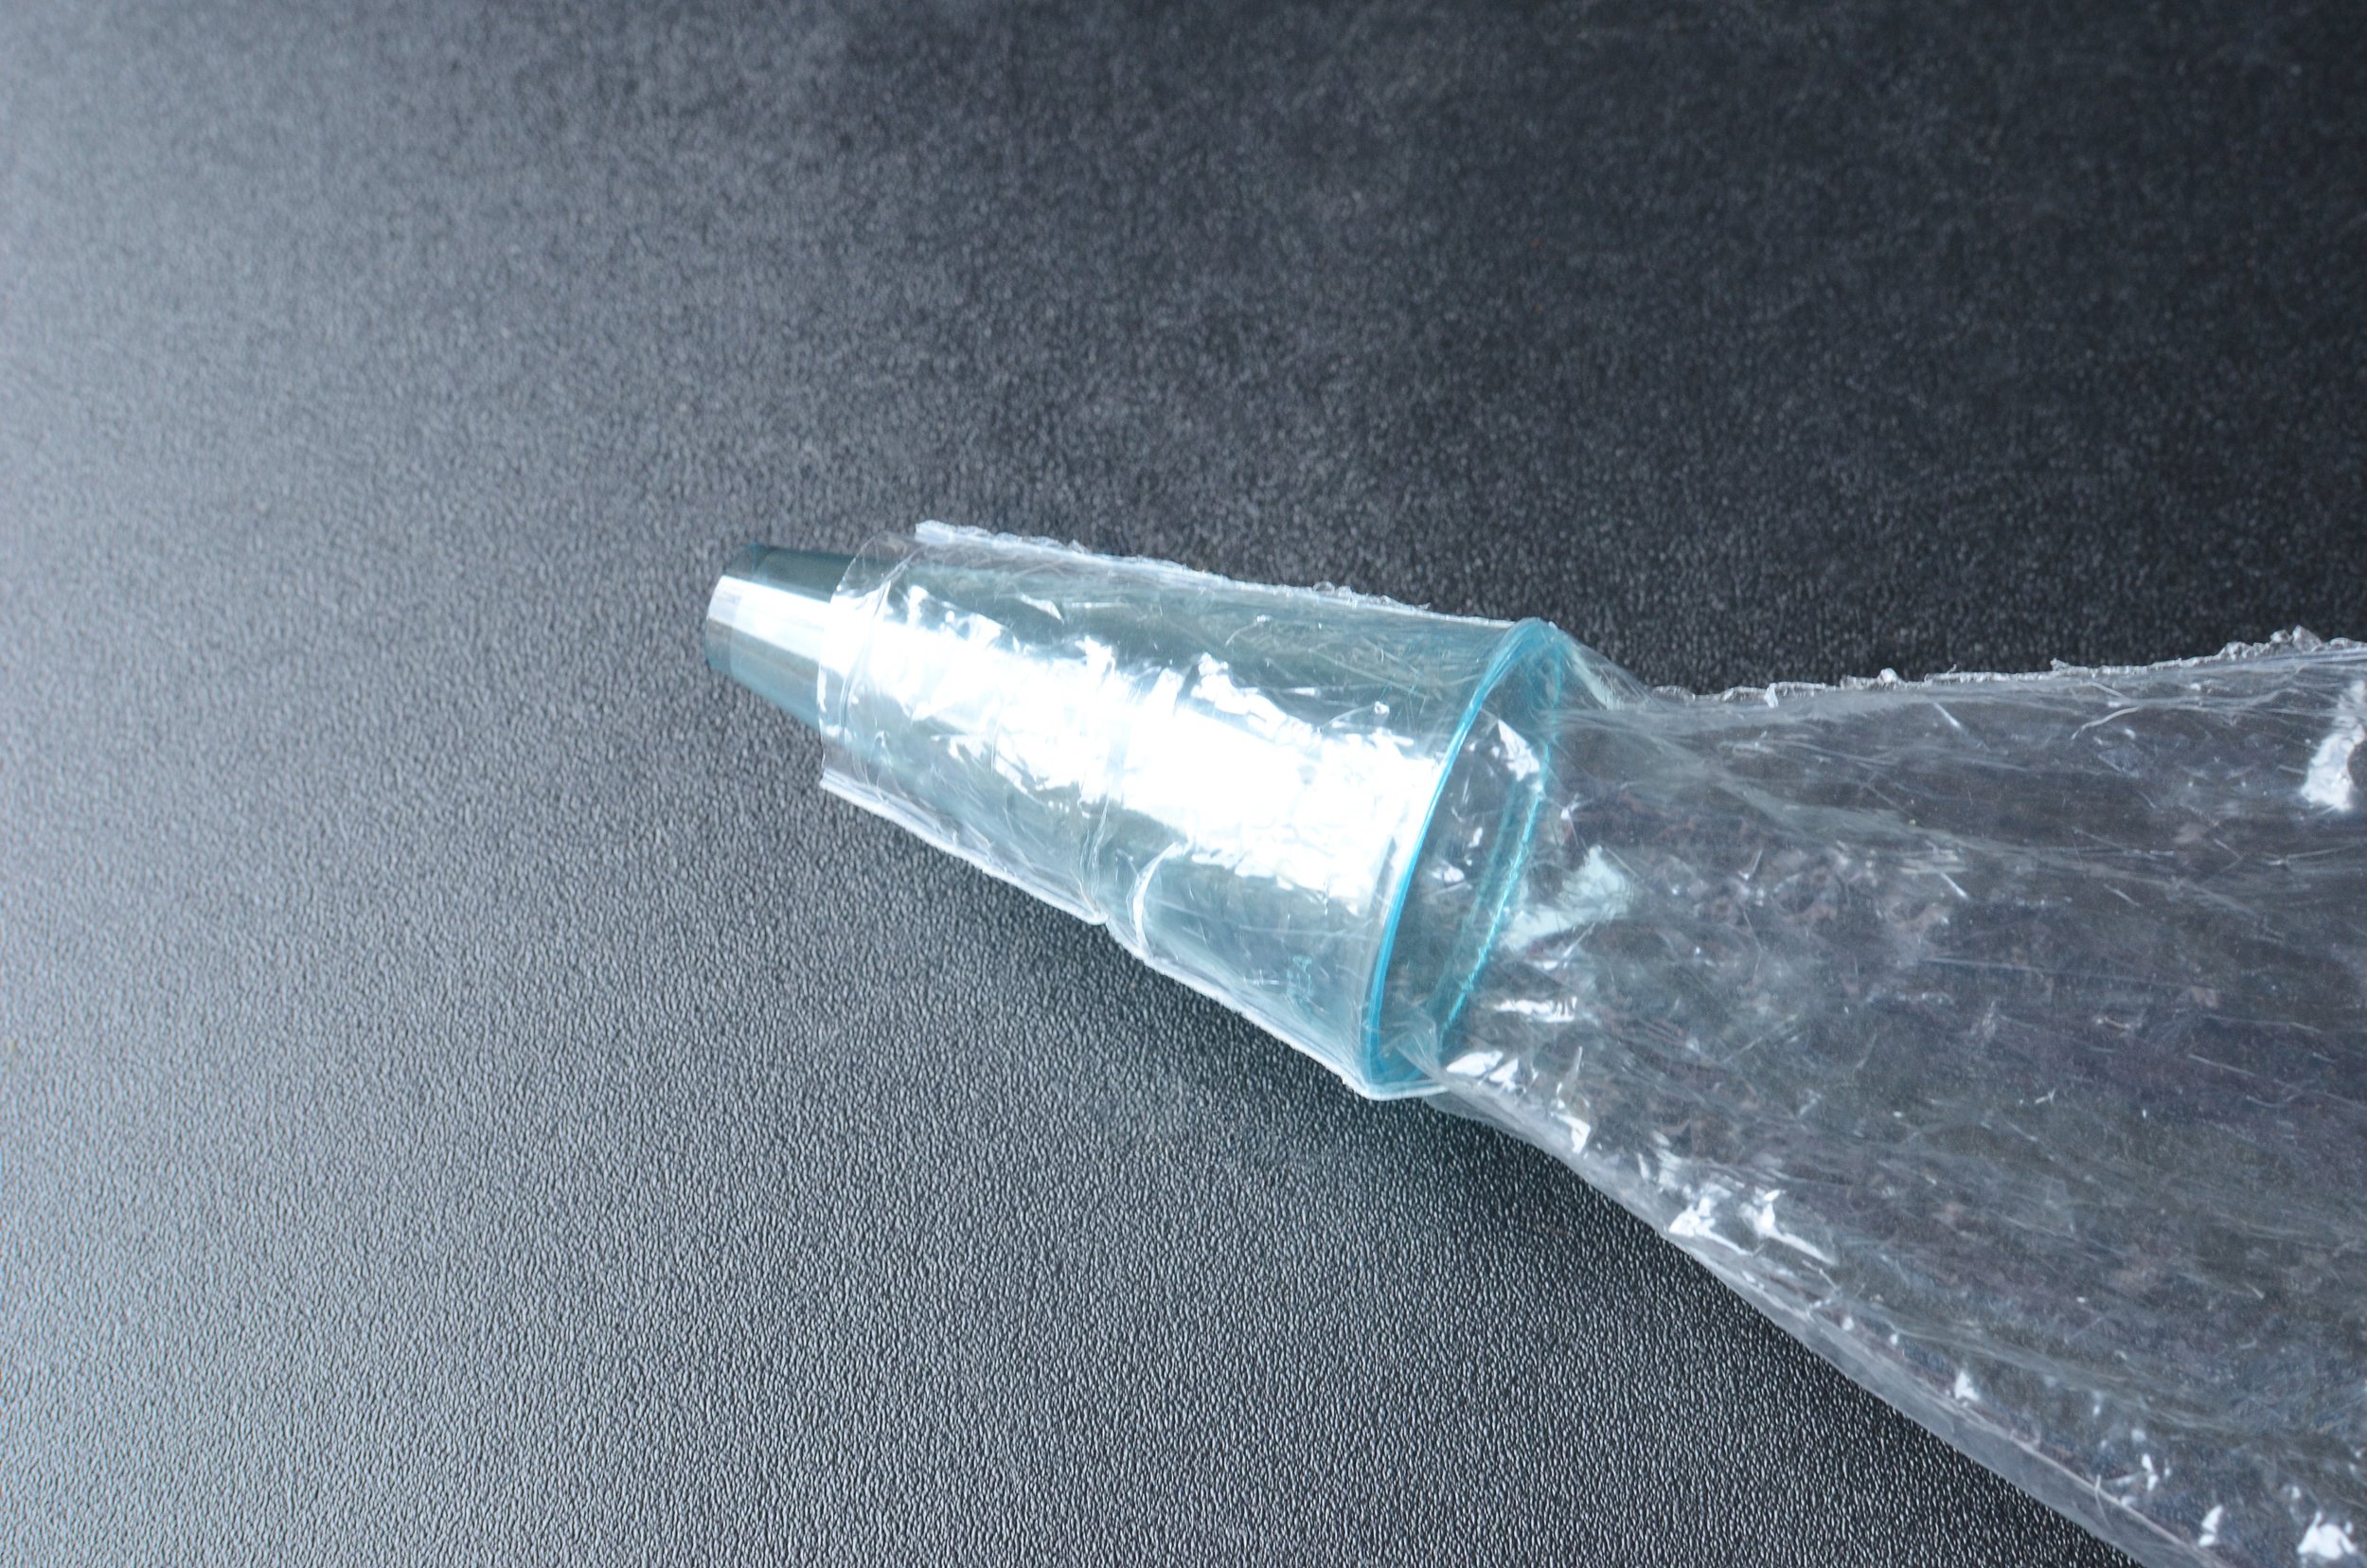
Transfer the mixture to a large pastry bag fitted with a large star tip (here).  I like to use disposable bags (like these).  Using a star tip helps the pastry dough expand evenly in the oven.

piping-pate-a-choux-paste-butteryum

I piped long skinny shapes for eclairs as well as round mounds for cream puffs, but didn’t get photos of the cream puff mounds - oops. You’ll figure it out though.

baked-cream-puff-shells-butteryum

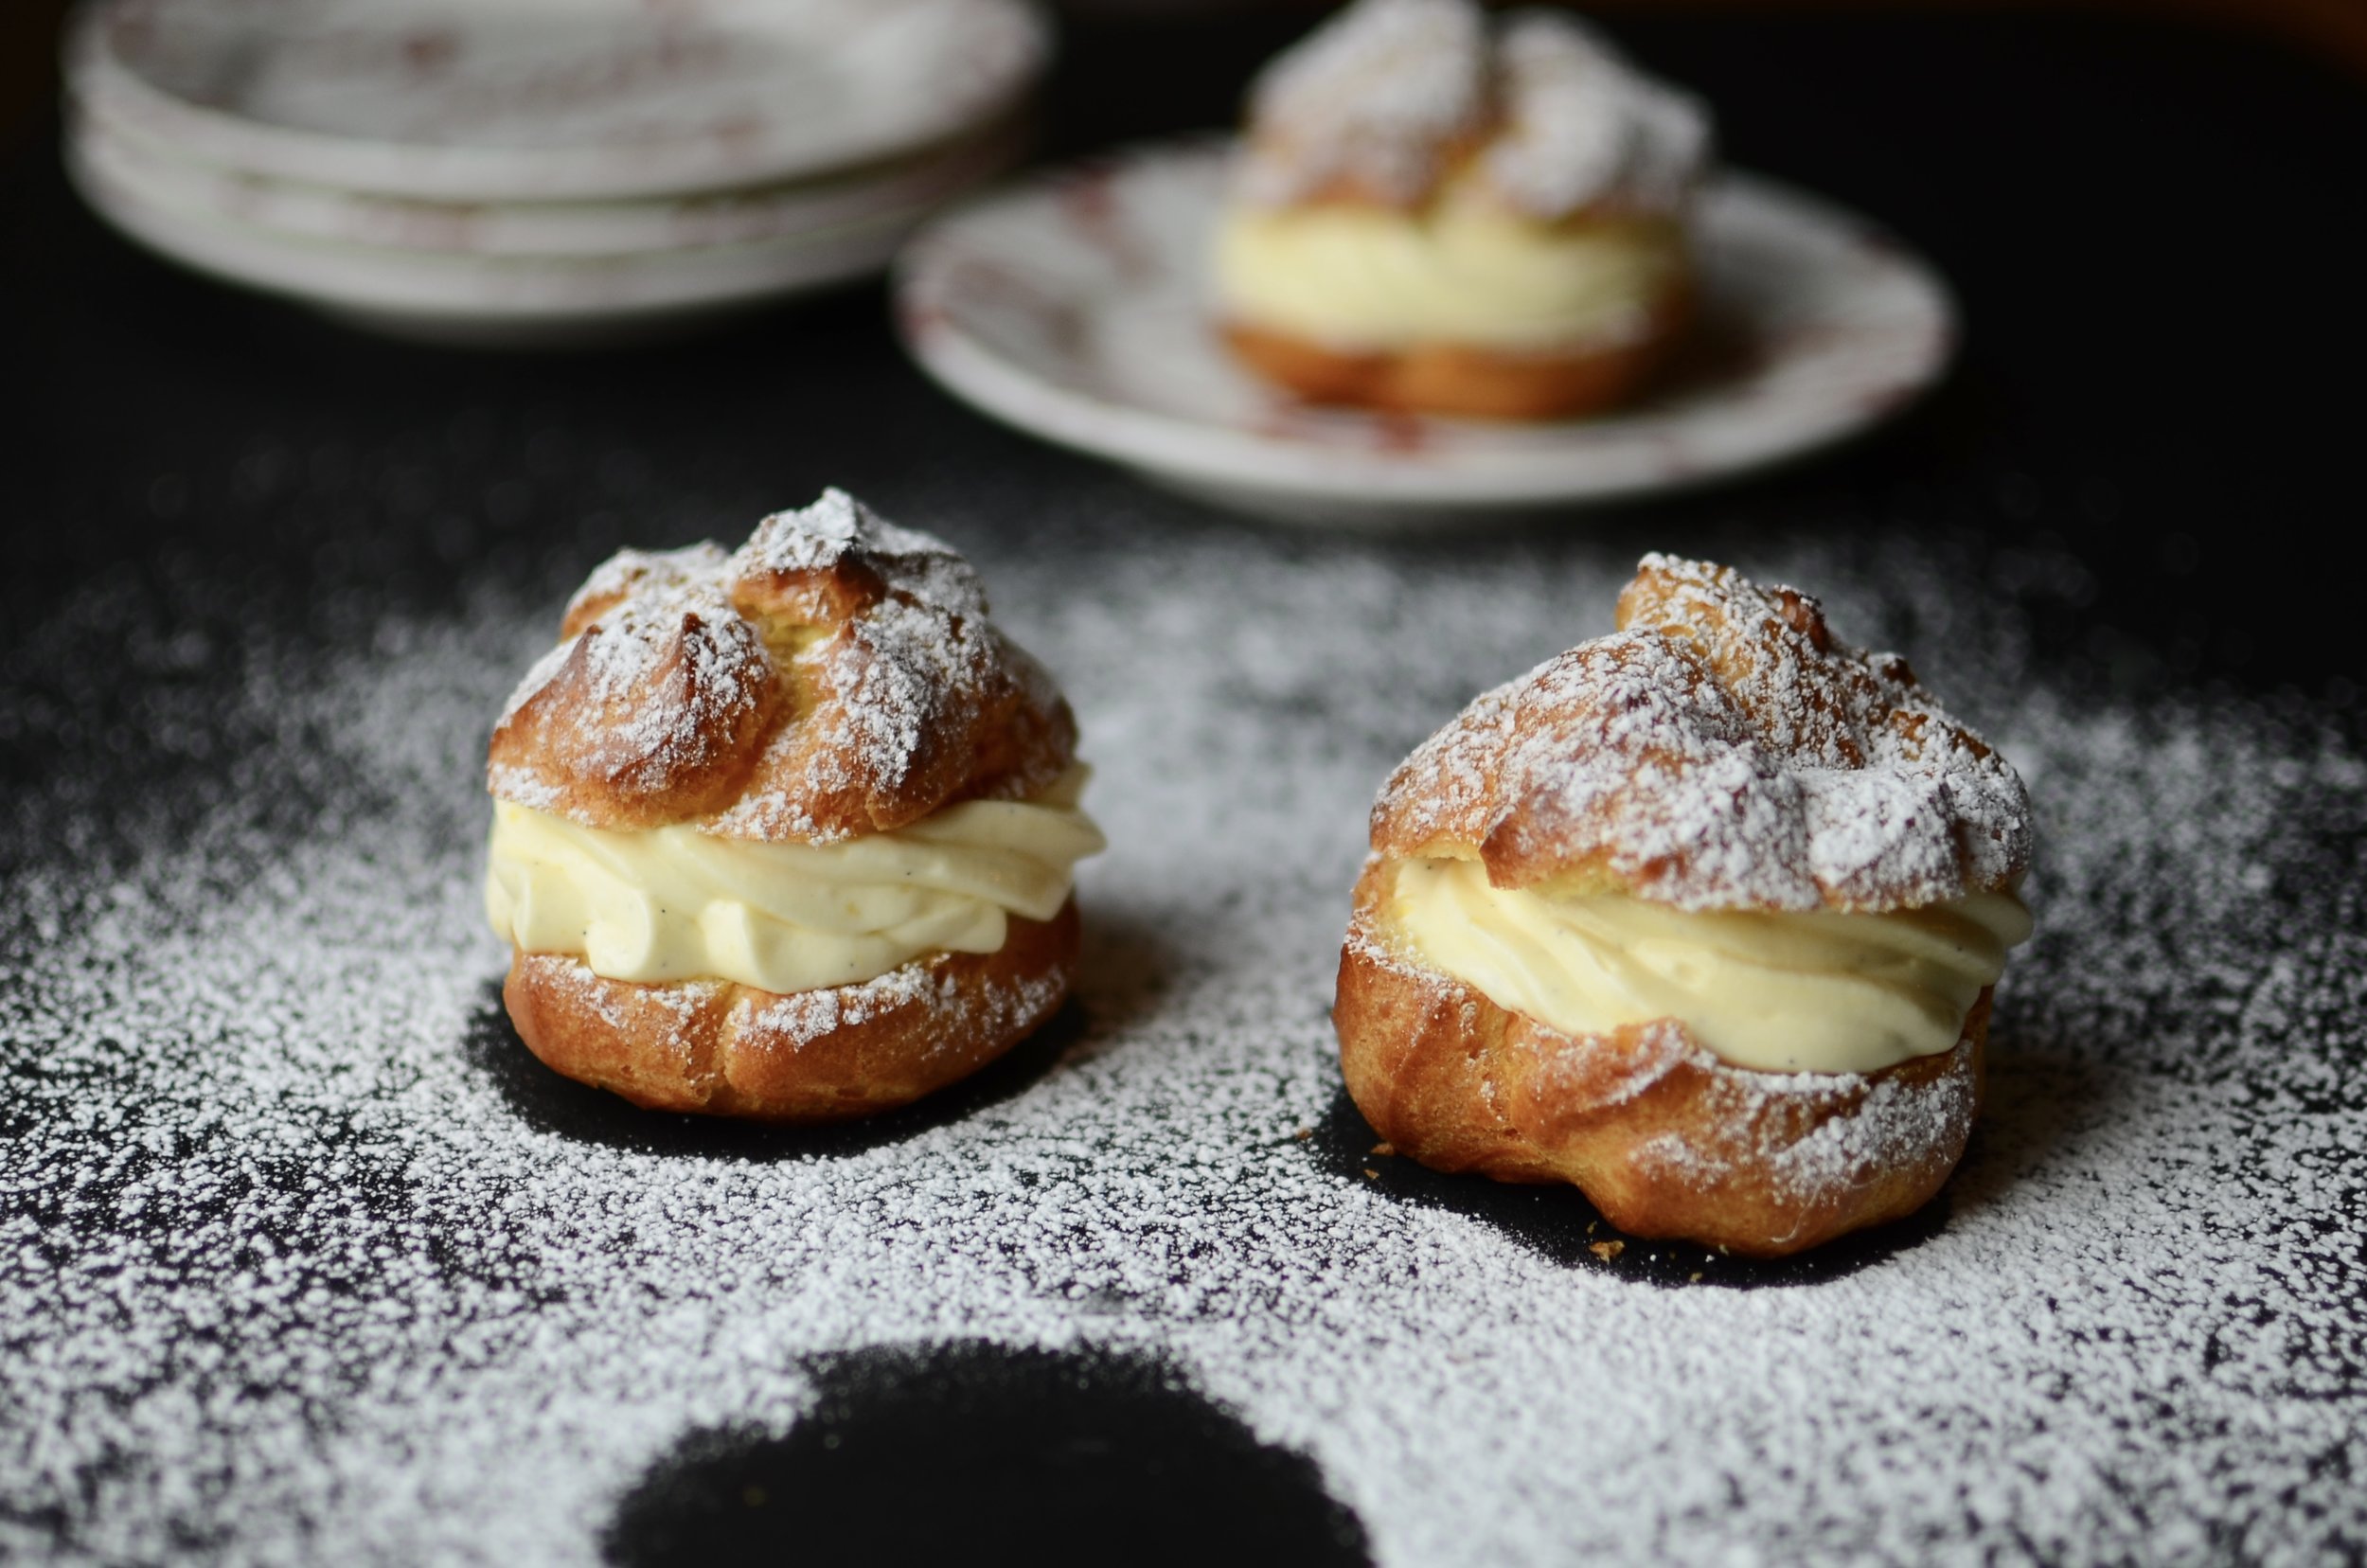
When the mounds are done baking, allow them to cool slightly, turn each puff upside down, poke a hole in the bottom with a paring knife or skewer, and allow excess steam to escape. Allow them to cool completely before cutting the pastry shells in half and proceeding with the recipe.

Note: if you plan to freeze the puffs for use later, flash freeze the cooled, uncut pastry shells for about an hour, then transfer to an airtight freezer-safe container for up to a month. Thaw overnight, in the refrigerator, inside the airtight container.

cream puff recipe

To assemble, cut the pastry shell puffs in half with a serrated knife and fill with a mixture made of 50% pastry cream and 50% sweetened whipped cream. You can spoon the mixture in, or you can use a pastry bag fitted with a pasty tip as shown.

how to make cream puffs from scratch. pastry puffs, pate a choux filled with creme patisserie, how to make cream puffs. cream puff recipe.

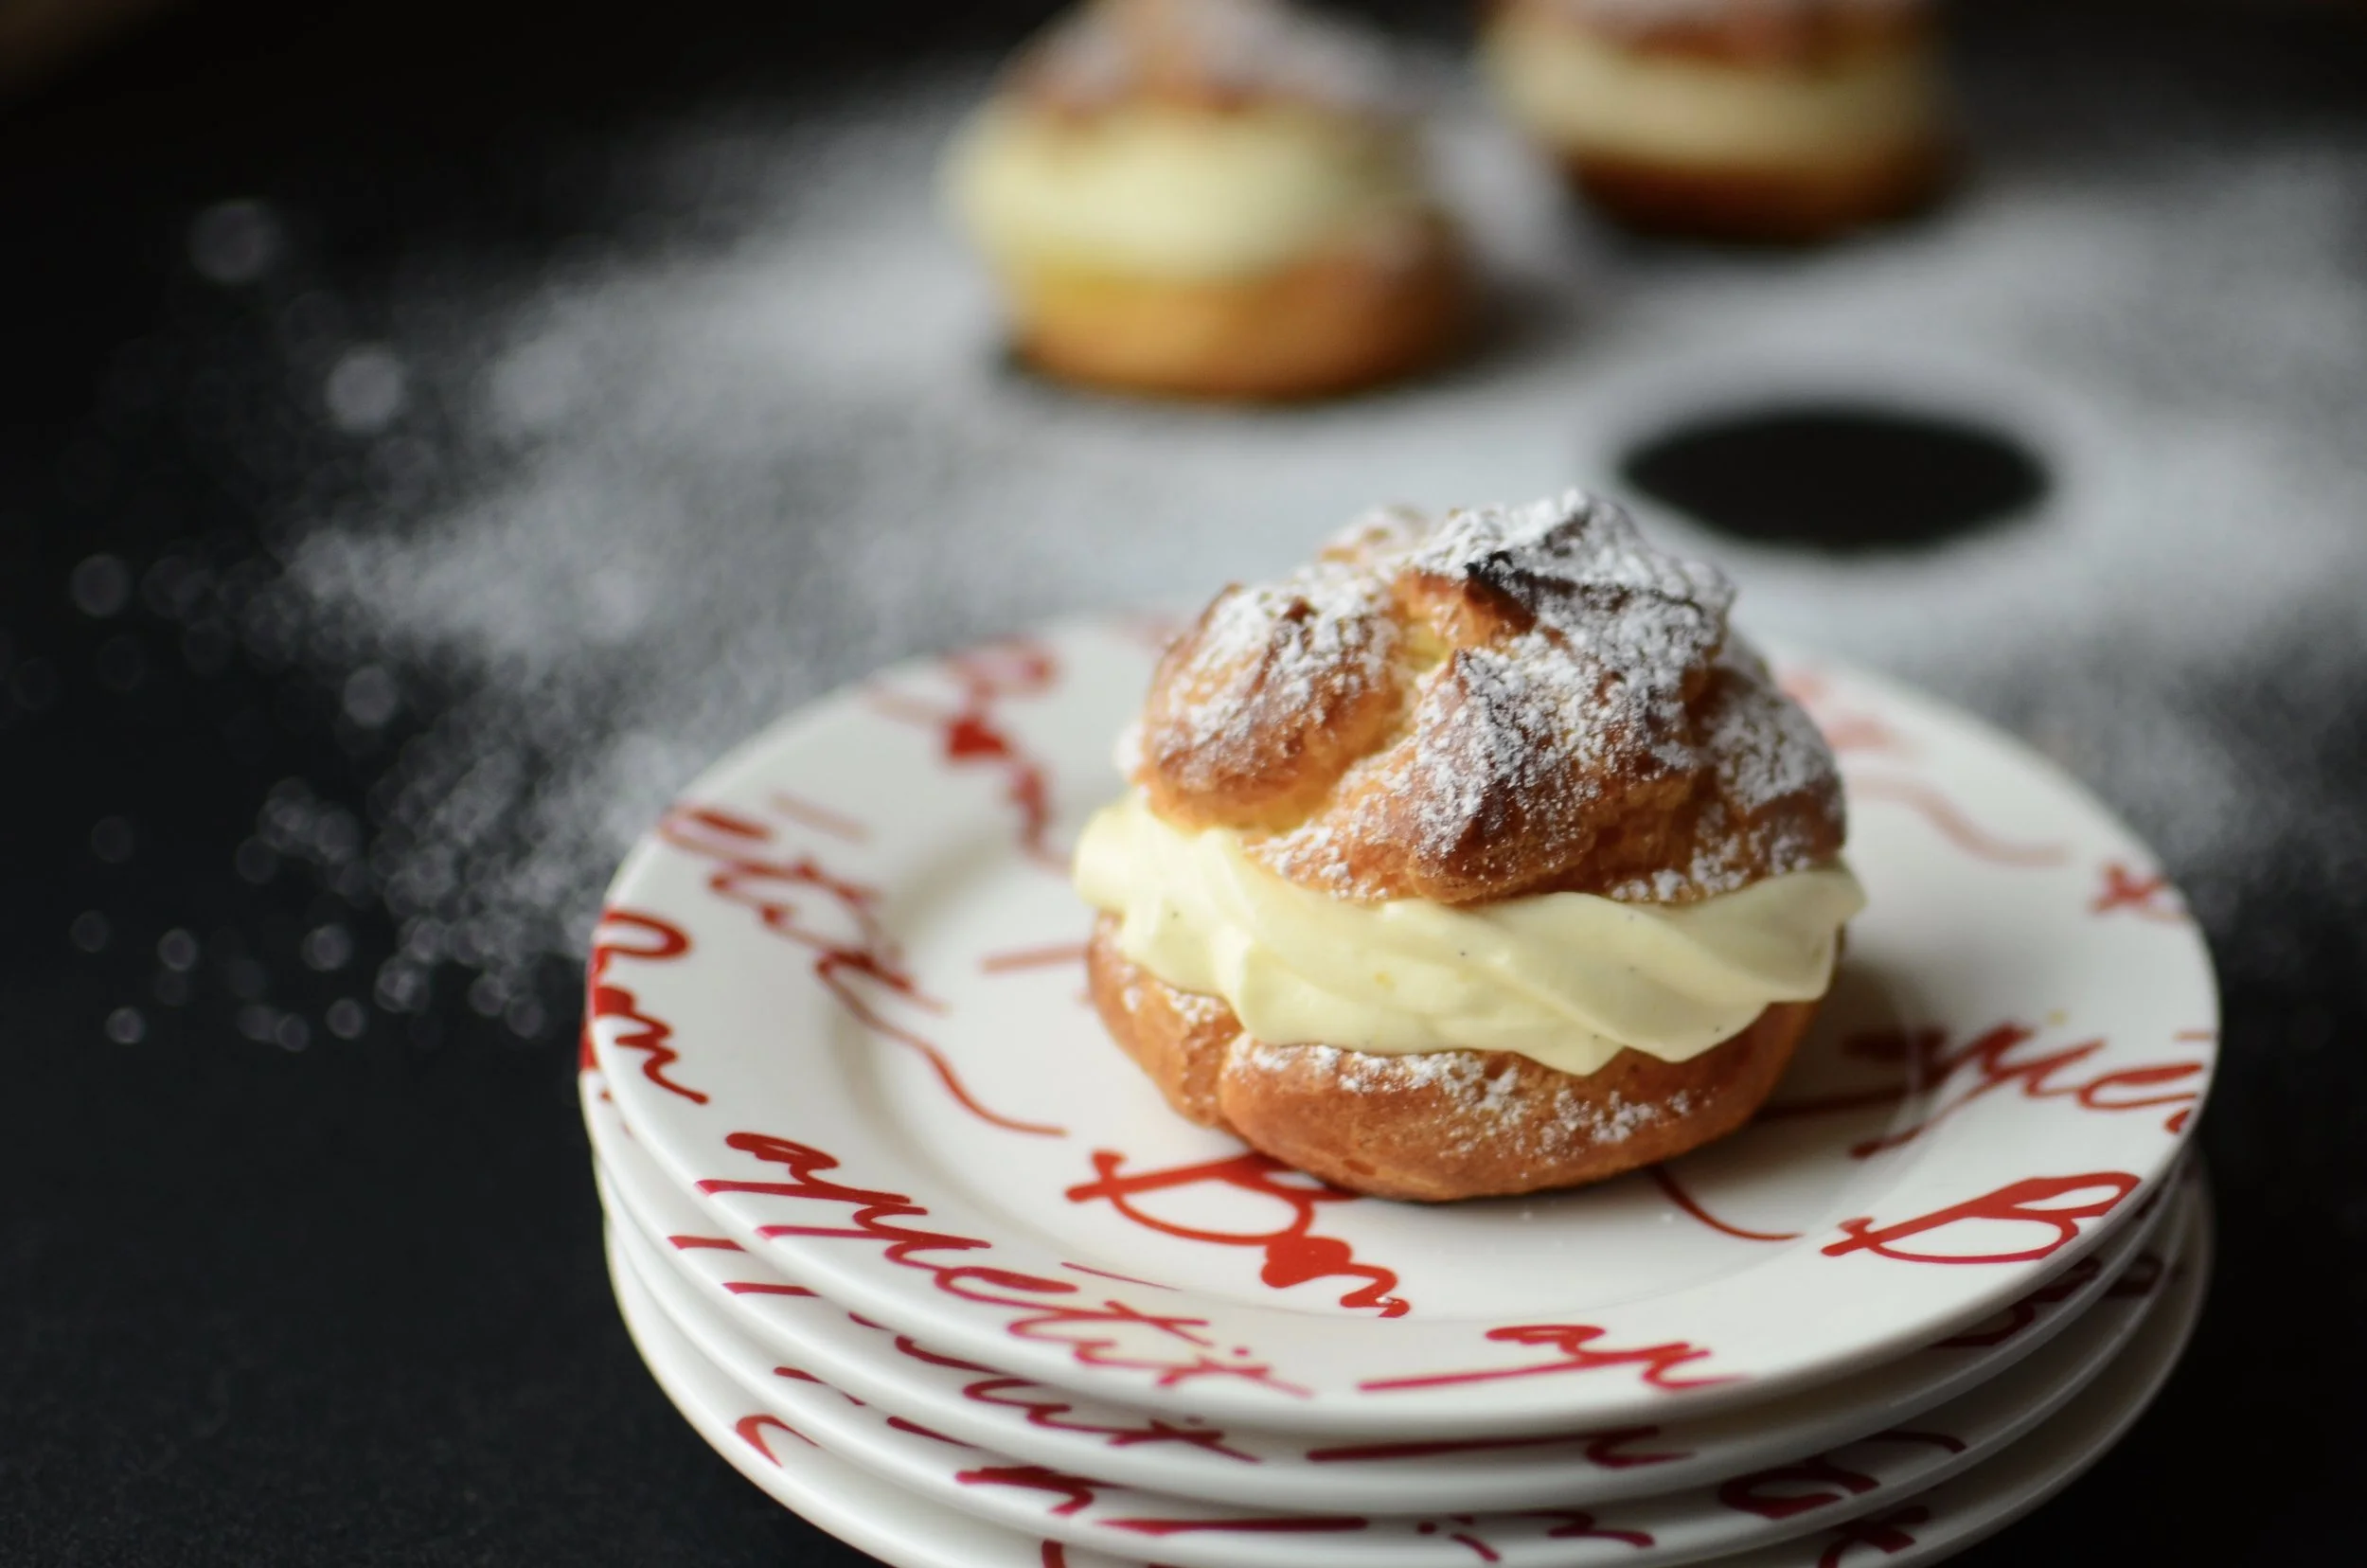
Once filled, sprinkle with a dusting of confectioner’s sugar and serve immediately. Enjoy!

Items I used to make this recipe:

(affiliate links)


Cream Puffs

makes about 20

Printable Recipe

Ingredients

Pastry Shells:

  • 1/2 cup water

  • 1/2 cup whole milk

  • 8 tablespoons unsalted butter

  • 1 teaspoon table salt

  • 2 teaspoons granulated sugar

  • 1 cup all purpose flour

  • 5 large eggs

  • confectioner's sugar for dusting

Filling (equal parts of each):
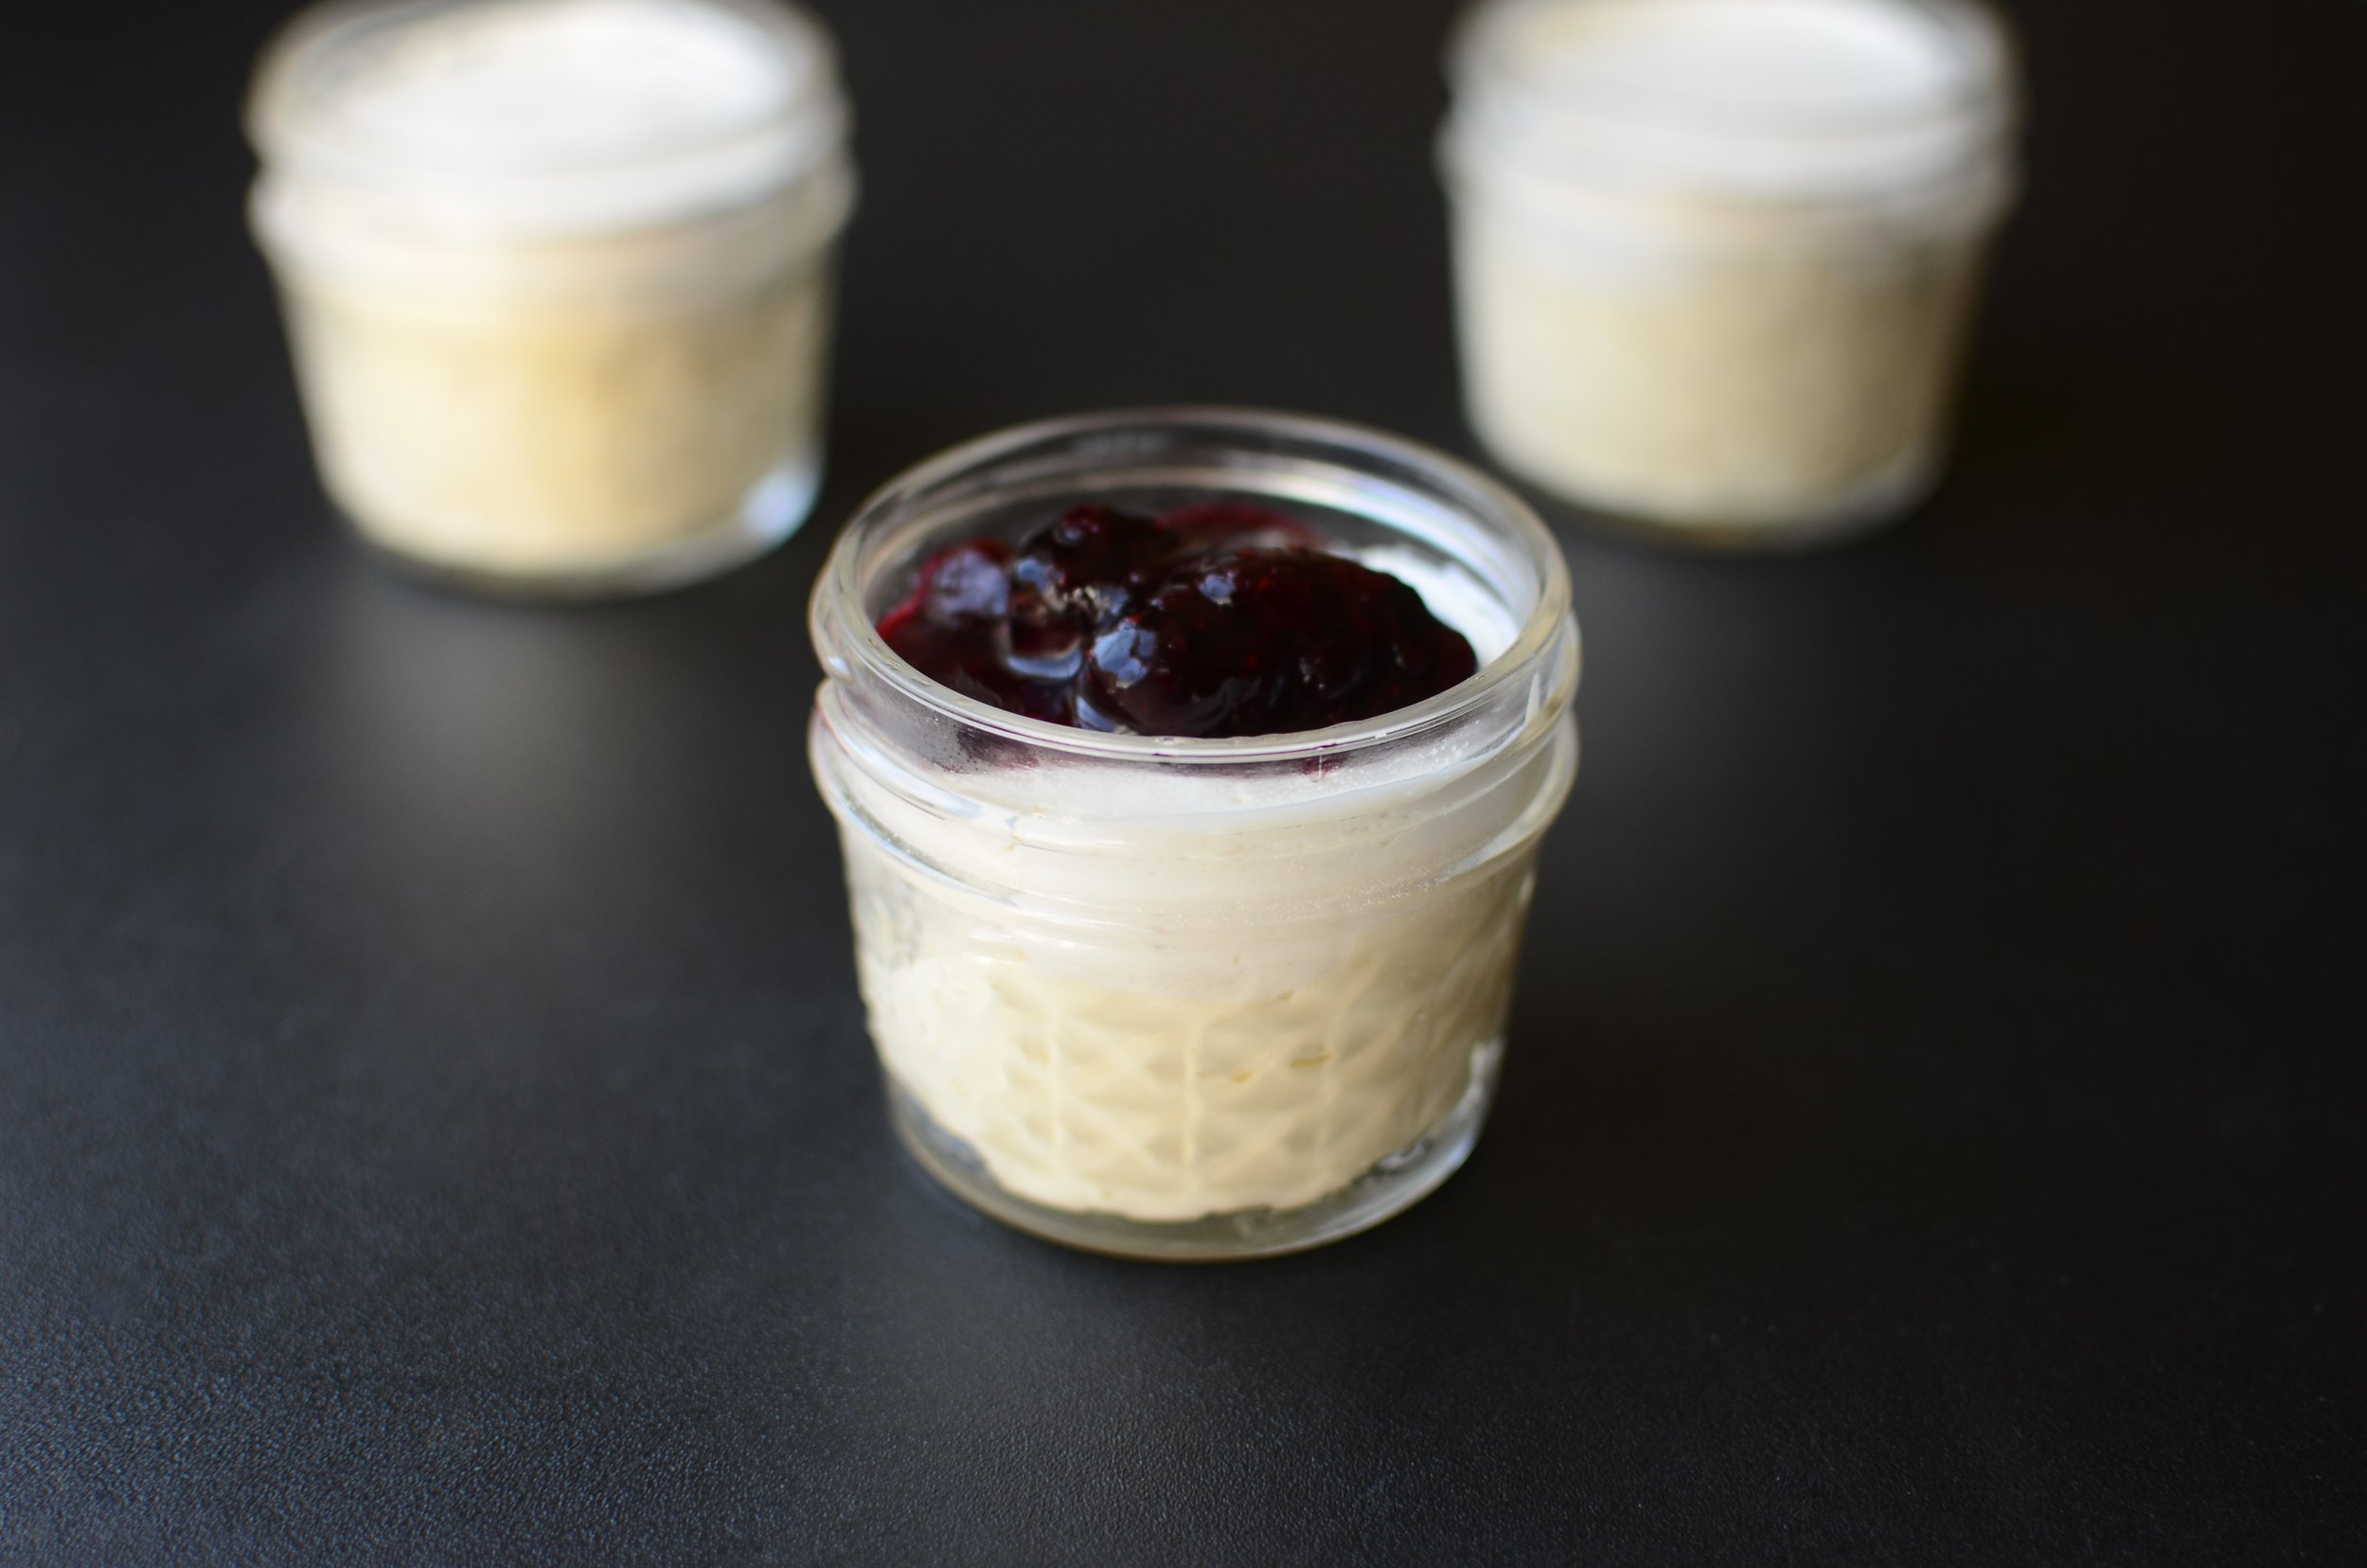
Directions

  1. Preheat oven to 450F and place rack in center position.

  2. In a 4-quart nonstick saucepan, heat the milk, water, butter, salt, and sugar until it boils.

  3. Immediately add the flour and stir vigorously until all the liquid is absorbed by the flour and a paste forms; continue stirring constantly until the paste dries out and forms a ball that cleans the sides of the pan.

  4. Transfer the paste to the bowl of a stand mixer or food processor and allow it to cool for a couple of minutes. 

  5. Add the eggs, one at a time, beating until each is fully incorporated.

  6. Transfer paste to a large disposable pastry bag that has been fitted with a large star tip (I used this one).

  7. Pipe the paste into 3-inch round by 1-inch tall mounds on a silpat lined sheet pan; dust with confectioner's sugar.

  8. Bake in 450F oven for 5 minutes, then reduce heat to 350F and continue baking for 25 to 30 minutes more.  

  9. Remove from oven and allow to rest until they're cool enough to handle, then poke a couple of vent holes in the bottom and allow to cool completely.

  10. When completely cool, fill with a mixture of 1 part pastry cream and 1 part sweetened whipped cream.

Note

  • I like to sprinkle the top of my cream puffs with confectioners’s sugar, but they’re great glazed in chocolate like an eclair (glaze recipe here).

Sous Vide Cheesecake in a Jar

Patricia @ ButterYum

I've been having a blast playing with my new sous vide circulator.  This week I have a great cheesecake recipe to share, but instead of being baked in a springform pan, it's cooked in tiny jam jars that are submerged in a hot water bath.  How cool is that?  I've omitted the graham cracker crust that usually lines the bottom of a cheesecake, but you could certainly add a thin layer to the bottom of your jars... or sprinkle crushed graham crackers on top just before serving.  

Eating Keto?  My recipe can easily be made keto-friendly by replacing the sugar with an equal amount of granulated splenda (I do not like the flavor erythritol imparts in this recipe).  The keto stats for one serving are as follows:  4g carbs, 6g protein, 27g fat, 245g sodium, 280g calories.

sous-vide-cheesecake-mise-en-place-butteryum

For the cheesecake batter you'll need cream cheese, eggs, sugar (or splenda), and pure vanilla extract (use the good stuff!).  Make sure the cream cheese and eggs are room temperature so leave them out on the counter for several hours before using.

making-cheesecake-filling-in-food-processor-butteryum

The amount of batter this recipe makes is small so I like to mix it in my small food processor (I love this thing).  Process until completely smooth, scraping the sides of the bowl as necessary.

filling-jars-with-cheesecake-mixture-for-sous-vide-butteryum

Divvy the batter evenly among eight 4-ounce canning jars (these are the ones I used).  If you want to be super precise, you can weigh the amount of batter going into each jar (my favorite scale).  

It's not time to close the jars yet, we still have one more step to do...

sour-cream-topping-for-sous-vide-cheesecakes-butteryum

Now for the best part, the super yummy topping!  To make the topping, whisk together sour cream, sugar (or granulated Splenda), and pure vanilla bean paste.  You can use vanilla extract if you don't have vanilla paste, but trust me, the paste is amazing and you'll love seeing all the vanilla specks when you open those jars (this is the vanilla paste I can't live without).

cheesecake-topping-with-vanilla-bean-paste-butteryum

Can you see all those tiny vanilla bean seeds?  Heaven!  

I guess I didn't get a photo of the topping all whisked together, but it only takes about 20 seconds to do.

sour-cream-topping-jarred-cheesecakes-for-sous-vide

Evenly distribute the topping among the jars.

cooking-cheesecake-via-sous-vide-butteryum

Close the jars "fingertip tight" like you would if you were canning/preserving.  If the lids are too loose, water will get in the jars; and if the lids are too tight, the jars could explode so here's an easy way to know what "fingertip tight" is - place screw band on the jar and turn just until you feel resistance, then turn the band one-quarter turn more. 

Place the jars in a heat-safe container large enough to hold all the jars and a sous vide circulator, and yes it's okay to stack the jars (I used an 8-quart stockpot in the photo above).  Also, place the cooking vessel on a heat-proof surface away from children or pets.  Add water to cover the jars, making sure the water level falls between the minimum and maximum levels indicated on your sous vide circulator.

cooking-cheesecake-sous-vide-butteryum

Bathe the cheesecakes at 165F for 90 minutes.  I've seen a few recipes that call for cooking to 175F, but I think the finished texture is a bit softer and more pleasing if you cook them to 165F.  

sous-vide-jarred-cheesecake-butteryum

After 90 minutes, carefully remove the jars from the hot water.  As the jars cool, you may hear that familiar popping sound as a vacuum forms under each lid - such a satisfying noise!  Once the jar lids have popped (and don't worry if they don't), remove the screw bands and allow them to dry (if you leave the screw bands on the jars, they may rust).  Allow the jars to sit on the counter for about an hour, then chill for at least 3 or 4 hours before serving (or up to 5 days).

sous-vide-jar-key-cheesecakes-butteryum

Serve these little guys directly from the jar.  I use a JarKey to easily release the vacuum sealed lids - if you're gentle, I promise you'll be able to reuse the lids again and again.

I wrote a short post about the JarKey a number of years ago - here's a link if you're interested in seeing it.  

Note: reusing lids is not recommended when canning/preserving for long-term storage, but we're not doing that here so it's fine to reuse the lids. 

blueberry-topped-sous-vide-cheesecakes-keto-butteryum

Aren't they cute?  And they're easy to store (stack them in the fridge), easy to serve (no messy cutting), and easy to transport (tuck one into your lunch bag).  They're great as is, or you can add a little fruit topping - my favorite is blueberry - I make a quick sauce by thawing 1 tablespoon of frozen blueberries in the microwave for 10-20 seconds until soft and mushy, then I allow them to cool and thicken for a minute or two - no sugar or thickeners needed. 

sous-vide-cheesecake-butteryum

Delish!

Items used to make this recipe:

(affiliate links)


Sous Vide Cheesecakes in a Jar

makes 8 servings

Printable Recipe

Ingredients

Cheesecake Layer:

  • 16 ounces cream cheese, room temperature

  • 2 large eggs, room temperature

  • 2/3 cup granulated sugar

  • 1 teaspoon pure vanilla extract

Creamy Topping:

Directions

  1. In the bowl of a food processor, combine cream cheese, eggs, 2/3 cup sugar, and pure vanilla extract until completely smooth, scraping down sides of bowl as needed. Alternatively, you can mix by hand, but be careful not to incoporate as little air as possible.

  2. Evenly distribute cheesecake batter among eight 4-ounce jam jars.

  3. In a small mixing bowl, whisk sour cream, 1/4 sugar, and vanilla bean paste; pour evenly over cheesecake mixture.

  4. Top jars with canning lids, followed by screw bands that are tightened "fingertip tight" (see notes below).

  5. Place jars in a heat-safe container large enough to hold all the jars and a sous vide circulator (it's ok to stack the jars) and place the container on a heat-proof surface away from children or pets.

  6. Add water to cover the jars, making sure the water level falls between the minimum and maximum levels indicated on your sous vide circulator.

  7. Cook the cheesecakes for 90 minutes at 165F, then remove from water and cool for 1 hour (remove screw bands to prevent the lids from rusting).

  8. Chill cheesecakes for at 3 or 4 hours before serving (or up to 5 days).

Notes

  • Recipe can be made Keto-friendly by replacing sugar with an equal amount of granulated splenda (may also substitute erythritol following manufacturer's suggested equivalent).

  • To tighten jars "fingertip tight" - place screw band on jar and turn just until you feel resistance, then turn band one-quarter turn more.