Old Fashioned Cushaw Pie (aka Crenshaw Pie)
Patricia @ ButterYum
Move over Pumpkin Pie - make way for Old Fashioned Cushaw (aka Crenshaw) Pie!
Read MoreUse the form on the right to contact us.
You can edit the text in this area, and change where the contact form on the right submits to, by entering edit mode using the modes on the bottom right.
123 Street Avenue, City Town, 99999
(123) 555-6789
email@address.com
You can set your address, phone number, email and site description in the settings tab.
Link to read me page with more information.
Butteryum food blog recipes
Filtering by Category: dessert recipes
Move over Pumpkin Pie - make way for Old Fashioned Cushaw (aka Crenshaw) Pie!
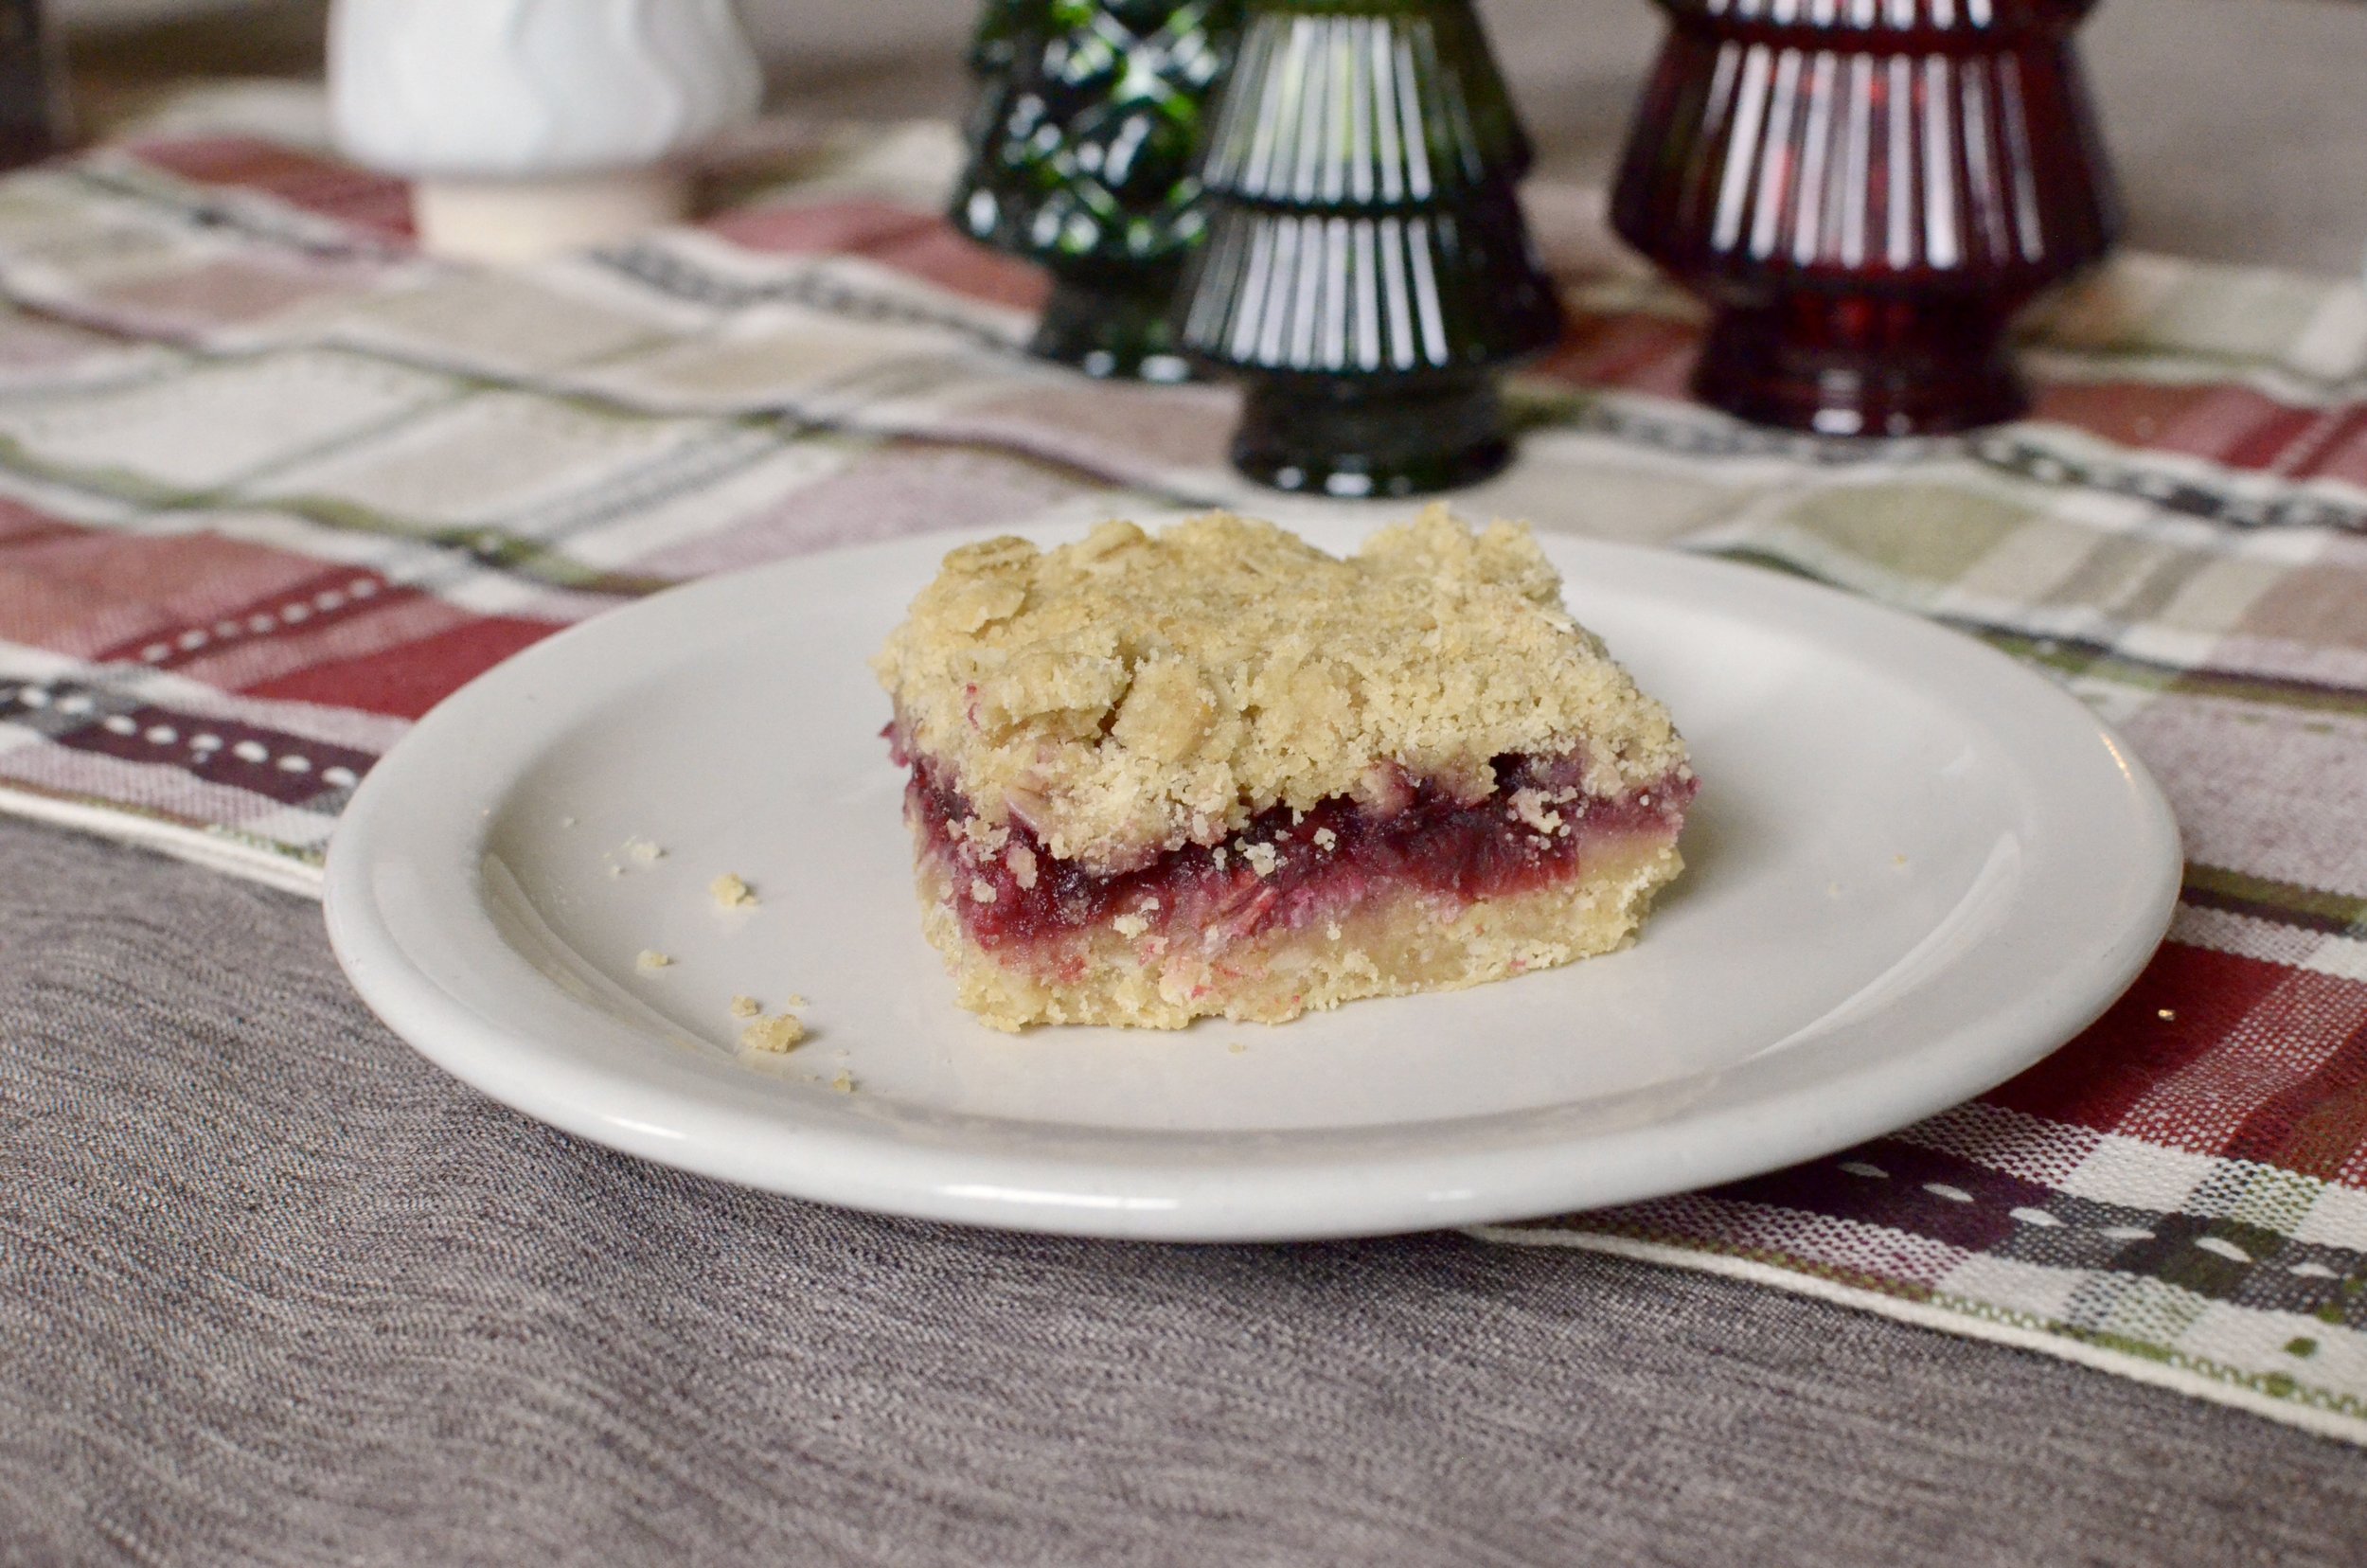
Read MoreDo you have a hard time figuring out what to do with leftover cranberry sauce after the holidays? Cranberry Bars are the answer to your problem! Super simple and super yummy.
(affiliate links)
baking spray https://amzn.to/4gFUk8T
nonstick foil https://amzn.to/42OOApZ
flat parchment https://amzn.to/3ELsaf3
8x8 professional baking pan https://amzn.to/3WX0zOt
makes a 8x8-inch baking pan
Printable Recipe
For the filling:
1 to 1 1/2 cups leftover cranberry sauce (try my delicious recipe here)
For the crumb crust and topping:
1 1/2 cups all purpose flour
1 1/2 cups rolled oats
1 cup light brown sugar
1 teaspoon baking powder
1/2 teaspoon table salt
12 tablespoons (6 ounces) unsalted butter, softened to room temperature
Preheat oven to 350F and place rack in center position.
Prepare a 8x8 baking pan with baking spray or line with non-stick foil, or make a parchment sling (spray any exposed pan edges with baking spray).
In a medium mixing bowl, whisk together flour, oats, brown sugar, baking powder, and salt.
Using your finger tips, incorporate the softened butter into the flour/oat mixture by squeezing and kneading together until no dry ingredients remain.
Press 2/3 of the flour/oat mixture into the bottom of the baking dish, spread the cranberry sauce evenly on top, and sprinkle the remaining flour/oat mixture over the cranberry sauce by dropping 1/4-inch blobs all over.
Gently press the crumb topping down and bake, uncovered, for 30 minutes.
Remove from oven and cool completely before slicing.
If doubling this recipe, use a 9x13 pan.
You may substitute an equal amount of fruit filling or jam for the cranberry sauce.