contact us

Use the form on the right to contact us.

You can edit the text in this area, and change where the contact form on the right submits to, by entering edit mode using the modes on the bottom right.

Form Block
This form needs a storage option. Double-click here to edit this form, and tell us where to save form submissions in the Storage tab. Learn more
         

123 Street Avenue, City Town, 99999

(123) 555-6789

email@address.com


You can set your address, phone number, email and site description in the settings tab.
Link to read me page with more information.

Blog

Butteryum food blog recipes

Filtering by Category: dinner recipes

Sous Vide Filet Mignon

Patricia @ ButterYum
Sous Vide (pronounced SOO-VEED) is a French technique for cooking food under water using one of these circulators, at a very precise temperature, without fear of overcooking, resulting in foods that are cooked perfectly every single time - something which can be very difficult to achieve with traditional cooking methods, especially when cooking expensive steaks like the ones I'll be showing you today.  We're talking the kind of perfection you find at a fancy French restaurant (which happens to be where the sous vide technique was perfected), only way cheaper and you can do it yourself any time you feel like it.  Here's how. 

how to sous vide filet mignon. How to sous vide steak. How to cook filet mignon sous vide. sous vide steak recipe. sous vide beef tenderloin recipe. how to cook a filet mignon at home. restaurant quality steaks at home. how to cook steak like a rest…

Start with 2-inch thick filet mignon steaks, a couple cloves of sliced garlic, and some butter.  

Note:  I purchased a 4-pound whole beef tenderloin at Costco, which was enough to feed my husband and me for 3 meals (plus a little snacking between meals), and it cost less than what we would have spent going out for dinner at a nice steakhouse just once.  And I didn't have to worry about over cooking them at all - I knew they were going to be perfect!  

Back to the steaks, tie them around the equator with kitchen twine to help the super tender meat keep a nice shape.  Be careful when doing this - the meat is so tender that you can actually damage it if you pull the twine too tight.

season filet mignon well with kosher salt and freshly ground black pepper

Sprinkle liberally with kosher salt and freshly cracked black pepper.

how to sous vide filet mignon. How to sous vide steak. How to cook filet mignon sous vide. sous vide steak recipe. sous vide beef tenderloin recipe. how to cook a filet mignon at home. restaurant quality steaks at home. how to cook steak like a rest…

Place the prepared filet mignon steaks in a sealable bag with sliced garlic and a pat of butter (amounts listed in the recipe below).  Seal the bag, removing as much air as possible.

Sous Vide literally translated mean 'under vacuum', and a lot of things cooked via this method are placed in vacuum sealed bags, but the term can be a little misleading because you don't actually have to vacuum seal foods in order to cook sous vide.  Any food-safe bag that can be sealed, and can withstand the desired temperature water you plan to submerge it in, can be used so long as you remove as much air as possible.  Removing the air is important for two reasons.  1) so the bag will stay submerged (air would make it float), and 2) to reduce the oxygen in the bag which prohibits oxidation and the growth of many kinds of bacteria. 

how to sous vide steak

Place the container of choice on a heat-proof surface.  I used a stockpot, but you can use just about any vessel that will tolerate the temperature water you'll be using.  Place the sous vide circulator in a vessel - it should be large enough to hold the circulator and enough water to fully submerge the sealed bag with room for the water to move around.  There's a minimum and maximum level indicator on the side of the circulator so fill the vessel with enough water to fall between those two levels. 

DSC_2246 (3).JPG

Set the cooking time and temperature you choose.  My model is set manually, but you can also get models that can be programmed using an app on your smartphone.

I cooked my filet mignon steaks at 138F (medium-rare) for 2 hours, but I could have held them at that temperature for up to 8 hours without worrying about them overcooking.  That left me with plenty of time to set the table, arrange the flowers, and make the sides.  No stress!

A word of caution - the cooking vessel will be filled with very hot water for an extended period of time so be sure to place it on a heat-proof surface and in a safe location away from pets or children.


Beef Doneness Chart

  • 125-130F (52-55C) = Rare

  • 130-140F (55-60C) = Medium Rare

  • 140-150F (60-65C) = Medium

  • 150-155F (65-69C) = Medium Well


slip sous vide bag to side of vessel

Place the sealed bag in the vessel.

cooking filet mignon steaks sous vide

You may not need to do this, clipping the bag to the side of the cooking vessel will keep the bag from blocking the circulator's water flow.

So what do you do if you need one medium-rare steak and one medium-well steak?  Simple - place each steak in its own sealed bag.  Cook the first steak at the higher temperature for 2 hours, then reprogram the circulator to the lower temp.  When the water reaches the lower temperature, add the 2nd steak.  After 2 hours, remove both steaks at the same time.  The first steak won't be negatively affected by hanging out in the lower temperature water while the second steak was cooking.  Love that!

sous vide steak cooked to perfection and ready to sear

Ok, remove the bag from the hot water when the cooking time is up.  You can see the steaks don't really look like they're ready to eat, but we're going to fix that.

CastIronSkillet.jpg

Heat a skillet until it's screaming hot.  I like to use cast iron for this.  Add a drizzle of oil and a good pat of butter.

sear sous vide steaks in screaming hot skillet

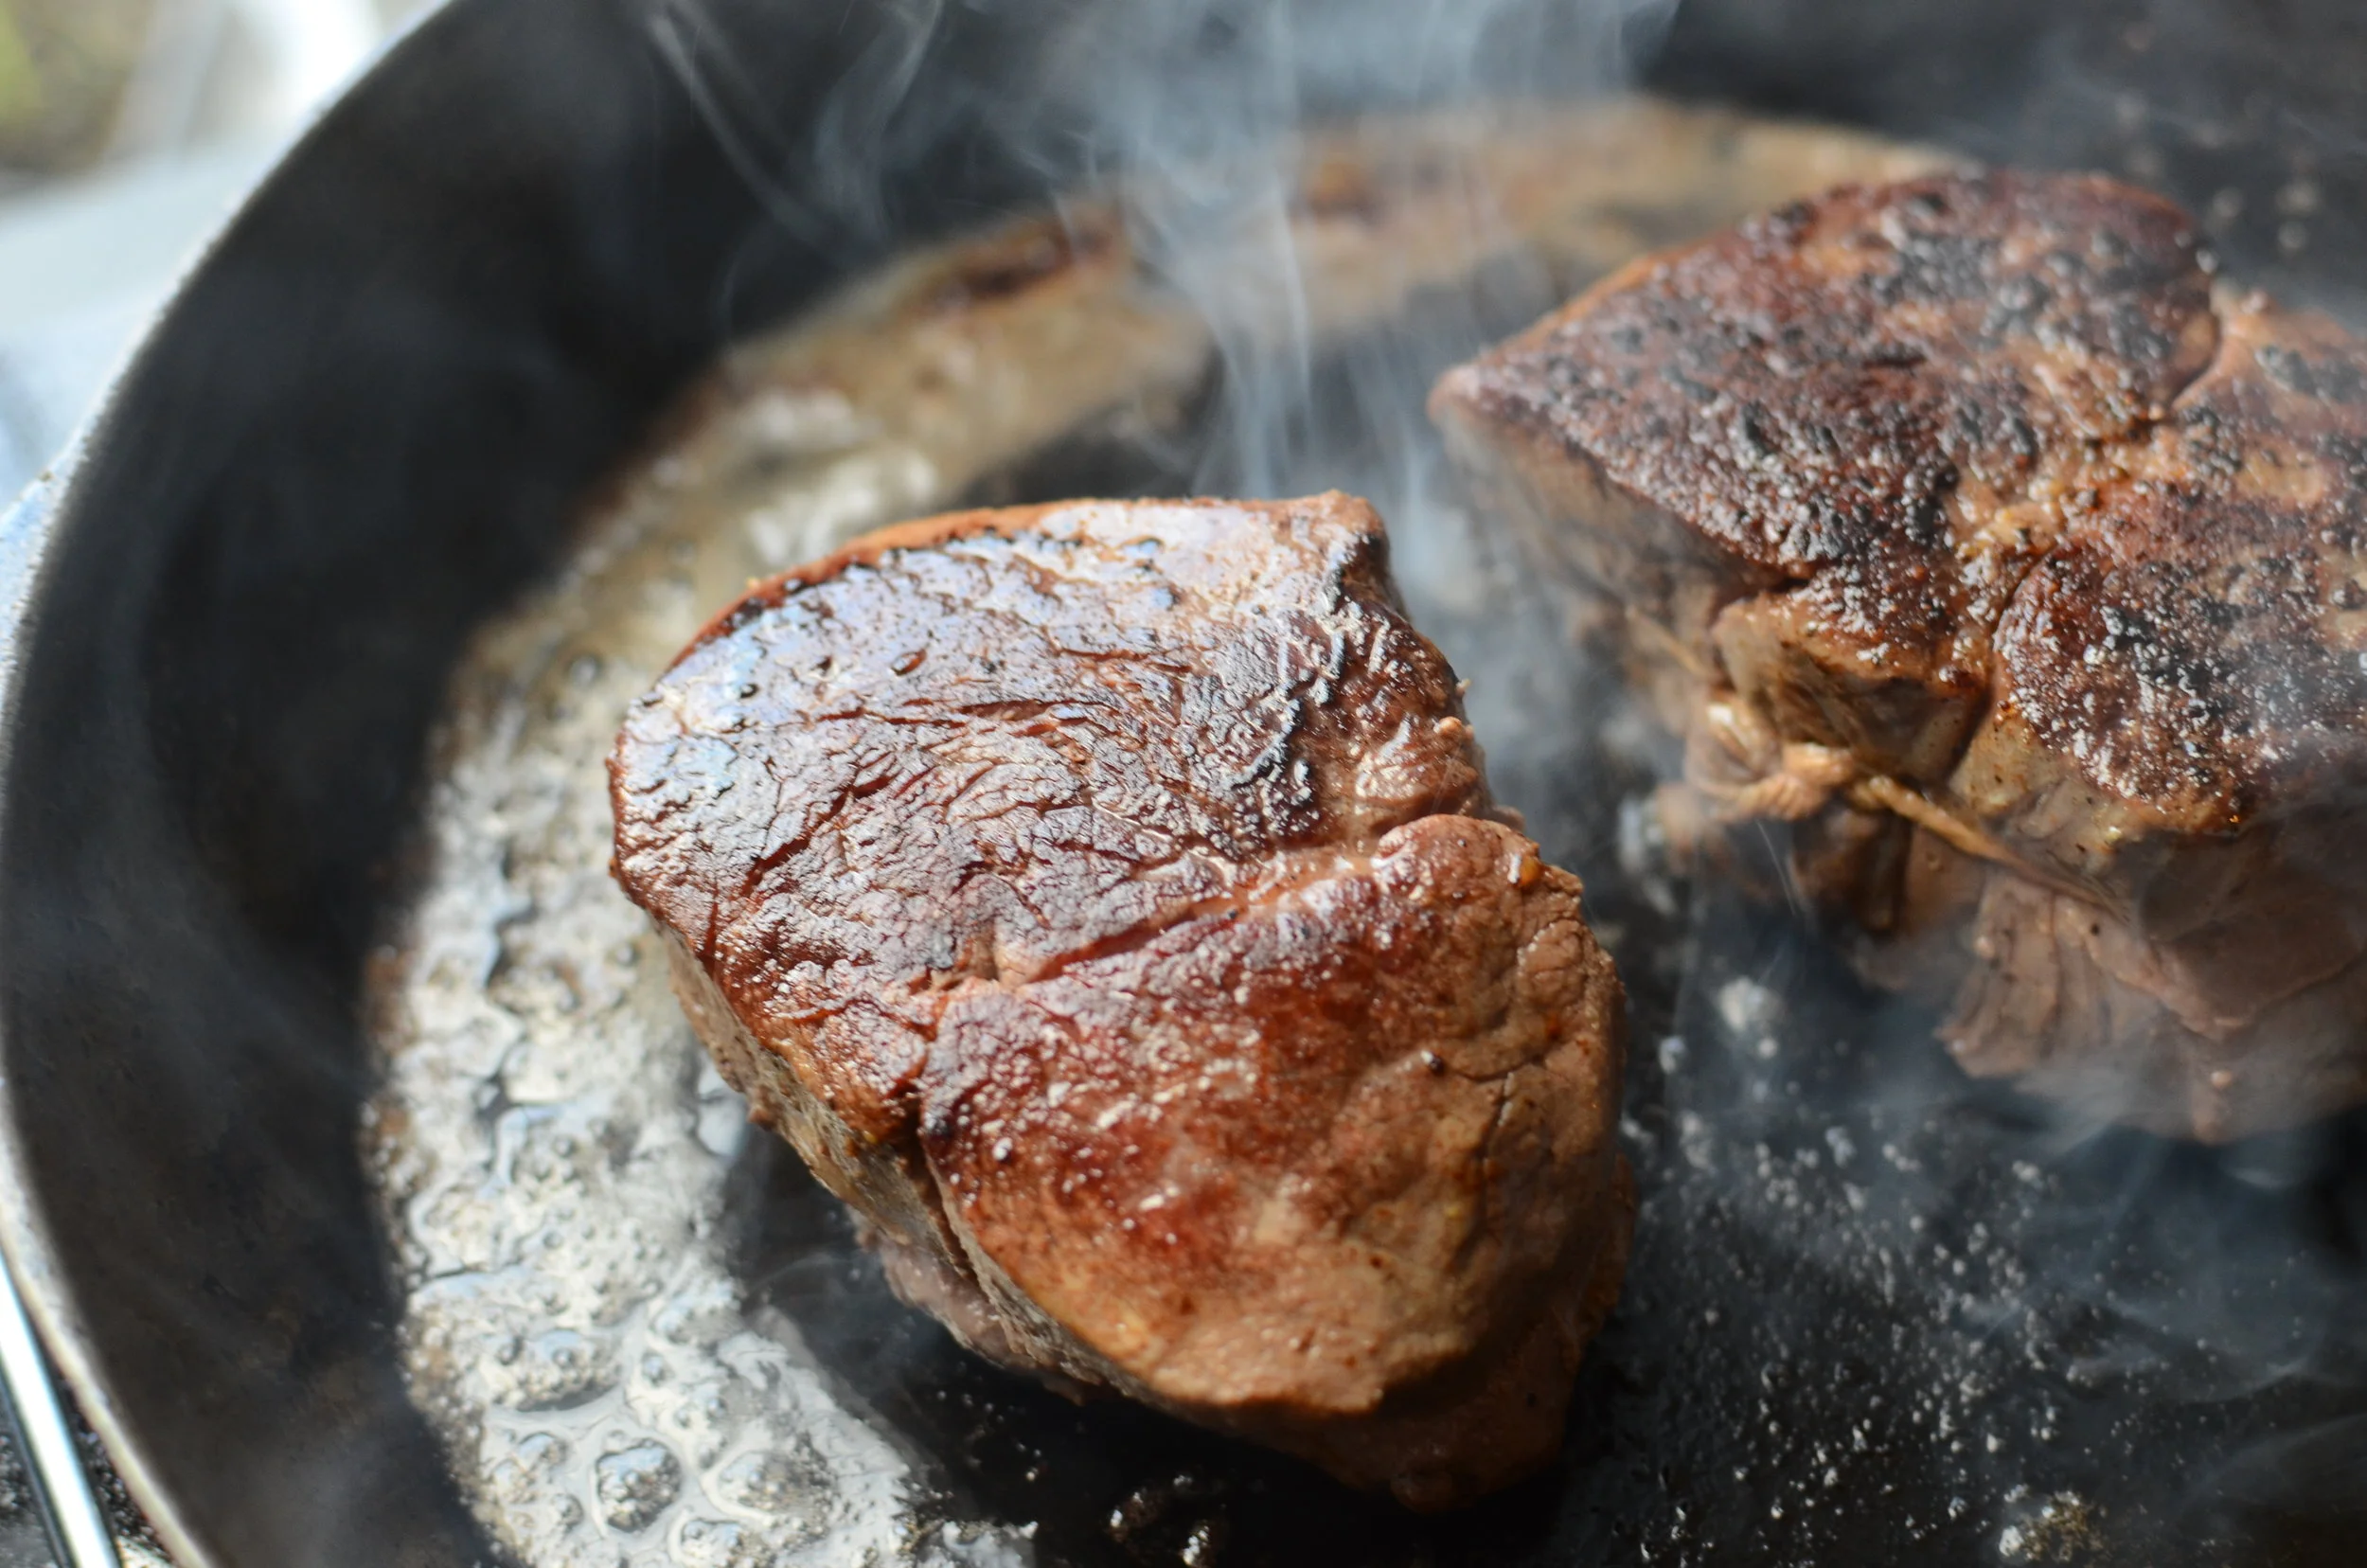
Remove the steaks from the bag.  Pat them dry and remove any bits of garlic.  Reserve the garlic slices and any juices that have collected in the bag.  Add the steaks to the screaming hot skillet and let them sear on each side for 30-60 seconds per side.

how to sous vide filet mignon. How to sous vide steak. How to cook filet mignon sous vide. sous vide steak recipe. sous vide beef tenderloin recipe. how to cook a filet mignon at home. restaurant quality steaks at home. how to cook steak like a rest…

Oh my - I wish you could smell my house right now!

make pan sauce for steaks

Once the steaks have seared, place them on a plate to rest.  You can make a quick pan sauce by adding the reserved garlic and juices from the sous vide bag to the hot skillet.  Stir and scrape up any seared bits from the pan and let the mixture bubble away and reduce for a minute or two, then turn off the heat and swirl in a pat butter.  

how to sous vide filet mignon. How to sous vide steak. How to cook filet mignon sous vide. sous vide steak recipe. sous vide beef tenderloin recipe. how to cook a filet mignon at home. restaurant quality steaks at home. how to cook steak like a rest…

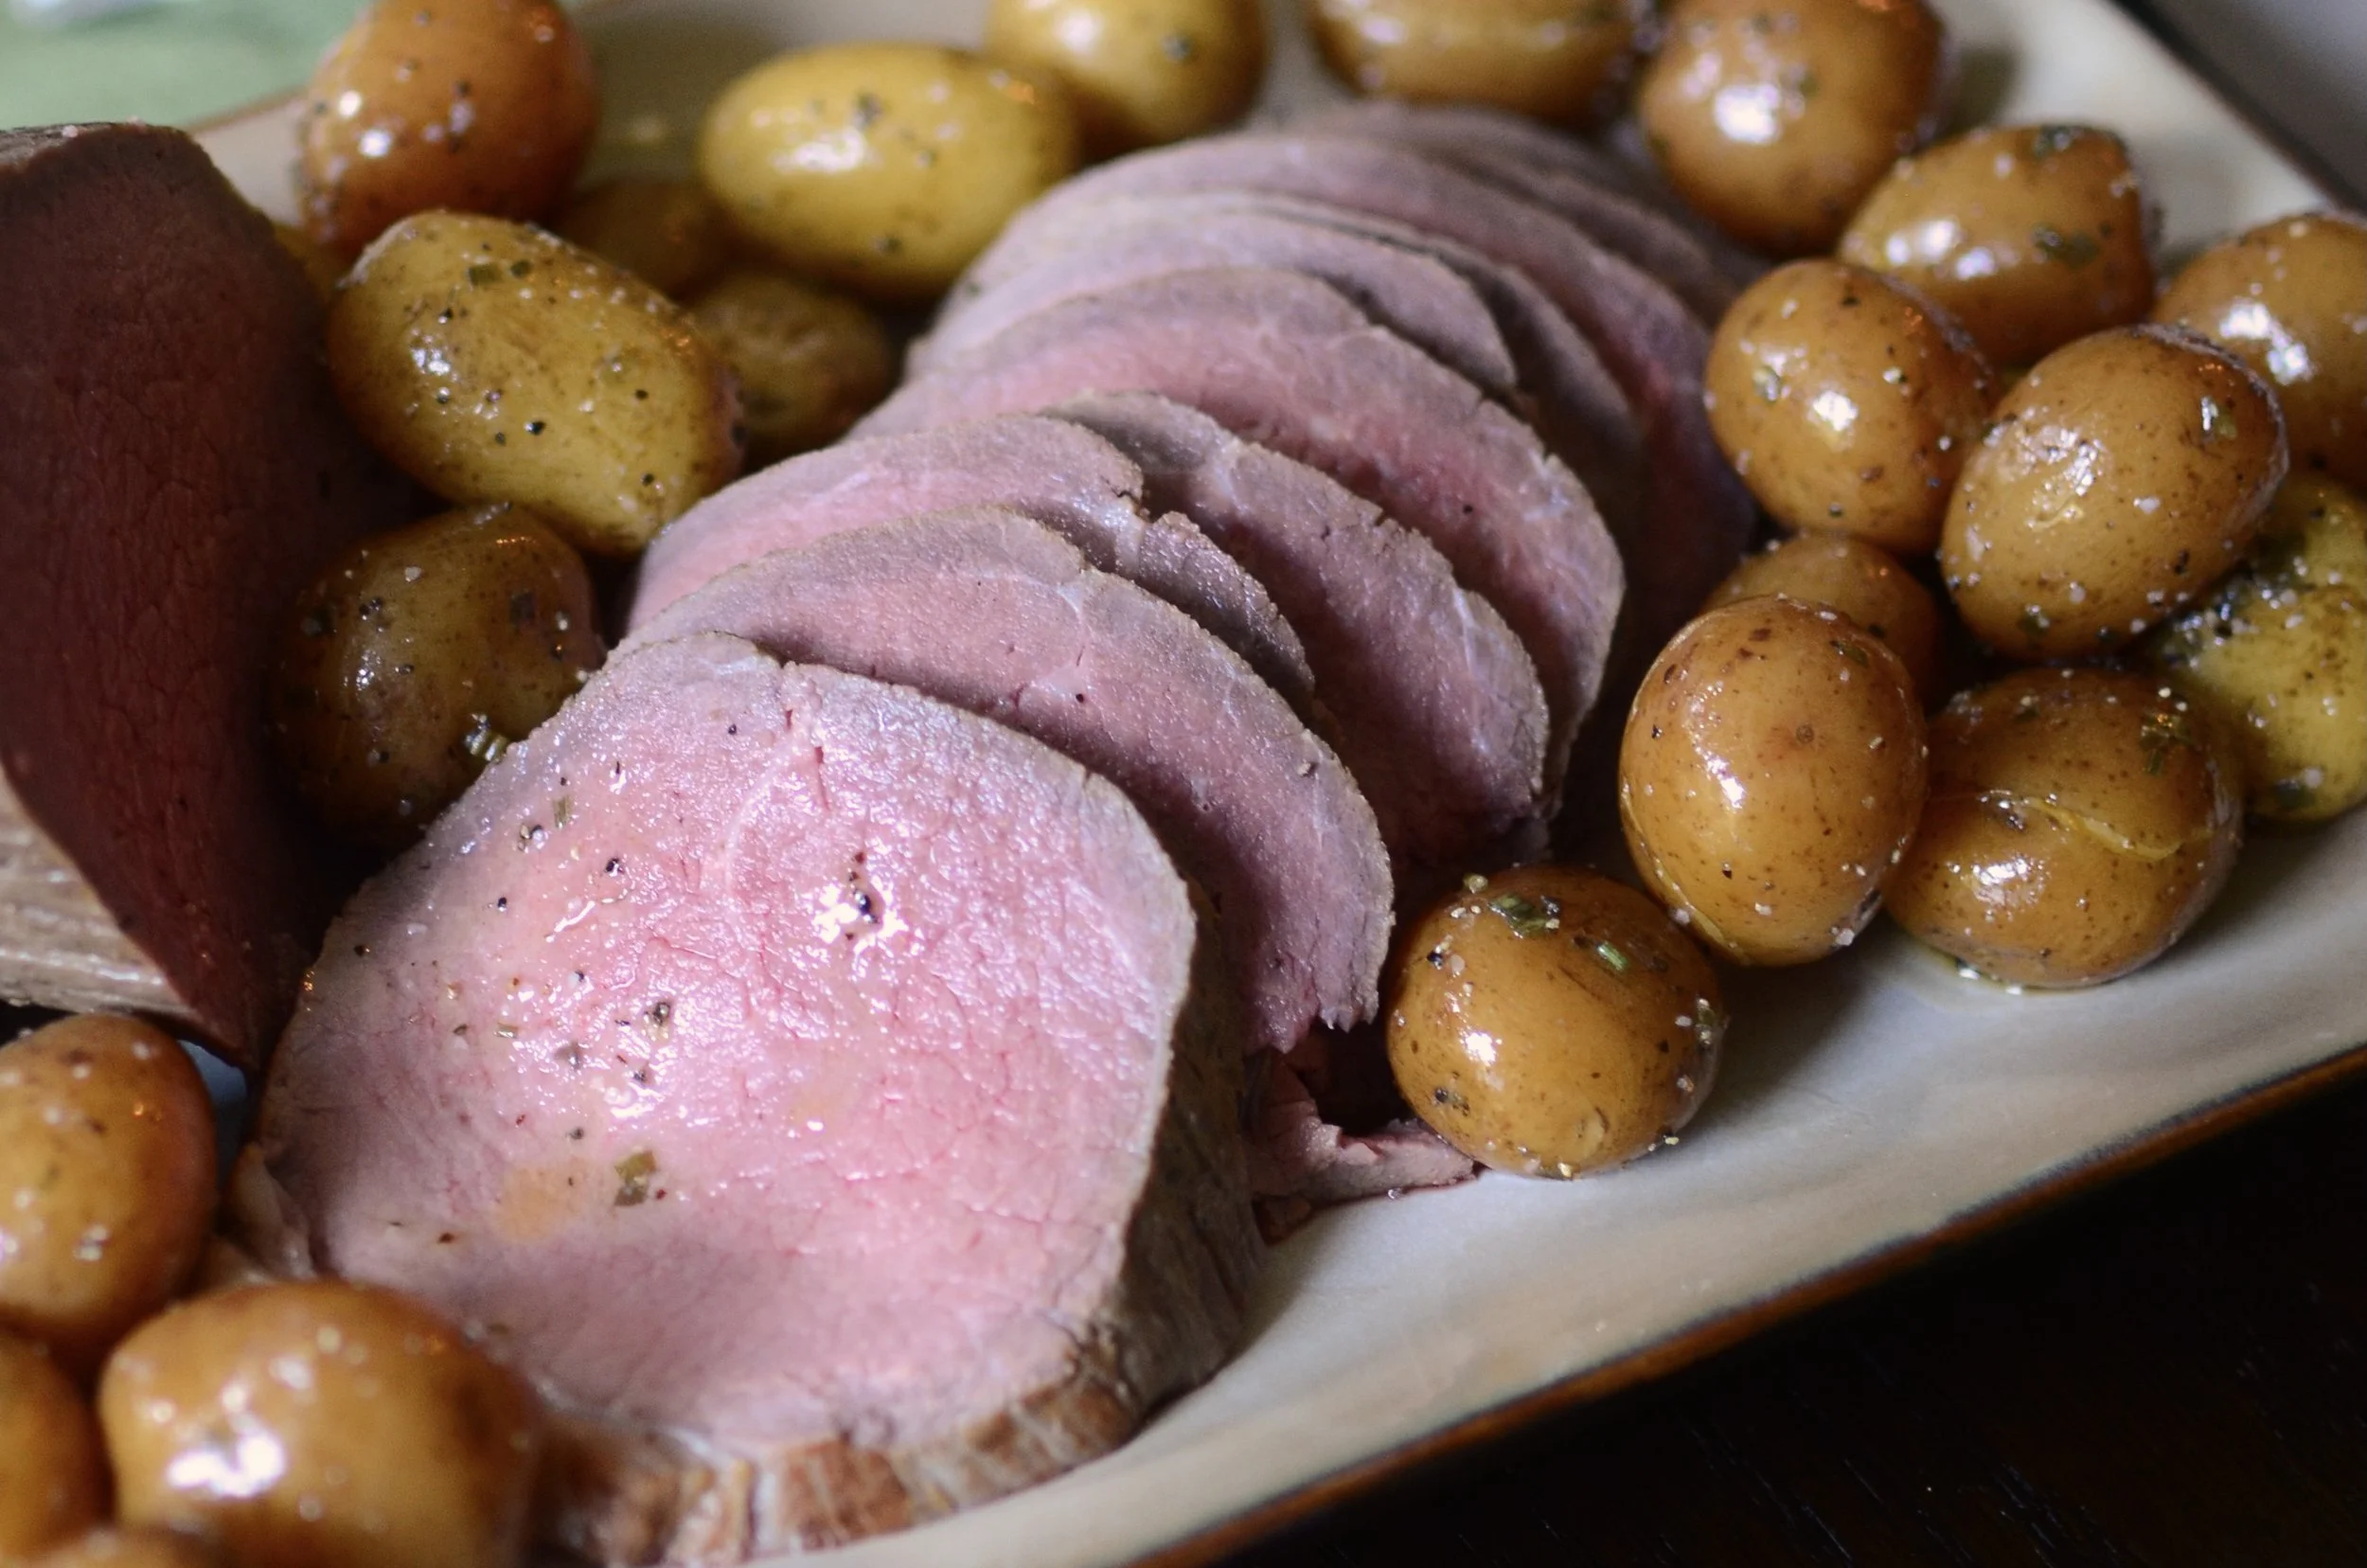
Seriously, just look at that, will you?  It's not gray around the edges and raw in the center.  It's cooked to absolute perfection - the entire thing - from one side to the other - perfect.  You'd never ever be able to achieve that in a skillet or on the grill.  Heck, I've worked with professional chefs who can't cook a steak that well. 

And the flavor?  Forghettaboutit - absolutely perfect in every single way you can imagine.  Super tender, juicy, buttery, garlicky, and absolutely luscious... in a word, phenomenal.  

how to sous vide filet mignon

I kind of wish I could share this with you, but that would mean less for me so let's just say I hope you'll get a sous vide circulator and give it a try.  I promise, you won't be disappointed. 

And be sure to check back because I'll be posting a lot of sous vide recipes in the future -savory and sweet things.  I can't wait!  

Items used to make this recipe:

(affiliate links)


Sous Vide Filet MIgnon

makes 4 filet mignon steaks

Printable Recipe

Ingredients

  • 4 (8-ounce) filet mignon steaks, tied

  • 1 teaspoon kosher salt

  • 1/2 teaspoon freshly cracked black pepper

  • 3 tablespoons unsalted butter, divided

  • 2 cloves garlic, thinly sliced

Directions

  1. Prepare filets by tying each around the equator with kitchen twine, being careful to not wrap it too tightly which could rip through the tender meat.

  2. Evenly sprinkle the kosher salt and freshly cracked black pepper on both sides of the filets.

  3. Place filets, 1 tablespoon of butter, and sliced garlic in a sous vide or heavy duty zipper bag, being sure to remove as much air as possible before sealing.

  4. Place sous vide circulator in a vessel and fill with water according to manufacturer's directions; set temperature and cooking time (I set mine for 138F for 2 hours - use temperature guide decide how you'd like your filets cooked).

  5. Place sealed bag in water, being sure bag is fully submerged and clip bag to side of container to keep it from blocking the circulator pump.

  6. When the sous vide time is done, remove sealed bag from water.

  7. Preheat cast iron skillet over high heat until very hot.

  8. Add remaining 2 tablespoons unsalted butter to the skillet and sear filets for 30-60 seconds on each side; remove to a platter.

  9. Immediately pour the juices from the sous vide bag into the hot skillet and whisk for about 1 minute; add the remaining butter and whisk until melted, then pour over steaks and enjoy!
Keto Pizza Crust (no cauliflower, no yeast)

Patricia @ ButterYum

It seems like just about everyone is reducing their carb intake these days.  It's true, even my husband has been eating low-carb.  It's also true that my husband's favorite food is pizza - which we all know is most definitely not a low-carb food.  That is, until now.

Probably the most popular low-carb pizza crust recipe floating around out there is made with cauliflower that has to be grated, cooked, strained, and squeezed with every ounce of your strength before you can use it. And I bet you didn’t know cauliflower contains a lot of carbs. But the recipe I'm going to share with you today is much easier to make, and it has NO carbs!  Also, it’s a great no-yeast pizza crust even if you’re not counting carbs! Alright, let me show you how to make it.

eggs-and-parmesan-cheese-butteryum

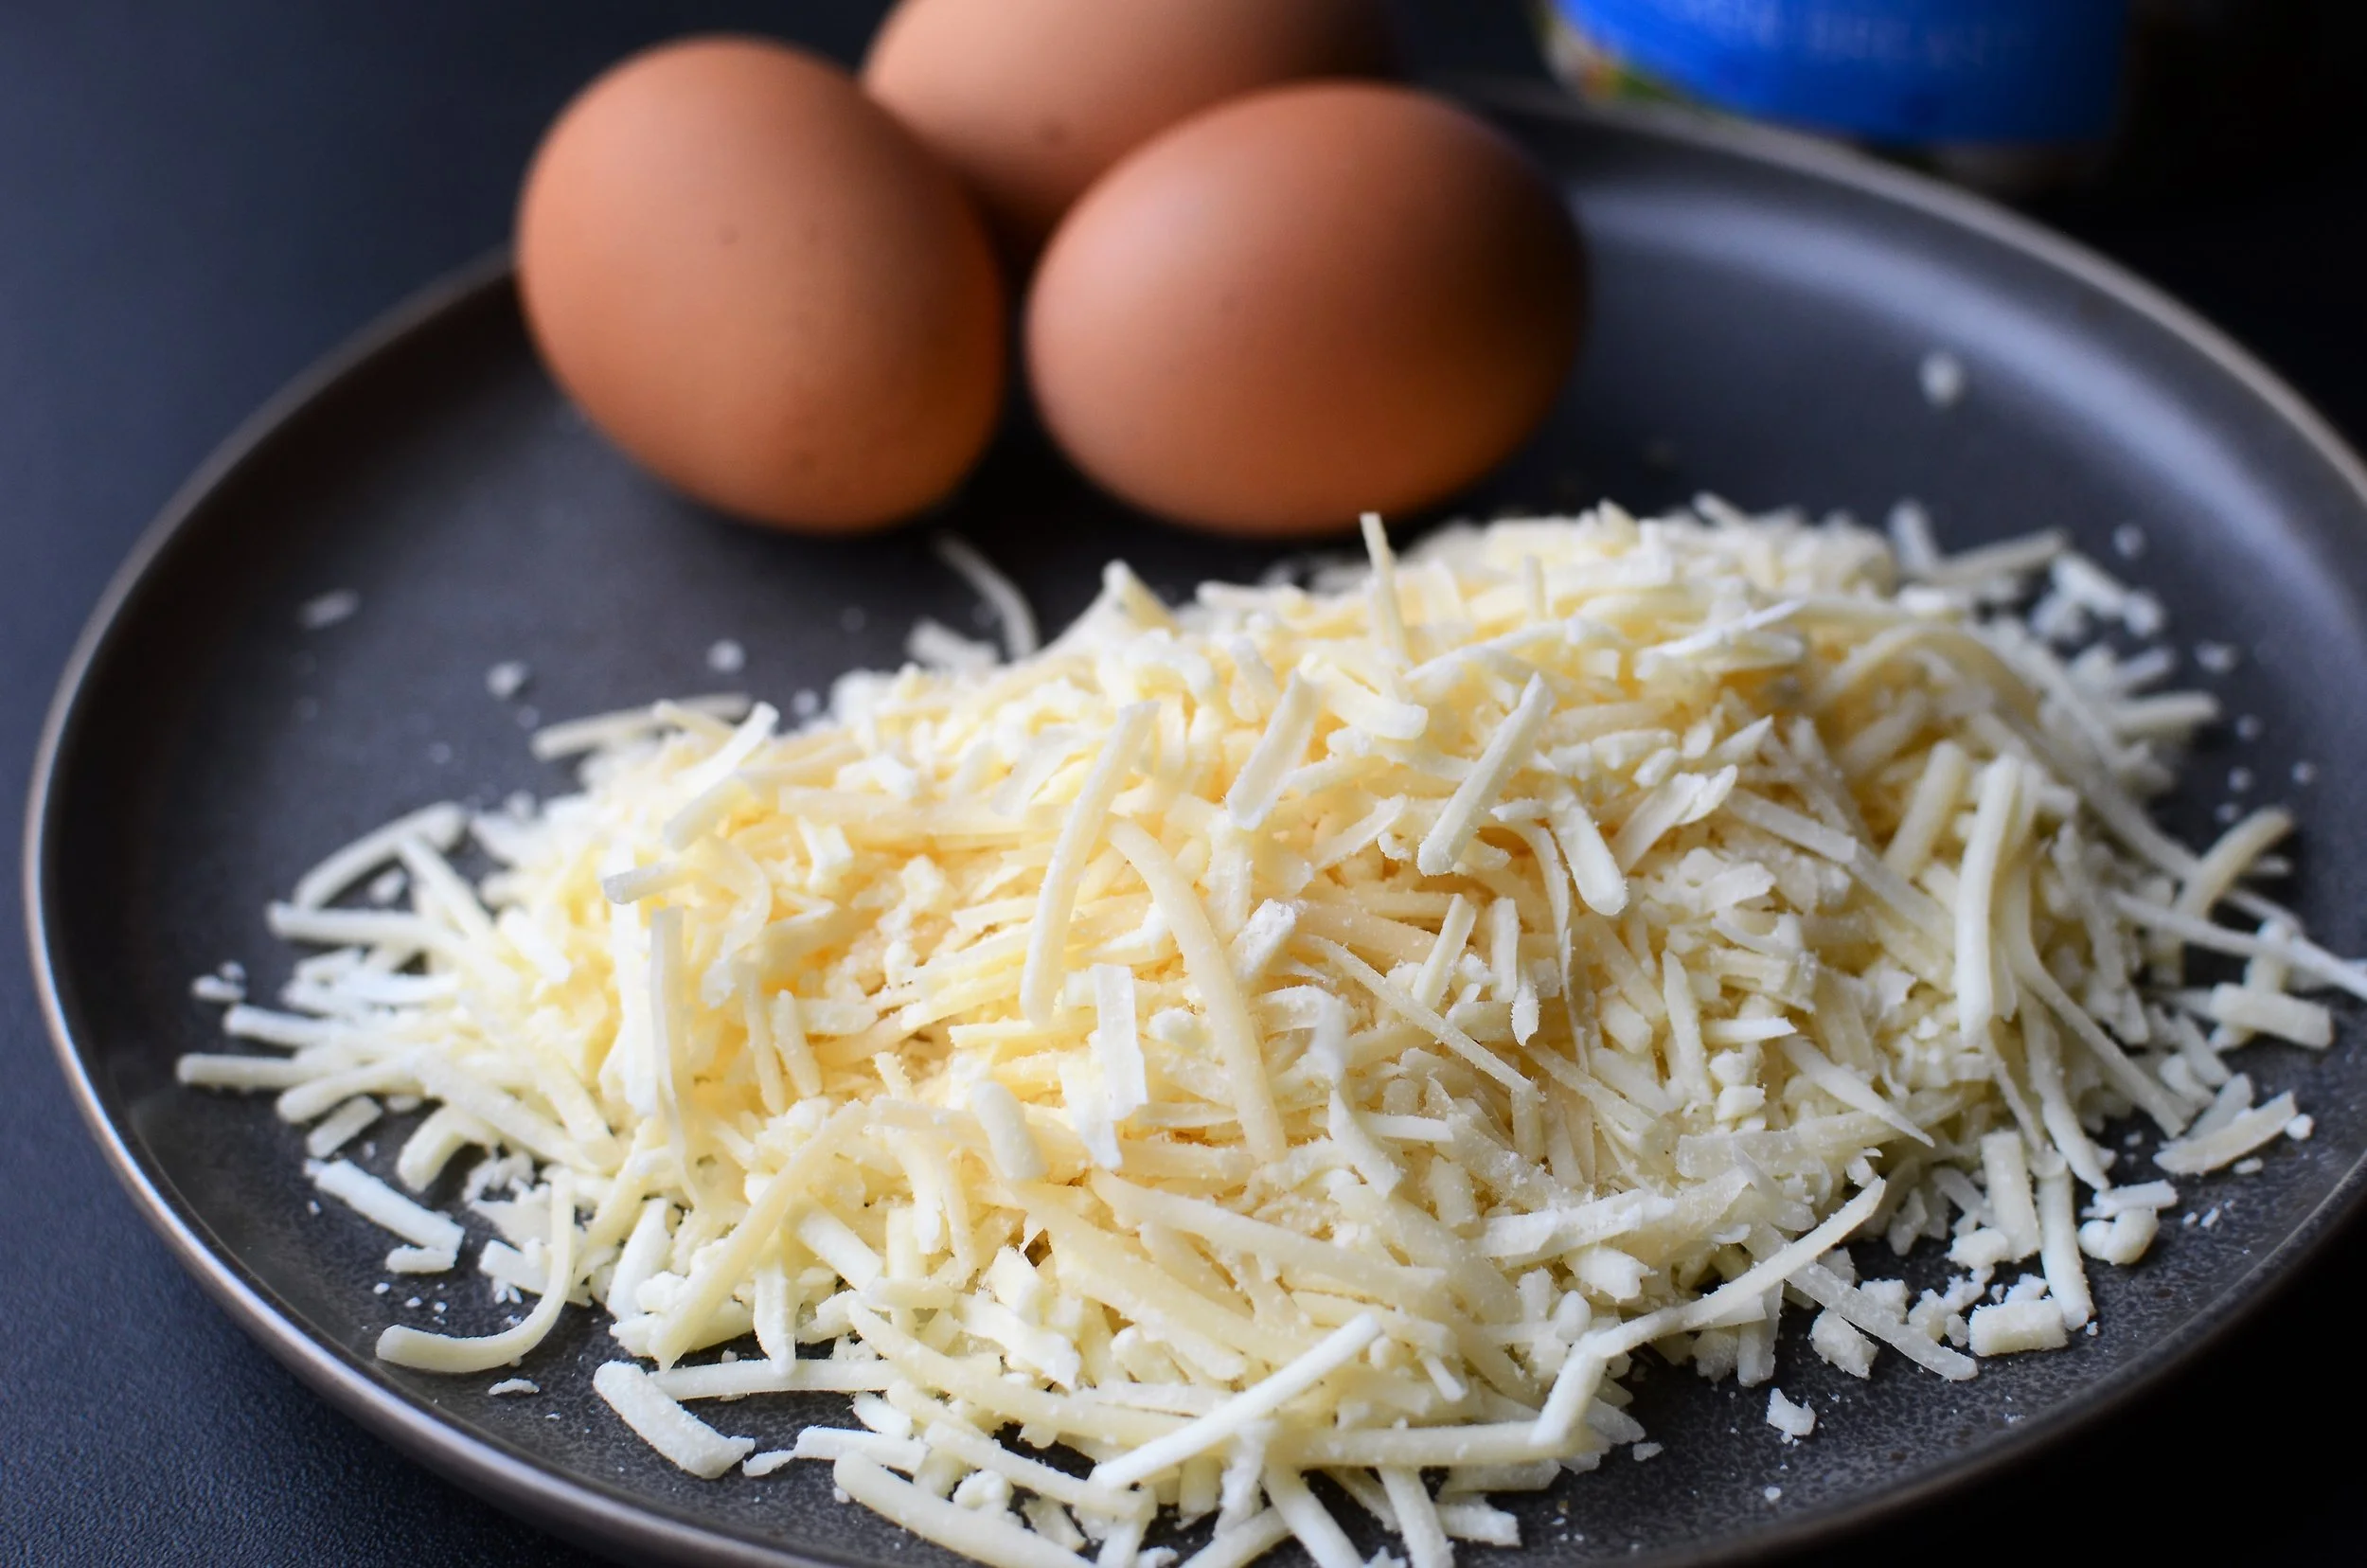
You'll need 3 simple ingredients to make this crust - eggs, grated parmesan or romano cheese, and...

canned-chicken

The magic ingredient.... high quality canned chicken!  

After trying several brands, we decided we like Kirkland Signature from Costco the best.  

draining canned chicken

See how the chunks of chicken are nice and big?  Some lower quality brands of chicken are mushy and pasty - try to avoid mushy and pasty chicken.  Anyway, drain the water from the can.  This nifty tool will keep your hands dry and clean while draining all that juice from the can.  I also love using this safety can opener to eliminate sharp can edges.

Use a spatula to gently press the chicken to remove any last drops of water.  What started out as a 12.5-ounce can of chicken really ends up being about 7.5 ounces of drained chicken.  

drying-canned-chicken-in-oven

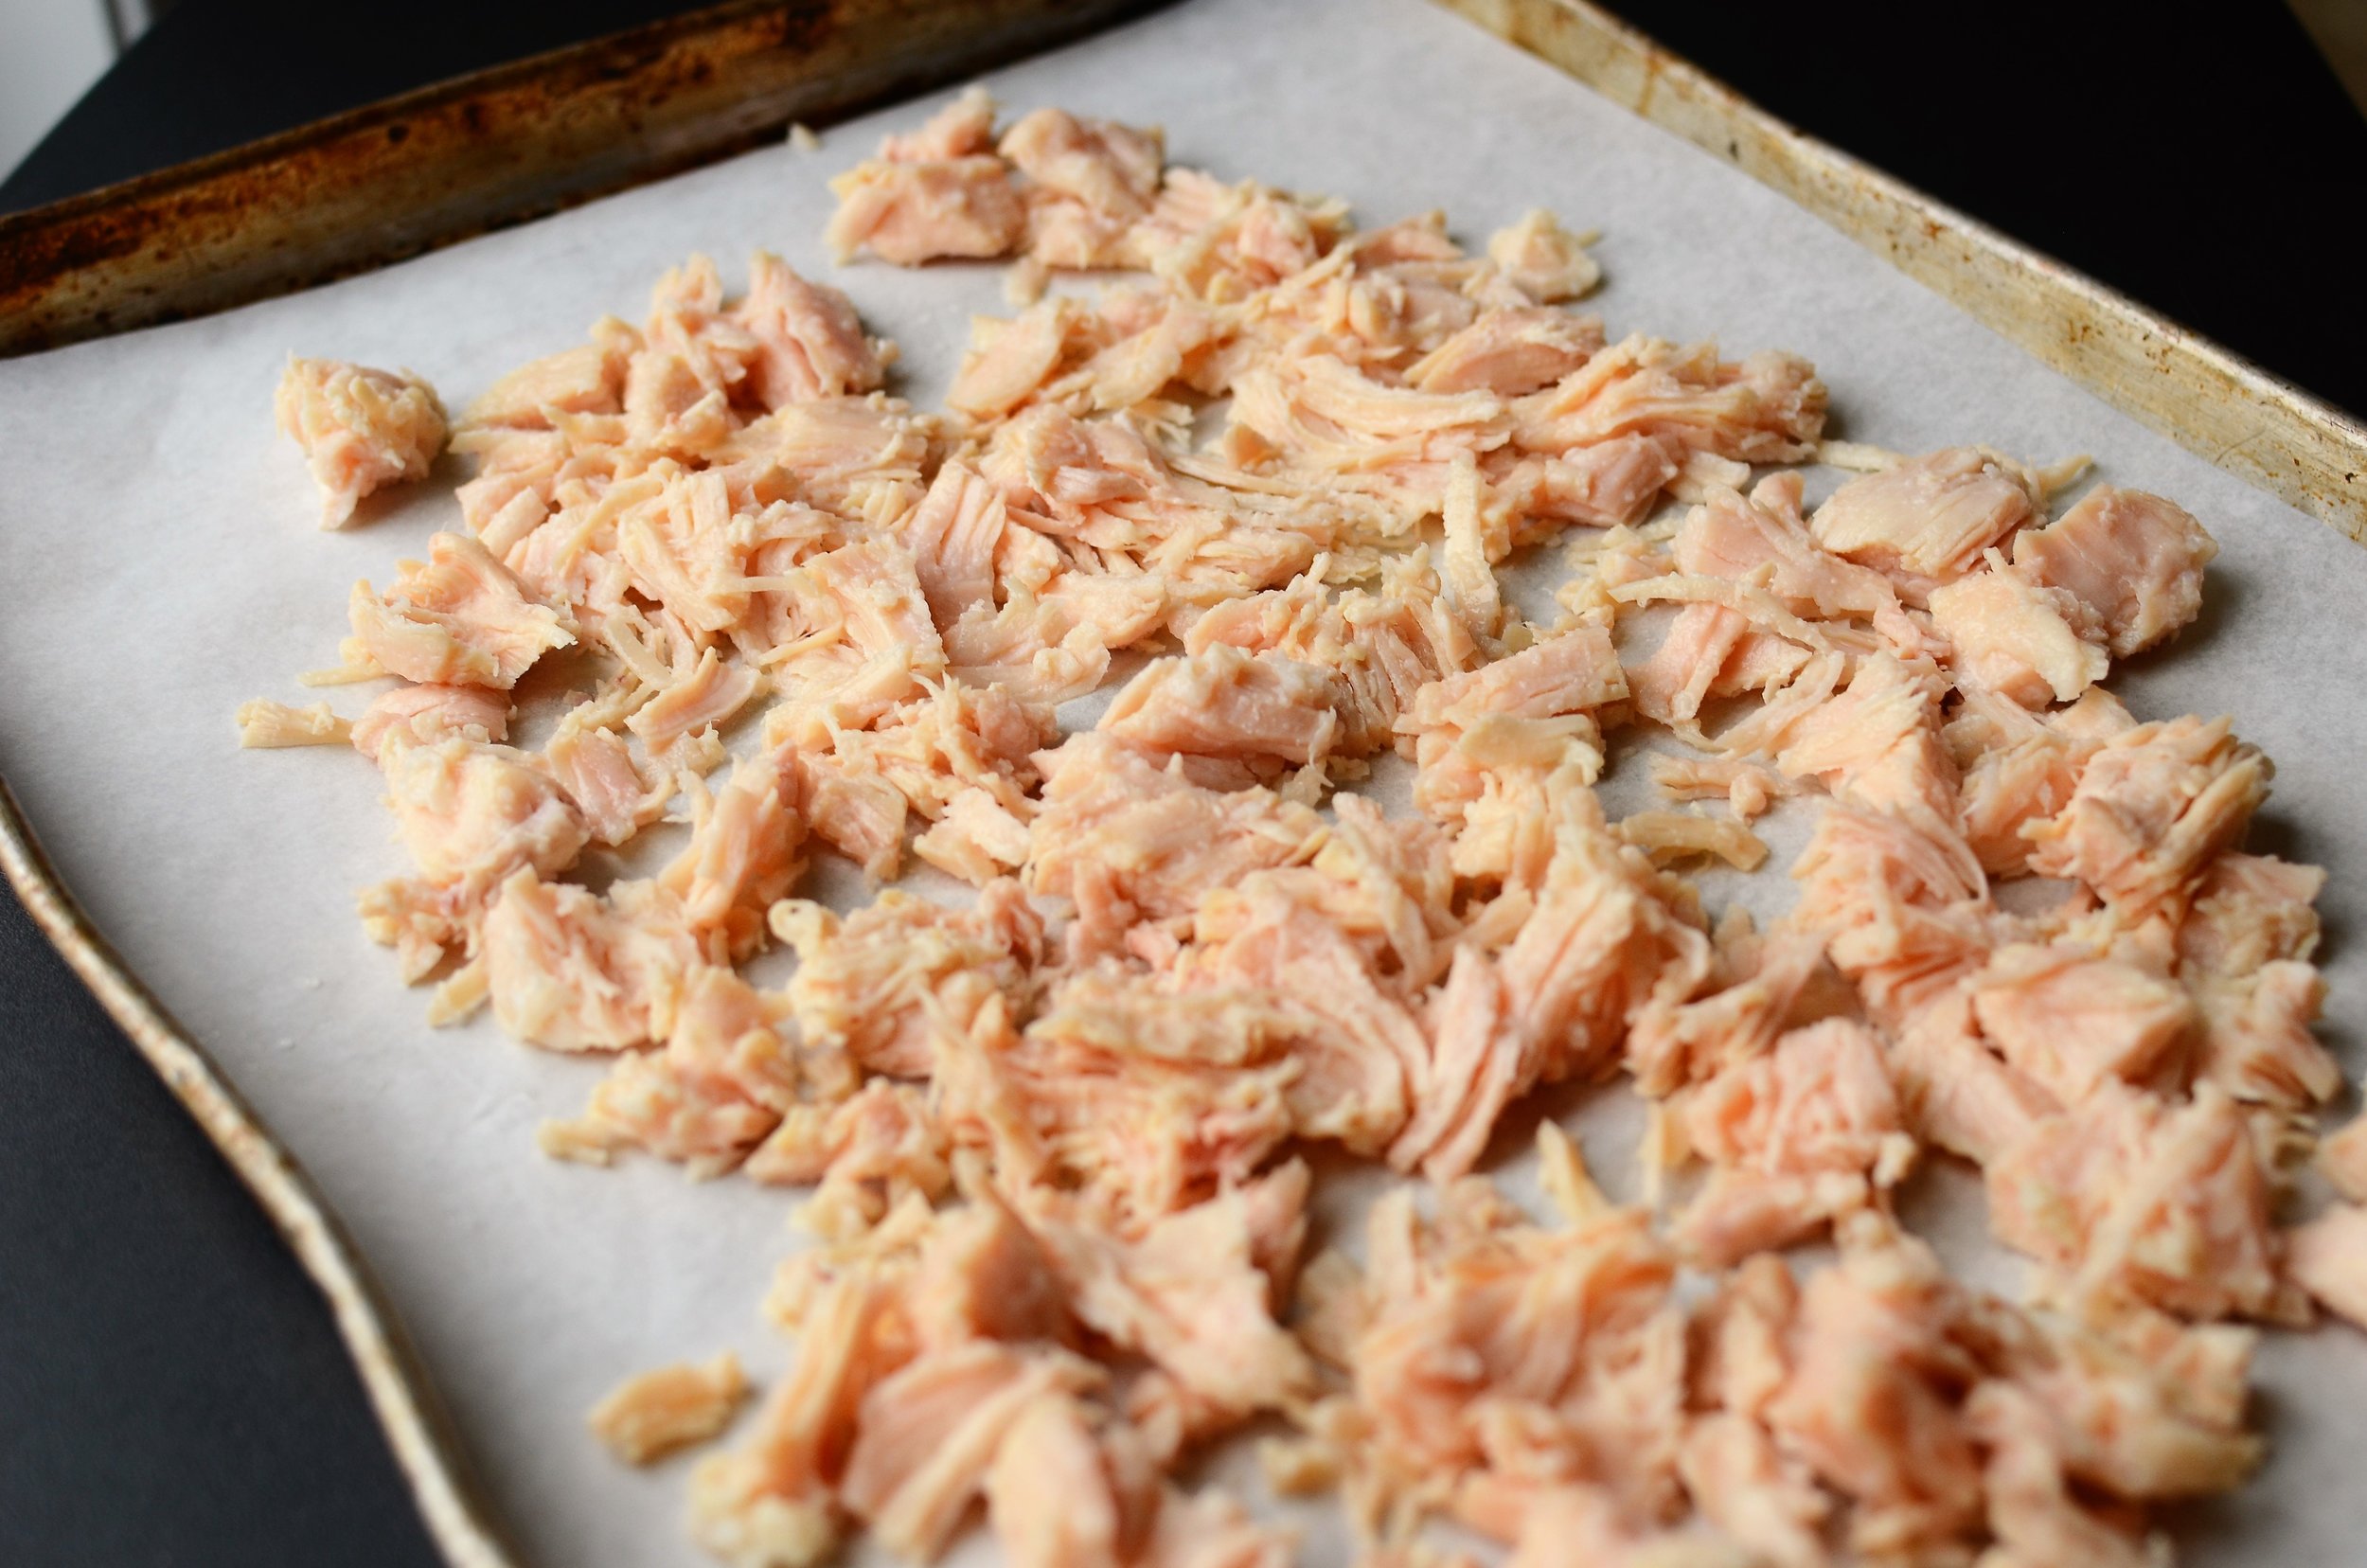
Spread both cans of drained chicken out on a parchment lined sheet pan, breaking up large chunks.  Place in a preheated 350F oven for about 10 minutes to dry the chicken a bit.

canned-chicken-that-has-been-dried-in-oven

After the chicken comes out of the oven raise the temperature to 500F.  Notice how the color of the chicken has deepened.  Allow the chicken to cool for several minutes before proceeding.

make-keto-pizza-crust-with-chicken-cheese-and-egg-butteryum

When the chicken is cool, combine it with the eggs and cheese.  I like to use a stand mixer fitted with a BeaterBlade attachment to do this, but you can mix it by hand.

high-protein-keto-pizza-crust-butteryum

See how nicely the stand mixer and BeaterBlade does the job?

Update: one of my readers suggested processing the mixture in a food processor, which makes it easier to spread. This is now our preferred method.

keto-chicken-crust-for-pizza-butteryum

Divide the chicken mixture in half and use your fingers to press it into two 6x9-inch rectangles right on the same parchment lined sheet pan (below).

Update: We now spread each portion on its own half sheet pan so we can press it out as large (and thin) as possible. Bake each crust individually.

no carb (no cauliflower) pizza crust recipe with photos. chicken and cheese pizza crust recipe with photos. no carb, high protein pizza crust recipe with photos. how to make a no carb pizza crust without cauliflower - recipe and photos. The best car…

When the oven temperature reaches 500F, prebake the crusts for 10 minutes.

how to make the best carb-free pizza crust that doesn't contain cauliflower - recipe and photos

Remove the crust from the oven and add the usual toppings.  Tomato sauce....

PS - here's a link to my San Marzano Tomato Sauce. If time is an issue, here’s a link to my Busy Weeknight Marinara.

make-low-carb-pizza-with-no-cauliflower-crust-butteryum

Mozzarella cheese...

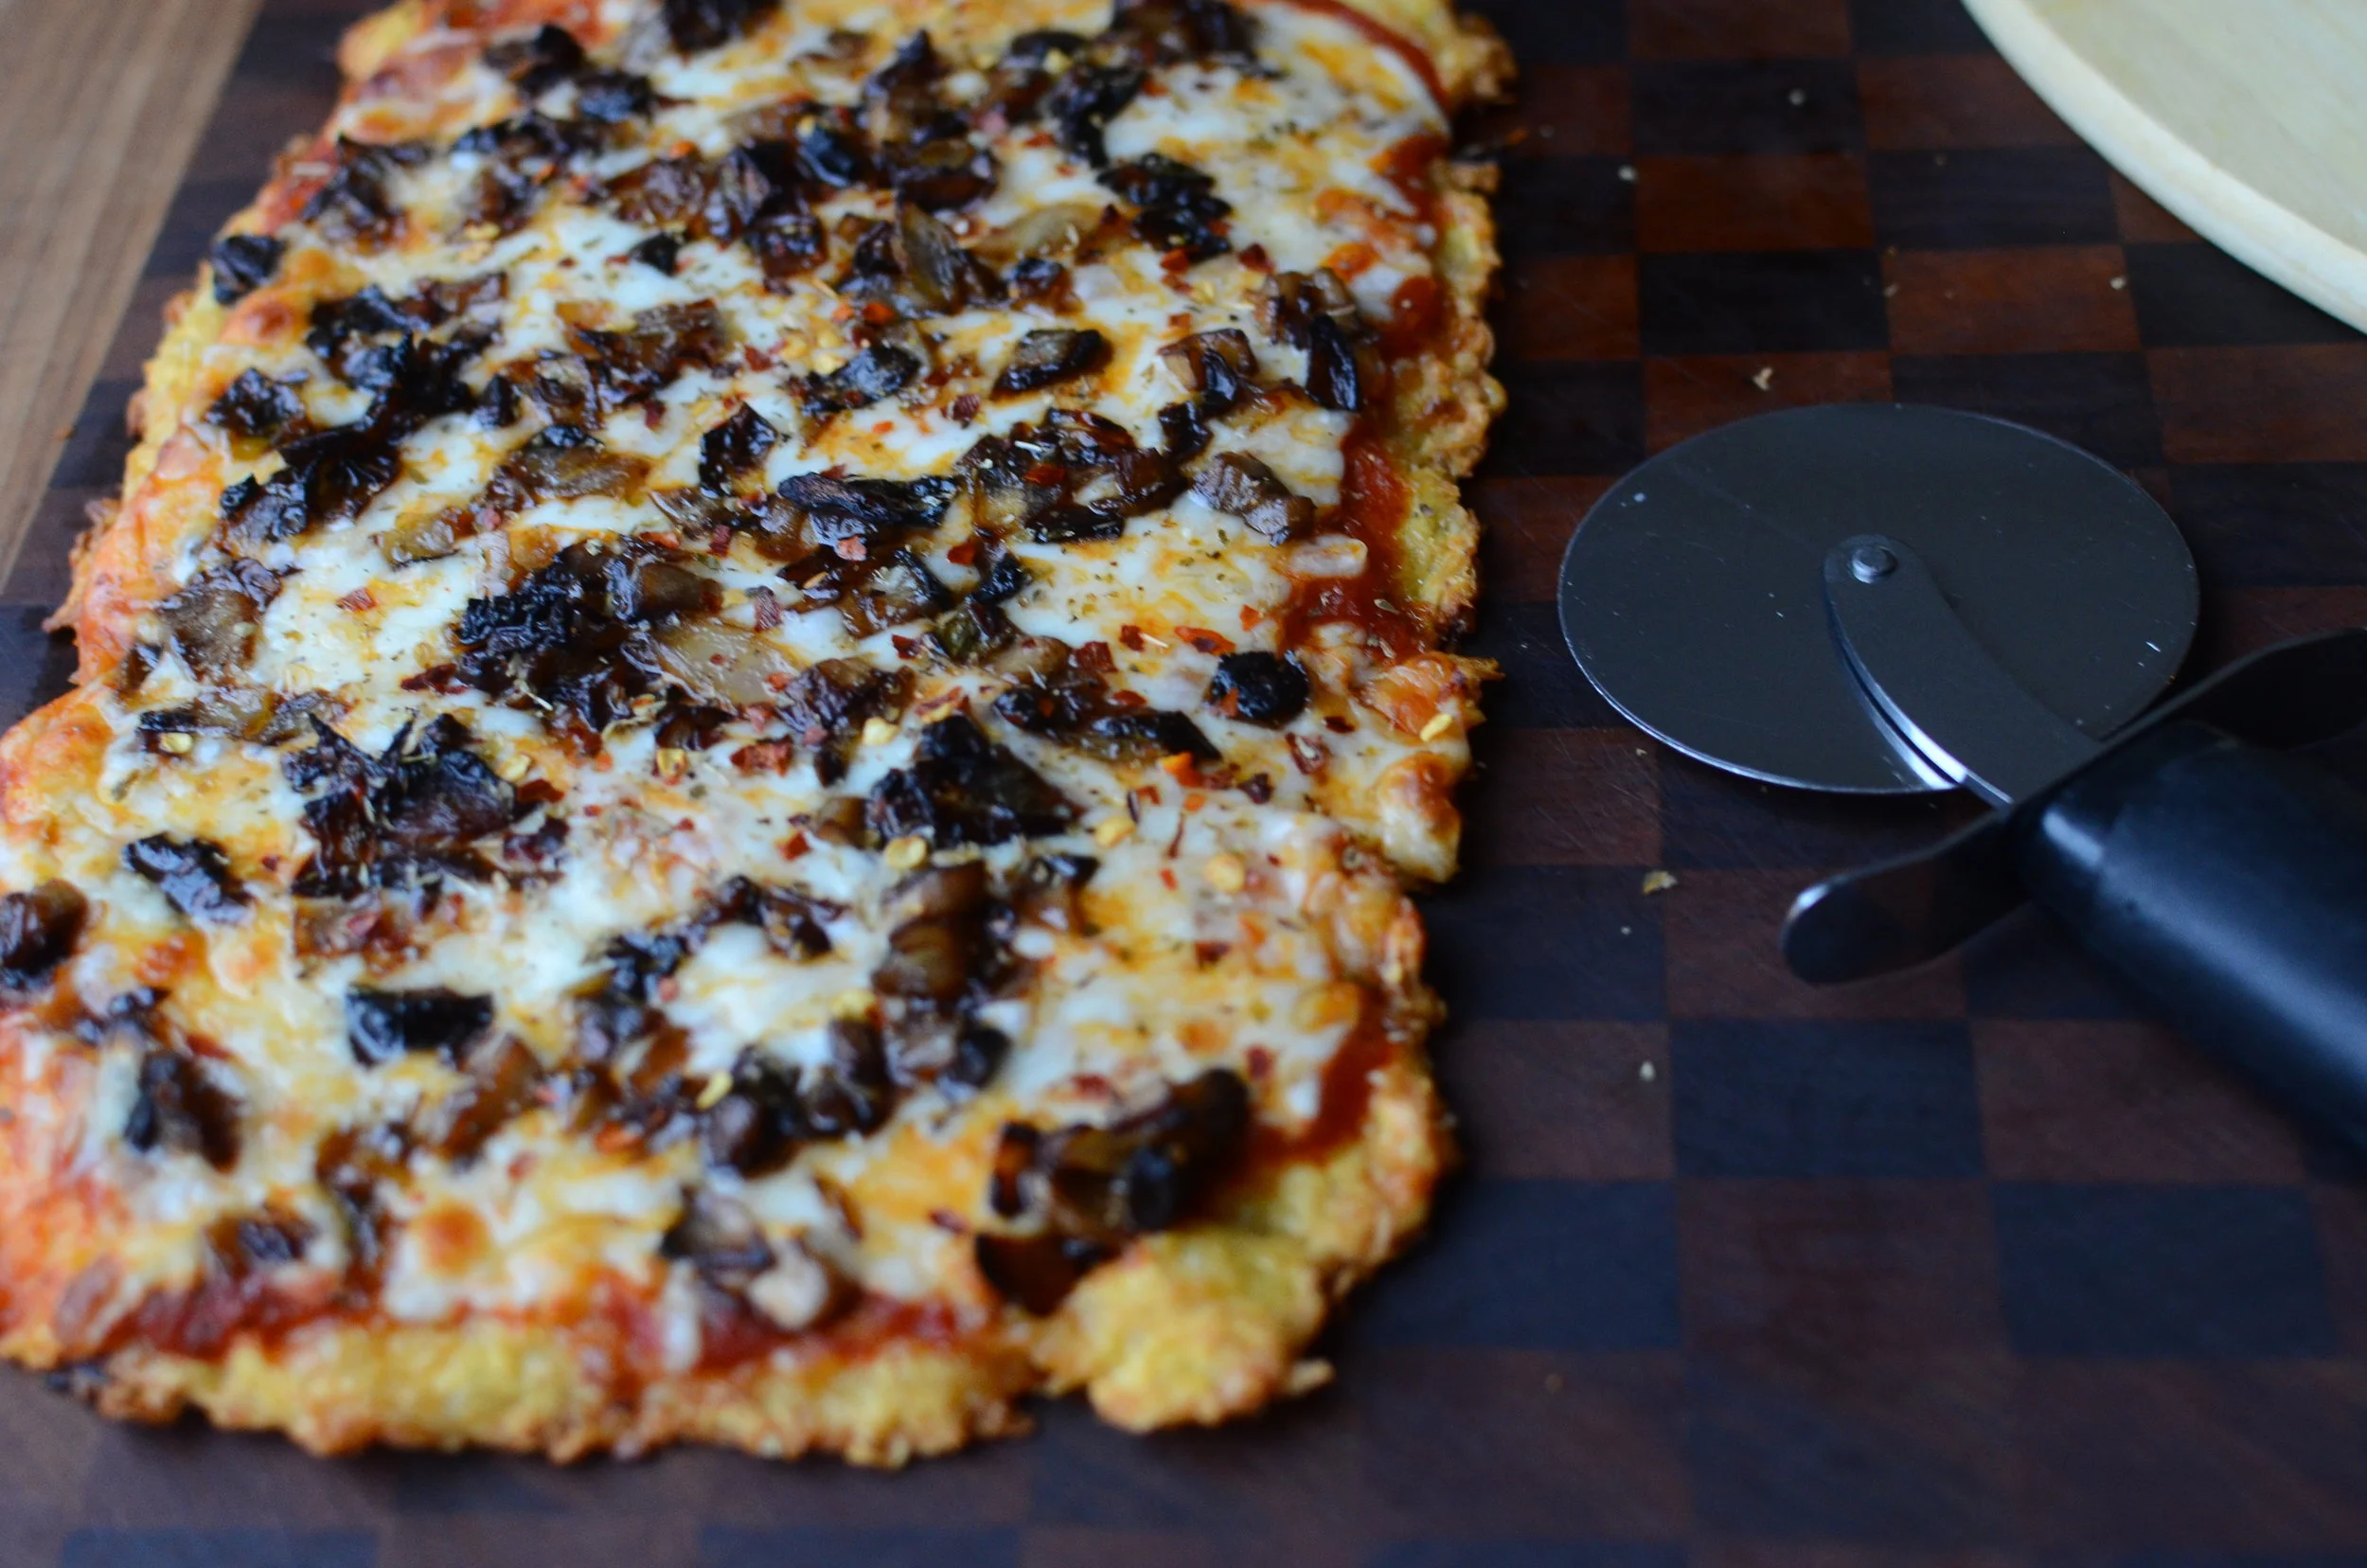
keto-pizza-recipe-no-cauliflower-crust-butteryum

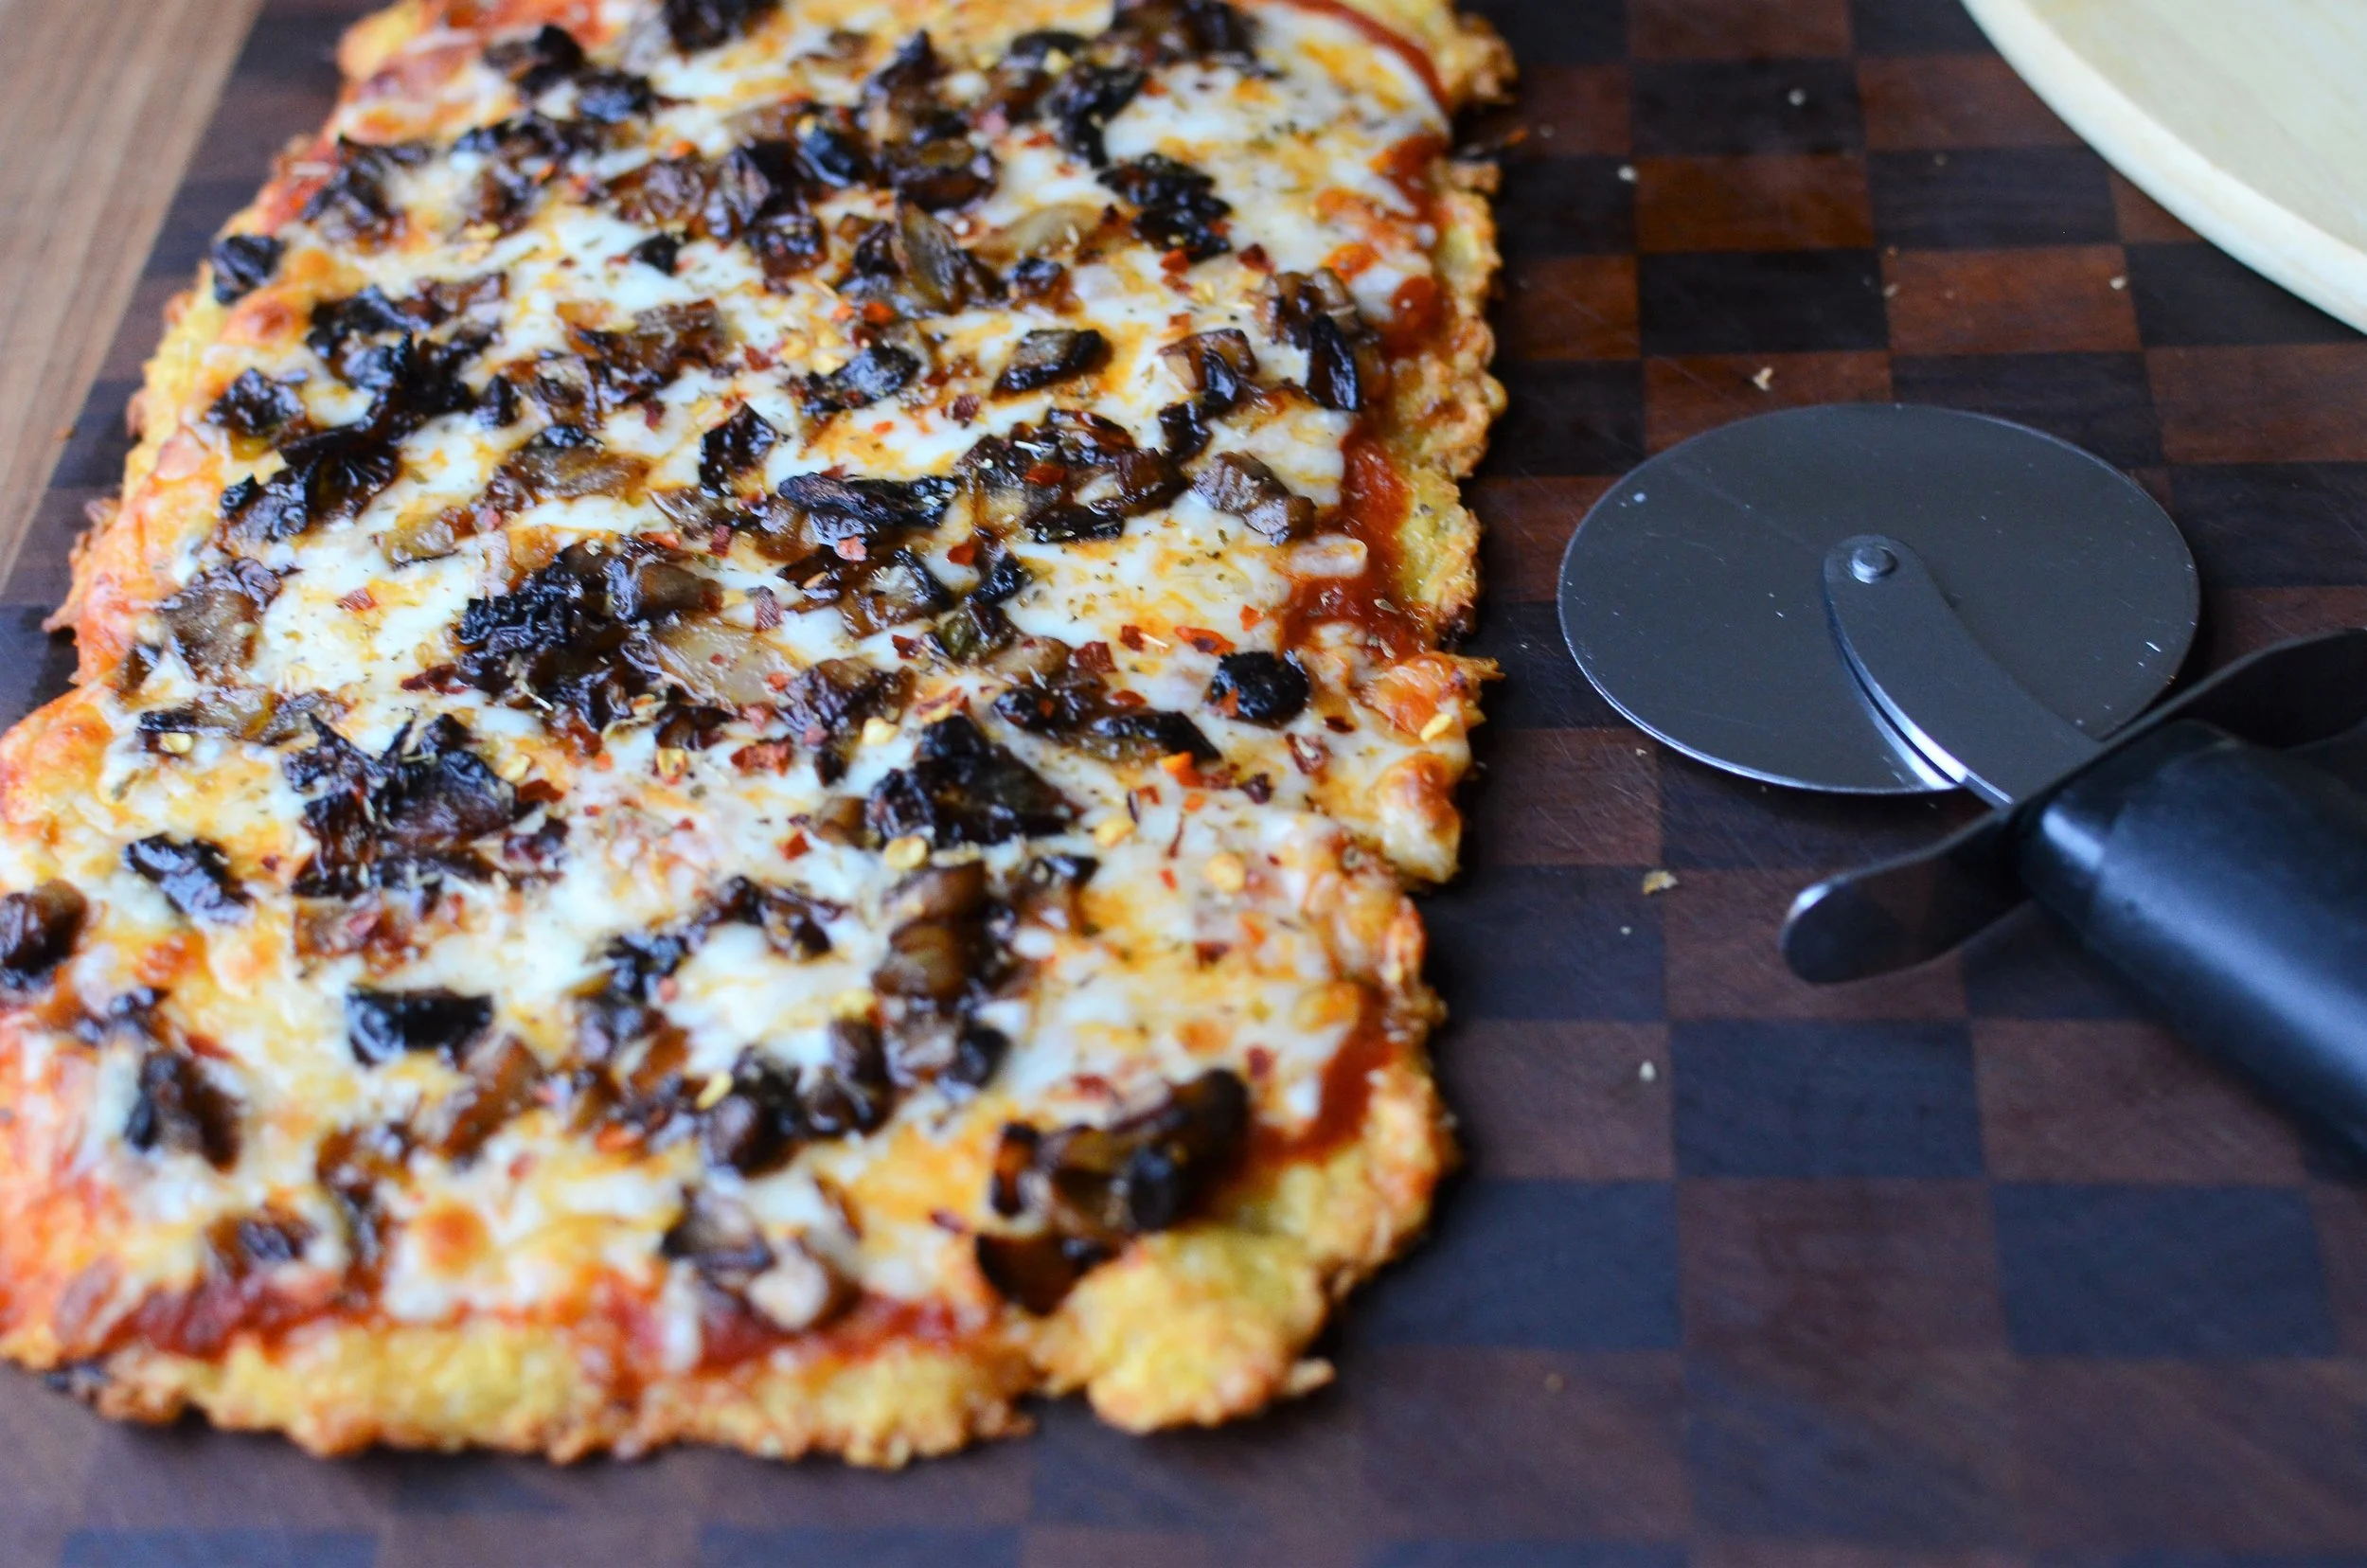
And for this particular pizza, I added some sauteed onions and mushrooms.  Sometimes I like sausage crumbles and green peppers. My husband especially likes pepperoni on his. Add whatever pizza toppings you like!

how to make a no carb pizza crust. how to make a low carb pizza crust. how to make atkins pizza crust. how to make keto pizza crust. how to make ketogenic diet pizza crust. how to make keto friendly pizza. how to make atkins friendly pizza. how to m…

Return the pizza to the oven for 5-10 minutes until the mozzarella cheese is bubbly and brown.  

chicken-and-cheese-crust-pizza-butteryum

Cool for 5 minutes before cutting with a pizza wheel. 

keto-cheese-and-chicken-crust-pizza-butteryum

I know you're wondering about the bottom crust so here's a quick shot - not bad, eh? 

Like traditional pizza crust, this recipe is crisp around the edges, chewy in the center, and it gets firmer as it cools.  It truly is the very best non-traditional pizza crust we’ve tried. We really love it and I hope you will too.

Items used to make this recipe:

(affiliate links)


Low-Carb Keto Pizza Crust

makes 8 servings

Printable Recipe

Ingredients

  • 25 ounces canned premium chicken in water, drained

  • 3 large eggs

  • 3 ounces grated parmesan or romano cheese

Directions

  1. Preheat oven to 350F, line a half sheet pan with parchment, and place oven rack in upper third position.

  2. Drain canned chicken and spread out on parchment paper, breaking up large clumps.

  3. Bake chicken for 10 minutes, then remove from oven to cool for several minutes.

  4. Increase oven temperature to 500F (see note below).

  5. Combine precooked chicken, eggs, and cheese well (do this in a stand mixer, or even better, use a food processor).

  6. Divide chicken mixture in half and press each out into a large rectangle on two parchment-lined half sheet pans; bake for 10 minutes.

To make pizza: top crusts with tomato sauce, mozzarella cheese, and your favorite pizza toppings (meats should be precooked).  Bake in 500F oven for 5-10 minutes or until cheese is melted. 

Note

  • Cook’s Illustrated has spoken with parchment paper manufacturers and they report it is safe to use parchment above the suggested temperature range (even as high as 500F) for up to 30 minutes. The paper will not release toxic chemicals or catch on fire, but it will turn very dark brown and become quite brittle

adapted from ketoconnect.com