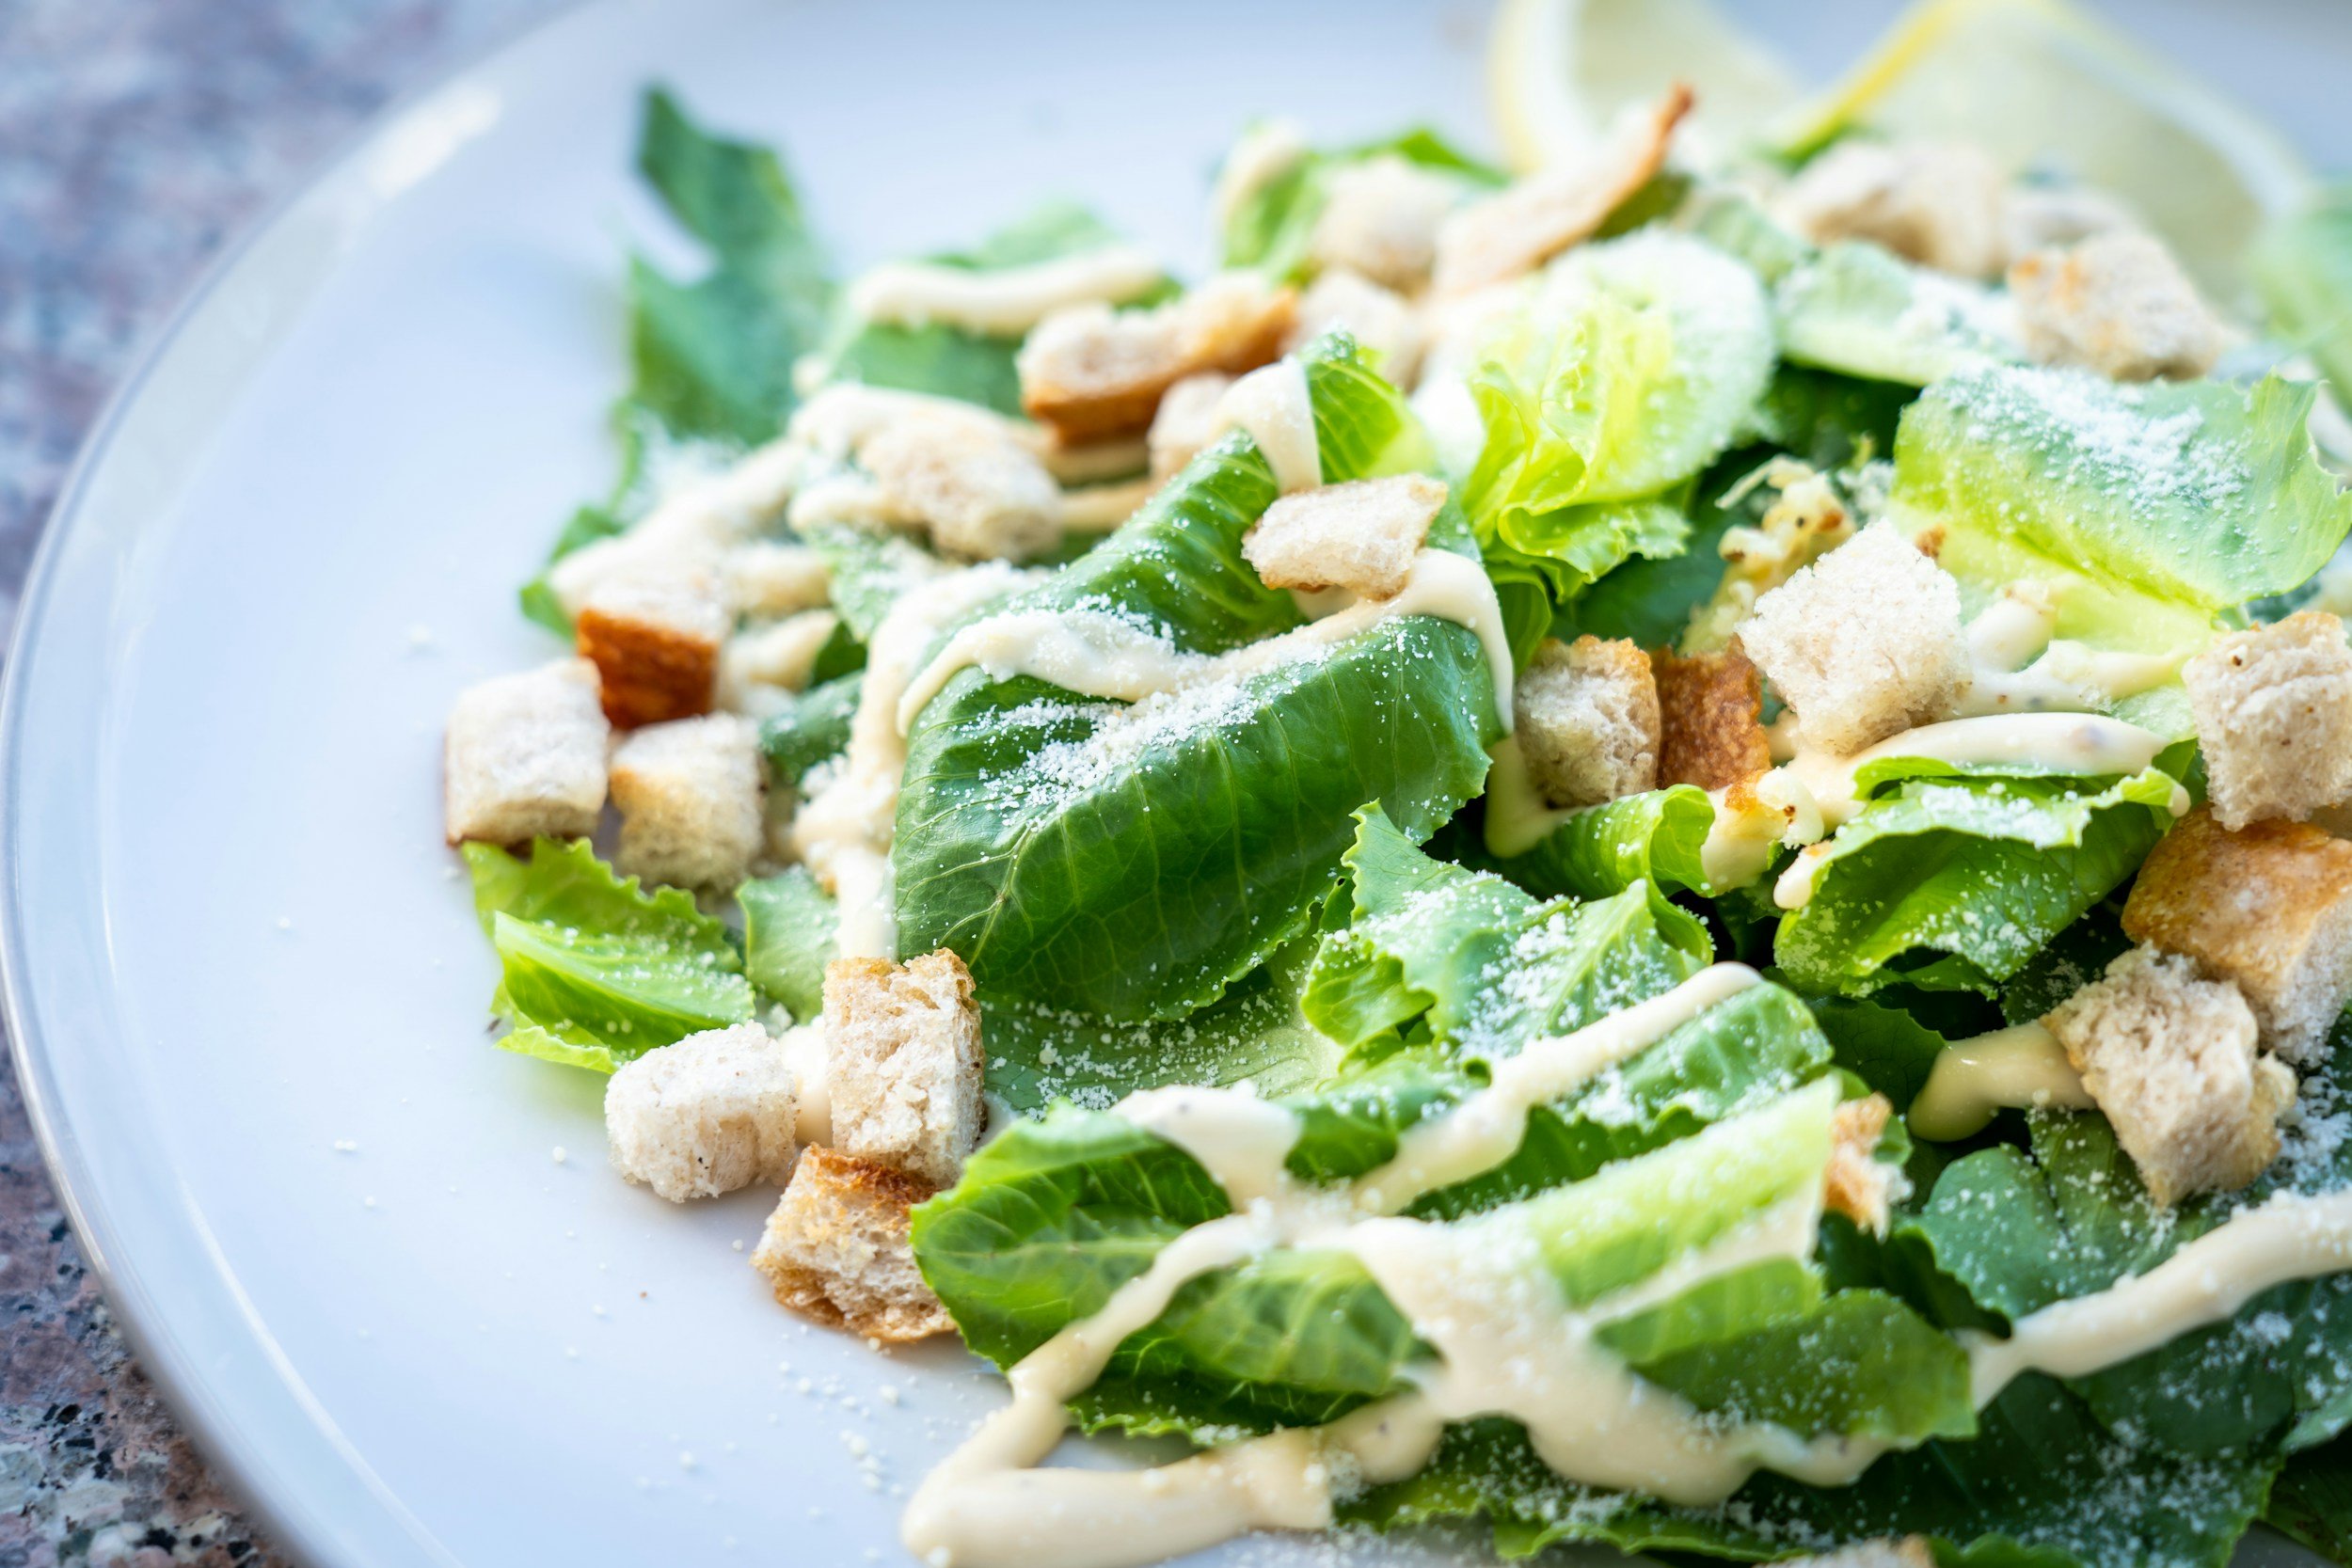
contact us

Use the form on the right to contact us.

You can edit the text in this area, and change where the contact form on the right submits to, by entering edit mode using the modes on the bottom right.


123 Street Avenue, City Town, 99999

(123) 555-6789

email@address.com


You can set your address, phone number, email and site description in the settings tab.
Link to read me page with more information.

Blog

Butteryum food blog recipes

Filtering by Category: misc

How to Make Clarified Butter and Ghee

Patricia @ ButterYum

I was strolling the aisles of my grocery store recently and couldn’t believe how much a tiny jar of commercially prepared clarified butter or ghee cost. Thankfully making your own at home is super easy to do, and you can save a small fortune in the process. Plus it’s a whole lot of fun. Both are made the same way with one small difference; ghee is cooked a bit longer to develop a slightly nuttier flavor.

So why is it good to have clarified butter and ghee on hand? Because cooking with them imparts a lovely buttery flavor, and both can be cooked at much higher temperatures without burning like traditional butter. In my book, that’s a win-win!

To make either clarified butter or ghee, start by slowly melting butter in a shallow pan. Your favorite heavy-bottomed skillet or saucepan will do, so long as you can clearly monitor the milk solids that sink to the bottom of the pan.

Butter is mostly comprised of 3 components; butterfat, milk, and water. As the butter melts, the water content will bubble and evaporate. After the bubbles subside, you’ll notice the milk solids and proteins begin to separate from the butterfat. The milk solids will sink to the bottom of the pan and the proteins will foam up and float on top. The milk proteins that float are easily removed using a fine mesh skimmer. If you’re making clarified butter, this is the time to carefully strain the golden liquid butterfat through the fine mesh skimmer, leaving the milk solids behind.

If you’re making ghee, simply allow the mixture to simmer gently for a bit longer until the milk solids at the bottom of the pan are caramelized and fragrant before straining.

My personal preference is to make clarified butter and ghee from salted butter, but unsalted butter can be used as well.

Because the water and milk components have been removed, clarified butter and ghee can be stored in an airtight container at room temperature for up to 3 months. Chill or freeze for longer storage. Enjoy!

Items used to make this recipe:

(affiliate links)


How to Make Clarified Butter (and Ghee)

Printable Recipe

Ingredients

  • 1 pound butter (*see notes below)

Directions

  1. In a large, heavy-bottomed skillet or saucepan over medium-low heat, slowly melt 1 pound of butter until the bubbles subside and the butterfat starts to separate from the milk solids and proteins, about 10 minutes.

  2. Turn off the heat and rest for about 5 minutes; skim foam from surface using a fine mesh skimmer, then carefully strain the golden liquid butterfat, leaving the milk solids behind.

Notes

  • To make ghee, simply simmer the butter a bit longer, until the milk solids on the bottom of the pan caramelize and turn a dark brown color before skimming and straining.

  • If you don’t have a fine mesh skimmer, several layers of cheesecloth or coffee filters can be used.

  • Typically clarified butter and ghee are made with unsalted butter, but you can use salted butter if you like (just be sure to take that into account when you use it to cook with).

DIY Garlic Cubes

Patricia @ ButterYum

I’ve gotten to a point in my life where I kind of hate chopping garlic each and every time I cook. I used to love smashing and chopping cloves when I prepared meals, but now I find it a tedious task. I also detest jarred garlic as it lacks the wonderful flavor of fresh garlic. But frozen garlic cubes are wonderfully convenient, but if you cook a lot, you pay a lot for the small amount of garlic you actually end up getting. Thankfully I found the perfect solution with these awesome garlic cube trays. To use them, place peeled garlic and a little olive oil in a mini food processor and pulse a number of times (scraping the bowl as needed) until the garlic is finely chopped. Fill the garlic cube trays, seal closed, and freeze. Anytime you need chopped garlic, just pop out as many cubes as you need. Easy peasy.

Notes

  • These garlic cube trays are completely sealed so there’s no chance the garlic will permeate the freezer.

  • If you purchase pre-peeled garlic cloves, a 6-ounce bag pulsed in a mini processor with about 3 tablespoons of olive oil is enough to fill two garlic keeper trays.

  • To fill the trays neatly, transfer the chopped garlic mixture to a disposable pastry bag or a sturdy zip-top bag, clip the corner, and squeeze to fill the cubes; then use an offset spatula to scrape away any excess.

  • IMPORTANT: After freezing, let the tray sit at room temperature for at least 5 minutes to make the frozen garlic cubes easier to release.