Chocolate Ganache Party Cake for a Crowd
Patricia @ ButterYum
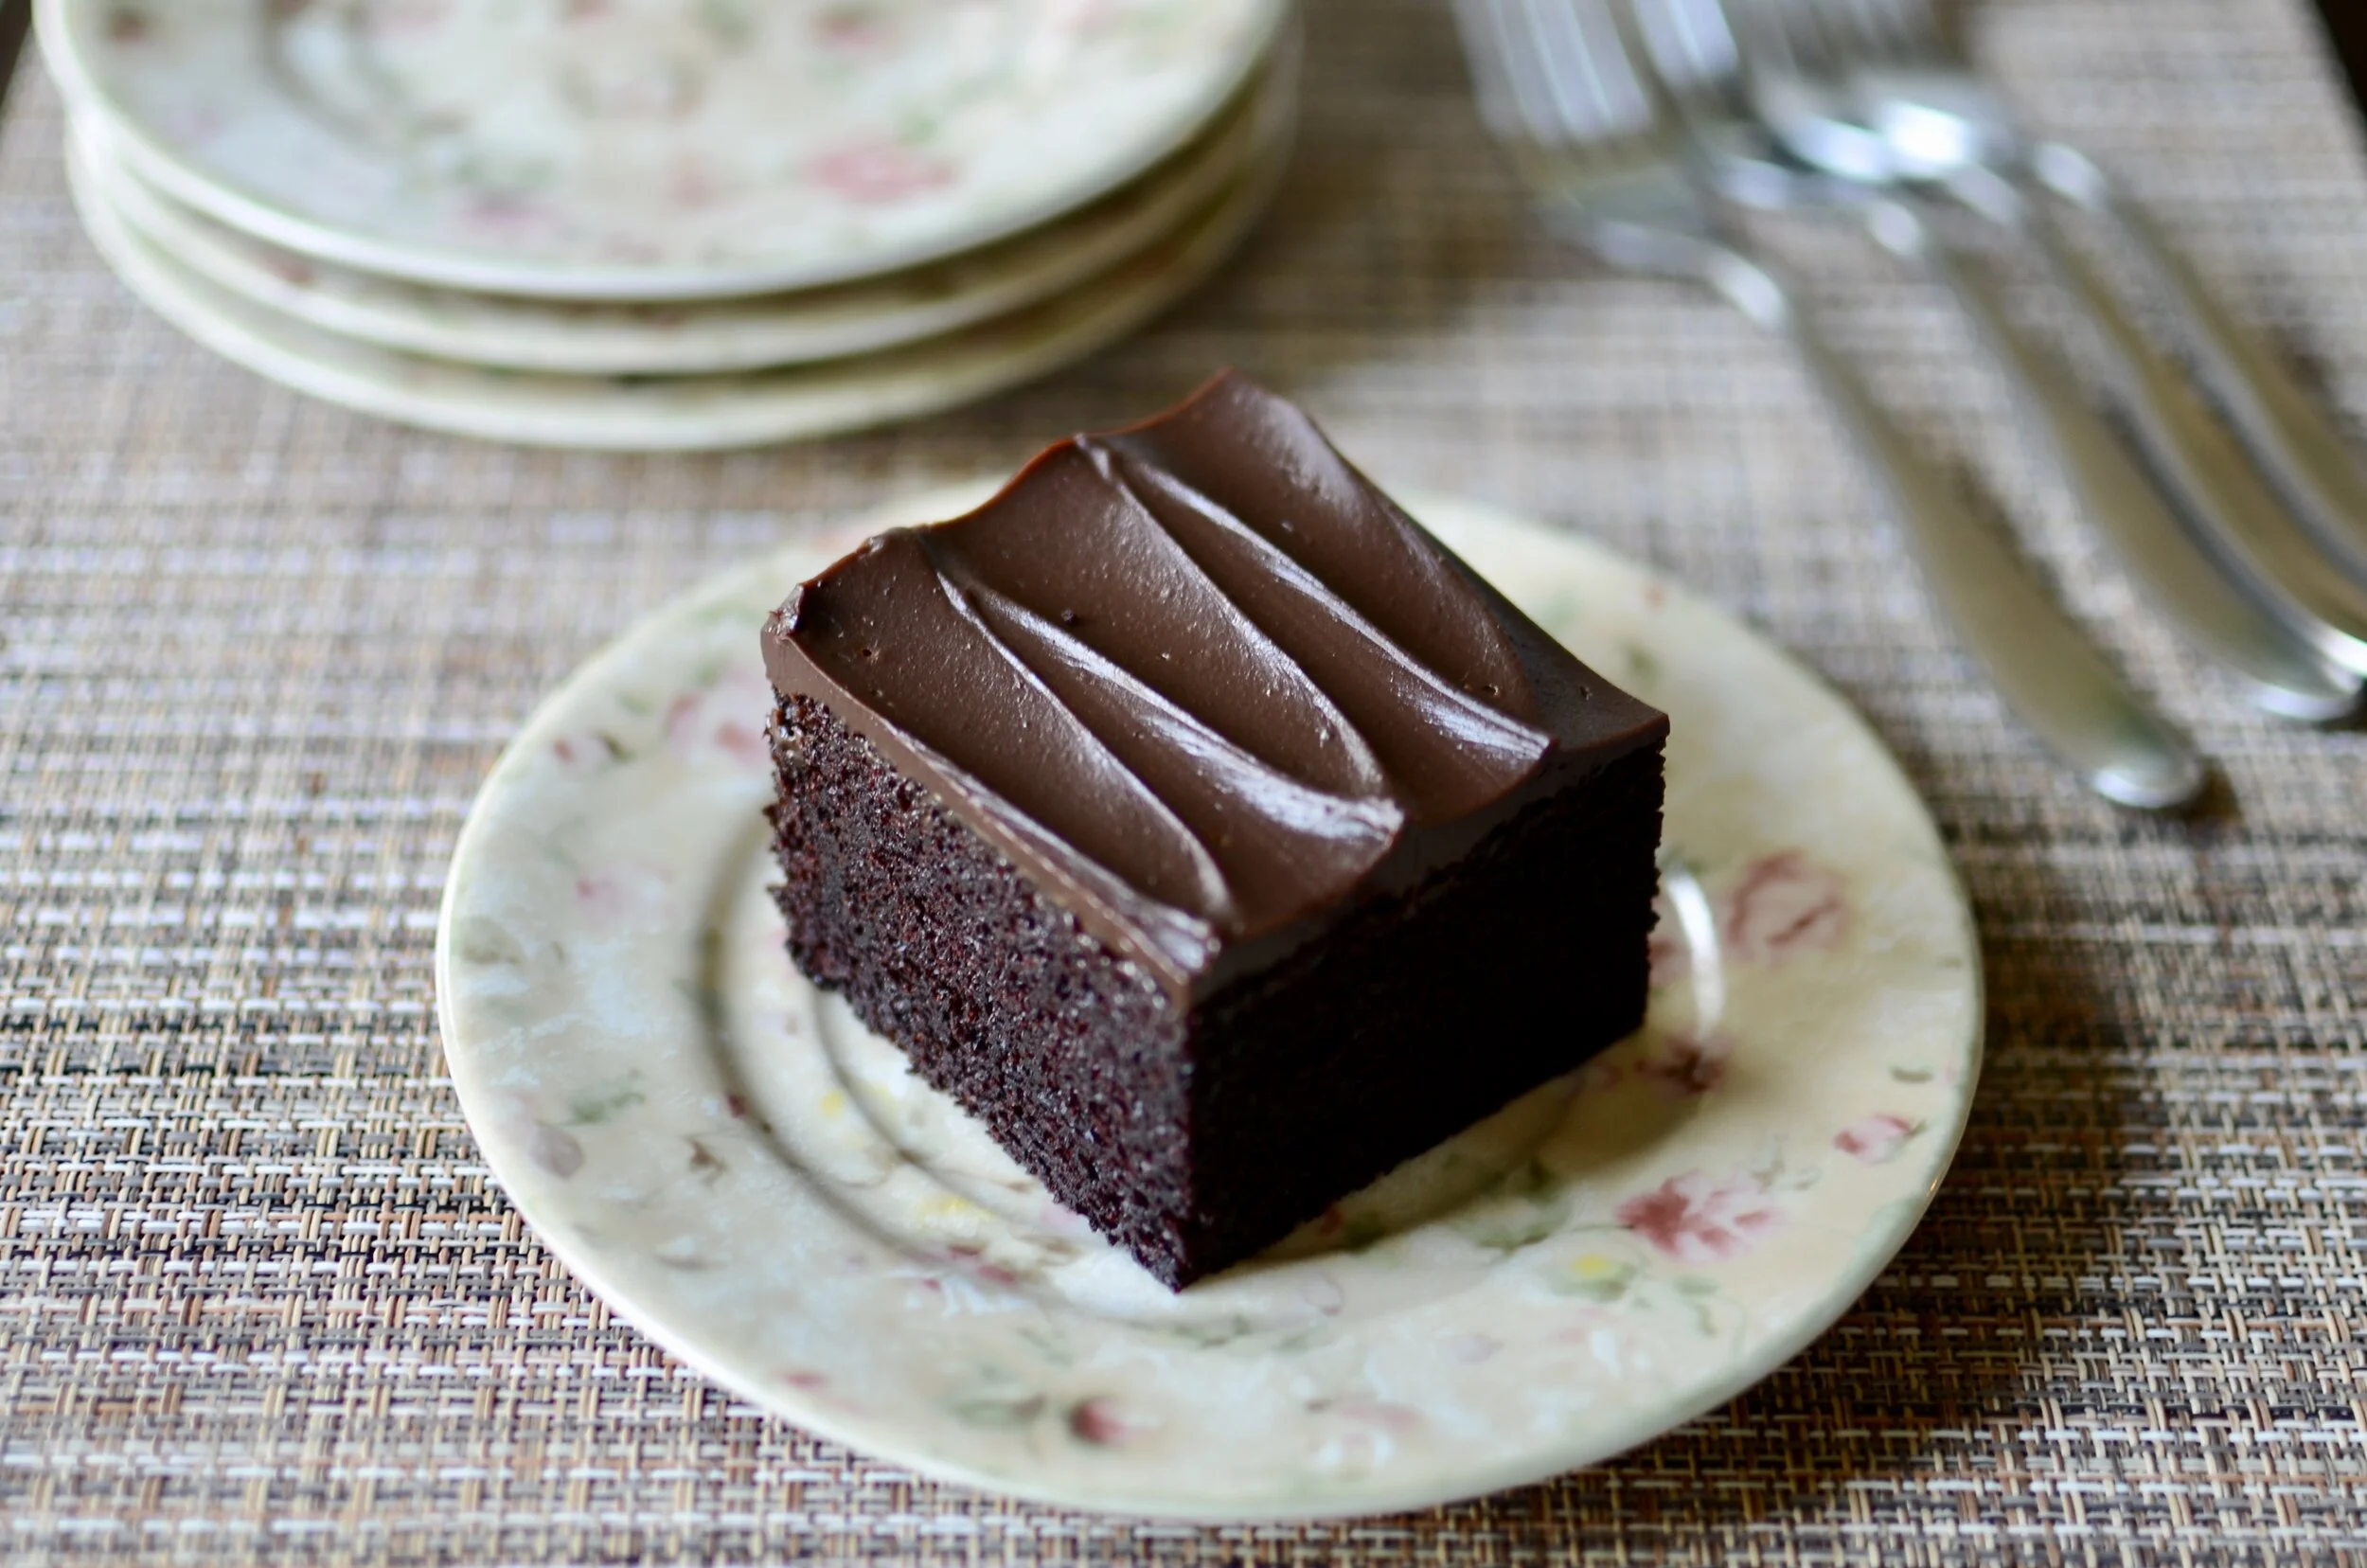
The holidays are just around the corner, which means you probably have a number of office parties, neighborhood gatherings, and family get-togethers in your future. In the event you find yourself volunteering (or being volunteered) to make dessert for a crowd, look no further than this super easy and delicious single-layer chocolate ganache party cake that’s large enough to serve 40 (and if you don’t need quite so much cake, or your looking for something other than chocolate, check out my vanilla Perfect Party Pound Cake that’ll serve 24). Also, this cake recipe can be halved and baked it in an 11x7x2-inch pan.
And because I love you guys - I’m going to share my pro tips to ensure you get a perfectly baked cake that isn’t dry, doesn’t develop a big hump in the middle, and doesn’t sink after you remove it from the oven.

First, let me explain why cakes develop a hump in the middle. The heat of the oven radiates through the cake batter from the exterior to the interior. Because the metal cake pan conducts the oven heat first, the batter touching the pan sets quickly, causing it to stop rising, over-bake, and dry out. The remaining batter continues to rise until it finishes baking. Since the batter in the center of the pan takes the longest to bake, it rises the most. The result is a cake layer that is short on the sides and tall in the middle. If you try to avoid these issue by removing the cake from the oven before the edges over-bake and the center humps, the cake will either be raw in the center or the structure of the cake will not be strong enough to keep the layer from slumping.
So how do we fix these issues? I have two tricks: 1) we need to increase the time it takes to bake the batter around the edges of the pan, and 2) we need to decrease the time it takes to bake the batter in the center of the pan. Here’s how….

To decrease the time it takes the cake batter around the edges of the pan to bake, I wrap my cake pans with damp Insulated Cake Strips. They insulate the pan, keeping it from conducting heat too quickly, so the batter around the edges of the pan has a chance to bake at a more normal rate.

To increase the time it takes the batter in the center of the pan to bake, I add a couple of these Heating Cores in the center of the pan as shown. They conduct and transfer oven heat down into the batter in the center of the pan, giving it a chance to bake at a more normal rate.
I use heating cores for all cakes larger than 9-inches in diameter. When you turn the cake out of the pan, simply pull the heating cores right out of the cake. I promise, nobody will ever notice the tiny holes left behind.
Speaking of turning the cake out of the pan, I have tips for that too. The first is this: I line my cake pans with parchment paper. You can purchase precut circles for round cake pans, but for large layers like this, I like to use flat sheets like these.
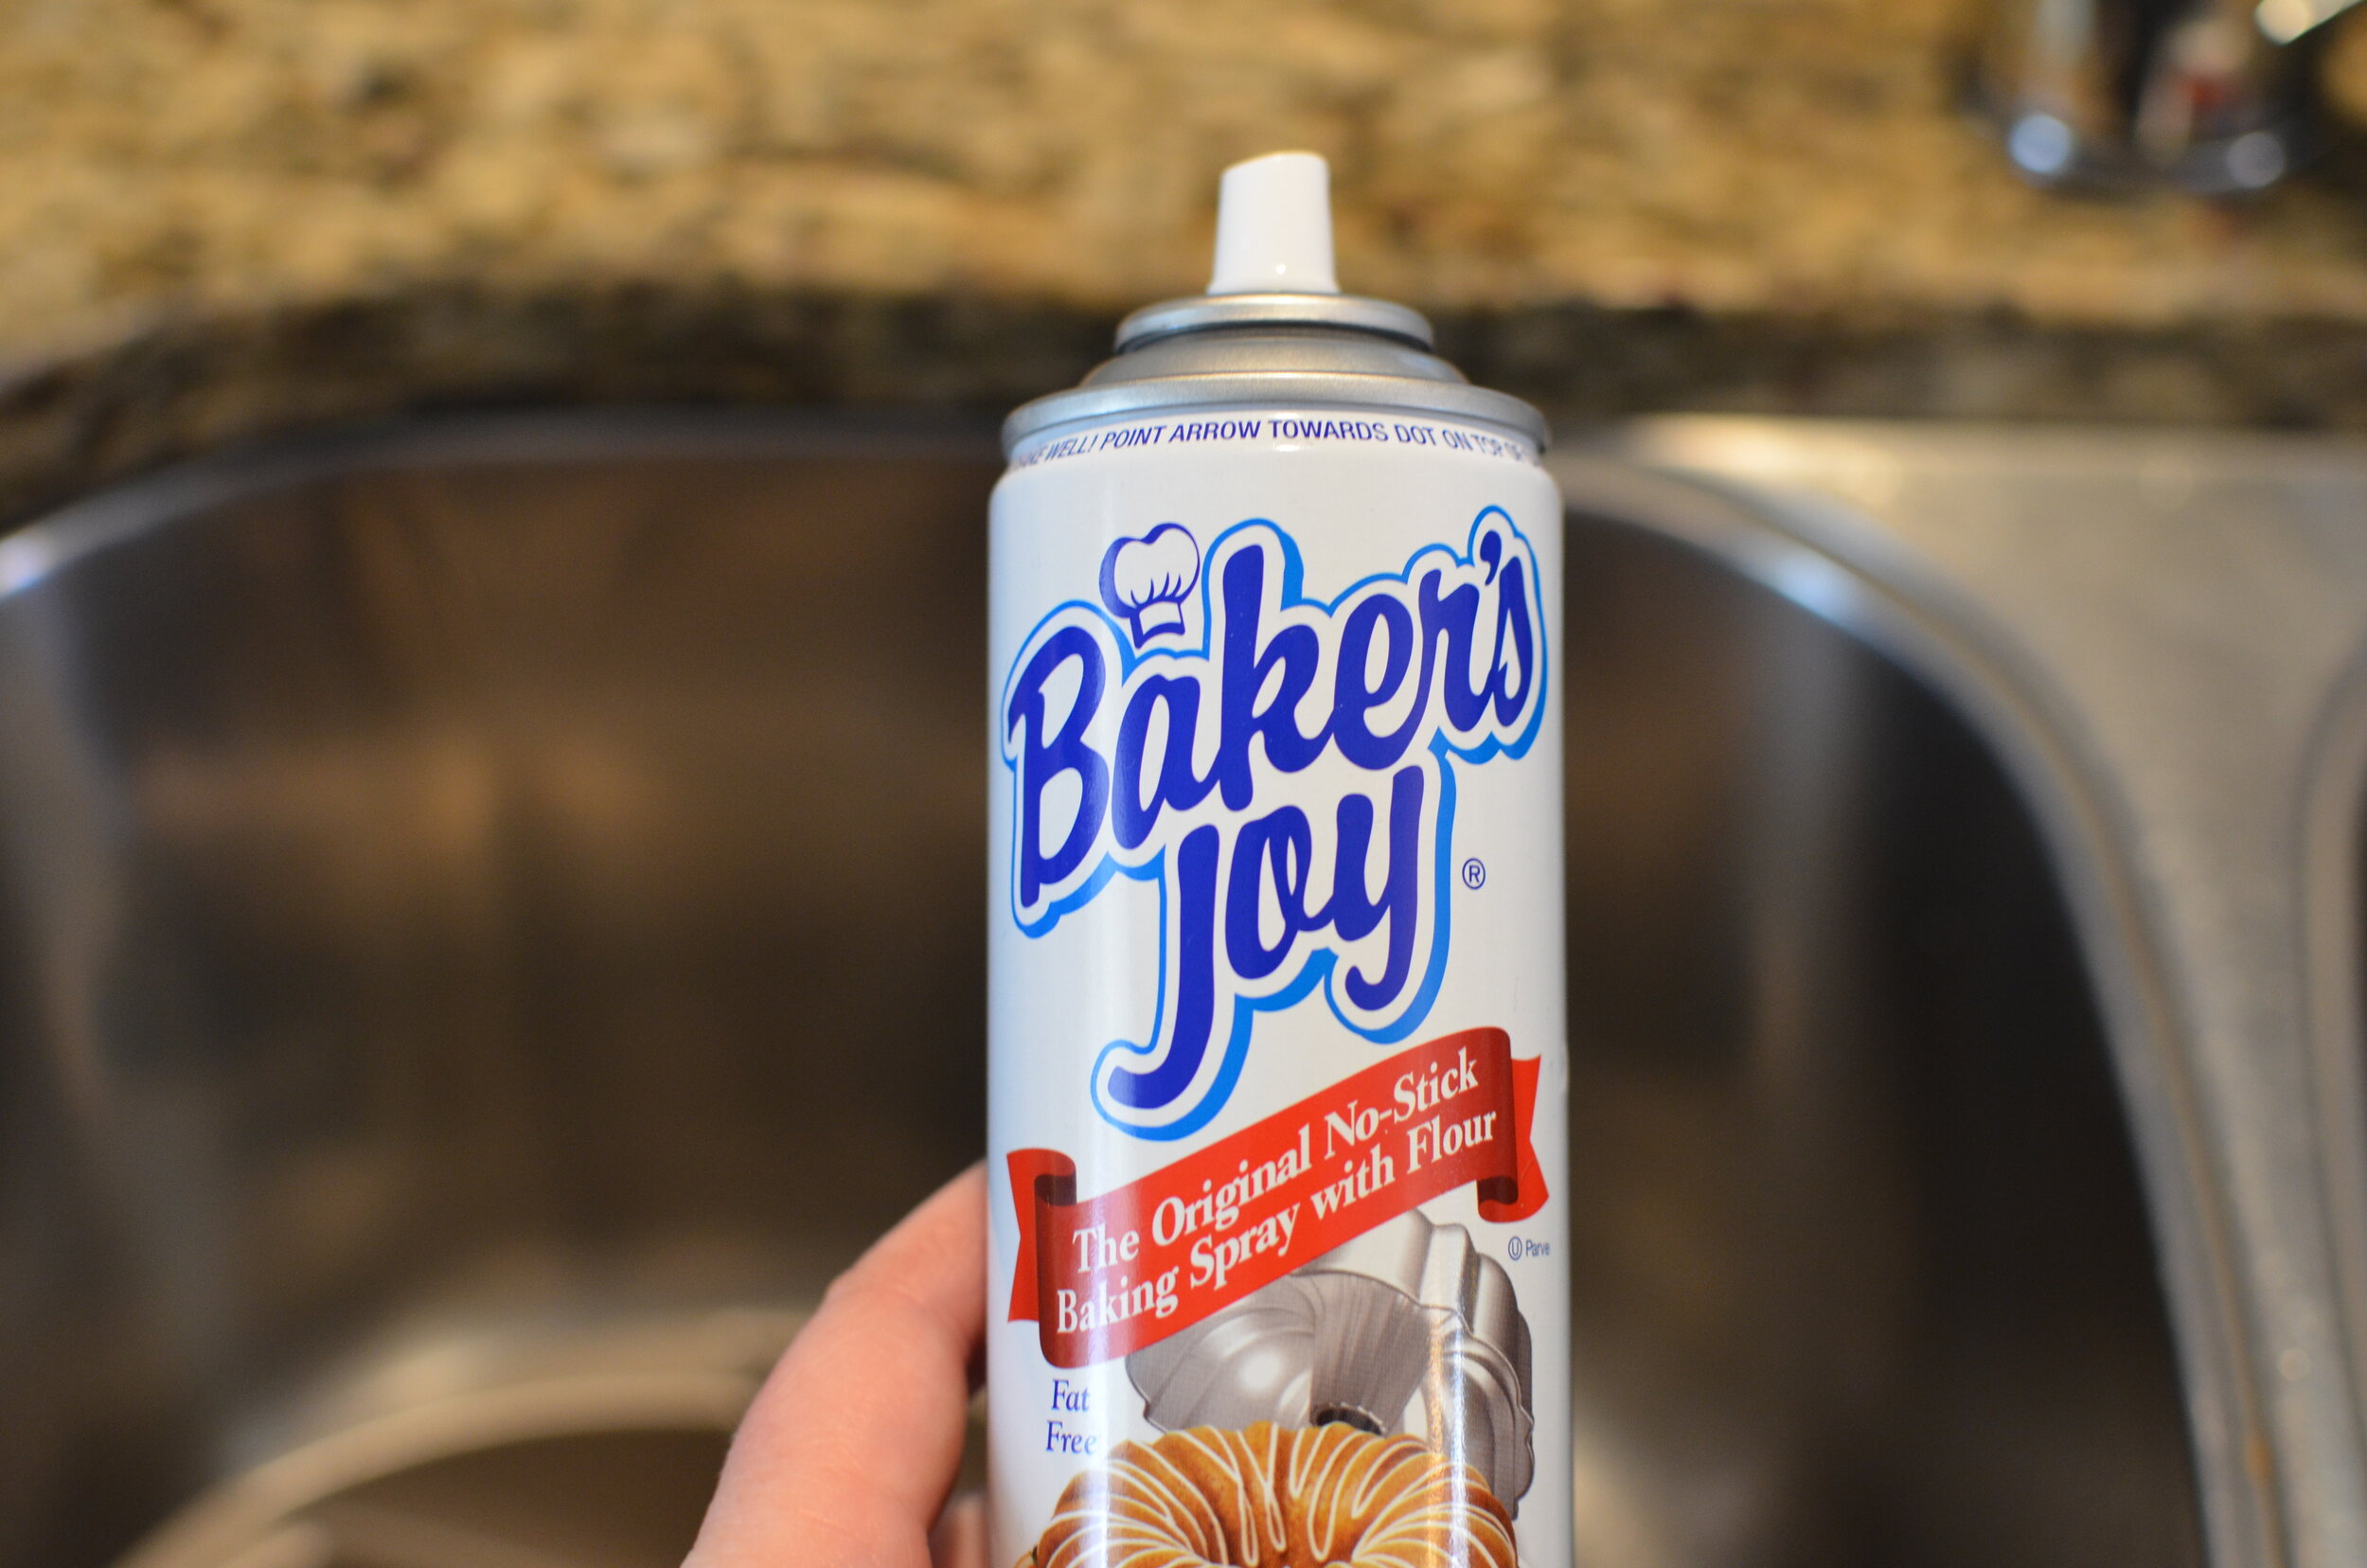
Also, I spray the pan (and heating cores) with Baker’s Joy to ensure the cake releases from the pan perfectly, paying particular attention to the corners. Great, great stuff.
Tip: spray over the sink or open dishwasher door to catch overspray. Trust me, you don’t want it landing on your kitchen floor.

Enjoy!


ITEMS USED TO MAKE THIS RECIPE:
(affiliate links)
11x15x2-inch cake pan https://amzn.to/2NnvKOb
my favorite vanilla extract https://amzn.to/3ovS9fE
my favorite cocoa powder https://amzn.to/3BjHBoZ
heating cores https://amzn.to/3p5SGp9
insulated baking strips https://amzn.to/315a0hx
parchment sheets https://amzn.to/3HMgA09
baker’s joy https://amzn.to/2pr1YA9
silicone blade for stand mixer https://amzn.to/3gNW4jz
half recipe pan (11x7x2) https://amzn.to/3GYrAX7
half recipe pan (9x9x2) https://amzn.to/36ec9NP
digital scale https://amzn.to/3szgEtH
CHOCOLATE GANACHE PARTY CAKE FOR 40
makes 40 servings (approximately 2x2-inch squares)
Ingredients
Ganache:
12 ounces (340g) semisweet or bittersweet chocolate, chopped
12 ounces (340g) heavy cream
Cake:
4 cups (800g) granulated sugar
3 1/2 cups (438g) all purpose flour
1 1/2 cups (113g) dutch-processed cocoa powder, sifted
1 tablespoon (17g) baking soda
1 tablespoon (18g) baking powder
2 teaspoons (12g) fine salt
4 large eggs (200g), room temperature
2 cups whole milk (480g), room temperature
1 cup (216g) vegetable oil
1 1/2 tablespoons (20g) pure vanilla extract (use the good stuff)
2 cups (480g) boiling water (or hot brewed coffee)
Directions
To make the Ganache (make a day ahead or see my tip below if you need it sooner):
Place the chopped chocolate in a medium mixing bowl.
In a 2-quart saucepan over medium heat, heat heavy cream until just before it begins to boil (can also do this in the microwave, but watch carefully to keep it from boiling over).
Pour hot cream over chocolate and rest for several minutes before gently whisking to combine, being careful not to incorporate much air.
Pour ganache through sieve to remove any unmelted bits of chocolate; cover container with a clean kitchen towel and allow to sit overnight until it thickens to a spreadable consistency.
Tip - if you need the ganache in a hurry, pour warm ganache onto a large, rimmed sheet pan and chill in the refrigerator for a couple of hours until it firms up, then stir with a silicone spatula until it reaches a spreadable consistency.
To make the cake:
Preheat oven to 350F and place rack in center position.
Prepare 11x15x2-inch metal cake pan by wrapping with damp insulated baking strips, lining bottom with parchment paper, spraying the inside with Baker’s Joy, and placing 2 heating cores in the pan as shown below.
In a 5-quart or larger stand mixer fitted with a splash guard and silicone scraper blade, combine the sugar, flour, sifted cocoa powder, baking soda, baking powder, and salt.
On low speed, add eggs, milk, oil, and vanilla extract; mix until no dry ingredients remain.
Increase speed slightly to medium-low and VERY SLOWLY add the boiling water or hot brewed coffee, drizzling to avoid hot batter from splashing out of the bowl. Note - the batter will be VERY THIN.
Pour batter into prepared pan and bake for 50-60 minutes in center of preheated oven until a toothpick inserted in the center of the cake comes out clean.
Allow cake to rest for 10-15 minutes before turning out of the pan onto a cooling rack; remove parchment and heating cores, then, using a 2nd cooling rack, invert cake back to the upright position and allow to cool completely before spreading ganache in an even layer over the top.
Note
recipe can be halved and baked in an 11x7x2 cake pan or an 9x9 cake pan.