Thanksgiving Turkey Cake Pops
Patricia @ ButterYum
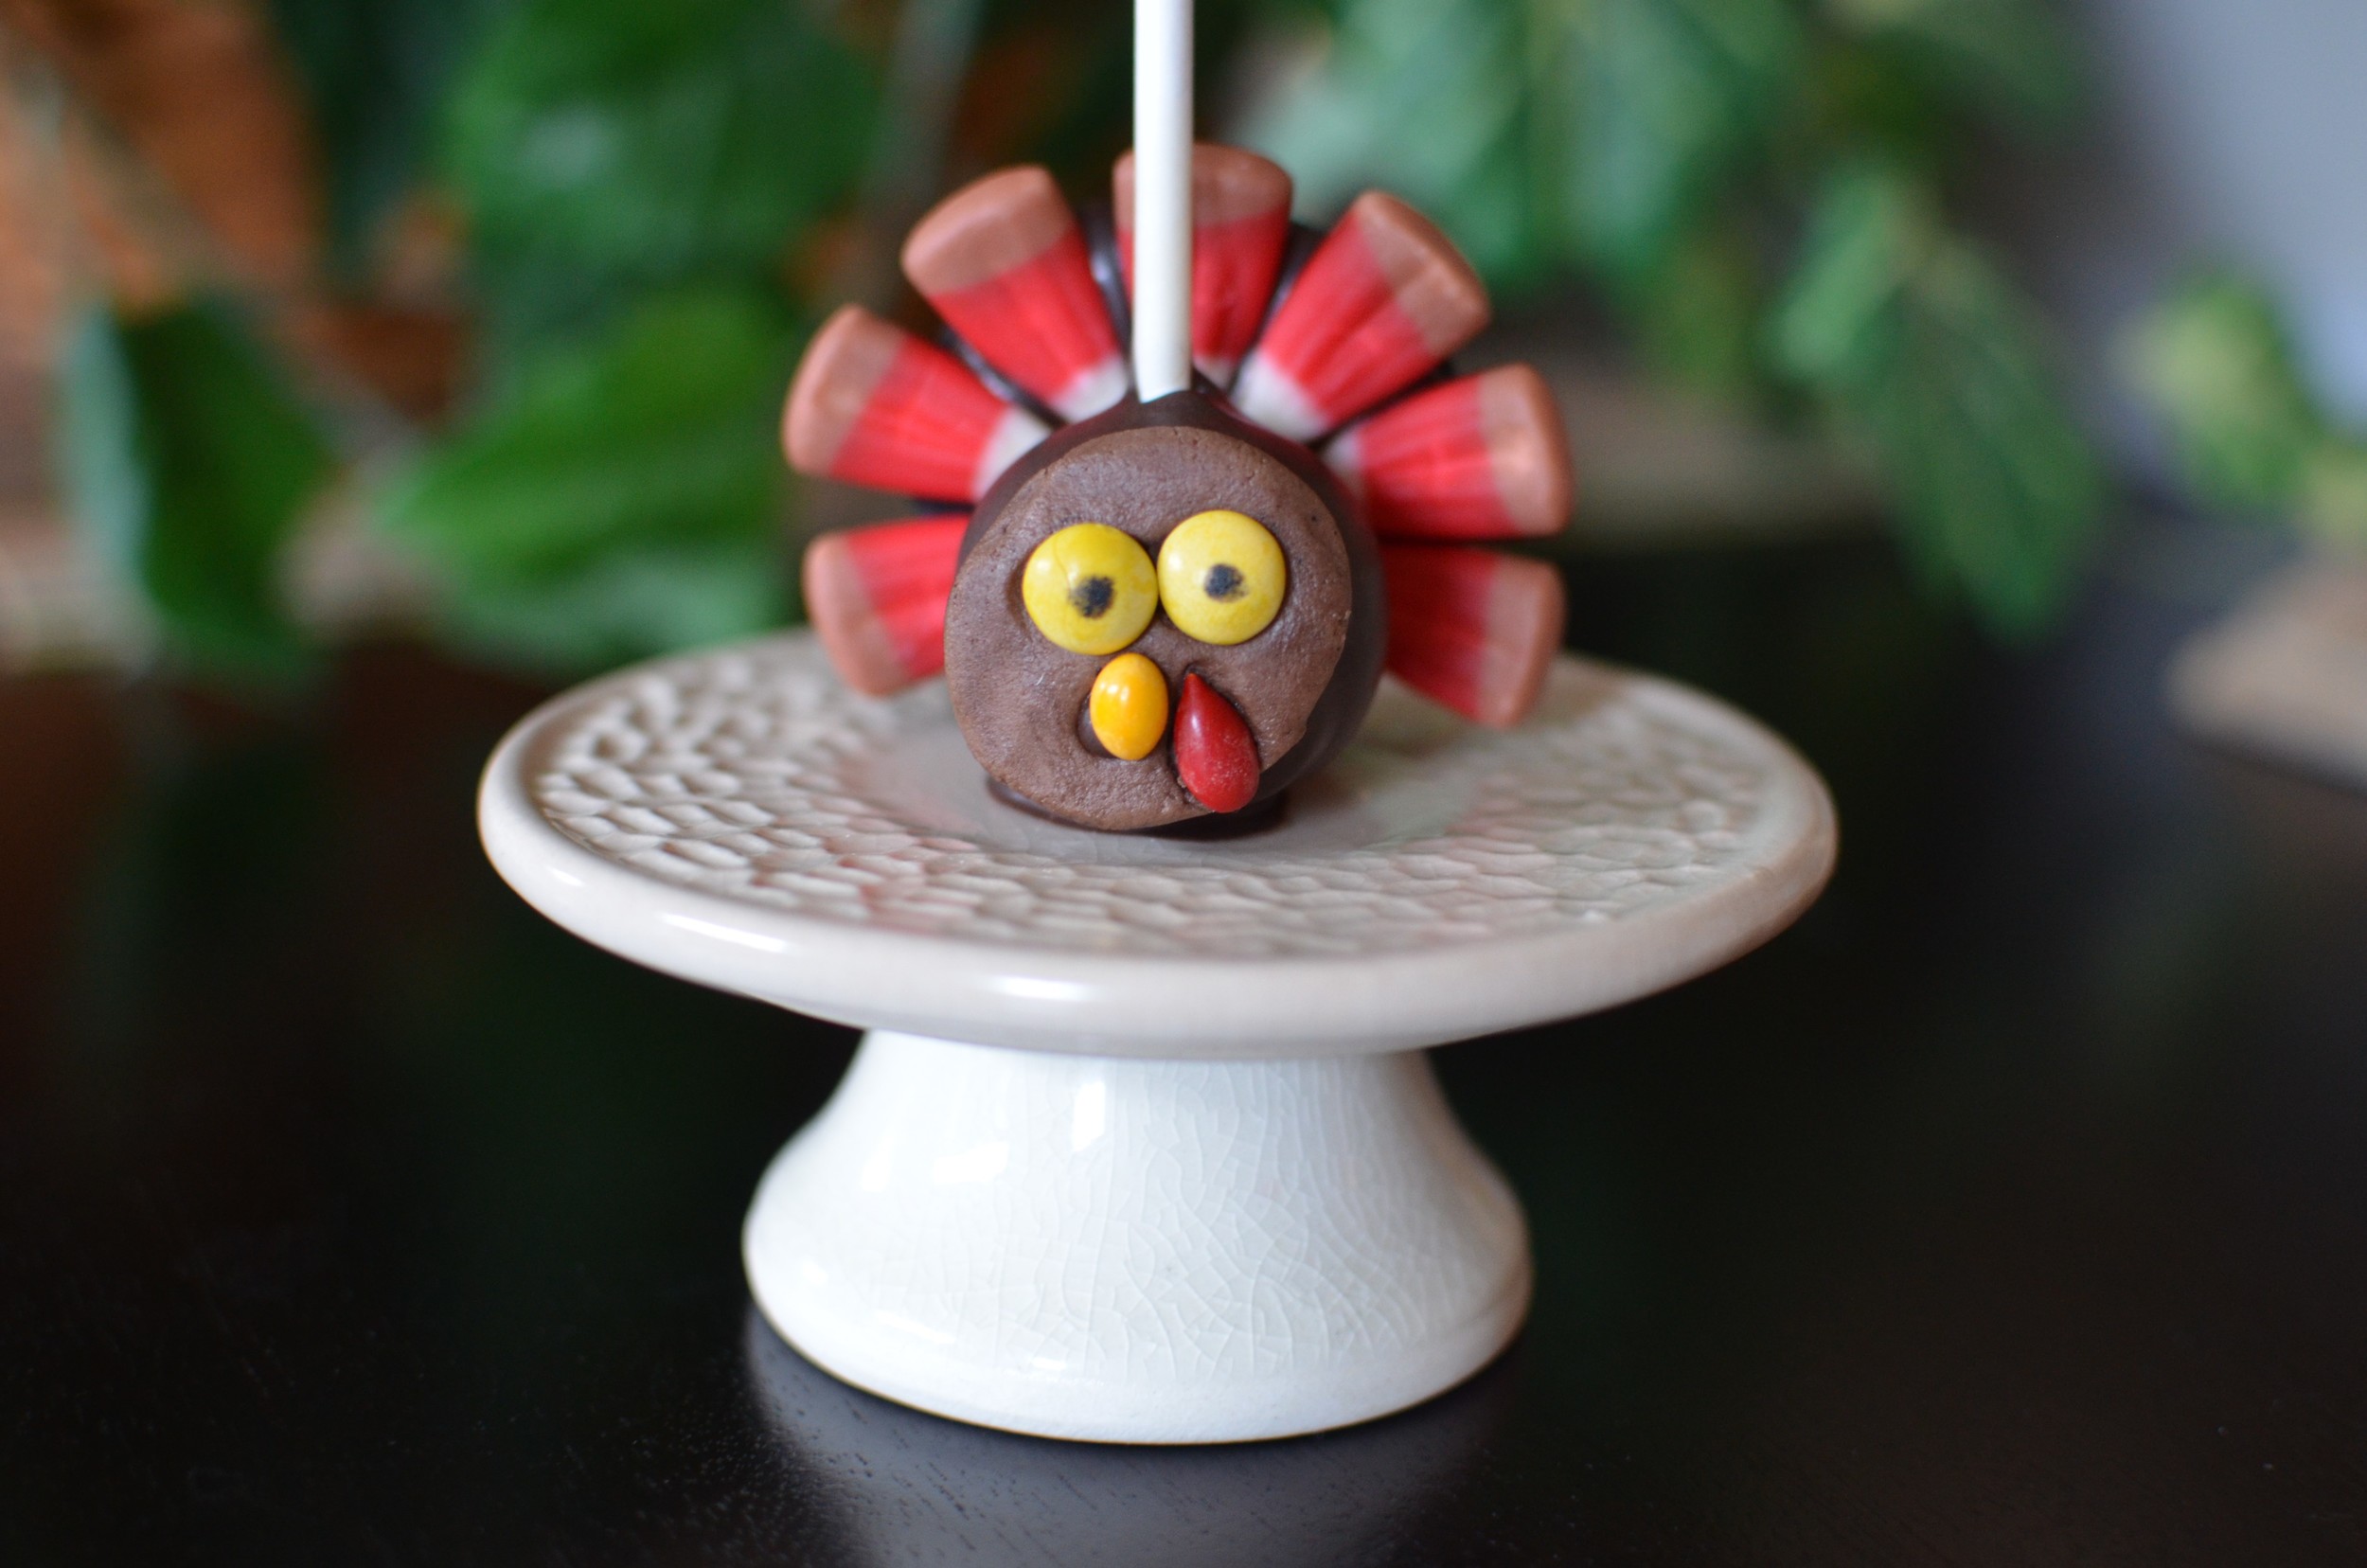
How cute would these turkey cake pops be on your holiday table? I posted a lot of photos so I could show you every step, but don't be alarmed - these cake pops are really pretty easy to make. Set up an assembly line and before you know it you'll have a rafter of cute little turkeys.
Did you know a flock of turkeys was called a rafter?

Start by baking a single layer cake in a 9x13-inch professional cake pan. Sometimes I make vanilla and other times I make chocolate. You can never go wrong with vanilla, but chocolate is best used for cake pops that will be coated in dark colors (for example, you wouldn't want to cover a chocolate cake ball with white candy melts because the chocolate would be visible through the candy coating).
I've included recipes for both vanilla and chocolate cake at the end of this post if you'd like to bake from scratch, but you can certainly use boxed cake mixes if you like. Just follow the instructions on the box.

The cake is done when a toothpick inserted in the center of the pan comes out clean (a few crumbs is okay). Cool the cake for 10 minutes before turning out of the pan to finish cooling completely.

In addition to cake, you'll need a binding agent of some sort. I like to use real buttercream, cream cheese, or chocolate ganache (for chocolate cake) because they firm up when chilled, which helps a lot when dipping the cake balls.

I also like to use my BeaterBlade attachment when mixing the cake pop dough. It mixes the dough better than anything.

Here's what vanilla cake and vanilla buttercream look like after mixing for a minute or so. If you don't have a BeaterBlade attachment, use a paddle attachment and be sure to mix until the dough looks smooth and feels like PlayDoh.

To ensure all my cake pops are the same size, I use a #50 scoop to portion the dough. This size will give you about 45 cake pops from one 9x13 cake (or one box of cake mix). They'll end up being about 1 1/2-inch in diameter.

Roll the portions of cake dough into balls or other shapes.

For chocolate cake pop dough, I prefer the flavor of chocolate ganache or chocolate buttercream, but I only had cream cheese on this day so that's what I used.

Hmmm. I wonder what kind of cake pops those cone shapes are going to be....
I'll save that design for another day. Let's get back to our Thanksgiving Turkeys.

Time to turn cake balls into cake pops. We're going to insert 6-inch lollipop sticks into the cake balls, using a little melted candy coating (candy melts) as glue. Dip the lollipop stick about 1/2-inch into the melted candy, ten push into a cake ball.

Push the sticks in about 1/2 inch. Do it carefully and you'll notice a little chocolate plug being formed. Note - if you push the stick in too far, the cake pop will break so go slow until you get the hang of it.

To retain their shape, place the cake pop sticks upright in a heavy-bottomed glass, styrofoam, or a cake pop stand/holder. Chill for at least 10 minutes or up to a couple of hours. If you want to make them even further in advance, be sure to cover them will to prevent them from drying out.

Alright then, now that the cake pops have chilled, we're ready to start decorating!!!

To make turkeys, I'm going to start with chocolate-filled sandwich cookies. If you can't find them, regular sandwich cookies will work - more on that later.

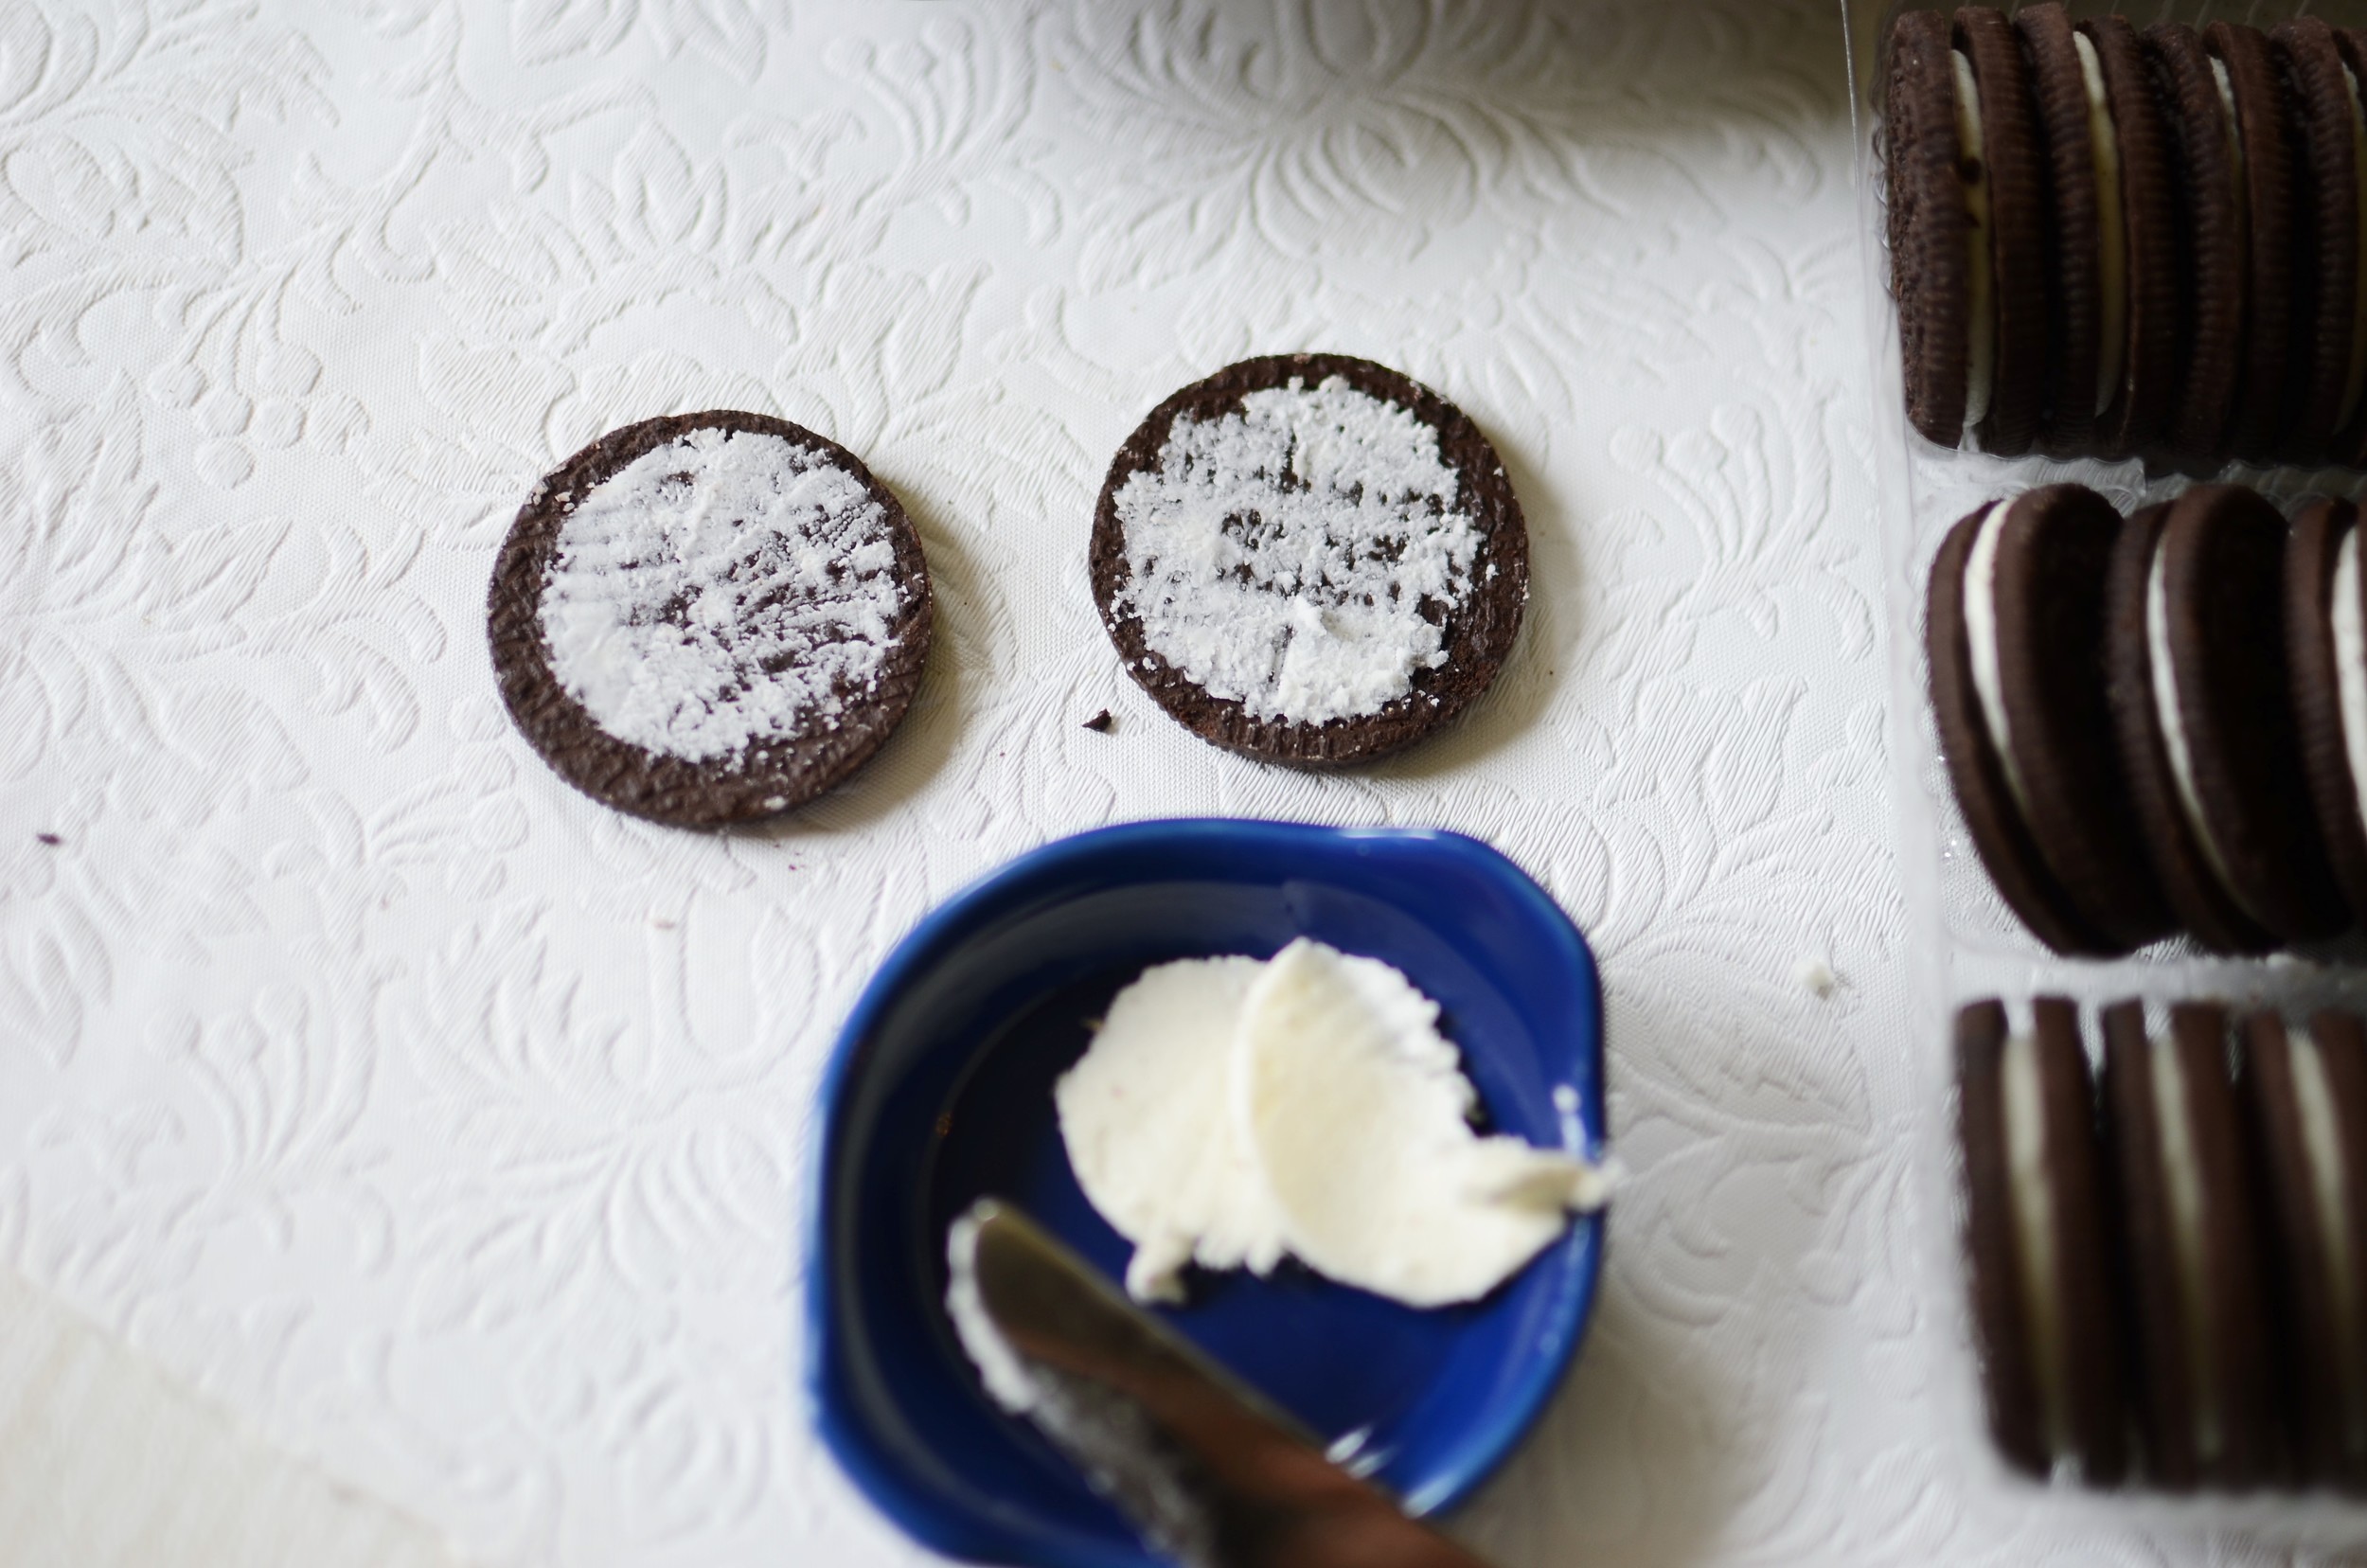
Scrape the filling out of the cookies, divide in half, roll into two balls, and chill for a few minutes until firm. If you can't find chocolate sandwich cookies, substitute brown fondant or some other chocolate candy that can be squished into a flat round disk (you'll see that later).

Time to melt some candy melts - I've used many brands and they all seem to be basically the same.
By the way, I LOVE these containers - I can melt, dip, and store leftovers all in one.

For our turkeys, we need chocolate candy melts (don't be tempted to use pure chocolate unless you plan to temper it - a time consuming process that most of us don't care to mess around with).
Some candy melt brands melt smoother than others. Alternate heating the candy melts for 15-30 seconds and stirring until completely melted. Some brands melt smoother than others, but the final consistency should be smooth enough to fall off a spoon in a continuous ribbon rather than falling off the spoon in dollops. If your candy melts fall off in dollops, add vegetable shortening (heat to melt and stir in well). Start with about 1/2-teaspoon per 4 ounces of candy melts.

Place a dollop of chocolate on each cookie half.

Then add candy corn pieces.

Now we'll squish those chocolate cookie filling balls into round disks to make the turkey faces. Again, if you can't find chocolate filled cookies, use fondant or other candy that you can roll and flatten into a disk. Or use an unmelted candy melt in tan, off white, or light brown.

For the face we need some little candies. I like to use mini m&m for the eyes and chocolate covered sunflower seeds for the beak and wattle.

Using a toothpick, I place a small dot of chocolate candy melts to glue the candies in place.

Use a food-safe marker to draw dots on the mini M&M eyes. Chill until needed.

Remove chilled cake pop from fridge and dip to coat. Place on wax paper and allow chocolate coating to set. Then use a little melted chocolate coating to glue the tail and face in place.


That's all there is to it.

Happy Thanksgiving!






Items used to make this recipe:
(affiliate links)
heavy duty stand mixer https://amzn.to/3gbGa2s
#50 portion scoop https://amzn.to/34fp8h3
pure vanilla extract https://amzn.to/3r9wNGK
beaterblade mixer attachment https://amzn.to/34kqreO
professional quality cake pan https://amzn.to/3oaZf94
baker's joy baking spray https://amzn.to/3u9GkiP
cake pop sticks https://amzn.to/3AGV6is
cake pop holder/stand https://amzn.to/3gbGQVy
edible markers https://amzn.to/3IGGFh8
candy melts https://amzn.to/3DYnfVA
storage bowls for melted candy https://amzn.to/3rdHZlH
candy corn https://amzn.to/35CVZgv
chocolate covered sunflower seeds https://amzn.to/3uctDUp
oreo cookies https://amzn.to/342spAA
mini m&m's https://amzn.to/35CmdQg
dutch processed cocoa https://amzn.to/3ucYv7j
White Cake
Ingredients
2 1/2 cups all purpose flour
2 cups granulated sugar
1 teaspoon baking powder
1/2 teaspoon baking soda
1/4 teaspoon fine salt
1/2 cup shortening
1 1/4 cups whole milk
4 eggs whites
1 teaspoon pure vanilla extract
Directions
Preheat oven to 350F.
Prepare a high quality, light colored metal 9x13-inch cake pan with oil/flour baking spray.
Using a stand mixer fitted with a BeaterBlade attachment (or hand mixer), combine the flour, sugar, baking powder, baking soda, shortening, and salt until the shortening is completely incorporated.
Add the milk, egg whites, and pure vanilla extract; mix on medium speed for 2-3 minutes.
Pour batter into prepared pan; bake for 30-40 minutes or until a toothpick inserted in the center of the cake comes out clean.
Cool for 10 minutes before turning out of pan to cool completely on a wire rack.
To Make White Cake Pop Dough: Crumble cooled white cake and place in bowl of stand mixer with about 1/2 cup vanilla buttercream (or 8 ounces room temperature cream cheese); combine until smooth and paste-like using flat paddle or BeaterBlade attachment. Roll dough into balls or other shapes. If the dough balls crack or seem a little dry, add a little more buttercream.
Chocolate Cake
Ingredients
2 cups all purpose flour
1 3/4 cups granulated sugar
1 cup Dutch-processed cocoa powder, sifted
2 teaspoons baking powder
1 teaspoon baking soda
1 teaspoon fine salt
1/2 cup shortening
1 1/3 cup water
1/2 cup canola oil
3 large eggs
Directions
Preheat oven to 350F.
Prepare a high quality, light colored metal 9x13-inch cake pan with oil/flour baking spray.
Using a stand mixer fitted with a BeaterBlade attachment (or hand mixer), combine the flour, sugar, cocoa powder, baking powder, baking soda, salt, and shortening until the shortening is completely incorporated.
Add the water, oil, and eggs; mix on medium speed for 2-3 minutes.
Pour batter into prepared pan; bake for 30-40 minutes or until a toothpick inserted in the center of the cake comes out clean.
Cool for 10 minutes before turning out of pan to cool completely on a wire rack.
To Make Chocolate Cake Pop Dough: Crumble cooled chocolate cake and place in bowl of stand mixer with about 1/2 cup chocolate frosting or vanilla buttercream (or 8 ounces room temperature cream cheese); combine until smooth and PlayDoh-like using flat paddle or BeaterBlade attachment. Roll dough into balls or other shapes. If the dough balls crack or seem a little dry, add a little more frosting or buttercream.









Move over Pumpkin Pie - make way for Old Fashioned Cushaw (aka Crenshaw) Pie!