Chocolate Truffles
Patricia @ ButterYum
Chocolate truffles are devilishly delicious and deceptively easy to make yourself. Once you see how it's done, you'll never have to purchase them again. Come on, I'll show you.

Start with really good chocolate. We like dark chocolate, but feel free to use milk if you like that better. Whichever you choose, be sure it's the good stuff - high quality makes all the difference here so don't skimp.

Chop the chocolate. I like to use a serrated blade like this one. It makes very quick work of the job.
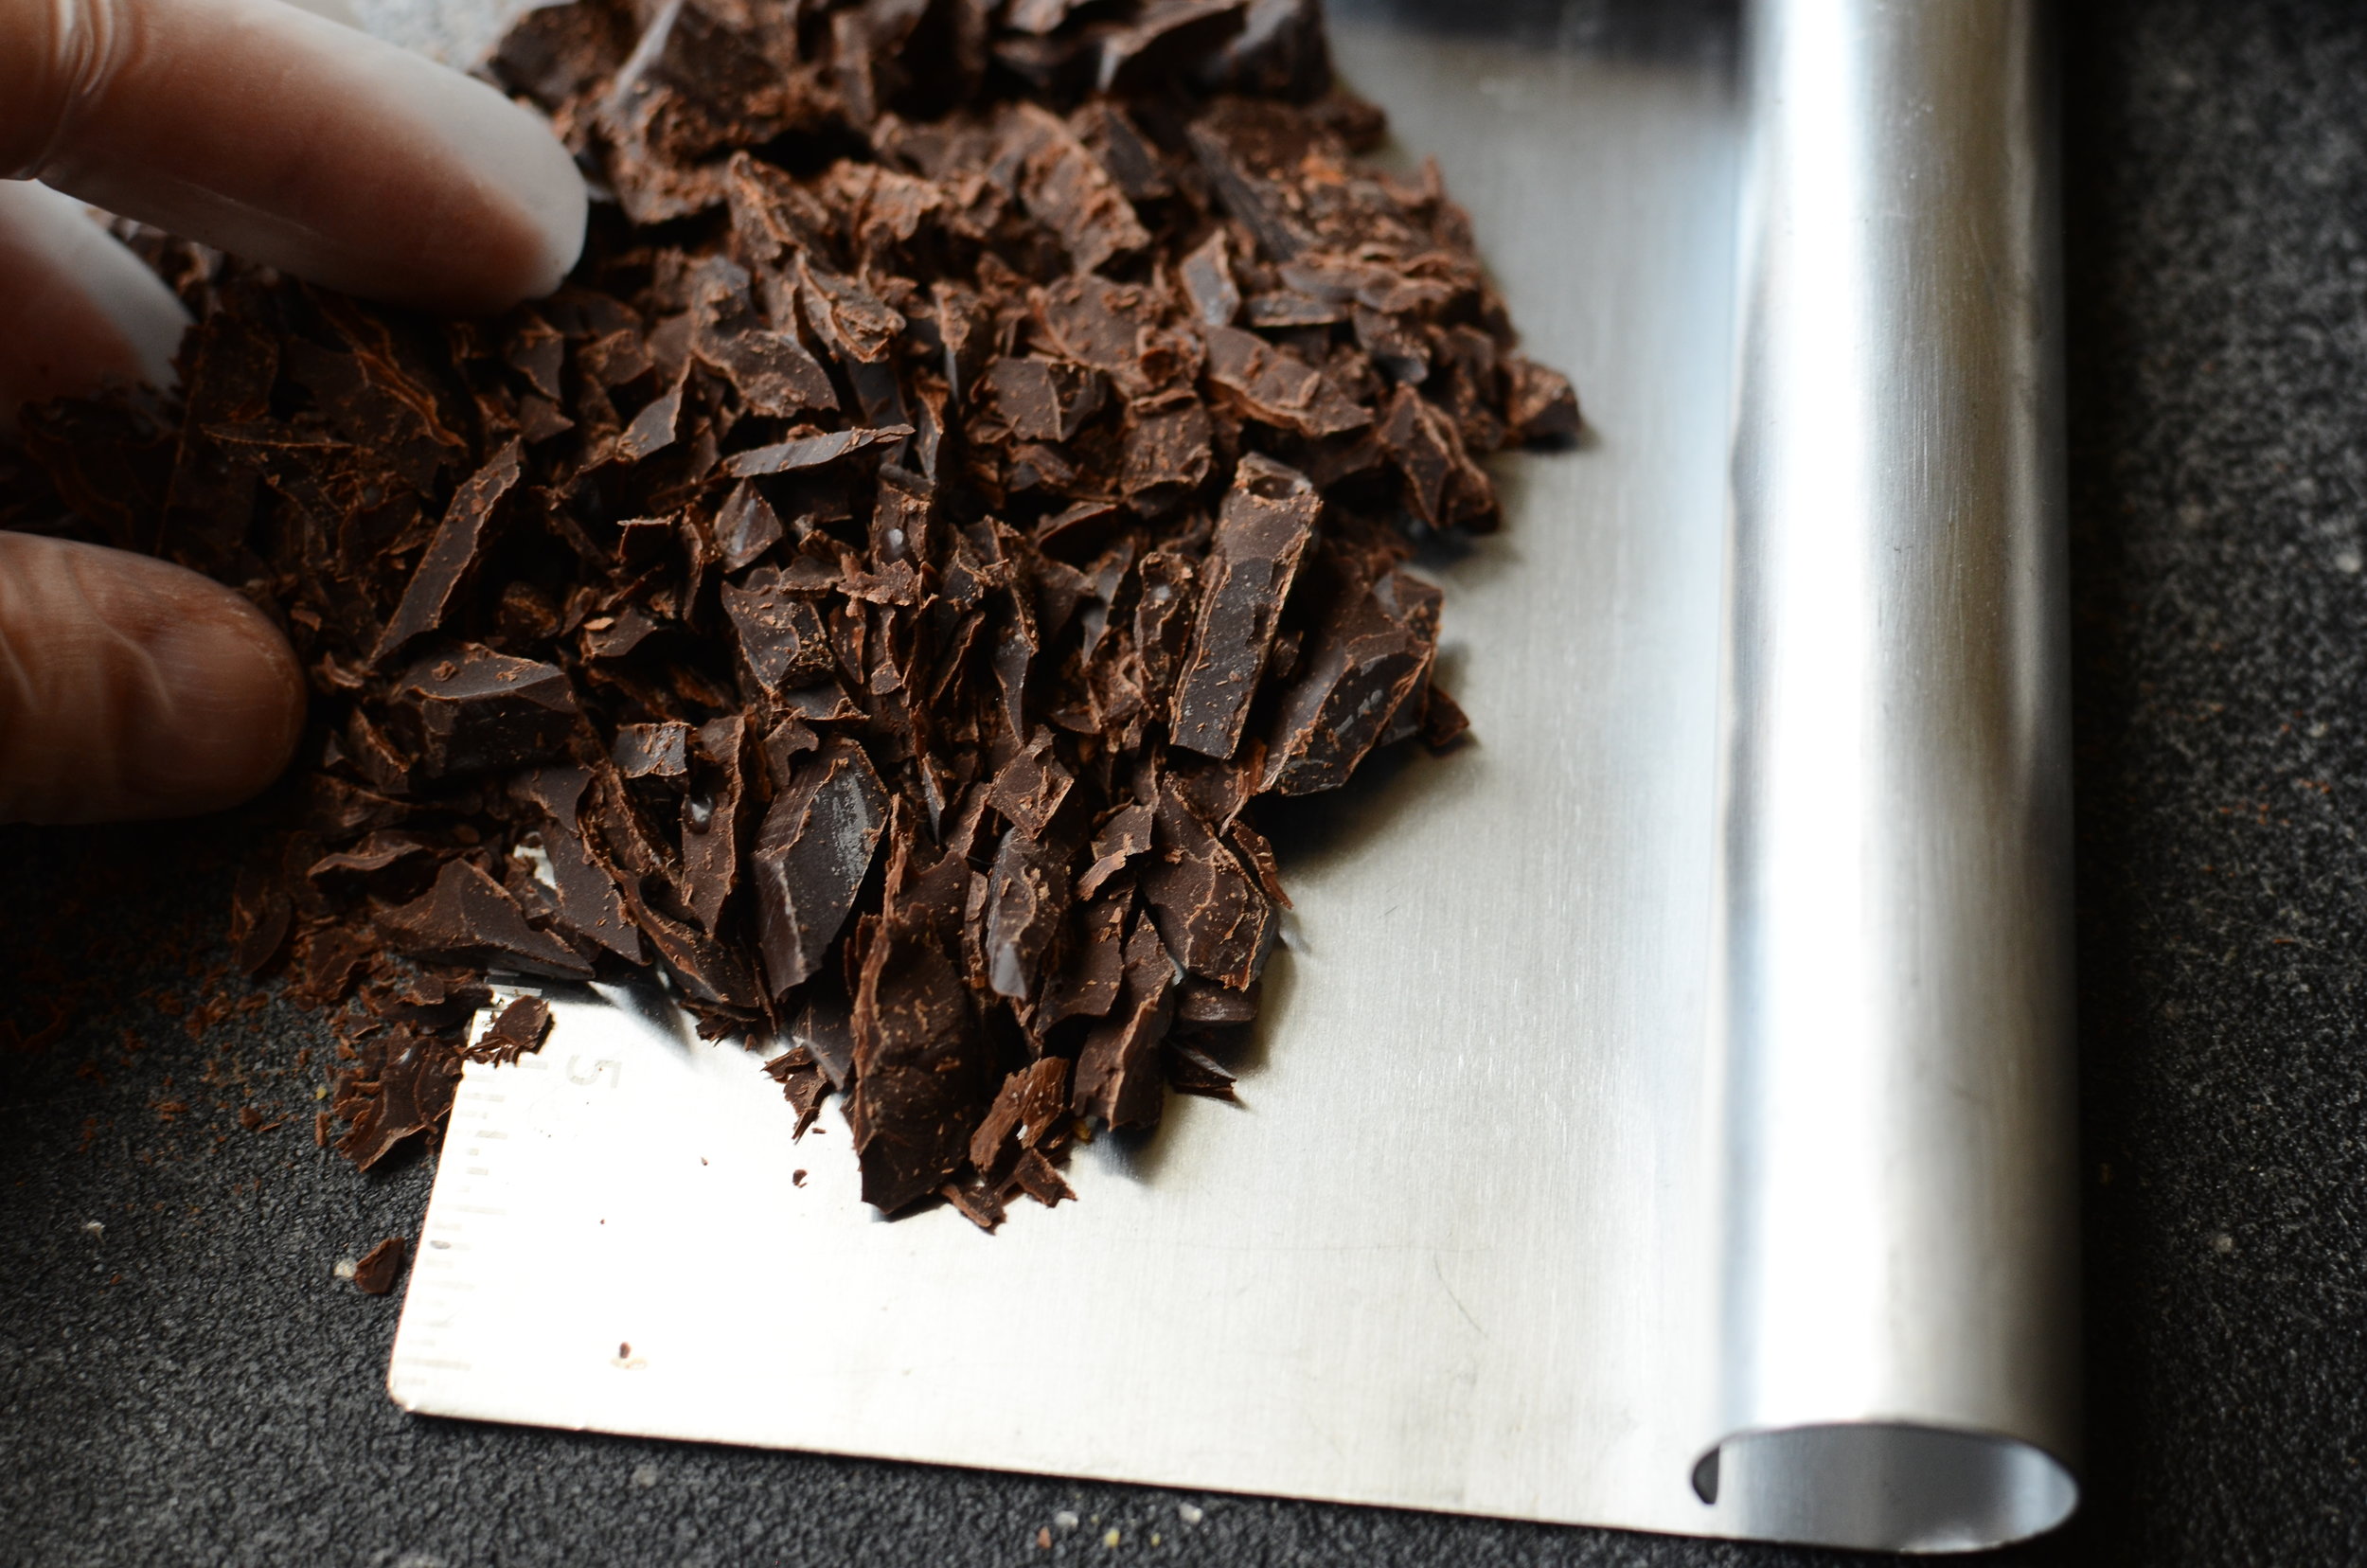
I have warm hands so I scoop the chocolate up with a bench scraper to transfer it to a bowl.
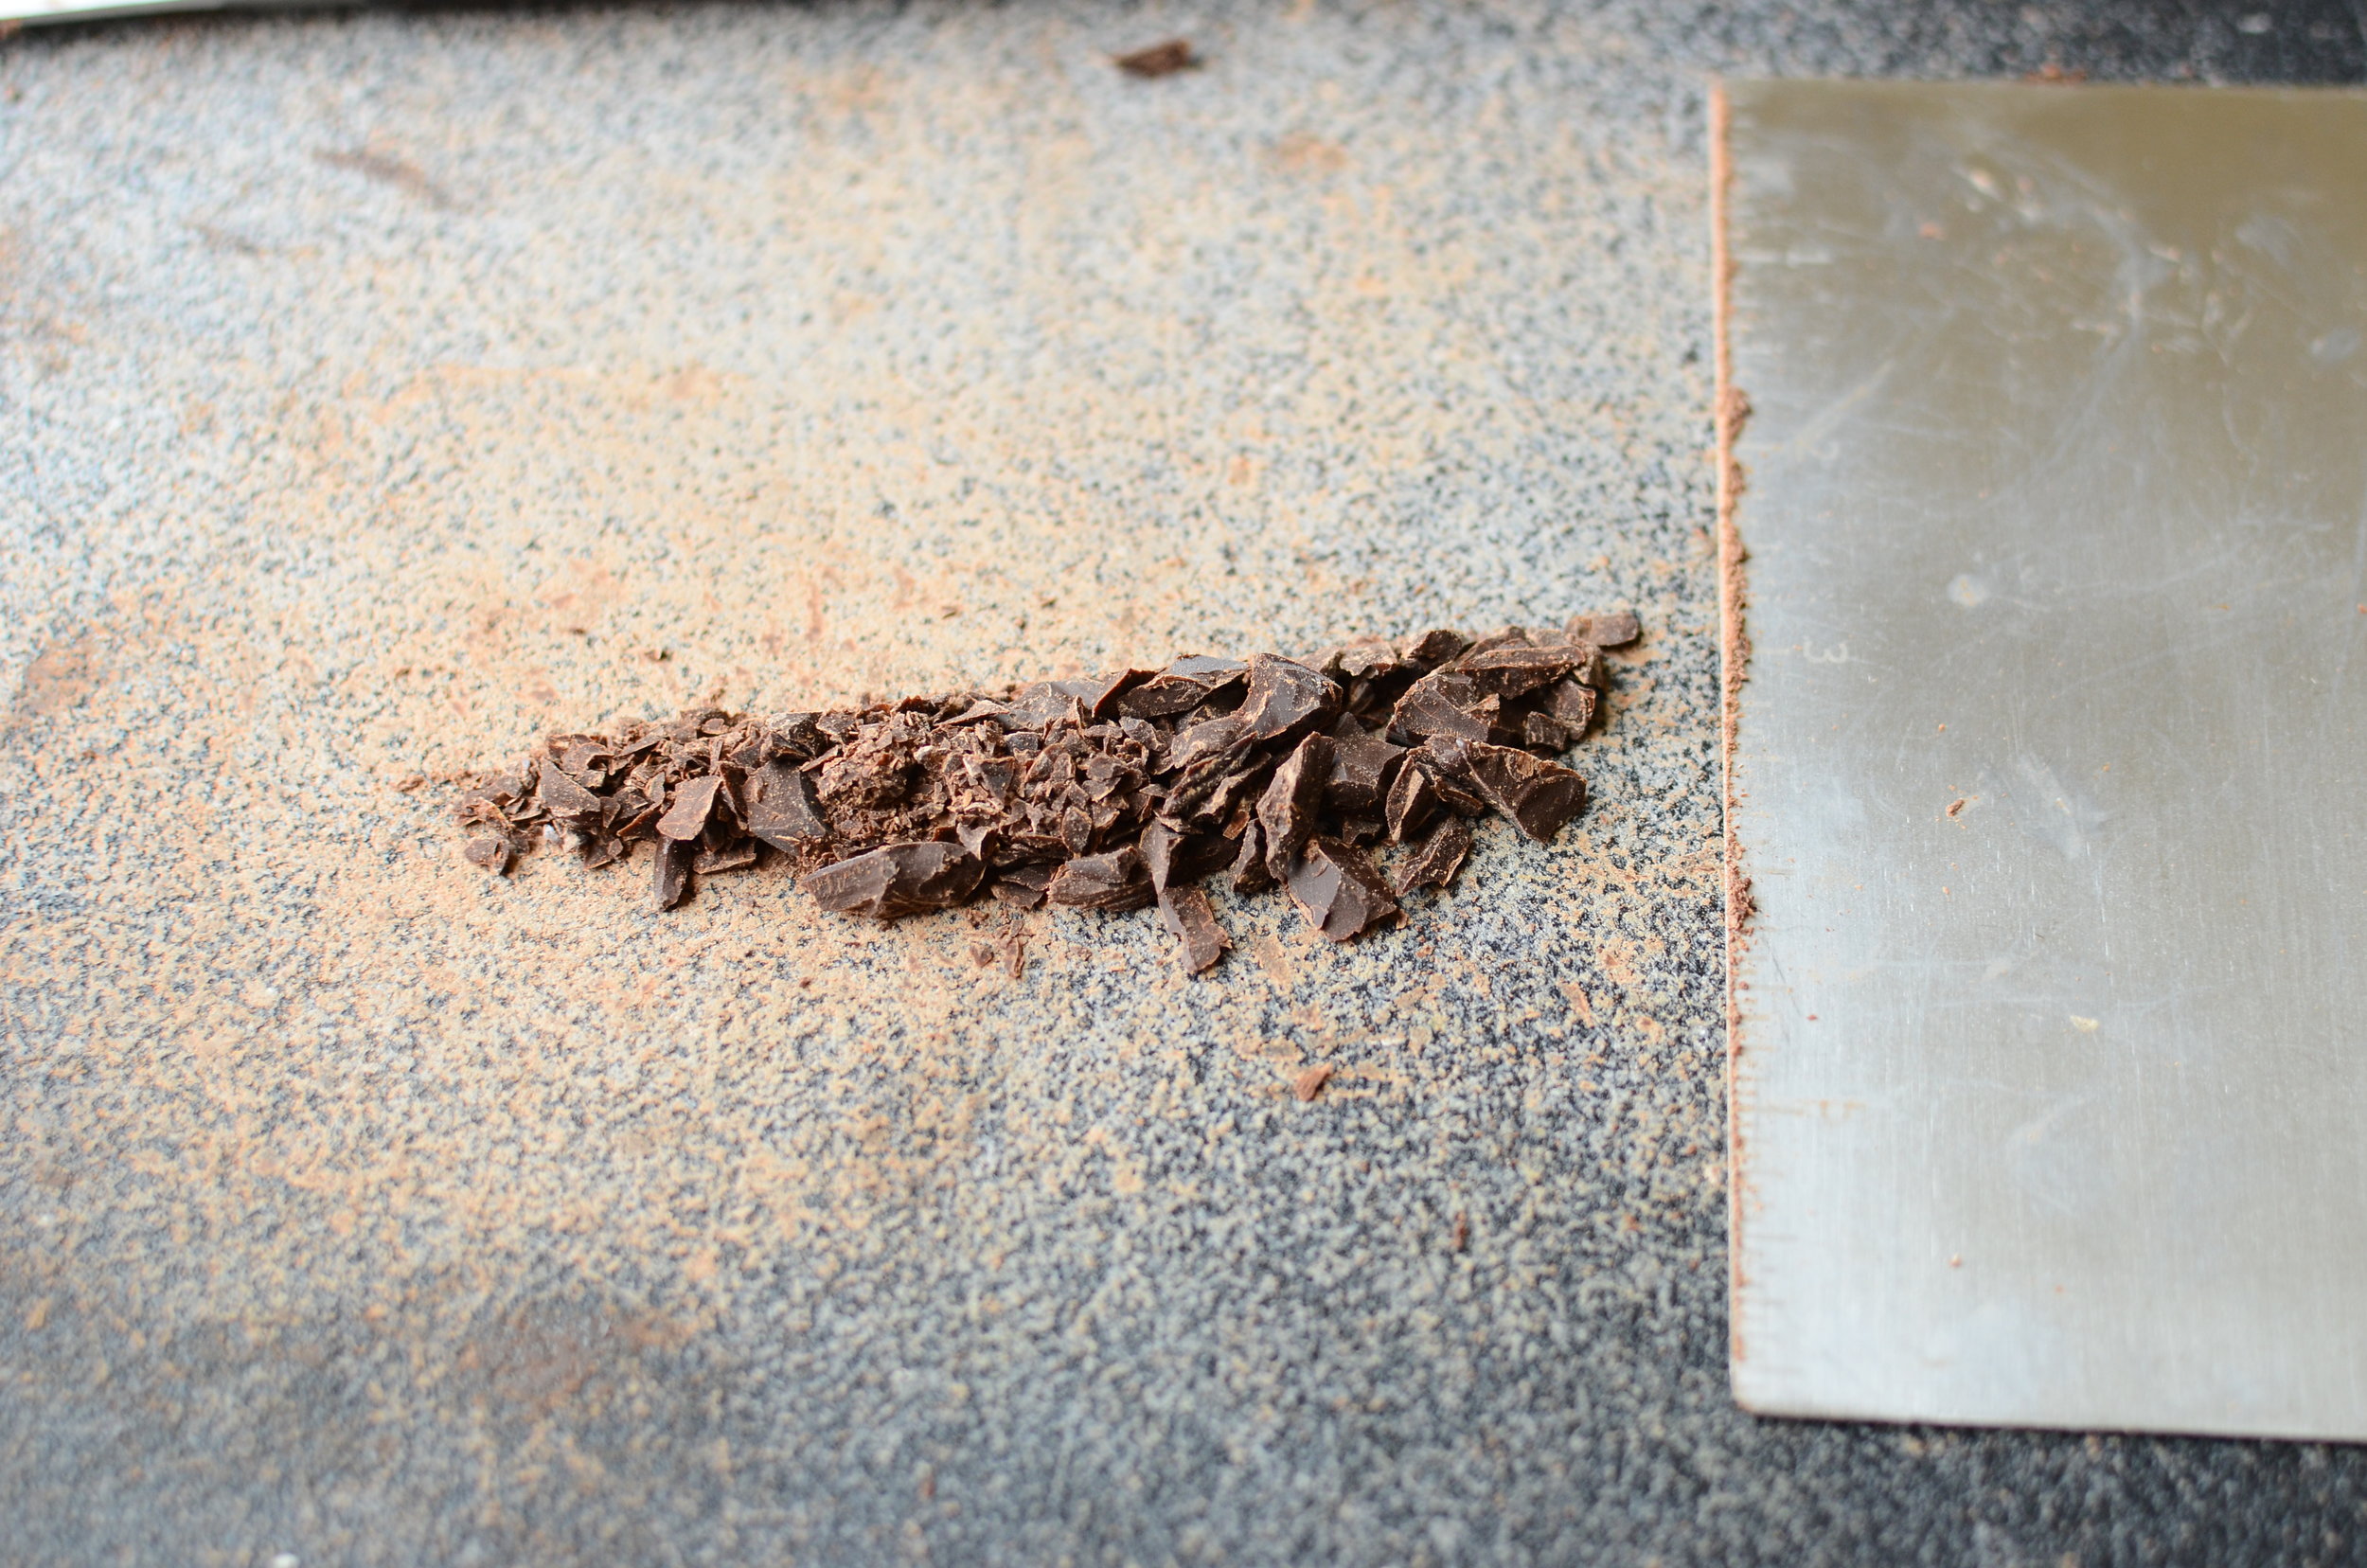
And this is why it's called a bench scraper. It scrapes up even the smallest bits of chocolate. It's good for other things too - scooping cut vegetables off the cutting board, frosting the sides of a cake, cutting gnocchi, moving pie crusts, dividing bread dough, and so much more. I like an all metal one with measurement markings and a handle that doesn't exceed the length of the flade - this one is my favorite.
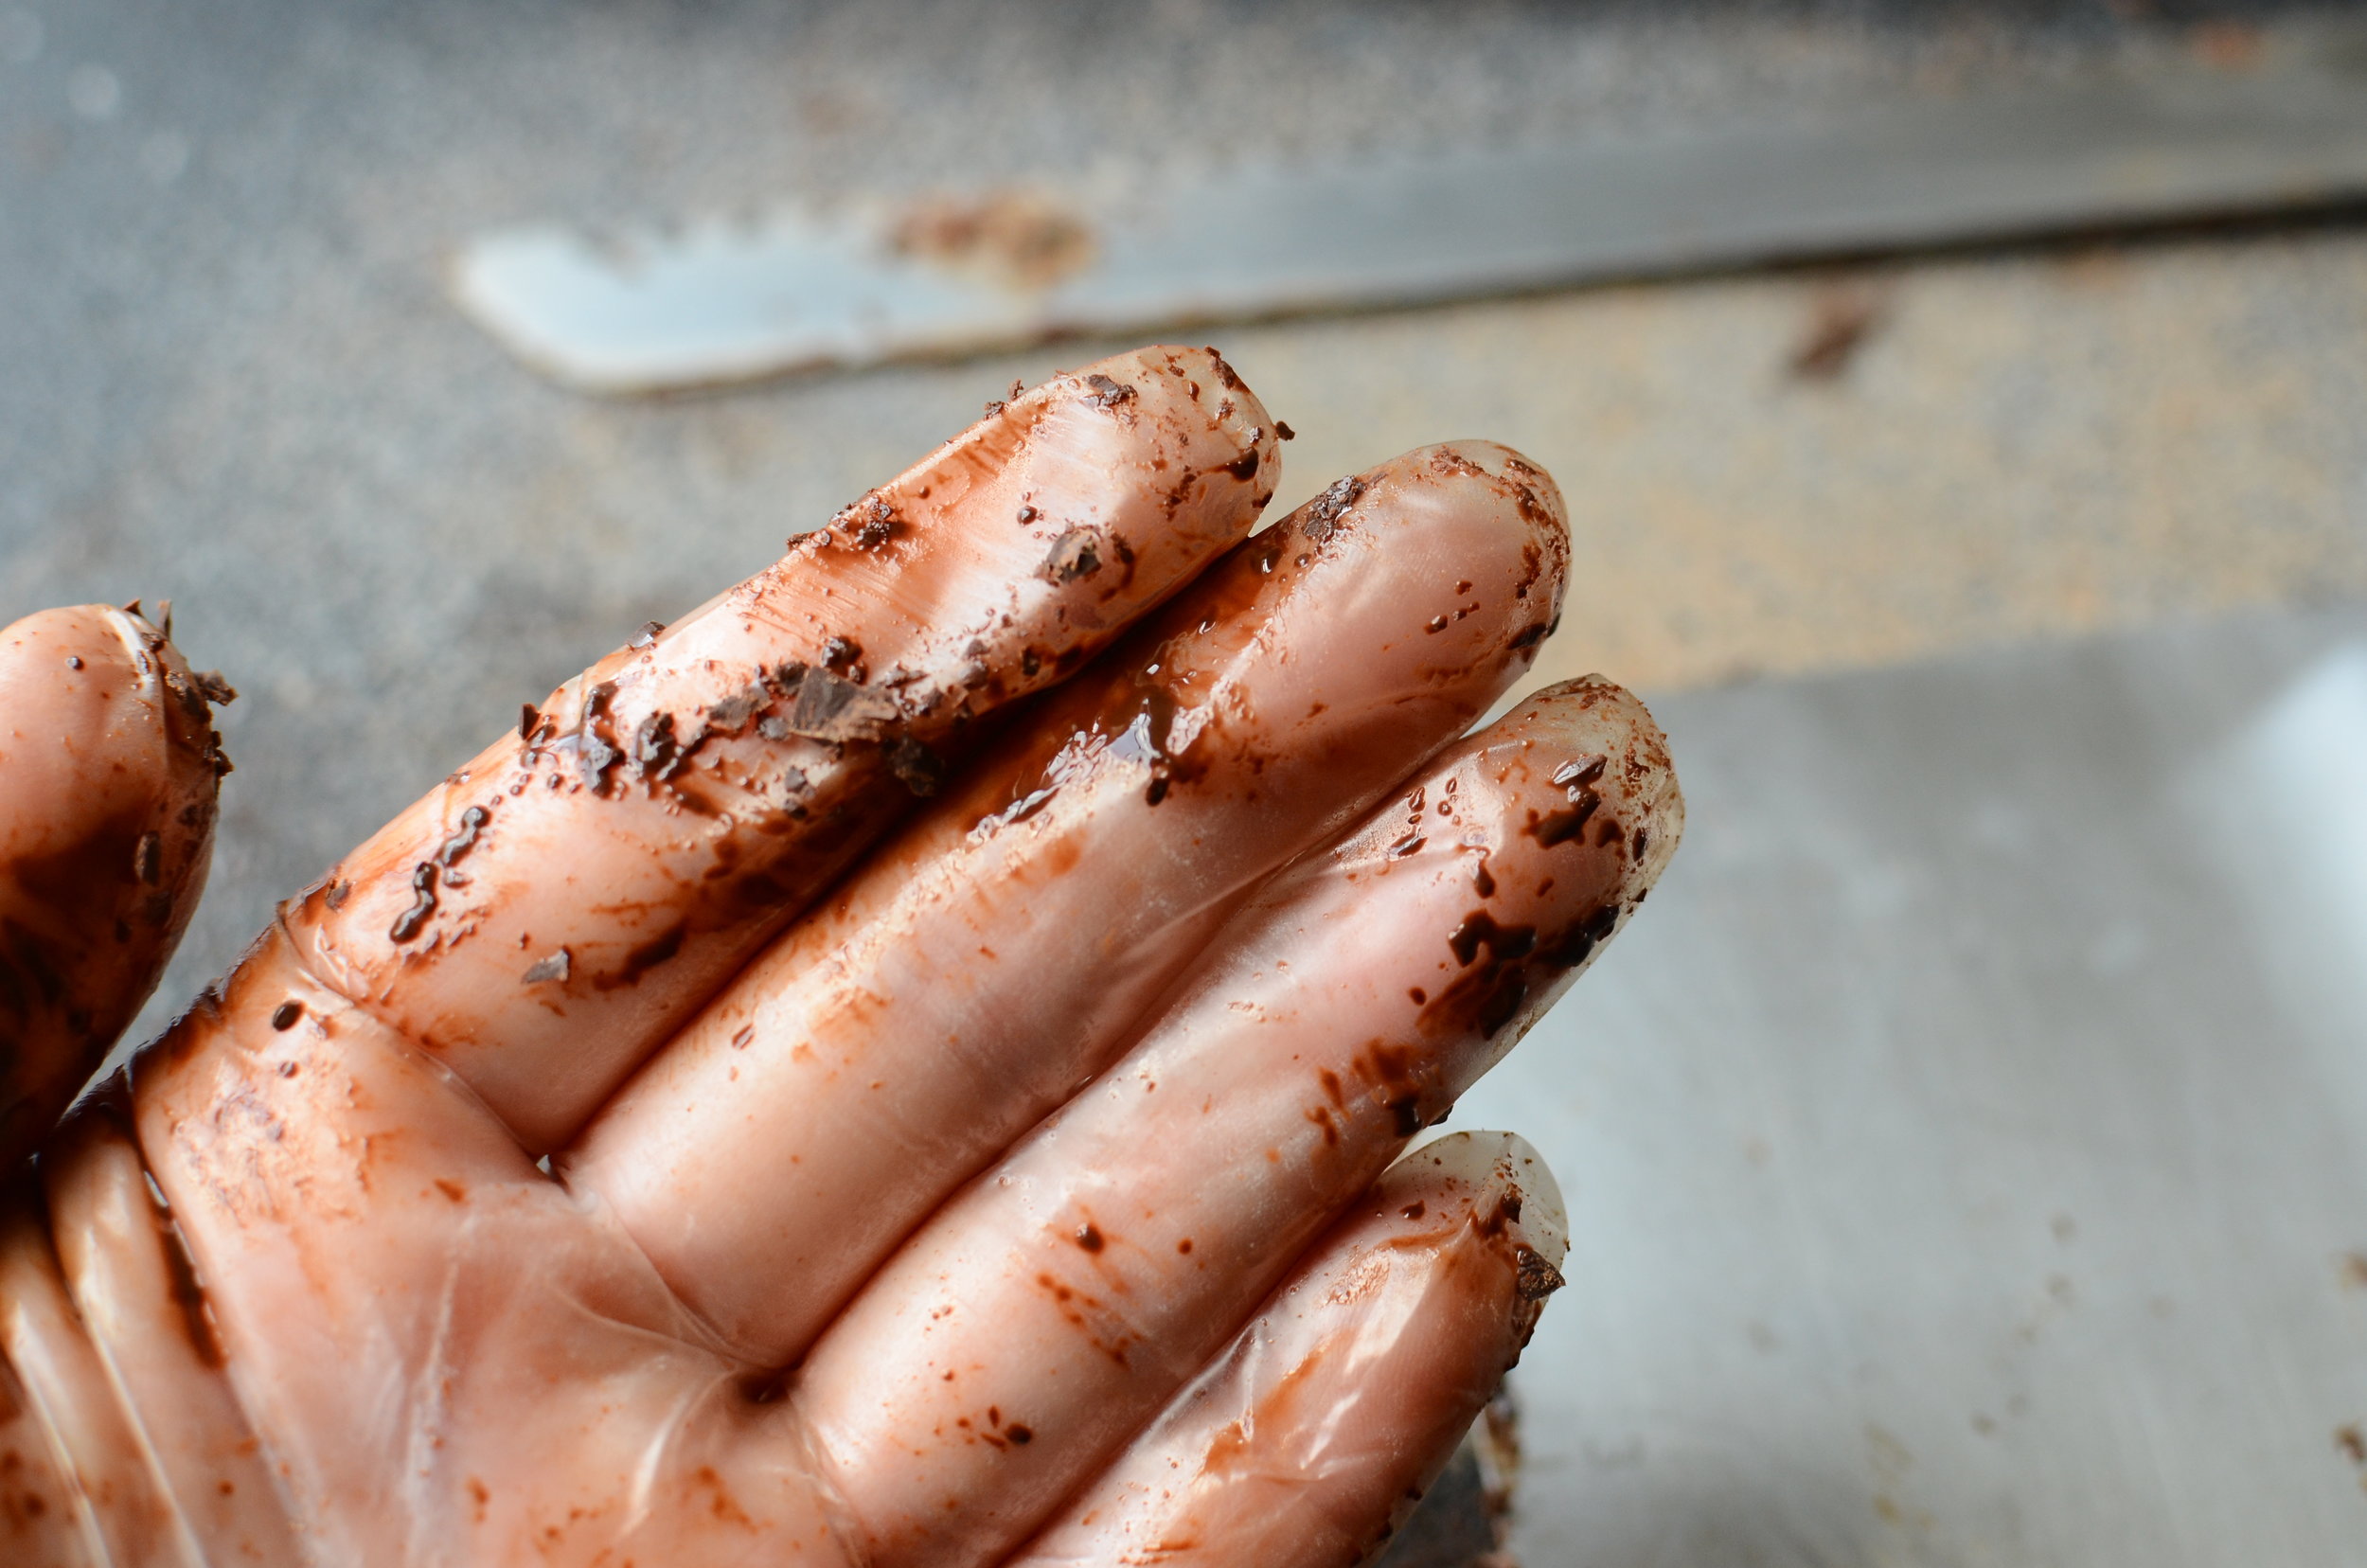
I also wear disposable gloves to keep the mess to a minimum.
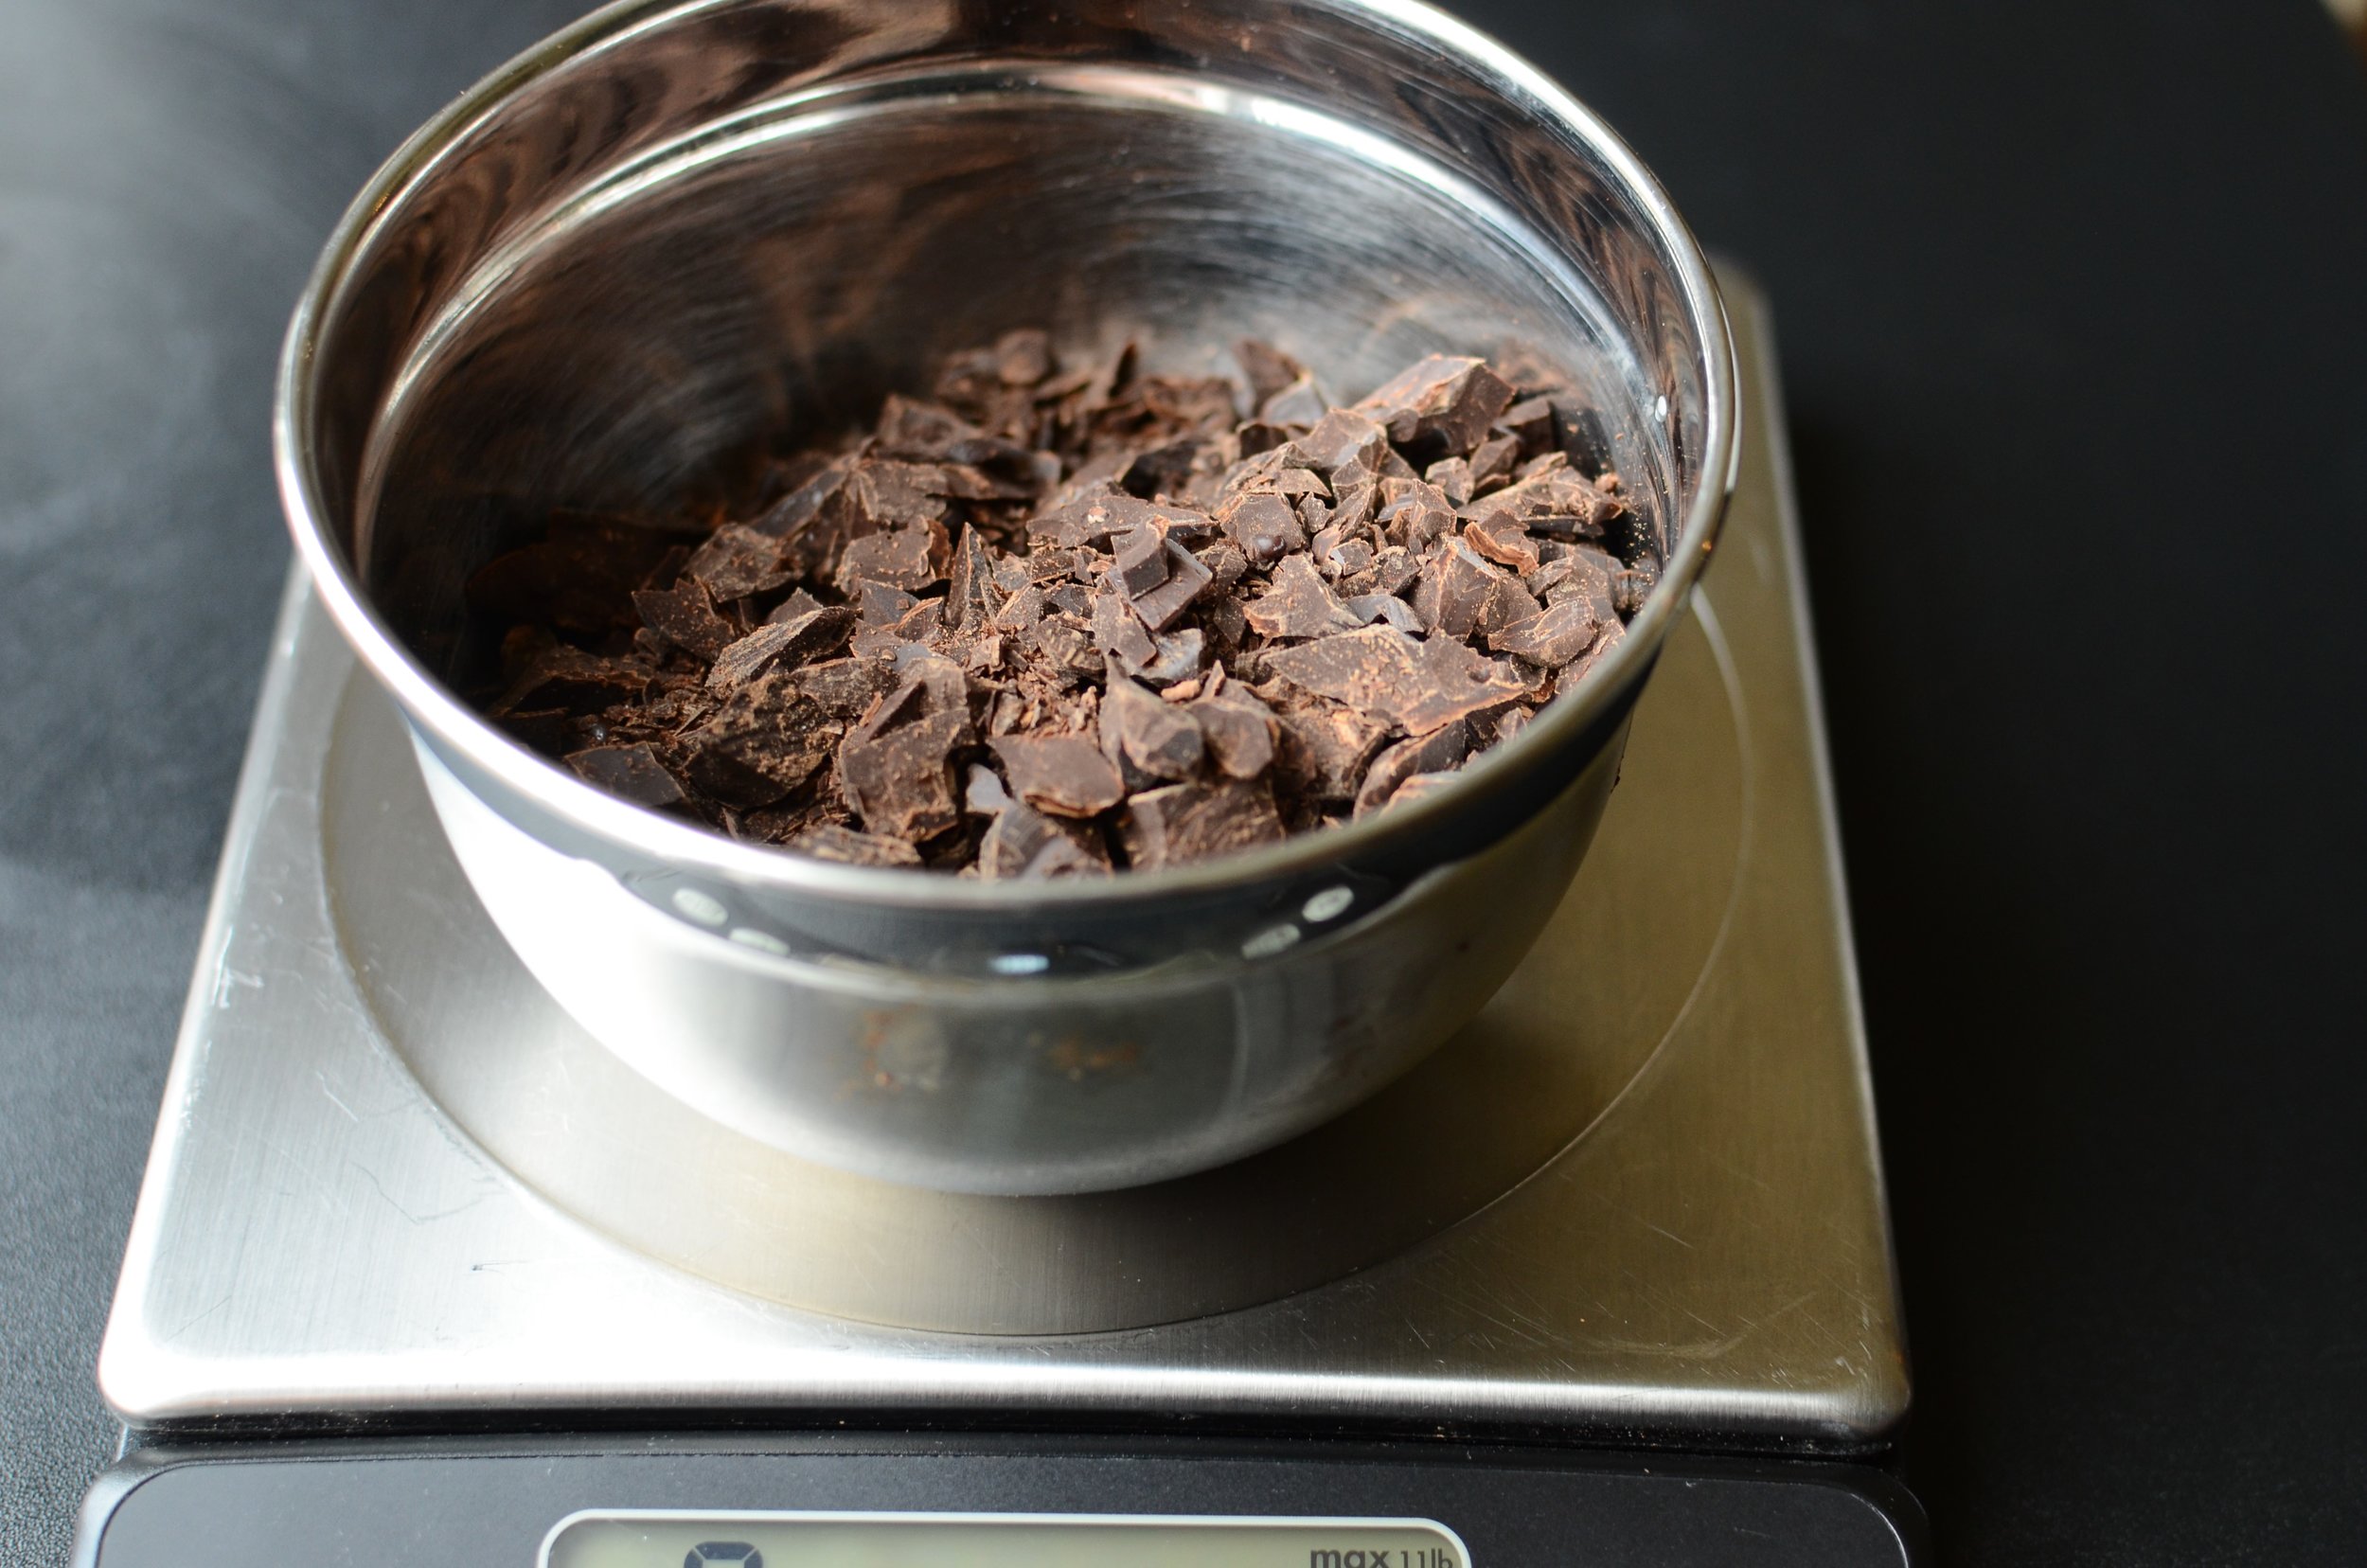
Weigh the chocolate and place it in a heat-safe bowl.
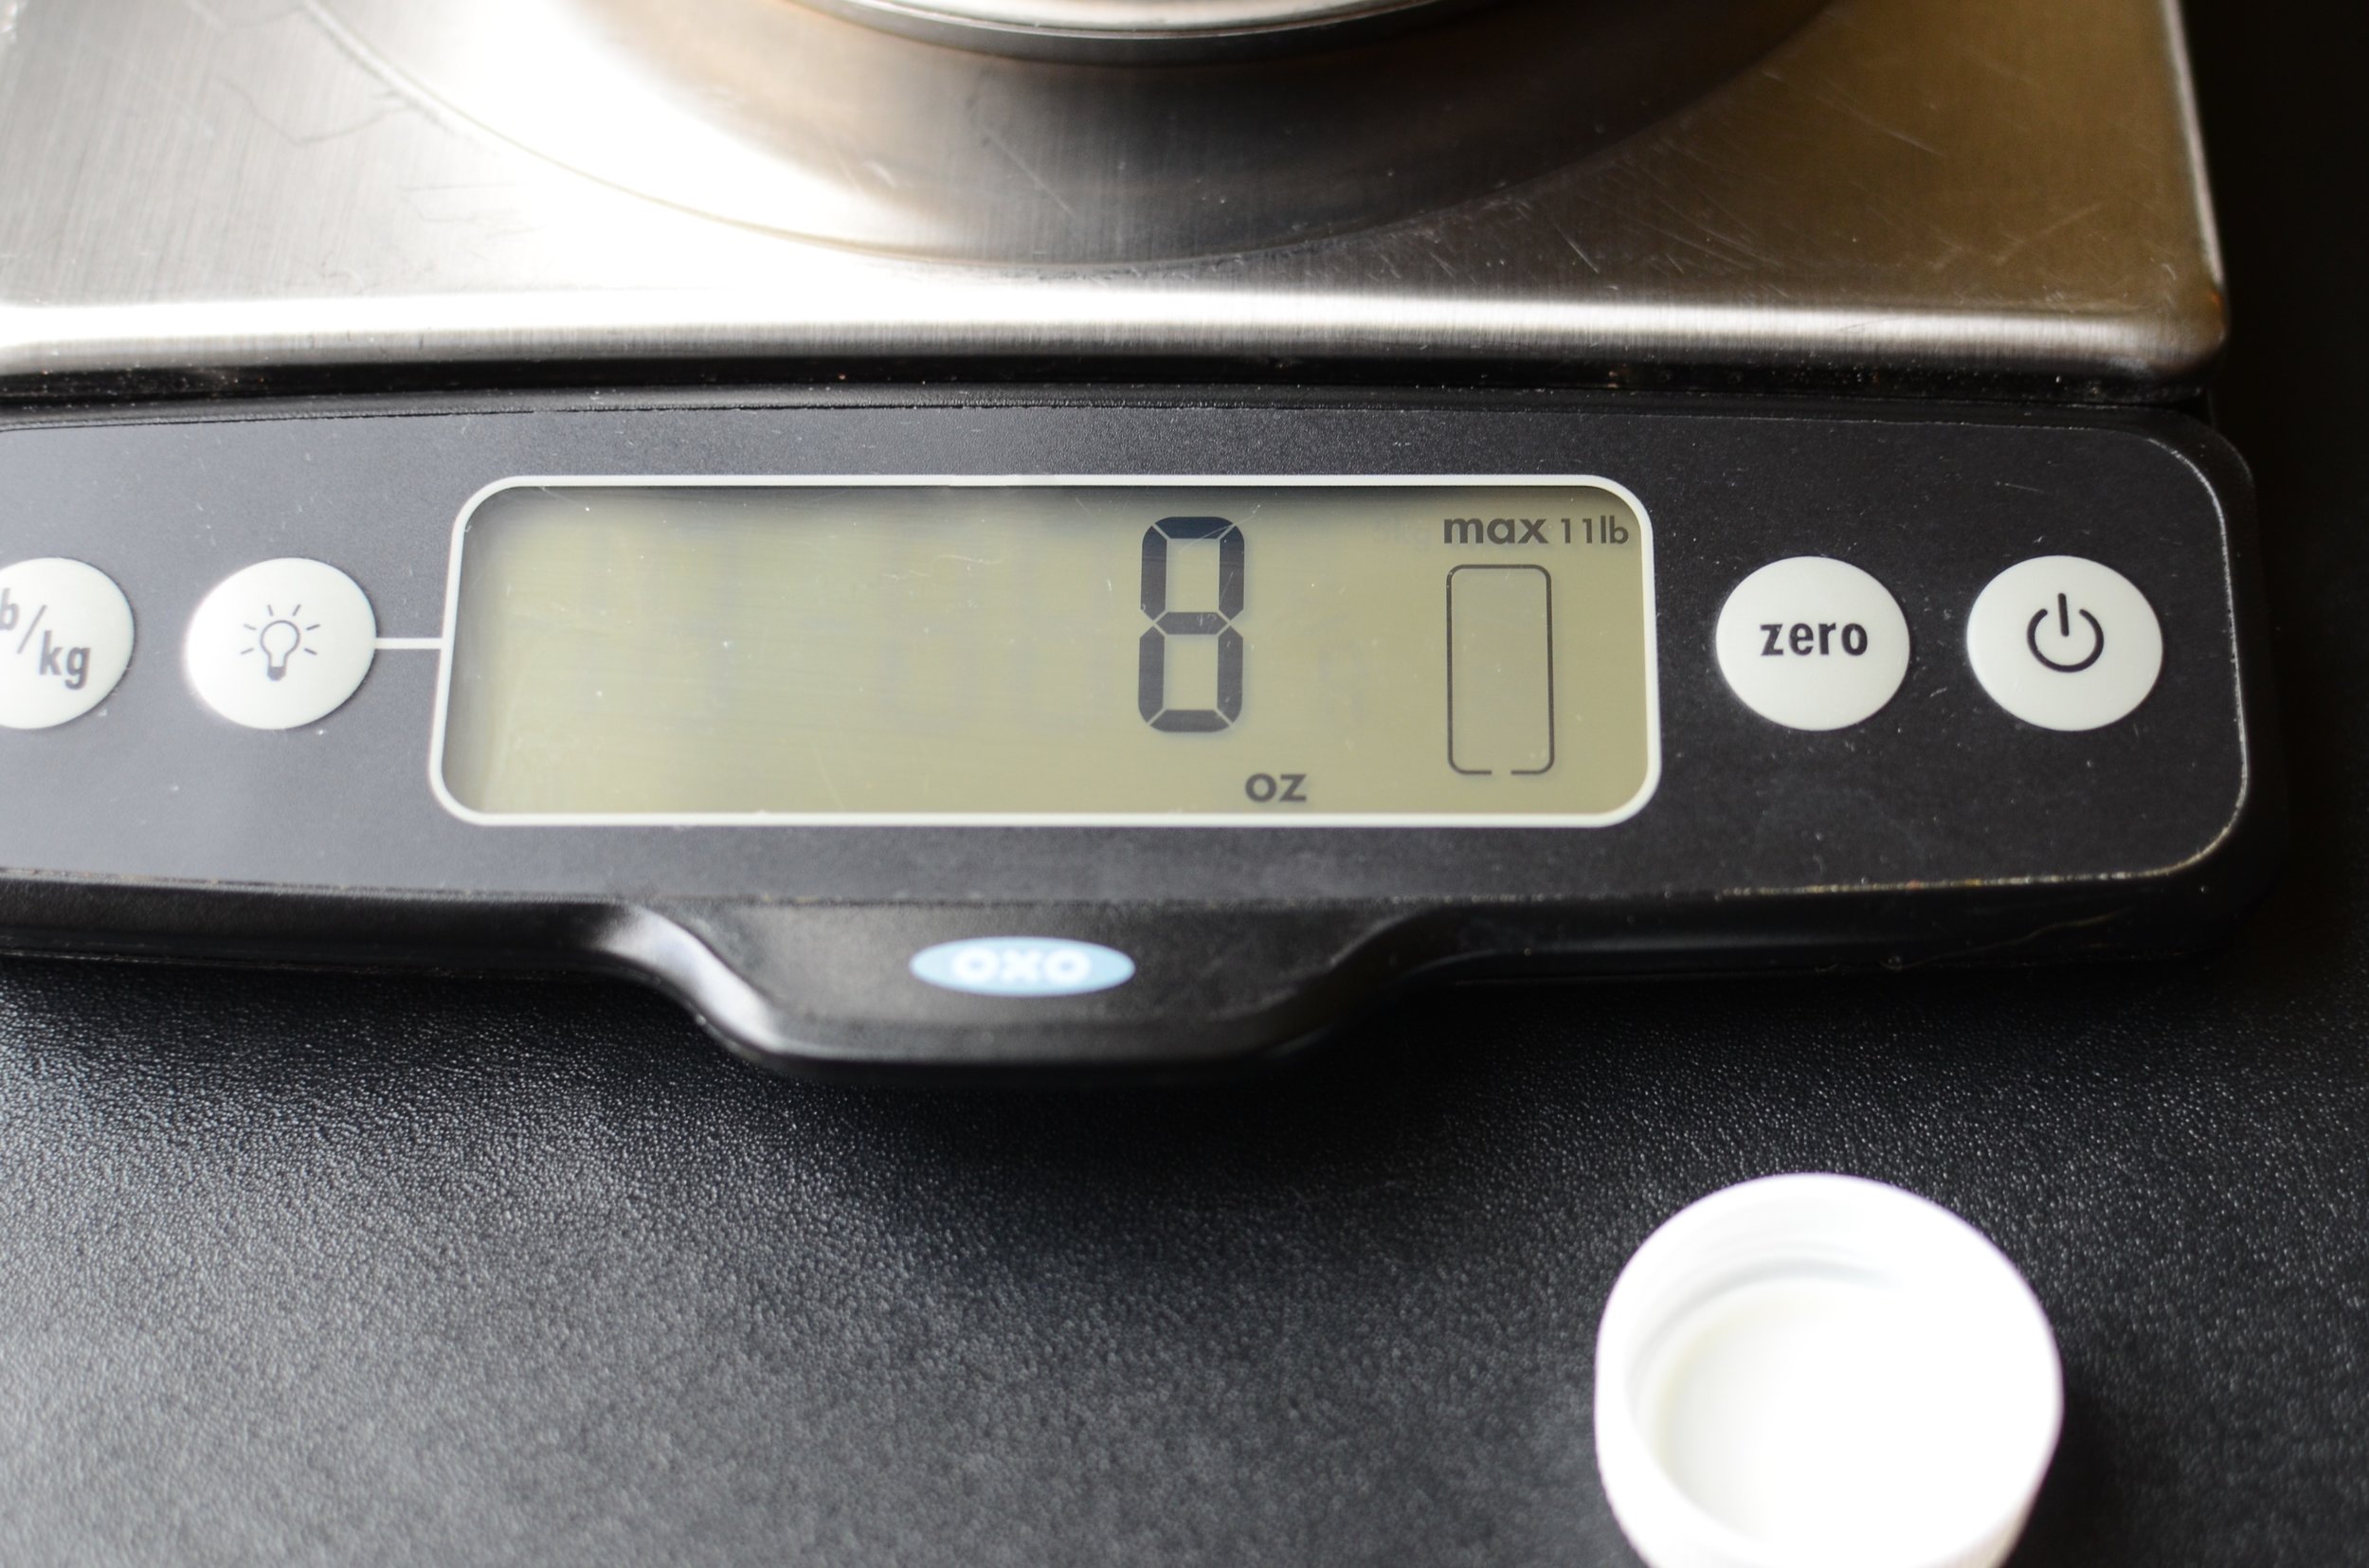
I've got 8 ounces of chocolate today.

In a small saucepan with a heavy bottom, weigh the same amount of cream. So that means the chocolate and cream will both weigh the same amount.
If you're trying to figure out how much truffle mixture you need to make, 1 ounce of the truffle mixture will make two tablespoon-size truffles. Personally, I like them about half that size, but you do you.

Gently heat the cream until its just about to boil. You'll notice bubbles form around the sides of the pan.
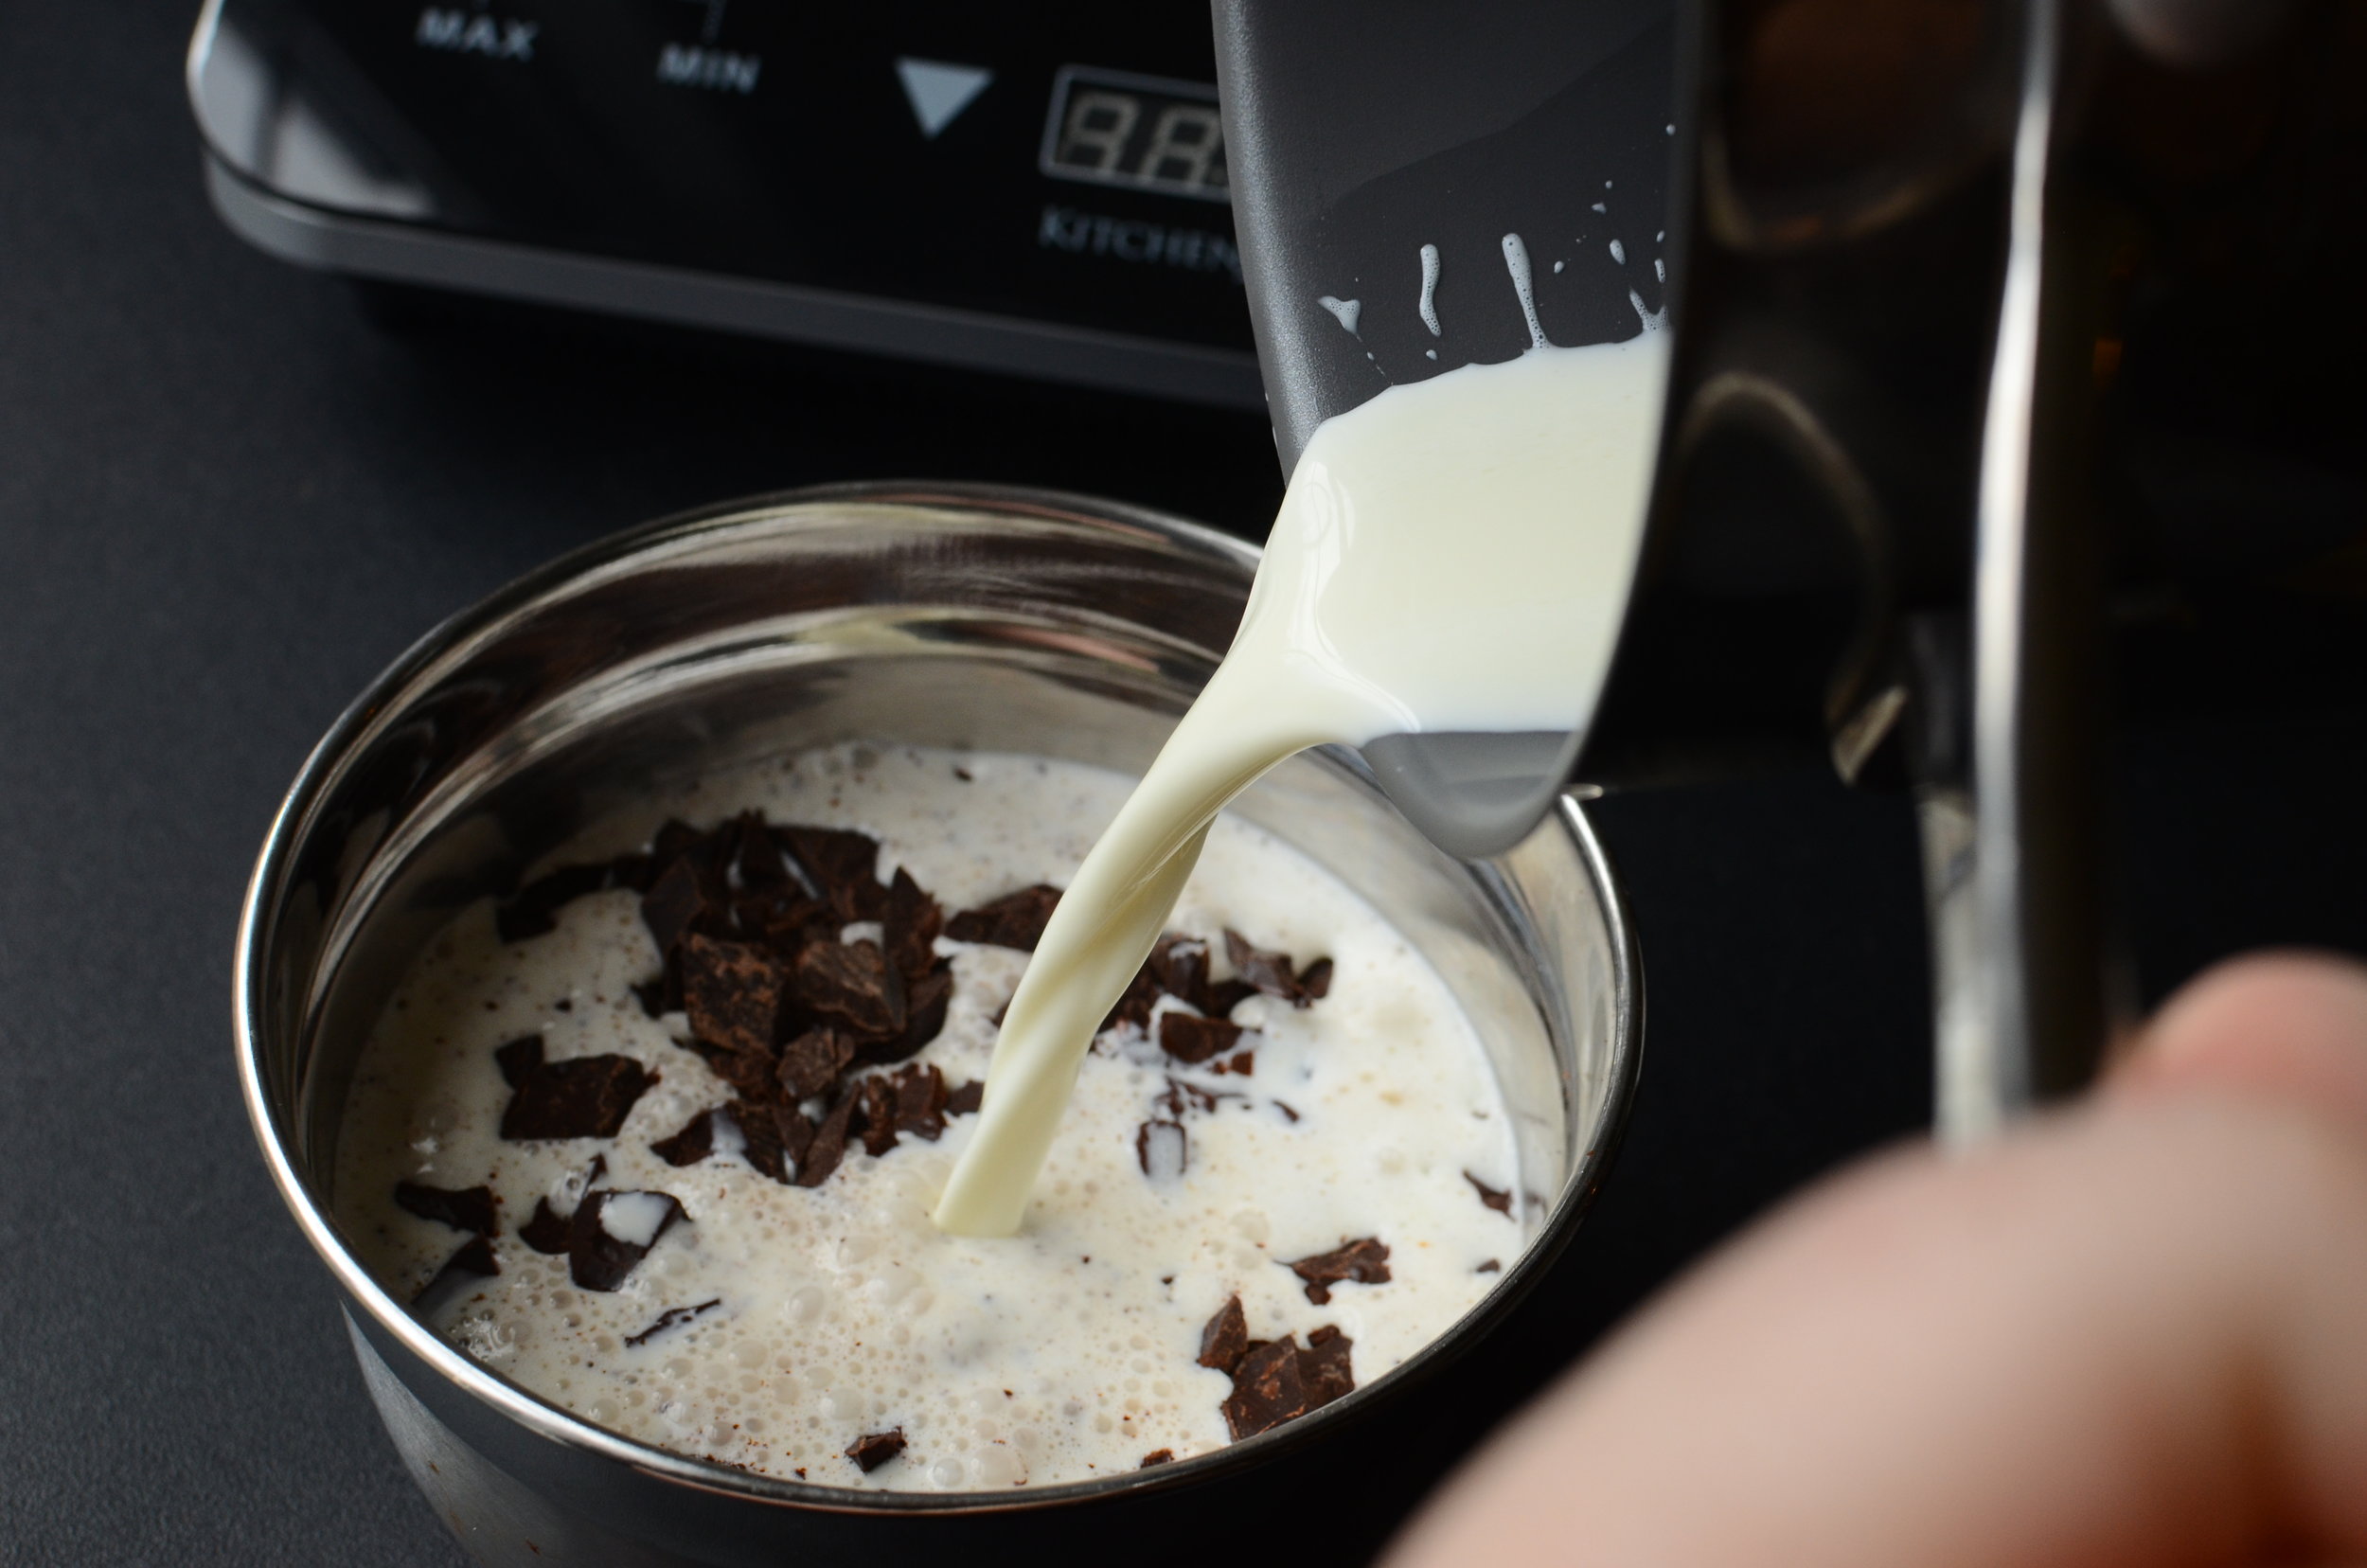
Pour the hot cream over the chopped chocolate and let them sit, undisturbed, for several minutes.

Whisk until the chocolate and cream fully incorporate.

Oops - this is what happens when you turn your back for a second and the whisk falls out of your bowl. Don't do that.
Strain the chocolate through a sieve to remove any unmelted bits. Place the chocolate mixture in the fridge to chill for several hours. If you want to cover the mixture, use a clean tea towel. DO NOT cover the hot mixture with plastic - condensation will form on the plastic and if it drips into the chocolate mixture, the chocolate will most likely seize (turn into a lumpy, clumpy, irretrevable mess).
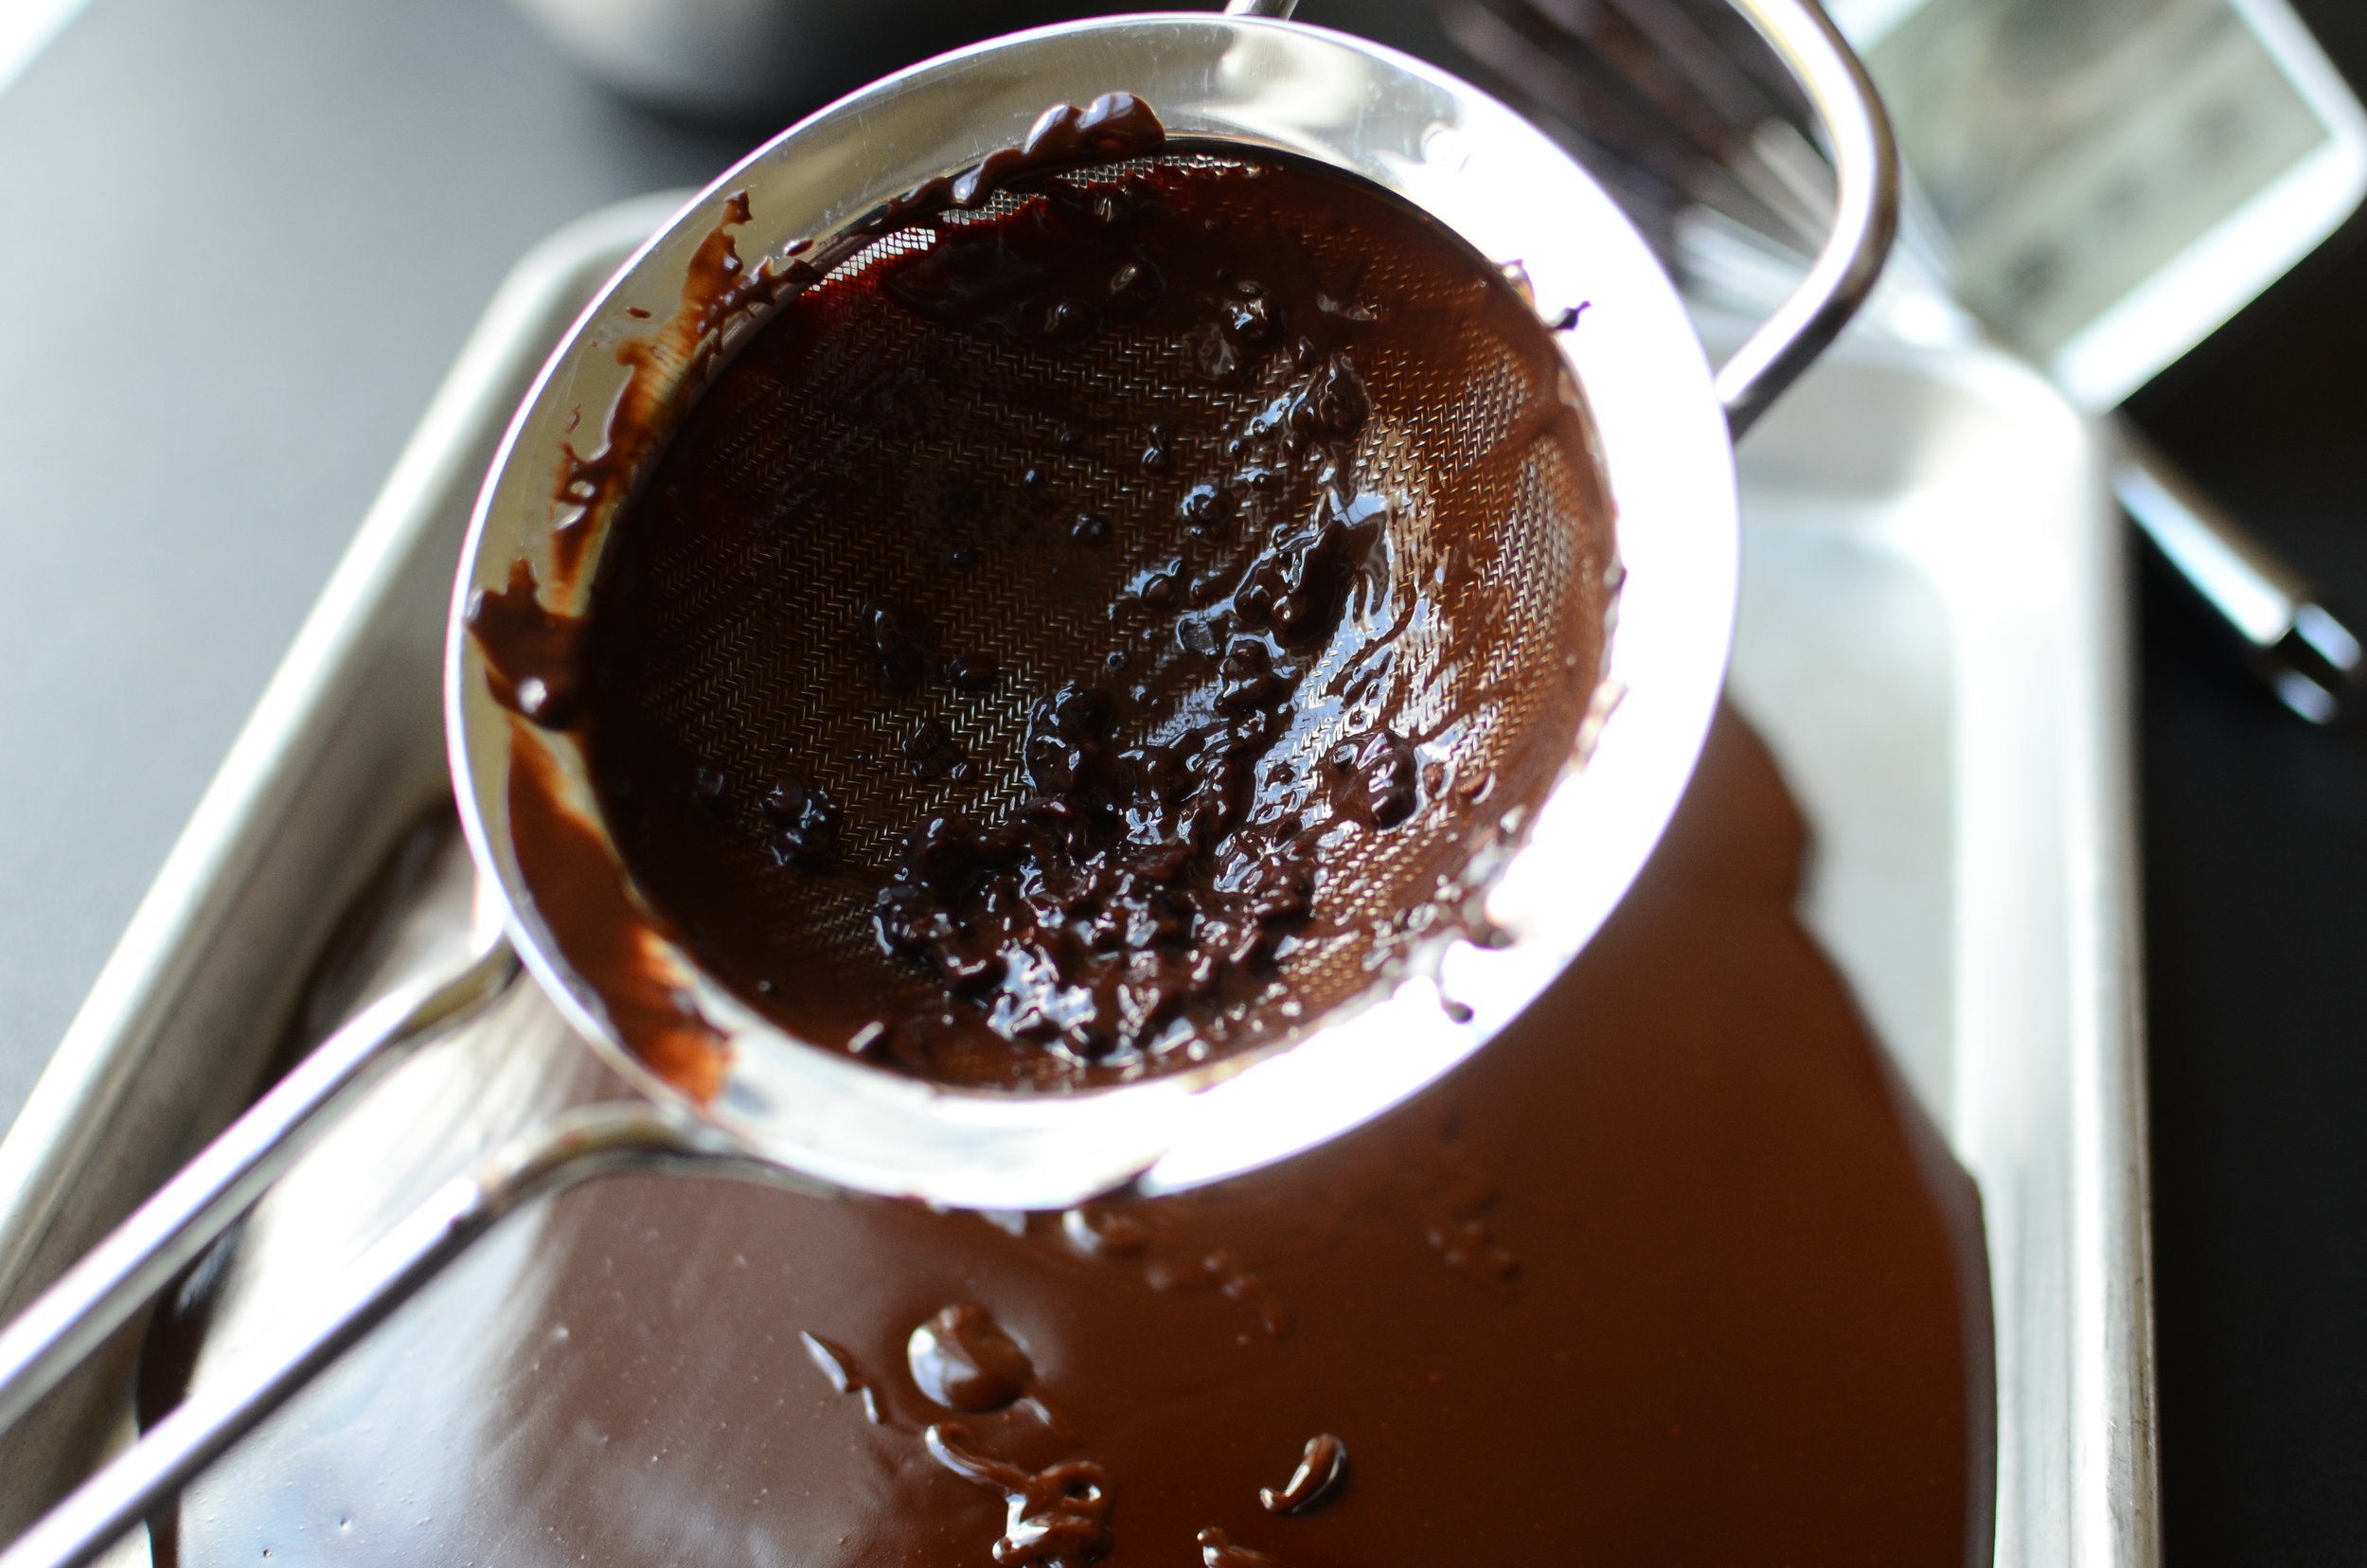
I don't want those lumps of unmelted chocolate in our truffles, but that's how I roll. Feel free to skip this step.


While the mixture chills, prepare the toppings you want to roll your truffles in. I used to chop nuts on a cutting board, but that was before I discovered this handy gadget.

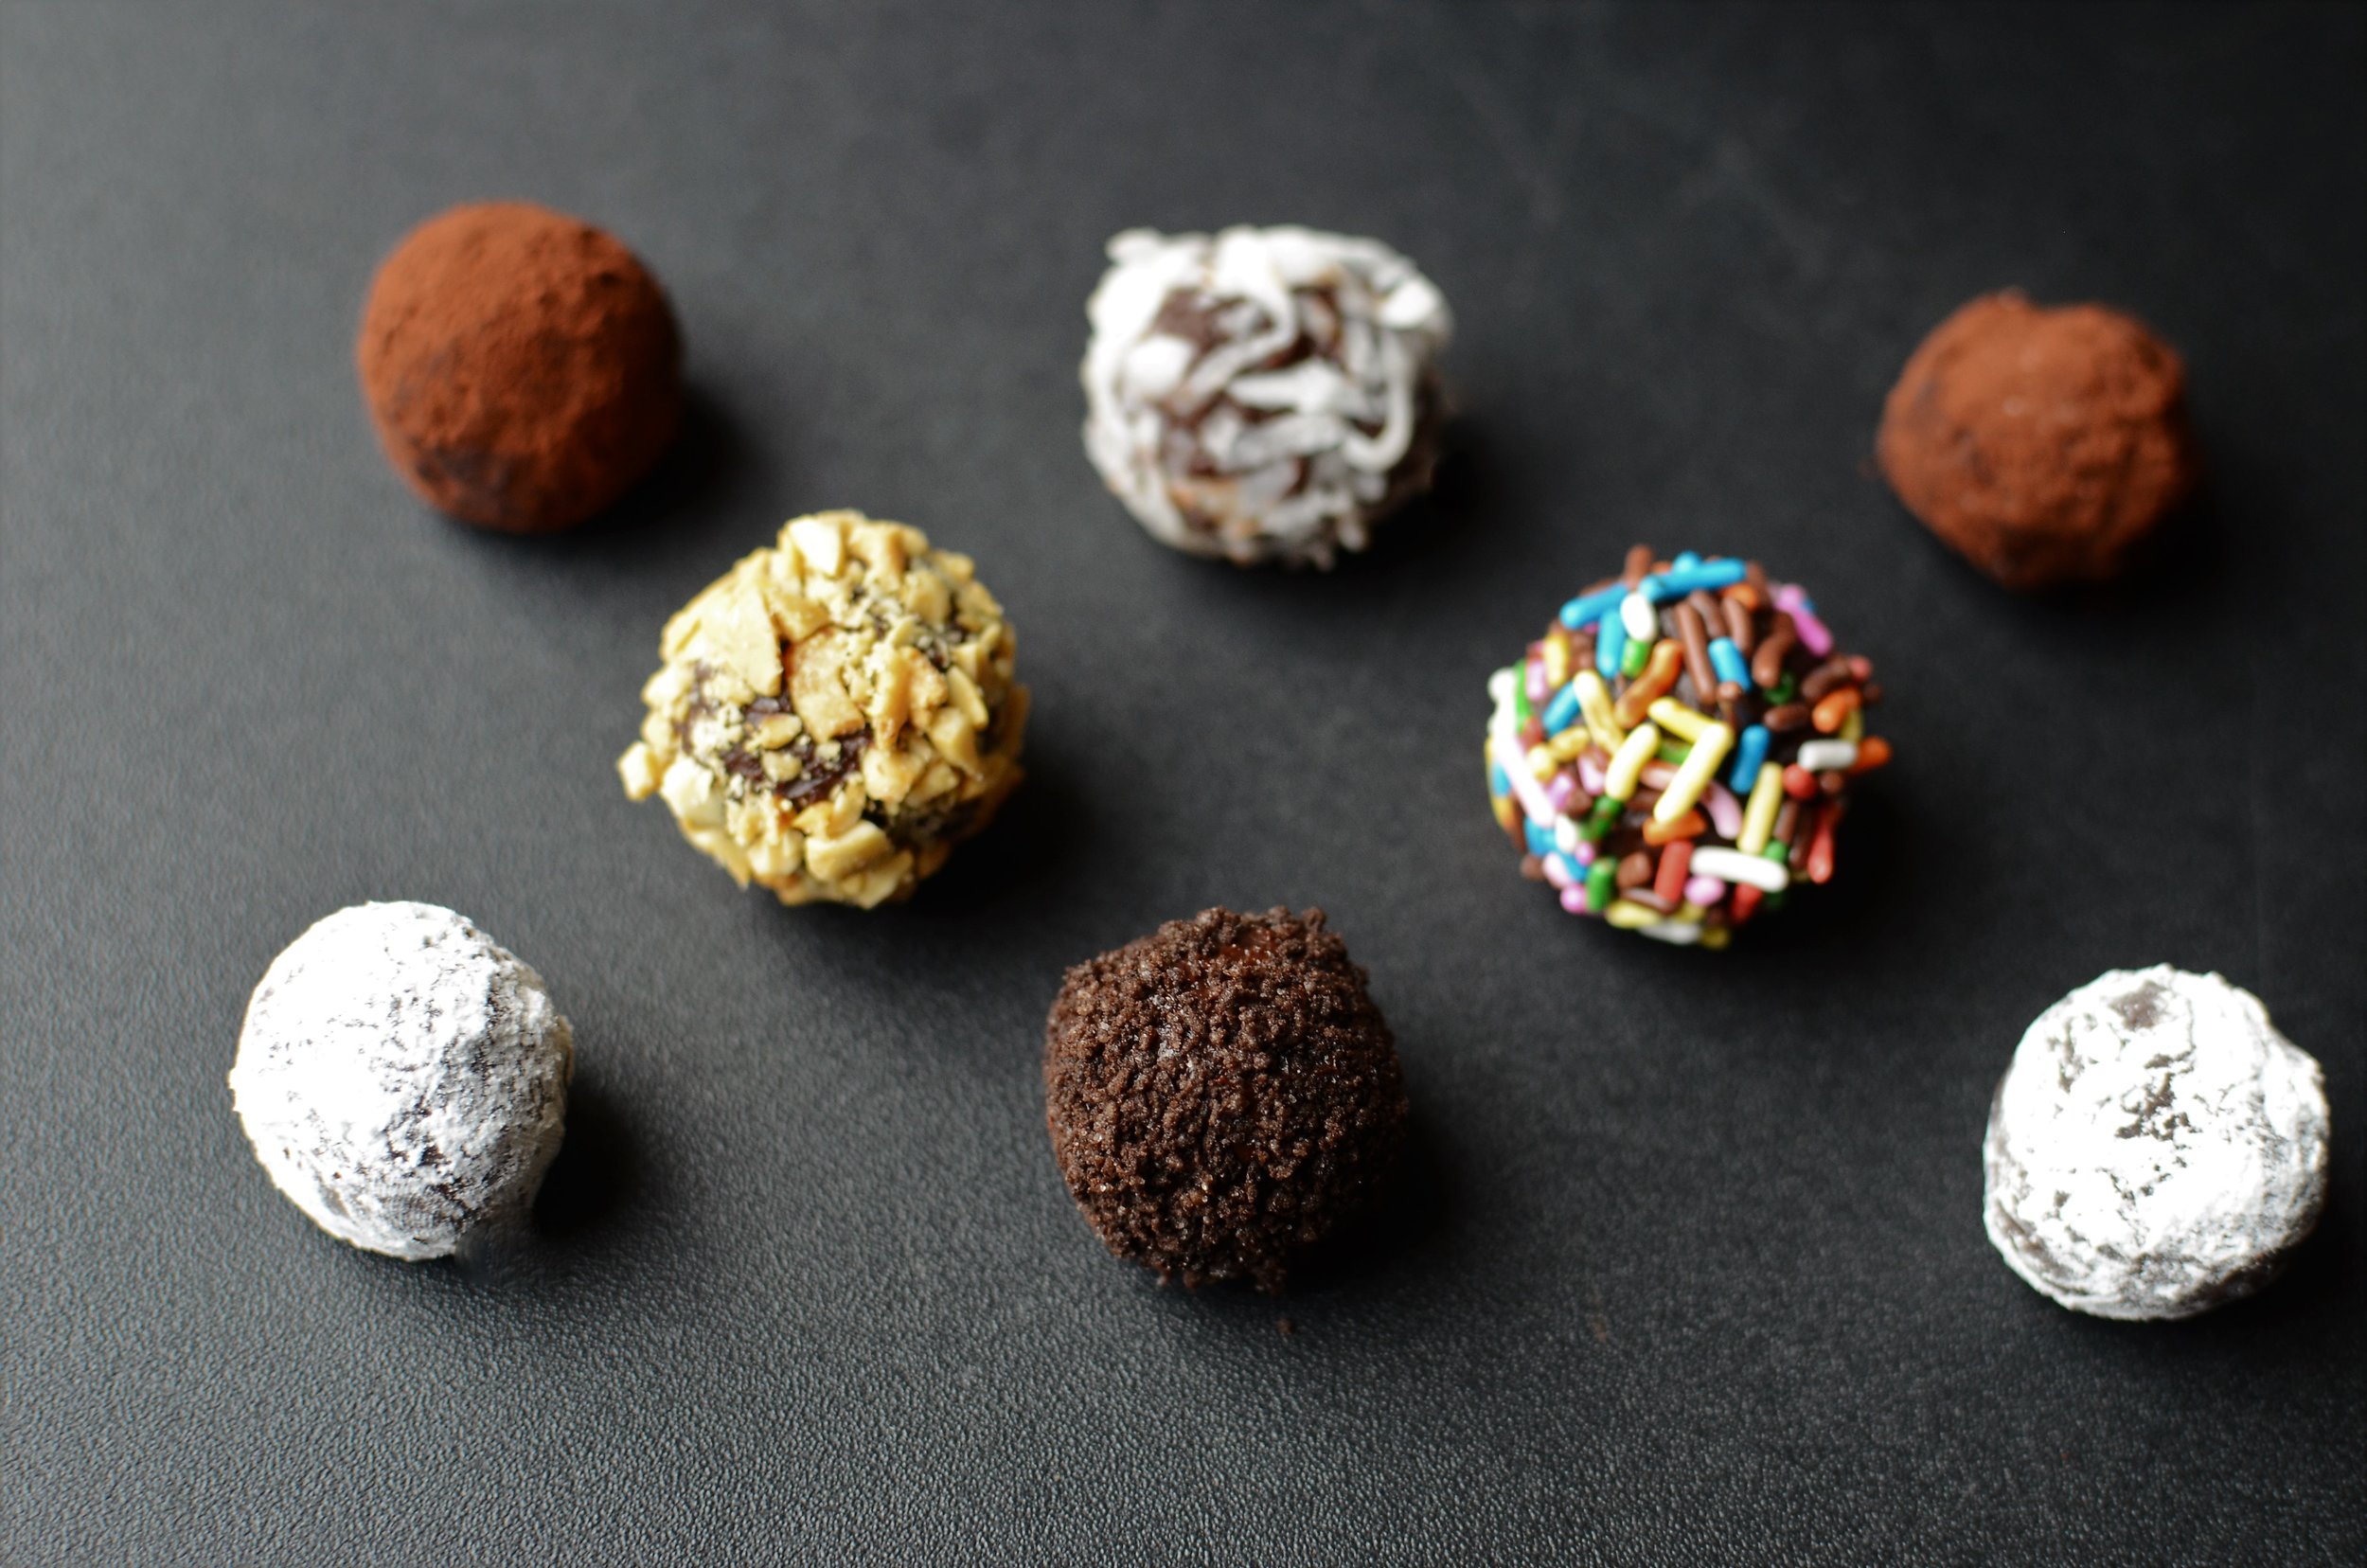
I couldn't decide on one or two toppings so I chose flaked coconut, chopped nuts, unsweetened Dutch-processed cocoa powder, confectioner's sugar (10x), oreo crumbs, and rainbow sprinkles. Variety is the spice of life!
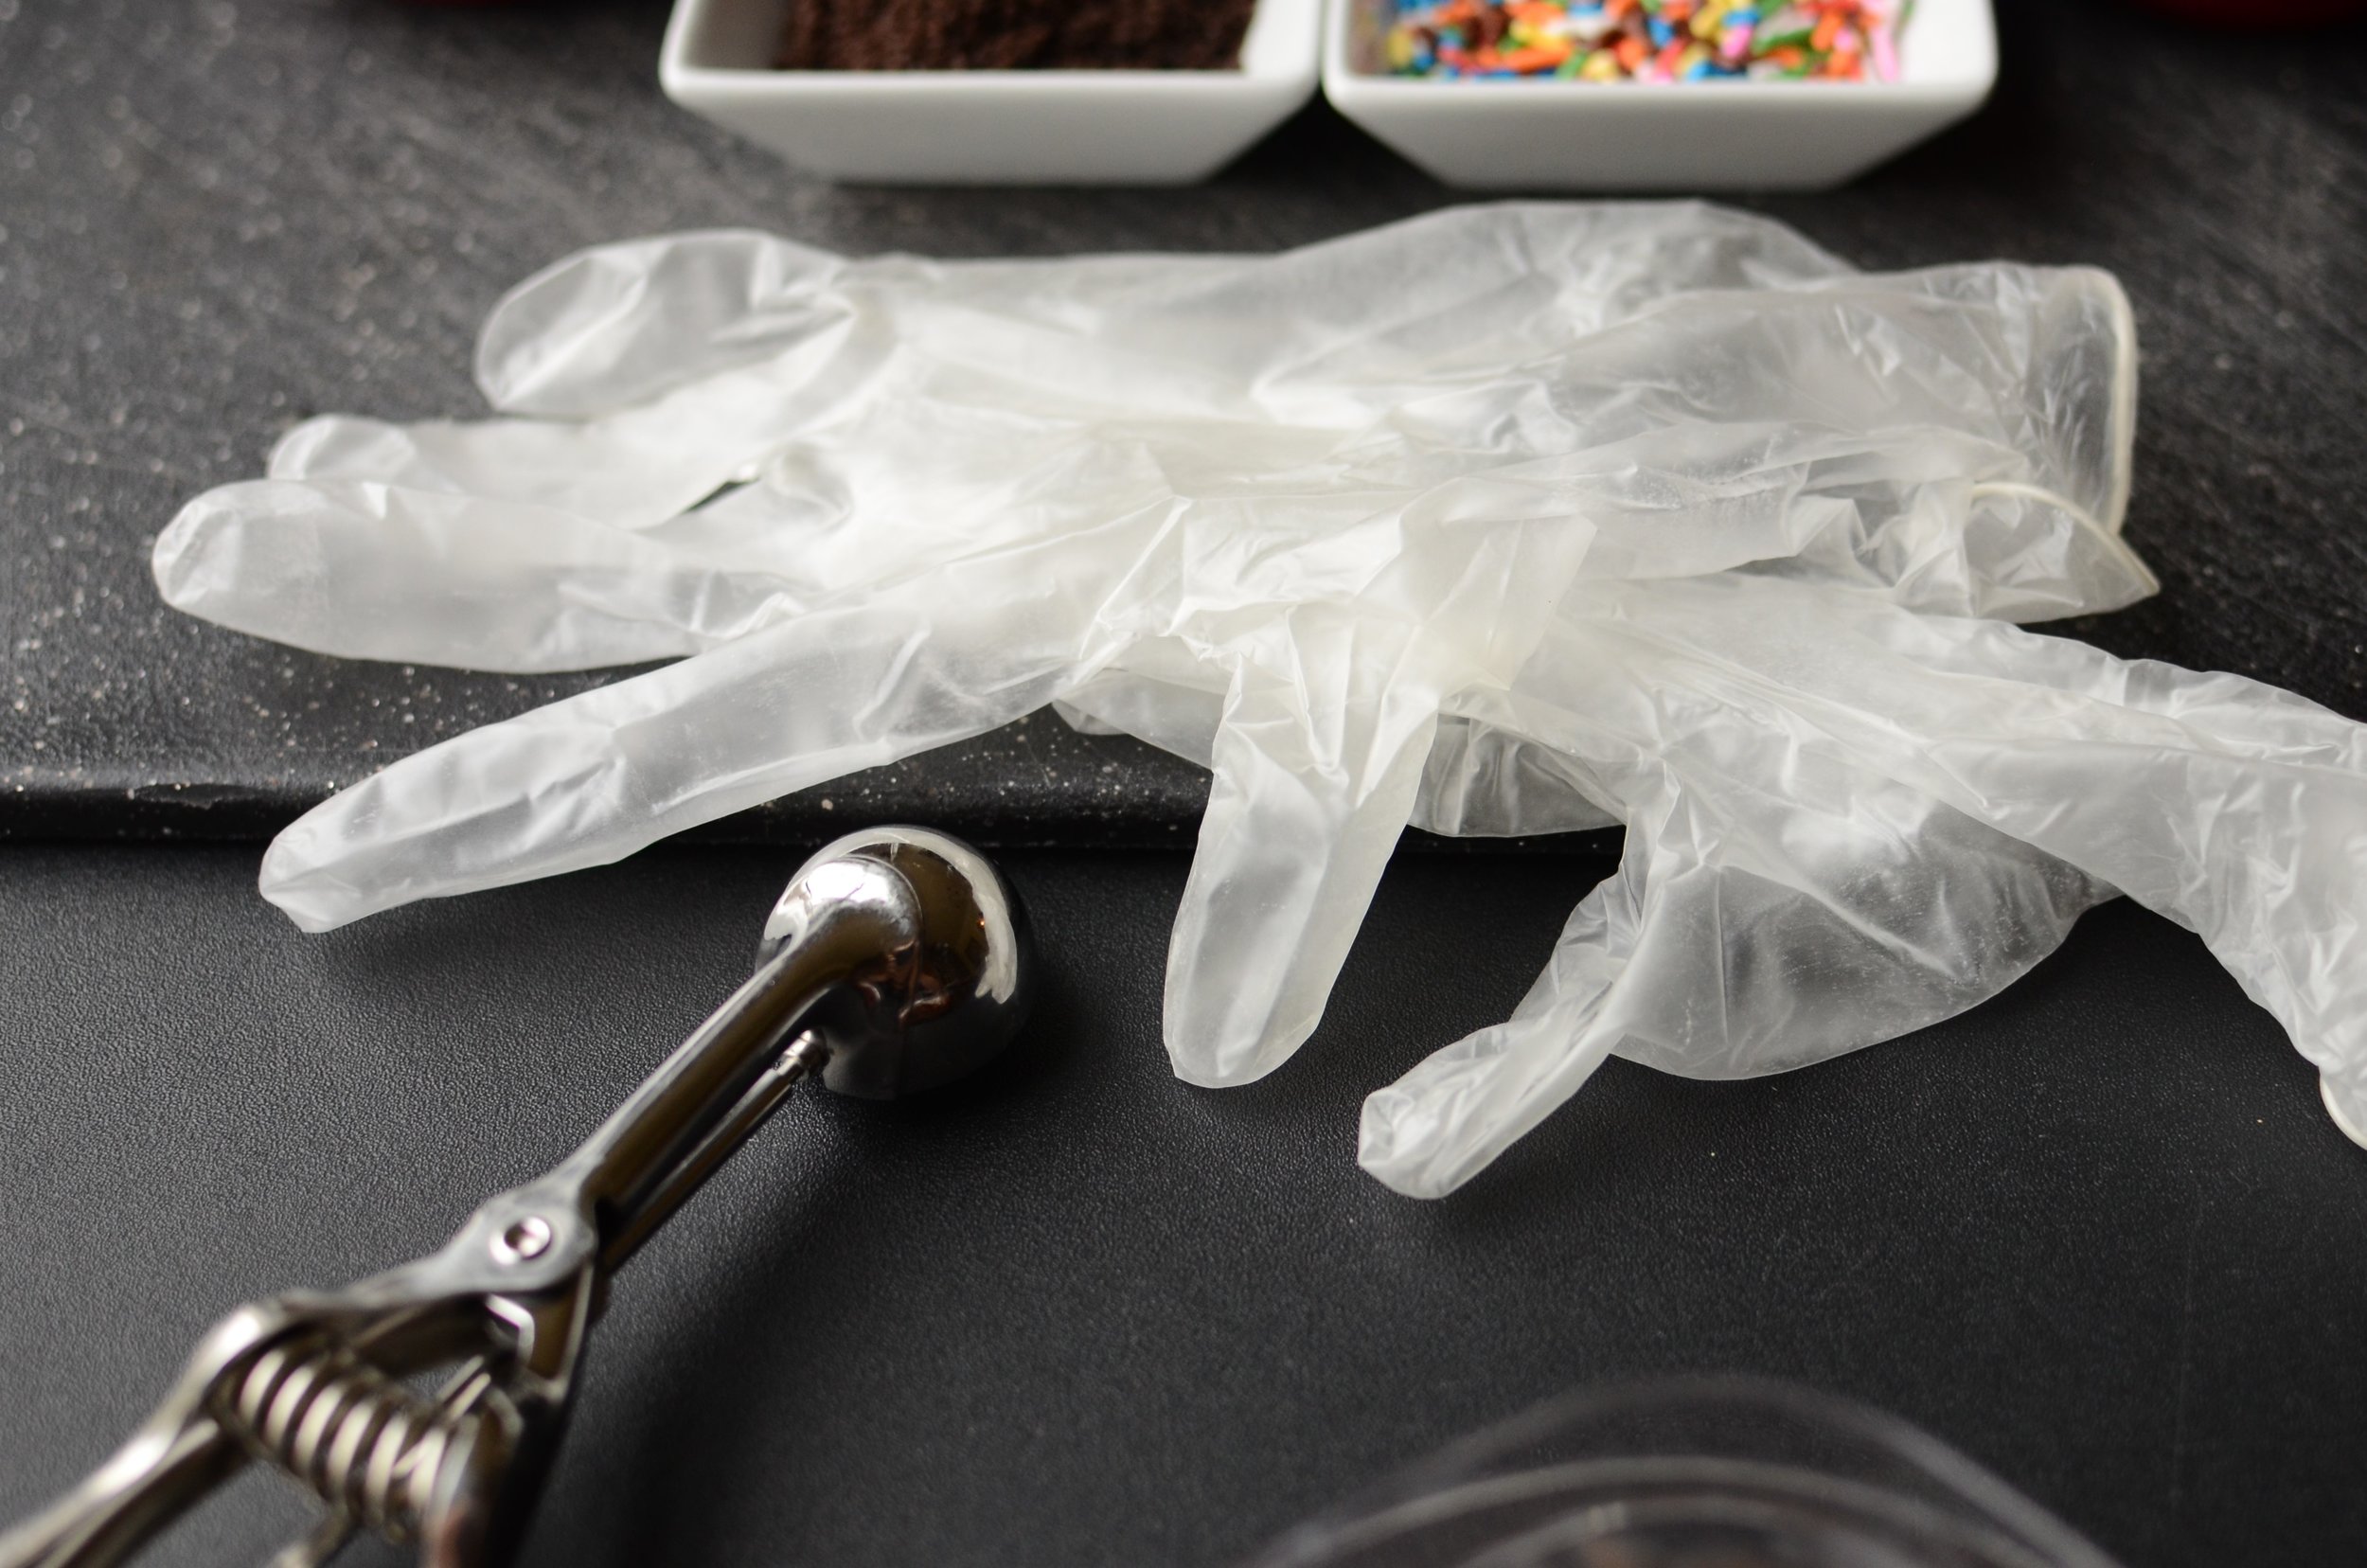
When you're ready to roll, glove up and grab a portion scoop if you have one. Like I said before, I like to make small truffles so this #100 scoop is just right. If you don't have a scoop, use a spoon or melon baller.
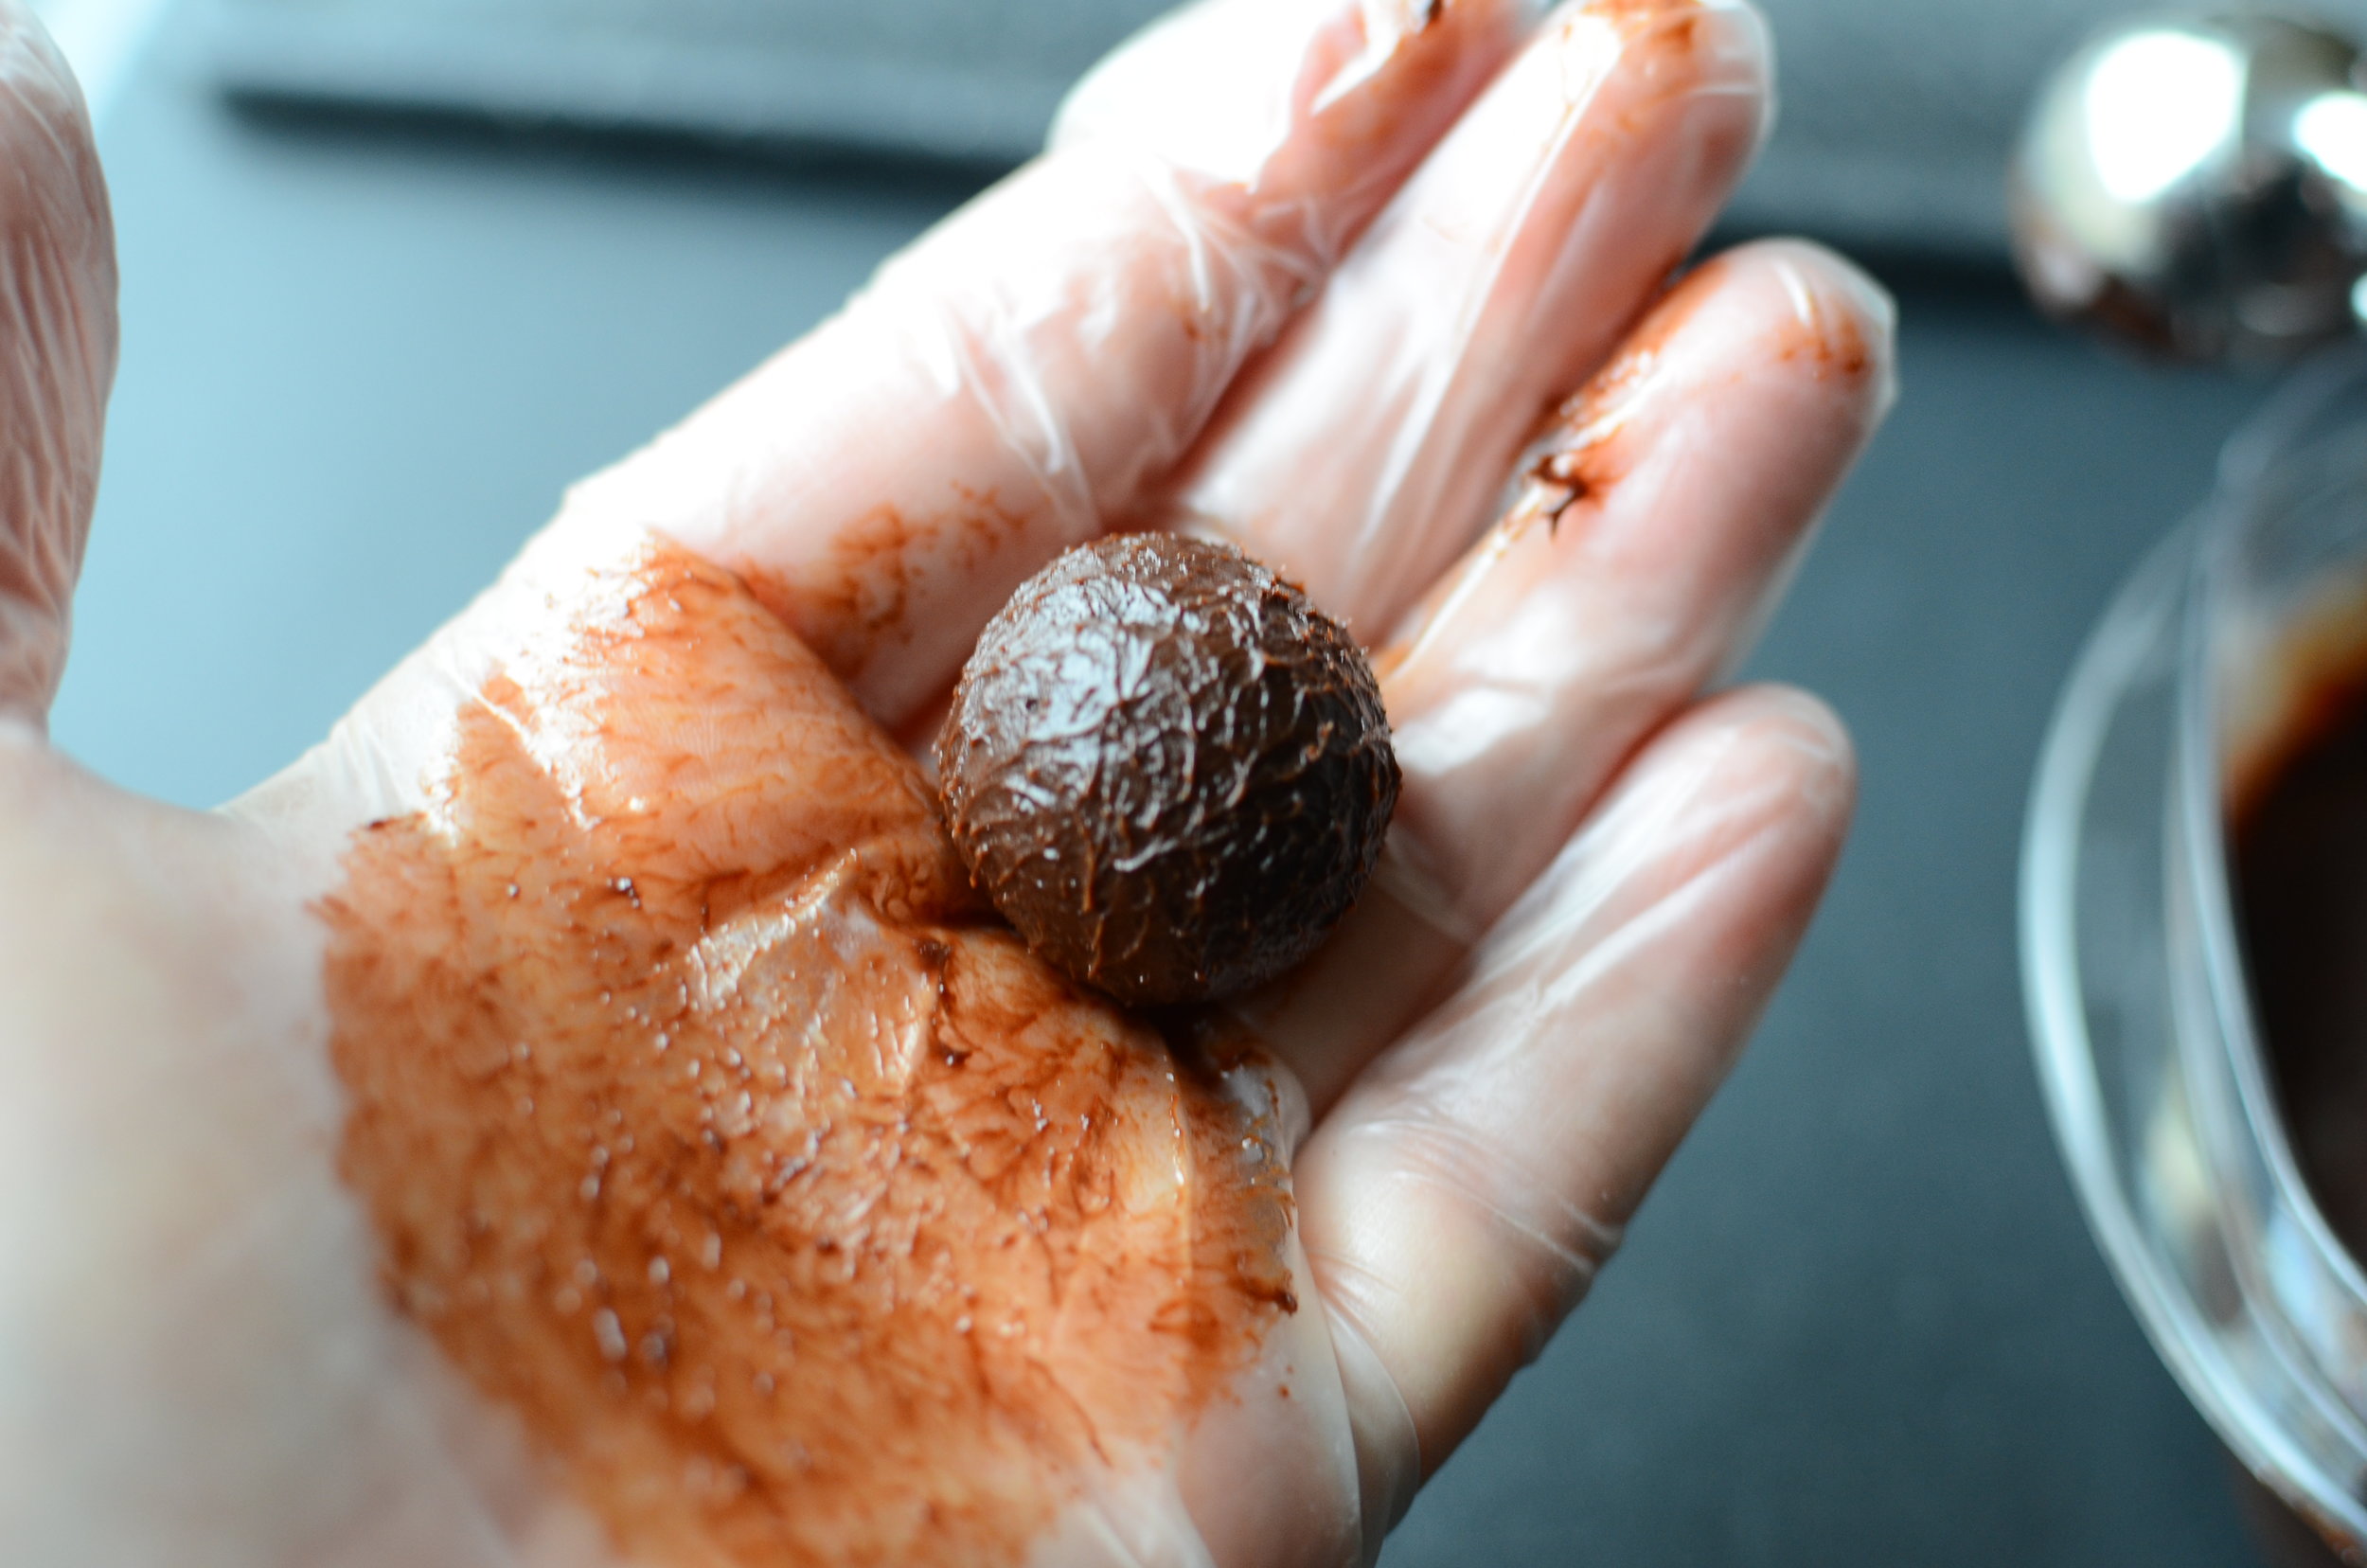
Roll a lump of cold truffle mixture in the palm of your hands to form a ball. The heat of your hands will melt the surface of the chocolate which will enable the toppings to stick.

First up, cocoa powder - that's what truffles are traditionally rolled in, but use whatever toppings you like. Roll the truffles in the toppings and chill well.

Serve cold and enjoy!


Items used to make this recipe:
(affiliate links)
disposable food-safe gloves https://amzn.to/3rByZaa
nut grinder https://amzn.to/3gOlf5X
#100 scoop https://amzn.to/34k5roU
footed cake plate https://amzn.to/3guFuFq
sprinkles https://amzn.to/3uB1F4T
digital scale https://amzn.to/3oxuFqo
Chocolate Truffles
makes 32 truffles (about 1 tablespoon)
Ingredients
8 ounces high quality chocolate, chopped
8 ounces heavy cream
various toppings
Directions
Place chocolate in a heat-safe bowl.
In a heavy bottom saucepan, slowly heat cream until just before it boils.
Pour hot cream over chocolate; rest several minutes.
Whisk chocolate and cream together until completely incorporated; chill uncovered for several hours (or cover with a clean tea towel - do not cover with plastic).
Scoop chilled truffle mixture into desired portion size and roll into balls; immediately coat with toppings of your choice. Chill before serving.