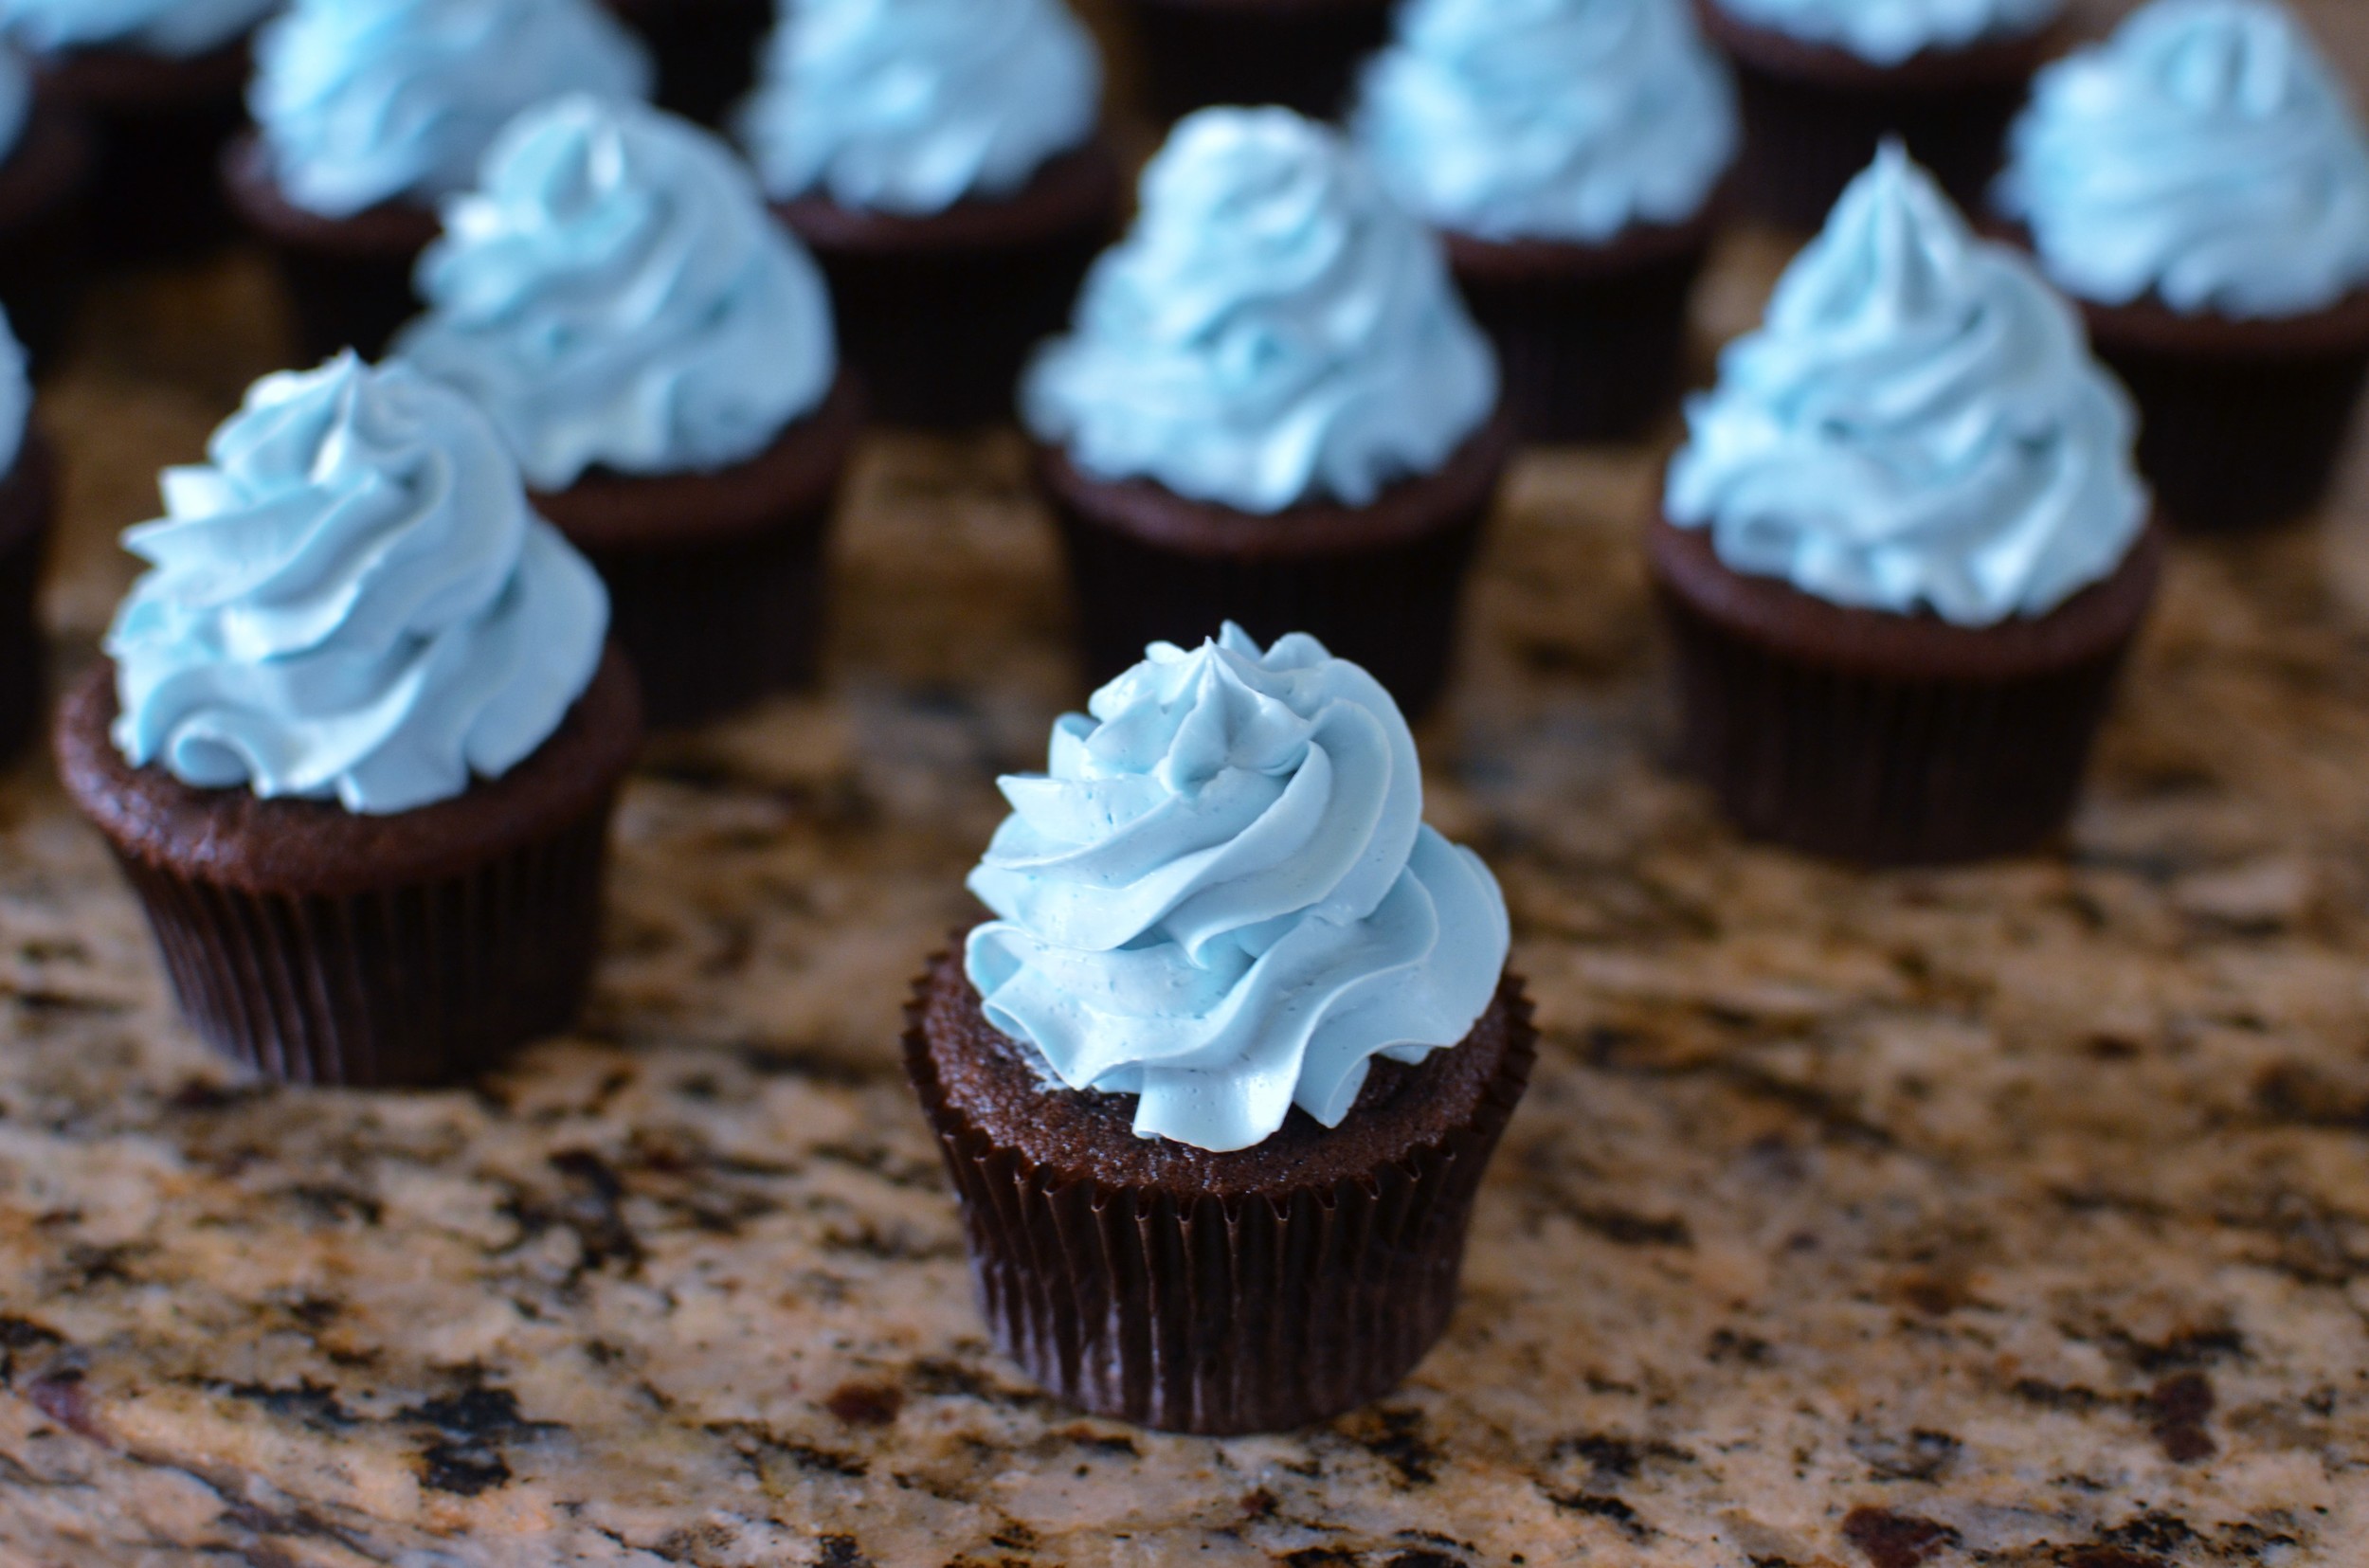
Chocolate Cupcakes with Pink Rosettes
Patricia @ ButterYum

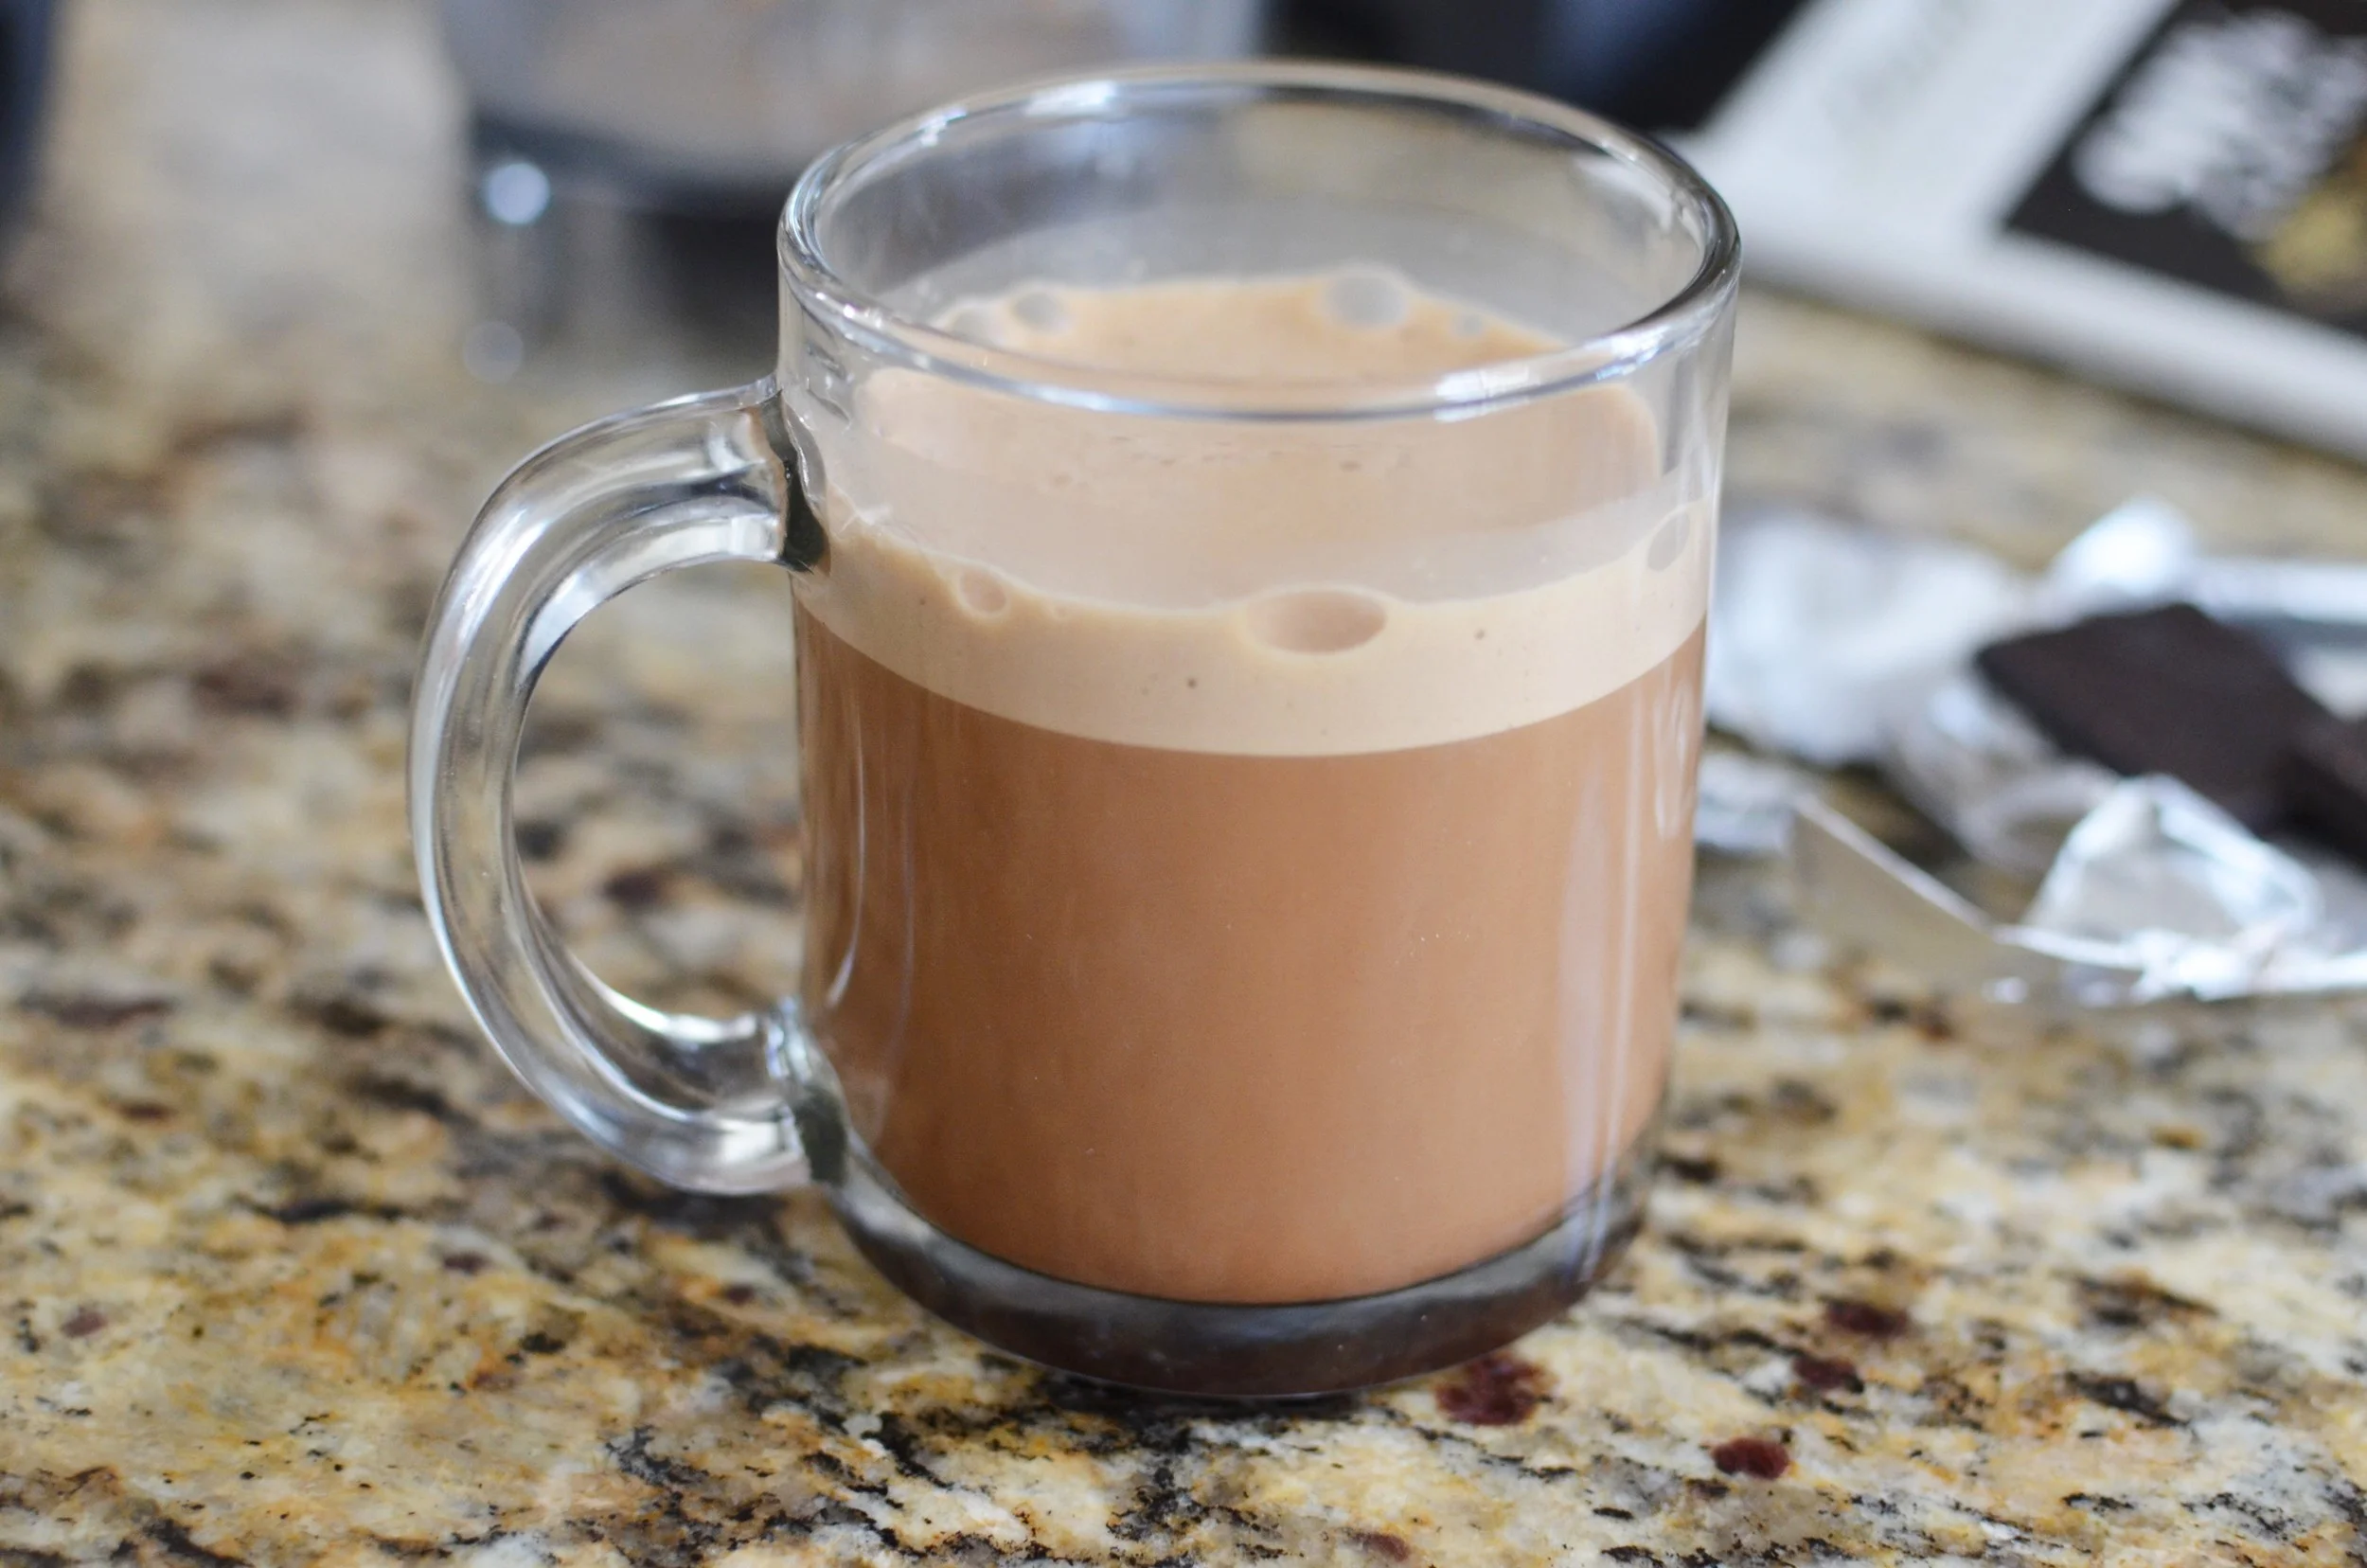
Today I’m going to show you how to decorate these beautiful rosette cupcakes. They’d be great for so many different occasions - showers, garden parties, mother’s day, or just because. I’ve printed the full recipe below, but you can find step-by-step photos and directions for the cupcakes here, as well as the Italian meringue buttercream frosting here.

To begin, we’ll need cupcakes. Use my recipe or your own, but I find rosettes look best when piped on flat cupcakes.
You’ll also need pink and green buttercream (Italian Meringue Buttercream is my favorite!). I use gels to color my buttercream, and I pipe it out of large disposable piping bags, which can be reused several times before disposing. I gave up on reusable canvas and plastic coated bags long ago because they tend to smell rancid after a while, no matter how well you wash them.
Pro Tip: I like to use piping bags that are no less than 16 inches. Smaller ones are just too messy to fill and refill. You can always trim them down if you need a smaller bag, but you can’t make smaller bags bigger so do yourself a favor and get the big piping bags to begin with.

This fantastic tiered carrier enables me to transport up to 36 cupcakes with ease. Each tier holds 12 cupcakes and you can add or omit tiers as needed. Each tier has a double-sided insert. One side holds cupcakes or muffins perfectly and keep them from sliding around. The other side is flat and works great for cookies, pastries, brownies, etc.

I hope you’ll give these cupcakes a try. If you do, post a pic on social media and tag me so I can see your creation. Enjoy!


Items used to make this recipe:
(affiliate links)
piping tip used to make rosettes https://amzn.to/3DuWJ4t
piping tip used to make leaves https://amzn.to/3DYvGjI
large disposable pastry bags https://amzn.to/3Un5hS0
gel food colors https://amzn.to/3zB7u48
3-tier cupcake carrier https://amzn.to/3r7AKdA
my favorite professional cupcake pan https://amzn.to/398tCna
greaseproof cupcake liners https://amzn.to/3cijHgK
#20 scoop https://amzn.to/3sEgjps
CHOCOLATE CUPCAKES
makes 36
Ingredients
3/4 cup boiling water
3/4 cup high quality dutch-processed cocoa powder
2 1/2 cups all purpose flour
1 teaspoon baking soda
1 teaspoon baking powder
12 tablespoons unsalted butter, room temperature
2 cups granulated sugar
3 large eggs, room temperature
1 teaspoon fine salt
1 teaspoon pure vanilla extract
1 cup buttermilk
Directions
Preheat oven to 350F and place rack in center position.
Line muffin pan with paper liners; set aside until needed.
In a medium bowl, whisk together boiling water and cocoa powder until smooth; cover with plastic wrap and cool until needed.
In another medium bowl, whisk together the flour, baking soda, and baking powder; set aside until needed.
In the bowl of a stand mixer fitted with a BeaterBlade attachment, cream butter and sugar for a couple minutes until light and fluffy.
Add eggs, vanilla, and salt; mix until combined.
Add cooled cocoa mixture, flour mixture, and buttermilk; mix just until combined.
Use a #20 scoop to fill cupcake liners and tap the pan on the counter to even the level of batter before baking.
Bake cupcakes for 15-20 minutes until a toothpick inserted in the center comes out clean.
Cool cupcakes in pan for several minutes before transferring to a cooling rack to cool completely.
VANILLA ITALIAN MERINGUE BUTTERCREAM
makes 4-5 cups (enough for an 8-inch cake or 24 cupcakes)
Ingredients
5 large egg whites (150g)
1 1/4 cups granulated sugar (250g)
1/4 cup water
1 1/2 teaspoons pure vanilla extract
1 pound unsalted butter, room temperature (454g)
Directions
In a small, heavy bottomed sauce pan, make the sugar syrup by heating the water and sugar to 248-250F (this will take 5-10 minutes).
While the sugar syrup is heating, whip the egg whites on medium speed in the bowl of a stand mixer until soft peaks form. Be sure the bowl has no traces of fat (oil, butter, egg yolks, etc).
Shortly before the sugar syrup reaches the target temperature, increase the mixer to high and whip whites to stiff peaks (turn off mixer if the sugar syrup hasn't reached 248-250F yet).
When the sugar syrup is ready, lower the mixer speed to low and carefully pour the hot syrup into the whipped egg whites - pour just between the sides of the bowl and the whisk, being careful not to allow the syrup to hit the spinning whisk.
Increase the mixer speed to high and whip until the meringue has cooled completely (check by feeling the bottom of the bowl).
Once the meringue has cooled completely, slowly add the butter, 1 tablespoon or so at a time, until all the butter is fully incorporated. If the mixture starts to look curdled or "broken", see notes below.
Beat in the vanilla and prepare to indulge!!
Notes
A thermometer is essential - use either a candy thermometer or a digital instant read thermometer.
Do not place the thermometer in the sugar syrup until the sugar has completely dissolved (to prevent recrystallization). Also, while the sugar syrup is heating, you may wish to periodically wash the sides of the saucepan down with a silicone pastry brush dipped in water to prevent splashes from recrystalizing on the sides of the pan (which can make the entire batch of sugar syrup crystallize).
Use egg whites from shelled eggs, not egg whites from a carton (they do not whip well).
Be sure to use UNsalted butter.
Buttercream should be served at room temperature.
Buttercream will develop tiny air bubbles upon standing so you may need to rewhip it occasionally to restore its smooth consistency.
To tint, use gel or paste colors for best results.
Butter is yellow so real buttercream will have a slightly yellow-ish cast, but the more air you whip into it, the whiter it will look. You may choose to flavor your buttercream with clear vanilla extract. For very white buttercream, you may choose to add bright white food coloring (also recommended to keep some shades, like pink or blue, from looking orange or green).
Be sure the egg white and sugar syrup mixture (aka meringue) has cooled completely before you start adding the butter. You can speed this process along by attaching a water jacket filled with ice to the stand mixer. If you don’t have a water jacket attachment, try placing bags of frozen vegetables around the outside of the bowl.
When adding the butter, If the mixture looks curdled or "broken" at any time, don’t panic - continue beating until it smooths out before adding more butter (if the mixture or your kitchen is too warm, a short rest in the fridge may be necessary).
Store Italian Meringue Buttercream in an airtight container at room temperature for up to 3 days, chill for up to 10 days, or freeze for up to a year. Frozen buttercream should be thawed in the refrigerator overnight. Chilled buttercream should be allowed to reach room temperature and rewhipped to restore consistency before using.
Be sure cakes/cupcakes are completely cool before frosting with Italian Meringue Buttercream. You'll need to make 2 batches of this recipe to frost 36 cupcakes.
cupcake recipe adapted from recipegirl.com