contact us

Use the form on the right to contact us.

You can edit the text in this area, and change where the contact form on the right submits to, by entering edit mode using the modes on the bottom right.


123 Street Avenue, City Town, 99999

(123) 555-6789

email@address.com


You can set your address, phone number, email and site description in the settings tab.
Link to read me page with more information.

Blog

Butteryum food blog recipes

Filtering by Category: breakfast recipes

Instant Pot Steel-Cut Oats

Patricia @ ButterYum

During the doldrums of winter, no breakfast warms my soul quite as well as a bowl of steel-cut oats. There’s just something about those bouncy little oats that I love. Traditionally, steel-cut oats take about 25 minutes of frequent stirring to cook on the stovetop, but I’ve discovered a much easier (ie completely hands-off) method using the Instant Pot. I’ll never go back to making them on the stovetop again.

FYI - Steel-cut oats are sometimes called pinhead oats or groats.

Items used to make this recipe:

(affiliate links)


Instant Pot Steel-Cut Oats

makes 6 half-cup servings

Printable Recipe

Ingredients

  • 1 cup steel-cut oats (not instant or quick-cooking)

  • 3 cups water (see notes below)

  • 1/4 teaspoon fine table salt

  • 1/2 teaspoon pure vanilla extract (use the good stuff!)

  • optional: fruit, berries, sweetener of choice, heavy cream

Directions

  1. Place the oats, water, and salt in the inner pot of the instant pot; stir to combine.

  2. Cover with lid and make sure the vent is set to “sealing”.

  3. Set the instant pot to cook on “manual” or “high pressure” for 4 minutes, then allow the pressure to release naturally for 20 minutes before manually releasing any additional pressure.

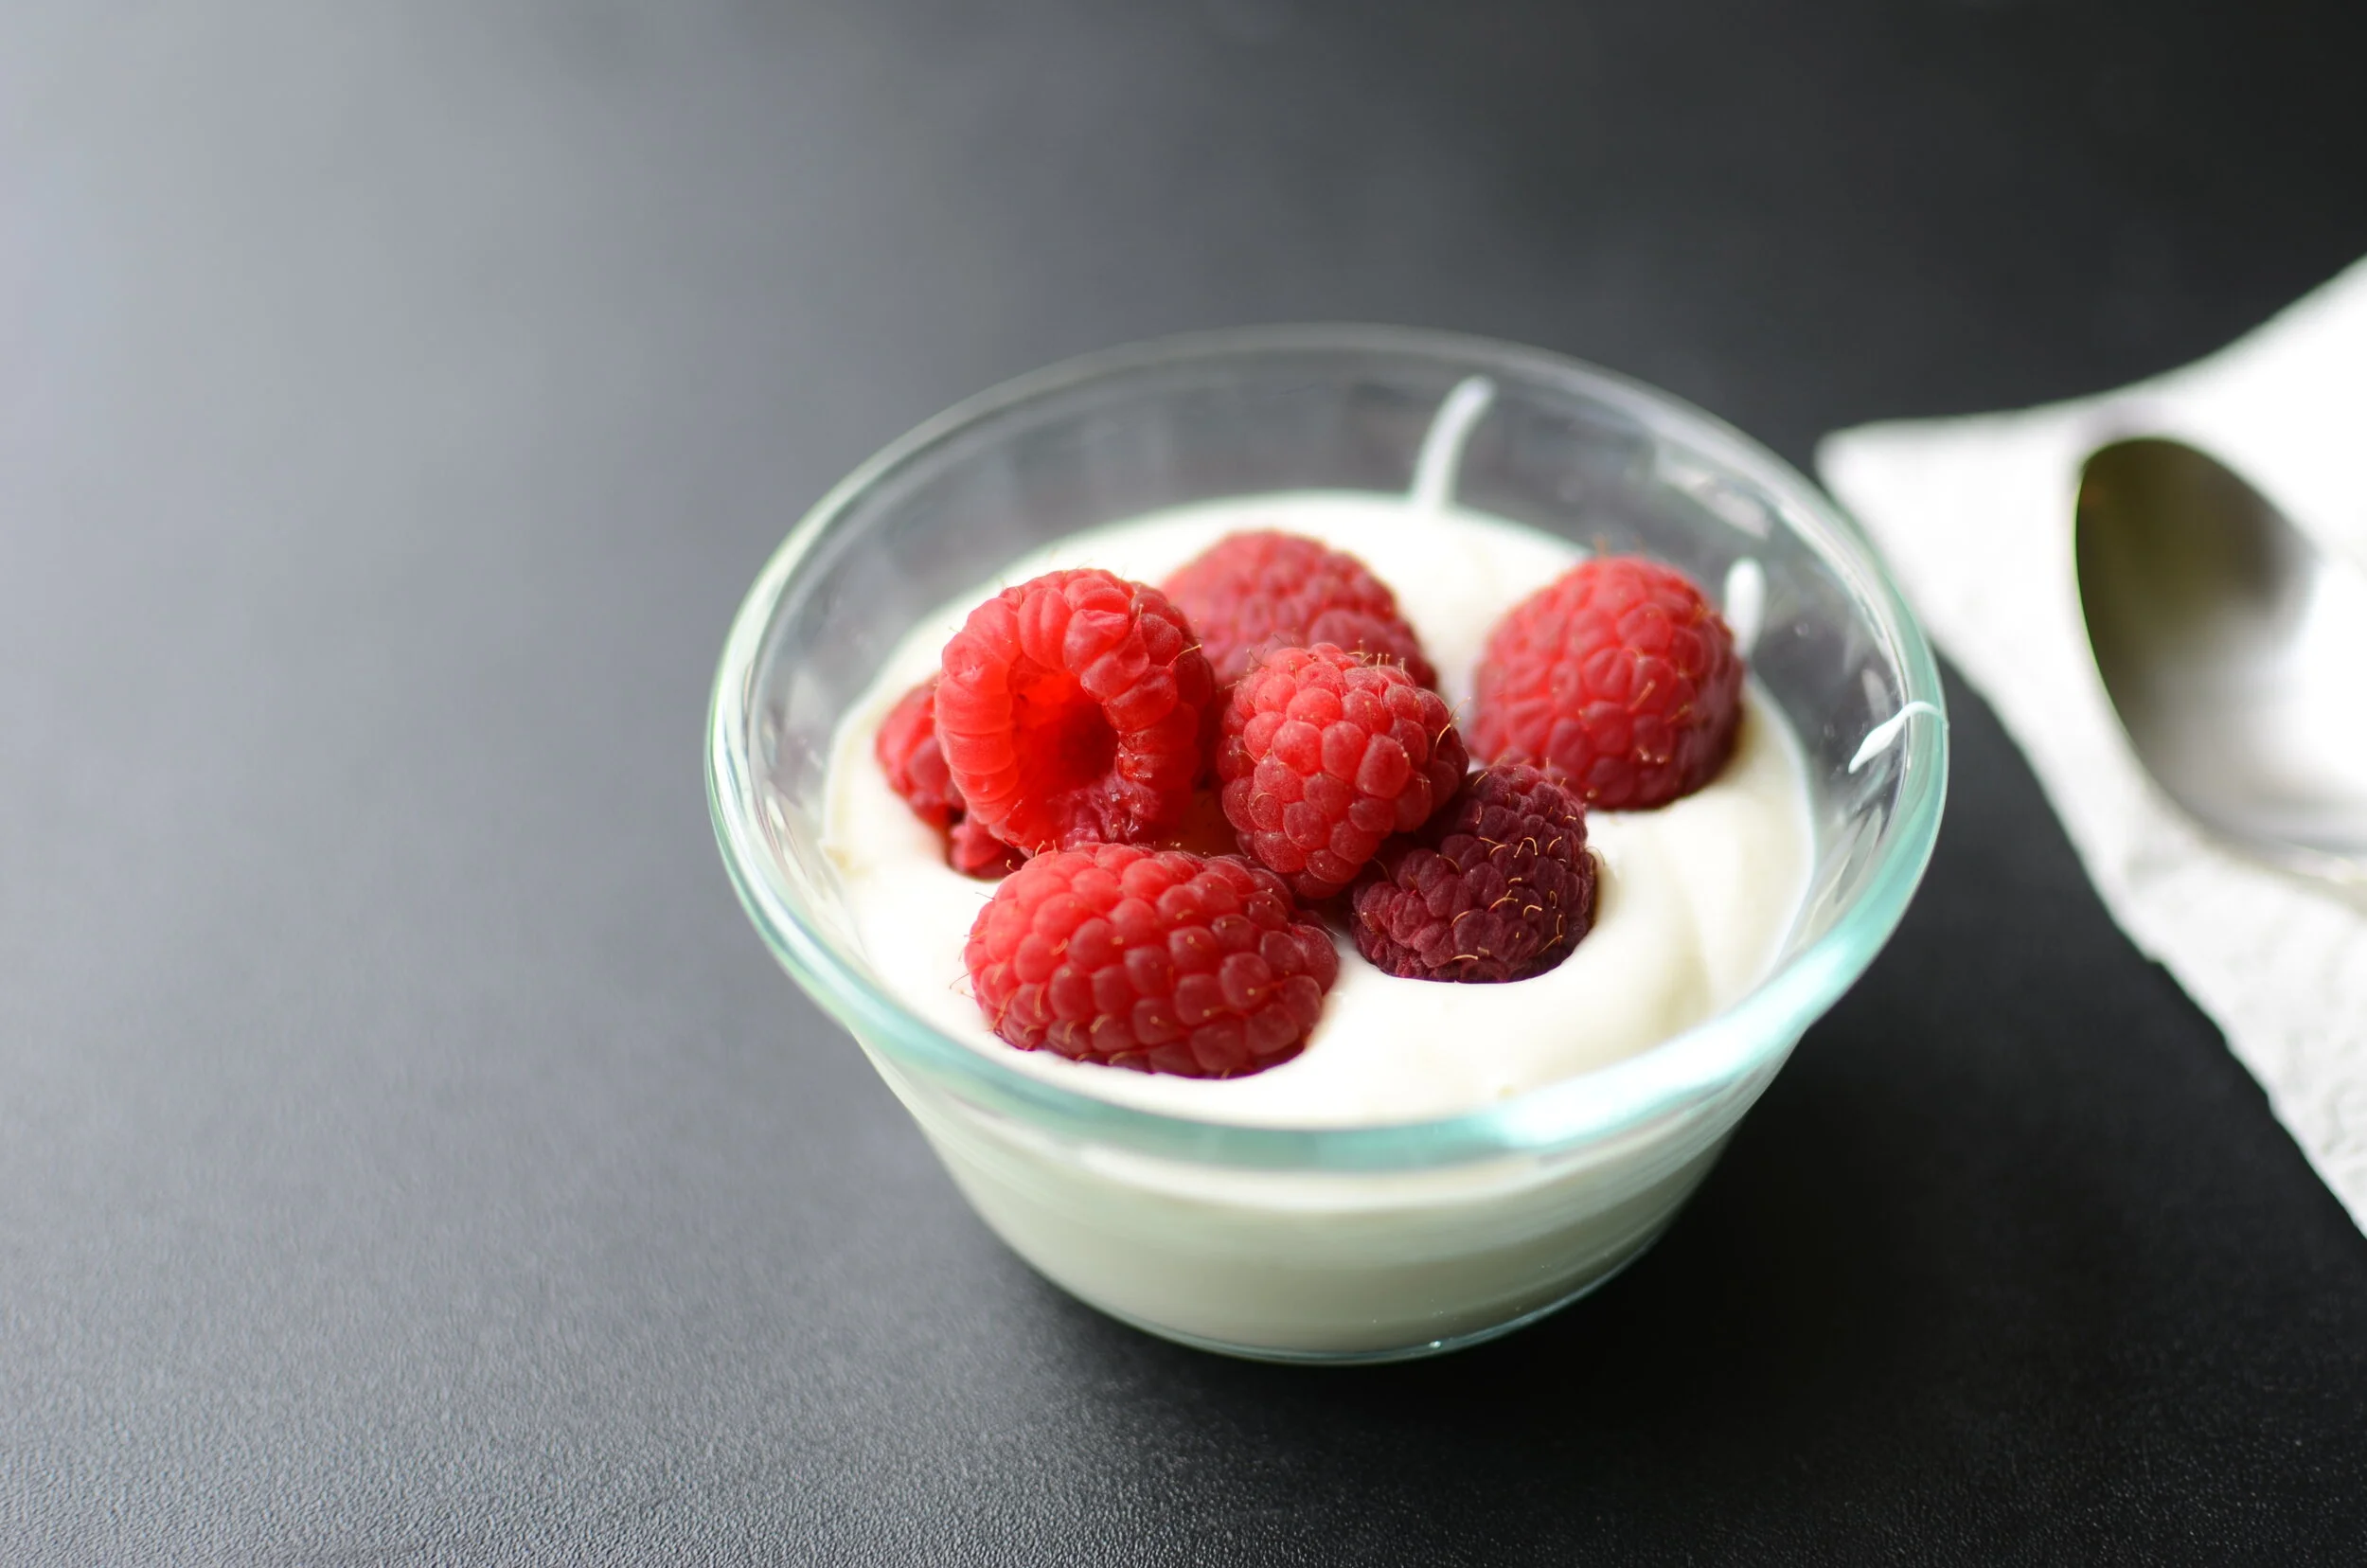
  4. Remove the lid stir in pure vanilla extract and wait about 5 minutes before serving.

  5. Sweeten as you like and top with your choice of fruit or berries and a drizzle of cream.

Notes

  • If you like, you can replace up to 2 cups of the water with milk.

  • I often make a double batch to store in the fridge for the week. It reheats well in the microwave and isn’t half bad eaten cold, straight out of the fridge.

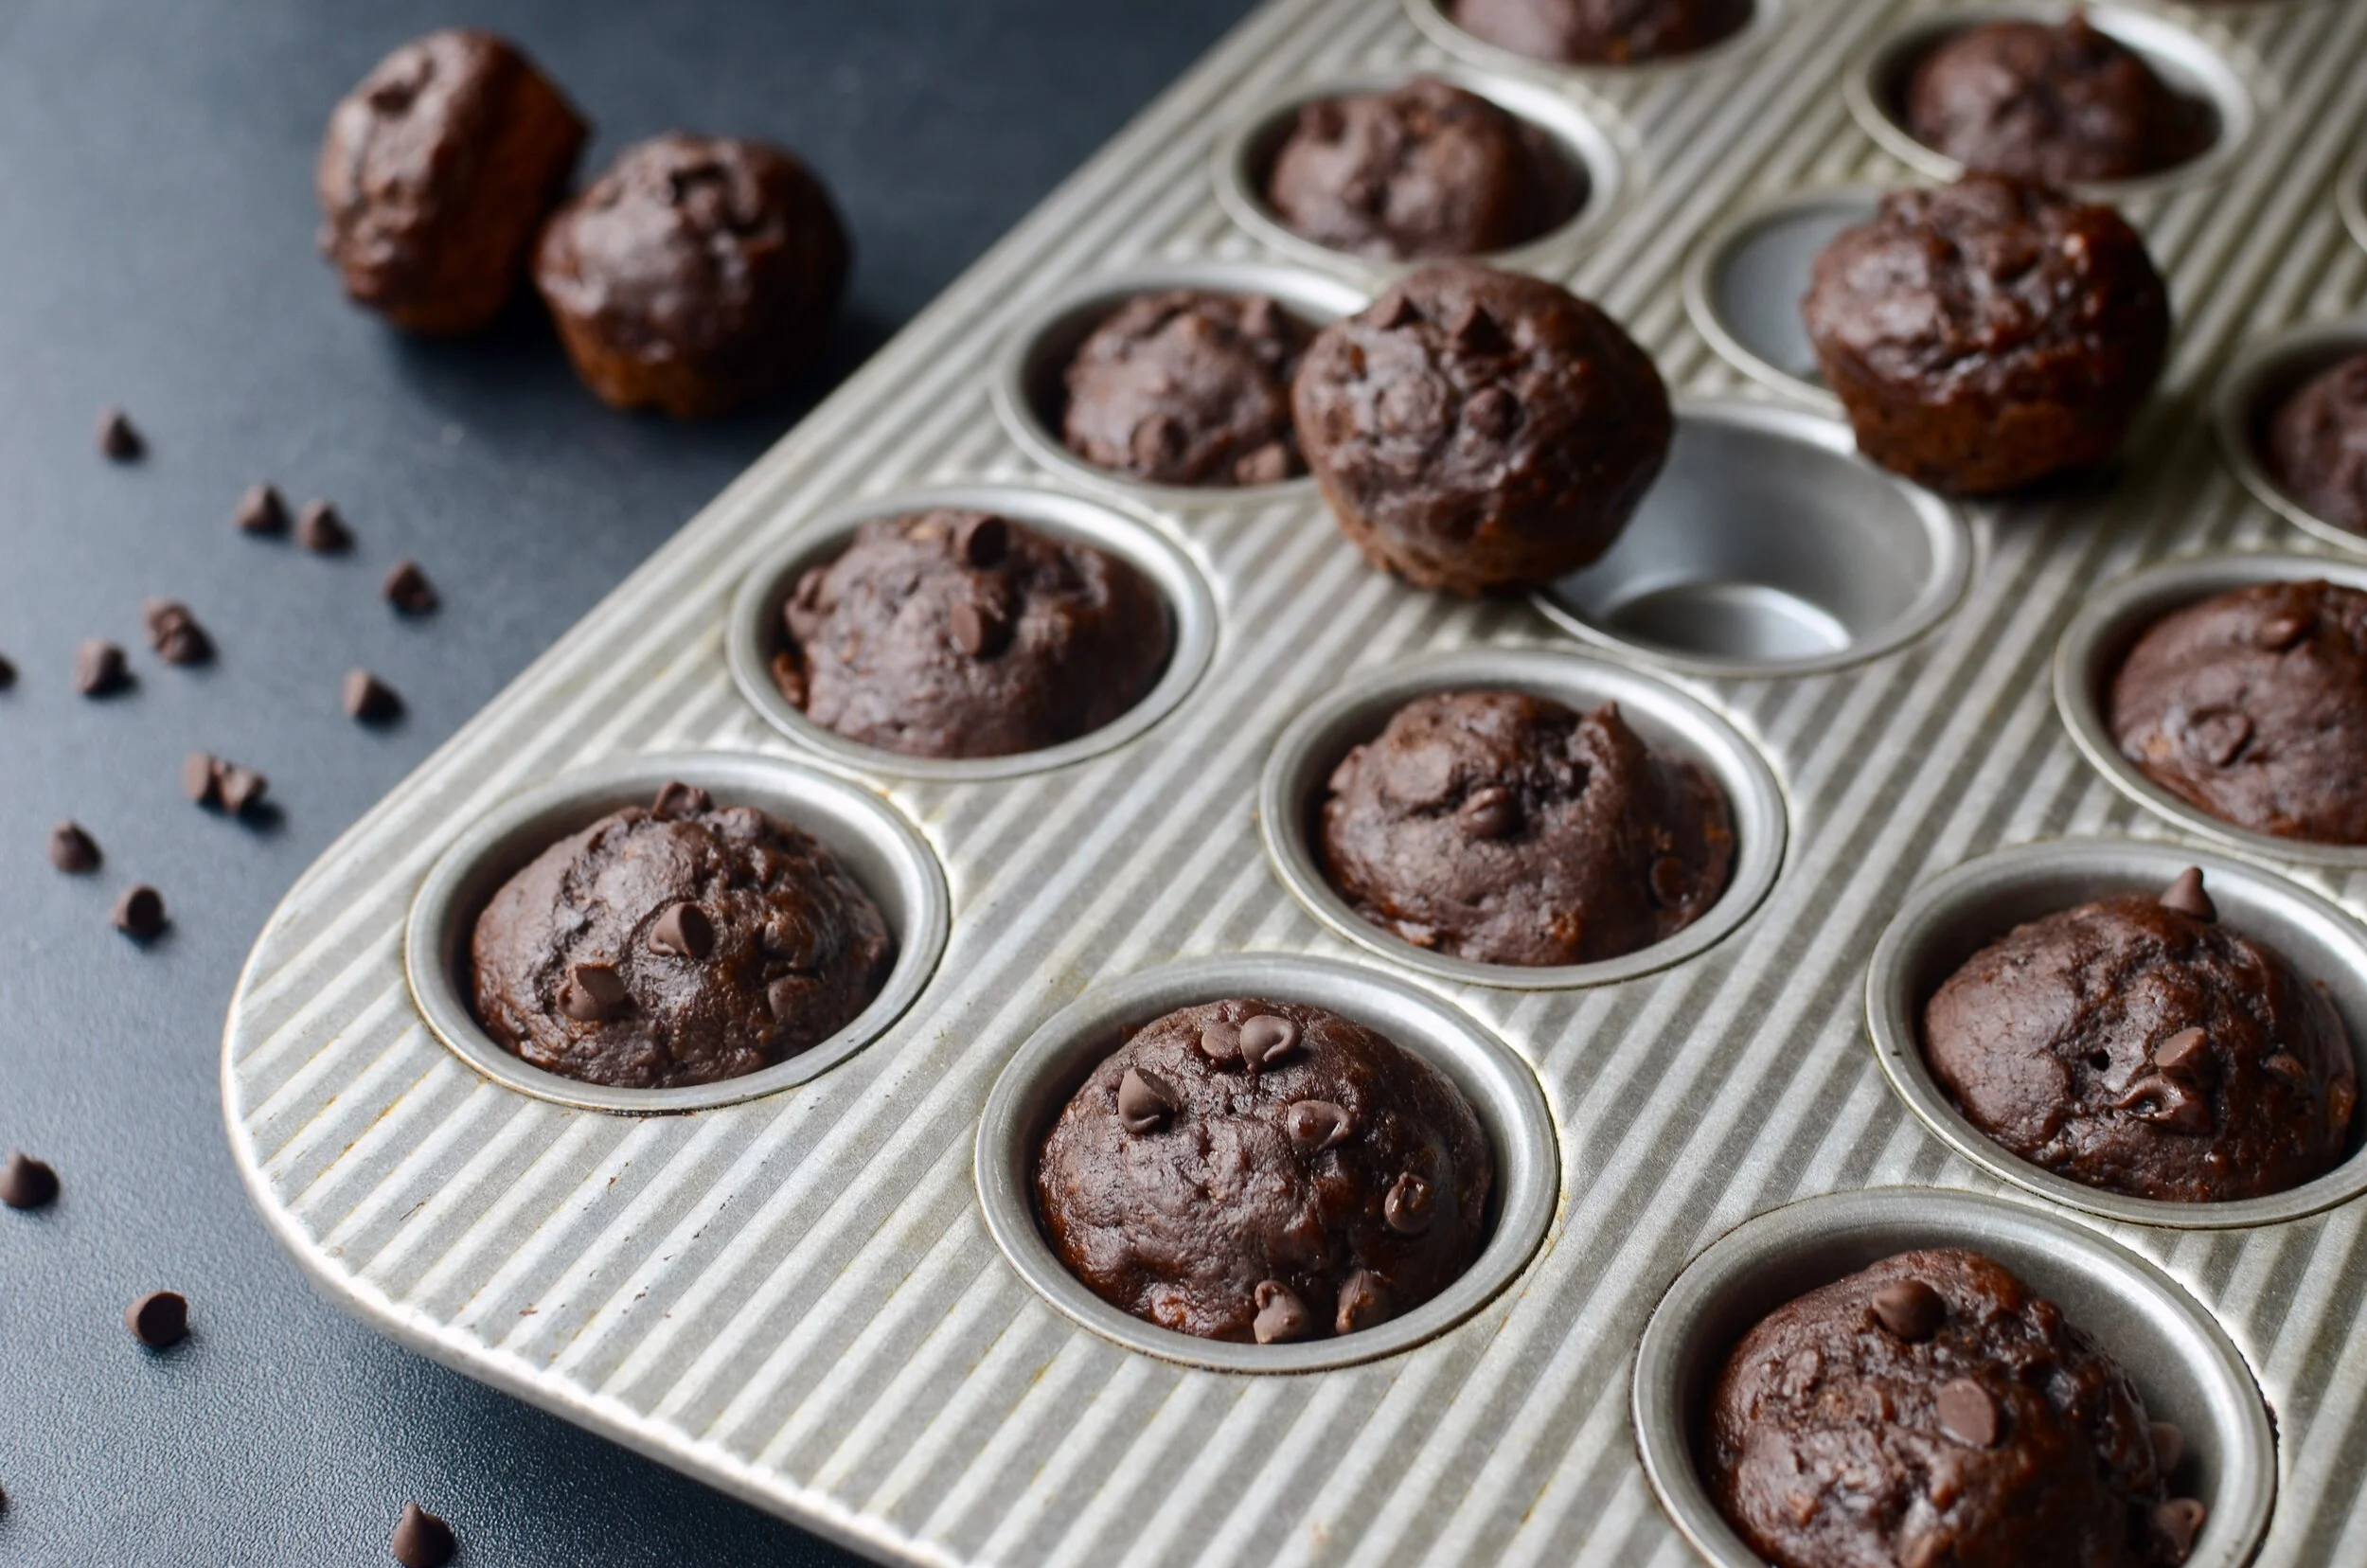
  • A friend of mine likes to freeze individual portions in these 100% silicone muffin cups. Once frozen, she pops them out of the silicone and into an airtight freezer container. To reheat, she places a frozen portion in a microwave-safe bowl and microwaves on high power for a minute or two.

Pumpkin Chocolate Chip Muffins

Patricia @ ButterYum

Pumpkin Chocolate Chip Muffins0022 3.jpg

I love to bake, especially during the fall and winter months. These Pumpkin Chocolate Chip Muffins are my newest obsession. They burst with pure pumpkin flavor accented by cinnamon, nutmeg, and yummy chocolate chips. You can’t ask for a better Fall muffin recipe. I like standard-size chocolate chips for this recipe, but mini chocolate chips work great as well. This recipe makes 24 muffins, which is a lot, but they freeze beautifully. I like to store them 4 per freezer bag so I can pull them out as needed. Thaw in the bag either in the fridge overnight or on the counter for 30-60 minutes. And just in case you’re wondering - yes, you can eat them directly from the freezer, without thawing, if that’s your kind of thing. Enjoy!

Items used to make this recipe:

(affiliate links)


Pumpkin Chocolate Chip Muffins

makes 24 muffins

Printable Recipe

Ingredients

  • 28 ounces 100% pumpkin puree (canned is fine)

  • 2 cups granulated sugar

  • 3/4 cup vegetable oil

  • 3 large eggs

  • 3 1/2 cups all purpose flour

  • 2 teaspoons baking powder

  • 1 1/2 teaspoon baking soda

  • 1 teaspoon ground cinnamon

  • 1 teaspoon ground nutmeg

  • 1 teaspoon fine table salt

  • 12 ounces semi-sweet chocolate chips (about 2 cups)

Recipe Directions

  1. Preheat oven to 350F, place rack in center position, and prepare muffin pan with grease-proof liners or spray well with Baker’s Joy baking spray.

  2. In a large mixing bowl, whisk together the pumpkin, sugar, eggs, and oil; set aside.

  3. In a medium mixing bowl, whisk together the flour, baking powder, baking soda, salt, cinnamon, nutmeg, and salt; pour flour mixture into pumpkin mixture and combine well.

  4. Stir in chocolate chips and use a rounded #20 scoop to fill the muffin cavities (they should be filled about 4/5 full).

  5. Bake for 30-35 minutes or until a toothpick inserted in the center comes out clean (a few crumbs are okay, but there shouldn’t be uncooked batter on the toothpick).

  6. Allow muffins to rest in the pan for 10 minutes before transferring to a rack to cool completely.

adapted from Amy Maryon