contact us

Use the form on the right to contact us.

You can edit the text in this area, and change where the contact form on the right submits to, by entering edit mode using the modes on the bottom right.


123 Street Avenue, City Town, 99999

(123) 555-6789

email@address.com


You can set your address, phone number, email and site description in the settings tab.
Link to read me page with more information.

Blog

Butteryum food blog recipes

Filtering by Tag: british recipes

Lyle's Golden Syrup Cookies

Patricia @ ButterYum

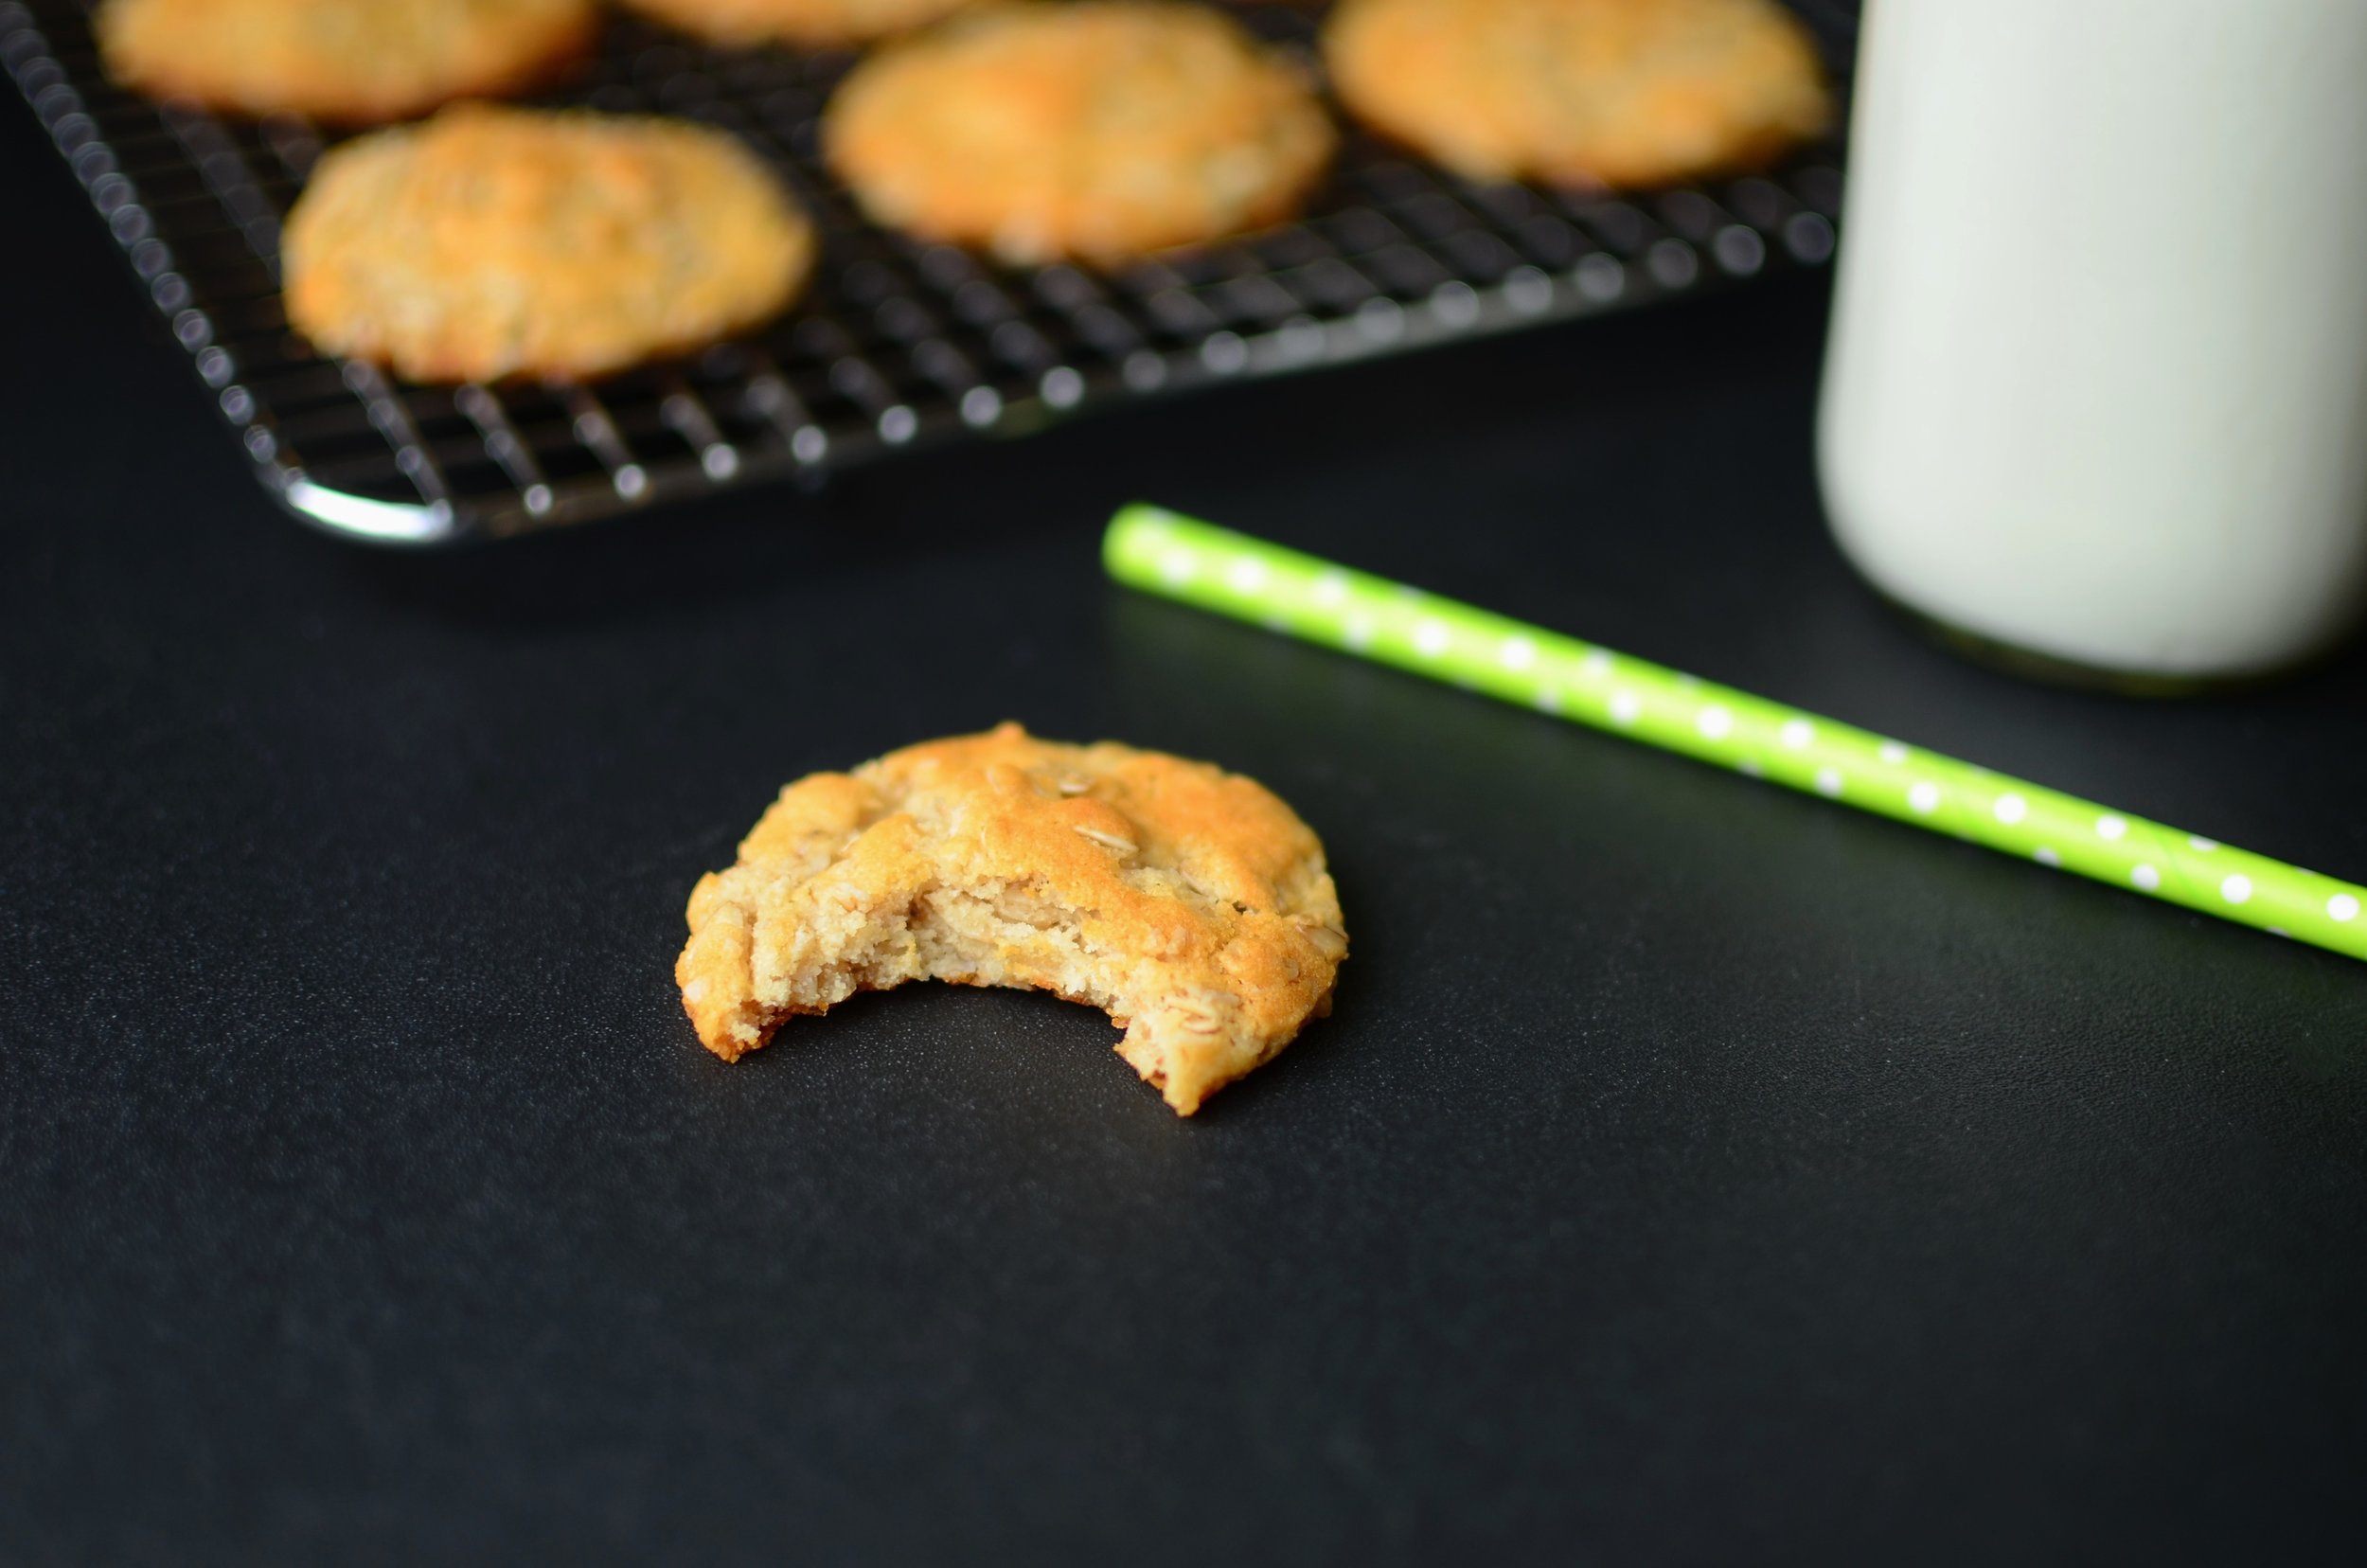
Lyle's Golden Syrup is one of my all-time favorite ingredients - it has a rich, caramelized flavor just can't be beat and I'm thrilled to see it gaining in popularity.  Here's the flavorful syrup is paired with oats, butter, and vanilla to make chewy cookies.  Incidentally, leftover cookies freeze beautifully (just in case you're tempted to eat too many in one sitting).  

golden syrup cookie recipe

Start by whisking together all purpose flour, baking soda, and baking powder. 

cookies using lyle's golden syrup - ButterYum

In a medium saucepan, heat butter, sugar, and golden syrup together until melted and smooth.
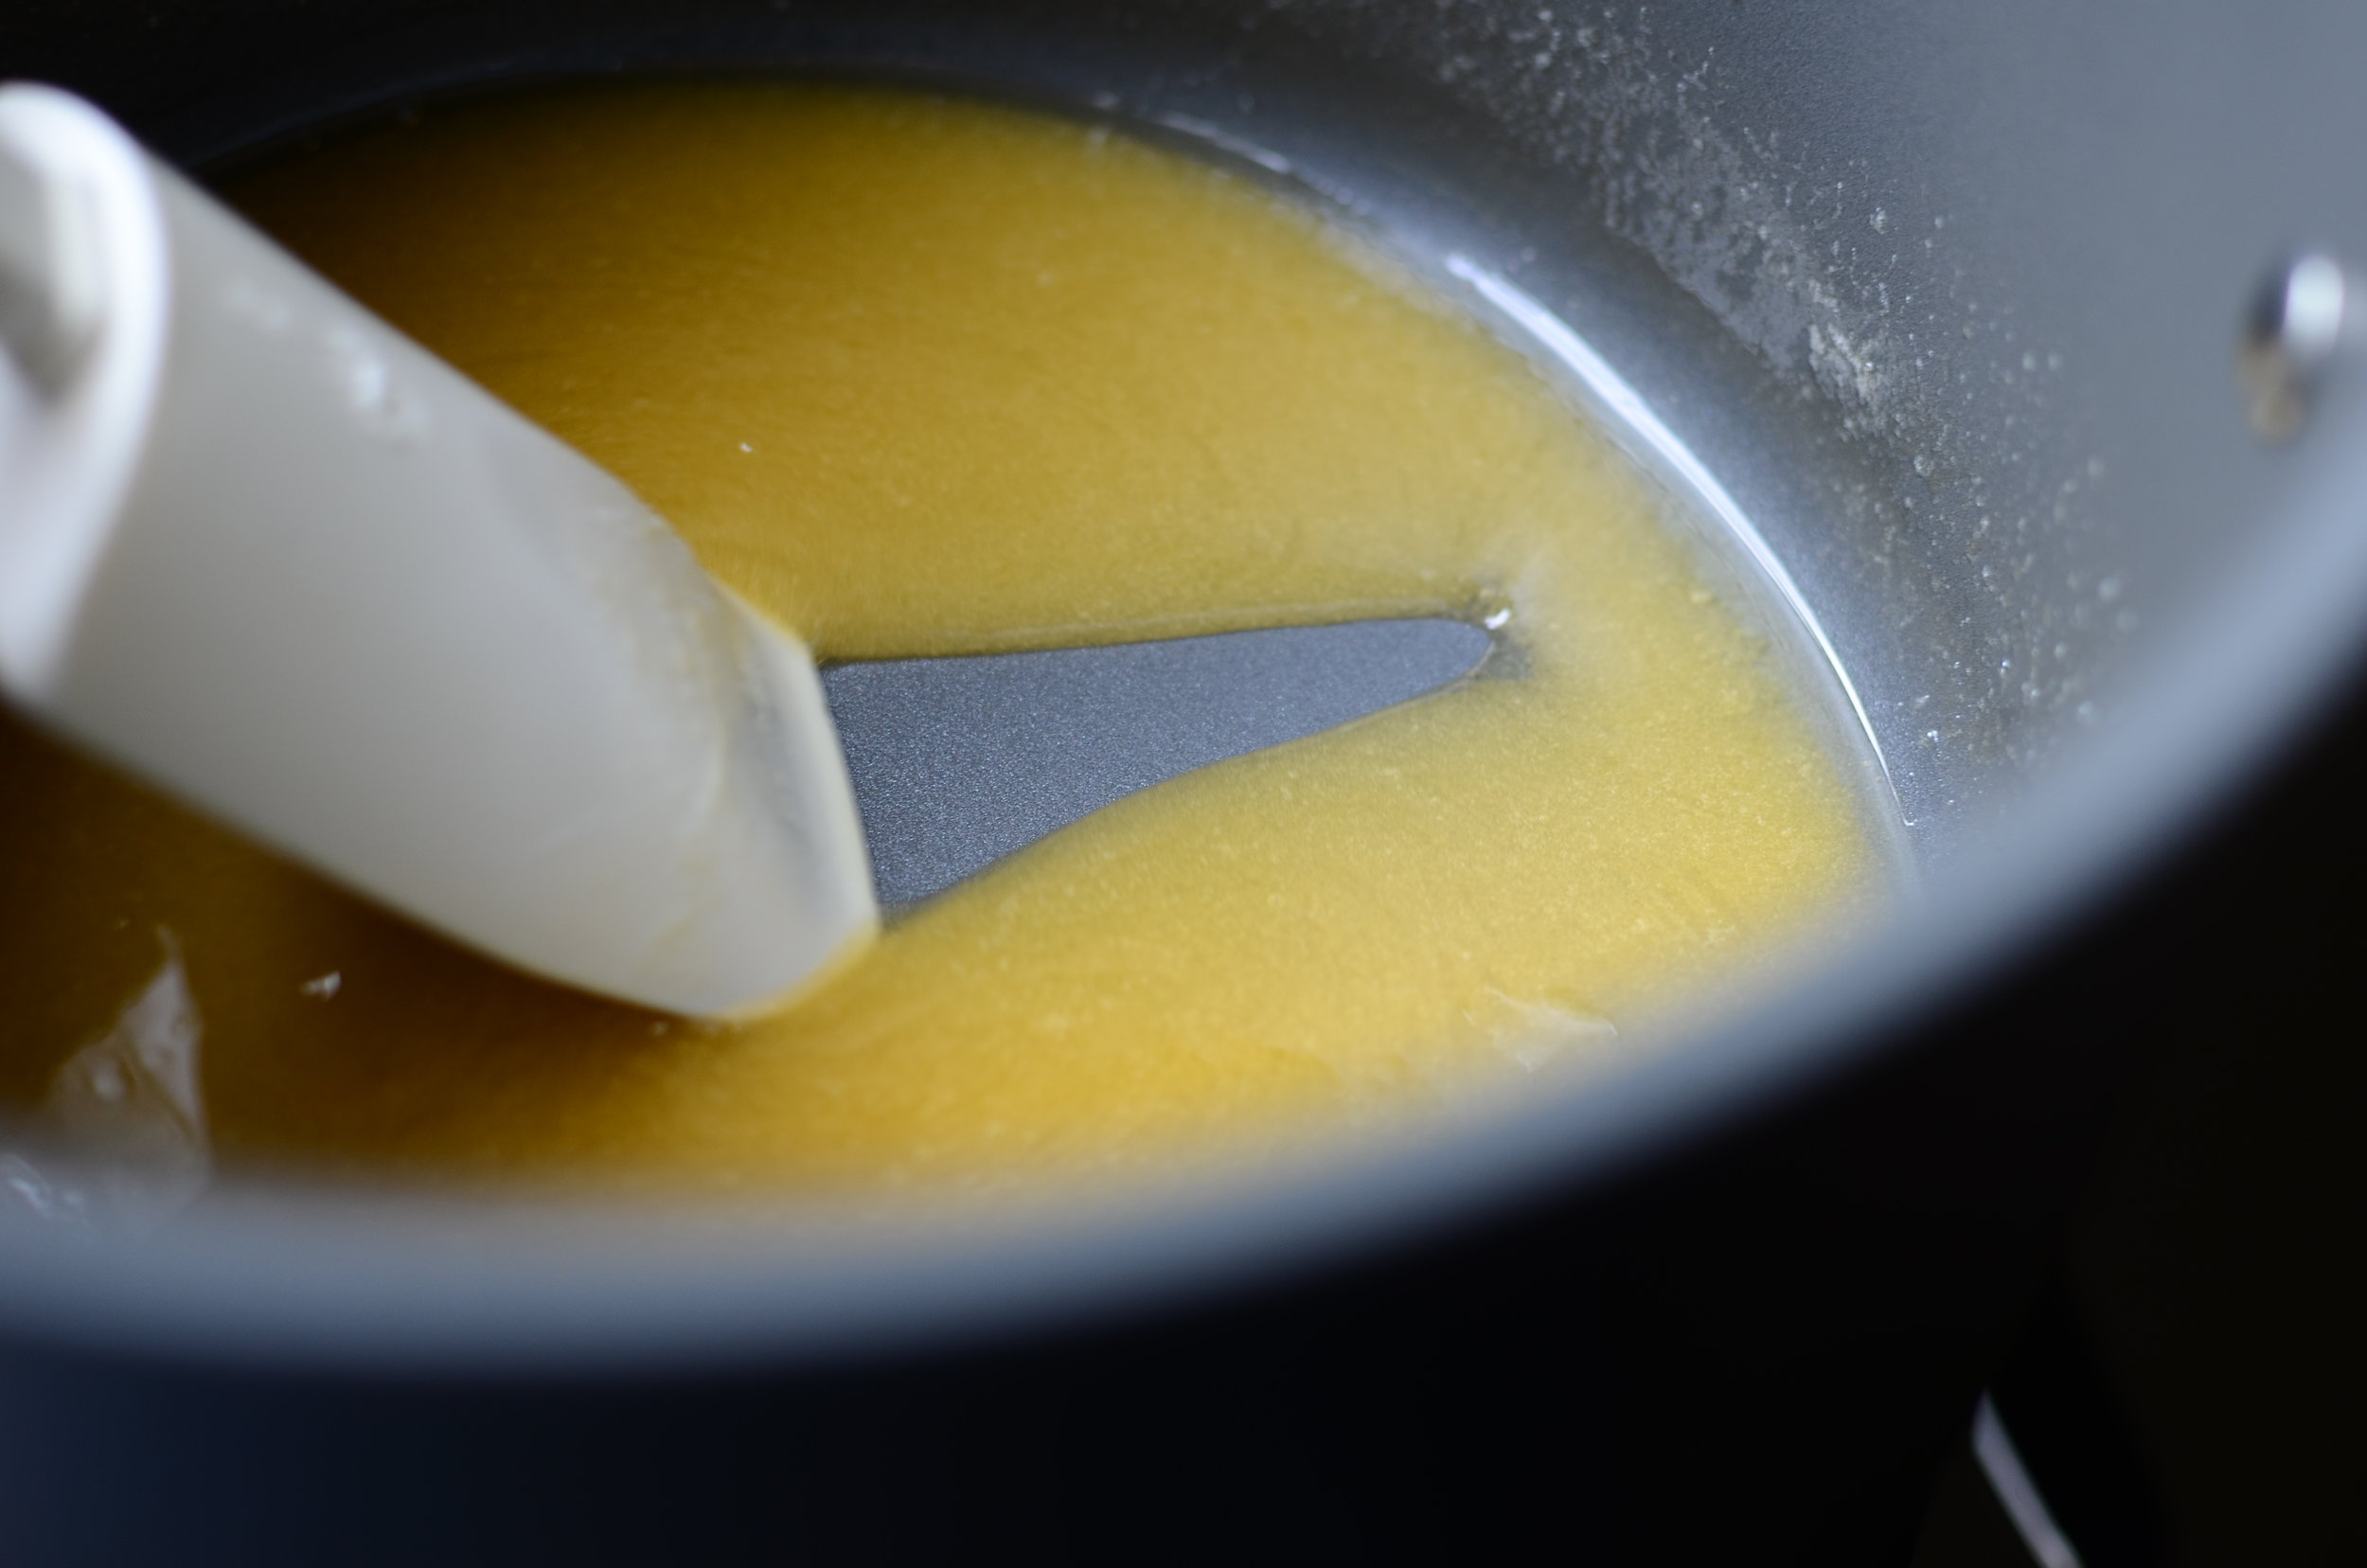
DSC_0506.JPG

Mmmm.

how to use lyle's golden syrup in recipe

On a side note, Lyle's Golden Syrup is available in cans, squeeze bottles, and jars (see here).  The squeeze bottles are the least messy, like honey.  

Nielsen-MasseyVanilla

Stir in pure vanilla extract - be sure to use the good stuff!

secret ingredient oatmeal cookies

Now stir in old fashioned oats and the flour mixture.

how to use golden syrup

Stir until no traces of dry oats or flour remain.

what size ice cream scoop to make cookies?

For this recipe, I use a #50 scoop to ensure all my cookies are the same size (affiliate link).  I have a number of scoops in different sizes, but this is the size I use for the majority of the cookies and mini muffin recipes that appear on this blog.  

NOTE:  when buying portion scoops, check for "#__" on the sweeper arm.  This scoop is a #50 (that means 50 scoops will equal one quart).  WARNING:  some vendors sell their scoops by diameter size (example:  50mm).   DO NOT order a 50mm scoop if you want a #50 scoop.  The diameter of a 50mm scoop is almost 2 inches, while the diameter of a #50 scoop is much smaller at 1 1/4 inches.    

what's the best surface to bake cookies on?

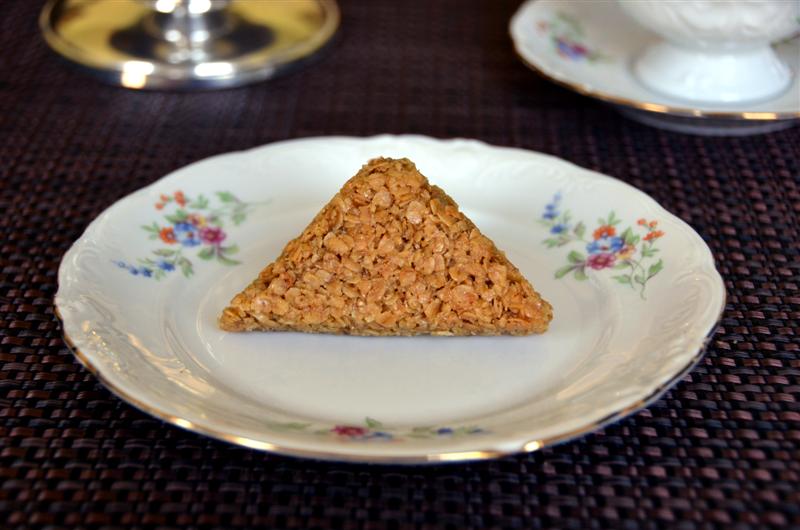
Pro Tip:  whenever I bake a cookie recipe for the first time, rather than commit an entire tray of cookies to unknown variables such as baking time, baking temperature, and baking surface, I do a small test batch first to refine those unknowns (all of which can make or break your recipe).

First I preheat my oven fully and check my oven thermometer to ensure the interior temperature is accurate, then I bake for the suggested time directed (you'd be surprised how often the directions are wrong).  In addition to verifying baking time and temp, I check to see which baking surface produces the best results.  Here you can see I baked one cookie on parchment paper and one on a small quarter-sized silicone baking mat (like this one).  

Let's check out the results below, shall we?

which nonstick surface is the best for cookies?

The differences aren't always this clear, but for this particular recipe, it's obvious the cookie baked on silicone turned out much better than the one baked on parchment paper (and obviously, the suggested oven temp was too hot - thankfully I didn't ruin an entire tray of cookies discovering that fact).

Back to baking surfaces, silicone almost always wins my baking tests - not quite as dramatically as shown here, but I encourage you to give it a try and discover your own results.  

cookies made with lyle's golden syrup

Alrighty - pour yourself a glass of cold milk and enjoy! 

Items used to make this recipe:

(affiliate links)


Lyle's Golden Syrup Cookies

makes 18 cookies

Printable Recipe

Ingredients

  • 3/4 cup all purpose flour

  • 1 1/2 teaspoon baking soda

  • 1 1/2 teaspoon baking powder

  • 7 tablespoons unsalted butter

  • 1/2 cup granulated sugar

  • 2 tablespoons lyle's golden syrup

  • 1/2 teaspoon pure vanilla extract

  • 1 cup old fashioned oats

Directions

  1. In a small bowl, whisk together flour, baking soda, and baking powder, set aside.

  2. In a medium saucepan, heat butter, sugar, and golden syrup until melted and smooth; remove from heat and stir in pure vanilla extract.

  3. Add flour mixture and oats and stir well to combine.

  4. Place cookie dough in an airtight container and chill for 30 minutes.

  5. Preheat oven to 325F and place rack in the center position.

  6. Line two half sheet pans with silpat liners (parchment doesn't work well for these cookies).

  7. Use a #50 scoop to portion dough, 6 cookies at a time, evenly spaced on sheet pan.

  8. Bake for 8 minutes; remove from oven and allow to cool for 5 minutes before transferring to a wire rack to cool completely. Store in airtight container.

Note

  • I suggest baking only one tray of cookies at a time, being sure to place chilled dough on room temperature (not hot/warm) sheet trays.

DIY Corned Beef

Patricia @ ButterYum

I recently learned how easy it is to make corned beef from scratch and I thought, since St. Patrick's Day is just around the corner, I'd show you how it's done.  And let me just go on the record and say this, you may never go back to the stuff from the grocery store again.  

Be sure to plan ahead -  the brisket needs to brine for 6-8 days before cooking. And you'll also need to find pink curing salt, not to be confused with pickling salt, pink himalayan salt, or pink Peruvian salt (look for Instacure #1 or Prague powder #1).  You can order it online or you might be able to get some from a butcher, or a friend who makes their own sausage and/or cures their own bacon.

First prepare the brine.  The beef brisket will sit in the brine for a minimum of 6 days and a maximum of 8.  Clockwise from top left:  table salt, whole garlic cloves, brown sugar, pink curing salt (instacure #1), bay leaves, whole allspice berries, whole coriander seeds, whole peppercorns.

You'll also need 16 cups of water and a non-reactive vessel that’s large enough to hold the brine and brisket (non-reactive vessels would be glass, food-grade plastic, stainless steel, or ceramic). I used this ginormous 13.25-quart French oven, but anything that's big enough and isn't made of aluminum, uncoated cast iron, carbon steel, or unlined copper will work.

How to make your own corned beef from scratch - recipe and how to photos

Add the brisket, bay, garlic, peppercorns, allspice berries, and coriander seeds.  My brisket stayed completely submerged in the brine.  If yours doesn't stay submerged, it can be weighed down with a dinner plate.

Cover the container and refrigerate for a minimum of 6 days and a maximum of 8 days.  Less than 6 days and the brine won't penetrate all the way through the brisket.  More than 8 days and the brisket will be too salty.

Recipe for homemade corned beef - ButterYum

Here's what the brined brisket looks like after 8 days.  Remove the brisket and discard the brine.

On the day you cook the corned beef, you'll need more peeled garlic cloves, black peppercorns, and bay leaves.  Also preheat the oven to 250F.

How to make your own corned beef recipe - ButterYum

Place the brined brisket in 10-quart or larger stockpot and add the bay, peppercorns, and garlic.

Recipe for homemade corned beef - ButterYum

Pour in 8 cups of cold water.

How to corn beef from scratch - ButterYum

Bring to a boil on the stove top, then remove from heat and cover.

Place in center of preheated oven for 3 hours.

Return stockpot to stovetop and transfer corned beef to platter; drizzle with some cooking liquid to keep it from drying out.  Add the cabbage, carrots, and potatoes: simmer for 15-30 minutes or until the potatoes are tender (remove cabbage after 10 minutes).

I like to scrape away some of the excess fat from the top of the corned beef - that allows me to see what direction the grain of the meat runs.  Cut slices across the grain.

Try not to drool.

Mmmmm.... it's soooooooo incredibly good! 

Items used to make this recipe:

(affiliate links)


DIY Corned Beef

makes 12 servings

Printable Recipe

Ingredients

Brine:

  • 4 quarts water

  • 3/4 cup table salt

  • 1/2 cup brown sugar

  • 2 teaspoons pink preserving salt #1 (see notes below)

  • 4 bay leaves

  • 3 whole peeled garlic cloves

  • 1 tablespoon black peppercorns

  • 1 tablespoon coriander seeds

  • 5 whole allspice berries

 Additional Ingredients (the day of cooking):

  • 4 pound flat cut beef brisket, fat trimmed to 1/4-inch

  • 2 quarts water

  • 2 bay leaves

  • 3 whole peeled cloves garlic

  • 1 tablespoon black peppercorns

  • brined corned beef

  • 1 head cabbage, cut into wedges

  • 1 1/2 pounds red new potatoes

  • 1 1/2 pounds carrots, peeled and cut into 2-inch pieces

Directions

  1. Brine (6-8 days before cooking): In a 12-quart or larger non-reactive container (see notes), whisk the table salt, brown sugar, and curing salt until dissolved; add bay leaves, whole garlic cloves, black peppercorns, coriander seeds, and allspice berries.

  2. Place trimmed beef brisket into brine, cover, and refrigerate for a minimum of 6 days and a maximum of 8 days (brisket should stay completely submerged - use a dinner plate to weigh it down if necessary).

  3. Remove brisket from brine; discard brine.

  4. Preheat oven to 250F.

  5. In a 8-quart or larger stockpot over medium-high heat, combine 2 quarts water, bay leaves, whole garlic cloves, black peppercorns, and the brined brisket until it reaches the boiling point.

  6. Turn off heat, cover, and place in preheated oven for 3 hours.

  7. Remove stockpot from oven and return to stovetop; transfer corned beef to a platter and drizzle some of the cooking liquid over to keep it from drying out.

  8. Add cabbage, carrots, and potatoes to the stockpot and bring to a simmer for 15-30 minutes or until the potatoes are tender (remove the cabbage after 10 minutes).

  9. Slice beef across the grain and serve with the cooked vegetables.

Notes

  • Pink curing should not be confused with pickling salt, pink himalayan salt, or pink Peruvian salt (look for Instacure #1 or Prague powder #1). It should contain a mixture of sodium chloride and sodium nitrite.

  • The difference between curing salt #1 and #2? Basically, curing salt #1 is used to preserve things that will be cooked (corned beef, sausage, bacon, etc). Curing salt #2 is used to preserve things that will be air dried (salami, pepperoni, jerky, etc).

  • A non-reactive container is one made of glass, food-grade plastic, stainless steel, or ceramic. Avoid aluminum, uncoated cast iron, carbon steel, or unlined copper.

adapted from America's Test Kitchen