contact us

Use the form on the right to contact us.

You can edit the text in this area, and change where the contact form on the right submits to, by entering edit mode using the modes on the bottom right.


123 Street Avenue, City Town, 99999

(123) 555-6789

email@address.com


You can set your address, phone number, email and site description in the settings tab.
Link to read me page with more information.

Blog

Butteryum food blog recipes

Perfect Party Pound Cake

Patricia @ ButterYum

White Party Pound Cake - ButterYum

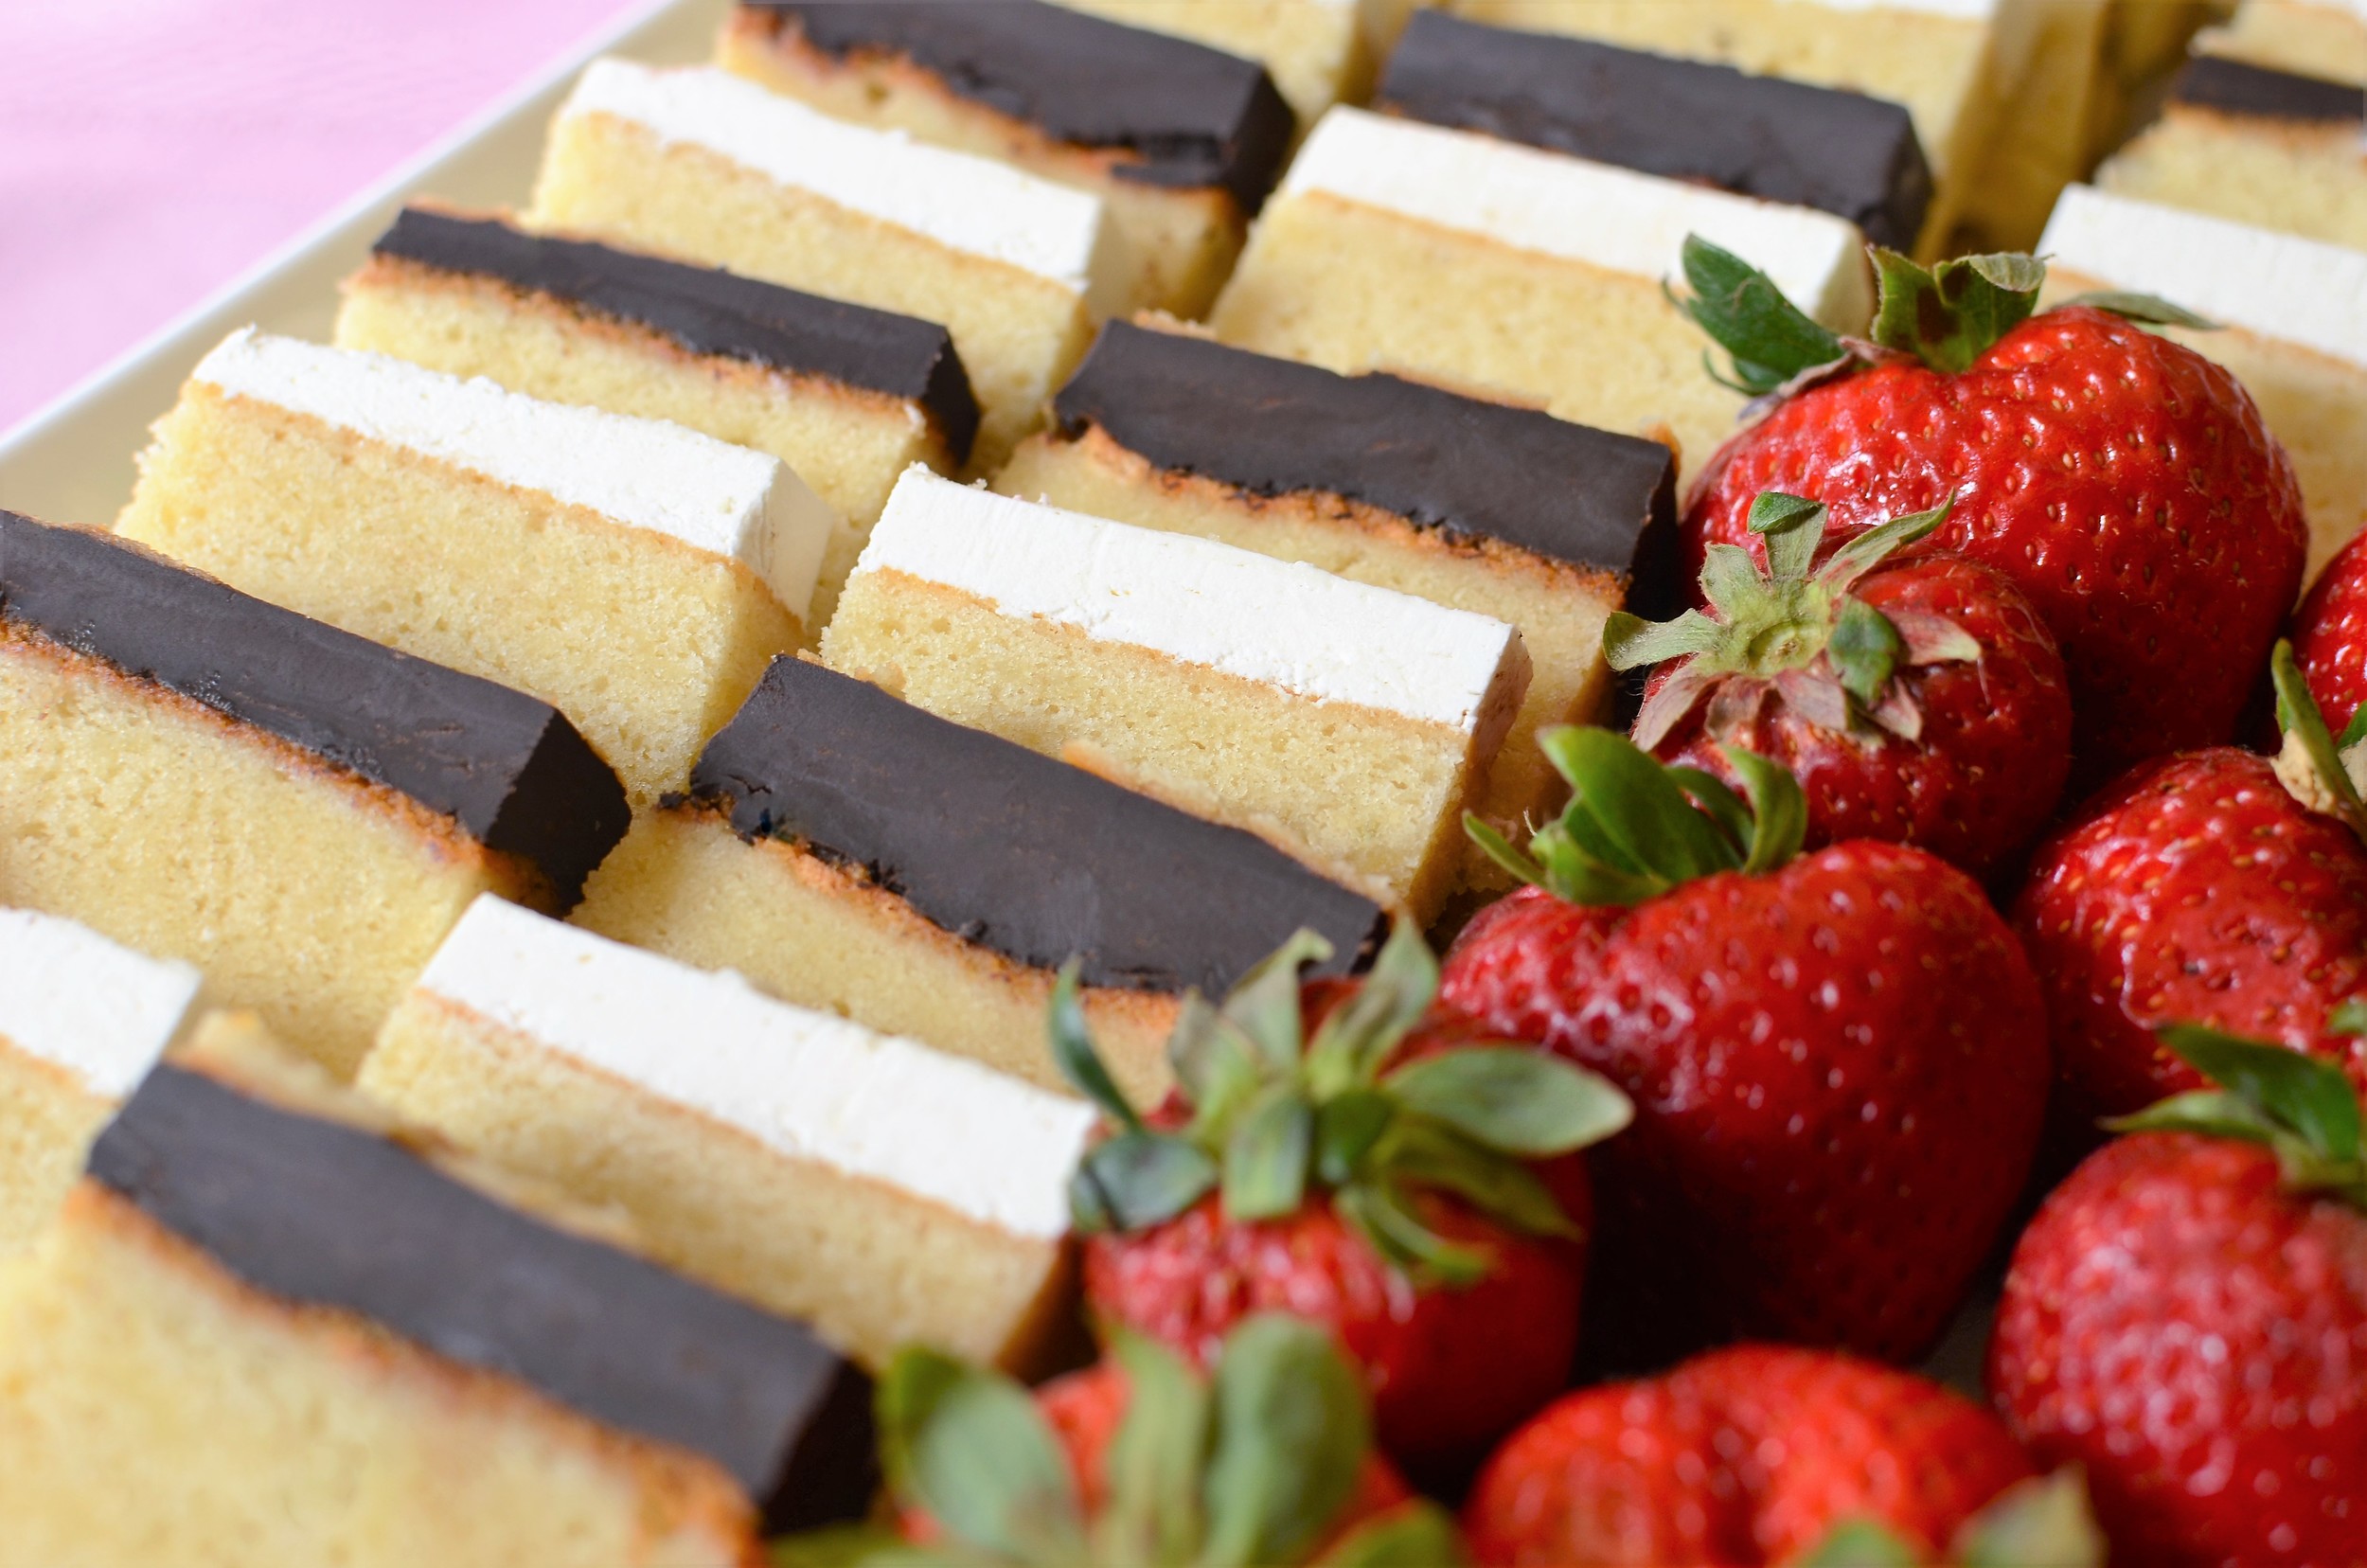
Here's a recipe for the perfect party pound cake baked in a 9x13x2-inch rectangular cake pan (I used this professional pan).  It's a very rich, dense cake so a little goes a long way, and it stays fresh for several days when stored in an airtight container.  You can adjust the flavor by changing the extracts used, but the recipe below is how I like it - it's especially good topped with either my Chocolate Ganache or my Vanilla Italian Meringue Buttercream.  

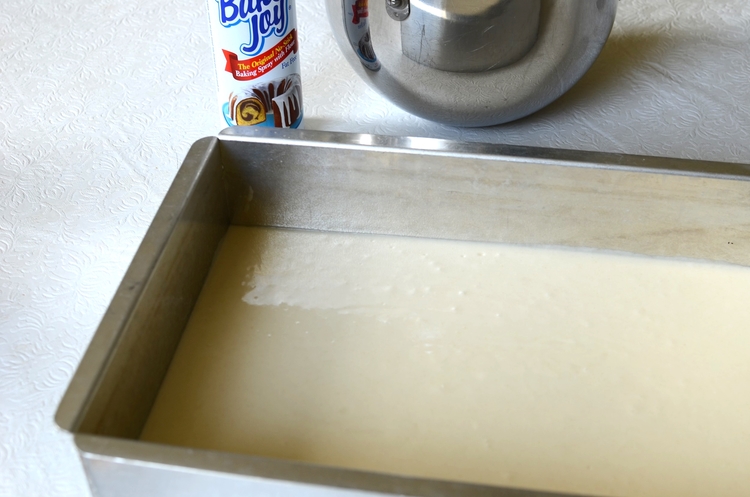
Spray pan well with Baker's Joy to prevent sticking if you plan to unmold the cake. And for large cakes like this one, I like to line the bottom of the pan with parchment as well.  

The cake is ready to come out of the oven with a toothpick inserted in the center comes out clean.

Items used to make this recipe:

(affiliate links)


Perfect Party Pound Cake

Makes one tall single-layer 9x13-inch cake

Printable Recipe

Ingredients

  • 16 tablespoons unsalted butter, room temperature

  • 3 cups granulated sugar

  • 1 tablespoon pure vanilla extract

  • 2 teaspoons pure almond extract

  • 1/4 teaspoon pure lemon extract

  • 7 large eggs

  • 3 cups all purpose flour

  • 1/2 teaspoon fine salt

  • 1/4 teaspoon baking soda

  • 1/4 teaspoon baking powder

  • 1 cup sour cream

Directions

  1. Preheat oven to 325F.

  2. Prepare 9x13x2-inch cake pan with Baker's Joy baking spray and wrap pan with insulated baking strips that have been moistened with water (this will prevent your cake from forming a hump).

  3. In a heavy duty stand mixer, beat butter and sugar together until light and fluffy, about 3 minutes.

  4. Add vanilla, almond, and lemon extracts; beat just until combined.

  5. Add eggs, one at a time, beating after each addition until no traces of egg remain.

  6. In a medium bowl, whisk together flour, salt, baking soda, and baking powder; add to batter in mixing bowl, beating until no traces of dry flour remain.

  7. Add sour cream and mix until combined.

  8. Pour batter into prepared baking pan and bake for 45-60 minutes until a toothpick inserted in the center of the pan comes out clean.

  9. Remove cake pan from oven and place on a cooling rack for 10 minutes before turning the cake out of pan.

  10. Allow cake to cool completely on rack before frosting

Note

White Party Pound Cake - ButterYum

Macerated Strawberries

Patricia @ ButterYum

I love when fresh strawberries are in season.  I don't know about you, but I buy a lot of them.  Inevitably, we sometimes end up with a few berries that don't get eaten as quickly as I'd like.  I'm sure that happens to you too so I'm going to show you how to turn less than appealing strawberries into uber yummy strawberries, and we'll extend their life by a day or two in the process.  It's a win-win!

Alright, remove and discard the stems from your sad looking strawberries and cut them into bite-size pieces.

If your neighbor has chickens, save those trimmings for them.

Place the berries in a bowl and sprinkle on a little granulated sugar.  I use 1-2 tablespoons of sugar for a pint of strawberries, depending on how sweet they are to begin with.  

If you want to be a little fancier, use vanilla sugar.  

I make my own vanilla sugar by saving all my vanilla bean pods and placing them into a large jar filled with sugar. Just rinse the pods, let them dry, then add them to the jar.  Top off with more sugar as needed.  My batch of vanilla sugar is well over 10 years old... maybe close to 20 - and I bet there are 30 vanilla beans in there.  

Ok, back to the strawberries.

Stir the berries and sugar together well.

Cover and refrigerate for at least an hour before using. They will last in the fridge for 5 to 6 days, but they're really best eaten within 48 hours.  

And here you can see what they look like after they release their juices.  The technical name for this process is MACERATE, but whatever you call it, can you believe how enticing those sad strawberries look now?  

Use them to make strawberry shortcake, or old-fashioned hot milk cake, make these amazing strawberry muffins, spoon them over ice cream, or put them in a bowl and drizzle a little cream on top.  However you decide to use them, I promise, your family and friends are going to love them.... and you'll love that you didn't have to throw those sad looking strawberries away.  You're welcome.

Items used to make this recipe:

(affiliate links)


Macerated Strawberries

makes 1 pint

Printable Recipe

Ingredients

  • 1 pint strawberries, hulled and cut into bite-size pieces

  • 1 to 2 tablespoons granulated sugar (or vanilla sugar)

Directions

  1. Place cut strawberries and sugar in a large bowl and stir well.

  2. Cover and refrigerate for at least 1 hour, but up to 48 (berries are best eaten within 24 hours).