contact us

Use the form on the right to contact us.

You can edit the text in this area, and change where the contact form on the right submits to, by entering edit mode using the modes on the bottom right.


123 Street Avenue, City Town, 99999

(123) 555-6789

email@address.com


You can set your address, phone number, email and site description in the settings tab.
Link to read me page with more information.

Blog

Butteryum food blog recipes

Filtering by Category: pie and tart recipes

All-Butter Pie Crust

Patricia @ ButterYum

I know a lot of people buy prepackaged pie crusts for "convenience" sake, but I'm here to show you how easy it is to make your own less expensive and MUCH better tasting crust from scratch... and in less time than it takes to drive to the grocery store.  Plus you can make it way ahead of time.  I mean, talk about convenient!

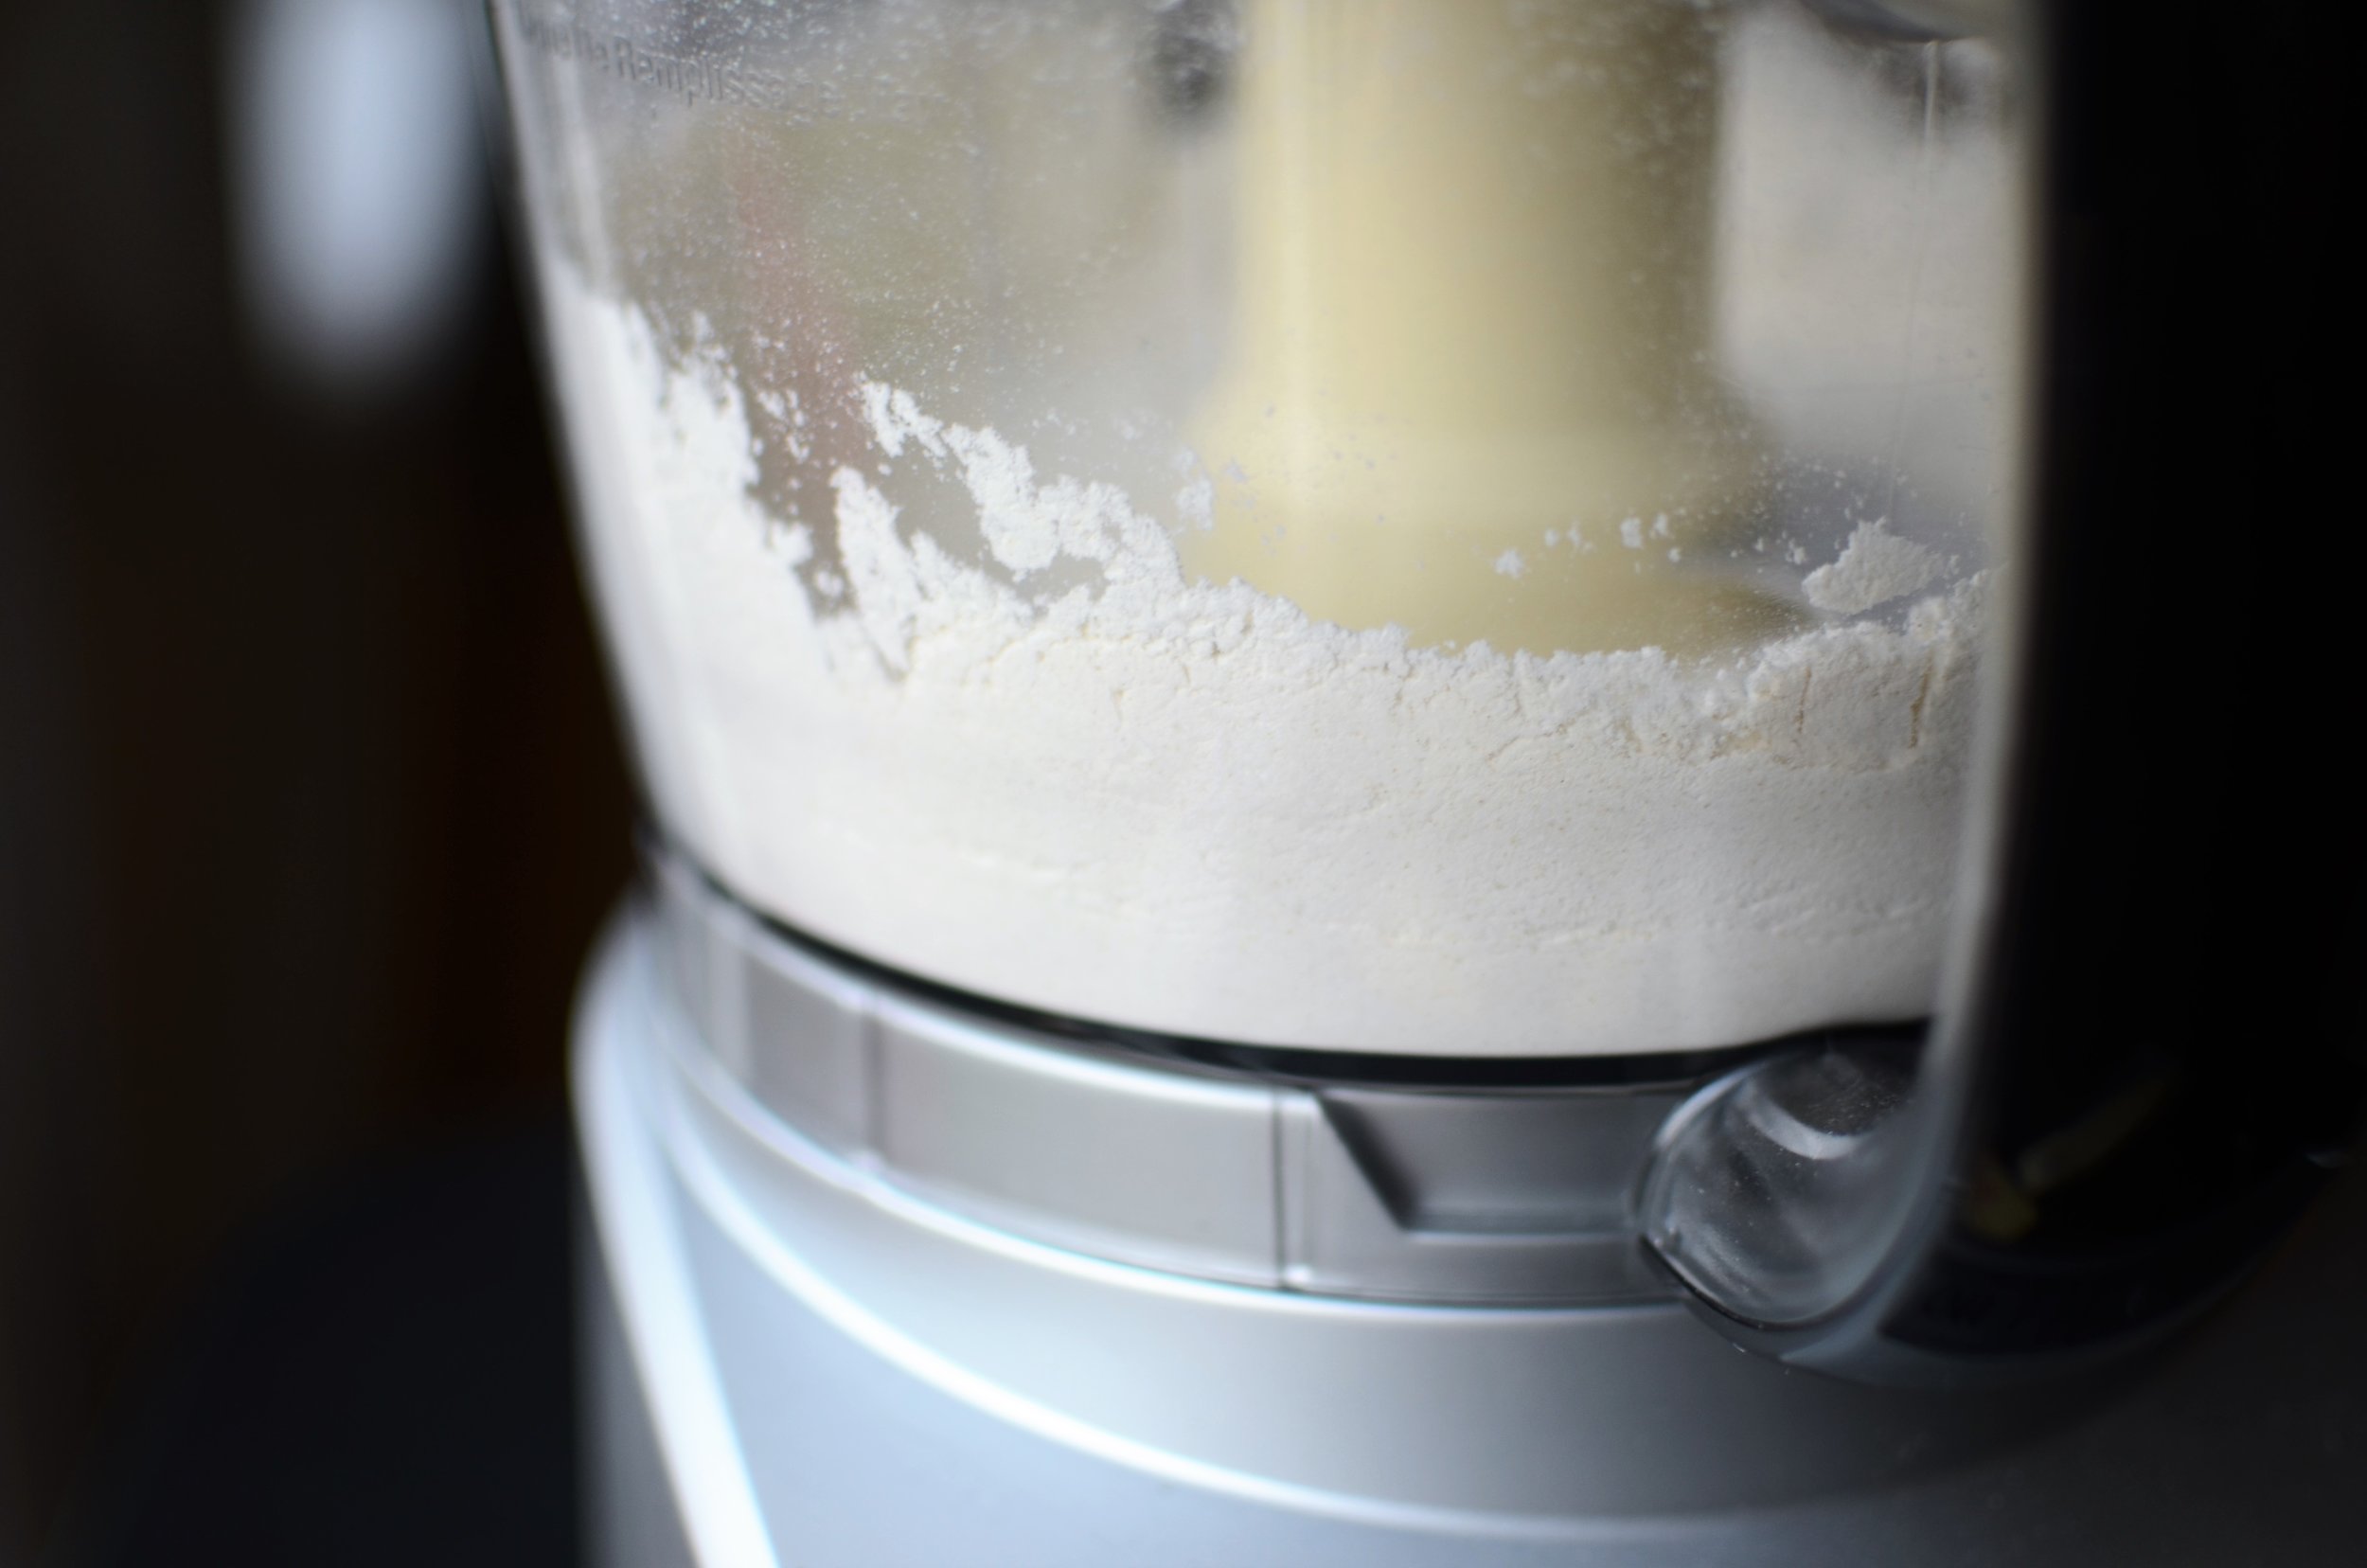
The process here is so simple.  Just place flour, salt, and sugar in a large food processor (here’s mine) and give them a whirl.

All Butter Pie Crust Tutorial - ButterYum

Then add COLD unsalted butter and pulse, pulse, pulse...

How to make your own pie crust from scratch - ButterYum

Pulse until the butter pieces are the size of peas.  About 5-10 pulses.

how to make your own pie crust from scratch - ButterYum

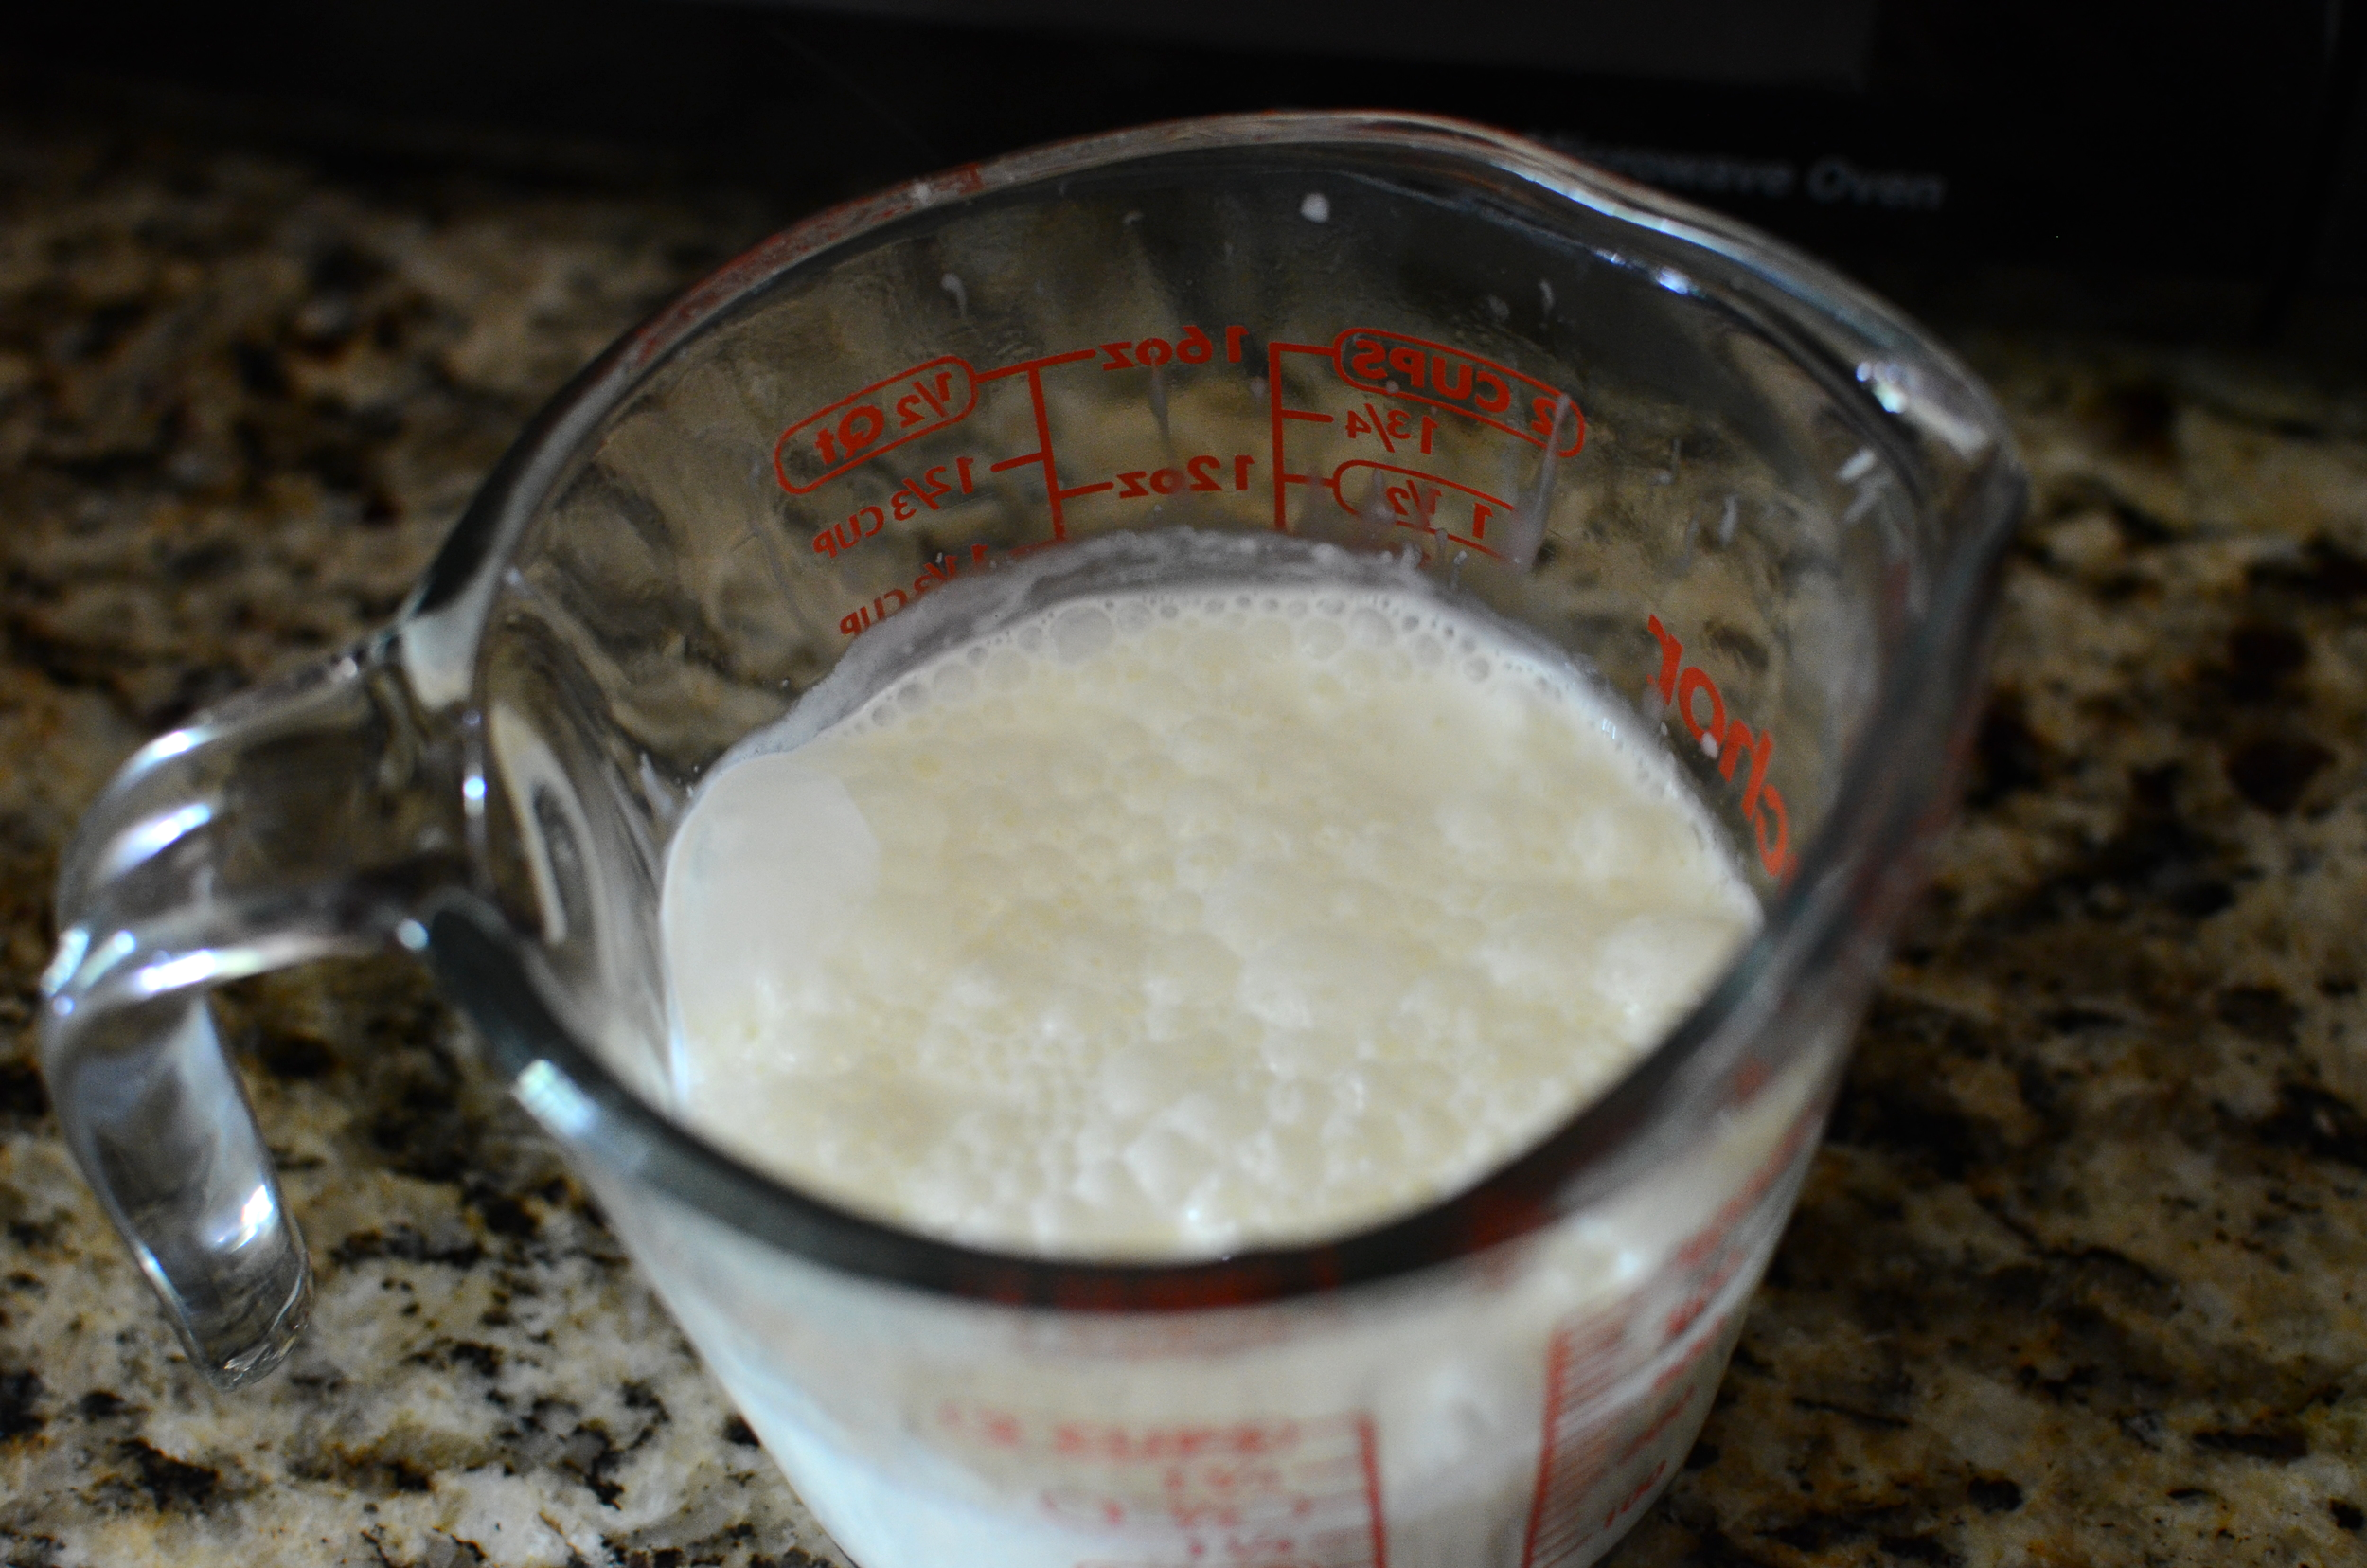
Then turn the processor on and drizzle in ICE COLD water until the mixture starts to form clumps that will stick together when compressed.  CAUTION:  do not allow any ice to fall into the processor - doing so will result in gooey, sticky holes in your crust.

Note:  depending on how humid your climate is and how much moisture your flour contains, you may not need to use all the water.

simple pie crust recipe with photos - ButterYum

This is exactly what the dough should look like.  

Scratch Pie Crust Tutorial - ButterYumhow to mahow

Shape dough into a flat disk (two if making the double crust recipe), wrap well in plastic wrap or place in a zip-top bag and chill for at least 1 hour (or up to 3 days) before rolling so the flour has time to hydrate properly (trust me, this step is important)..

Note:  if you're not going to use the dough within 3 days, freeze it for up to a month.  To thaw:  place wrapped dough in refrigerator overnight before rolling.  

how to make the best pie crust from scratch - how to photos - ButterYum

Happy Baking!

Items used to make this recipe:

(affiliate links)


Single all-Butter Pie Crust

makes one 9-inch crust

Printable Recipe

Ingredients

  • 1 1/4 cups all purpose flour

  • 8 tablespoons cold unsalted butter, cubed

  • 1/2 teaspoon fine salt

  • 1/2 teaspoon granulated sugar

  • 3-4 tablespoons ice cold water

Double all-Butter Pie Crust

makes two 9-inch crusts

Printable Recipe

Ingredients

  • 2 1/2 cups all purpose flour

  • 16 tablespoons cold unsalted butter, cubed

  • 1 teaspoon fine salt

  • 1 teaspoon granulated sugar

  • 6-8 tablespoons ice cold water

Directions

  1. In the bowl of a food processor fitted with the metal chopping blade, place flour, salt, and sugar; pulse several times to combine.

  2. Add cold cubed butter and pulse processor on and off until the butter pieces are the size of peas.

  3. Turn the machine on and drizzle ice water slowly until small clumps of dough start to stick together. You'll know you've added enough water when the moistened clumps hold together in the palm of your hand when squeezed.

  4. Transfer to plastic wrap or zip-top storage bag and press into a round disk shape (two if making the double crust recipe); chill for at least 1 hour or up to 3 days before rolling. Dough can also be frozen for up to a month.

Note

  • To prebake pie shell (blind bake), Place pie dough in pie plate, crimp edges and chill in freezer for 20 minutes or the fridge for at least 30 minutes. Preheat oven to 375F. Crumple a piece of parchment paper that's large enough to fill the pie plate, including the sides. Fill the parchment with rice (sometimes I use I use beans, but beans can’t be cooked afterwards, however rice can). Place chilled pie crust on half sheet pan and place it on the center rack of preheated oven and bake for 30 minutes, then remove the parchment and rice and return to oven for 5 minutes. Cool completely before filling.

Decadent Chocolate Tart

Patricia @ ButterYum

Don't you love it when people make incoherent yummy grumbly food noises when they're eating something so utterly delicious that they can't stop long enough to tell you how much they love it?   So yeah, that's what's going to happen when you serve this amazingly decadent chocolate ganache tart.  And you won't believe how easy it is to make.  Honestly, the hardest thing you'll have to do is wait for it to chill in the fridge.  

I started by processing chocolate graham crackers into crumbs using my food processor. The crumbs are then mixed with melted butter.

The placed into a 9-inch fluted tart pan with removable bottom.

Press the crumbs evenly in the bottom and up the sides of the tart pan. I like to use a flat-bottomed measuring cup and my fingers to do this.

Place the prepared crust on a half sheet pan and bake for 10 minutes. The sheet pan doesn't have to be lined, but I lined mine with a silpat just in case any butter oozed out. Easy cleanup.

Cool the tart shell on a cooling rack.

Here's a tip I shared on my facebook page - to help the tart shell cool down quickly, place it in front of a fan. Seriously, I consider my tower fan a vital piece of kitchen equipment. I use it all the time to cool tart shells, cookies, cakes, pies... plus it cools me down when the kitchen gets hot. Bonus!

So now that the crust is cooling, it's time to whip up the filling. Start with 12 ounces of really good quality semisweet chocolate. Just remember, the better the chocolate you use, the better your tart will be.

You can use chocolate chips if you must, but remember they contain emulsifiers that help them keep their shape when melted. In other words, no matter how long you stir, the filling won't be as smooth as it would if you had used chocolate that doesn't contain emulsifiers.

This is a great trick - adding a touch of this wonderful espresso powder enhances the chocolate flavor. It's optional, but I really like it. If you use it, add it right to the bowl with the chocolate.

The recipe calls for heavy cream and a little butter. Here I used a 2-cup glass measure to heat it in the microwave just until it started to bubble. Don't walk away or it might boil over and make a mess in your microwave. (been there, done that!)

As soon as the cream and butter bubble, pour them over the chocolate and espresso powder. Allow the mixture to rest for a couple of minutes while the hot cream and butter melt the chocolate, then use a whisk to gently combine the two. The mixture will look really messy at first, but you'll be amazed at how quickly it transforms into the glorious bowl of luscious below.

Oh my..... be still my heart.

Now grab your cooled tart shell and pour that luscious ganache right inside. Smooth the top and pop it in the fridge to chill, uncovered, for at least 4 hours.

Mmmm. Once the filling has cooled completely, you can store the tart in an airtight container. If you put it in a container before that time, condensation will form on the underside of the lid, and the condensation will drip on your tart and destroy its lovely appearance. We don't want that to happen!

When it's time to serve, garnish with fresh fruit.

And maybe a sprinkling of confectioners sugar, but do that just before serving or the sugar will melt and disappear.

Slice small pieces with a hot knife - a little goes a long way. Enjoy!

Items used to make this recipe:

(affiliate links)


Decadent Chocolate Tart

Printable Recipe

Ingredients

Crust:

  • 1 1/2 cup chocolate graham cracker crumbs (or oreos, about 27 cookies with the filling removed work perfectly)

  • 6 tablespoons unsalted butter, melted

Filling:

Garnish:

  • 8 ounces fresh berries

  • confectioners sugar

Directions

  1. Preheat oven to 350F.

  2. Combine chocolate cookie crumbs with melted butter; mix until completely combined.

  3. Press crumb mixture into the bottom and up the sides of a 9-inch tart pan.

  4. Place the tart pan on a half sheet pan and bake for 10 minutes: remove from oven and set aside while preparing the filling.

  5. Place chopped chocolate in a medium bowl; set aside.

  6. In a microwave safe container, heat heavy cream and butter until it just begins to boil.

  7. Immediately pour the heavy cream mixture over the chocolate and walk away for a couple of minutes to let the cream melt the chocolate.

  8. Add espresso powder and vanilla extract to the cream and chocolate; whisk together gently until fully combined.

  9. Pour chocolate mixture into chocolate tart crust; refrigerate for at least 4 hours or overnight.

  10. Just before serving, top with fresh berries and sprinkle with confectioners sugar.

Note

  • To cut neat slices, dip a knife in hot water and wipe clean between each cut.