Homemade Cannoli
Patricia @ ButterYum

A big holiday weekend is just around the corner.... and when I think of big holidays, I think of big family gatherings.... and when I think of big family gatherings, I think of big platters of delicious cannoli! If you live in a big city, you're likely able to get your hands on some pretty good cannoli, but I live in the burbs, were a good cannoli is practically unheard of, so I make my own. And now you can make your own too - this is how it's done.
Note: plan ahead, the filling needs to be prepared about 24 hours before using. The cannoli shells can be used immediately after cooking, but you can also make them several days ahead of time if you store them in an airtight container (or freeze for up to a month).

Start by mixing together a simple cannoli shell dough, similar to the way you'd make pie dough. I like to make my dough in the food processor (if you want to see that, check out my all-butter pie crust tutorial).
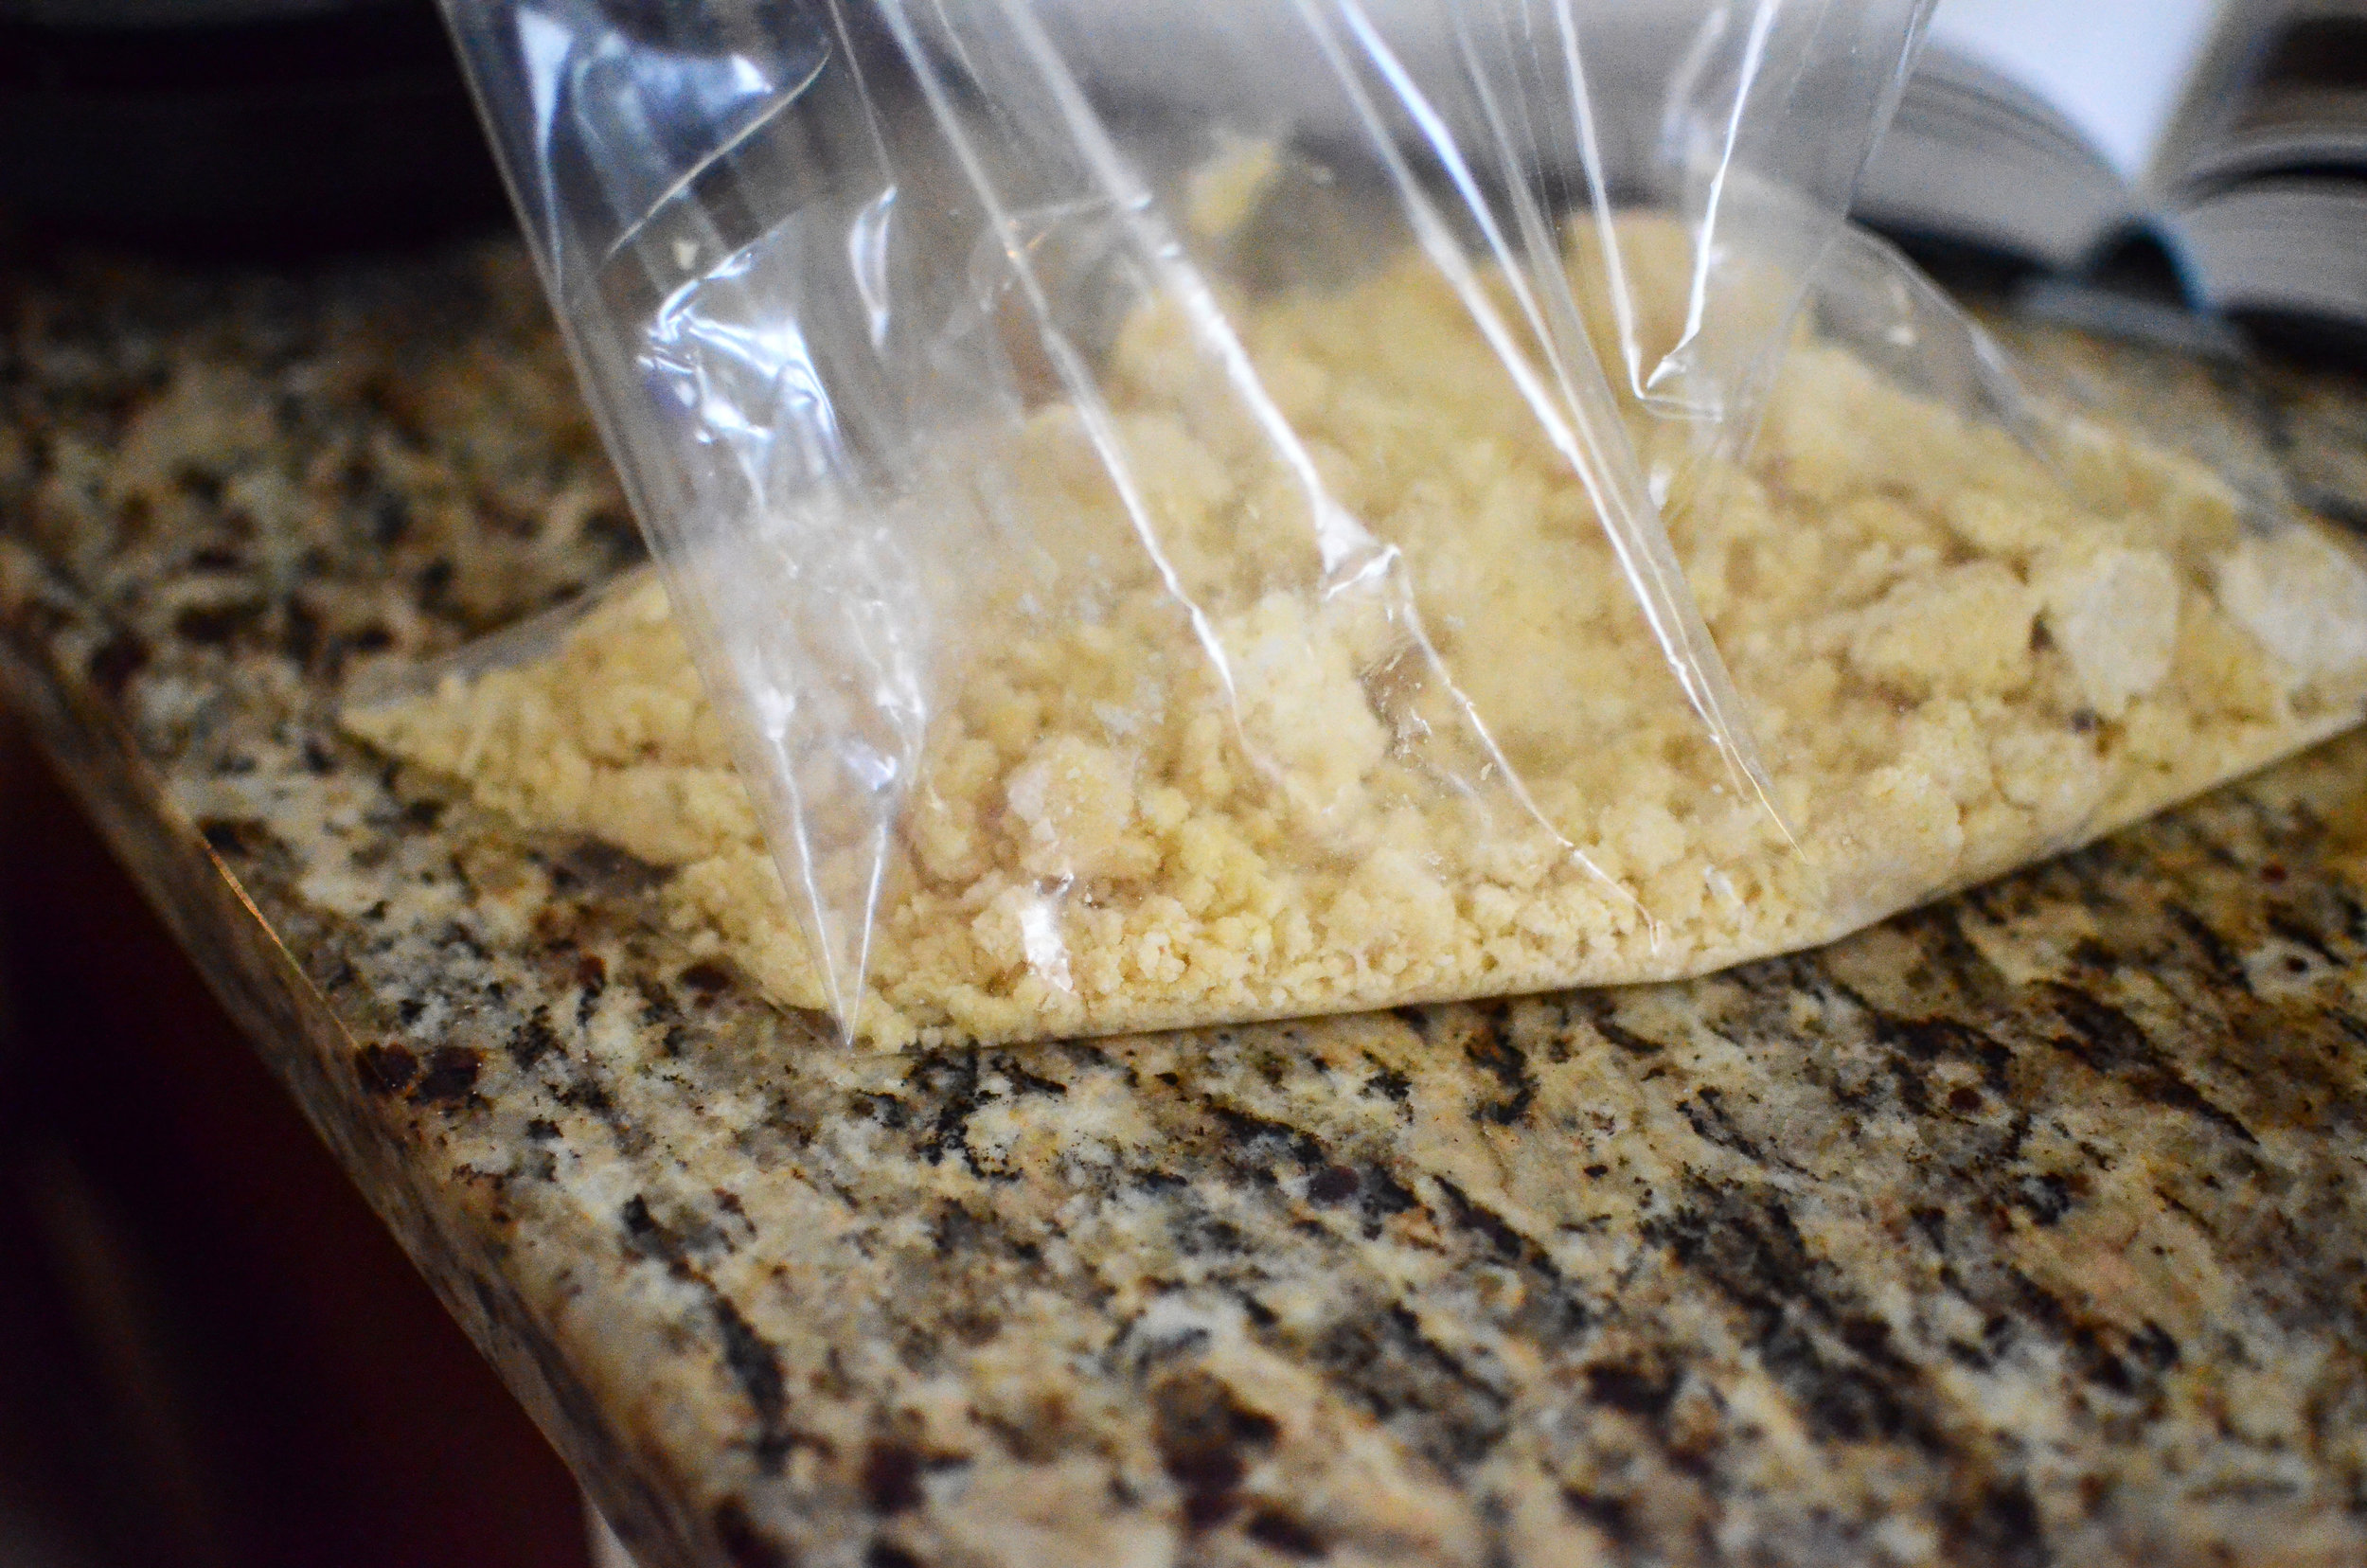
The dough will look crumbly, but should hold together when compressed. The least messy way to do this is to place the crumbles in a large zipper bag and press them into a disk shape.

Seal the bag and place the dough in the fridge.
The dough should chill for at least 30 minutes before rolling.

When it's time to roll the dough, remove it from the fridge and dust it with a little flour.

Now go down to the basement and dig out your pasta machine (am I right??). Set the rollers at the widest setting. For my machine, the widest setting starts at #1, but some machines that would actually be the thinnest setting. You'll be able to figure out the widest setting on your machine pretty easily.
No pasta machine? No problem - you can use a rolling pin, but I have to tell you, using a pasta machine is so much more fun!

Ok, now that your pasta machine's rollers are set for the widest setting, pass the flour-dusted cannoli dough through the rollers. If you have any kids around, I bet they'd enjoy cranking the handle.

Adjust the rollers of the pasta machine one level thinner. Dust the now elongated piece of dough with a little more flour and pass it through the machine again.

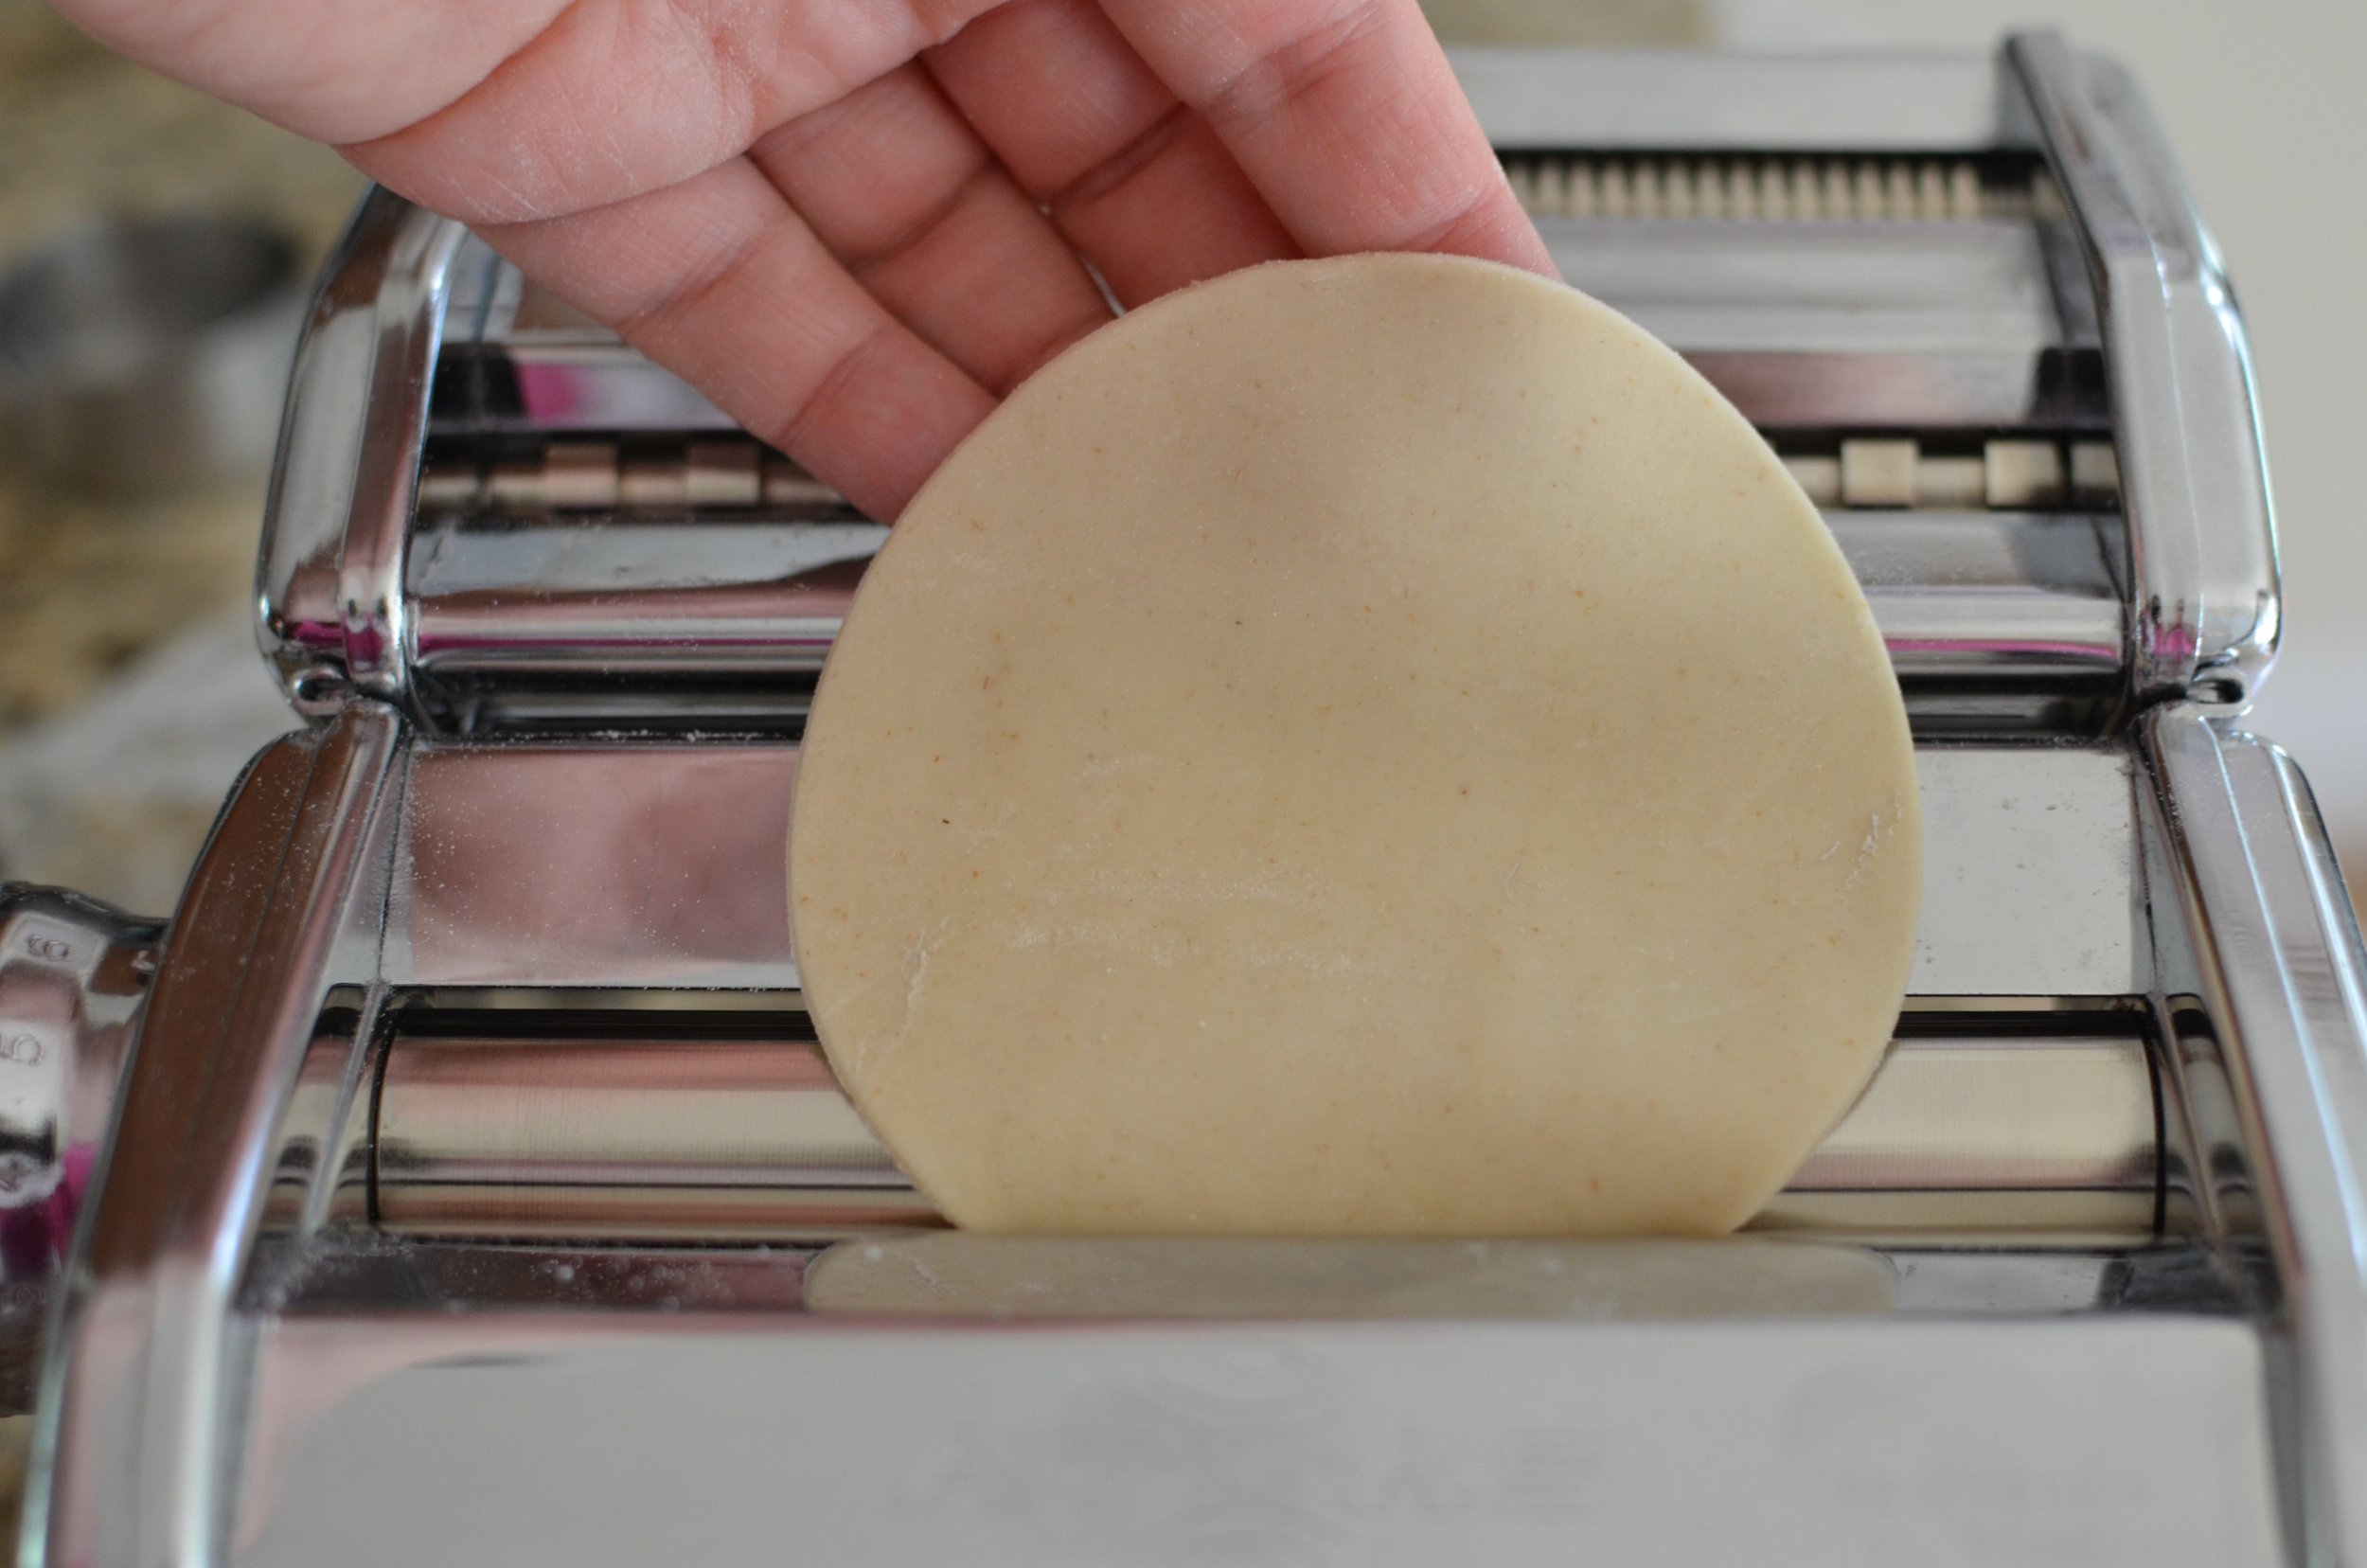
Continue dusting, adjusting, and rolling, one level at a time, until the dough is very thin like (1/16-inch) - level #5 on my machine (the thinner you roll the dough, the more bubbles will appear on the shells when you fry them).

Continue dusting, rolling, adjusting... dusting, rolling, adjusting....

When you've reached the 5th level, stop rolling and grab a 4-inch round cutter.. Dust the cutter in flour and start cutting the cannoli shells.

The round cutouts aren't quite ready to use yet...
One more quick pass through the pasta machine, this time on the 6th level. This will turn the round cutouts into ovals - you'll see why in a moment.
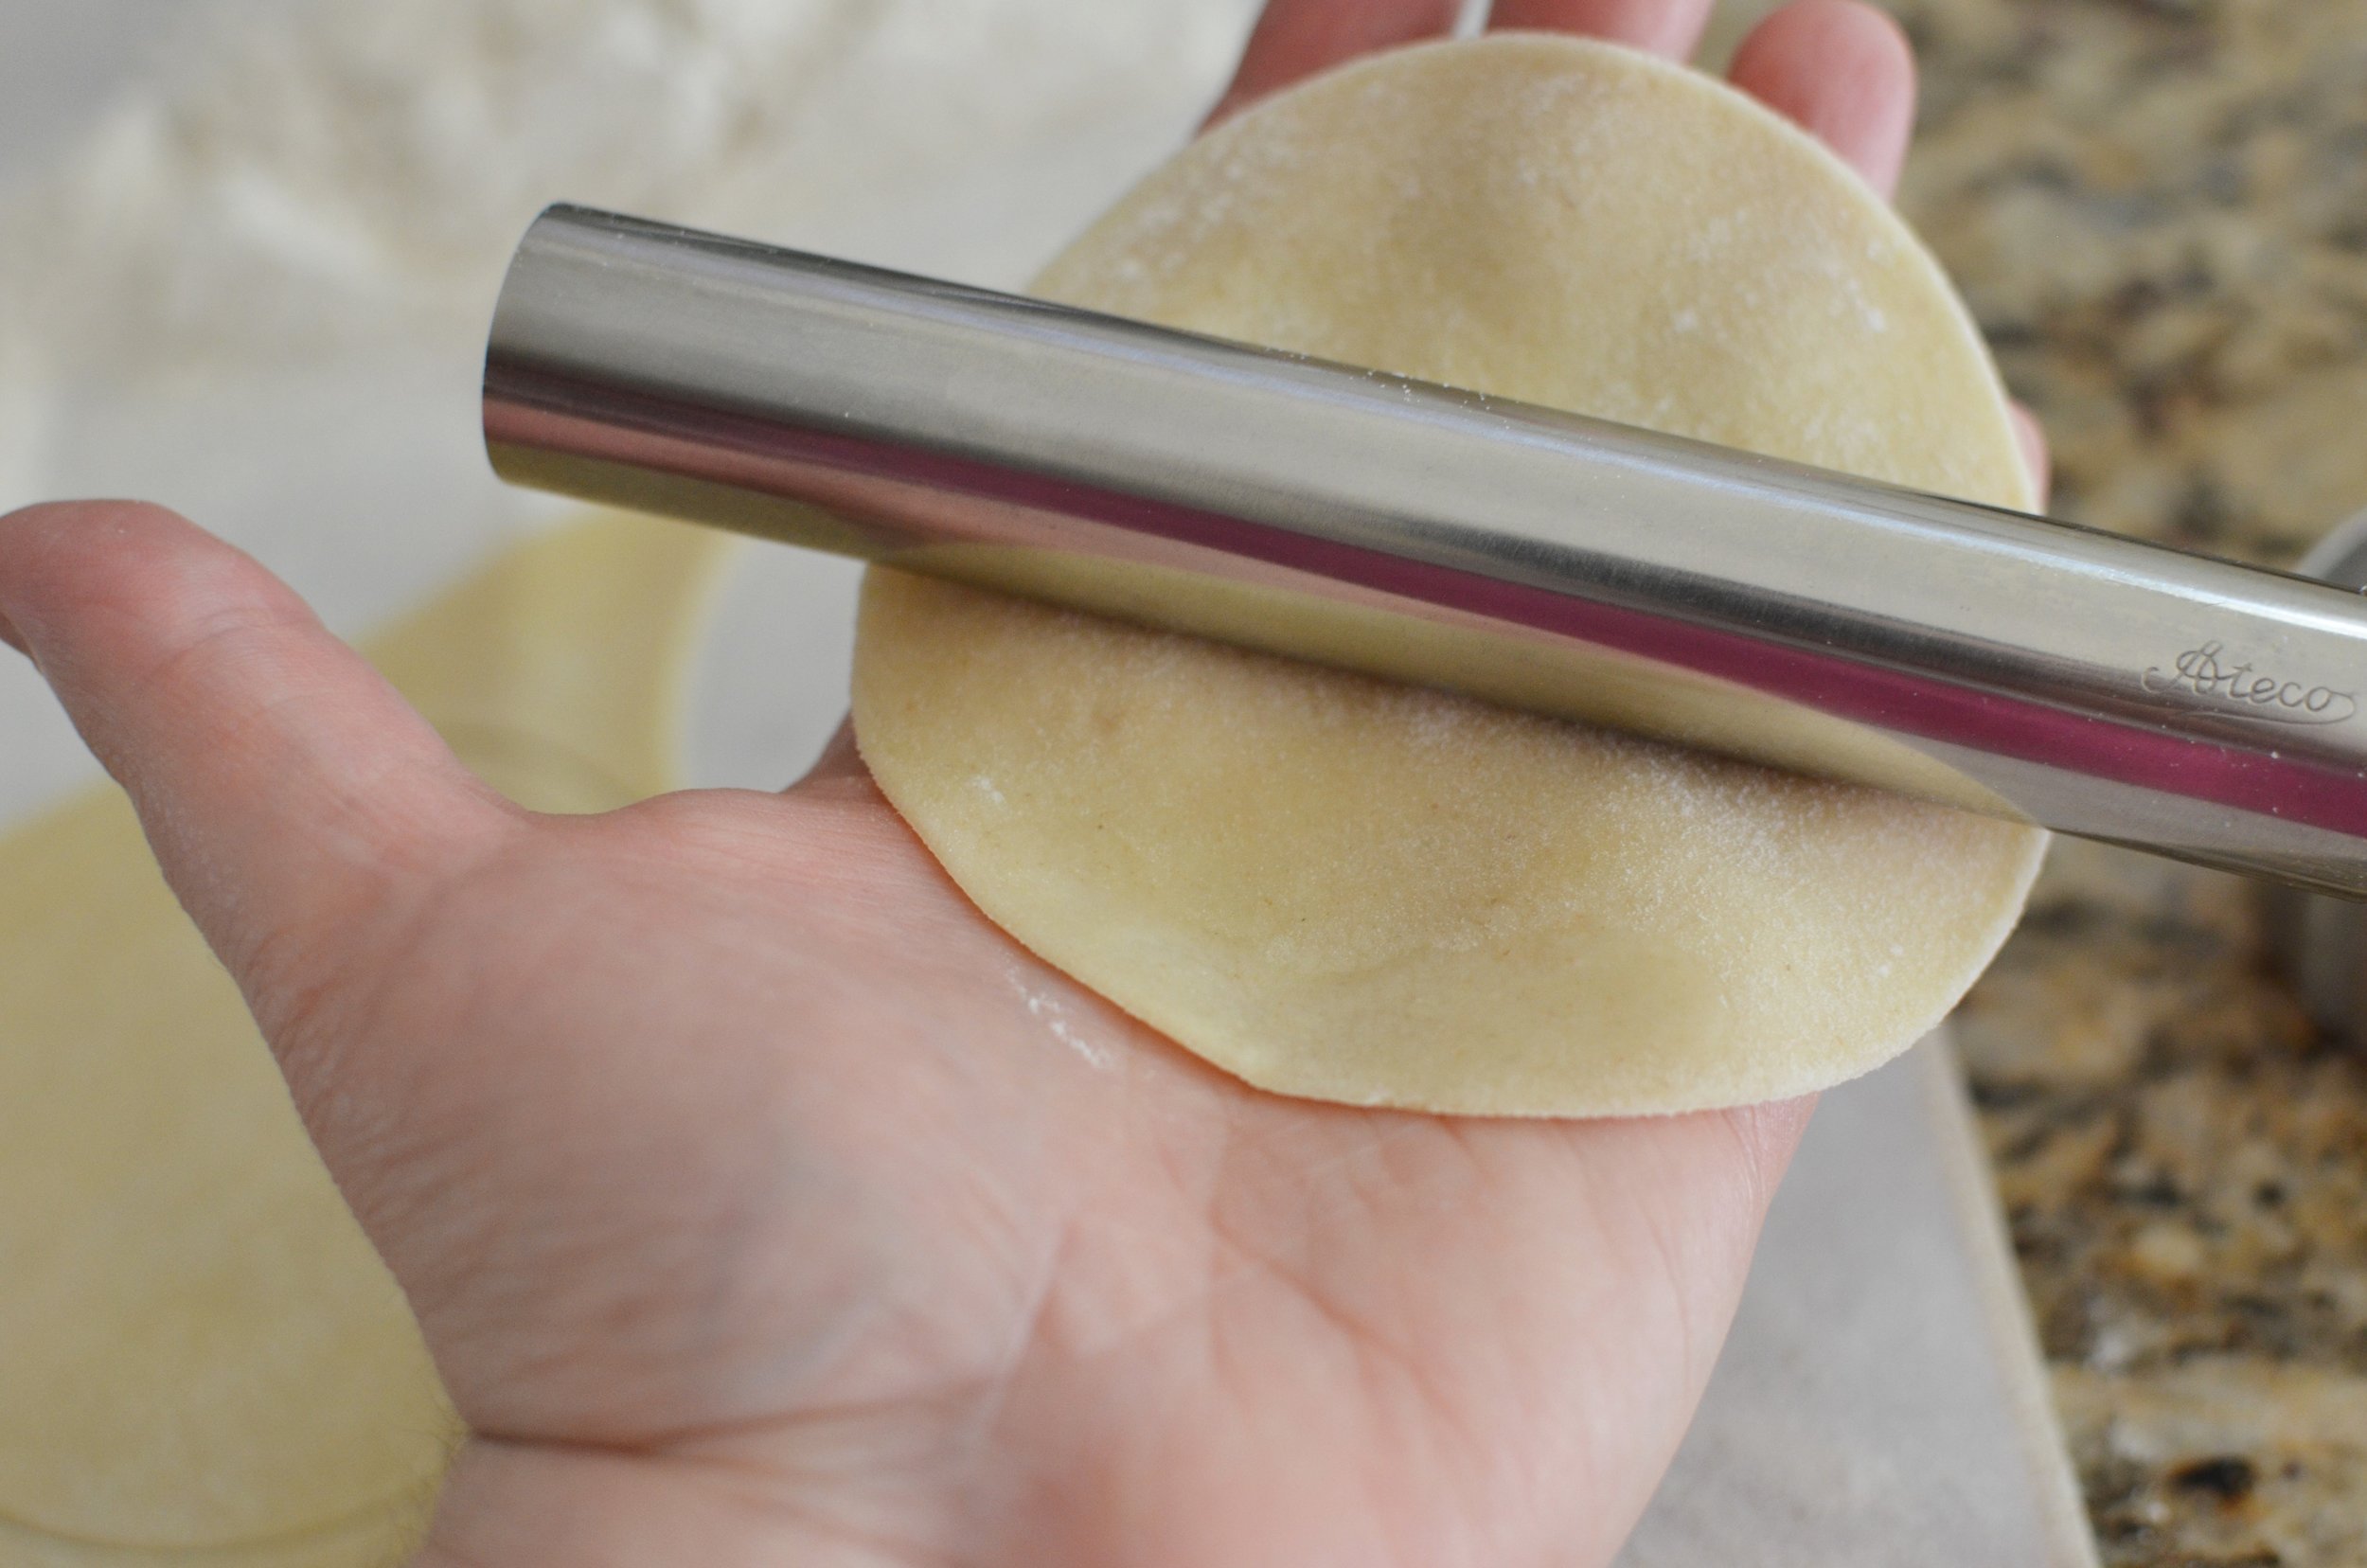
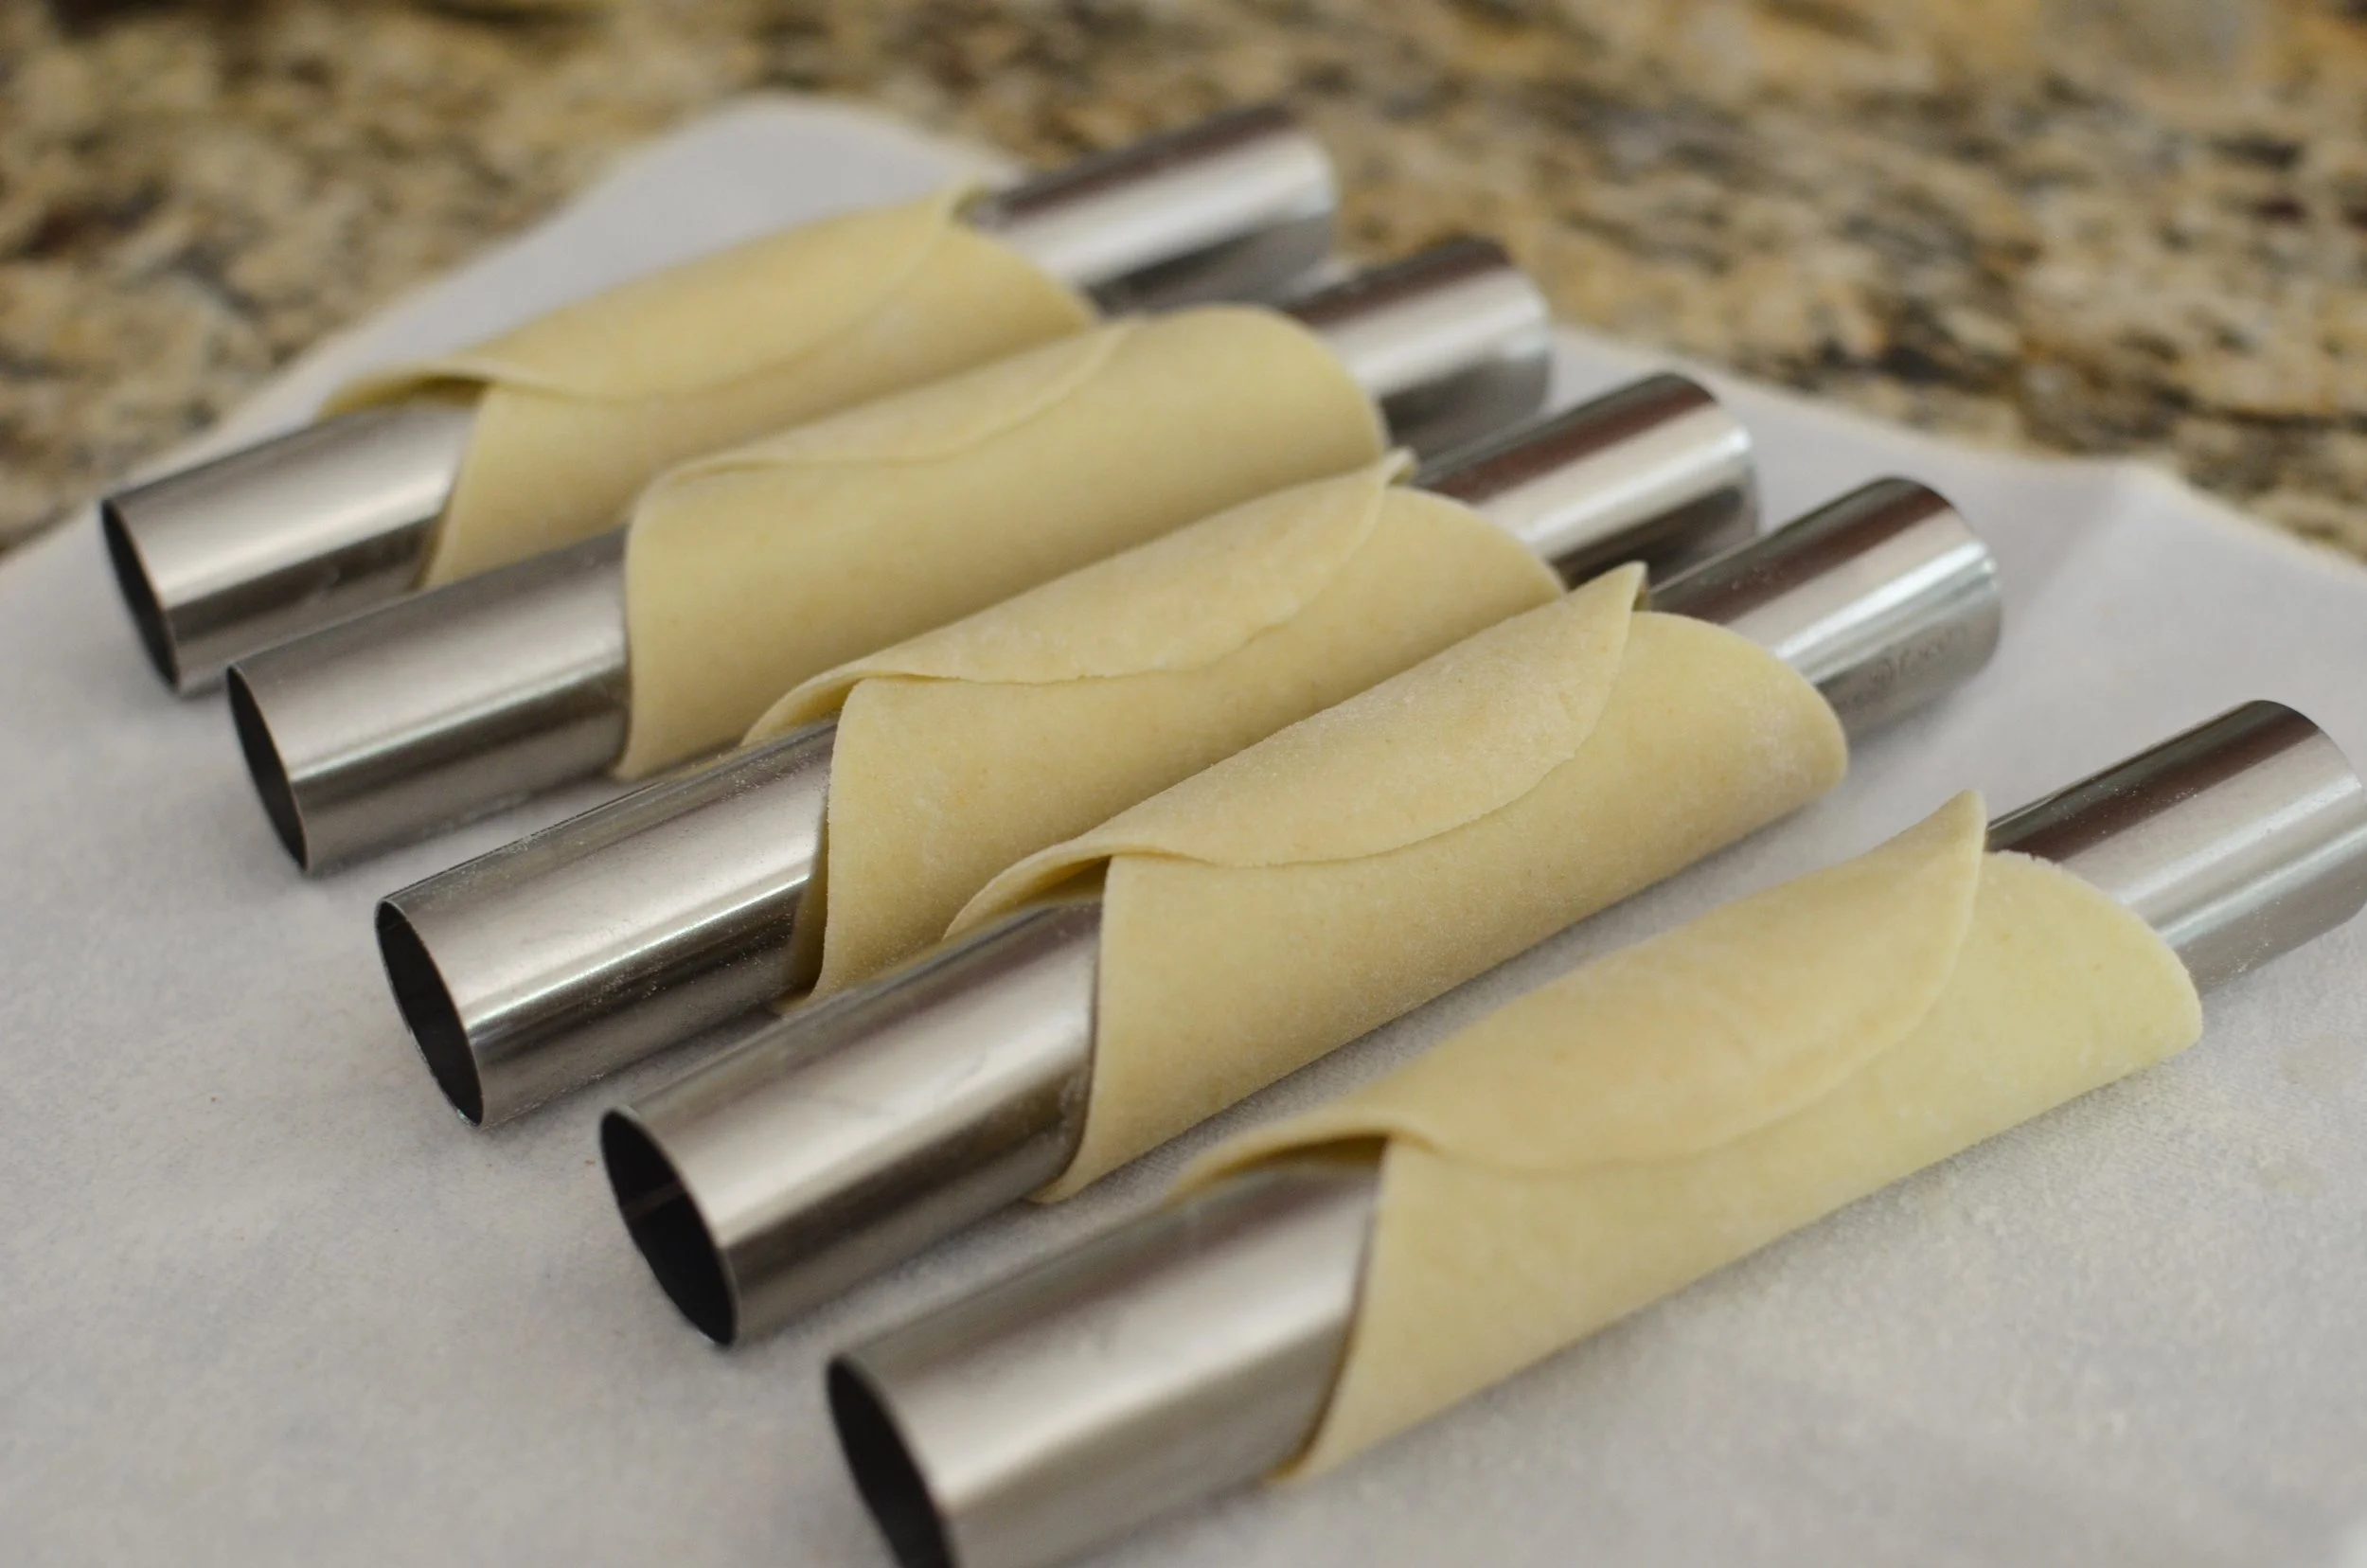
Alrighty, time to wrap the dough around the stainless cannoli forms.

Add a dab of water just where the two ends overlap. Be careful not to get water on the cannoli form because it will cause the dough to stick and the shell will break when you try to remove it.

Press the overlapping edges together well to make sure they're sealed. If you don't, they can pop open and fall off the form during frying.

If you like, you can flare the ends a little. Honestly, it looks nice, but I don't usually bother.
Continue rolling the shells while you heat several inches of peanut oil in a deep pan.
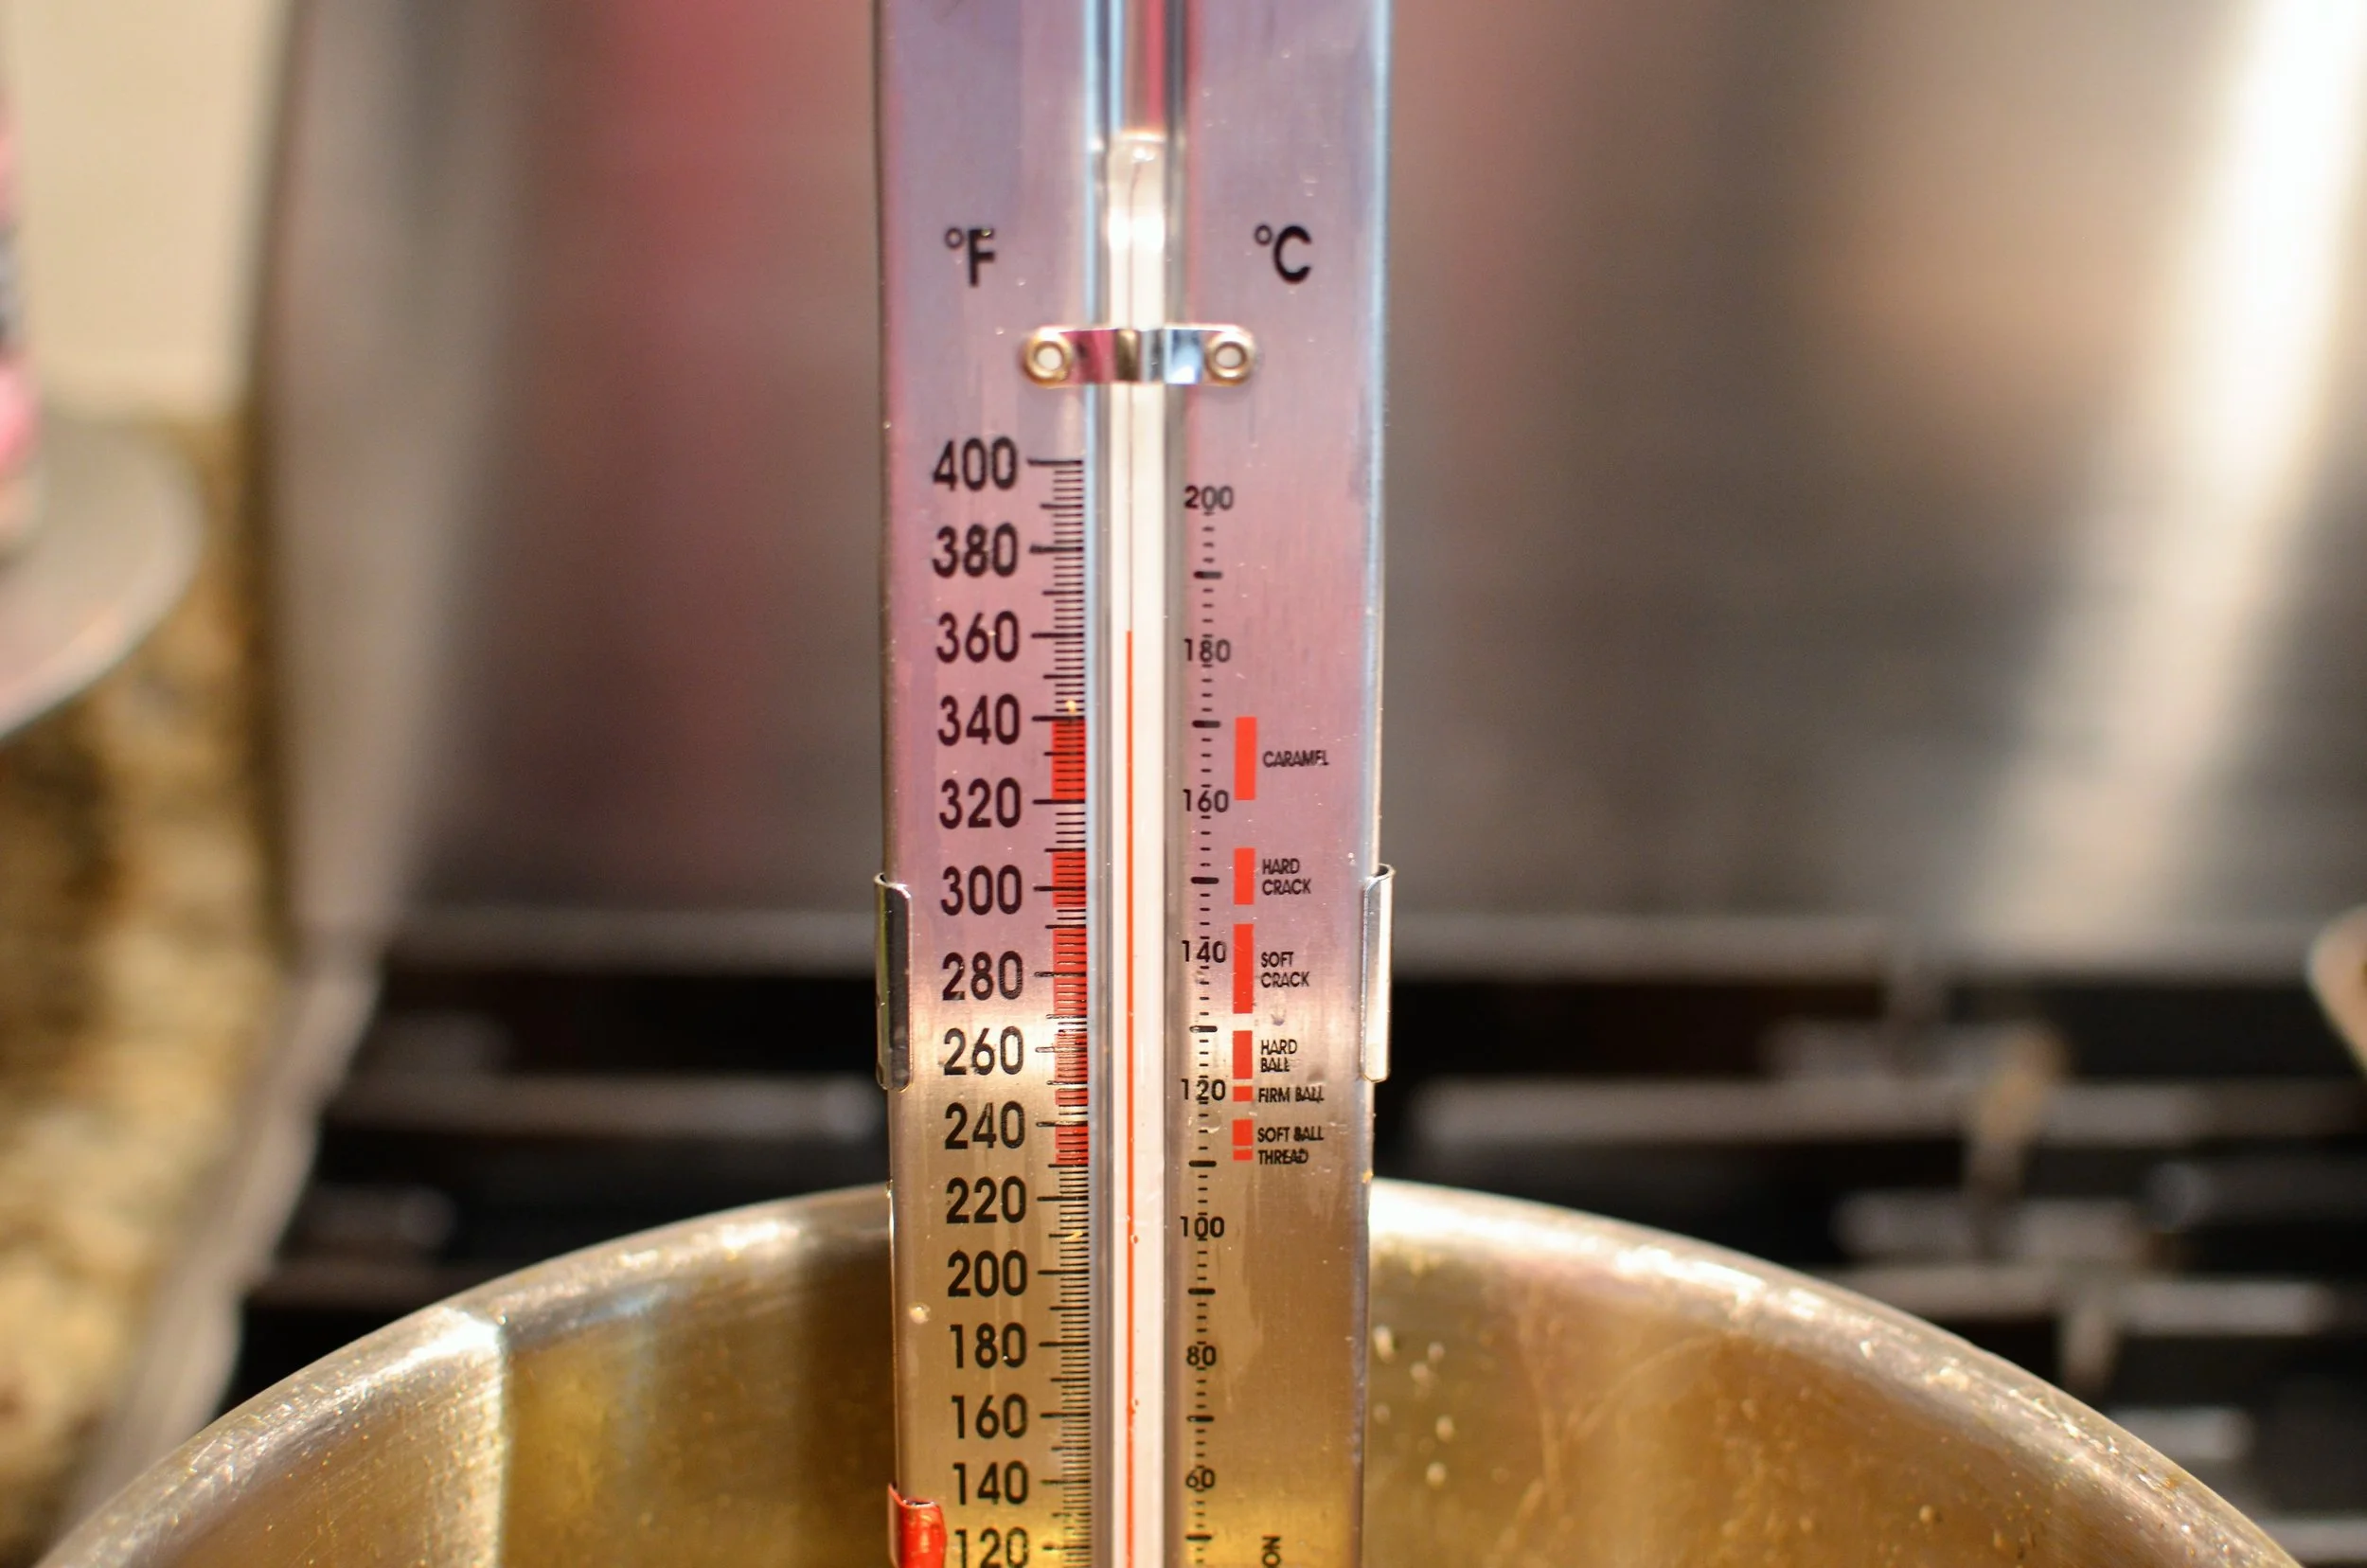
Heat the oil to 360F. A good candy/oil thermometer is vital (I have this one).

You should also have ready a pair of tongs to remove the shells from the hot oil, and a paper towel lined sheet pan to place them on.

CAREFULLY place the dough-wrapped cannoli forms in the oil and cook until brown and bubbly, being careful not to crowd the pan. Watch the oil temp - it shouldn't fall below 350F.
The shells will deepen in color a bit after being removed from the oil so it's not a bad idea to make a few practice ones first.

Carefully remove the extremely hot cannoli forms from the oil and place them on a paper towel-lined sheet pan to cool for a few minutes (watch for hot oil inside the forms). Carefully slide the shells off the forms (if the shells are too hot, hold them with a clean kitchen towel). Allow the forms to cool completely before wrapping with more dough. Continue until all the shells are done.
Remember what I told about not pressing the seams closed well enough? Oops! No biggie, cook's treat ;).

Let me point out a few differences between the two shells above. The non-flared one on the left started with a thinner disk of dough (resulting in tiny surface bubbles), but you can see by the color that it was left in the hot oil just a little too long. The flared one on the right started with slightly thicker dough (larger surface bubbles), but it spent the right amount of time in the hot oil.
The shells should be allowed to cool completely before storing in an airtight container for up to a week (or freeze for up to a month).
IMPORTANT: Don't fill the cannoli shells until just before serving.

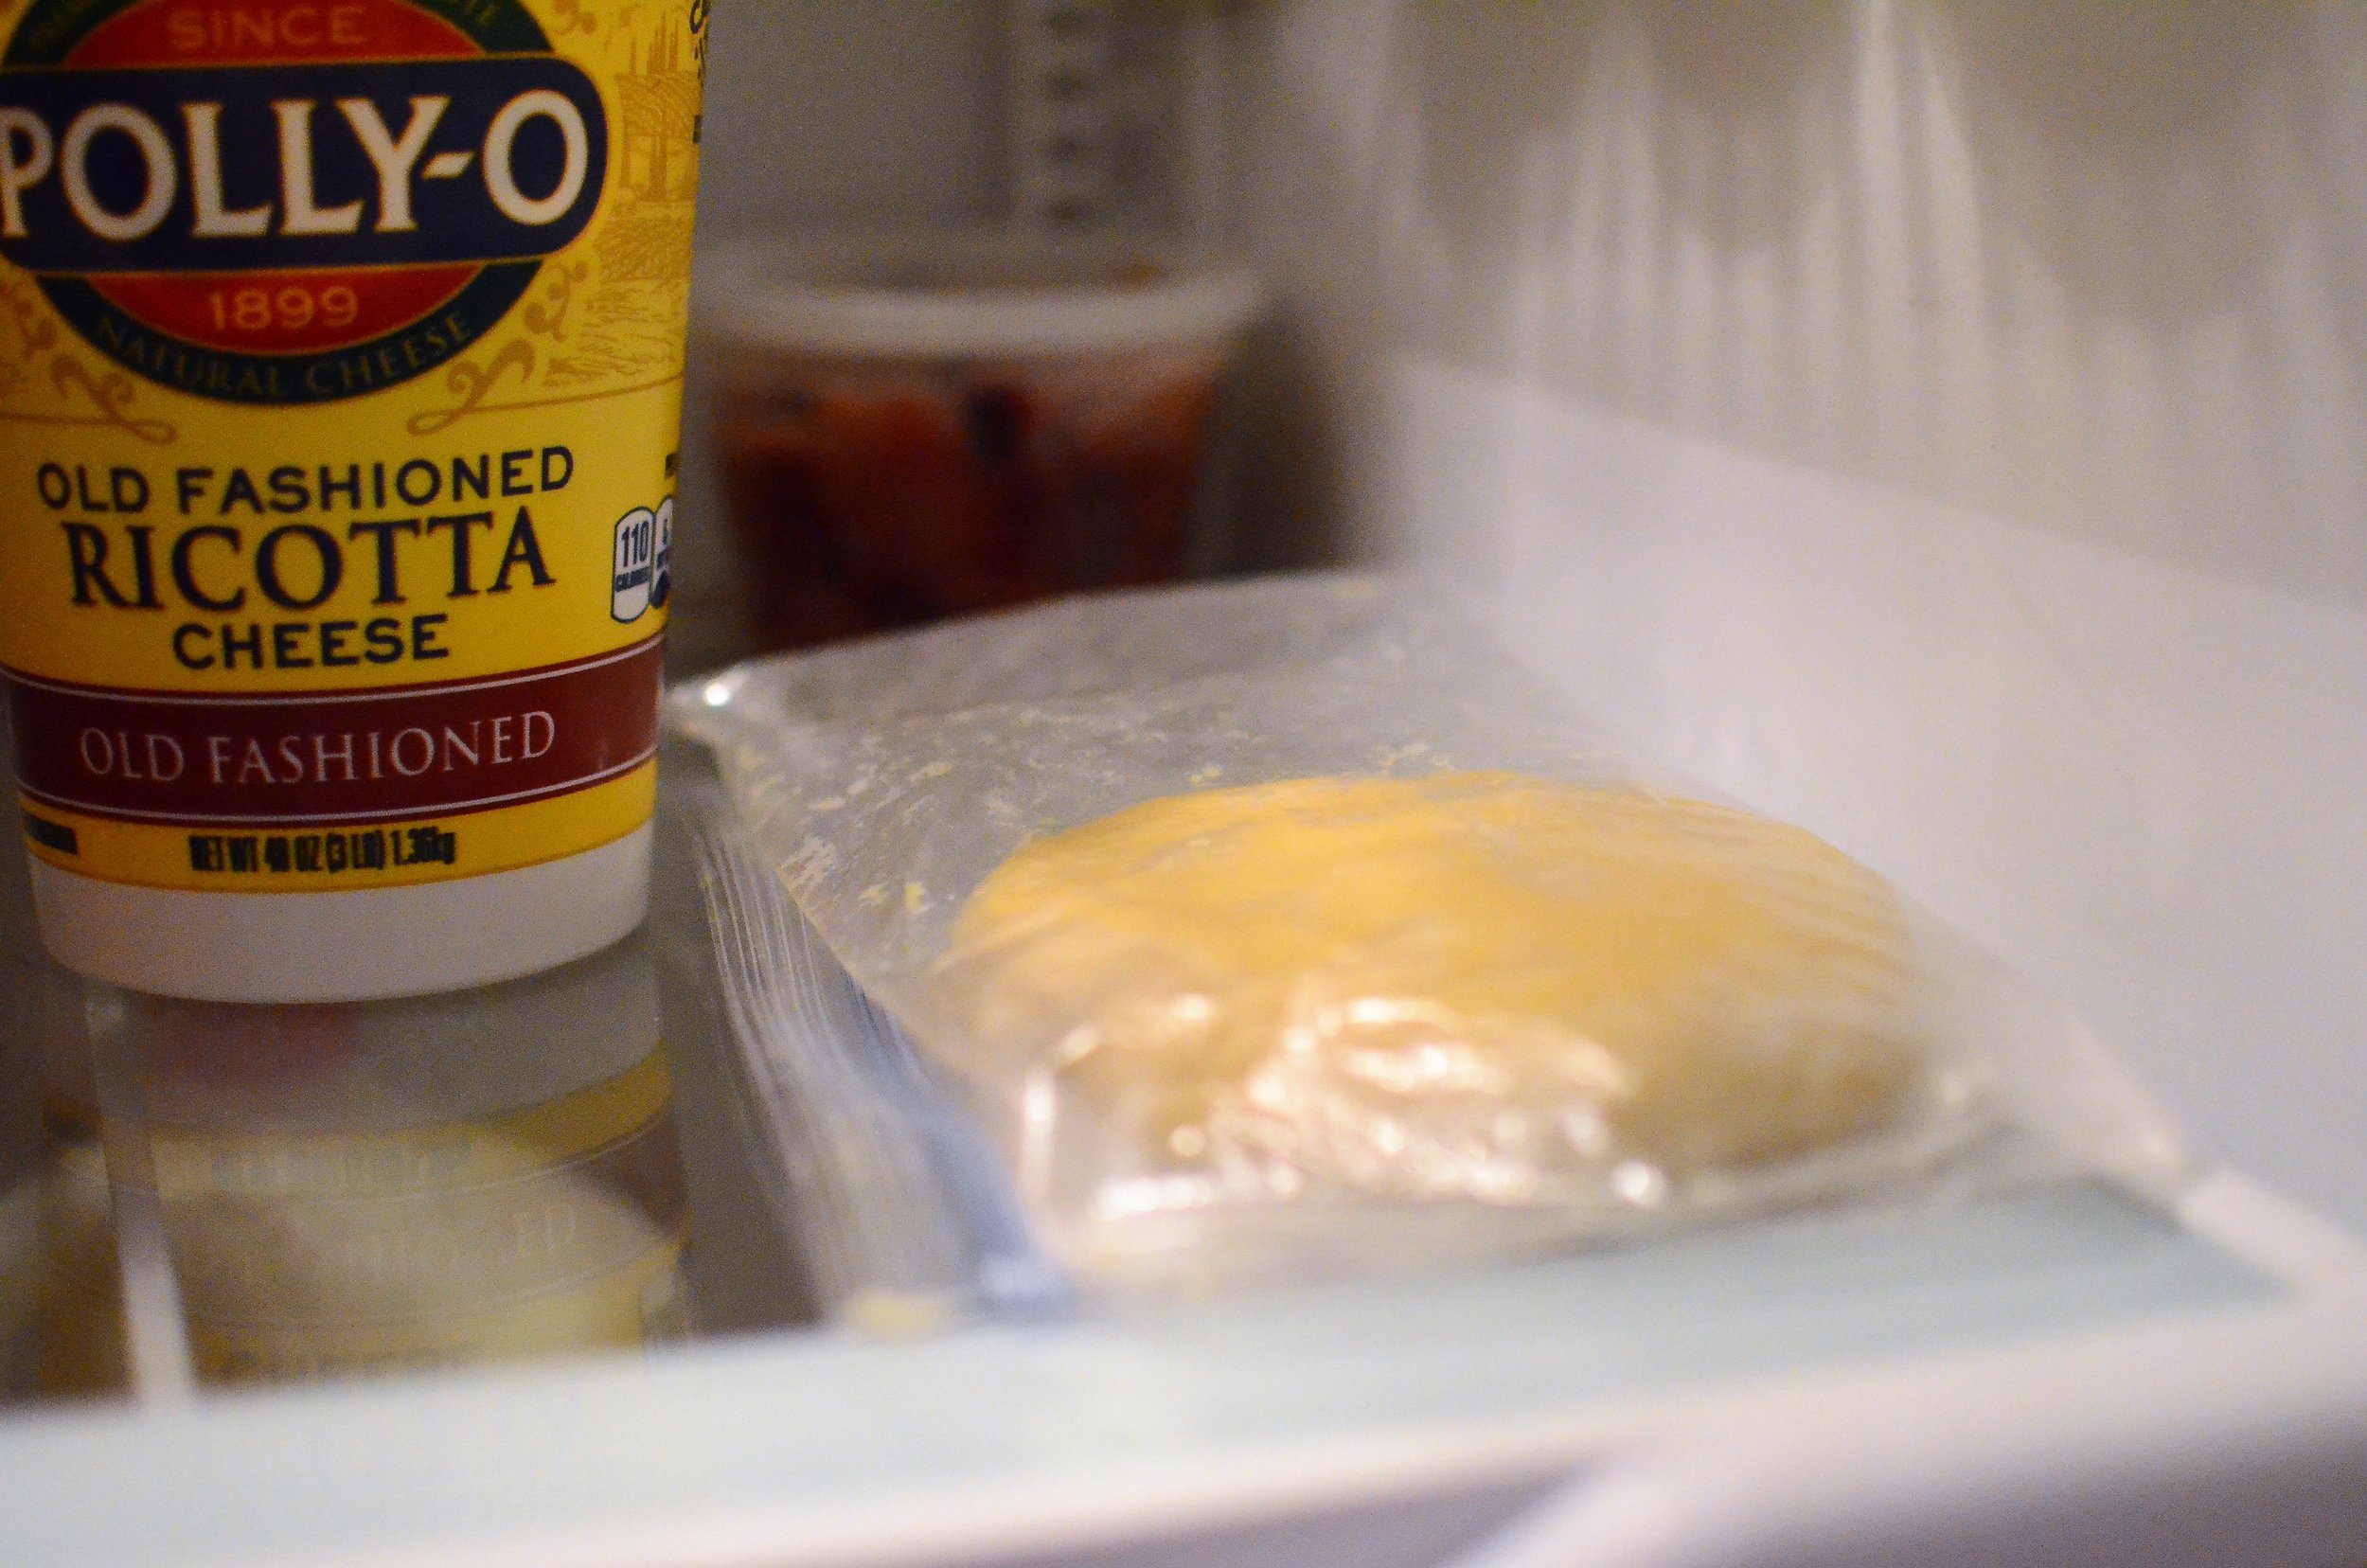
To make the filling, drain ricotta cheese in a cloth lined strainer overnight in the fridge. Cover with plastic to keep the cheese from absorbing any refrigerator odors.
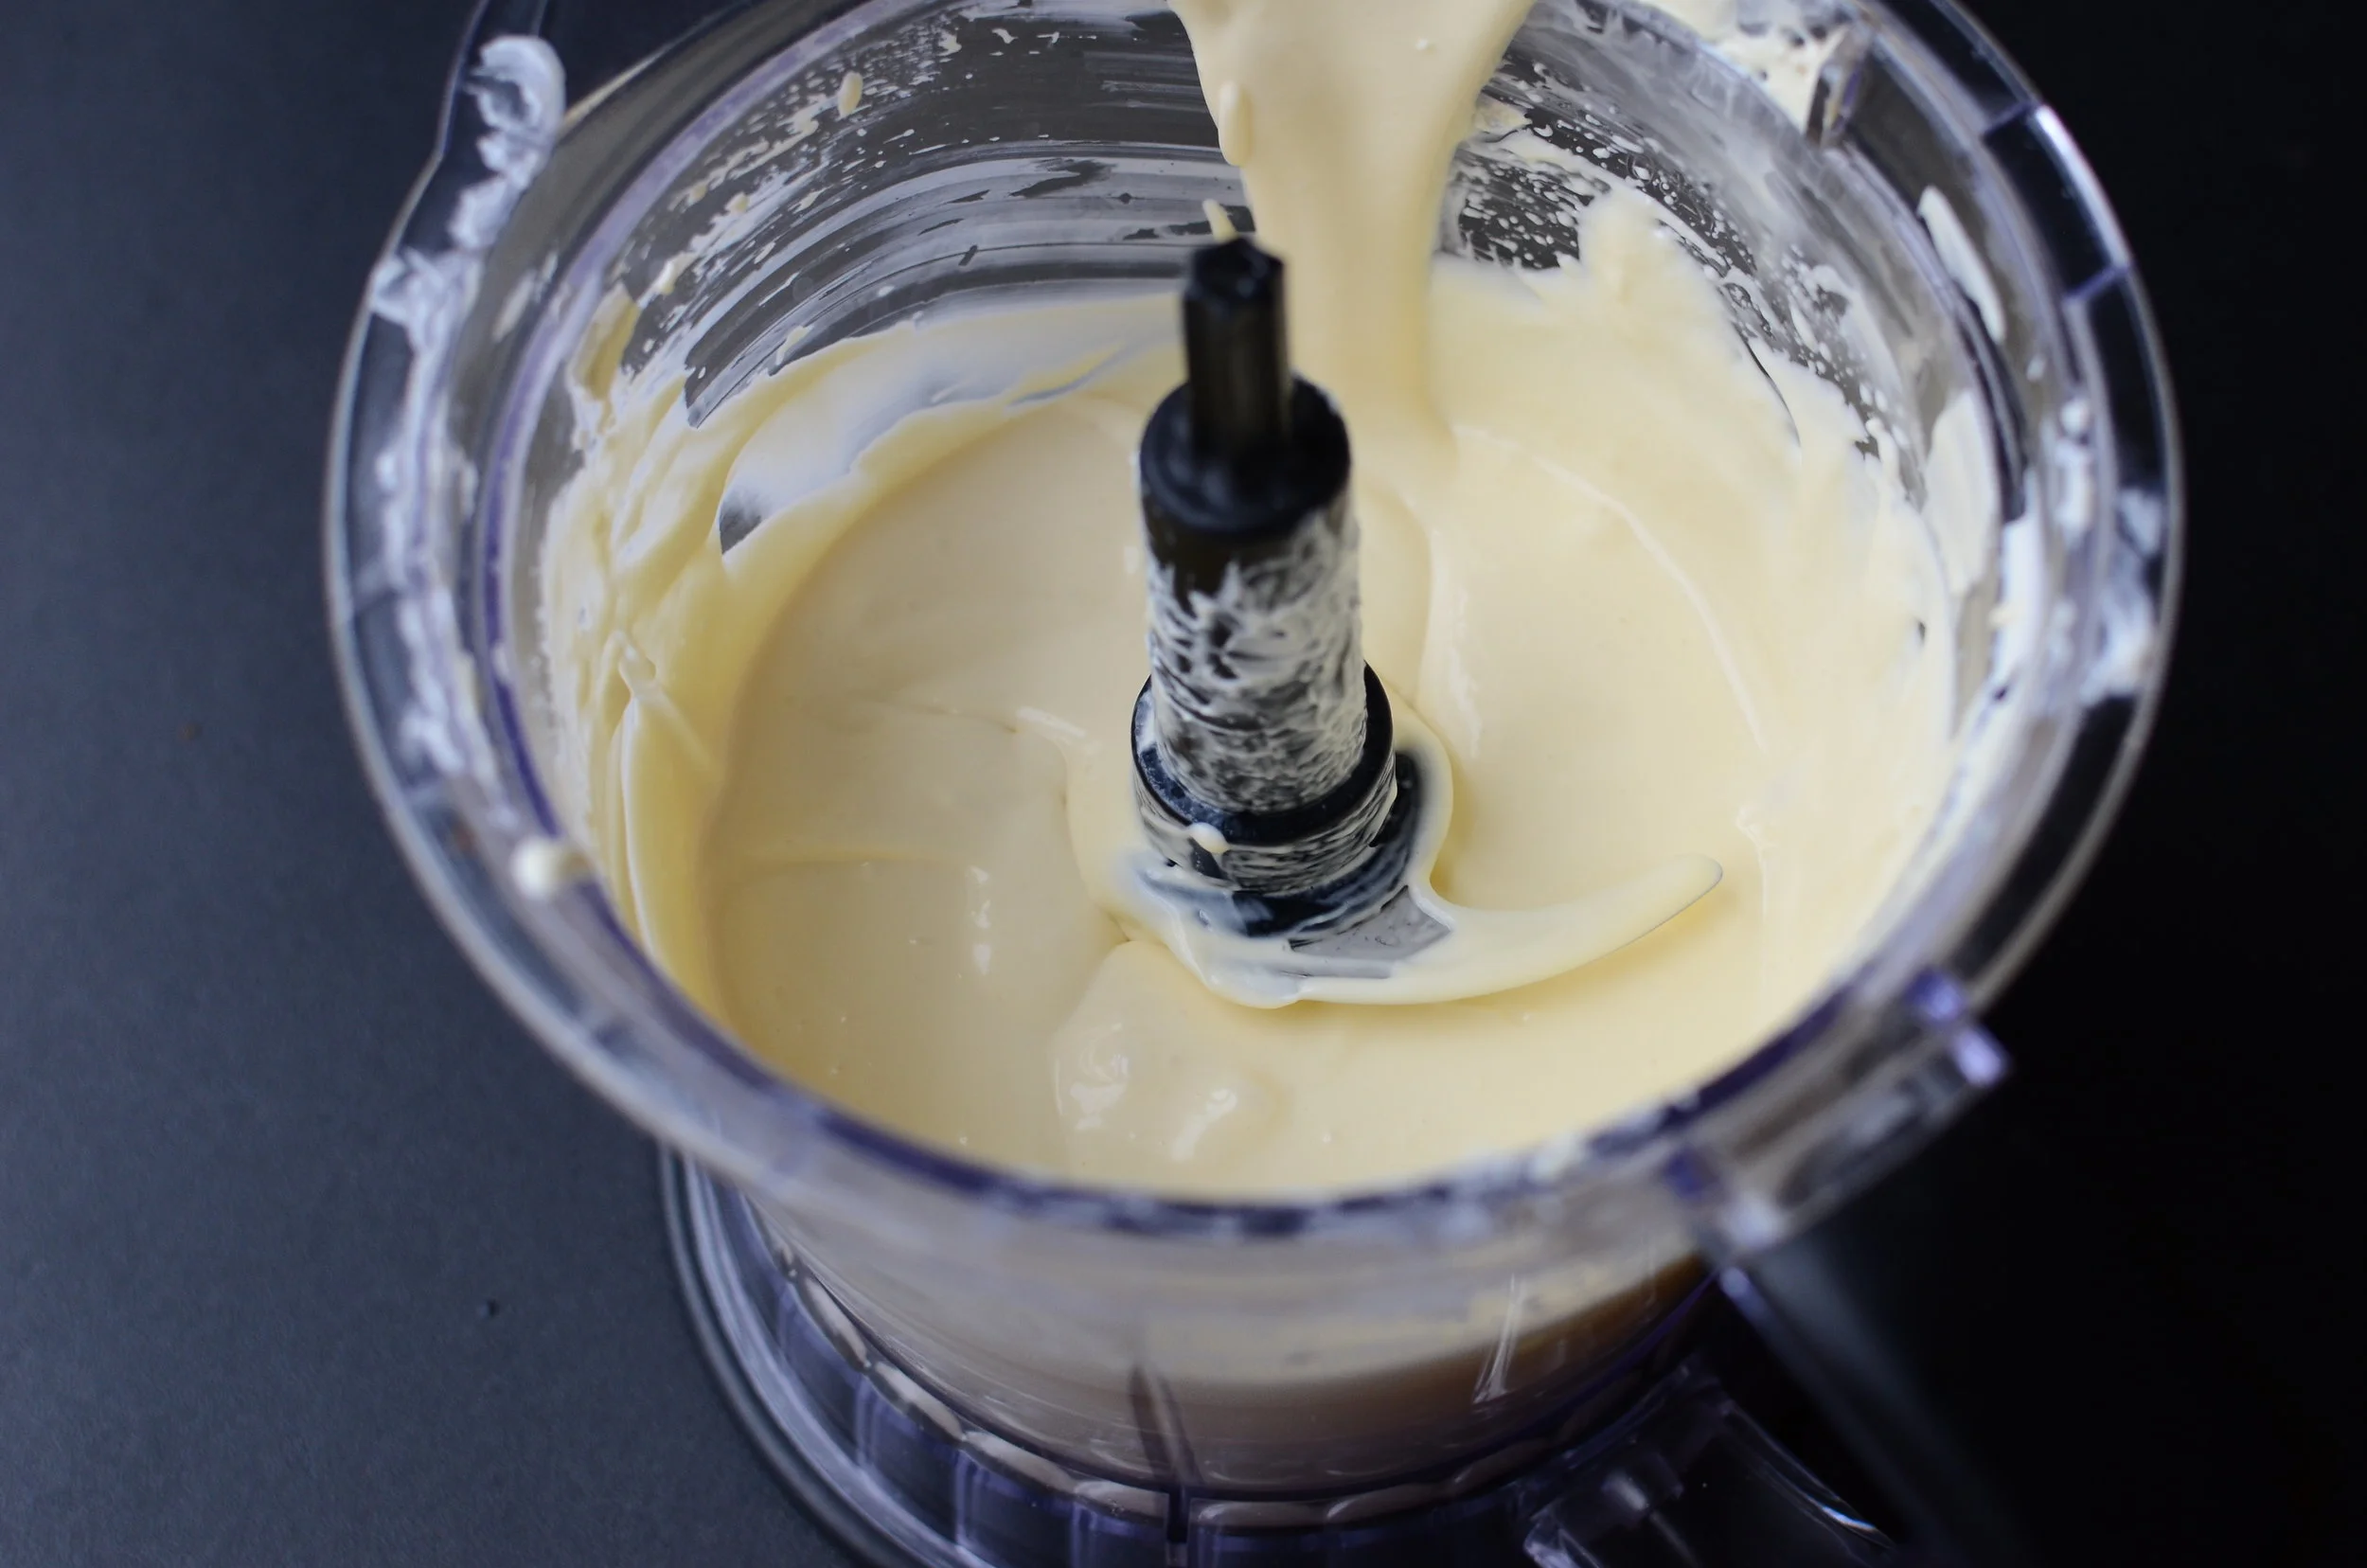
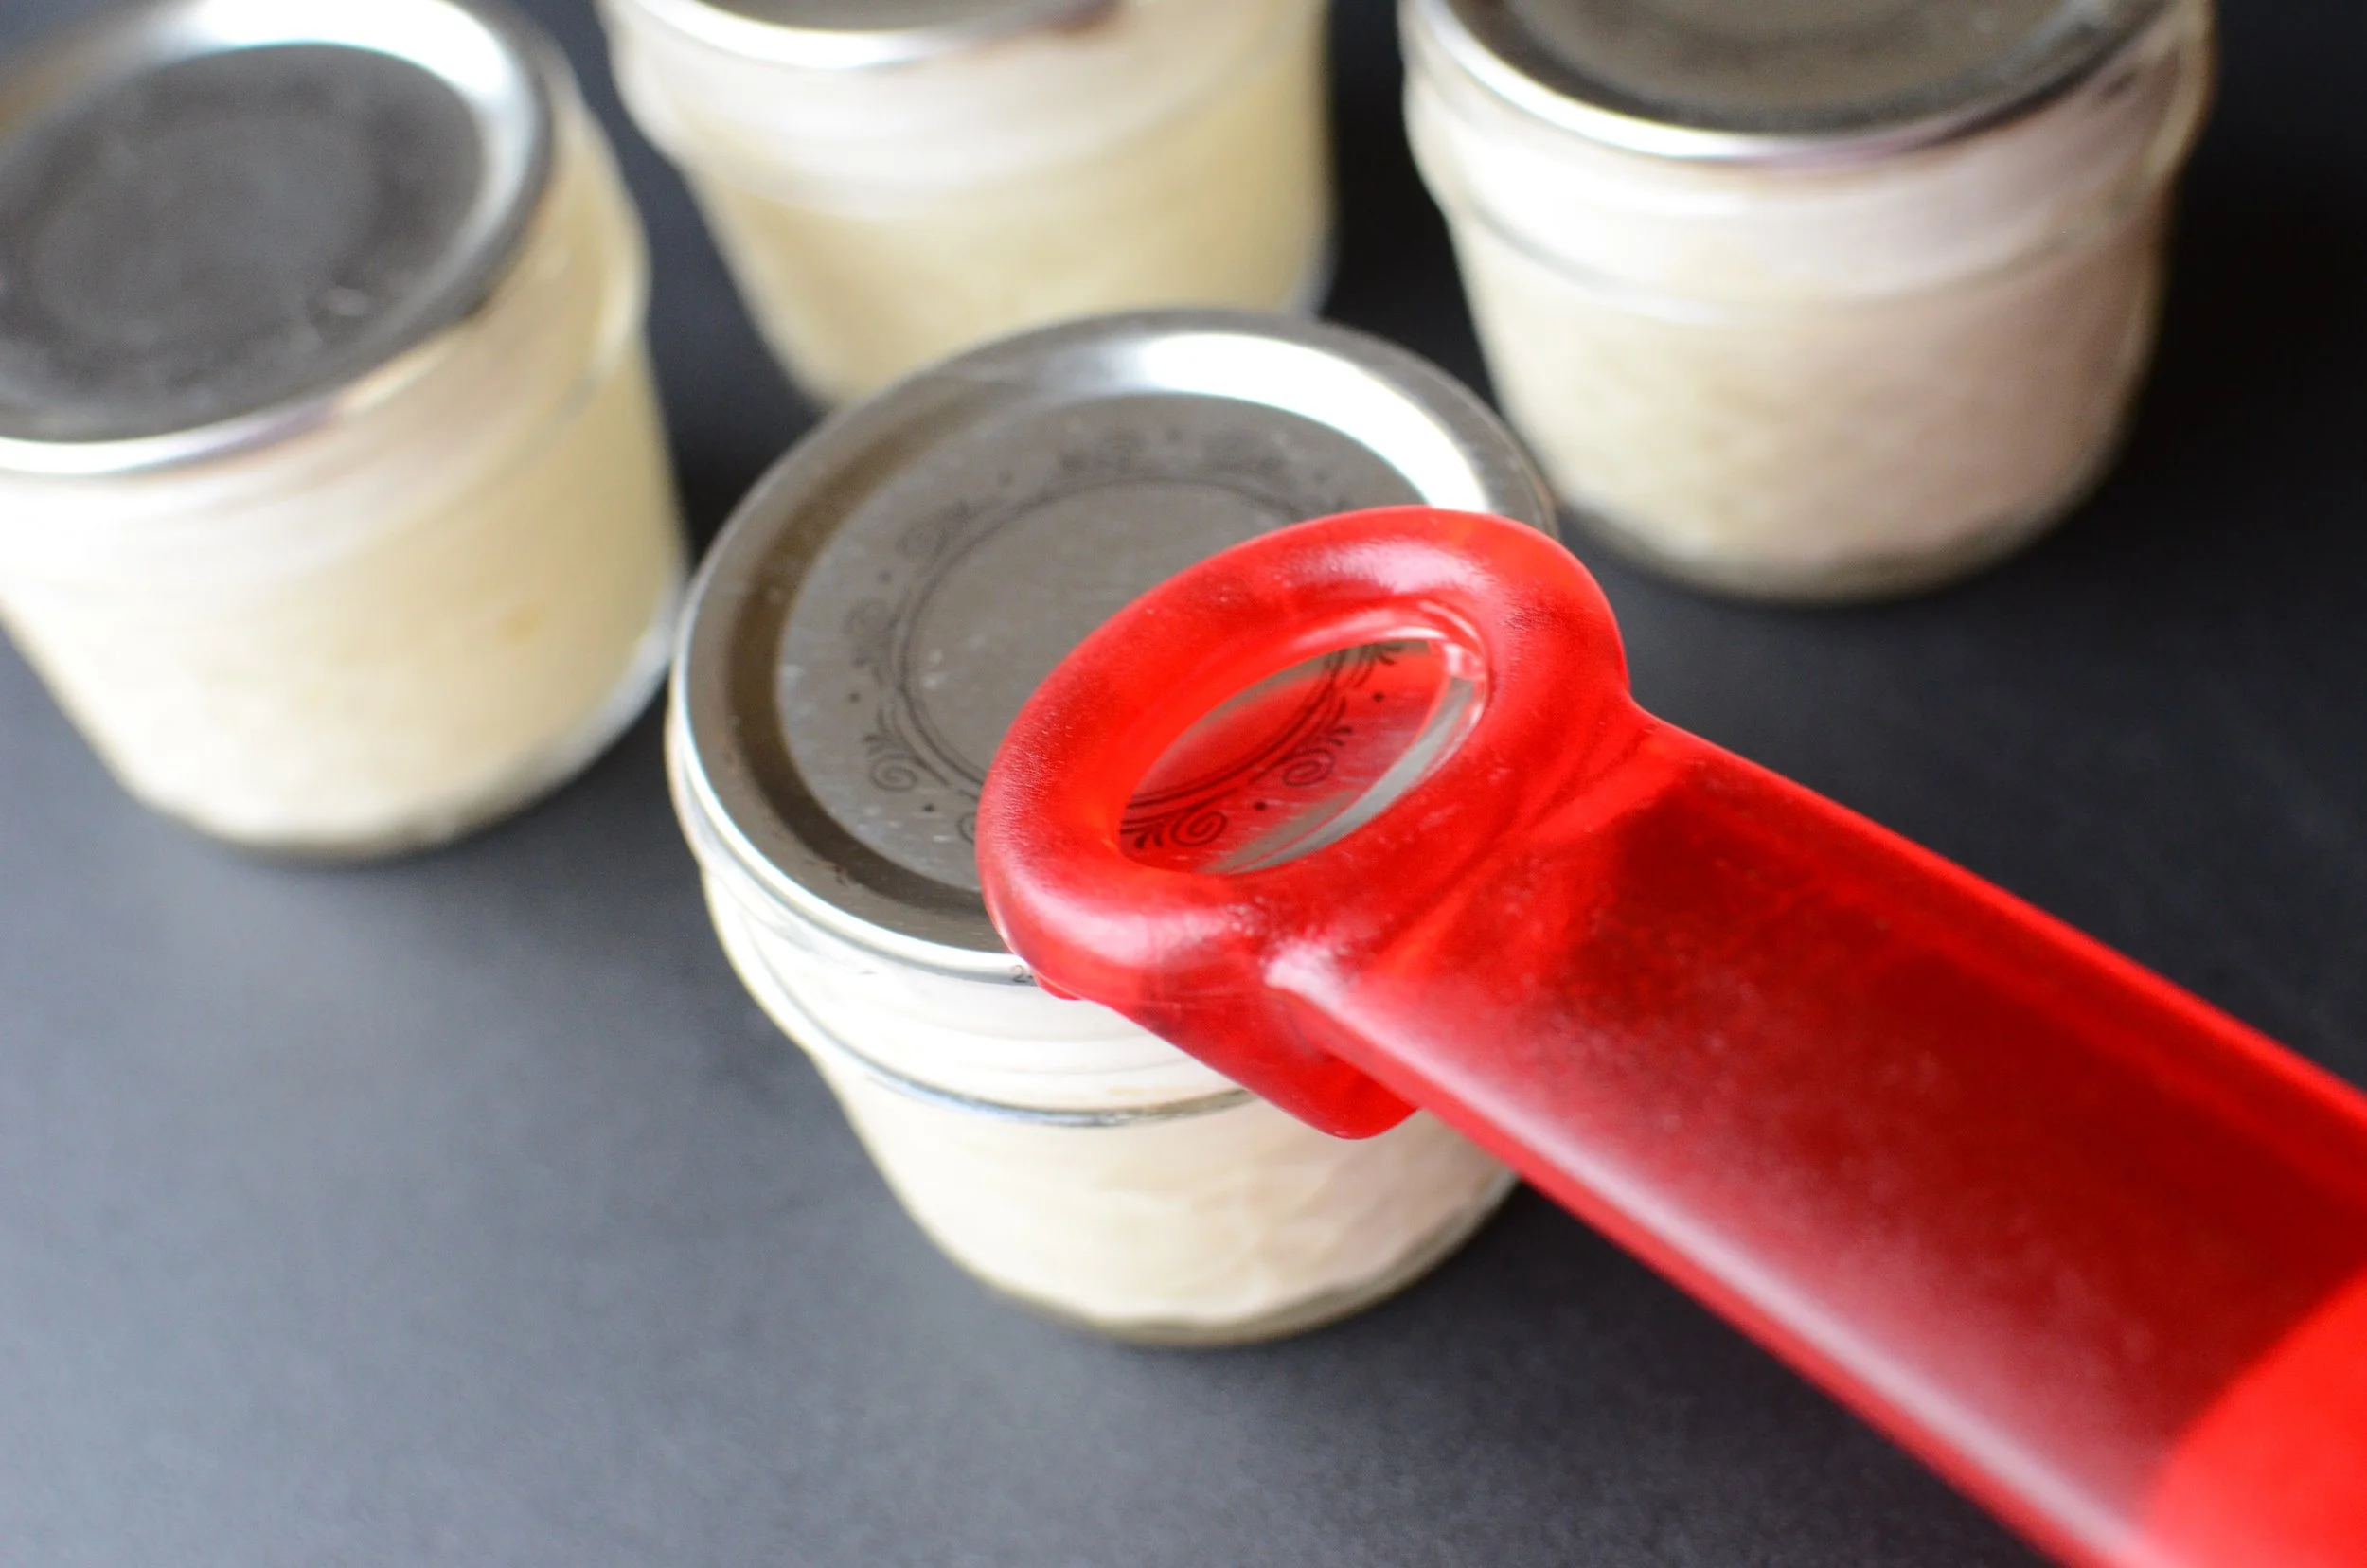
Once all the excess whey has drained from the ricotta, add the softened mascarpone cheese, heavy cream, confectioner's sugar, pure vanilla extract (use the best), and ground cinnamon. Mix them well and chill for 8-12 hours for best flavor.

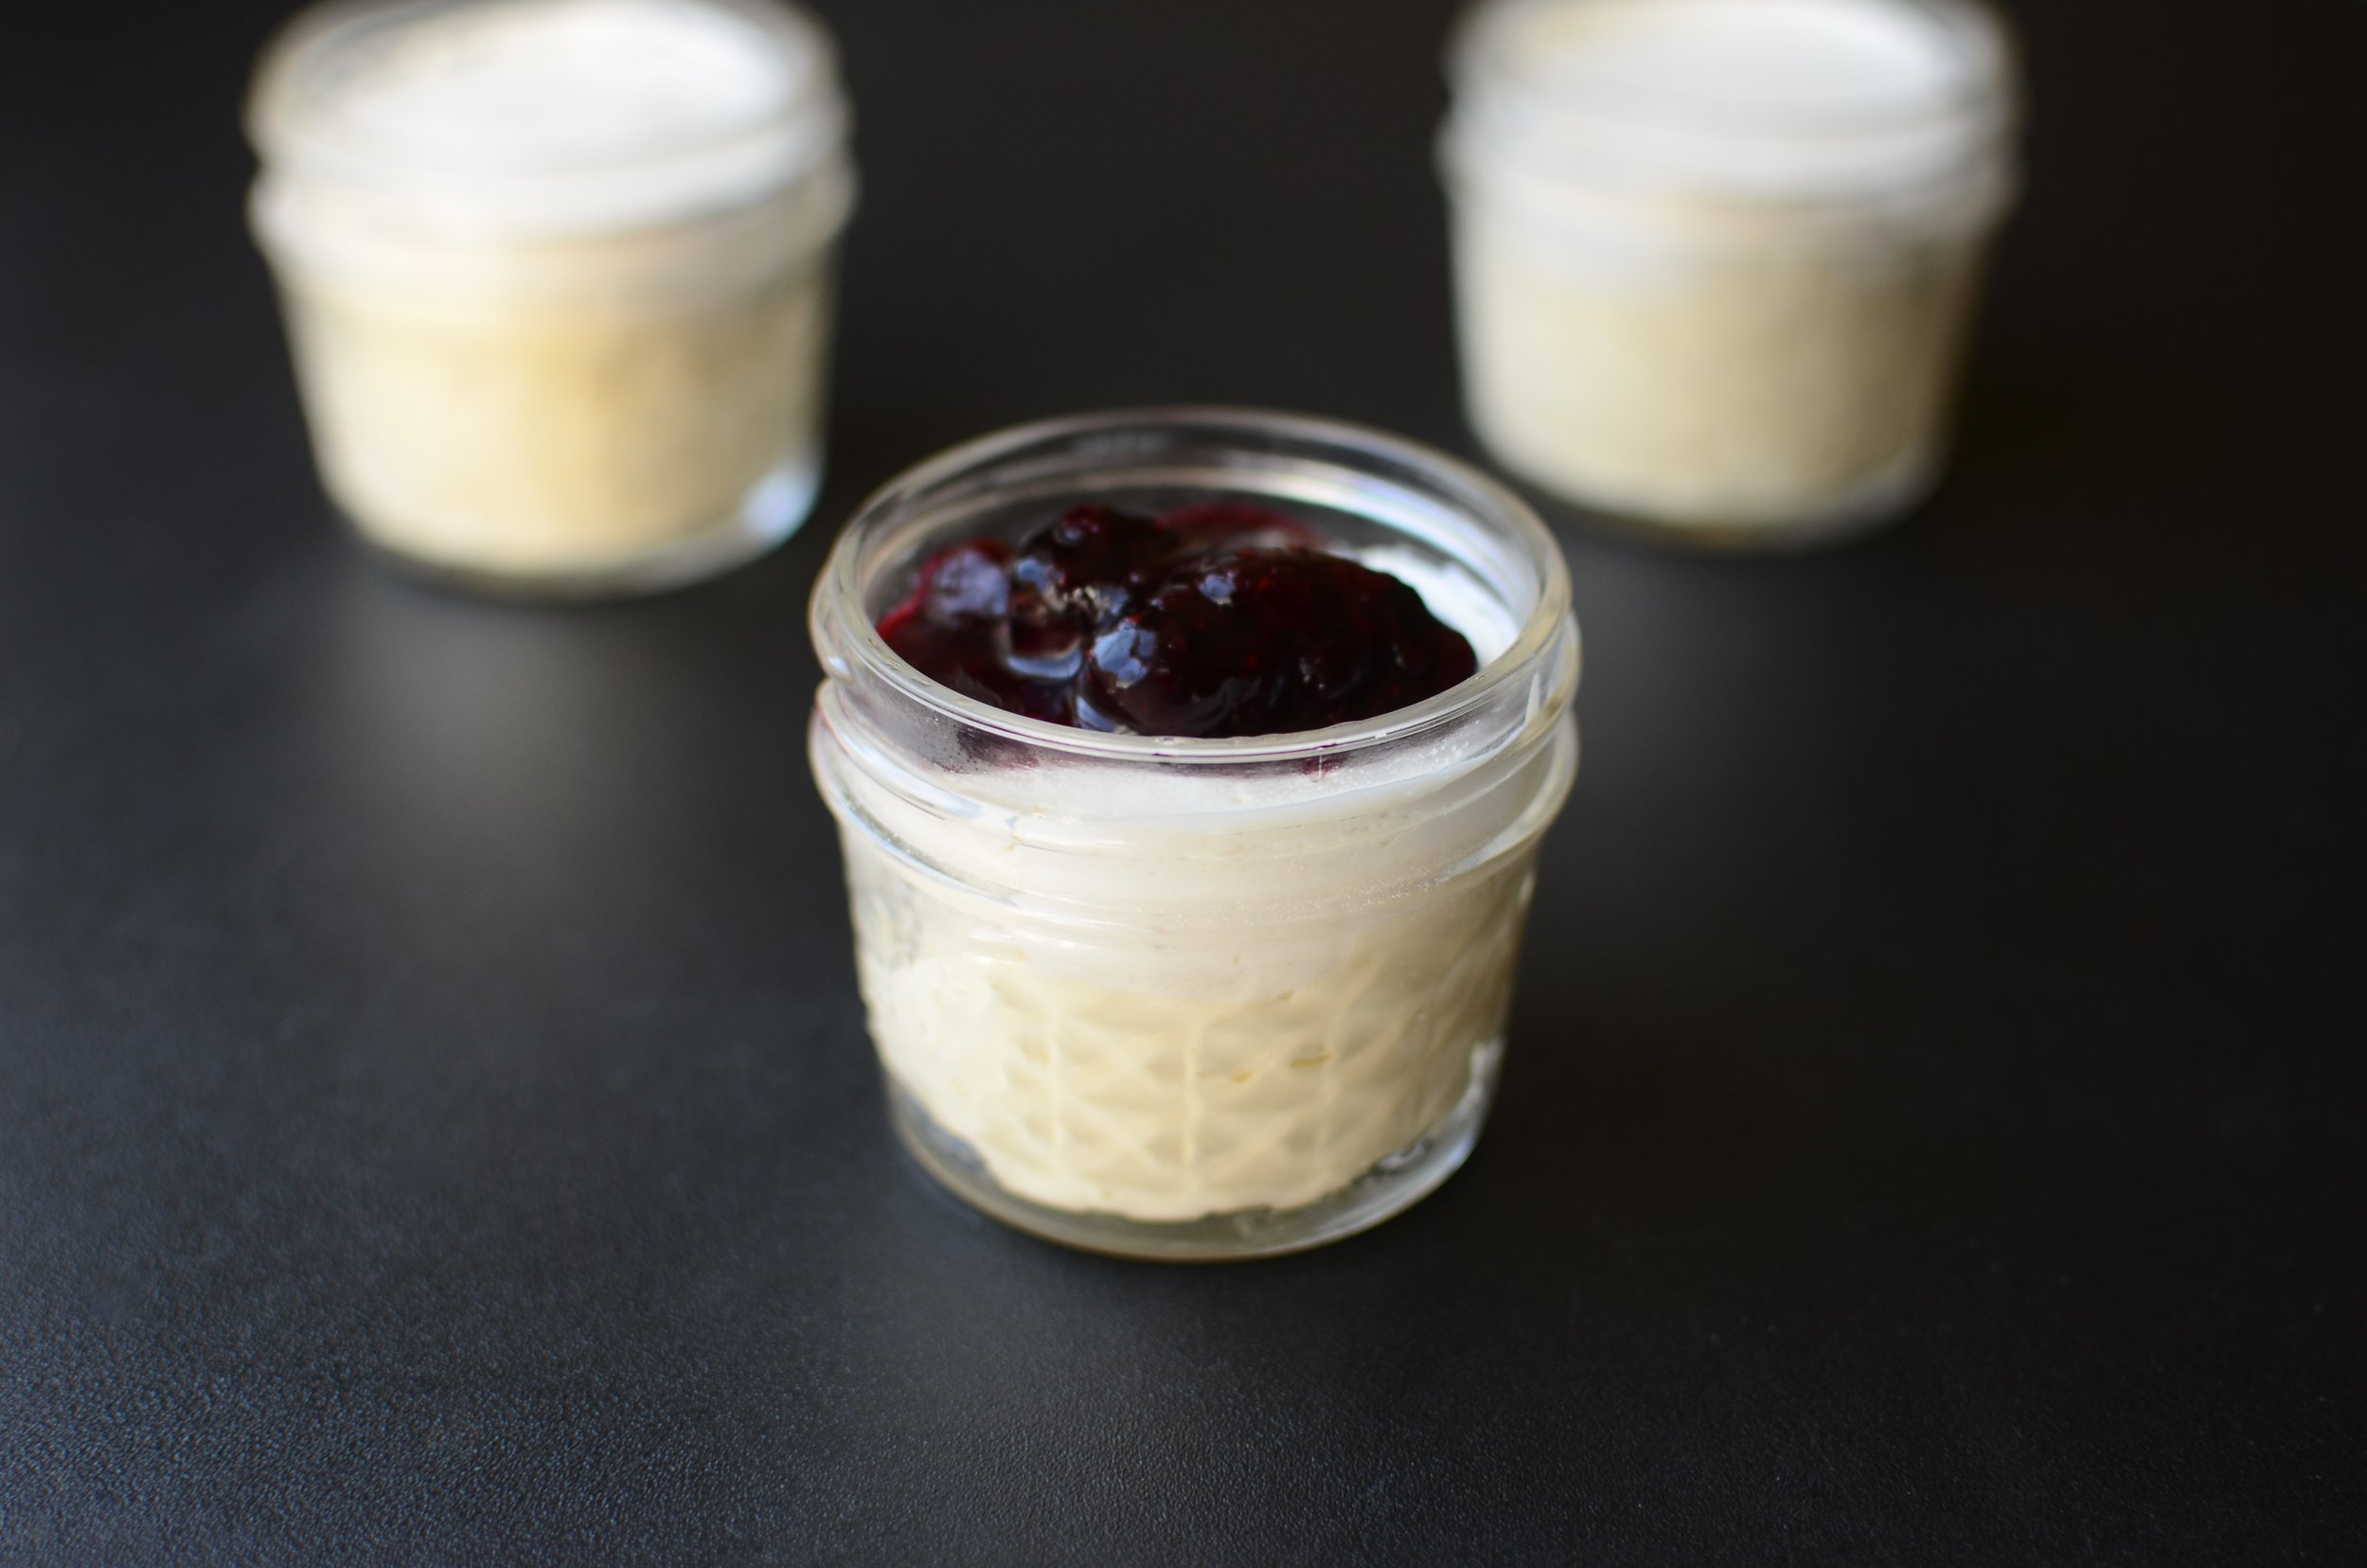
When you're ready to fill the shells (shortly before serving), put the filling in a large pastry bag (I like these) or large, heavy-duty zipper bag and cut a 1/2-inch hole at the tip. Squeeze the filling into each end of the cannoli shells, then dip in chopped pistachios or mini chocolate chips (or both!). Place the cannoli on a platter and dust with confectioner's sugar (this nifty tool is fun).
Items used to make this recipe:
(affiliate links)
manual pasta machine https://amzn.to/44327rD
pasta machine attachment for stand mixer https://amzn.to/434Sbwm
cannoli forms https://amzn.to/3JzdnUu
spider strainer https://amzn.to/3GD7kdp
candy/oil thermometer https://amzn.to/4372pwi
round cutter set https://amzn.to/44jAsT9
disposable pastry bags https://amzn.to/2DUO4HZ
large pastry tubes https://amzn.to/3JbQJPo
powdered sugar duster https://amzn.to/2pHT0Lb
Homemade Cannoli
makes about 24 cannoli (leftover cannoli dough can be frozen for use later)
Ingredients
Cannoli Shells:
2 cups all purpose flour
1 tablespoon granulated sugar
1/4 teaspoon fine salt
1/4 teaspoon ground cinnamon
2 tablespoons unsalted butter
1 egg yolk
1/2 cup dry white or rose wine
Cannoli Filling:
2 cups very well drained ricotta cheese (see notes below)
6 ounces mascarpone cheese, softened to room temperature
1 tablespoon heavy cream
1/2 - 3/4 cup confectioner's sugar, sifted
1 tablespoon pure vanilla extract
1/4 teaspoon ground cinnamon
mini chocolate chips and chopped pistachios for garnish
Directions
To make the cannoli dough:
In the bowl of a small food processor, combine the flour, sugar, salt, and cinnamon.
Add the butter, egg yolk, and wine, pulsing until the mixture looks uniformly crumbled.
Place crumbles in zipper bag and press into a disk shape.
Seal bag well and chill for at least 30 minutes before rolling.
To make the cannoli shells:
Roll dough very thin (about 1/16th-inch) using pasta machine, dusting with flour as needed to prevent sticking.
Cut 4-inch circles using a round biscuit of cookie cutter and pass each round through the pasta machine one more time to turn the round into an oval.
Wrap oval dough around stainless cannoli forms; moisted overlapping edges with a little water and press well to seal (keeping water off cannoli form.
Fry shells in 360F oil until bubbly and golden; remove from heat, drain, and remove from forms when cool enough to do so. Cool completely before filling. Leftover shells can be stored in an airtight container for up to 1 week (or frozen for up to a month).
To make the filling:
In a stand mixer fitted with the paddle or BeaterBlade attachment, place drained ricotta, mascarpone, cream, confectioner's sugar, vanilla, and cinnamon; beat on medium speed until smooth.
Place mixture in a pastry bag or sturdy zip top bag; refrigerate until ready to use. Don't fill shells until serving.
Notes
To drain ricotta, place in a sieve lined with cheesecloth (or coffee filter, linen tea towel, etc) and suspend over a bowl; cover well with plastic wrap and place in refrigerator overnight.
Prepared filling should chill 8-12 hours for best flavor.
For best results, fill shells just before serving.
If you don’t have metal cannoli tubes, you can use 1 1/4-inch thick wooden dowels that have been cut to 6-inch lengths.
I got this lovely message from a fellow foodie:
I have searched for a cannoli shell recipe for a very long time that is reminiscent of my Sicilian heritage. Bubbled pastry with a sturdiness. I can be obnoxious on quality to the point that I’ve made homemade impastata for a few years because getting it is nearly impossible and because good shells aren’t available to purchase in the south either, I’ve shipped them from upstate ny for 15 years. Crazy right?!?! Last week, I decided I was going find or modify a recipe. With the forms from Italy in hand, I have made 10 recipes which all failed to capture my idea of a perfect shell. I saw your recipe last night and was so excited to finally find one that made sense to me. I’m a huge pastry and artisan bread baker so I know kneading dough creates gluten which is the opposite of what you want in pastry. I’ve read people saying so many times that kneading gives you the bubbles or the vinegar gives you bubbles. All nonsense! I just finished my test of your recipe. Perfection! Thank you. -CM