contact us

Use the form on the right to contact us.

You can edit the text in this area, and change where the contact form on the right submits to, by entering edit mode using the modes on the bottom right.

Form Block
This form needs a storage option. Double-click here to edit this form, and tell us where to save form submissions in the Storage tab. Learn more
         

123 Street Avenue, City Town, 99999

(123) 555-6789

email@address.com


You can set your address, phone number, email and site description in the settings tab.
Link to read me page with more information.

Blog

Butteryum food blog recipes

Decadent Chocolate Tart

Patricia @ ButterYum

Don't you love it when people make incoherent yummy grumbly food noises when they're eating something so utterly delicious that they can't stop long enough to tell you how much they love it?   So yeah, that's what's going to happen when you serve this amazingly decadent chocolate ganache tart.  And you won't believe how easy it is to make.  Honestly, the hardest thing you'll have to do is wait for it to chill in the fridge.  

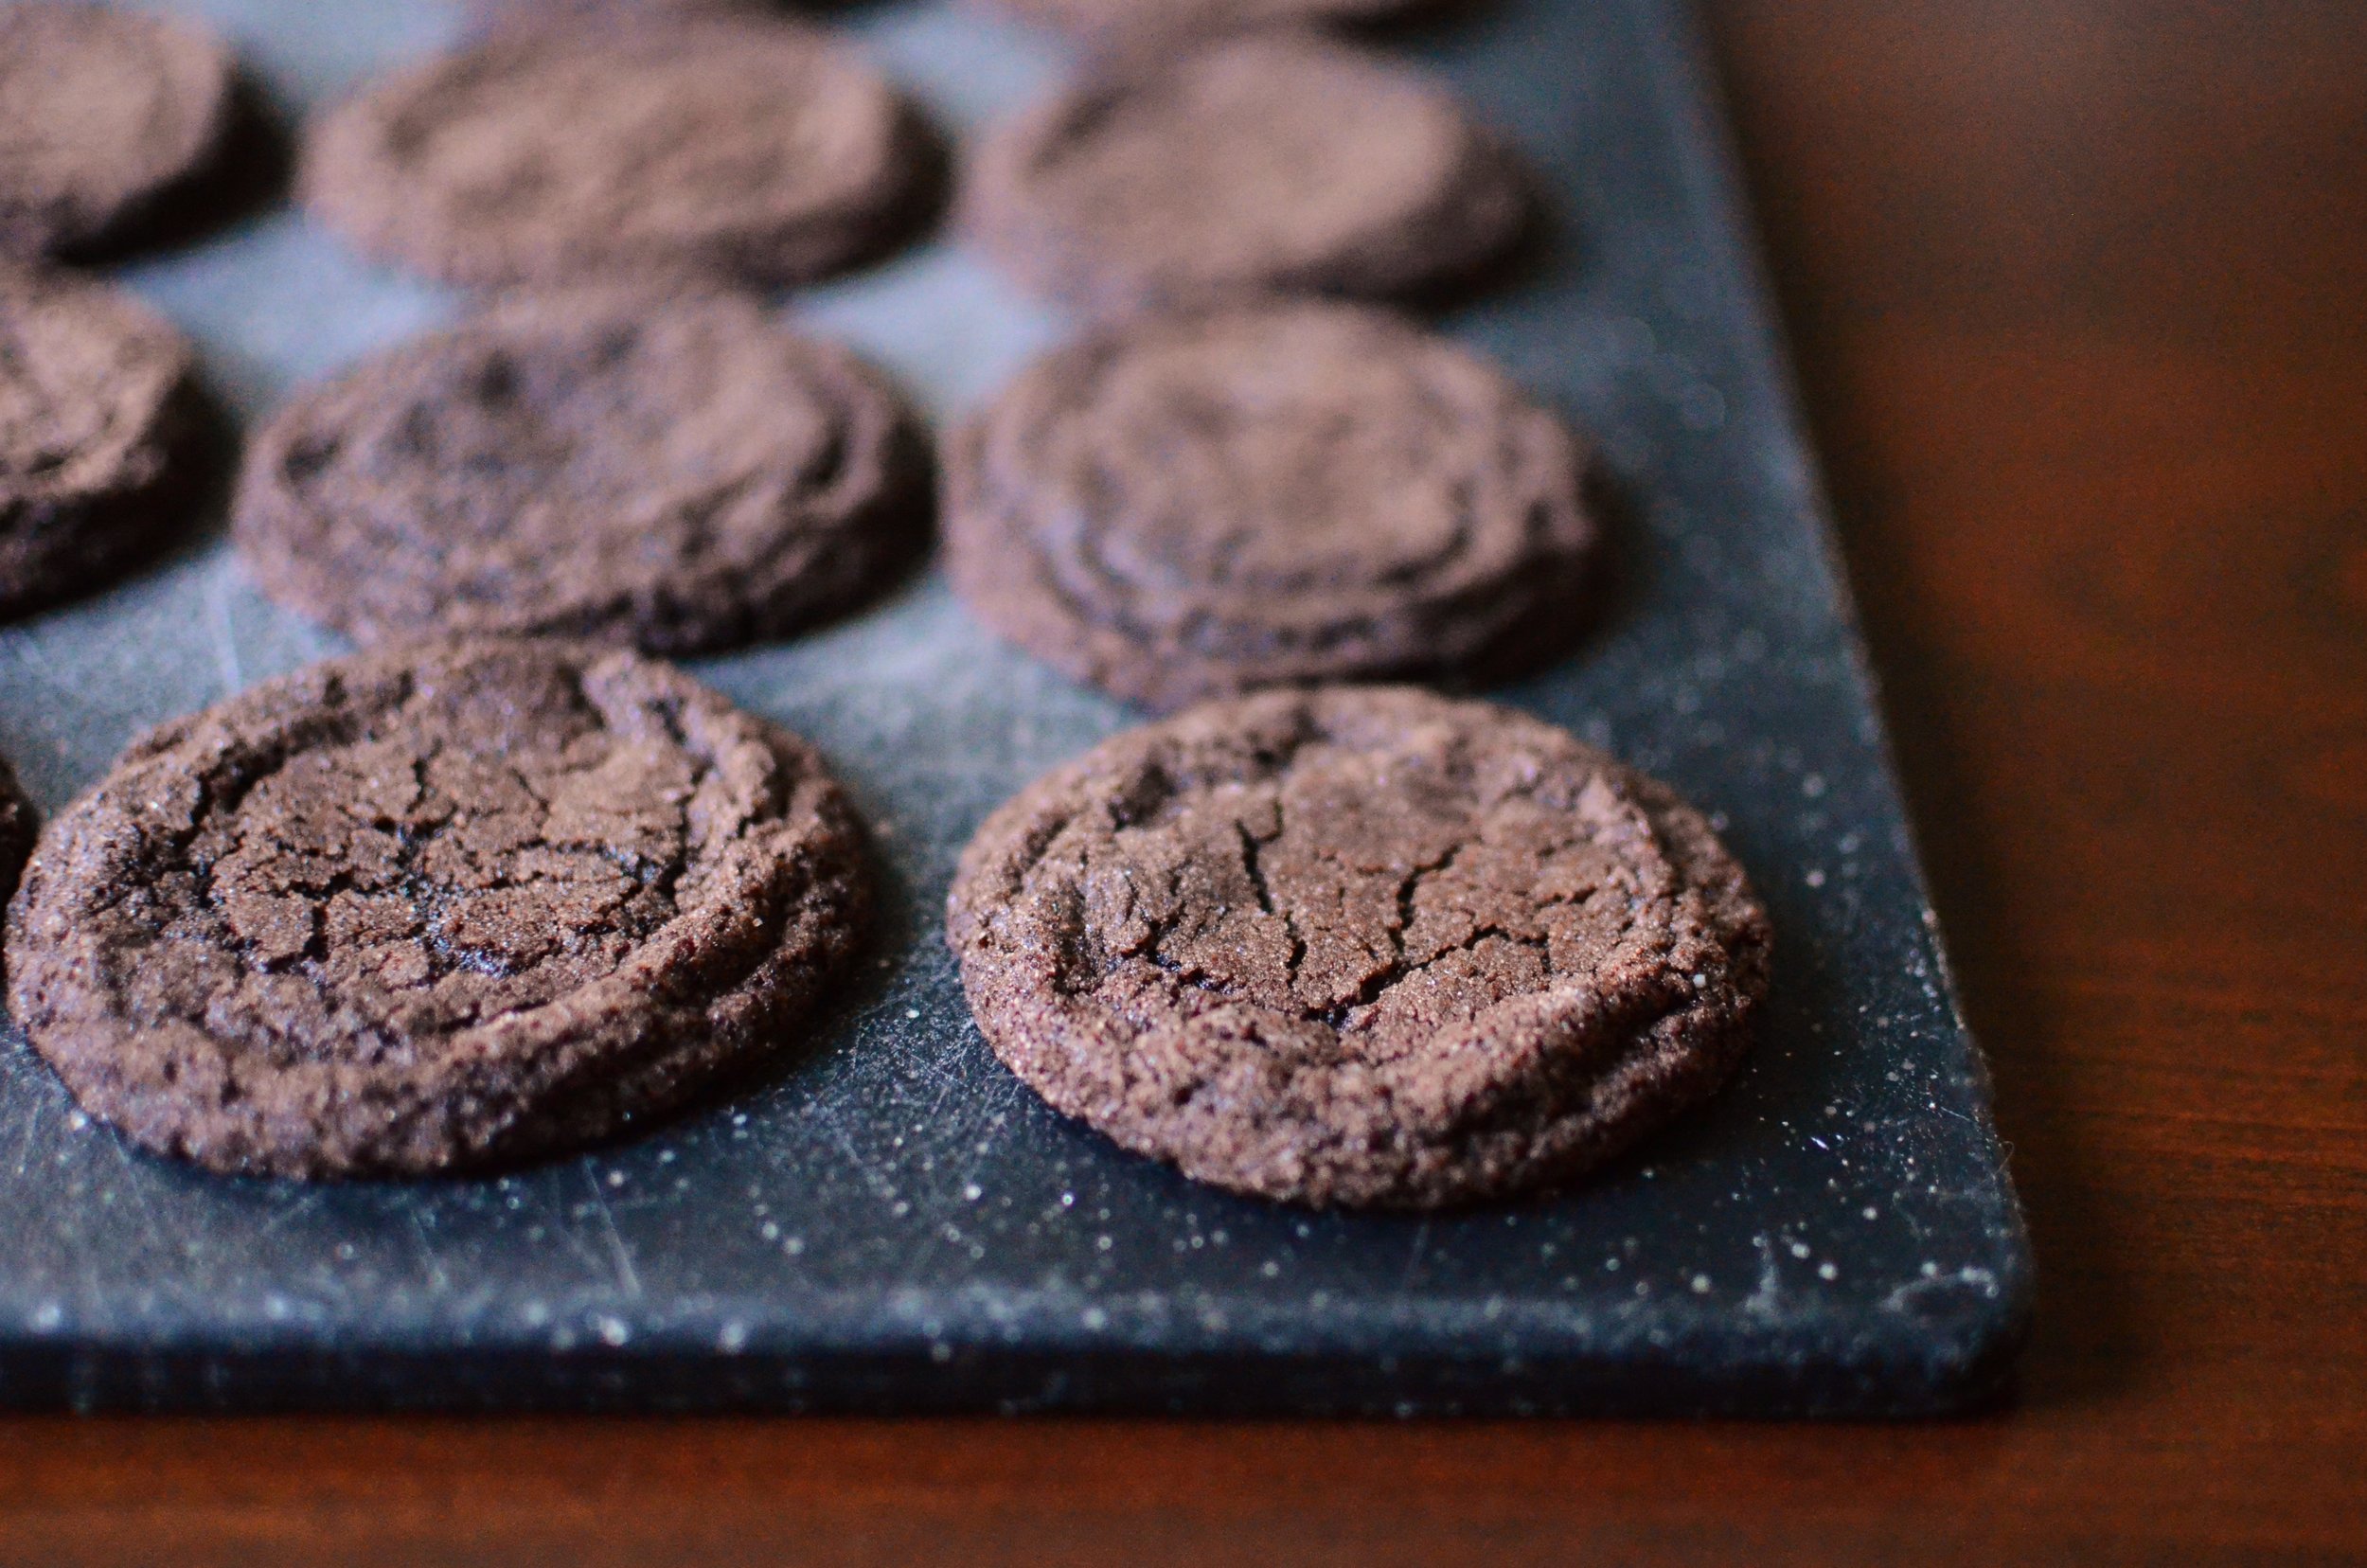
I started by processing chocolate graham crackers into crumbs using my food processor. The crumbs are then mixed with melted butter.

The placed into a 9-inch fluted tart pan with removable bottom.

Press the crumbs evenly in the bottom and up the sides of the tart pan. I like to use a flat-bottomed measuring cup and my fingers to do this.

Place the prepared crust on a half sheet pan and bake for 10 minutes. The sheet pan doesn't have to be lined, but I lined mine with a silpat just in case any butter oozed out. Easy cleanup.

Cool the tart shell on a cooling rack.

Here's a tip I shared on my facebook page - to help the tart shell cool down quickly, place it in front of a fan. Seriously, I consider my tower fan a vital piece of kitchen equipment. I use it all the time to cool tart shells, cookies, cakes, pies... plus it cools me down when the kitchen gets hot. Bonus!

So now that the crust is cooling, it's time to whip up the filling. Start with 12 ounces of really good quality semisweet chocolate. Just remember, the better the chocolate you use, the better your tart will be.

You can use chocolate chips if you must, but remember they contain emulsifiers that help them keep their shape when melted. In other words, no matter how long you stir, the filling won't be as smooth as it would if you had used chocolate that doesn't contain emulsifiers.

This is a great trick - adding a touch of this wonderful espresso powder enhances the chocolate flavor. It's optional, but I really like it. If you use it, add it right to the bowl with the chocolate.

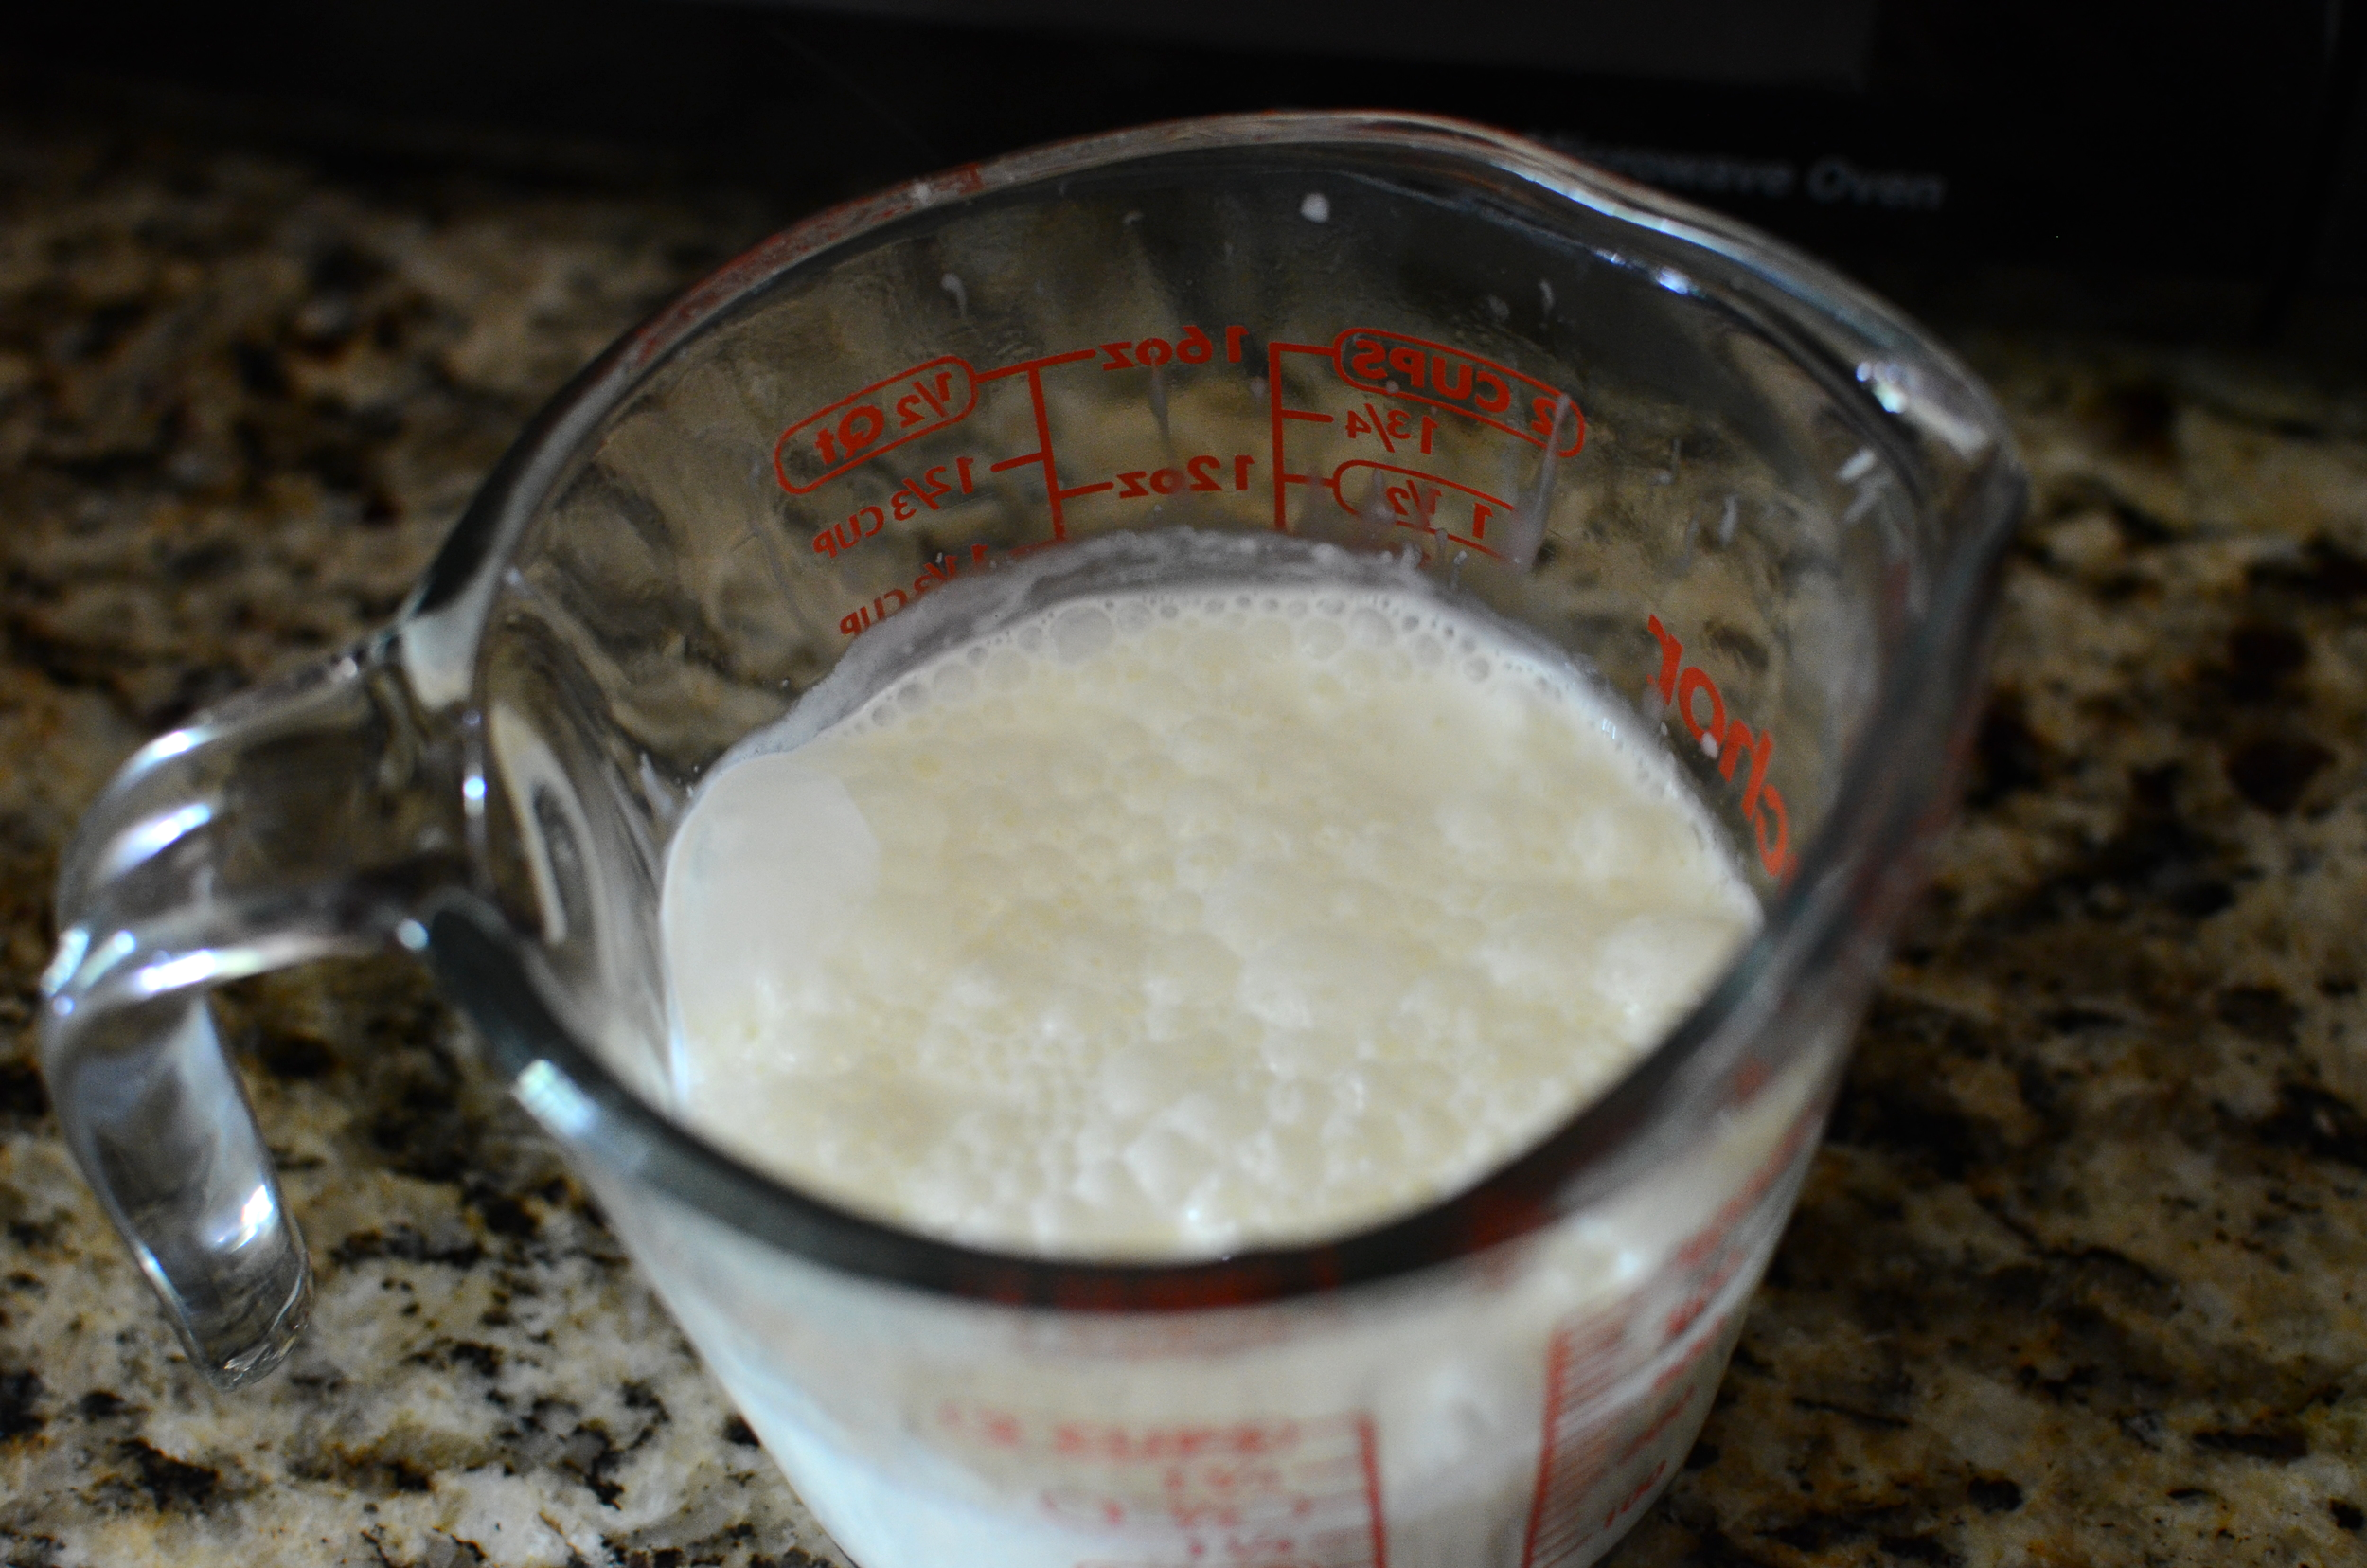
The recipe calls for heavy cream and a little butter. Here I used a 2-cup glass measure to heat it in the microwave just until it started to bubble. Don't walk away or it might boil over and make a mess in your microwave. (been there, done that!)

As soon as the cream and butter bubble, pour them over the chocolate and espresso powder. Allow the mixture to rest for a couple of minutes while the hot cream and butter melt the chocolate, then use a whisk to gently combine the two. The mixture will look really messy at first, but you'll be amazed at how quickly it transforms into the glorious bowl of luscious below.

Oh my..... be still my heart.

Now grab your cooled tart shell and pour that luscious ganache right inside. Smooth the top and pop it in the fridge to chill, uncovered, for at least 4 hours.

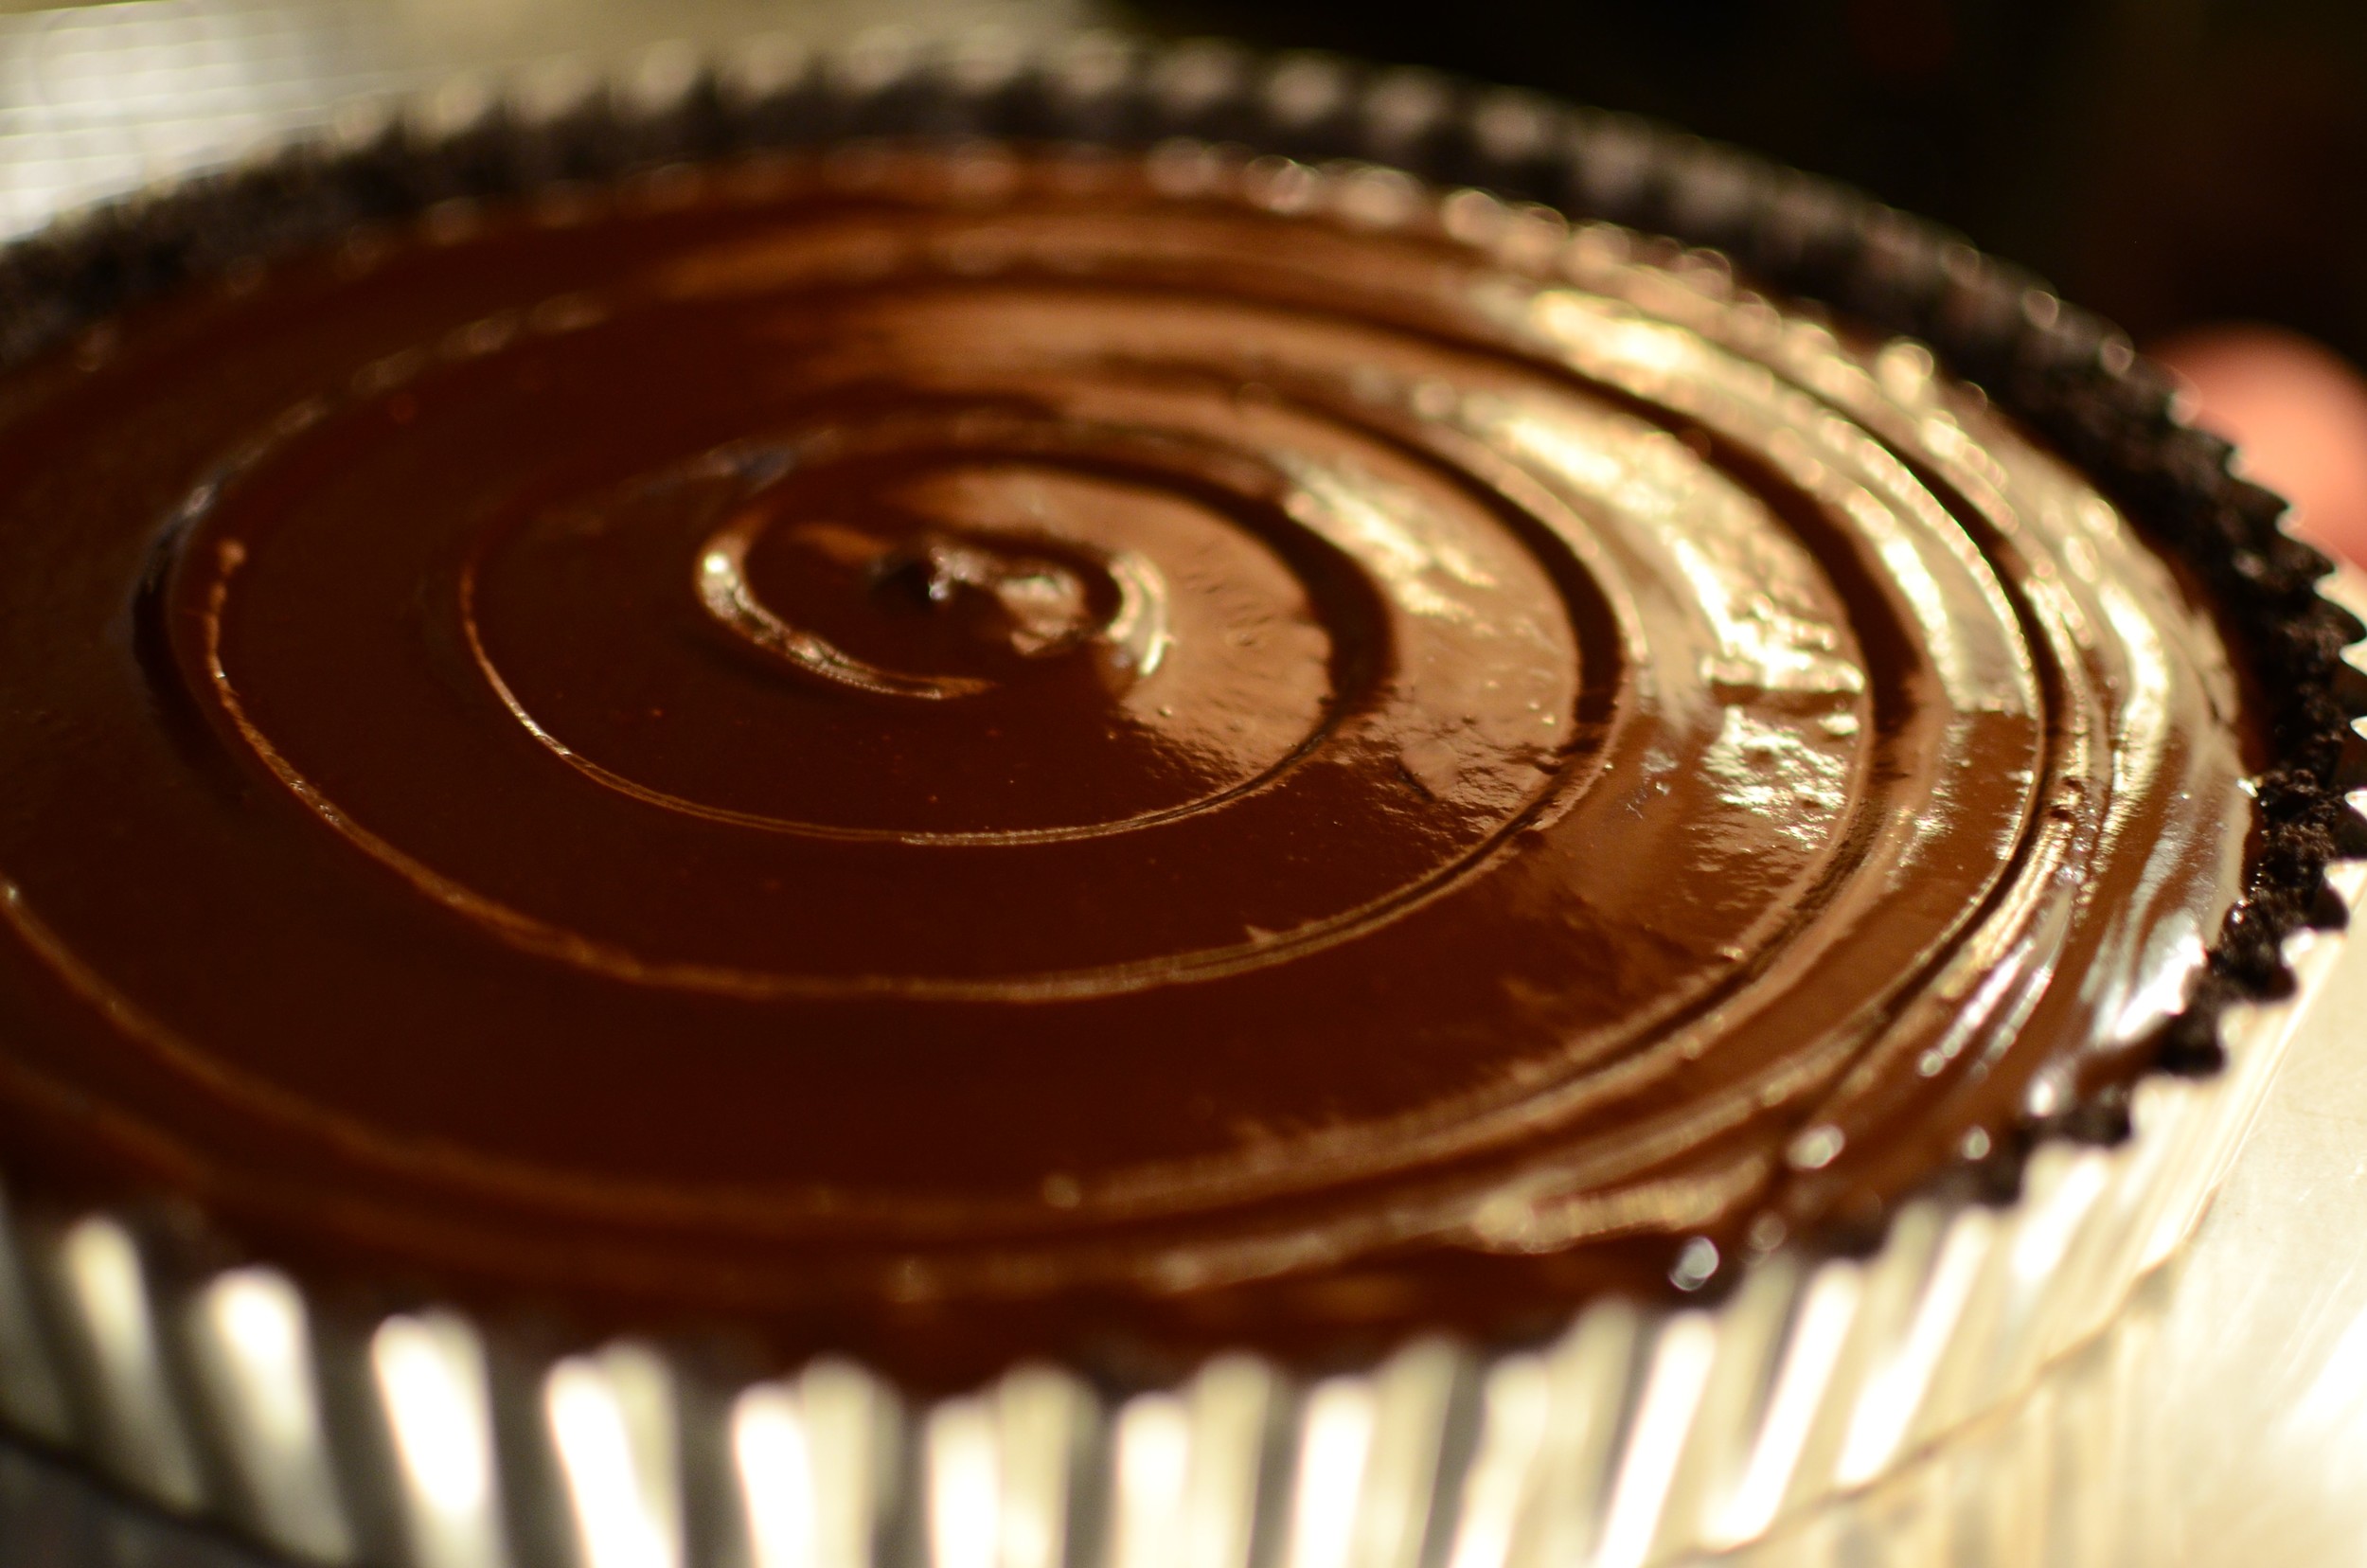
Mmmm. Once the filling has cooled completely, you can store the tart in an airtight container. If you put it in a container before that time, condensation will form on the underside of the lid, and the condensation will drip on your tart and destroy its lovely appearance. We don't want that to happen!

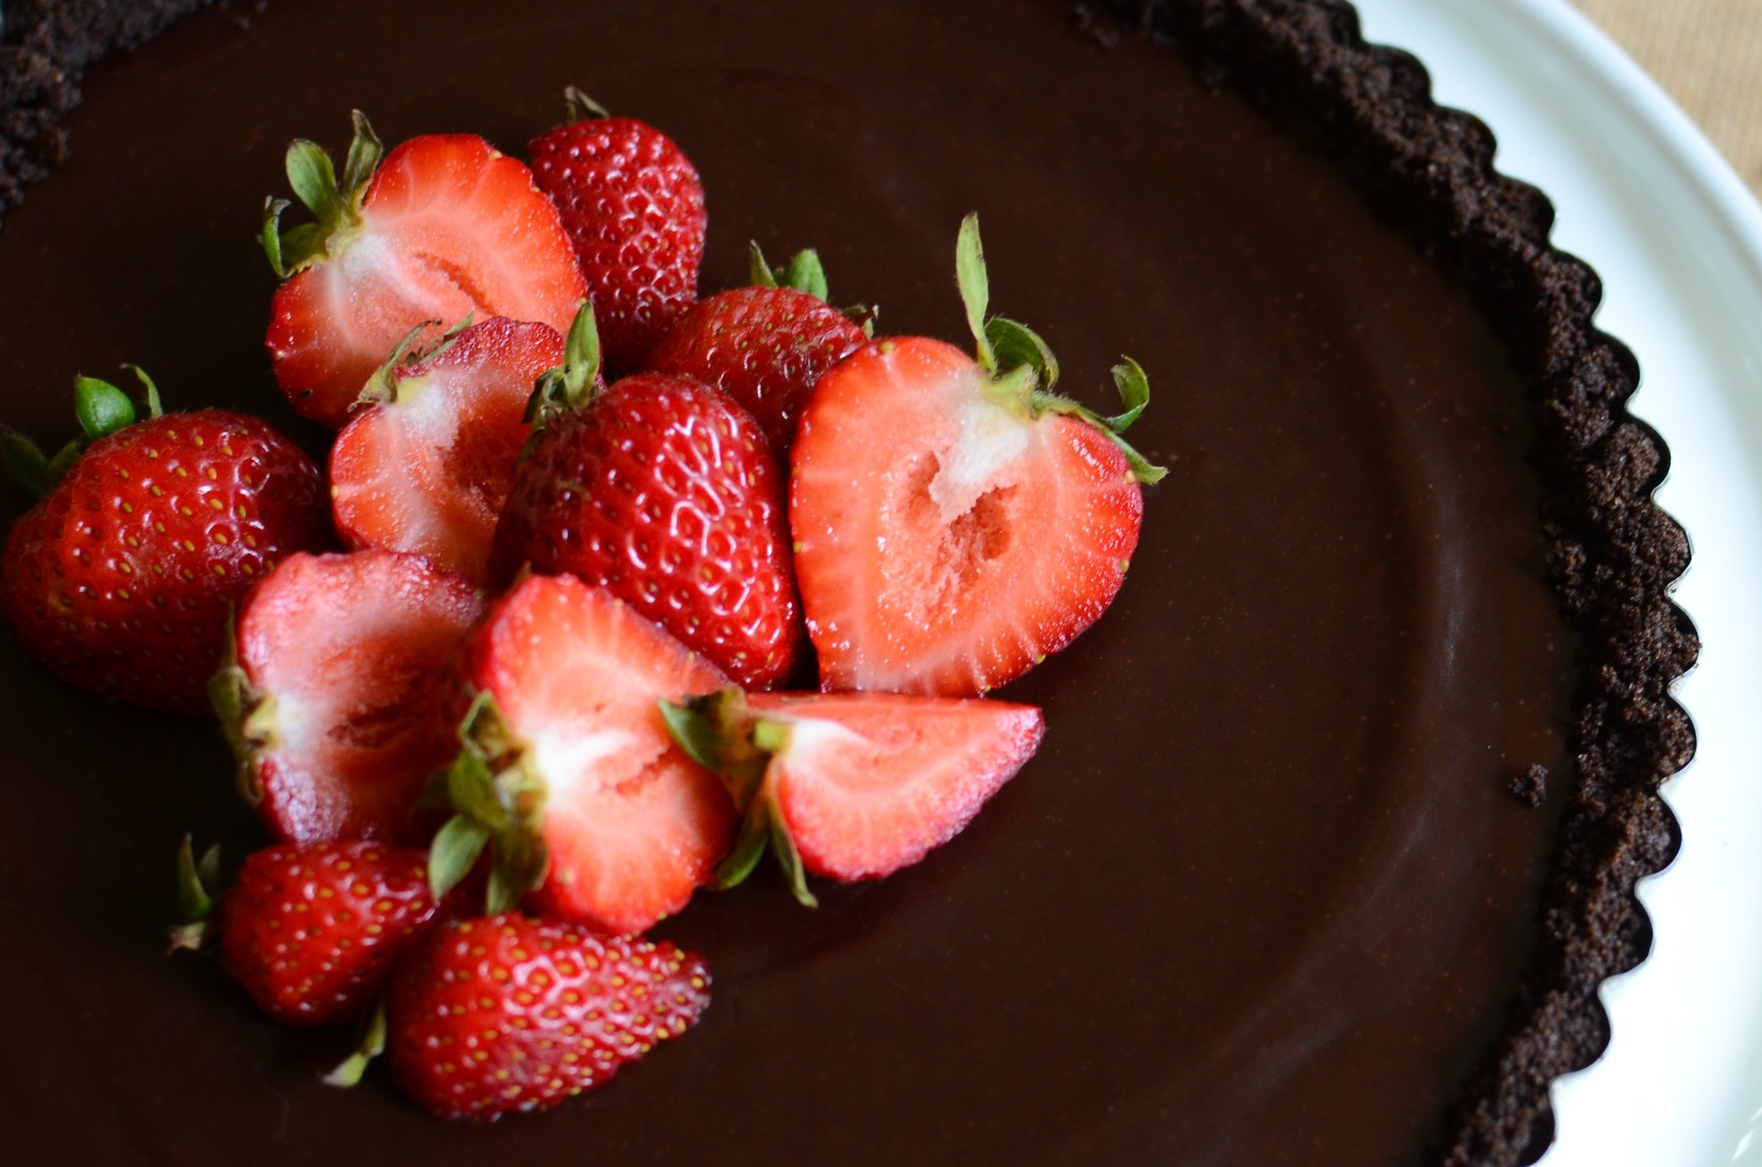
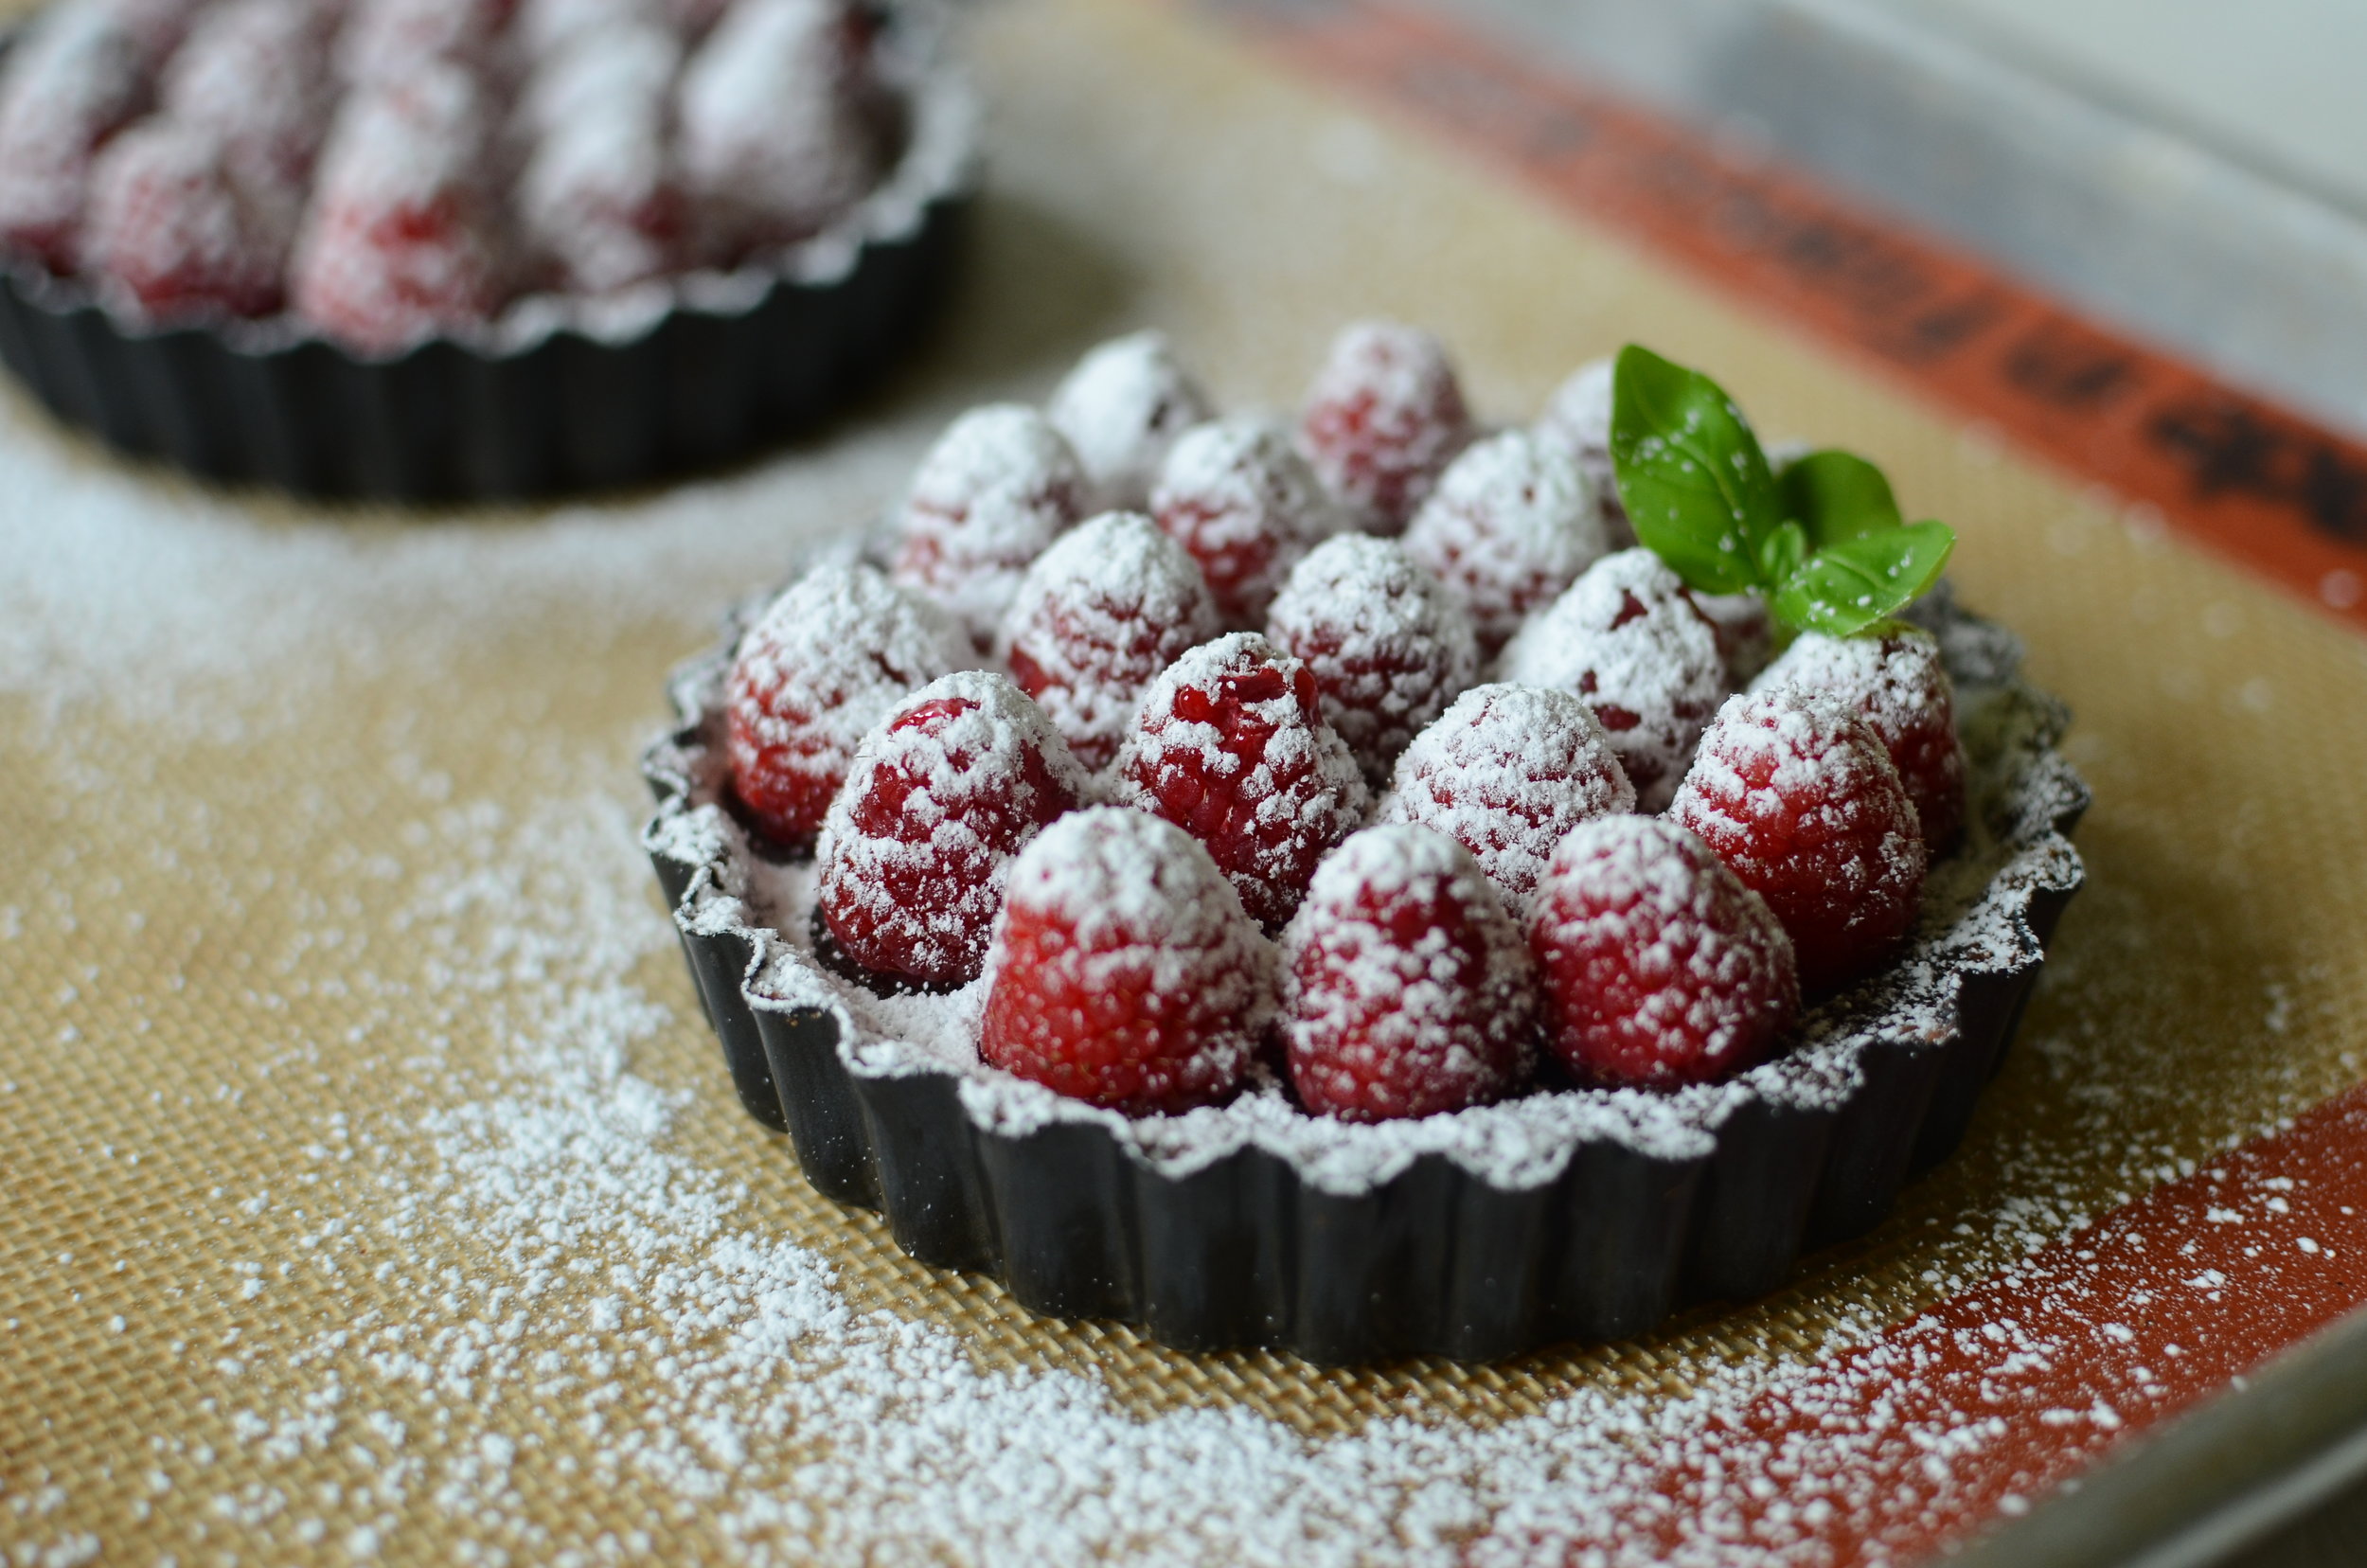
When it's time to serve, garnish with fresh fruit.

And maybe a sprinkling of confectioners sugar, but do that just before serving or the sugar will melt and disappear.

Slice small pieces with a hot knife - a little goes a long way. Enjoy!

Items used to make this recipe:

(affiliate links)


Decadent Chocolate Tart

Printable Recipe

Ingredients

Crust:

  • 1 1/2 cup chocolate graham cracker crumbs (or oreos, about 27 cookies with the filling removed work perfectly)

  • 6 tablespoons unsalted butter, melted

Filling:

Garnish:

  • 8 ounces fresh berries

  • confectioners sugar

Directions

  1. Preheat oven to 350F.

  2. Combine chocolate cookie crumbs with melted butter; mix until completely combined.

  3. Press crumb mixture into the bottom and up the sides of a 9-inch tart pan.

  4. Place the tart pan on a half sheet pan and bake for 10 minutes: remove from oven and set aside while preparing the filling.

  5. Place chopped chocolate in a medium bowl; set aside.

  6. In a microwave safe container, heat heavy cream and butter until it just begins to boil.

  7. Immediately pour the heavy cream mixture over the chocolate and walk away for a couple of minutes to let the cream melt the chocolate.

  8. Add espresso powder and vanilla extract to the cream and chocolate; whisk together gently until fully combined.

  9. Pour chocolate mixture into chocolate tart crust; refrigerate for at least 4 hours or overnight.

  10. Just before serving, top with fresh berries and sprinkle with confectioners sugar.

Note

  • To cut neat slices, dip a knife in hot water and wipe clean between each cut.  

Simple Chicken Piccata

Patricia @ ButterYum

Chicken Piccata is one of those really fast, one-pot dishes every home cook should have in their arsenal.  The thin chicken breasts cook in minutes, and the butter, lemon, caper sauce is packed full of flavor.  I love that I can walk in the door and have a complete meal of chicken piccata, rice, and steamed vegetables in less than 30 minutes.   Let me show you how easy it is to make.

Cut a couple of boneless, skinless chicken breasts in half horizontally and use a meat pounder to pound the thick side of the breast so the entire piece of chicken is the same thickness (about 1/4-inch).  I like to cover the chicken with plastic wrap when doing this so little bits of chicken don't fly all over the kitchen.

Coat the chicken on both sides with a light dusting of flour.  

I used Wondra Flour because it coats the chicken so lightly and evenly, but you can use plain flour instead.

Then I used a citrus squeezer to get all the juice out of one lemon.  By the way, room temperature or warm lemons give up more juice than cold lemons.  Zap your lemon in the microwave for about 10 seconds if needed.

For garnish, I used a channel knife to cut this design into another lemon.  This step is completely unnecessary, but it makes the lemon slices look so pretty.

Then I sliced it thin with a mandoline slicer.  If you don't have a mandoline, slice the lemon thin by hand.

They'll make a nice garnish.  You can easily remove all the seeds when the slices are thin like this.    

Okay, time to cook the chicken.  Saute the chicken in a little butter and olive oil until slightly brown on both sides.  Don't crowd the pan.

Side one is done and it's time to flip.  This will only take 2 or 3 minutes per side, depending on how thin your chicken is.

Remove your beautifully browned chicken to a plate.  We'll put it back in the pan after we make the pan sauce.

Now we make the pan sauce.  Keep the butter and oil in there... they'll add a lot of flavor to the sauce.  And see all those brown bits in the pan?  They're going to add even more flavor.  We're going to dissolve them in a mixture of chicken stock and white wine.  If you don't like to cook with wine, you can totally use just chicken stock.   

I always have homemade chicken stock in the freezer.  

Today I used my homemade chicken stock to make the piccata.  I used my stock to cook the rice I served as well.  It comes in handy all the time.  I use it for soups, cooking beans and grains, steaming vegetables.... wonderful, wonderful stuff.  Check out my tutorial to see how easy it is to make your own awesome chicken stock for just pennies here

Okay, back to tonight's dinner.  Once the chicken stock and white wine have dissolved all those tasty brown bits in the pan, remove any lumpy blobs of solidified protein that might remain.  A fine mesh skimmer is the perfect tool for the job.  You really don't have to do this, but it'll make for a more attractive pan sauce later. 

Now we're going to add capers.  They're very pungent and a little go a long way.  I only used about a teaspoon, DRAINED, for the amount of chicken I cooked here.  

Time to add the freshly squeezed lemon juice too.

Whisk everything together well and let the sauce reduce by at least half, stirring occasionally. DO NOT add any salt and pepper.  I know, I usually tell you to season with S & P as you go, but not this time.  Trust me.  Just wait until the sauce reduces to the consistency you like.  You can add a teeny tiny amount of the Wondra Flour if you want to thicken the sauce a little, but I don't usually find it necessary.  If you do add flour, add just a small amount, whisk it in well and allow the mixture to boil for at least a minute to cook out the raw flour flavor.

Once the sauce is finished reducing, taste and add salt and pepper if needed.  Then whisk in a tablespoon of butter.  Sorry I didn't get a photo of that, but trust me, it adds a velvety mouth-feel and lovely shine to the sauce. 

Return the chicken to the pan and allow it to gently reheat for a minute or two by basting with that gorgeous pan sauce. 

Last we'll pretty things up by adding the sliced lemons and some chopped fresh parsley.  Serve immediately.  The extra pan sauce is great served over rice or pasta. 

Items used to make this recipe:

(affiliate links)


Simple Chicken Piccata

Printable Recipe

Ingredients

  • 2 tablespoons unsalted butter

  • 2 tablespoons olive oil

  • 2 boneless, skinless chicken breasts, cut in half horizontally and pounded to about 1/4-inch thickness

  • 1/4 cup flour for dredging the chicken

  • 1 cup chicken stock

  • 1 cup white wine (or substitute more chicken stock)

  • juice of 1 lemon

  • 1 teaspoon capers, drained

  • 1 tablespoon unsalted butter

  • salt and pepper to taste

  • 1 sliced lemon

  • 2 tablespoons freshly chopped flat leaf parsley

Directions

  1. Dredge the chicken in flour; set aside.

  2. Heat the butter and olive oil in a very large skillet.

  3. Saute the chicken in the butter and oil until browned on both sides; remove from pan.

  4. Add chicken stock and white wine to the butter and oil that remains in the pan; stirring to dissolve all the browned bits. Skim away any solids that don't dissolve if desired.

  5. Add the lemon juice and capers; reduce by half, stirring occasionally.

  6. Season reduced pan sauce if needed and whisk in remaining tablespoon of butter.

  7. Return chicken to skillet and baste with pan sauce to gently reheat chicken.

  8. Garnish with sliced lemons and chopped fresh parsley.

Notes

  • The recipe makes a lot of pan sauce which is wonderful served over rice or sopped up with crusty bread. 

  • Remove lemon slices before storing leftovers (they will make the leftovers taste bitter).