contact us

Use the form on the right to contact us.

You can edit the text in this area, and change where the contact form on the right submits to, by entering edit mode using the modes on the bottom right.

Form Block
This form needs a storage option. Double-click here to edit this form, and tell us where to save form submissions in the Storage tab. Learn more
         

123 Street Avenue, City Town, 99999

(123) 555-6789

email@address.com


You can set your address, phone number, email and site description in the settings tab.
Link to read me page with more information.

Blog

Butteryum food blog recipes

Filtering by Category: dessert recipes

Chocolate Truffles

Patricia @ ButterYum
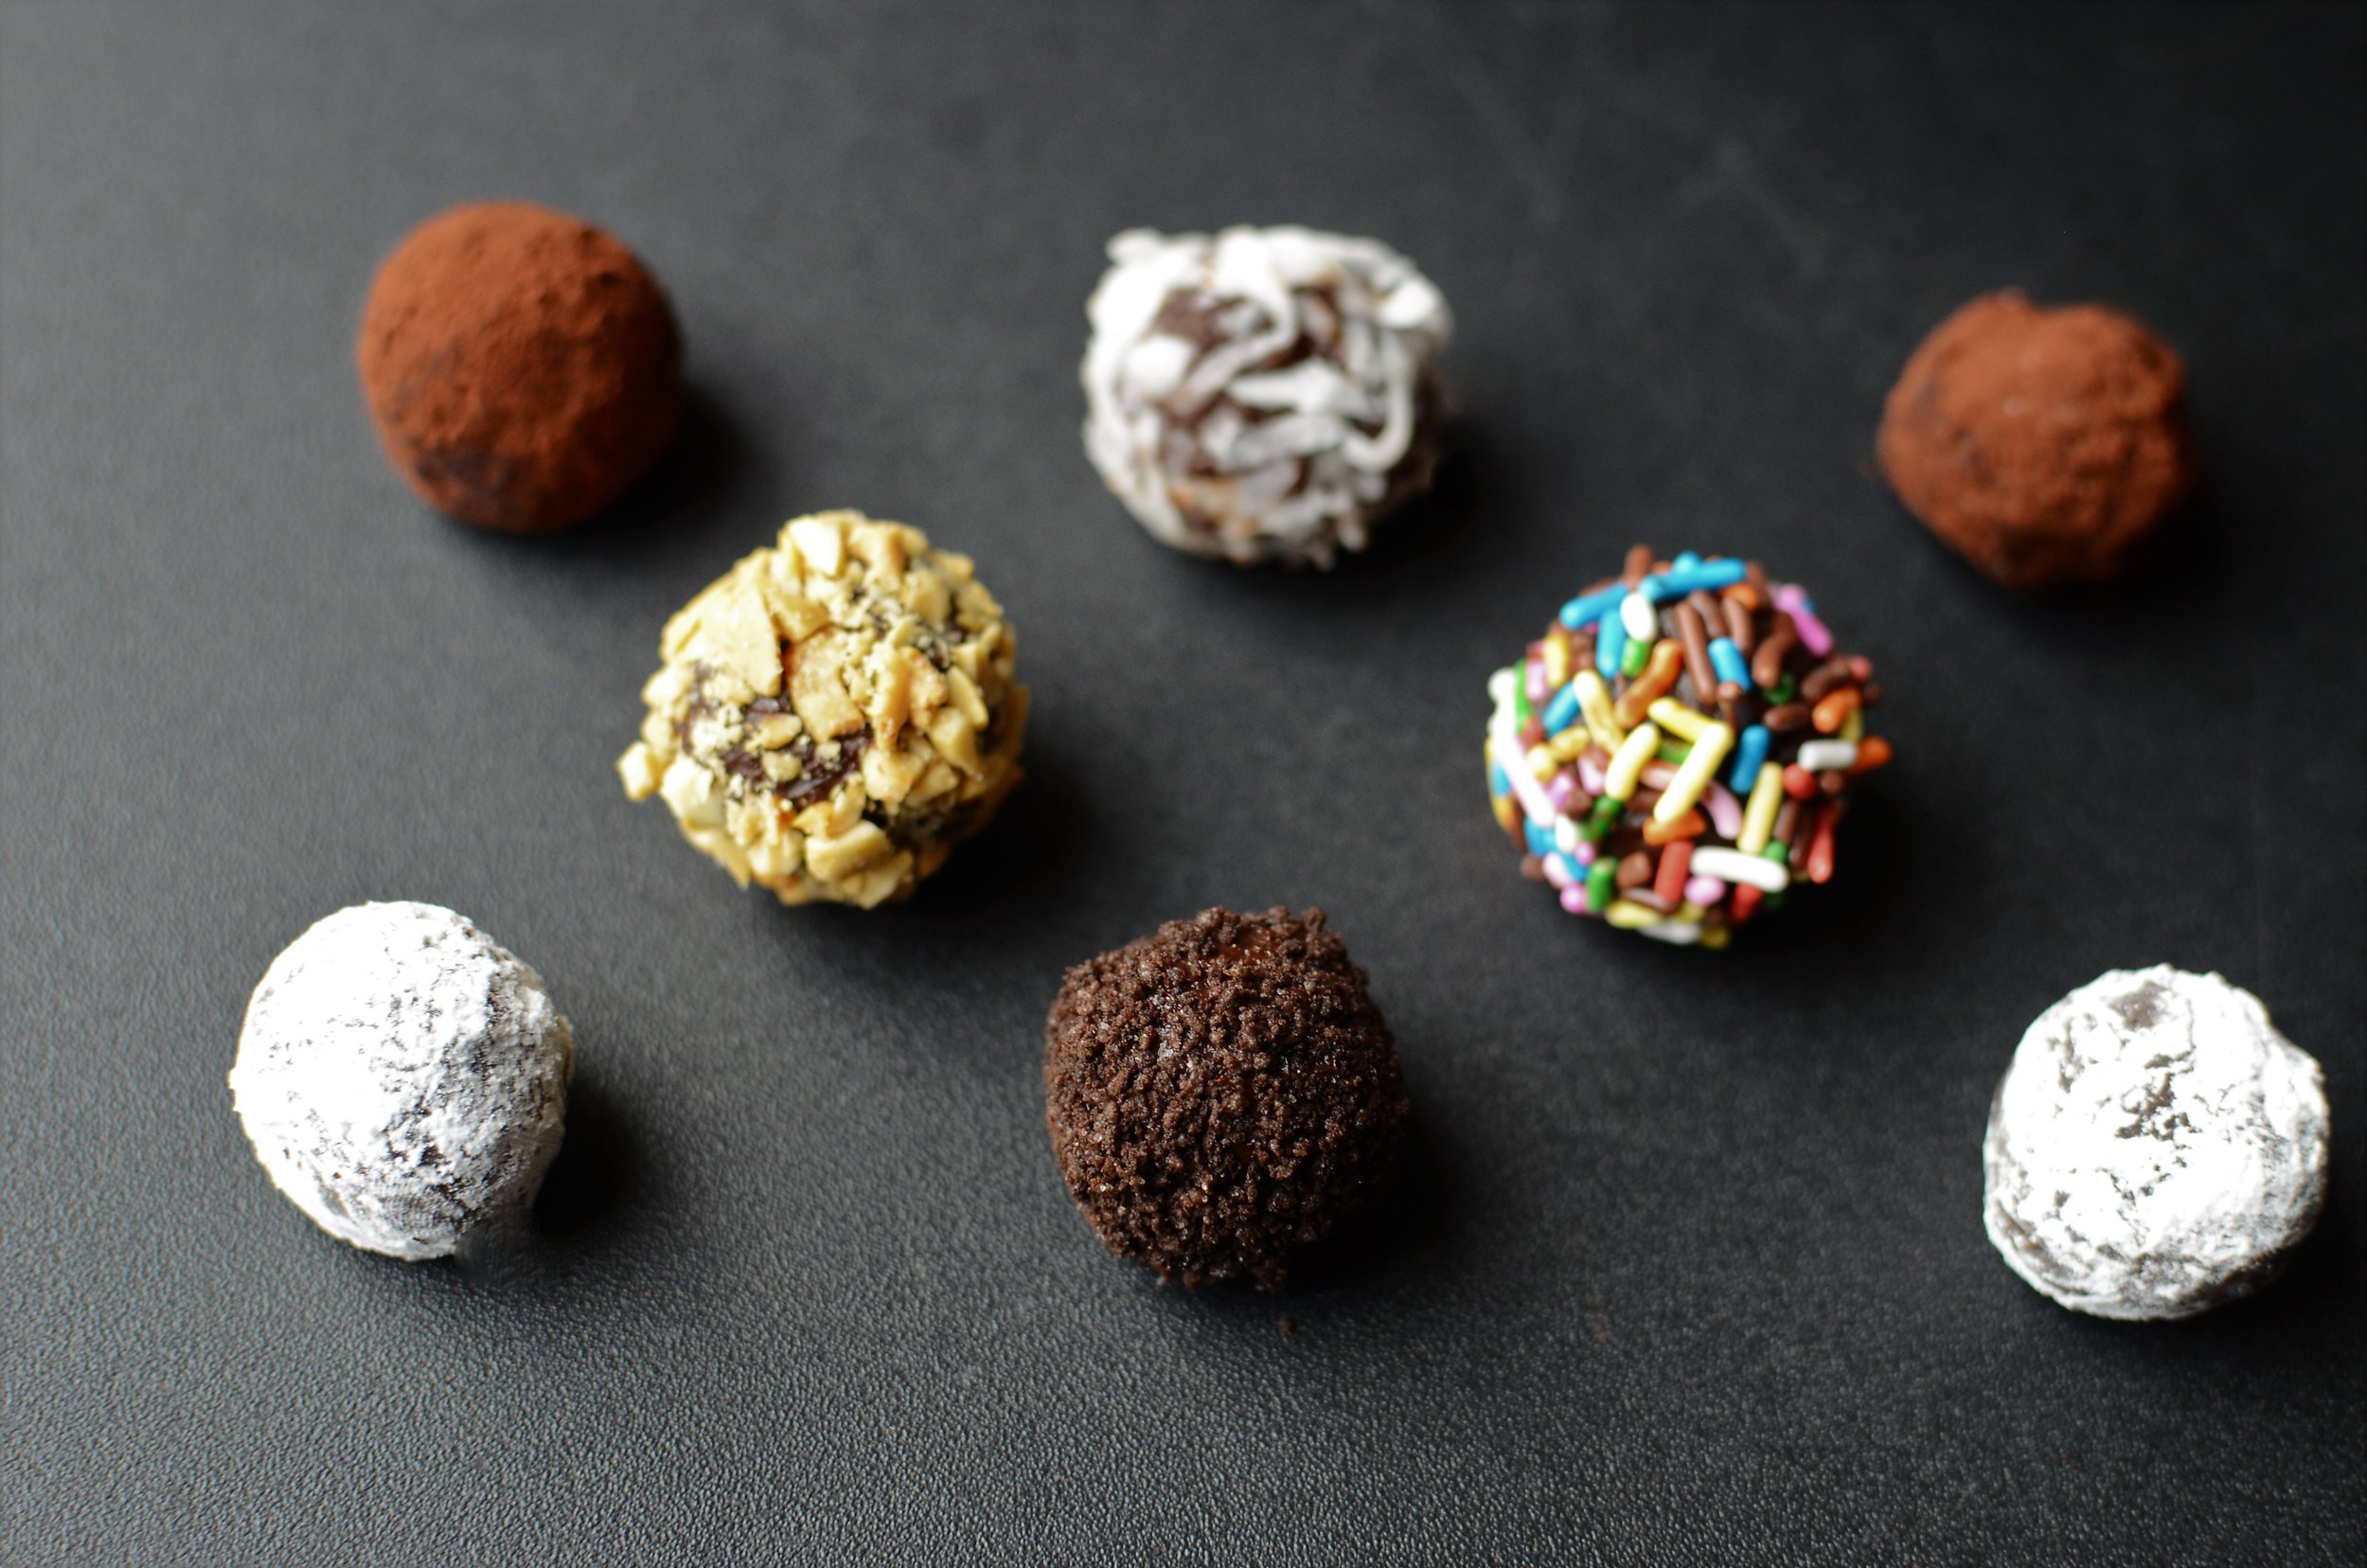
Chocolate truffles are devilishly delicious and deceptively easy to make yourself.  Once you see how it's done, you'll never have to purchase them again.  Come on, I'll show you.

Start with really good chocolate.  We like dark chocolate, but feel free to use milk if you like that better.  Whichever you choose, be sure it's the good stuff - high quality makes all the difference here so don't skimp.  

Chop the chocolate.  I like to use a serrated blade like this one.  It makes very quick work of the job.
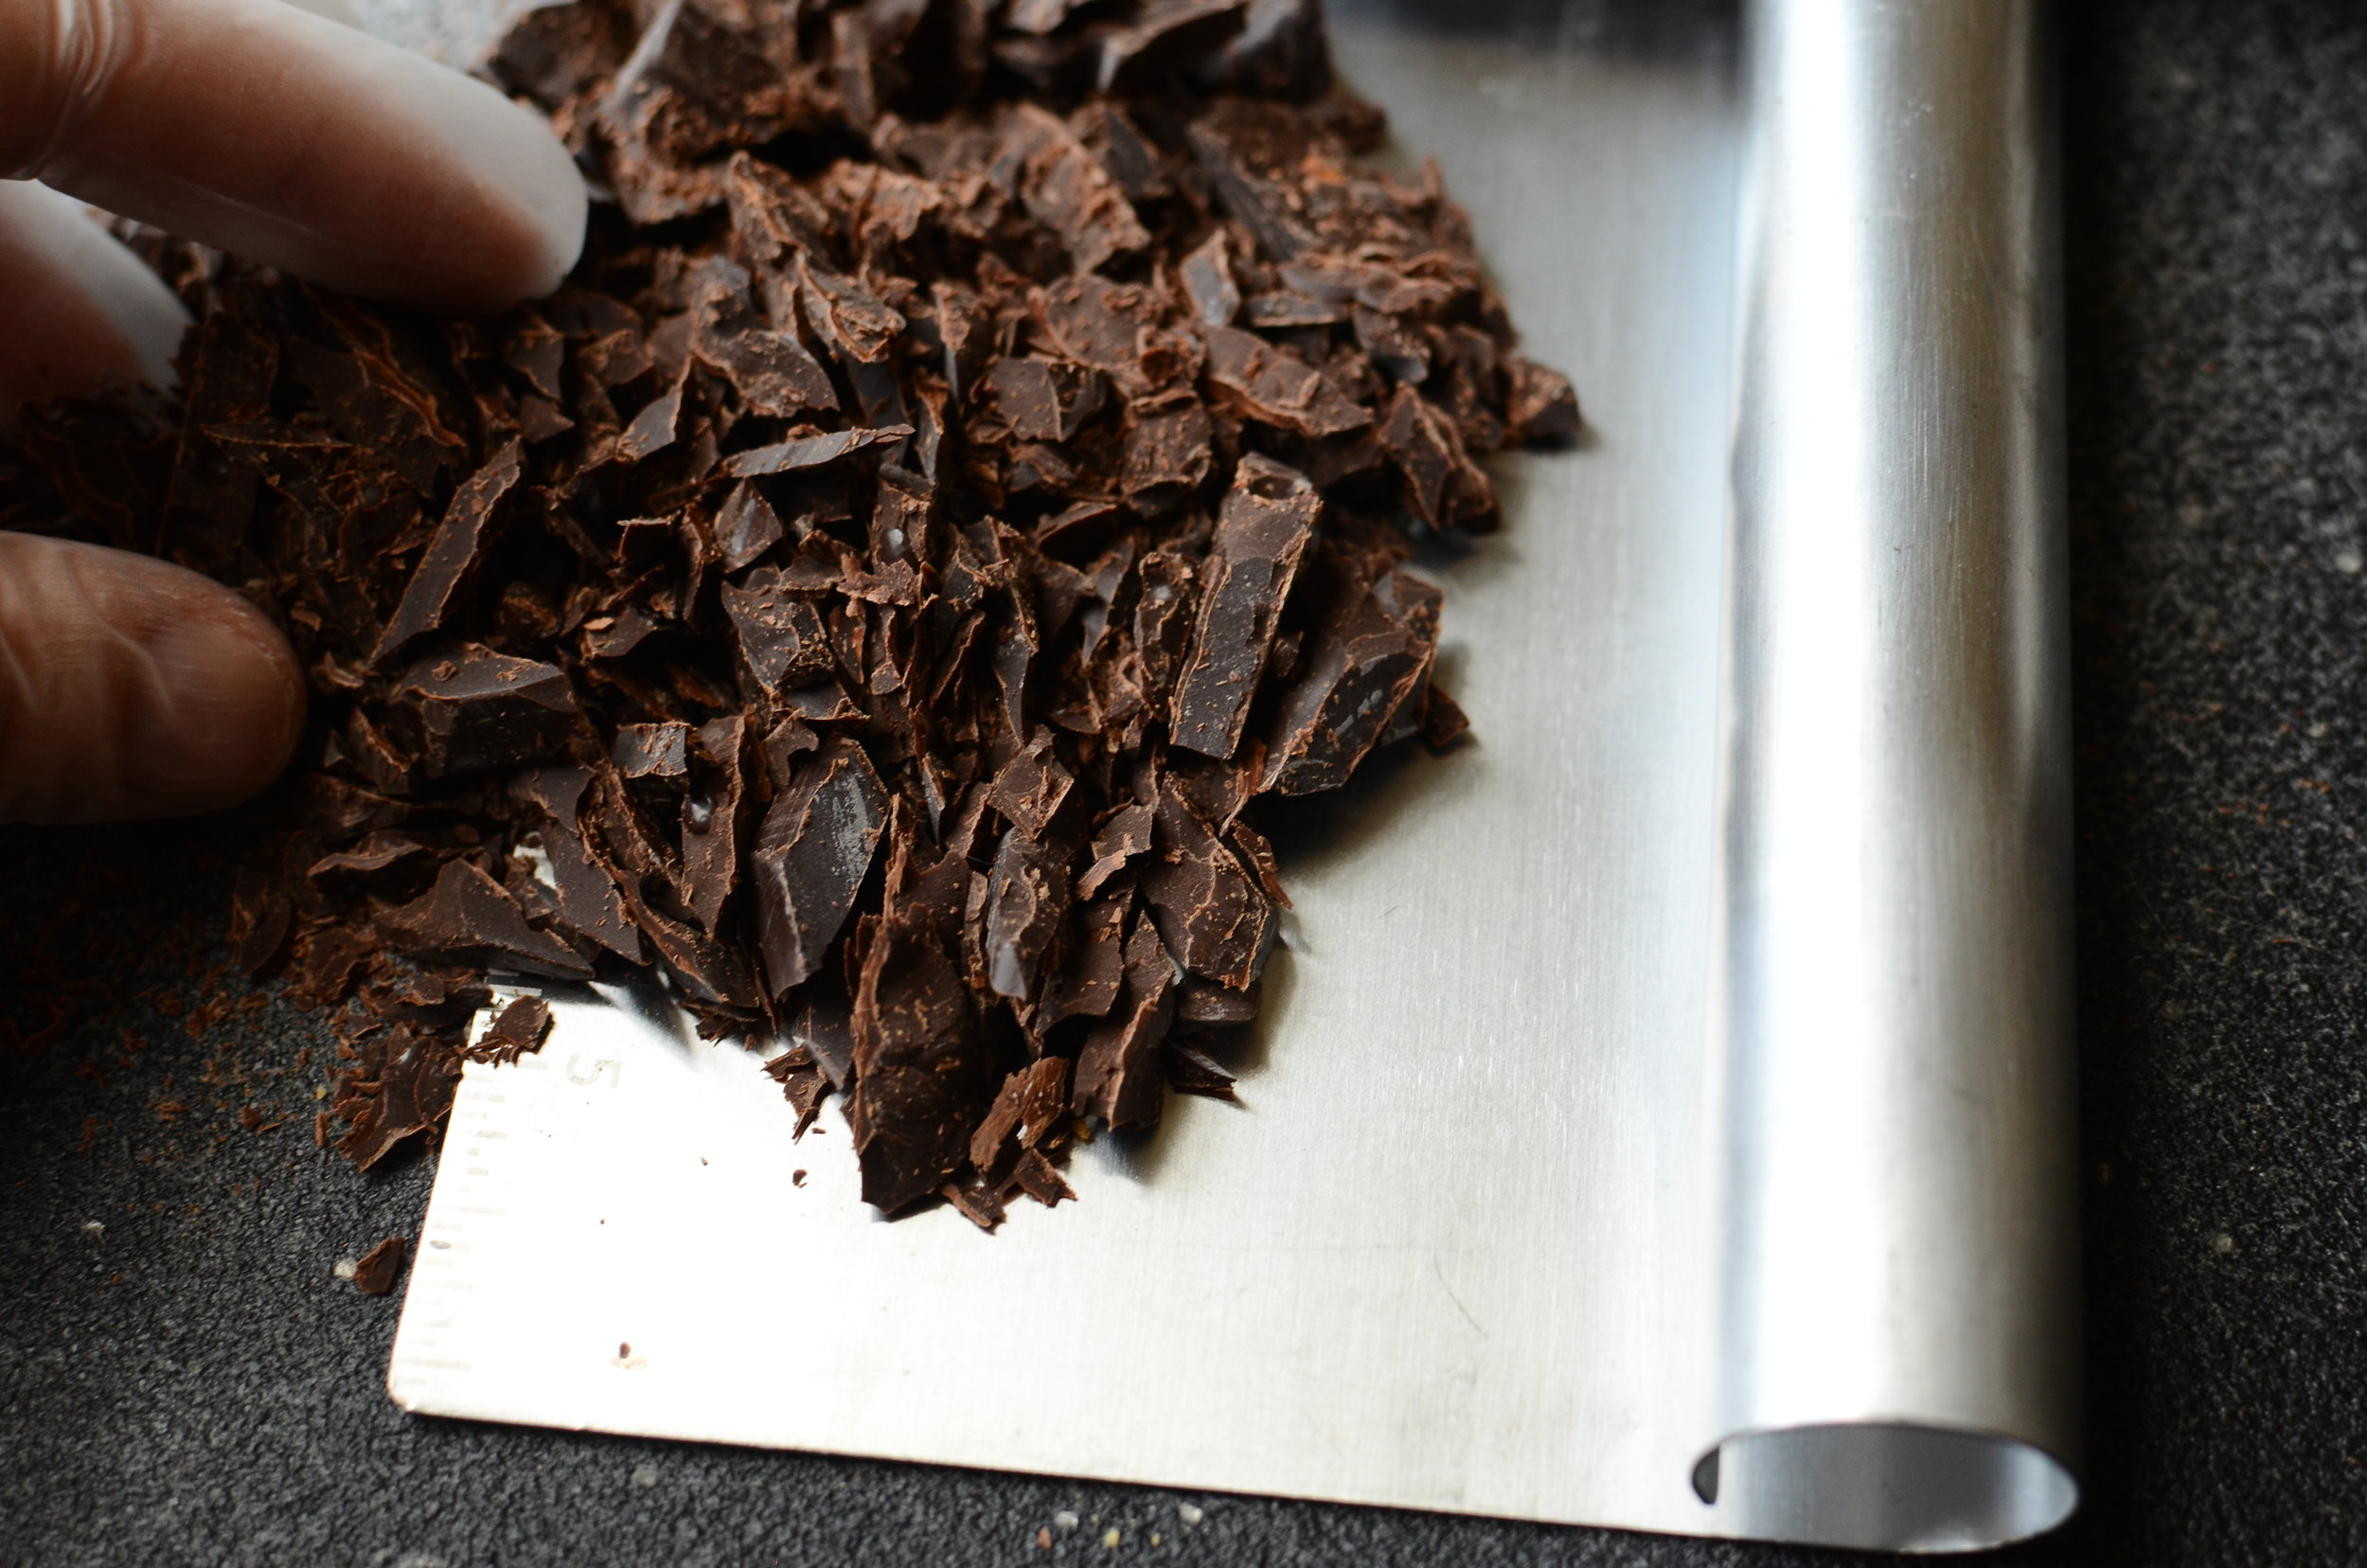
I have warm hands so I scoop the chocolate up with a bench scraper to transfer it to a bowl. 
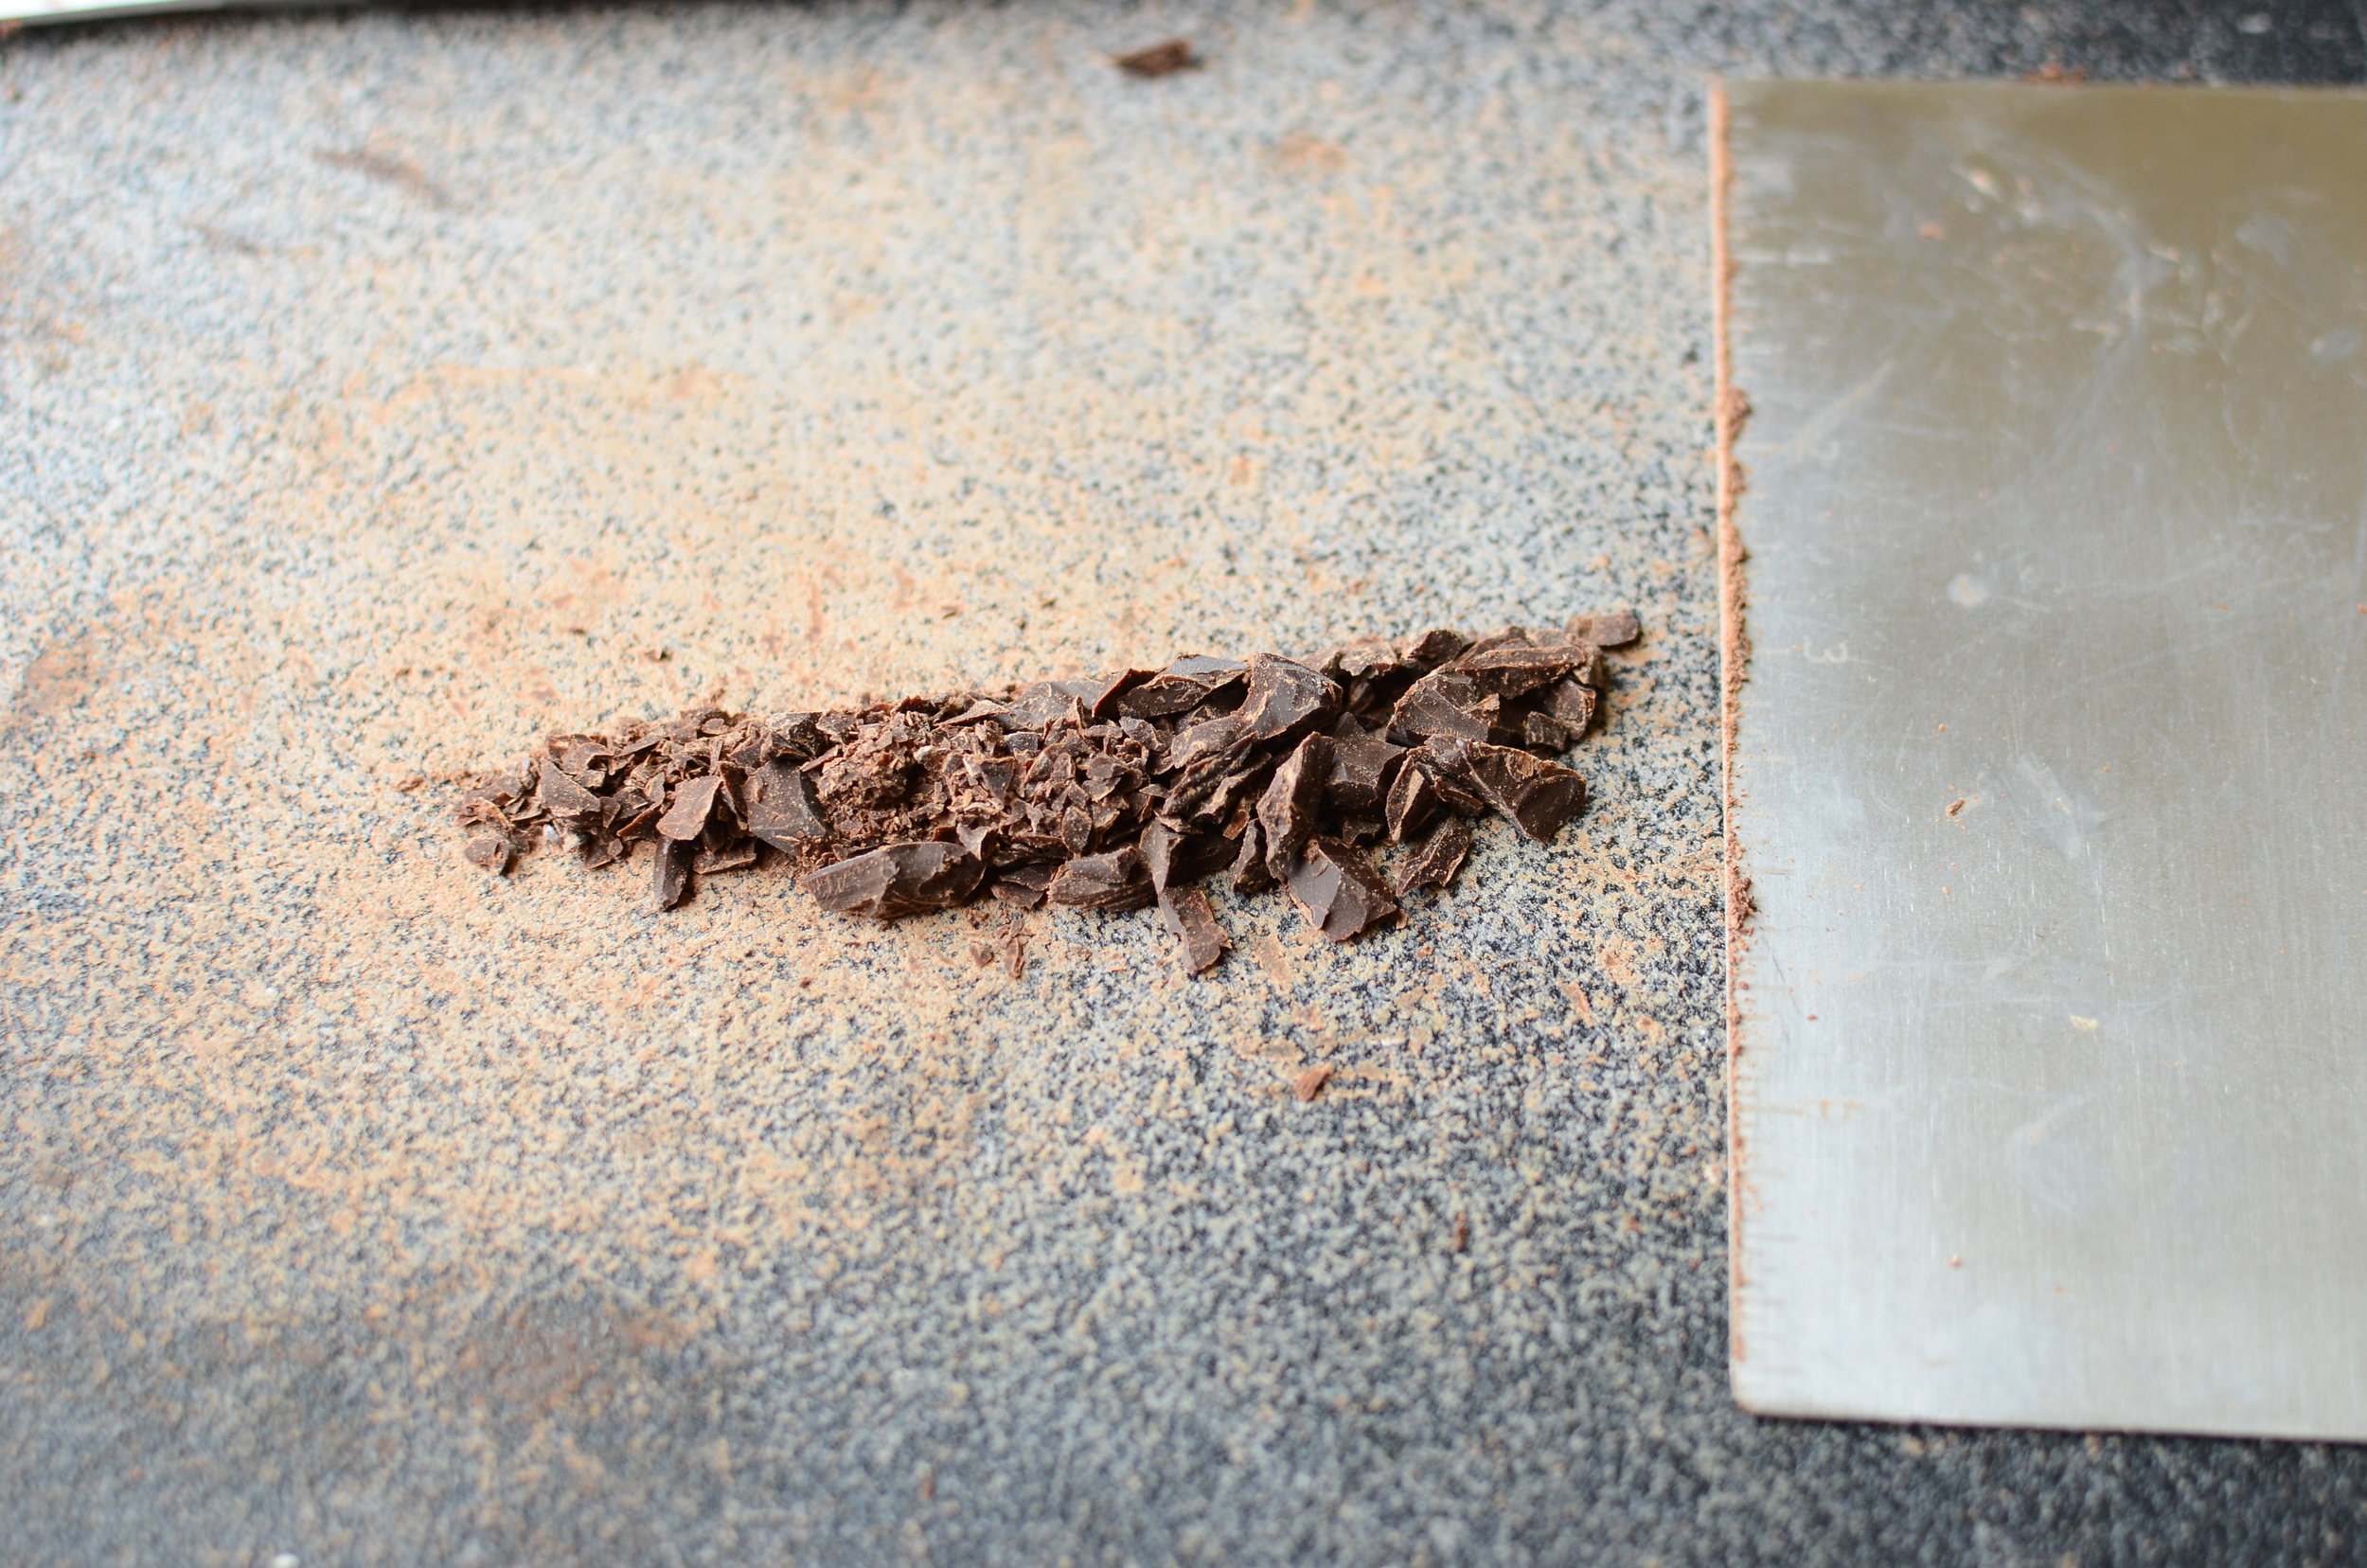
And this is why it's called a bench scraper.  It scrapes up even the smallest bits of chocolate.  It's good for other things too - scooping cut vegetables off the cutting board, frosting the sides of a cake, cutting gnocchi, moving pie crusts, dividing bread dough, and so much more.  I like an all metal one with measurement markings and a handle that doesn't exceed the length of the flade - this one is my favorite.
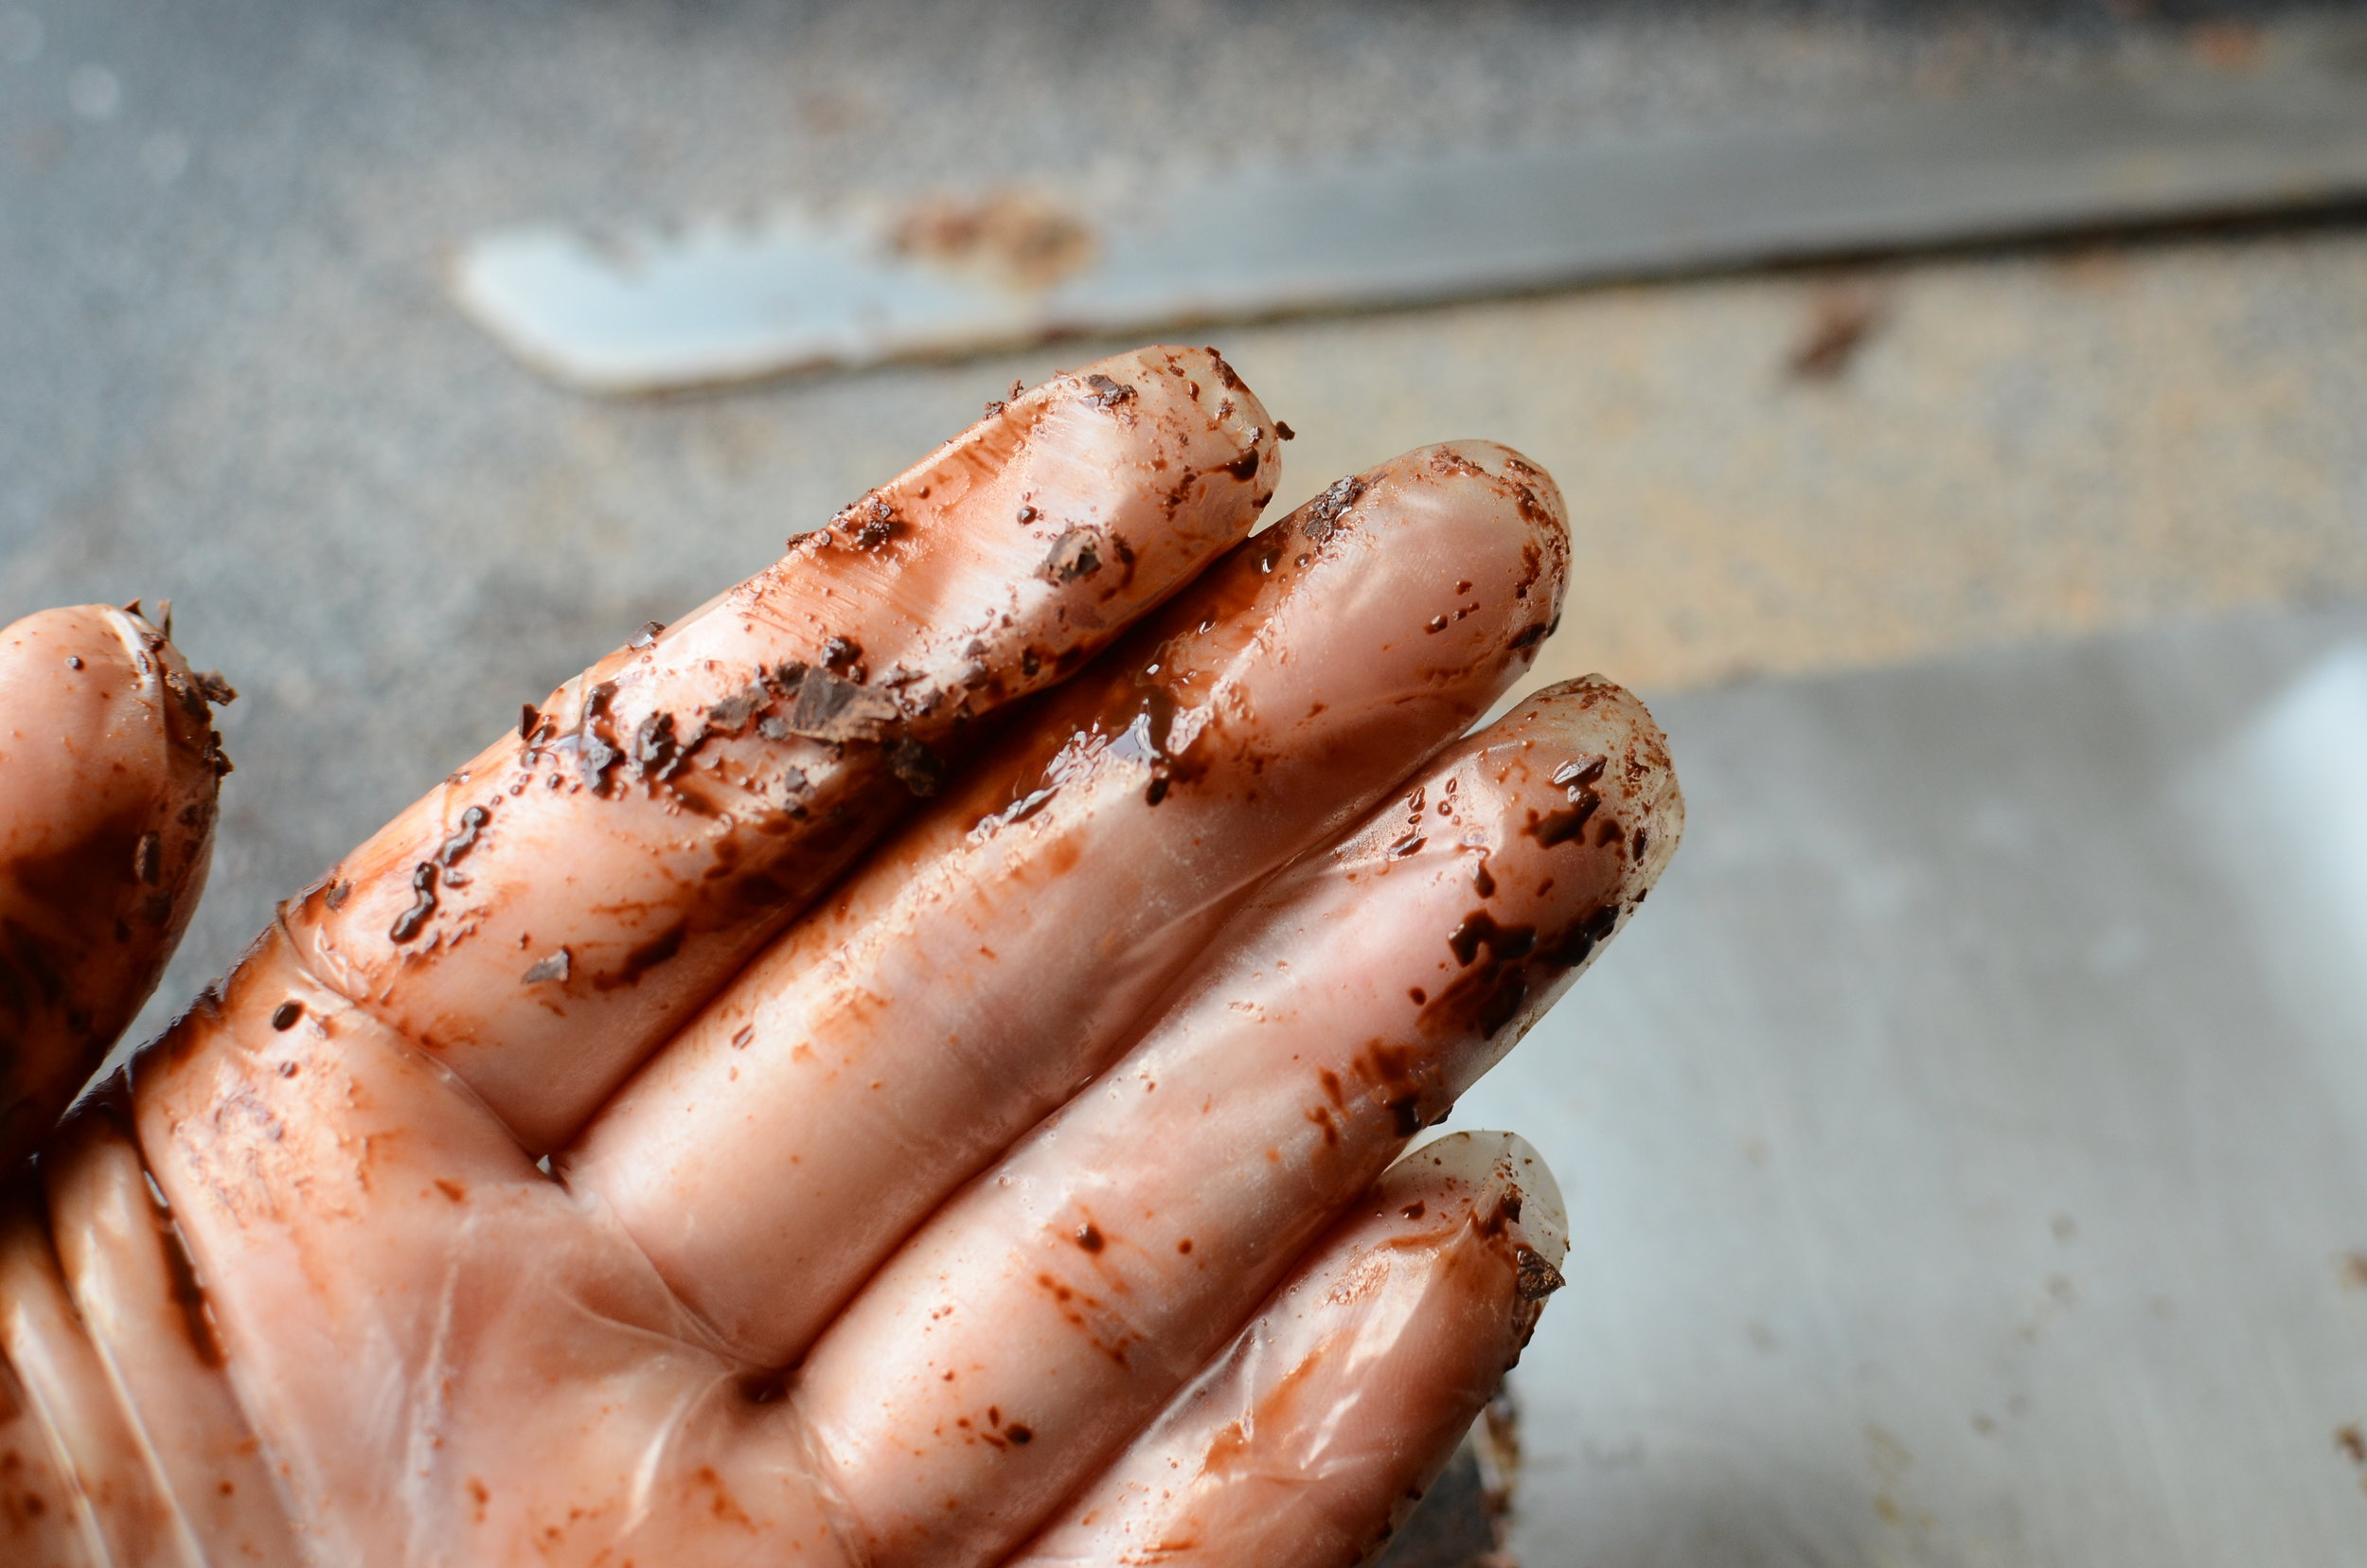
I also wear disposable gloves to keep the mess to a minimum.  
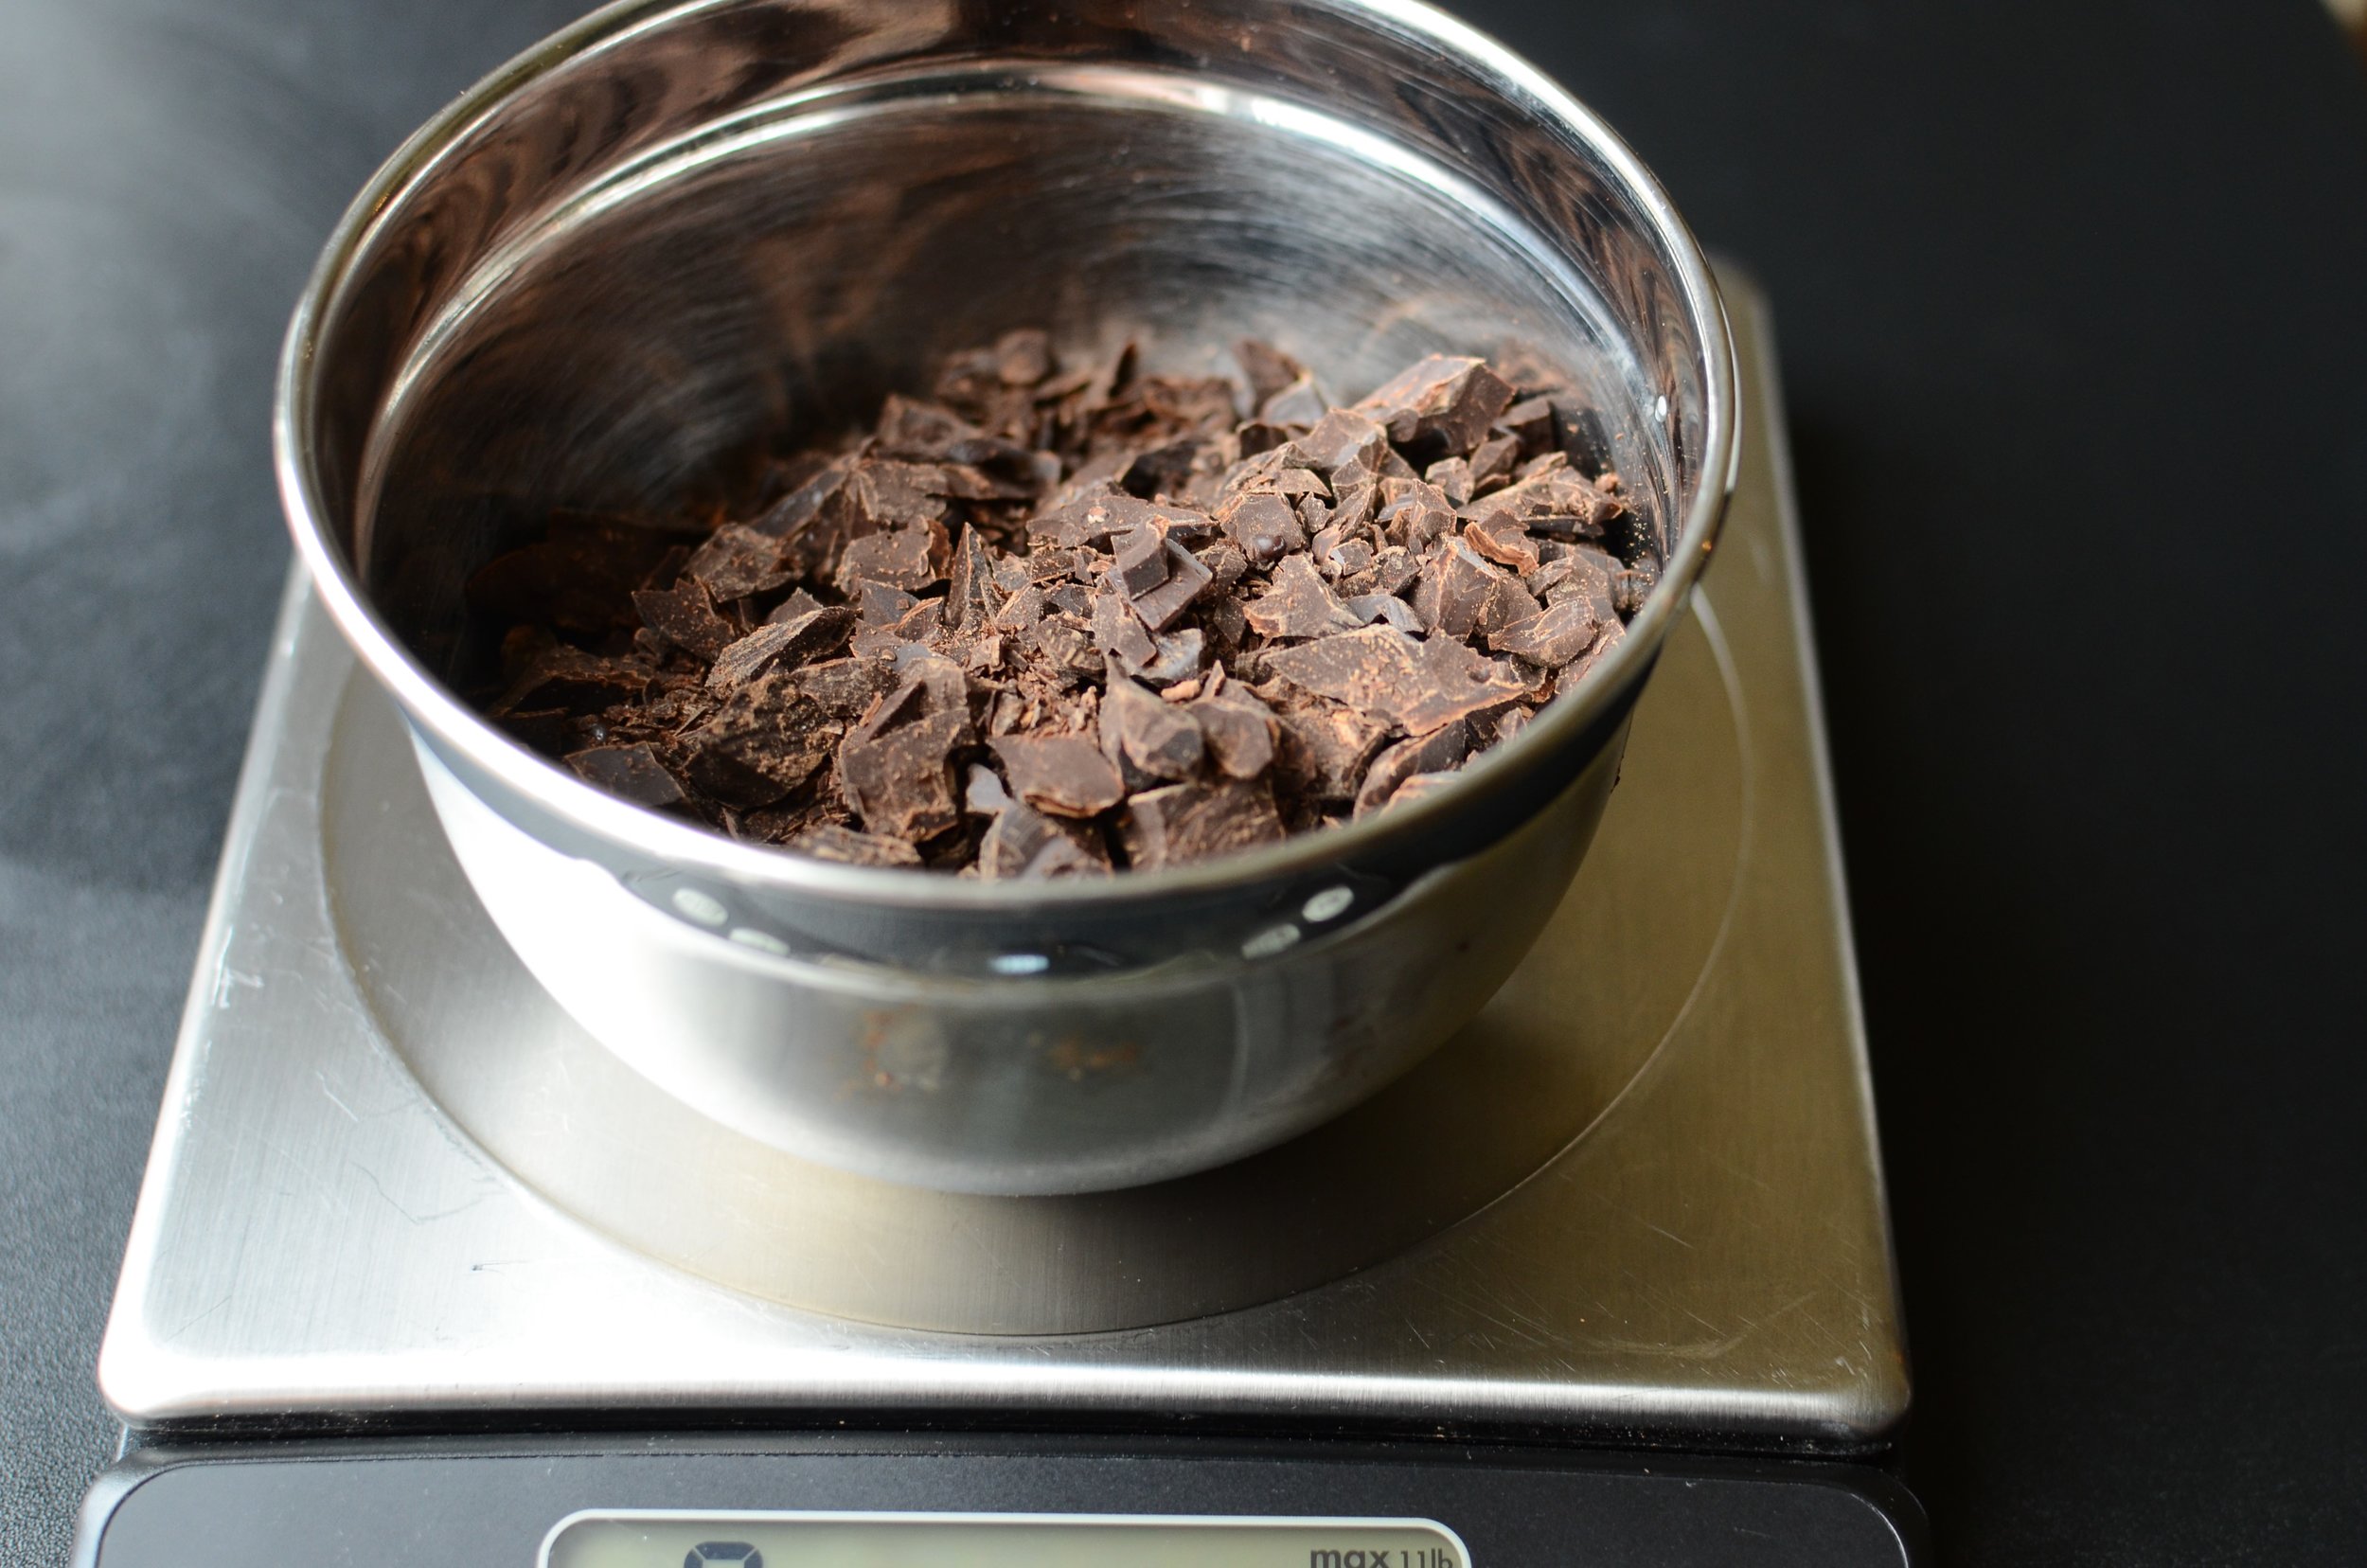
Weigh the chocolate and place it in a heat-safe bowl.
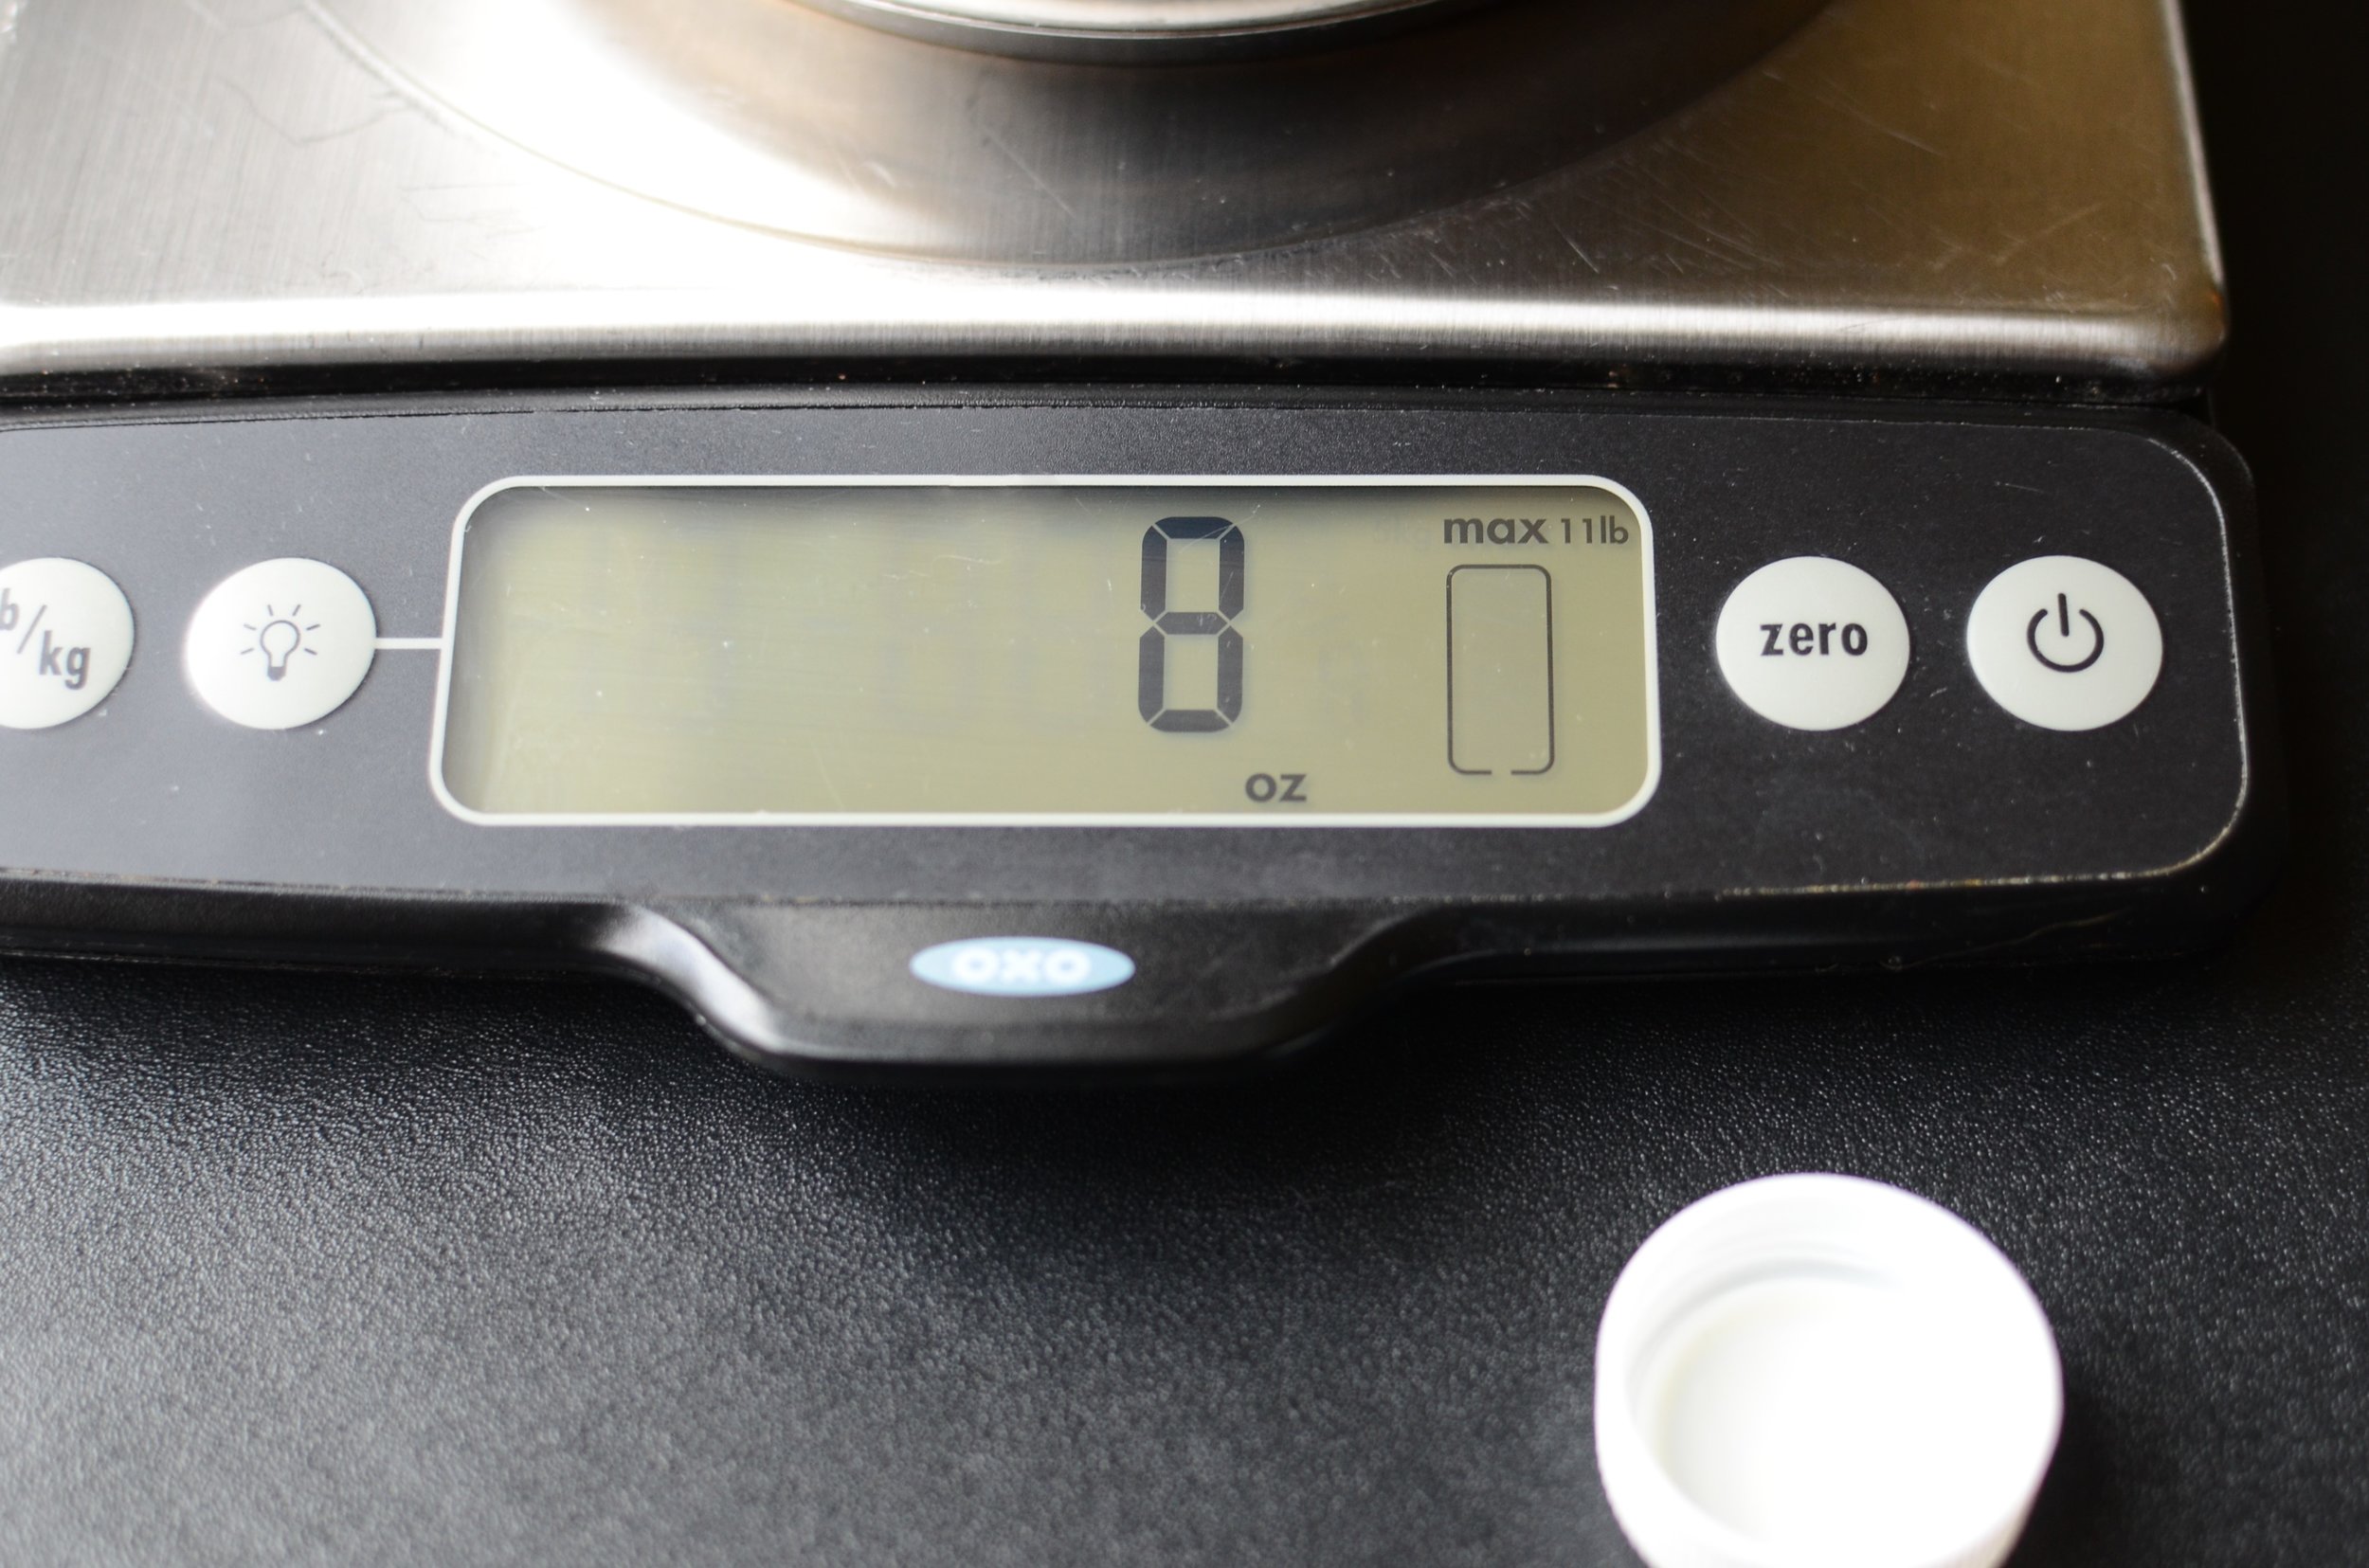
I've got 8 ounces of chocolate today.

In a small saucepan with a heavy bottom, weigh the same amount of cream.  So that means the chocolate and cream will both weigh the same amount.

If you're trying to figure out how much truffle mixture you need to make, 1 ounce of the truffle mixture will make two tablespoon-size truffles.  Personally, I like them about half that size, but you do you.  

Gently heat the cream until its just about to boil.  You'll notice bubbles form around the sides of the pan.
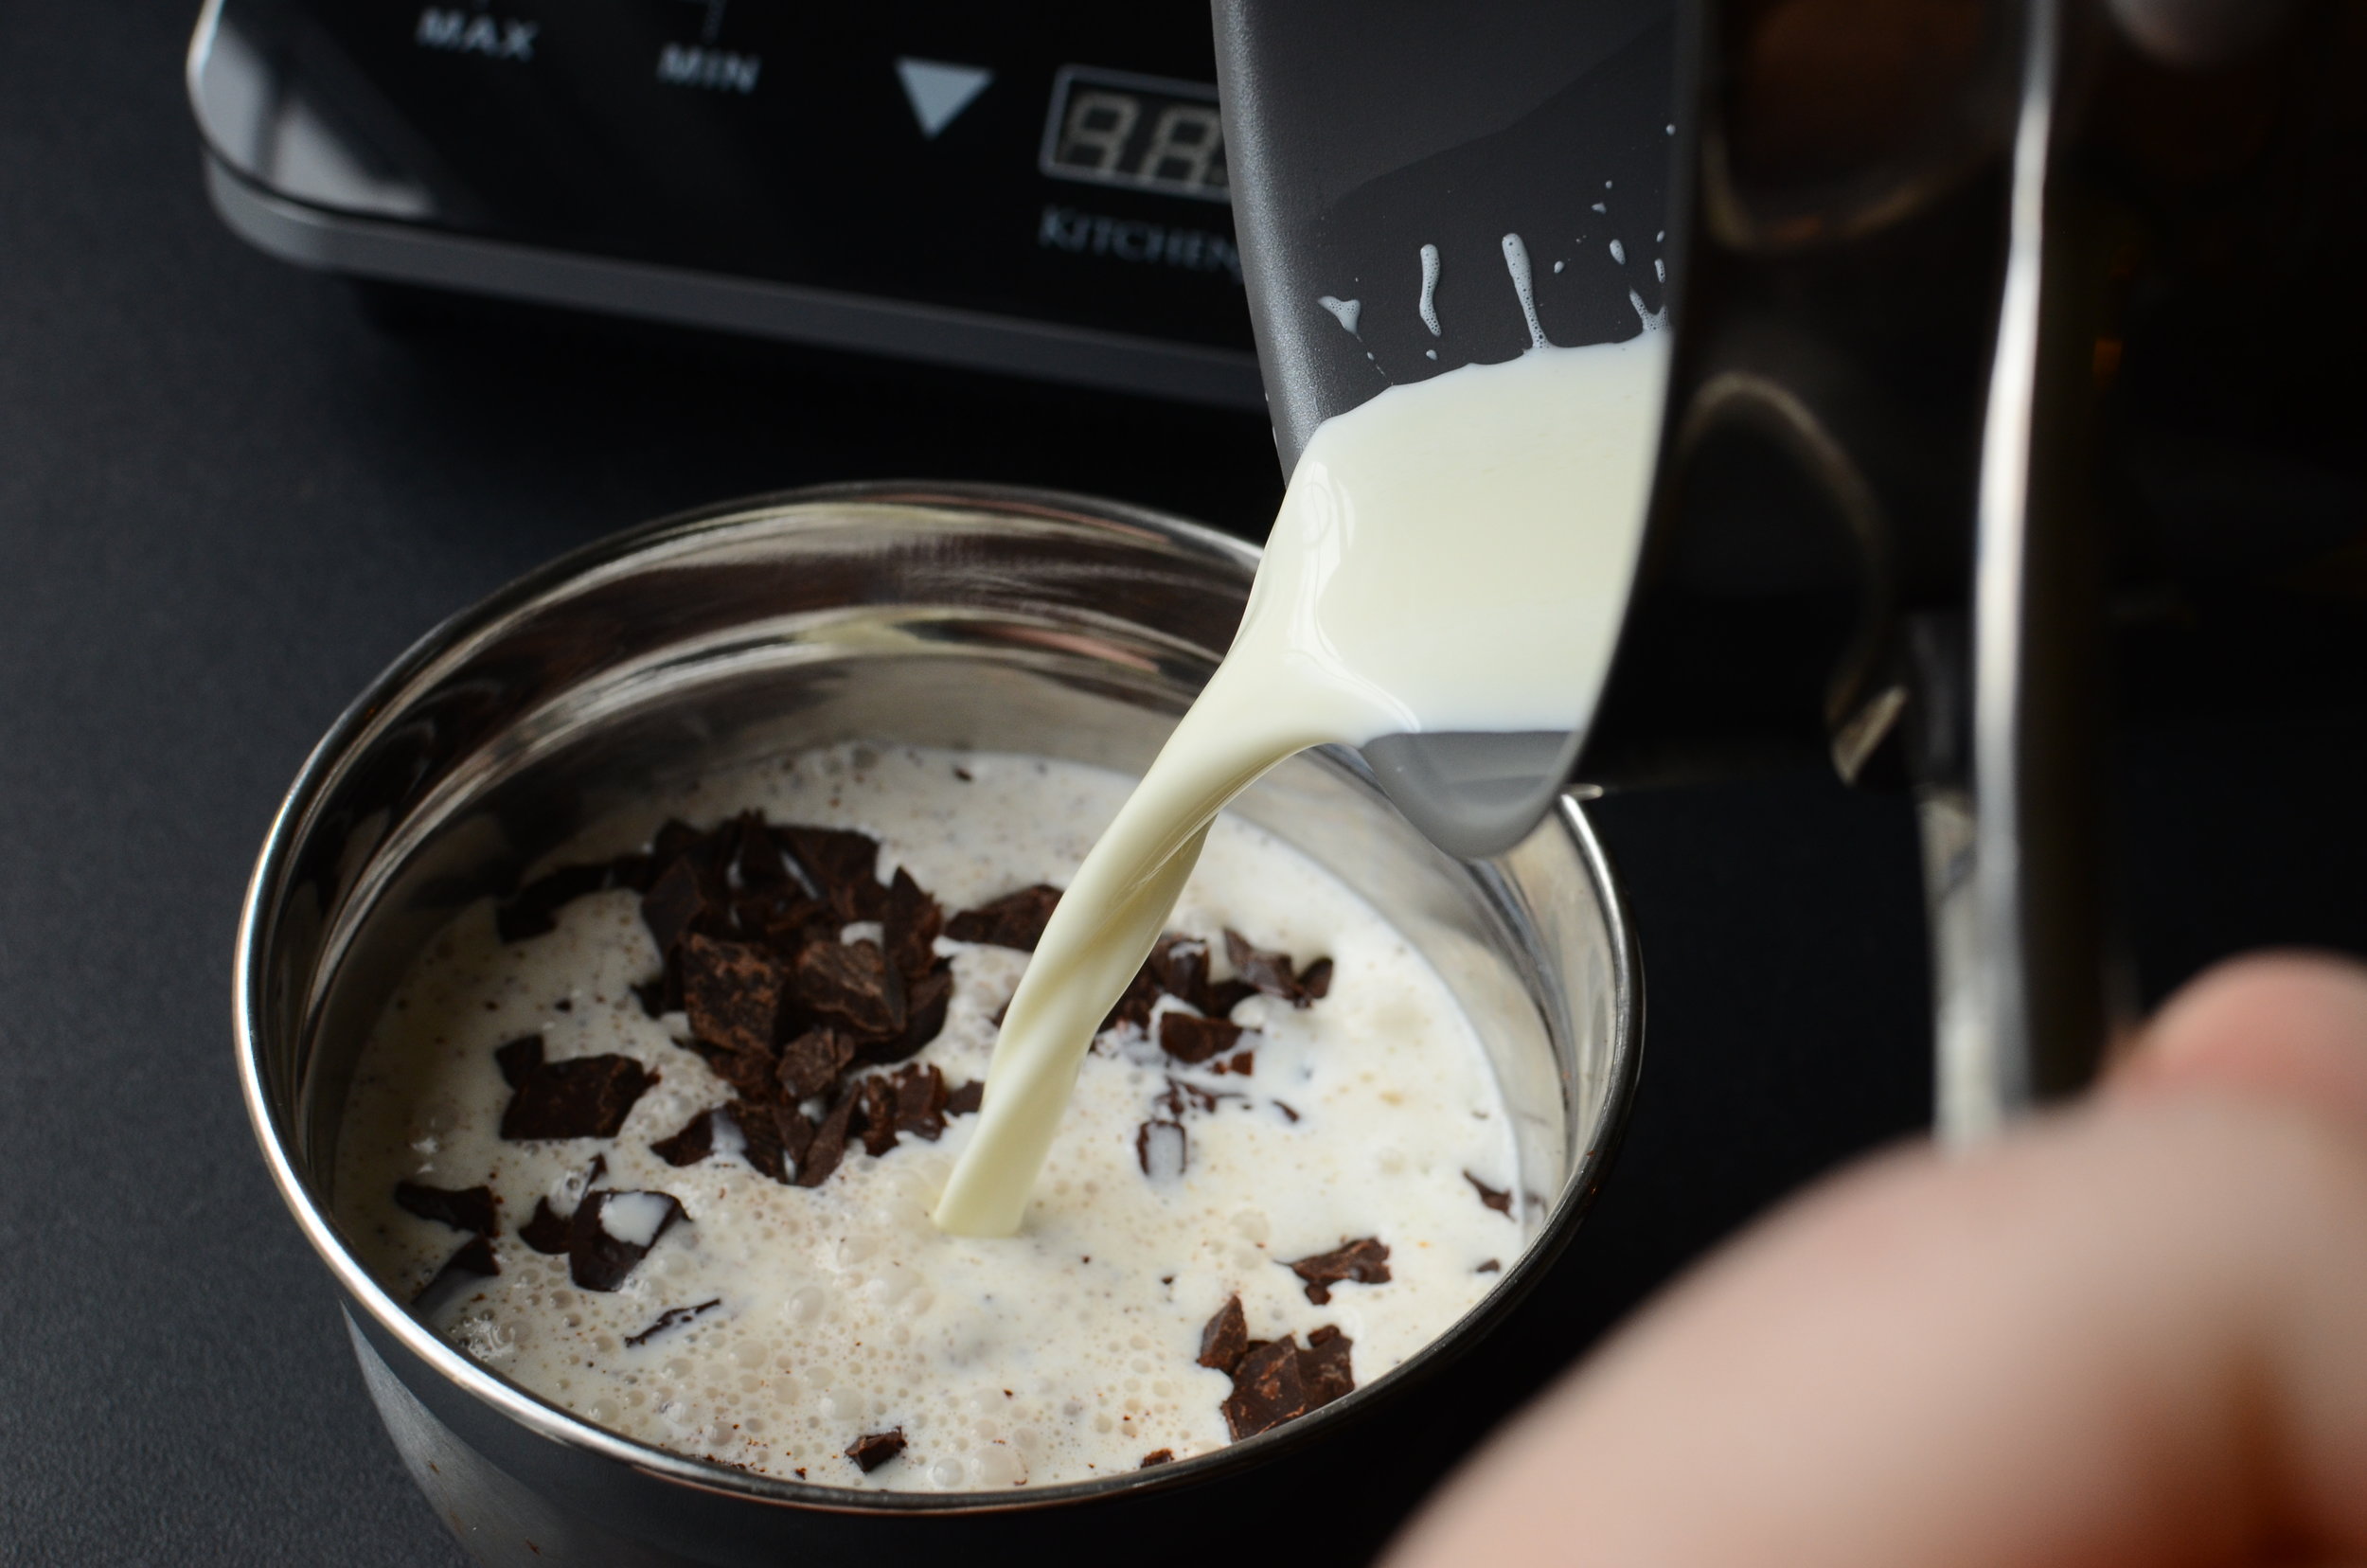
Pour the hot cream over the chopped chocolate and let them sit, undisturbed, for several minutes.

Whisk until the chocolate and cream fully incorporate.  

Oops - this is what happens when you turn your back for a second and the whisk falls out of  your bowl.  Don't do that.

Strain the chocolate through a sieve to remove any unmelted bits.  Place the chocolate mixture in the fridge to chill for several hours.  If you want to cover the mixture, use a clean tea towel.  DO NOT cover the hot mixture with plastic - condensation will form on the plastic and if it drips into the chocolate mixture, the chocolate will most likely seize (turn into a lumpy, clumpy, irretrevable mess).  
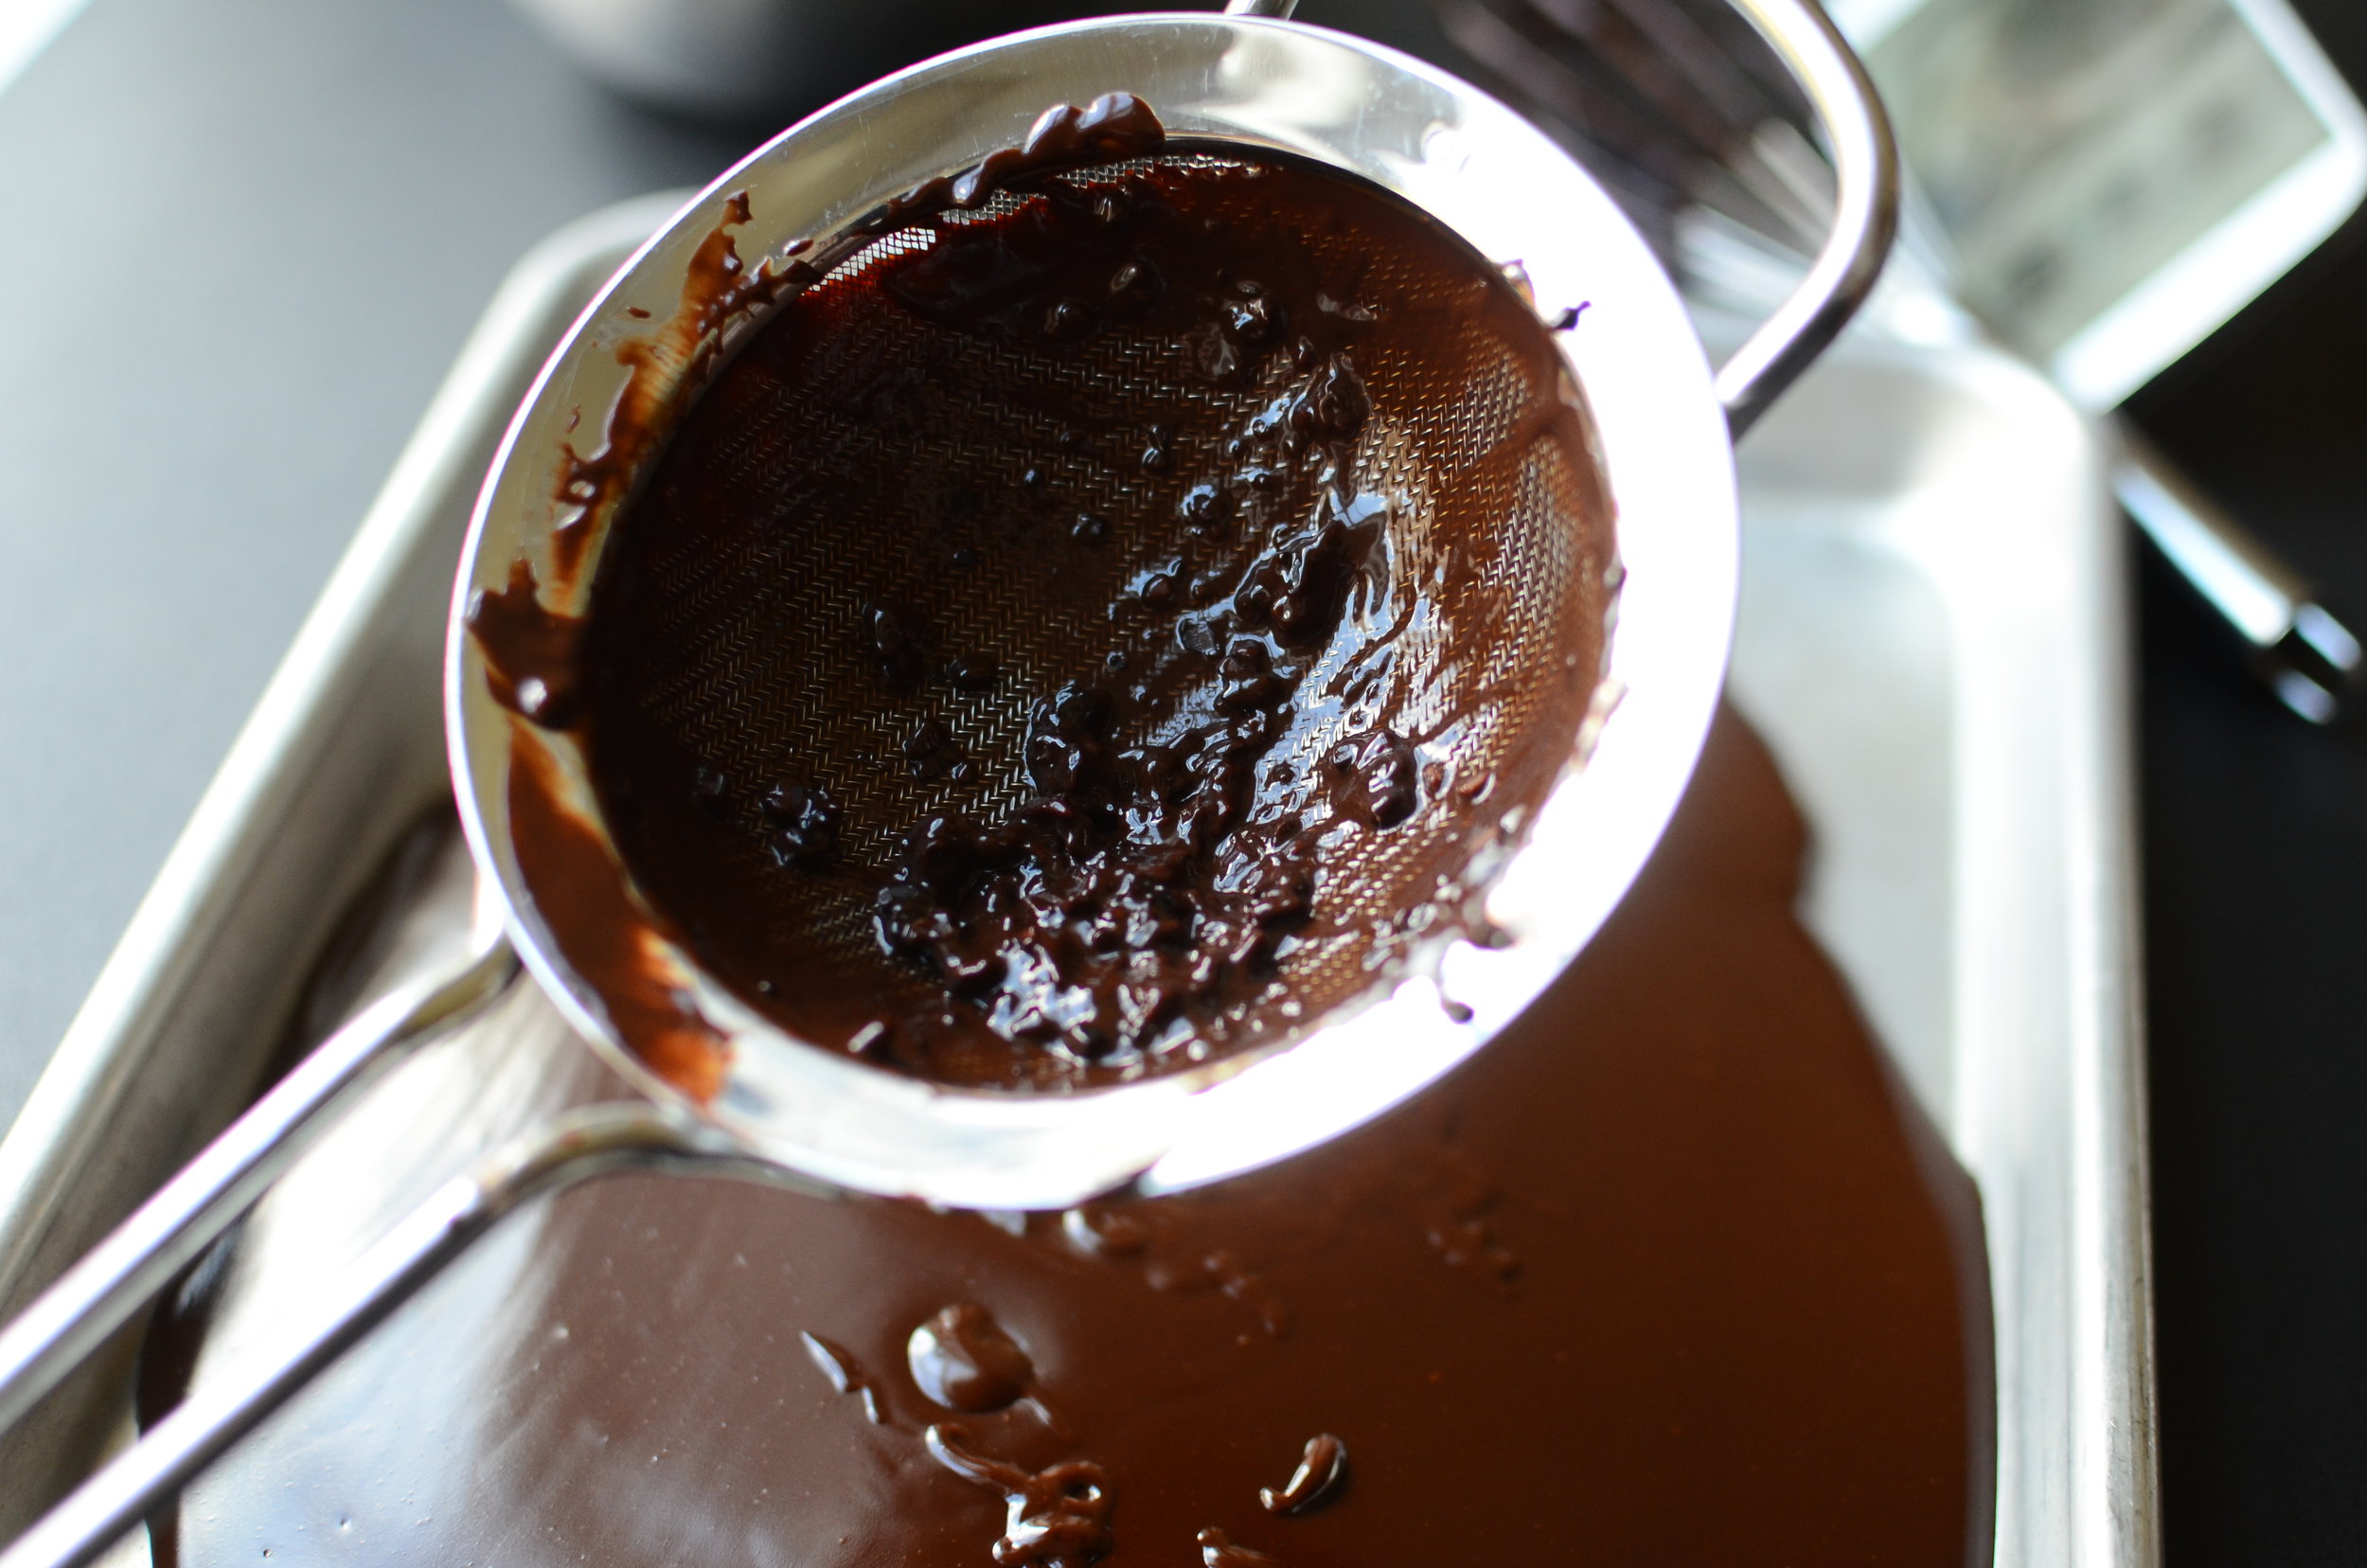
I don't want those lumps of unmelted chocolate in our truffles, but that's how I roll.  Feel free to skip this step.

While the mixture chills, prepare the toppings you want to roll your truffles in.  I used to chop nuts on a cutting board, but that was before I discovered this handy gadget. 
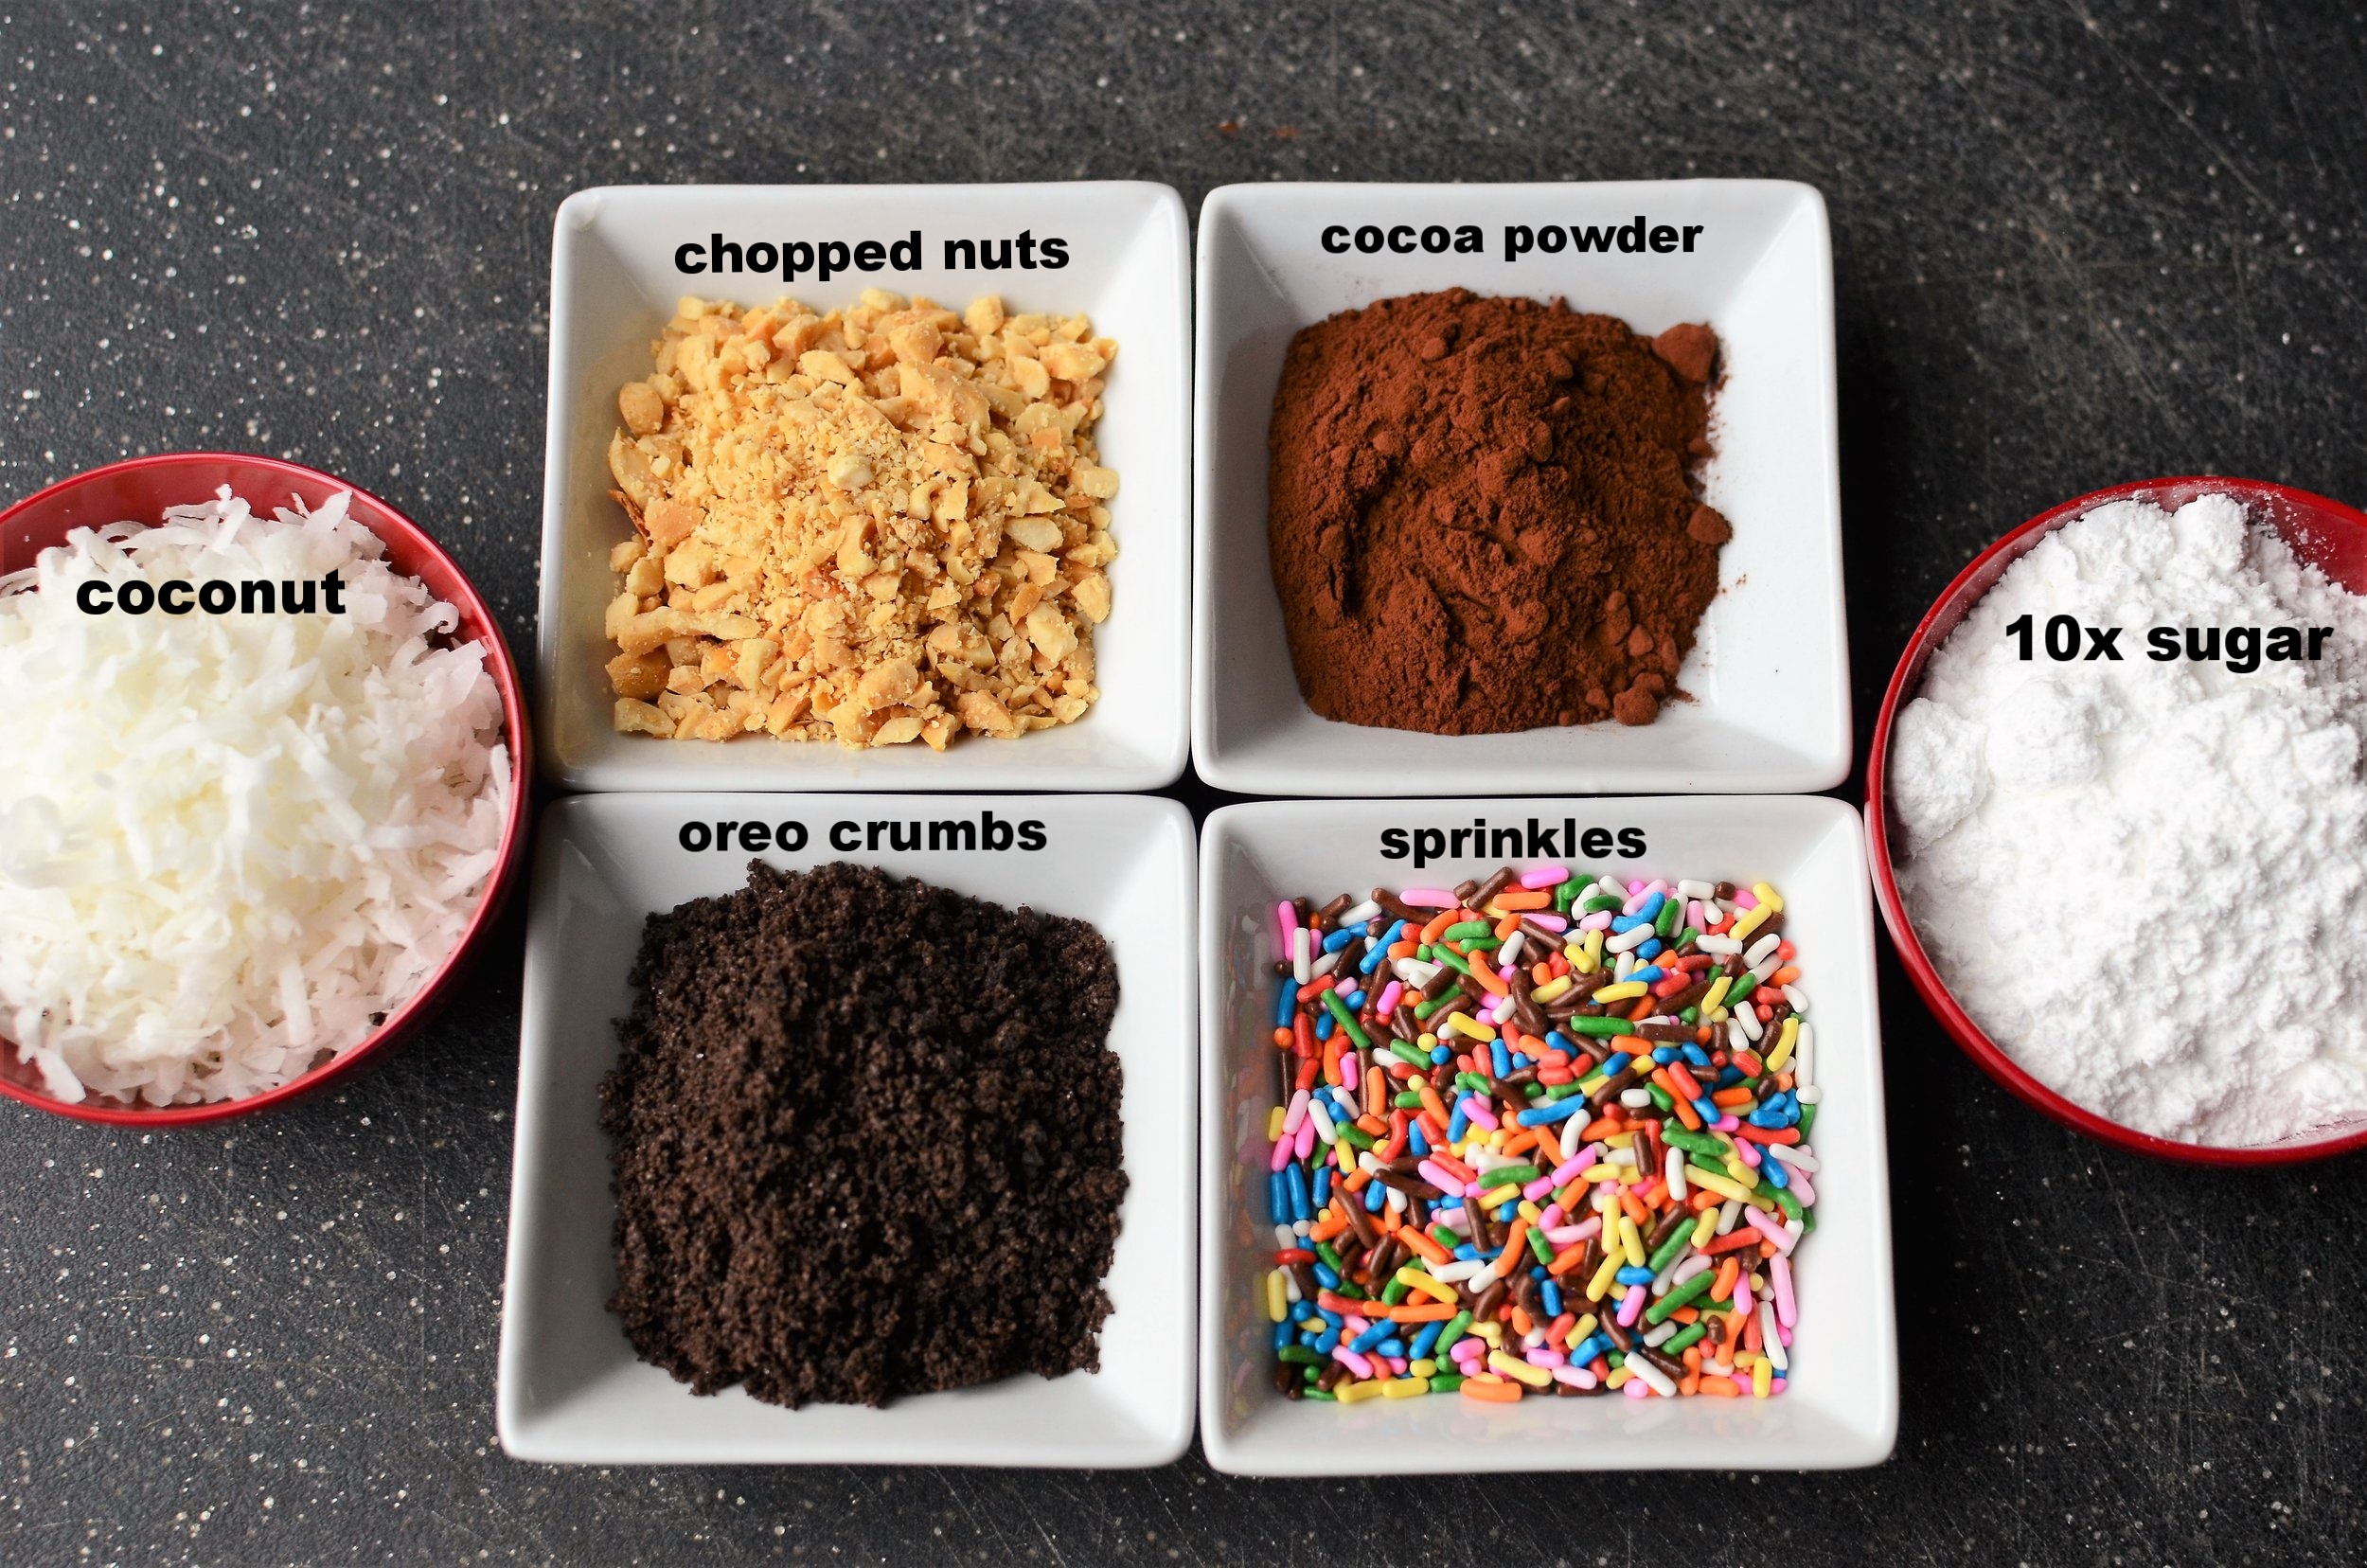
I couldn't decide on one or two toppings so I chose flaked coconut, chopped nuts, unsweetened Dutch-processed cocoa powder, confectioner's sugar (10x), oreo crumbs, and rainbow sprinkles.  Variety is the spice of life!
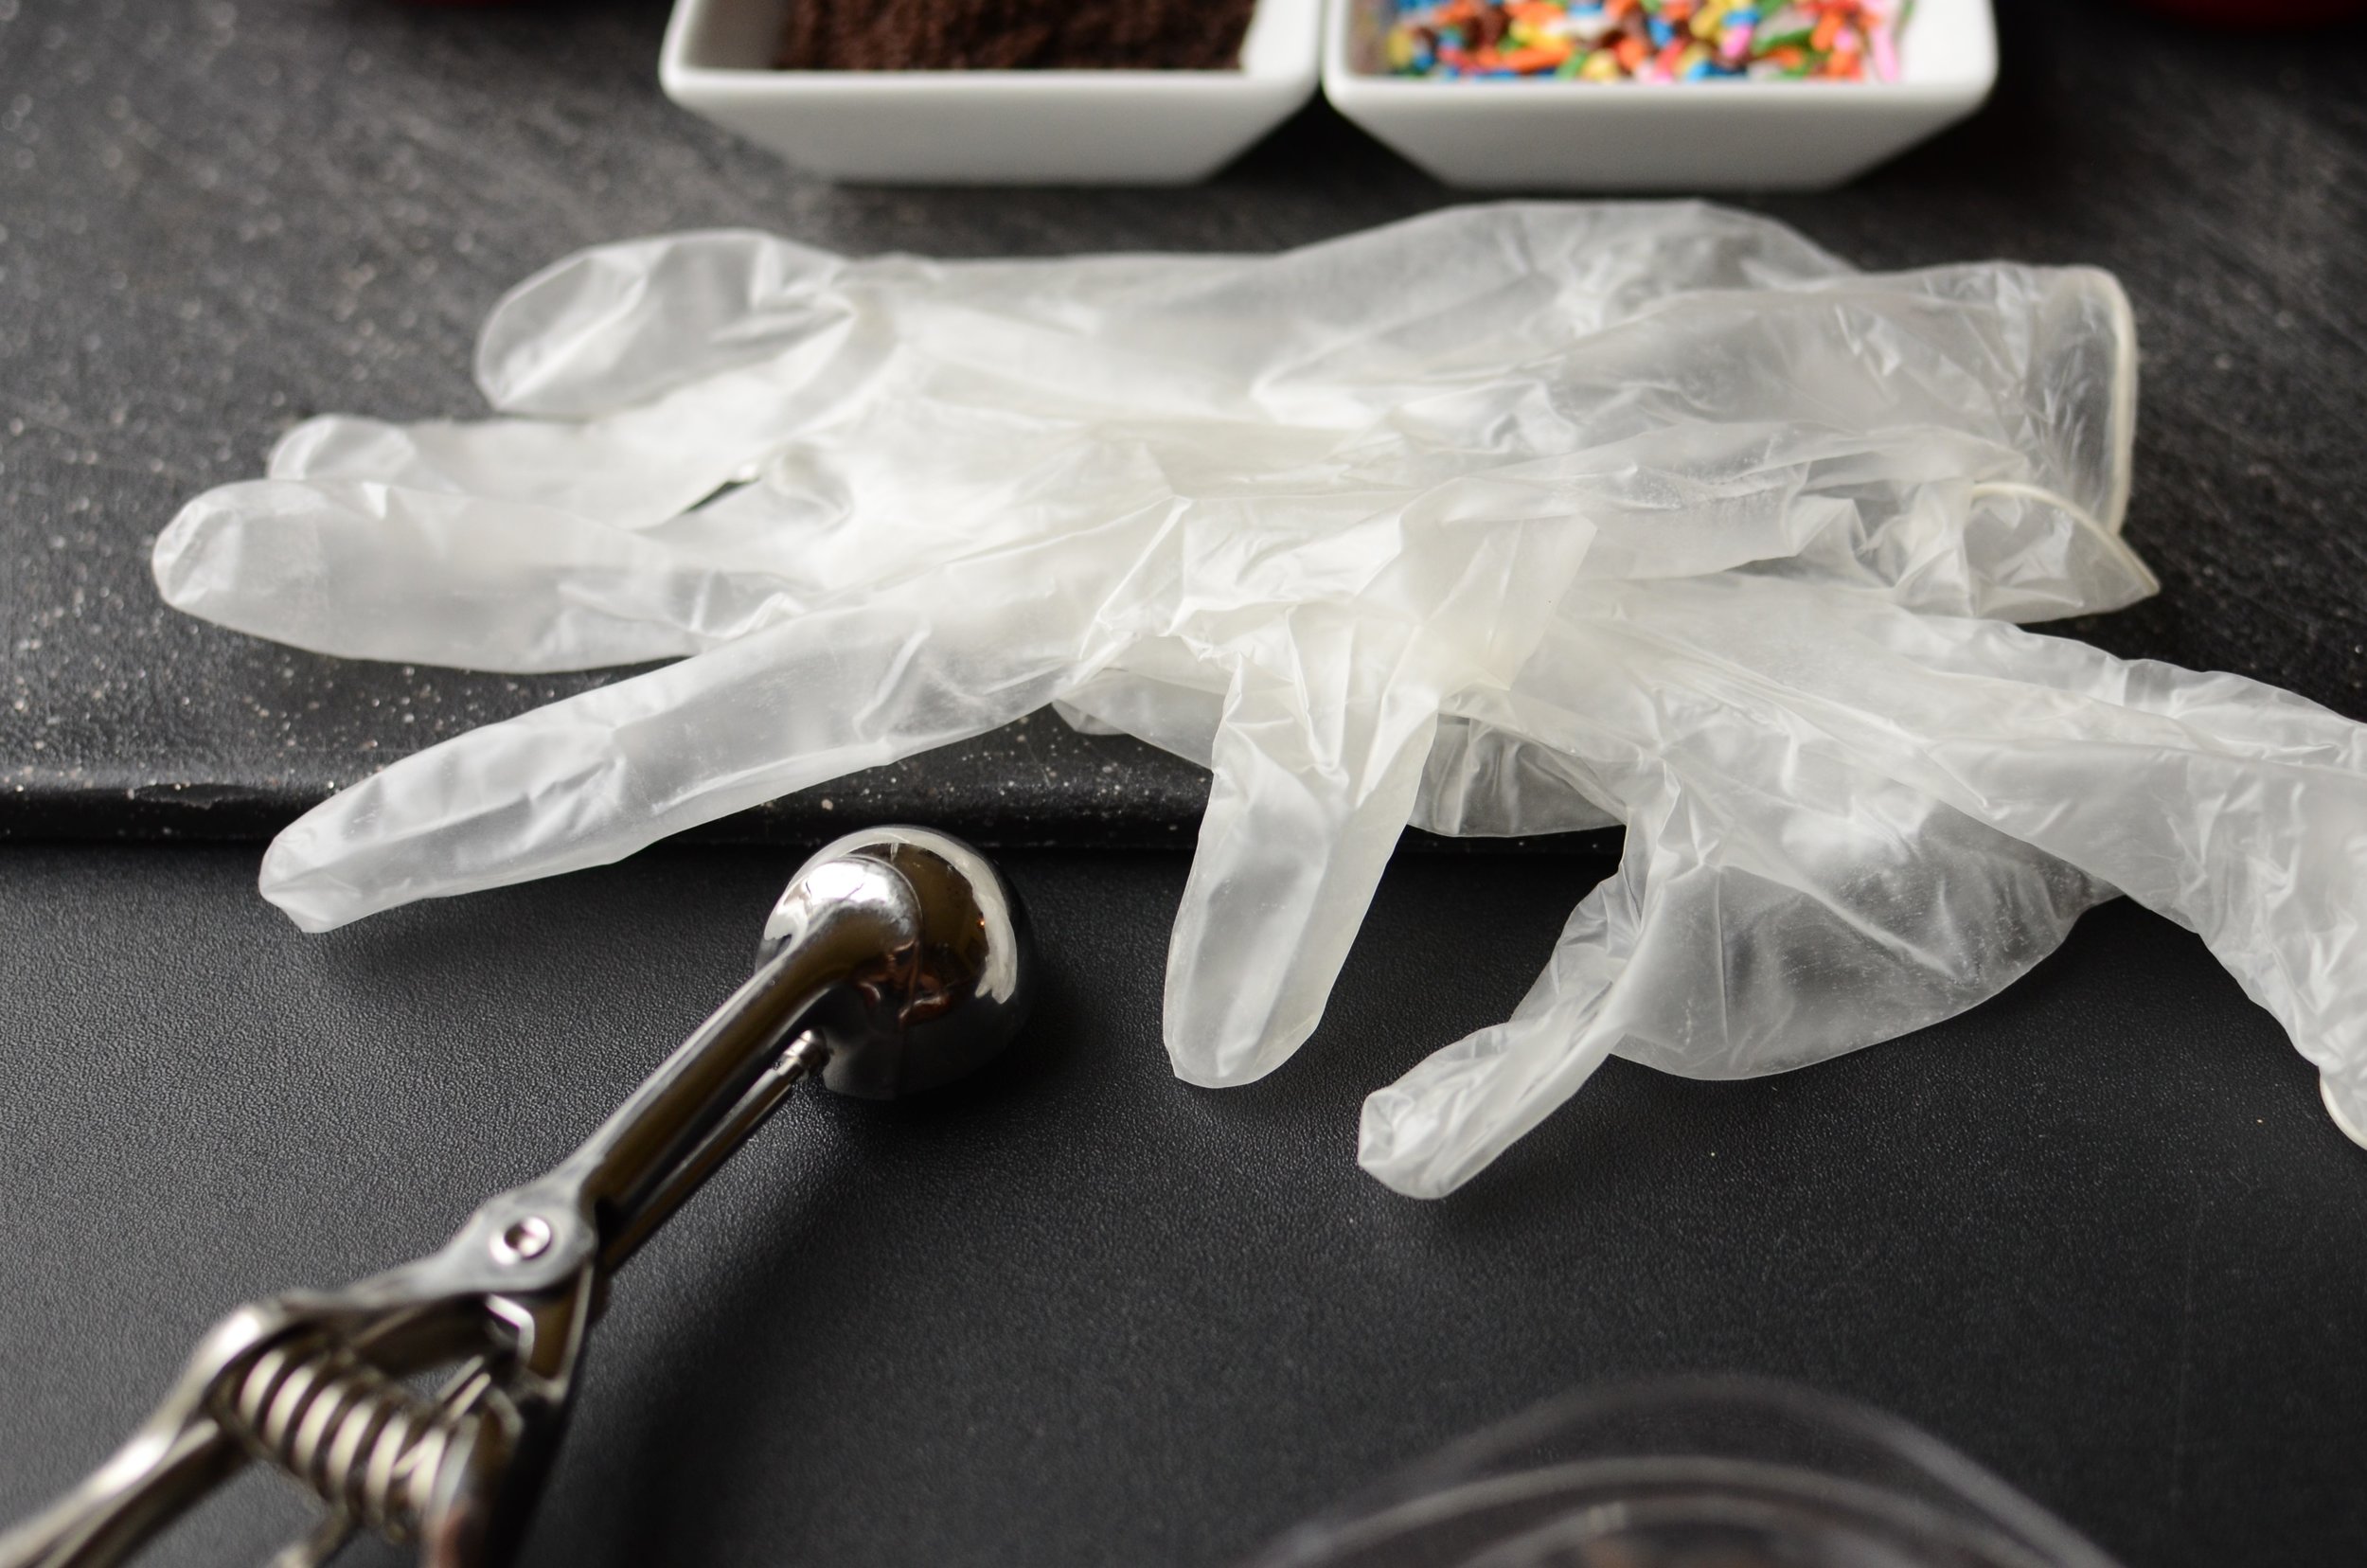
When you're ready to roll, glove up and grab a portion scoop if you have one.  Like I said before, I like to make small truffles so this #100 scoop is just right.  If you don't have a scoop, use a spoon or melon baller.
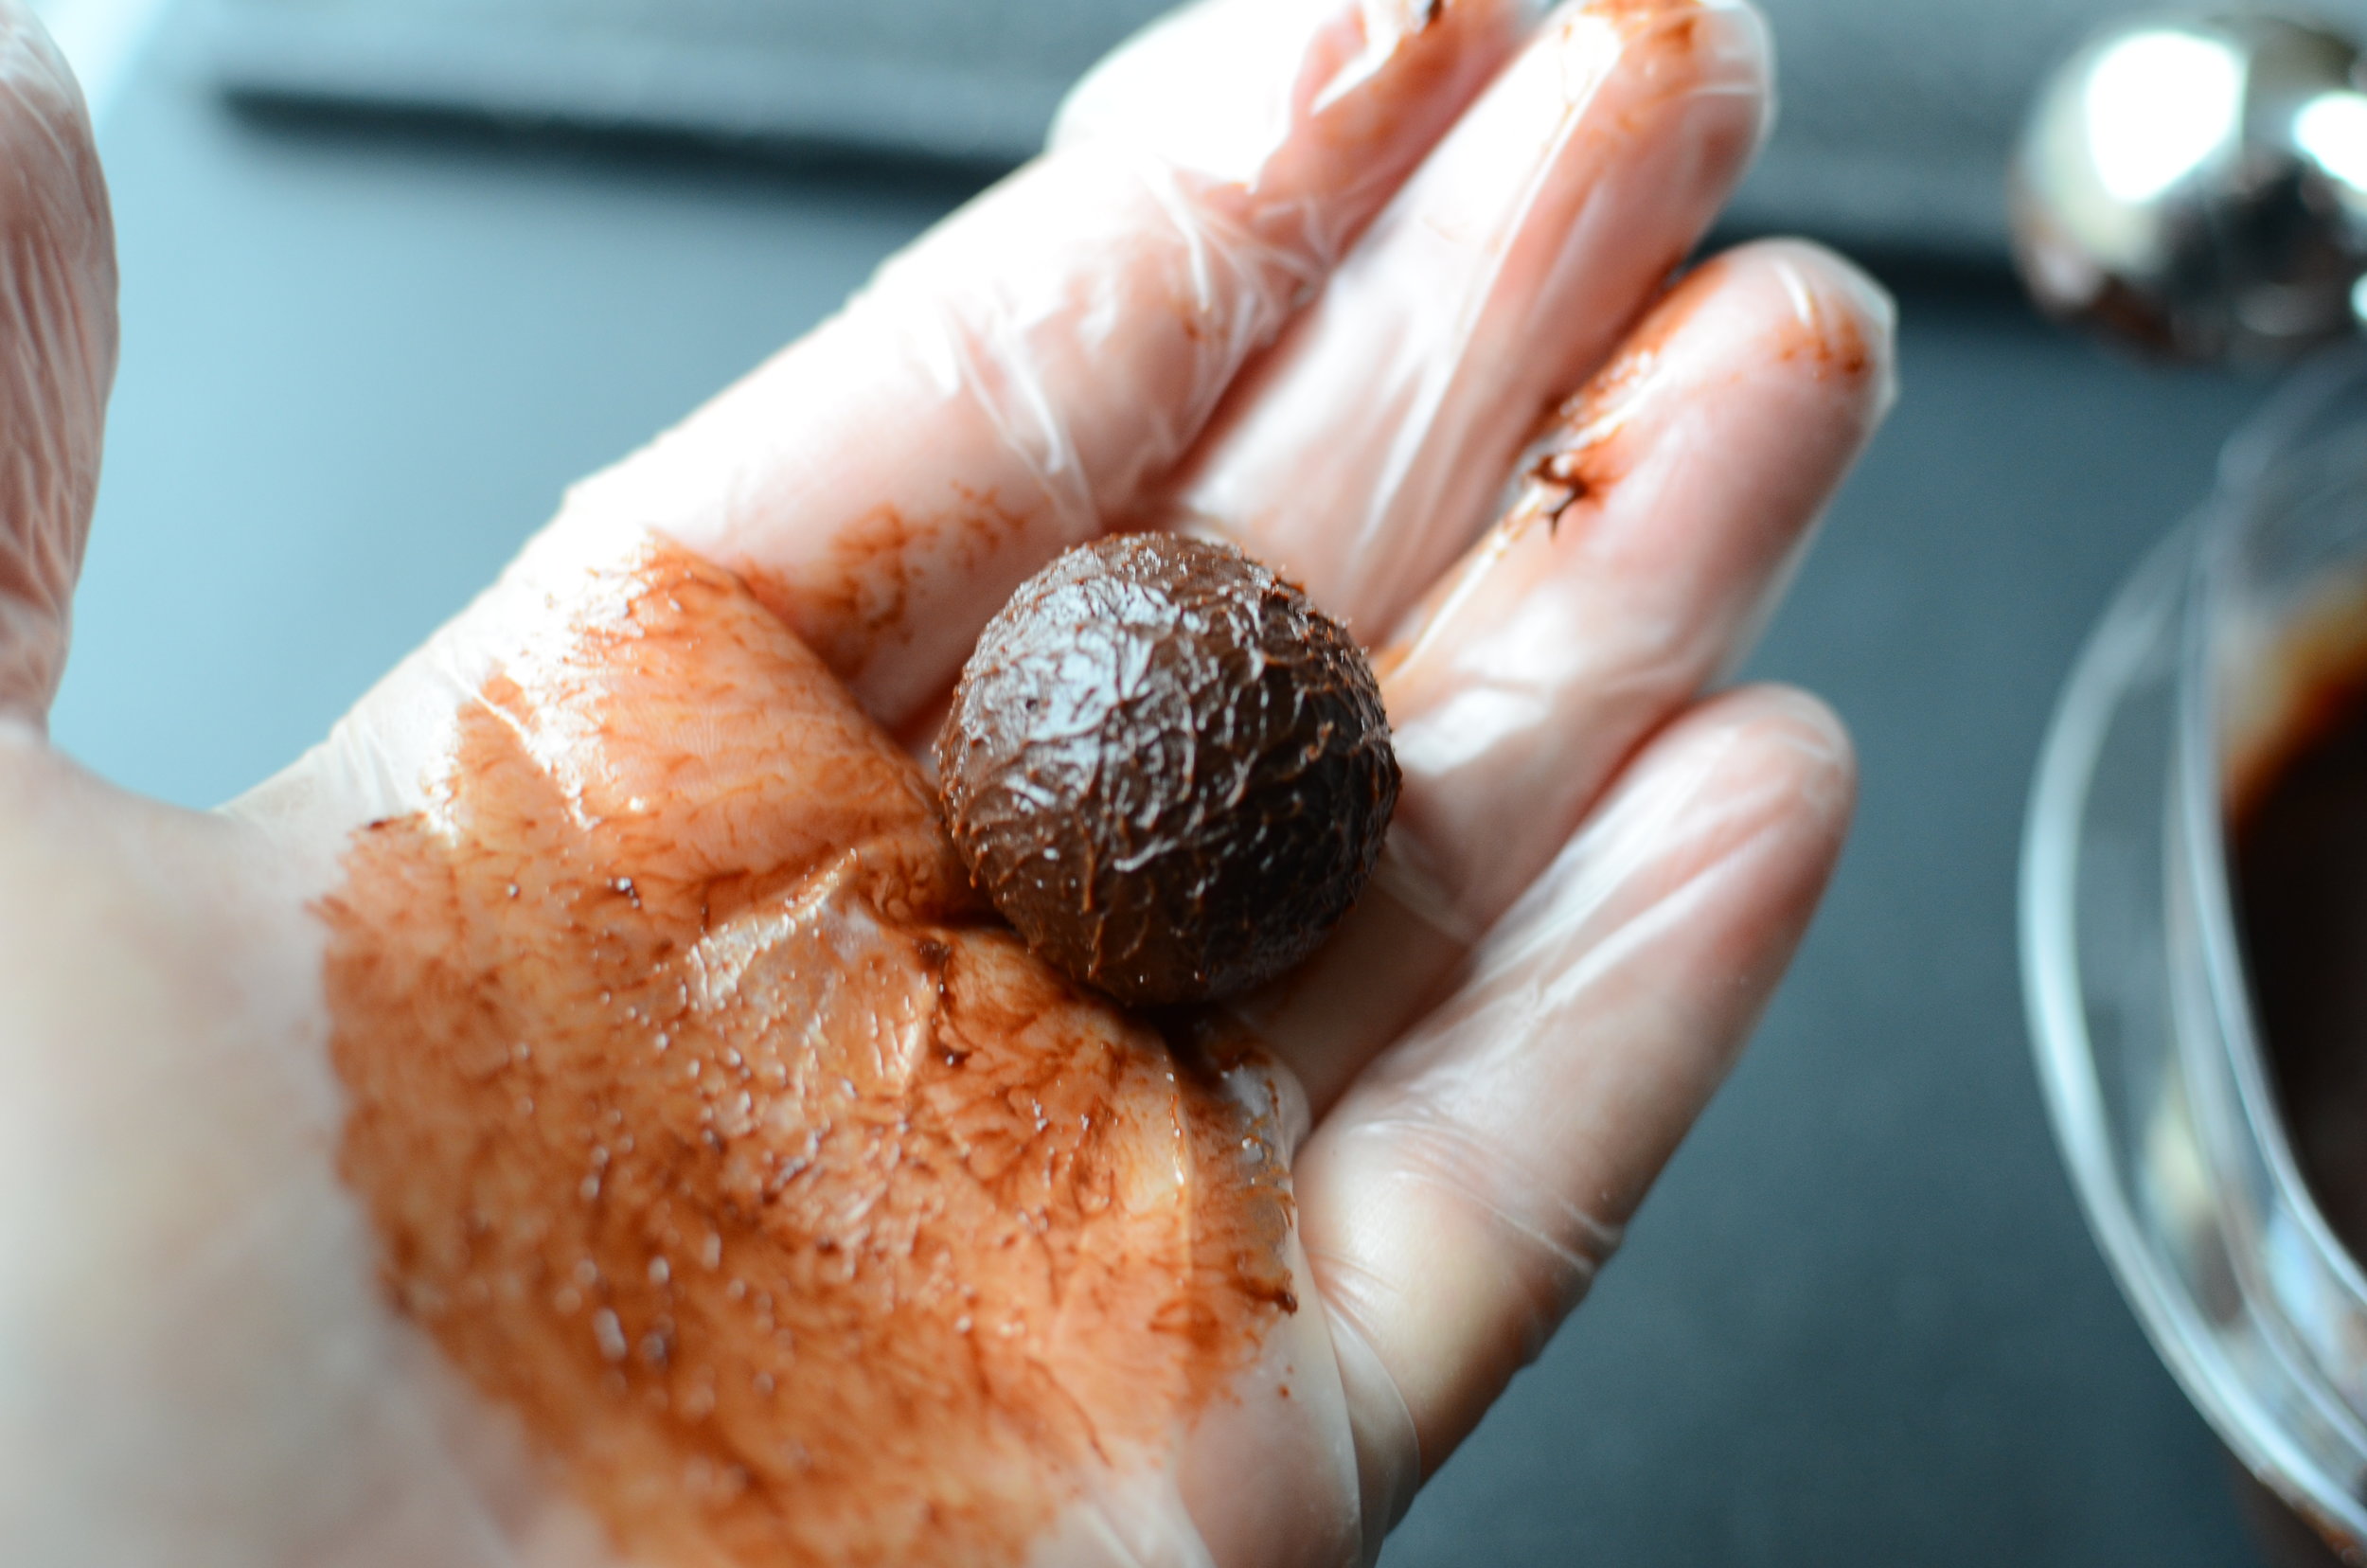
Roll a lump of cold truffle mixture in the palm of your hands to form a ball.  The heat of your hands will melt the surface of the chocolate which will enable the toppings to stick.

First up, cocoa powder - that's what truffles are traditionally rolled in, but use whatever toppings you like.  Roll the truffles in the toppings and chill well.

Serve cold and enjoy!
Items used to make this recipe:

(affiliate links)


Chocolate Truffles

makes 32 truffles (about 1 tablespoon)

Printable Recipe

Ingredients

Directions

  1. Place chocolate in a heat-safe bowl.

  2. In a heavy bottom saucepan, slowly heat cream until just before it boils.

  3. Pour hot cream over chocolate; rest several minutes.

  4. Whisk chocolate and cream together until completely incorporated; chill uncovered for several hours (or cover with a clean tea towel - do not cover with plastic).

  5. Scoop chilled truffle mixture into desired portion size and roll into balls; immediately coat with toppings of your choice. Chill before serving.

Matcha Brownies

Patricia @ ButterYum

I'm calling these Matcha “Brownies" even though the recipe contains absolutely no chocolate whatsoever.  I guess technically that means I should probably have called them Matcha Blondies, but nah... I don't think as many people would search for matcha blondies as matcha brownies.  Matcha Snack Cake could work, but no... the texture is too dense to be a snack cake.  Matcha Brownies it is!  

(a sneak peak into the mind of a food blogger)

Okay, on to the recipe.

Matcha Green Tea Brownie Recipe with how-to photos. Matcha Green Tea Blondie Recipe with how-to photos. Matcha Green Tea Brownies with how-t0 photos. How to bake with Matcha green tea powder. M

Matcha is very finely milled Japanese Green Tea Powder.  It's traditionally used for fancy tea ceremonies.  It has a naturally sweet, intoxicating flavor and aroma which make it a perfect ingredient to incorporate into all kinds of desserts.  And I forgot to mention, it contains a huge amount of antioxidants so it's good for you too! 

Let's start.  Today's cast of characters:  unsalted butter, eggs, fine salt, baking powder, sugar, pure vanilla extract (only the best will do), flour, and the star of the show, MATCHA.

Be sure to buy good quality Matcha.  You'll want to stay away from the really cheap stuff because it's quite bitter.  And you'll want to stay away from the really high end stuff too because it's just way too expensive.  Hey, if money is no object and you don't mind spending an arm and a leg to make a tiny pan of brownies, go for it, but the rest of us can get away with a less expensive variety that still tastes really good (I suggest this one). 

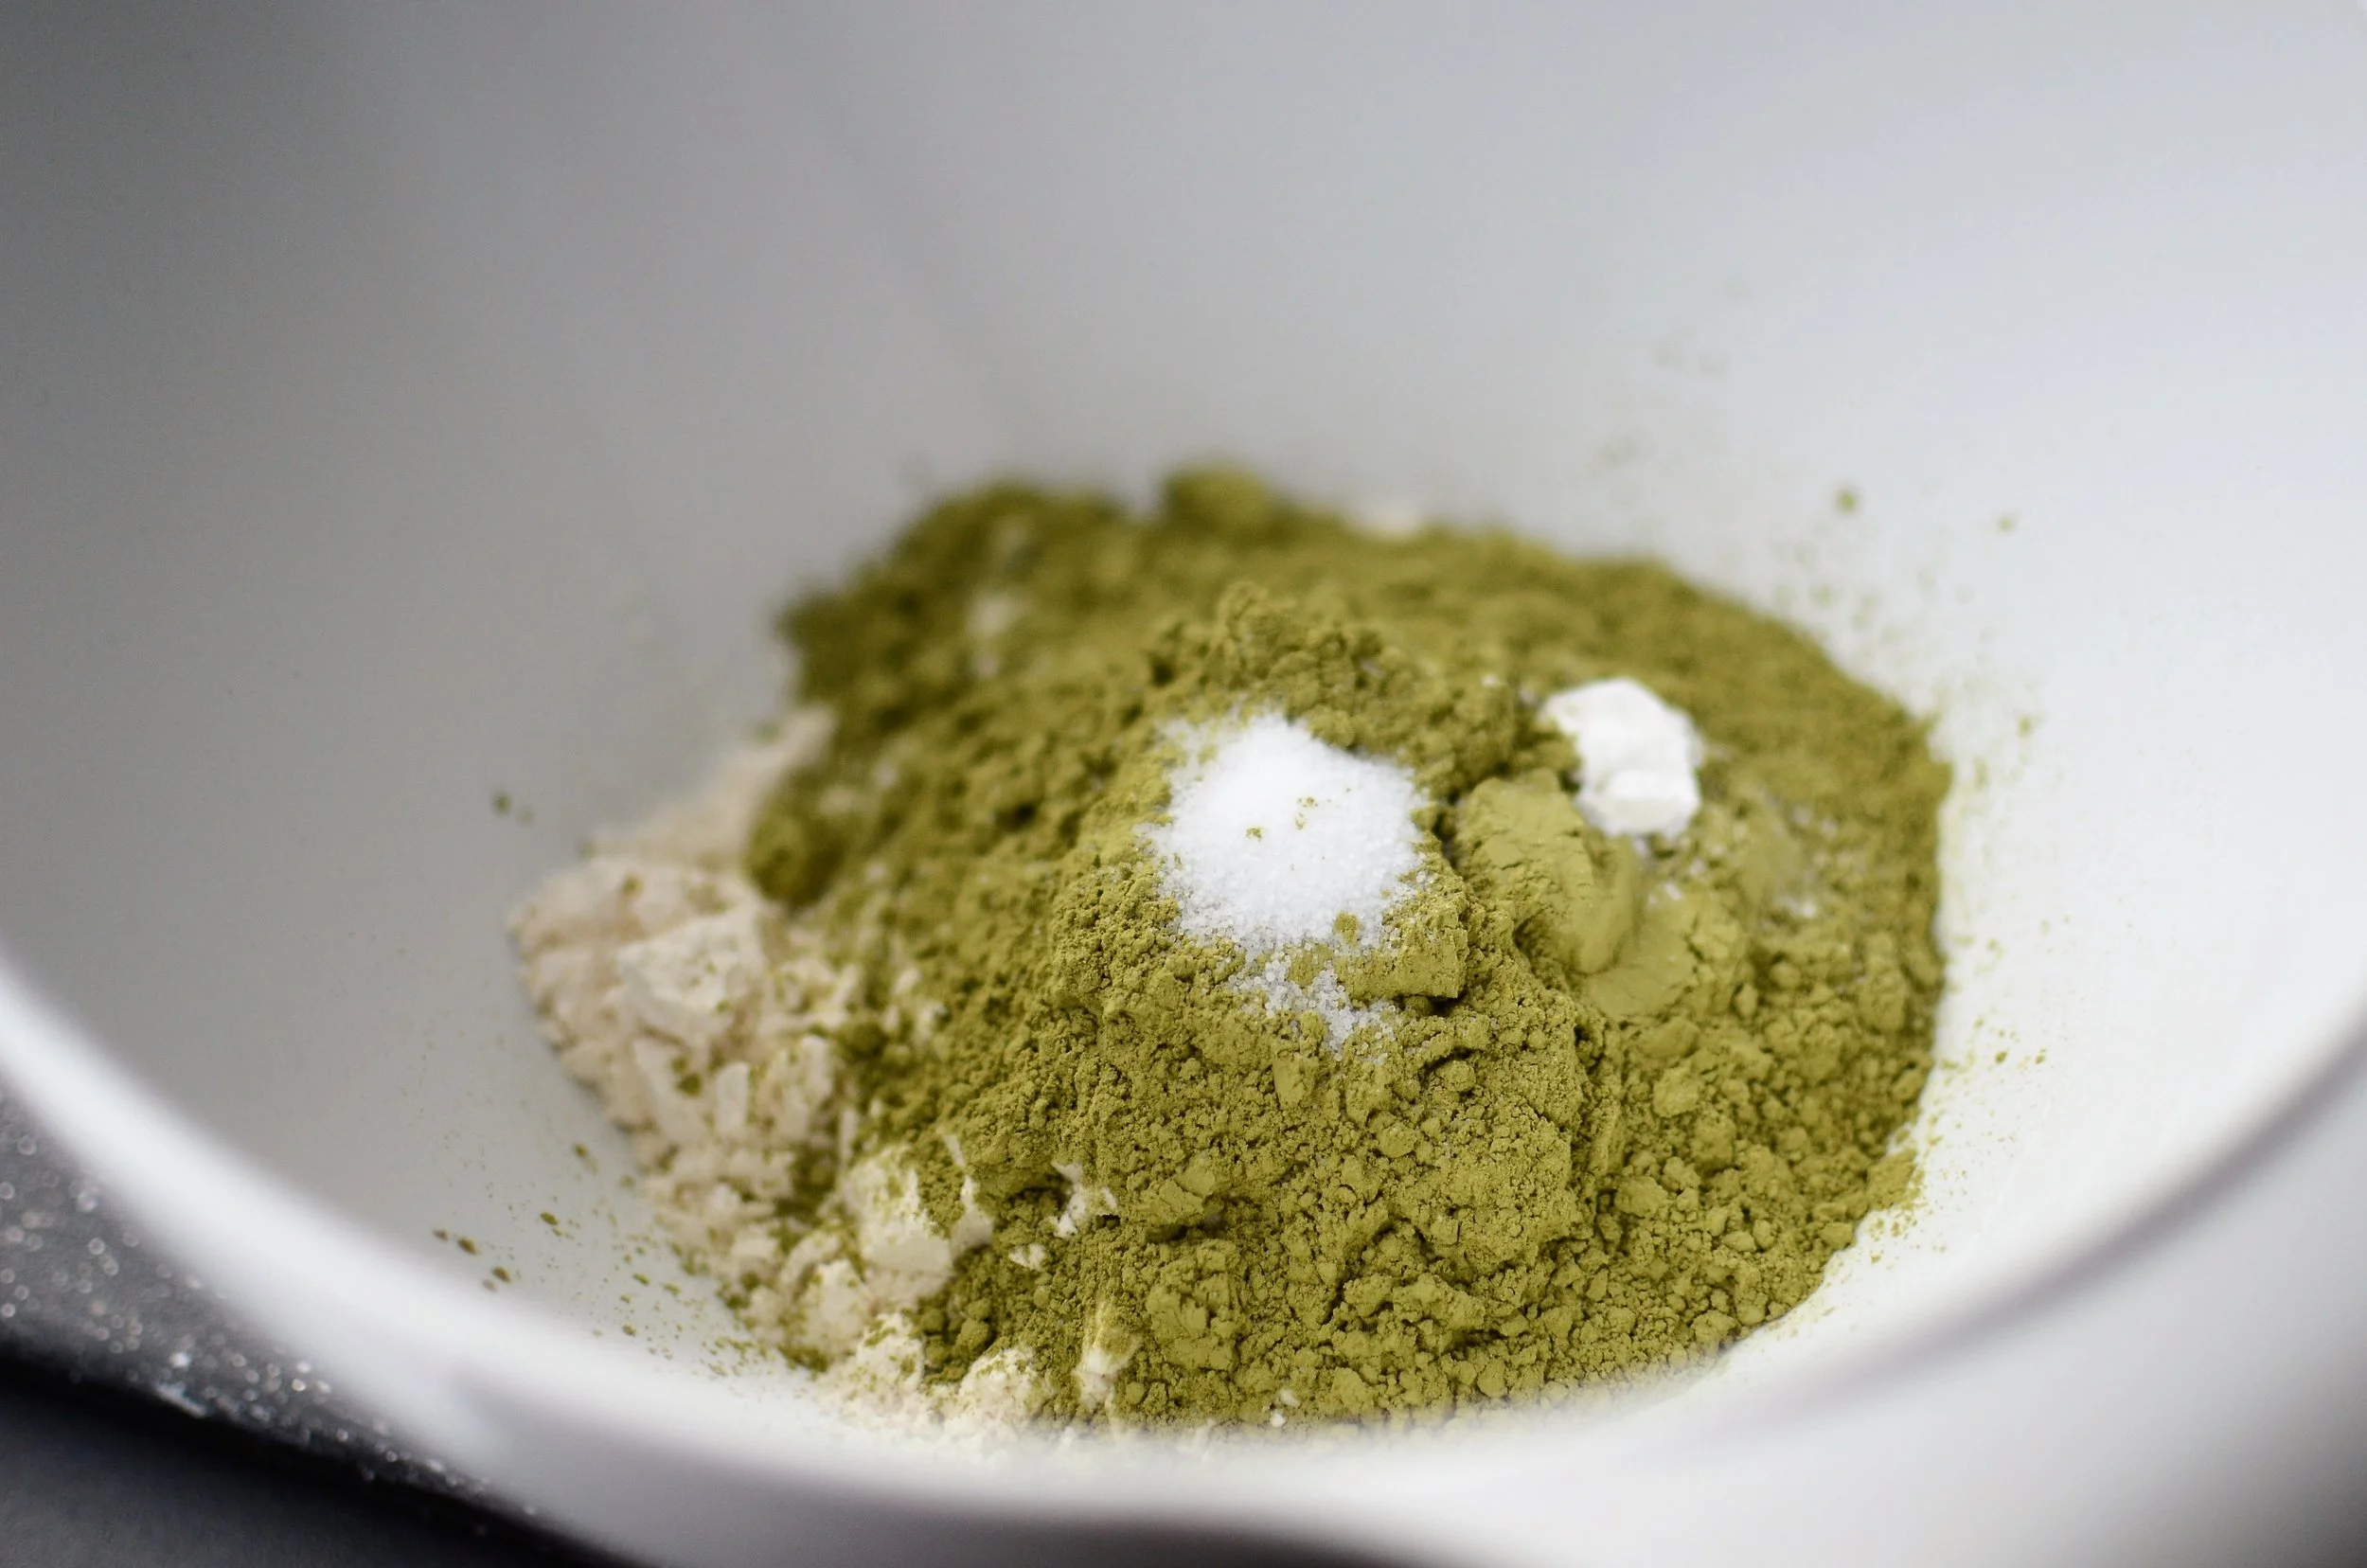
Place the flour, matcha, salt, and baking powder in a bowl.

Whisk to combine; set aside.

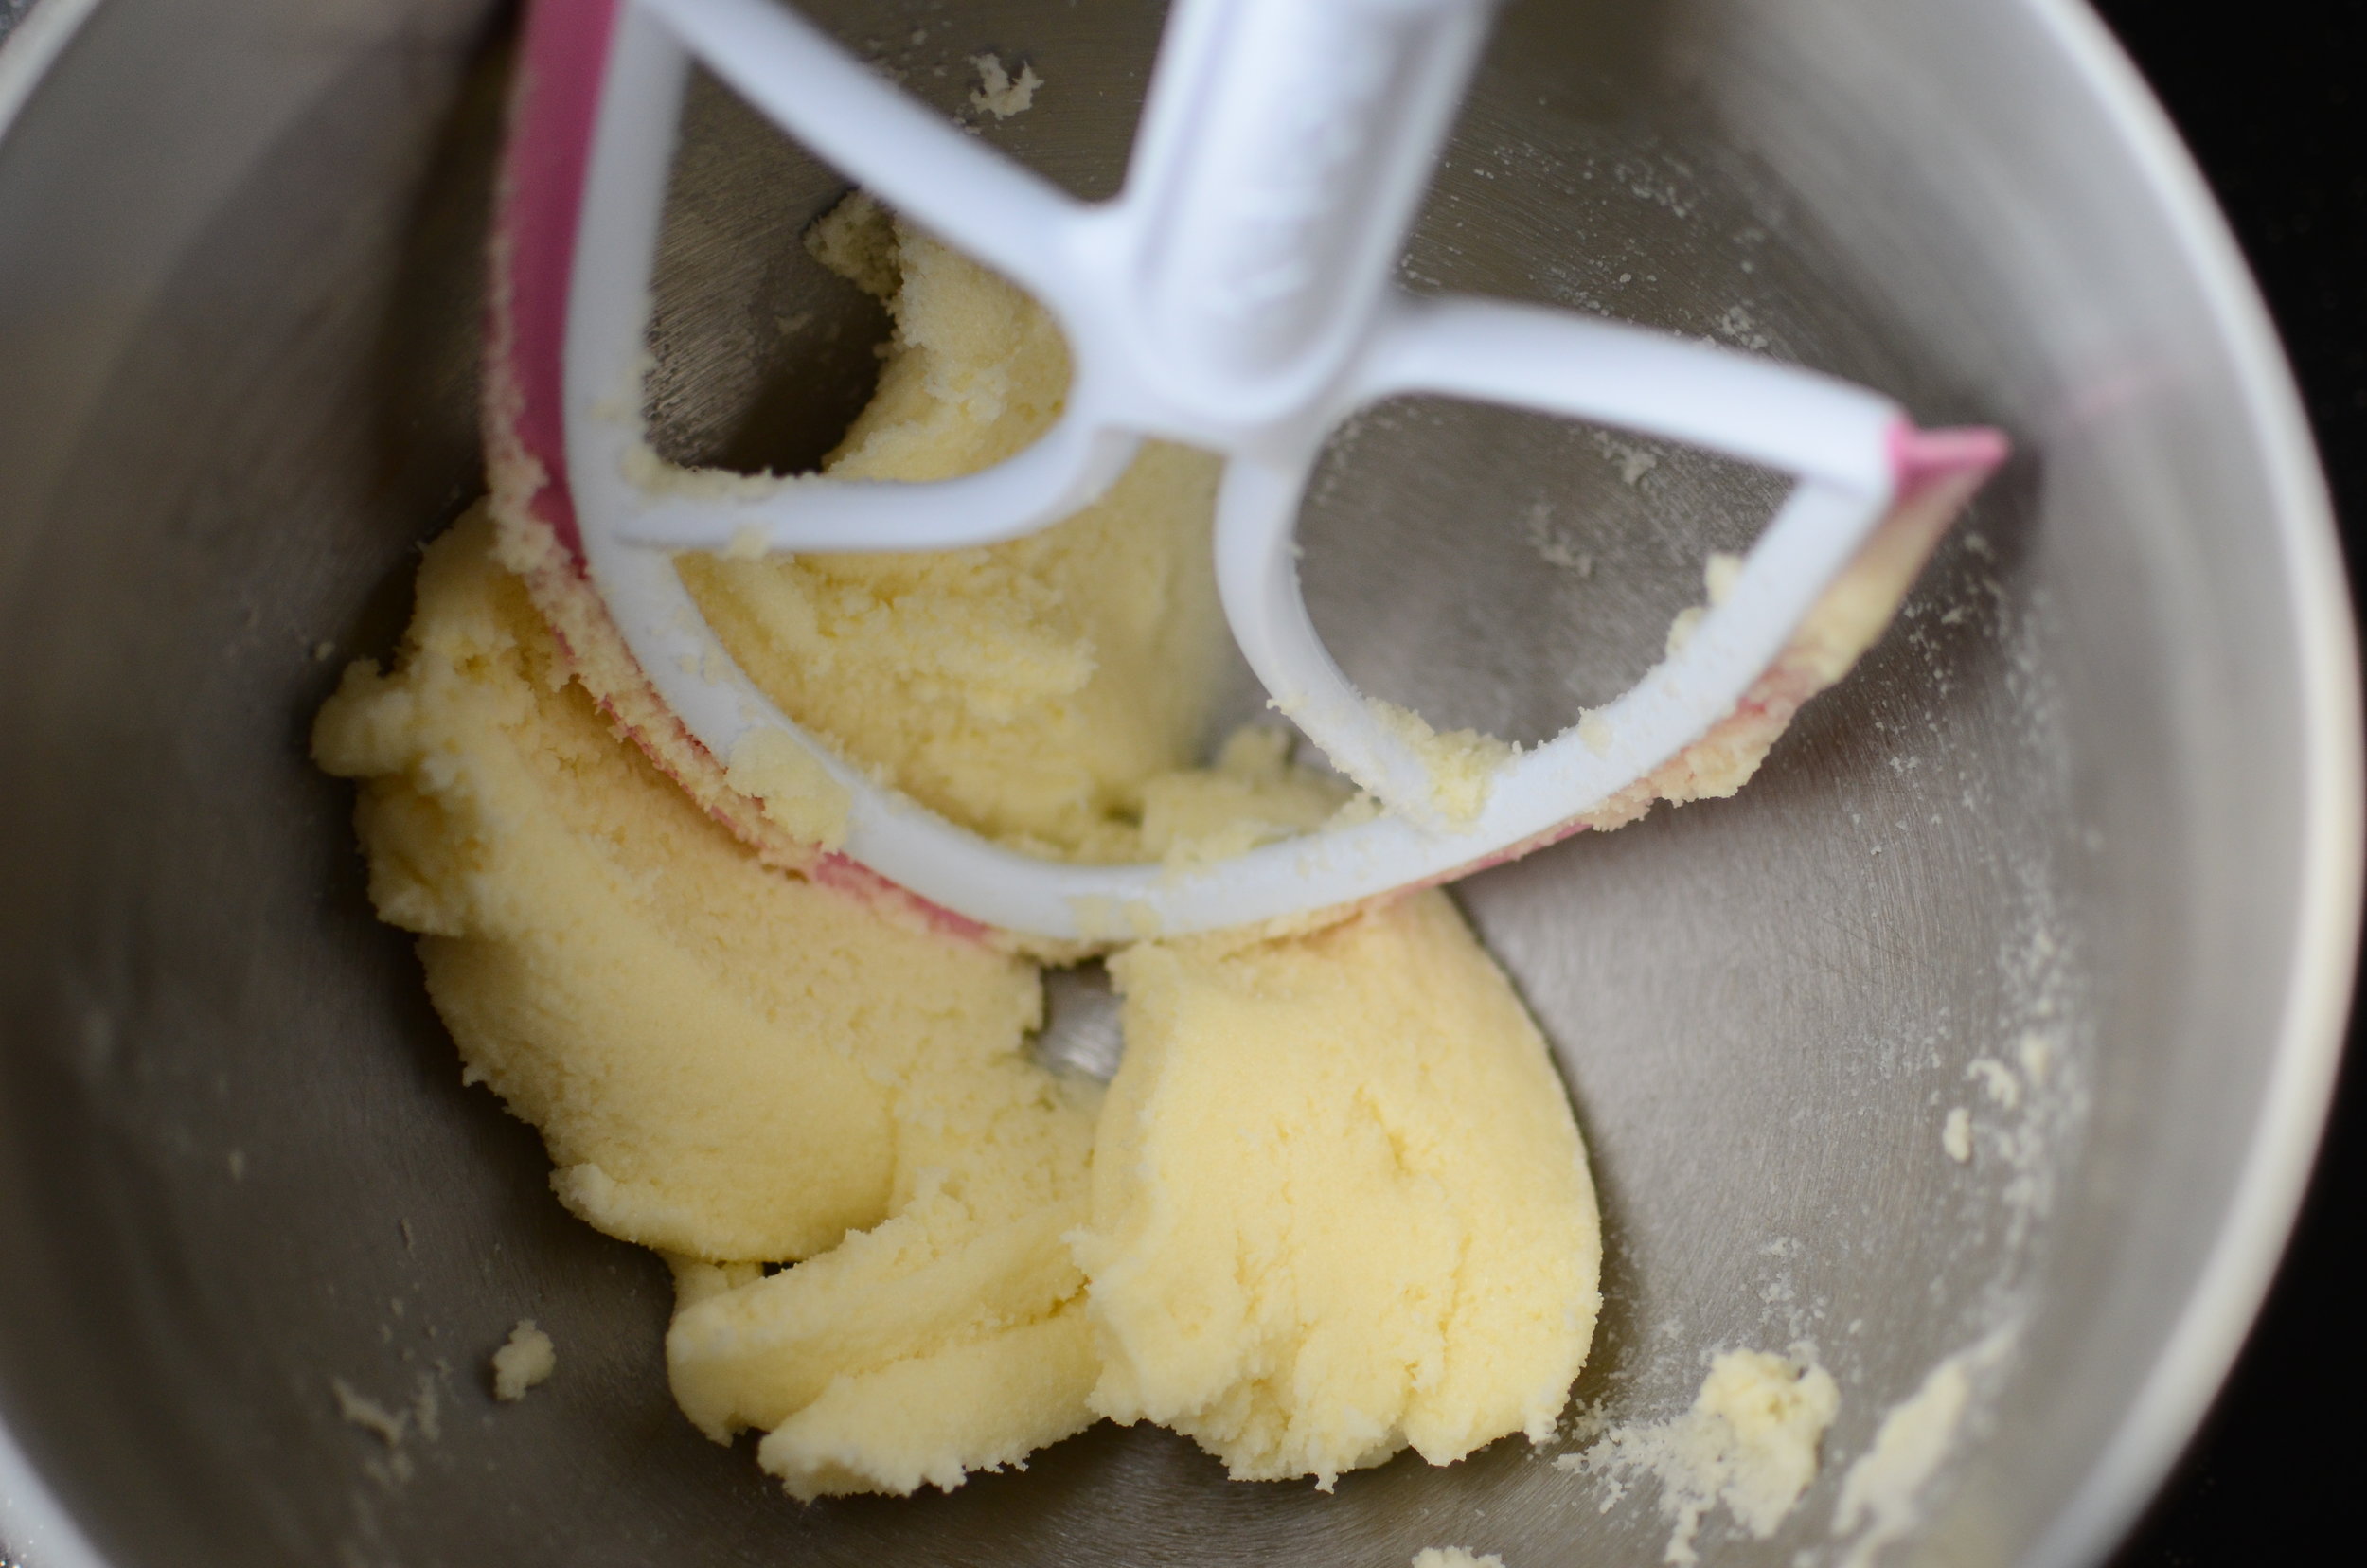
In the bowl of a stand mixer fitted with a BeaterBlade or paddle attachment, cream the butter and sugar together.

The BeaterBlade attachment is another thing I can't imagine living without.  I must keep two in stock at all times, one for each of my stand mixers.

Creamed butter and sugar.  Check.

Add eggs and pure vanilla extract.  

I beg you, please, please, please use really good quality pure vanilla extract - it makes all the difference.  This is my favorite brand of vanilla.  I'm currently working my way through this humongous quart size bottle.  I love knowing I have enough vanilla to last me through the next several years.  It's the simple things in life...

Good thing it lasts indefinitely in the pantry! 

Beat the eggs and vanilla into the creamed butter and sugar.

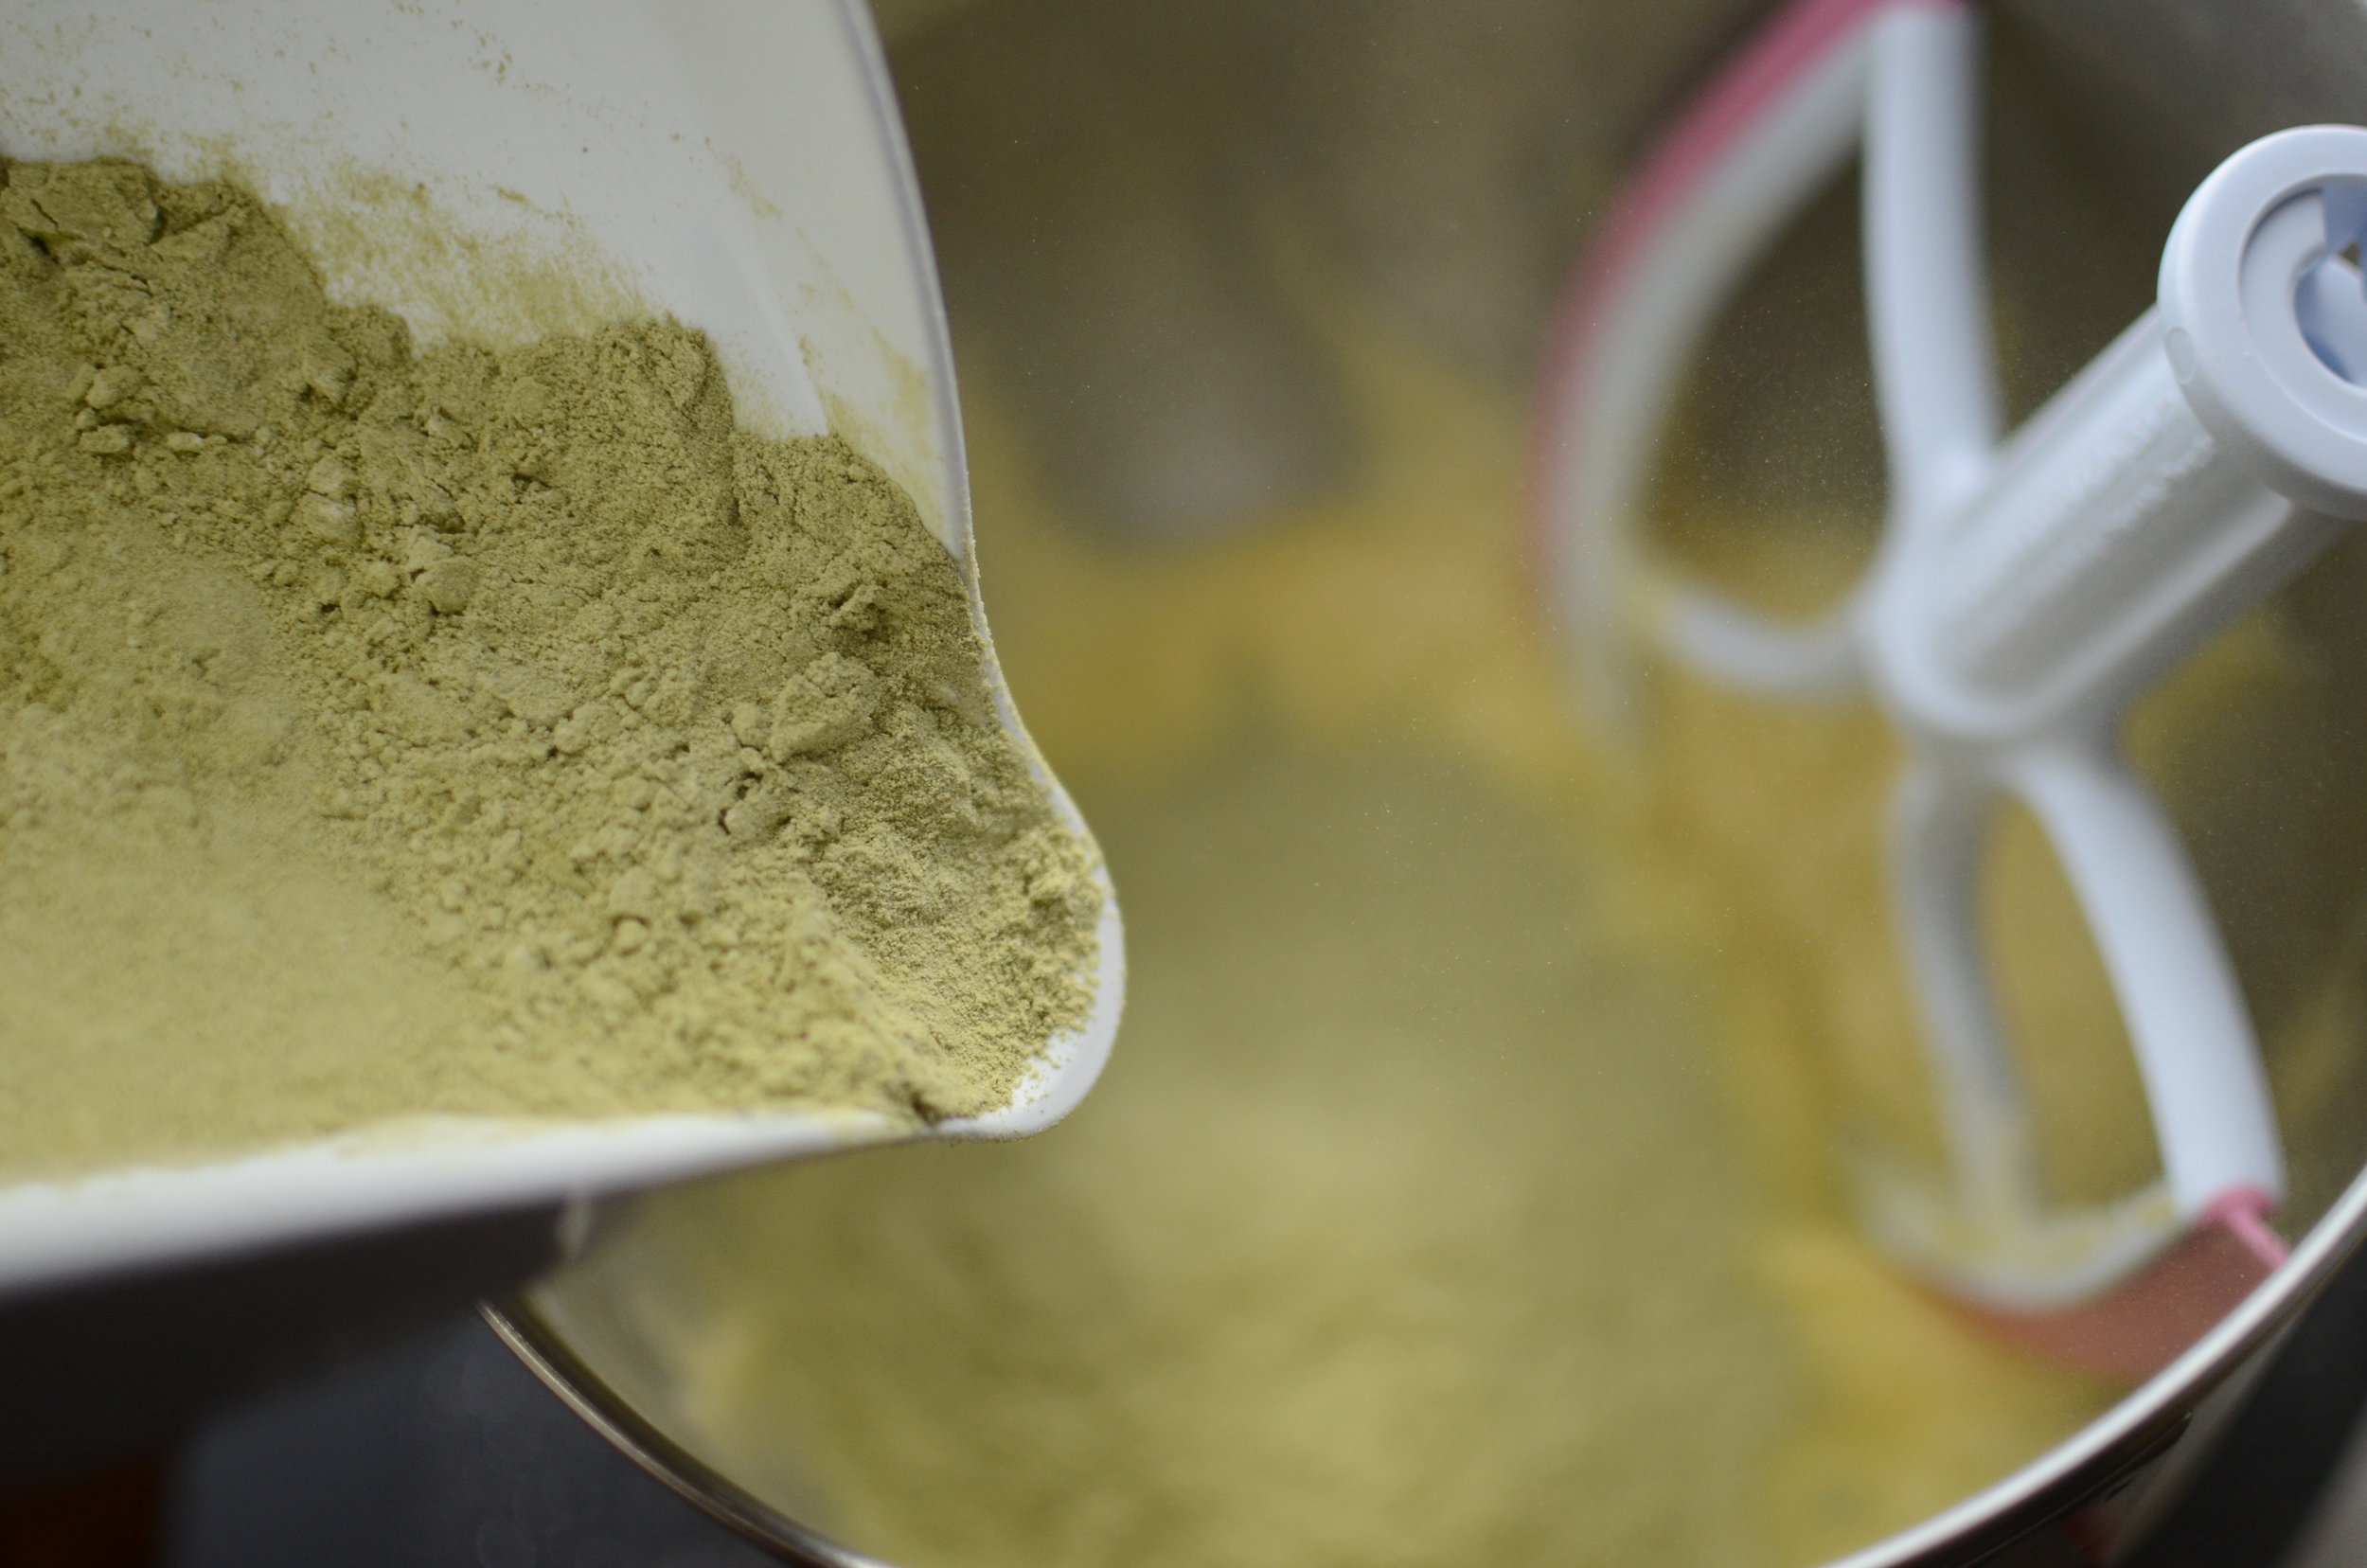
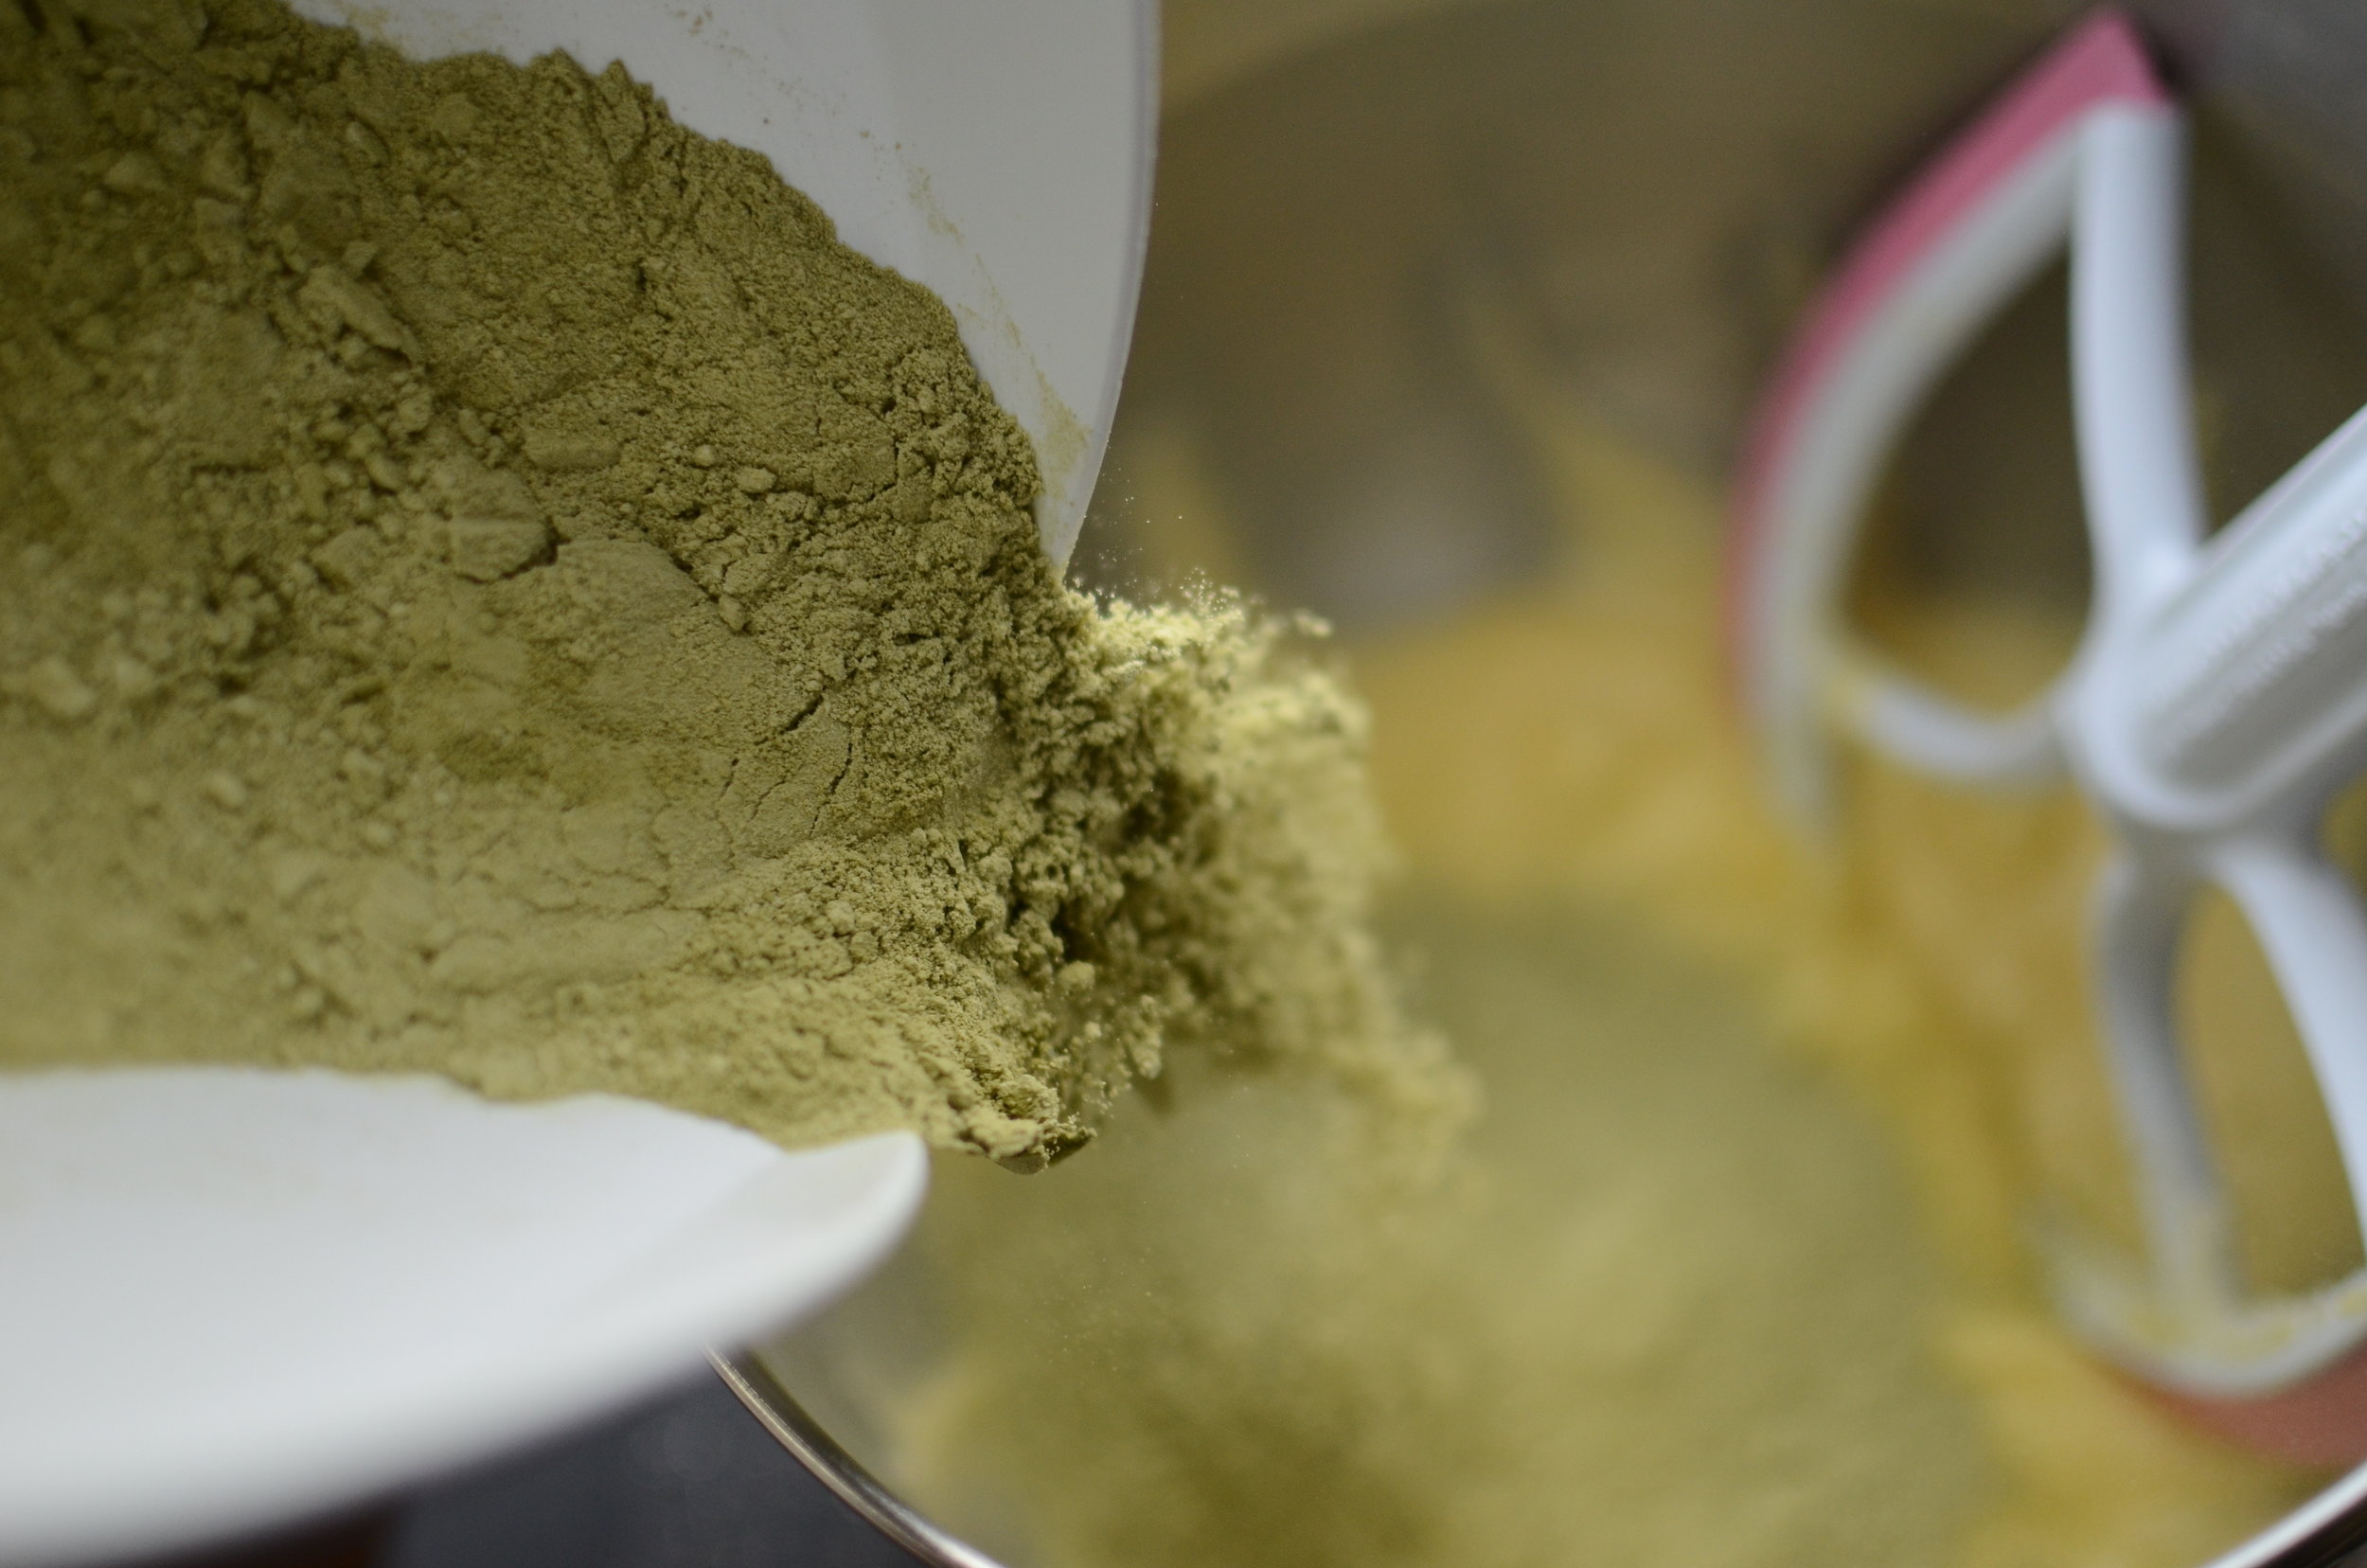
Now it's time to add the flour/matcha mixture that we set aside a few minutes ago.

See how everything goes straight into the mixer - no spills, no splashes.  Brilliant!

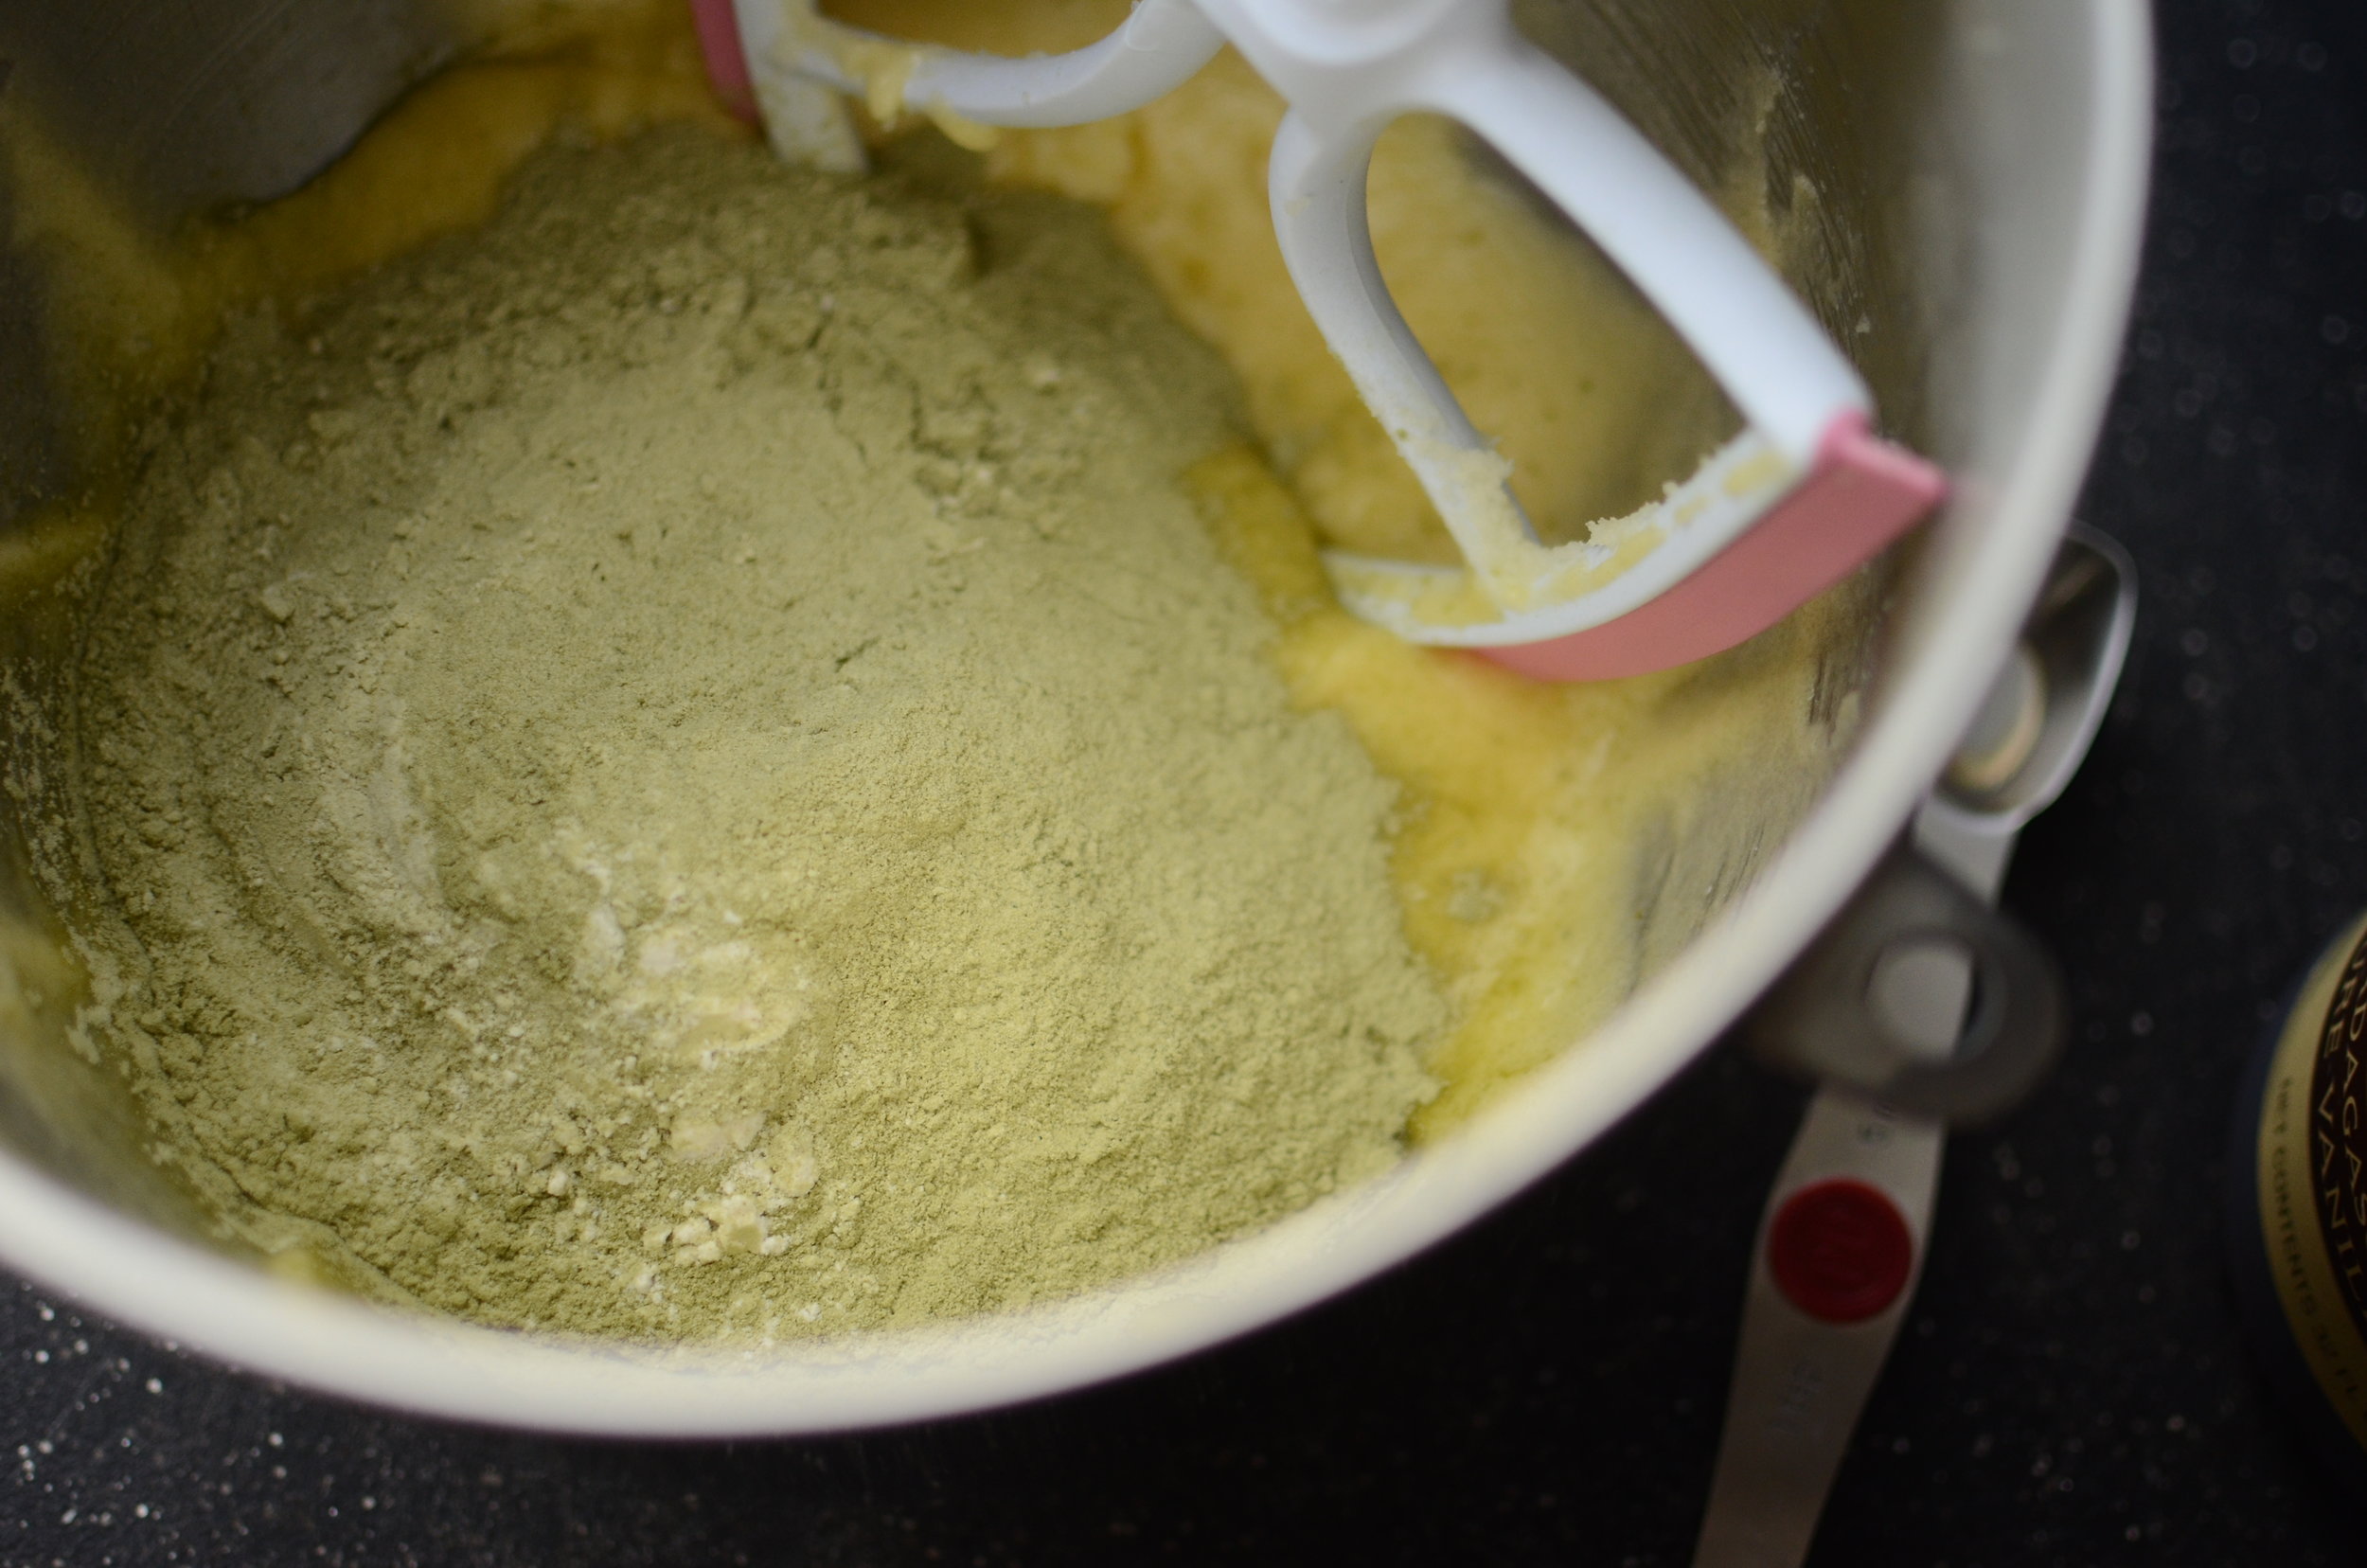
Time to mix the dry ingredients into the wet ones.  Start on very slow speed with a clean tea towel or plastic wrap draped over the mixer to contain the very finely milled matcha and keep it from releasing a green dust cloud into your kitchen.

Like this.

And here's this is what the batter will look like when the wet and dry ingredients are completely mixed together.

Pour the batter into the prepared pan and use a amall offset spatula to spread it into an even layer.  If you find the batter is too sticky, dip your offset spatula in warm water.

Don't forget to push the batter into those corners!

Nice and smooth and ready to bake.

To check for doneness, insert a toothpick in the center of the pan and see if it comes out clean.  If it does, your brownies are done!  Cool completely before cutting.

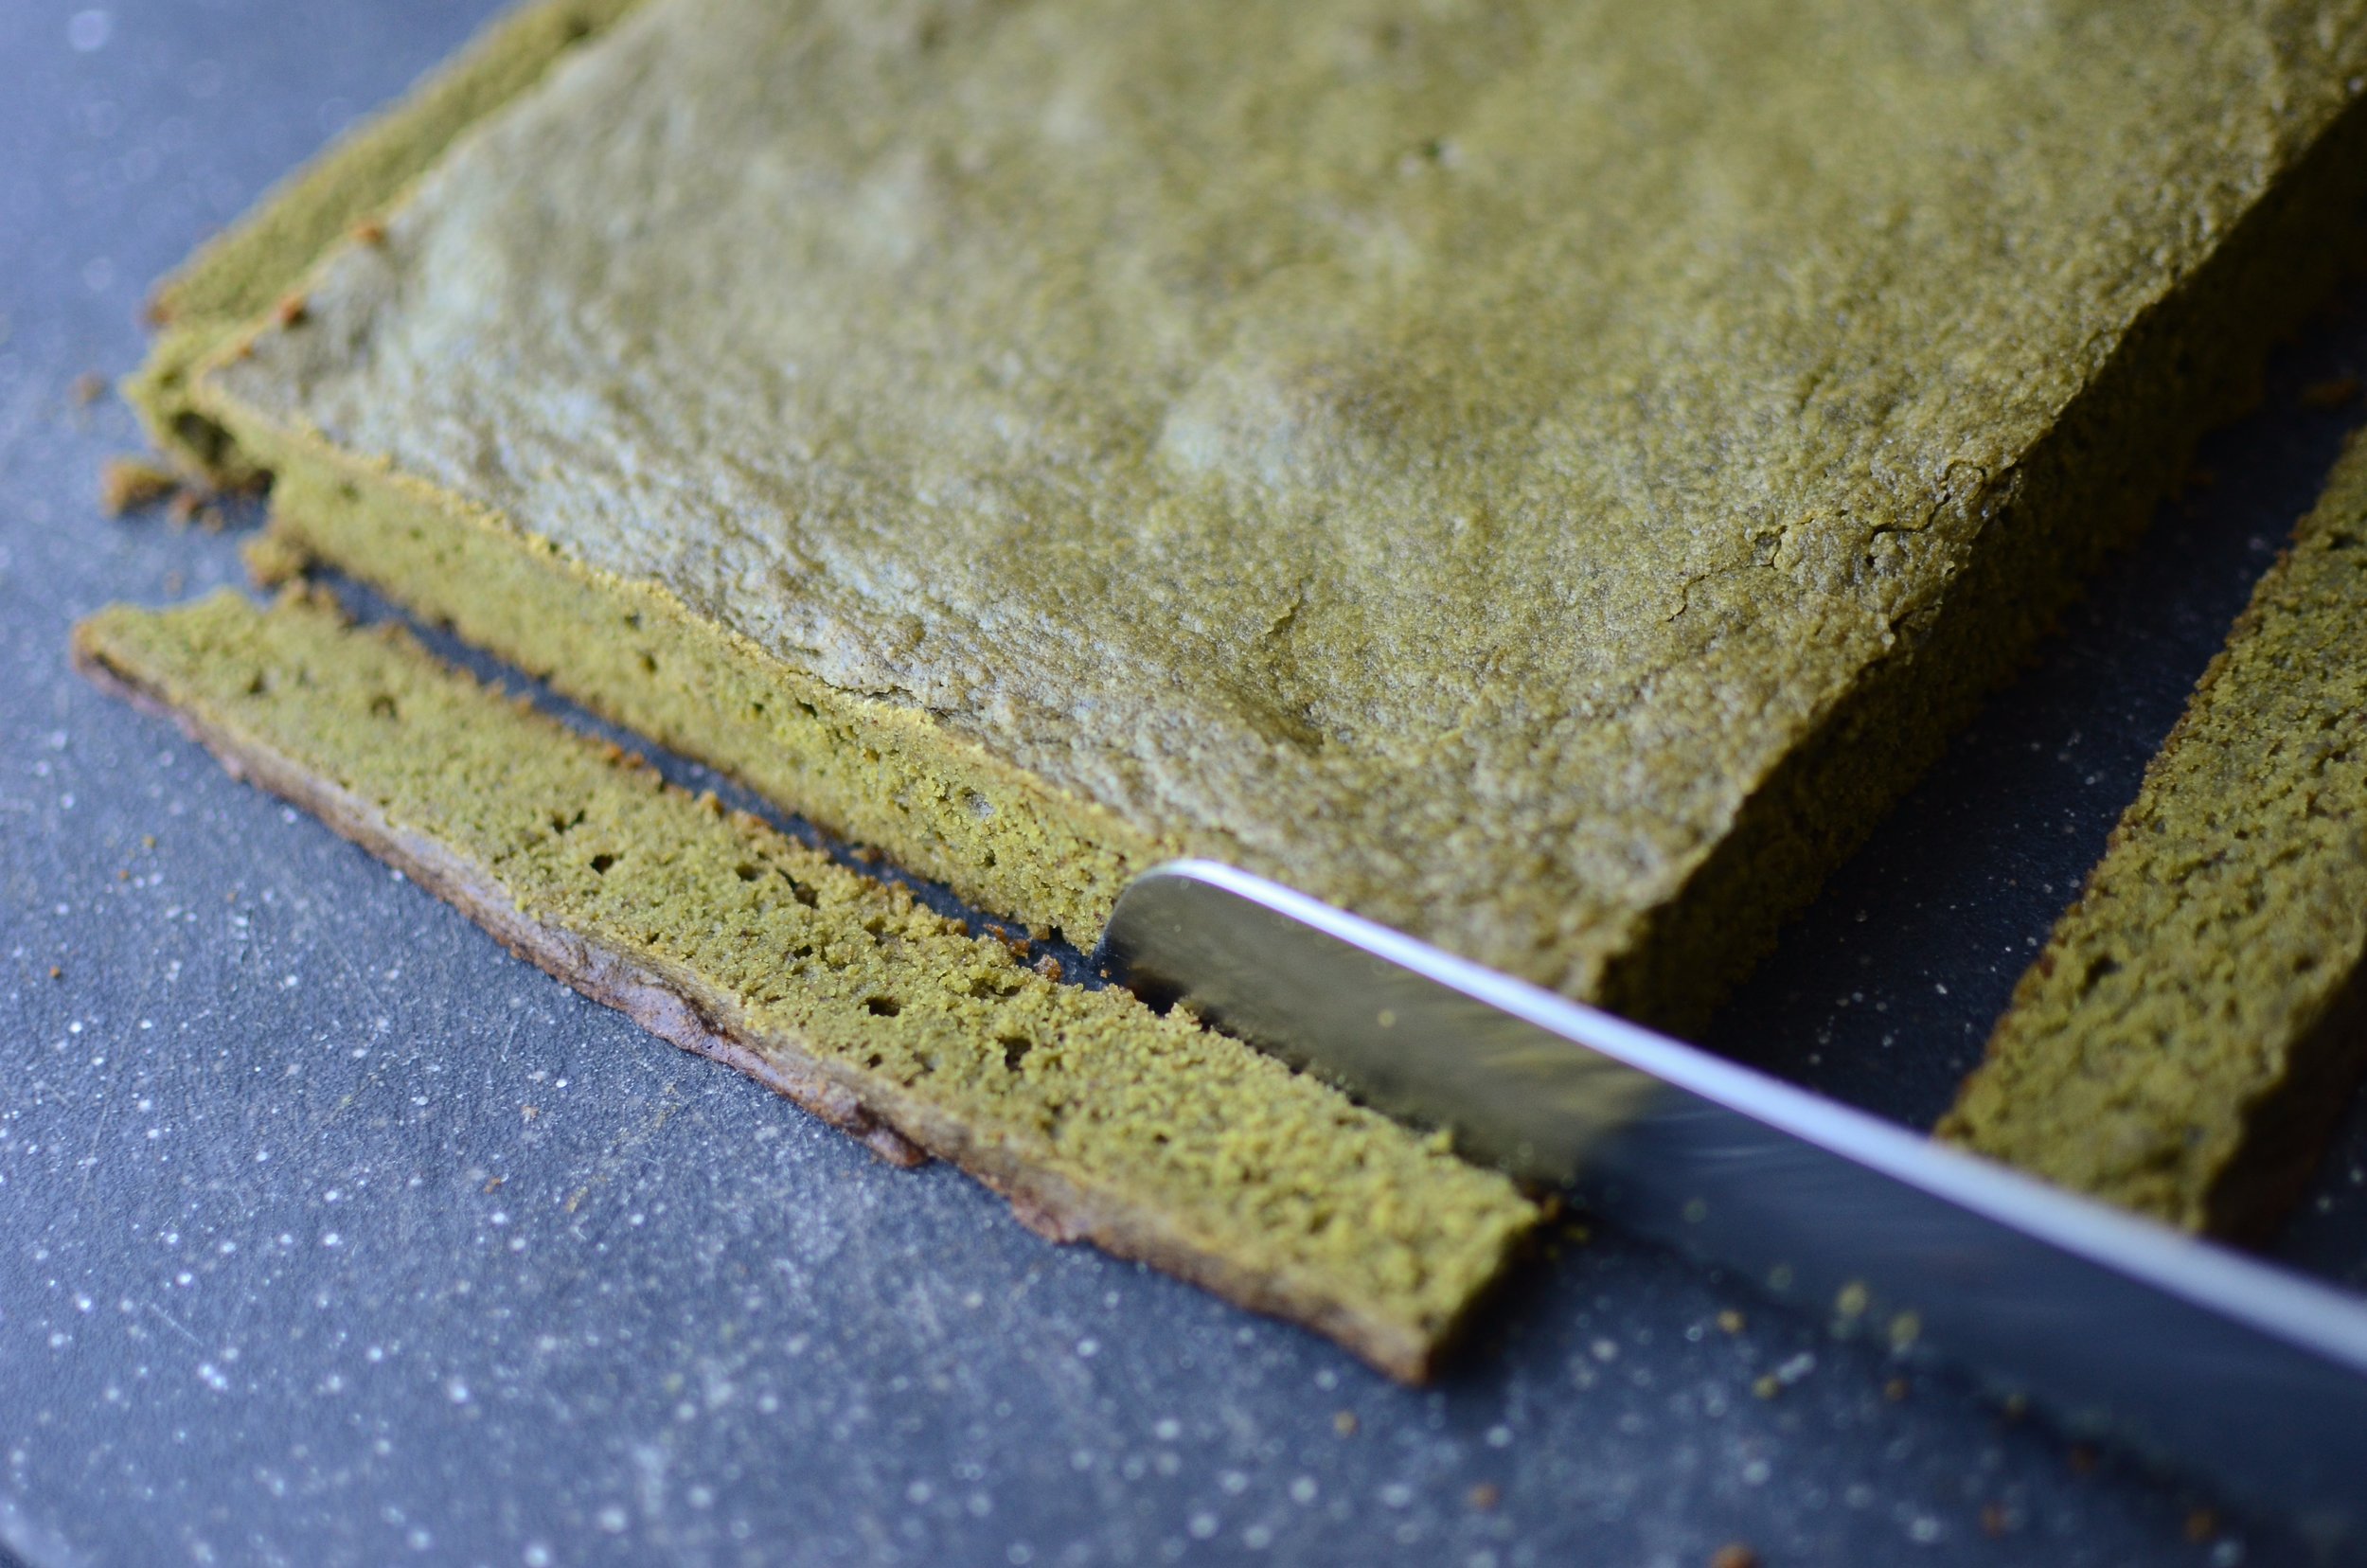
To serve, I like to flip them out of the pan, trim the edges (cook's treat), cut into 16 2-inch squares, and sprinkle with confectioner's sugar.  

Enjoy!


Items used to make this recipe:

(affiliate links)


Matcha Brownies

makes sixteen 2-inch squares (8x8 pan)

Printable Recipe

Ingredients

Directions

  1. Preheat oven to 350F and spray an 8x8-inch square metal cake pan with Baker's Joy.

  2. In a mixing bowl, whisk together the flour, matcha (green tea powder), salt, and baking powder; set aside.

  3. In the bowl of a stand mixer fitted with a BeaterBlade attachment, cream together the butter and sugar until light and fluffy; add eggs and vanilla and mix completely.

  4. Add the flour mixture and mix just until no traces of flour remain.

  5. Pour batter into prepared pan and spread into an even layer; bake for 20-25 minutes or until a toothpick inserted in the center comes out clean.

  6. Allow to cool completely before cutting with a serrated knife.