The New Tiramisu
Patricia @ ButterYum
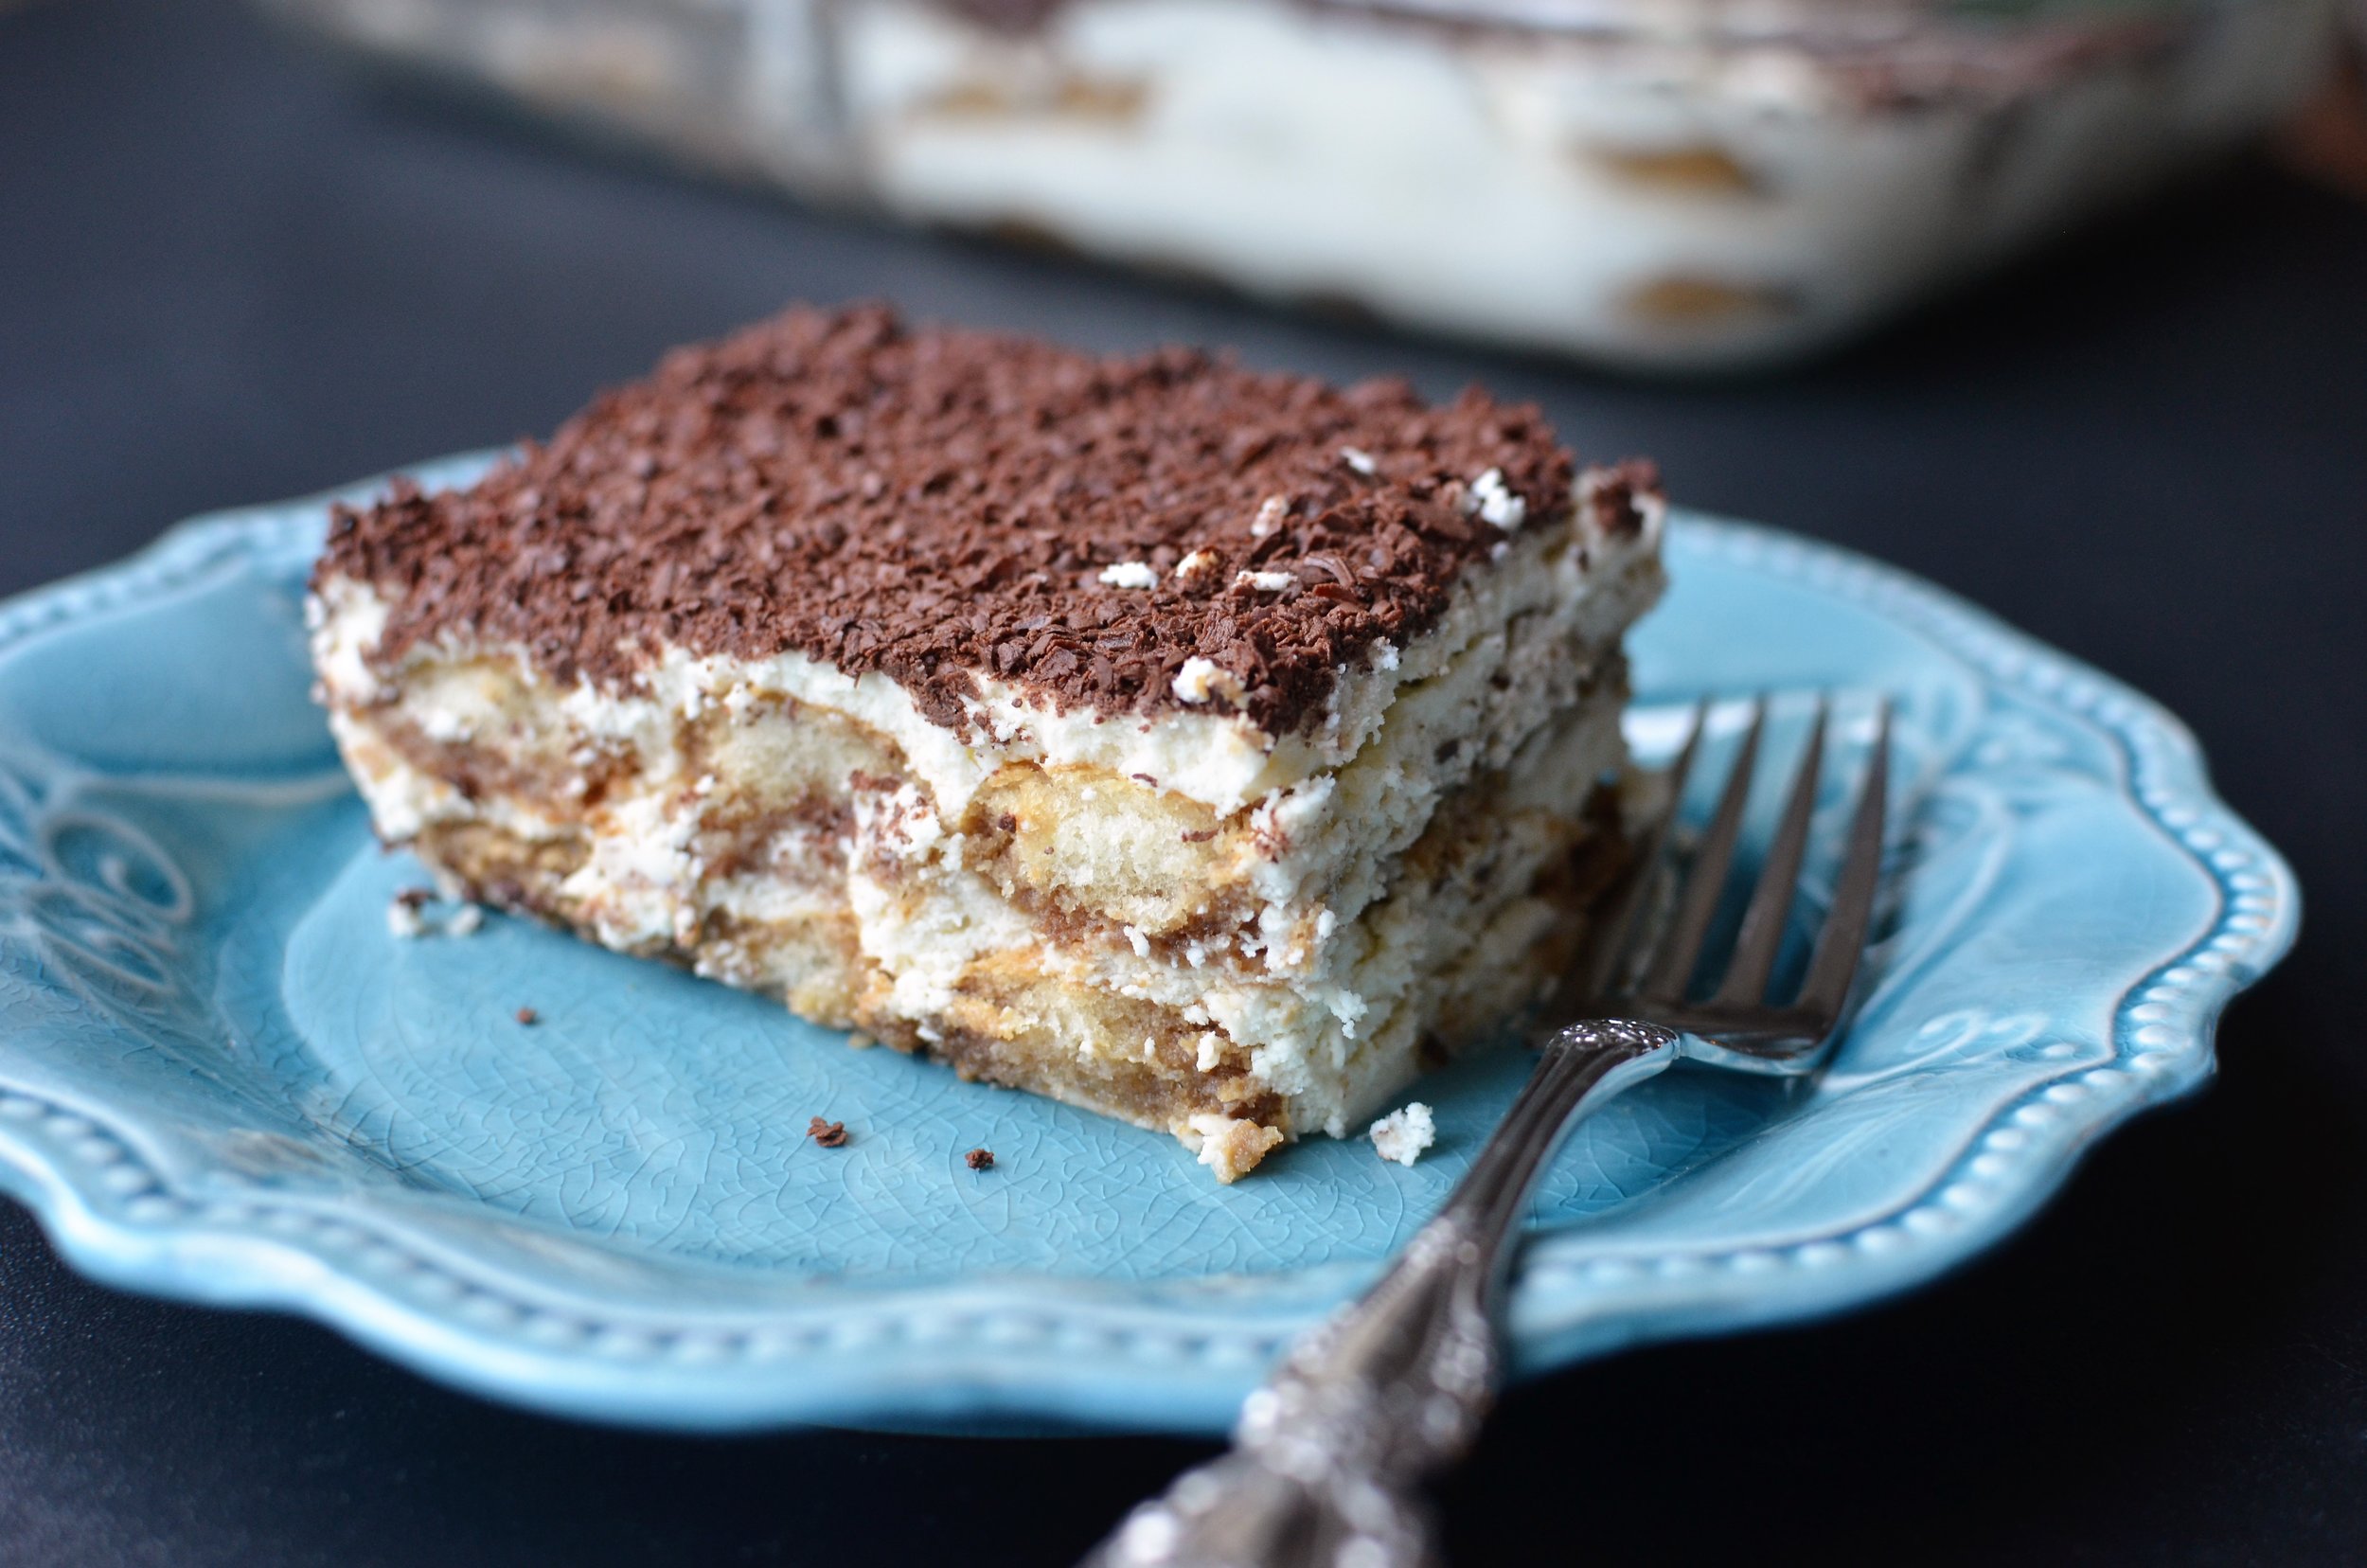
It's a new year, which means most food bloggers are posting light, healthy recipes, but I'm going to be a rebel and share a decadent dessert, The New Tiramisu. Tiramisu recipes themselves aren't new, they've been around for 4o or 50 years, but this is a new version that's a bit faster and easier to make. Most traditional recipes call for raw eggs, but this version calls for no raw eggs, or any eggs at all for that matter. And instead of dusting the top with bitter, unsweetened cocoa powder, I opted to use high quality grated chocolate. I always prefer the flavor and texture of real chocolate to unsweetened cocoa powder. Let's make some Tiramisu!

Start by preparing a coffee soaking mixture. I use strongly brewed coffee, but diluted espresso can be used as well. Whatever you choose, be sure it's high quality - really good coffee and the very best pure vanilla extract are key. This liquid is the main flavor component of the dessert so don't skimp.
I served my Tiramisu at a family function with small children so I didn't add any alcohol, but feel free to add it if you like. Simply stir in your favorite spirit to taste - Kahlua, Rum, Amaretto, or Chocolate Liqueur would be nice.
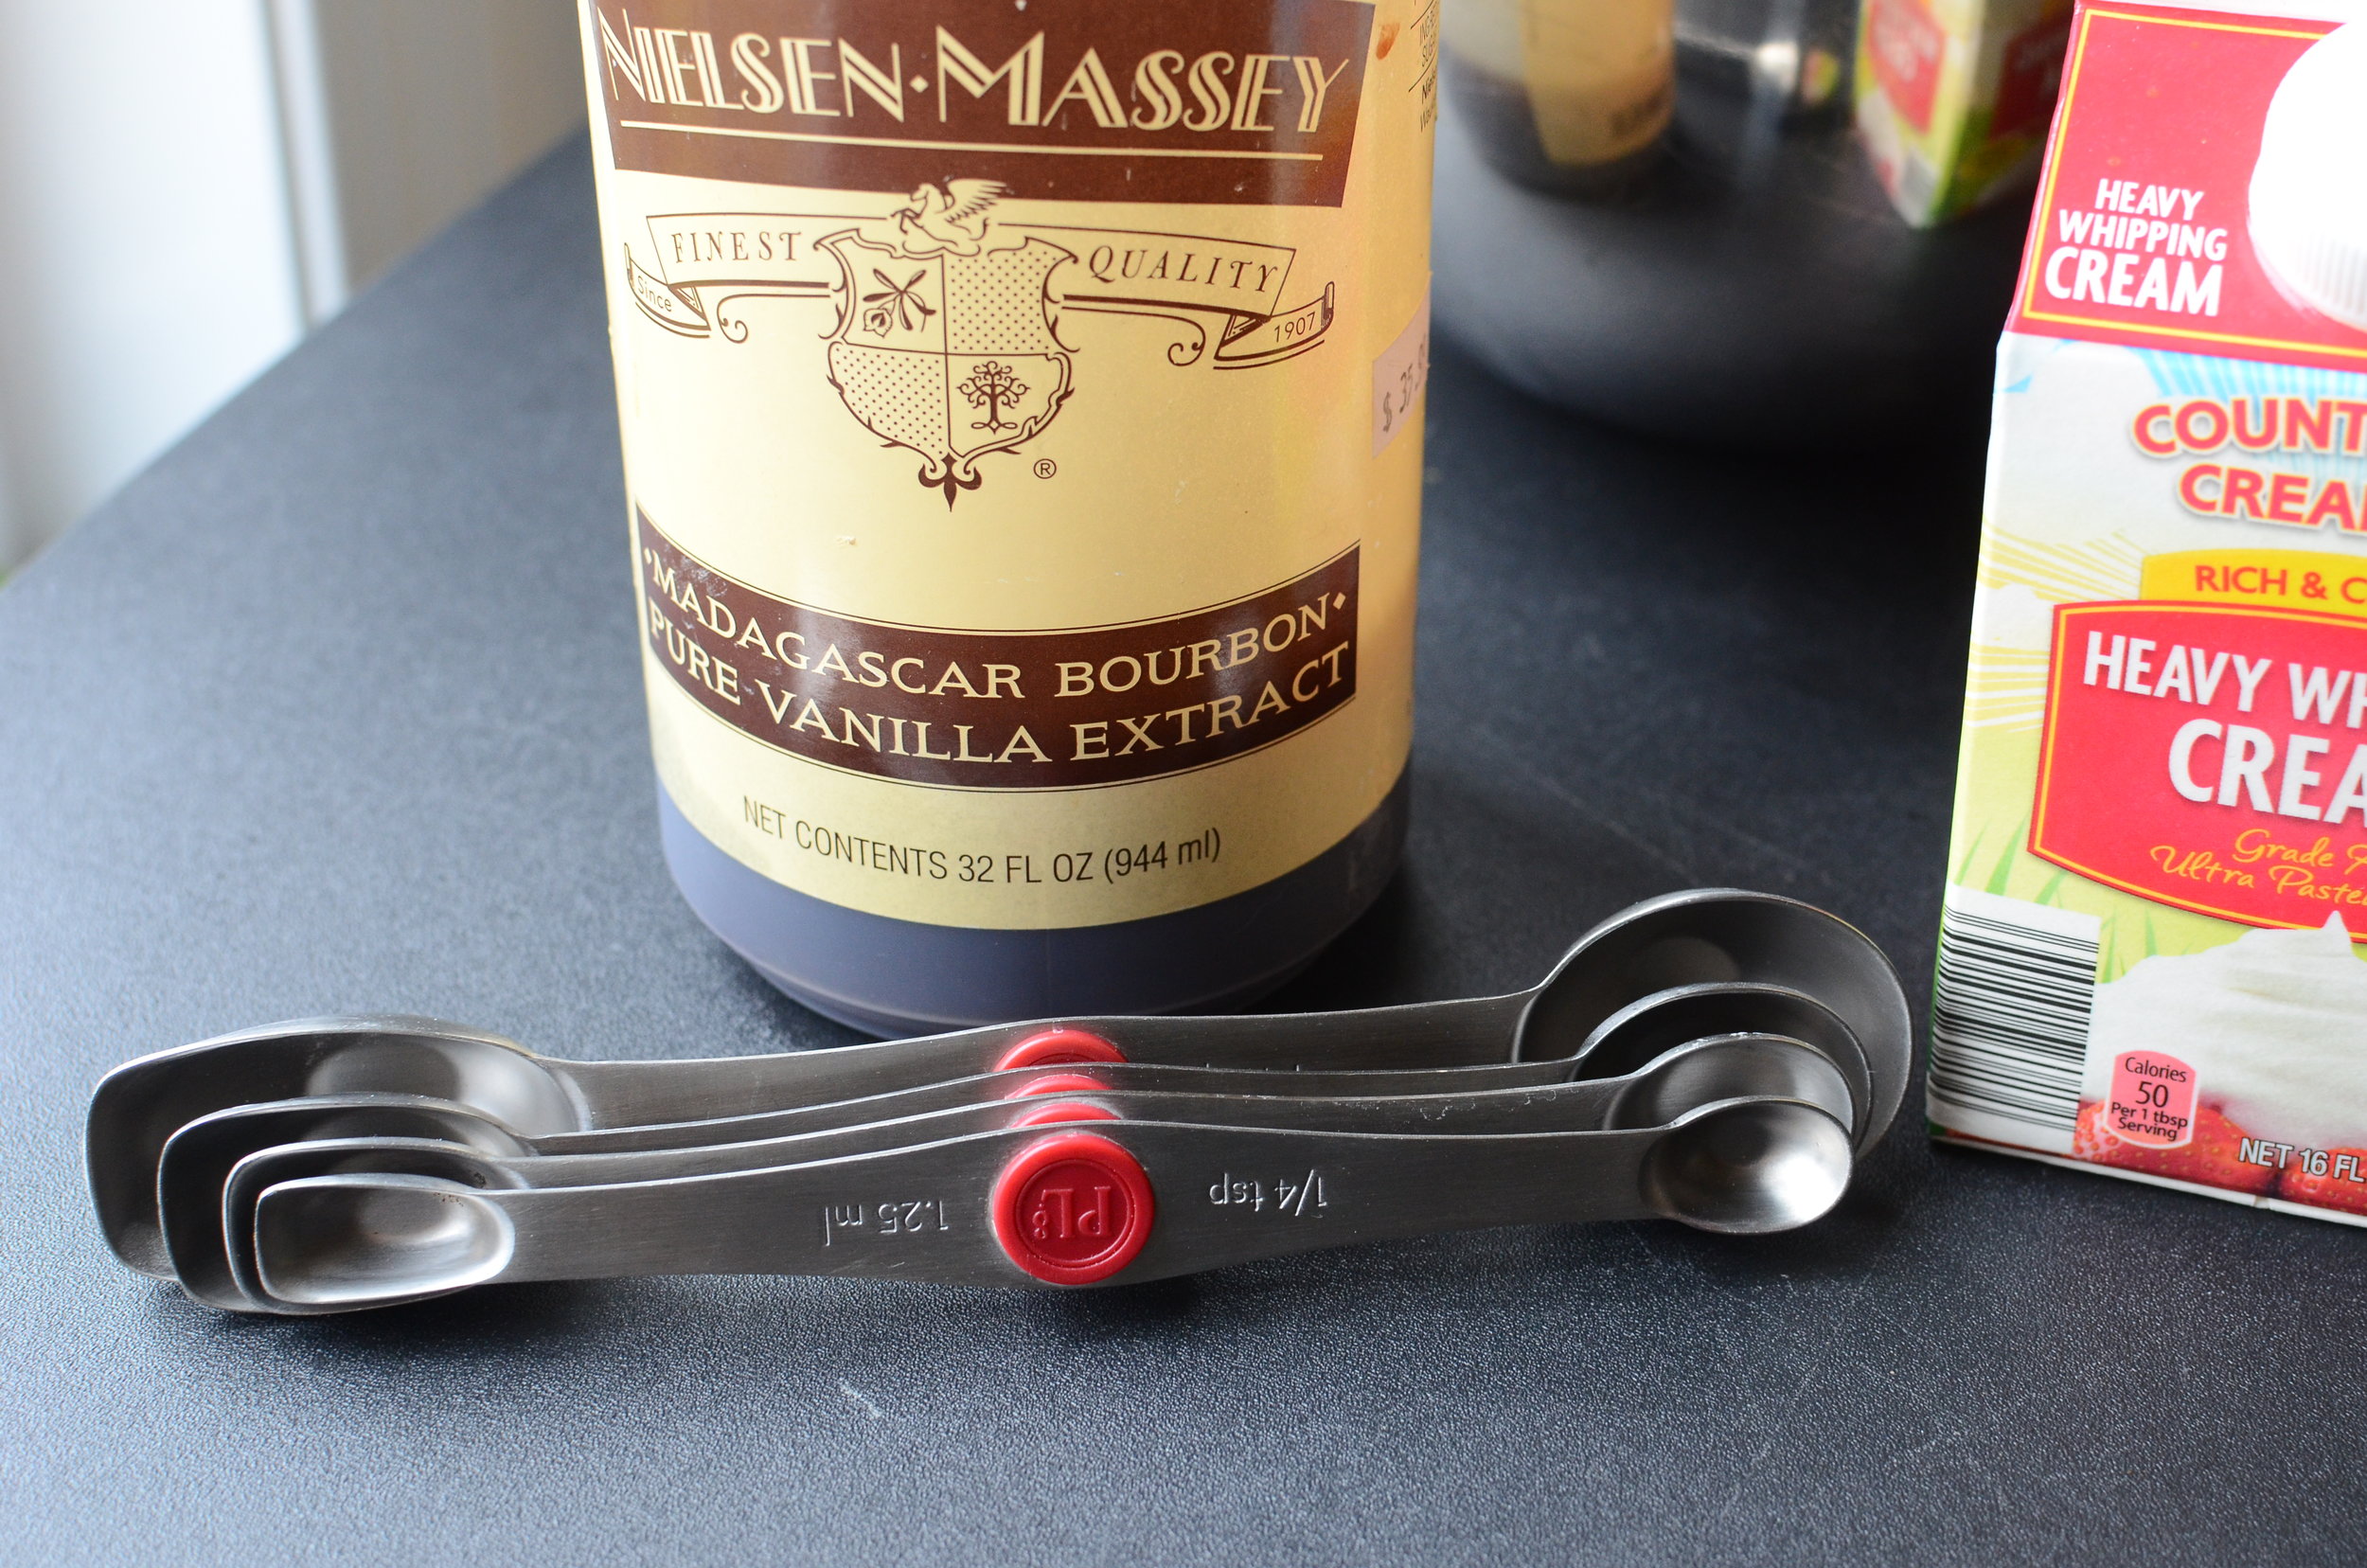
Set the coffee mixture aside and make the creamy filling. Again, quality really counts here - the ingredients you use can make a big difference so use the very best pure vanilla, cream, and mascarpone cheese you can get your hands on.

I like to buy mascarpone that's imported from Italy, but I thought I'd also try Trader Joe's version to see how it compared. The imported mascarpone is a little more expensive (about $1 more), but wow, it was way, way better. I'll show you...

Here you can see the difference between the two brands of mascarpone cheese. The kind of watery, slightly grainy, yellow one on the left is from TJs. The much creamier, dense, white one on the right is imported. If all you can get your hands on is TJs, by all means, fine, but if you have access to imported mascarpone, get it - you won't regret it!
Anyway, cream the room temperature mascarpone, sugar, and pure vanilla extract in the bowl of a food processor. SLOWLY pour in the heavy cream - adding the cold cream too quickly will cause the room temp mascarpone to clump so take your time. Stop mixing when the whip attachment starts to leave distinct track marks in the cheese mixture. Don't mix too long or you'll run the risk of over whipping.

Ok, we're done with that - and it was easy! Alrighty, time to essemble the tiramisu.
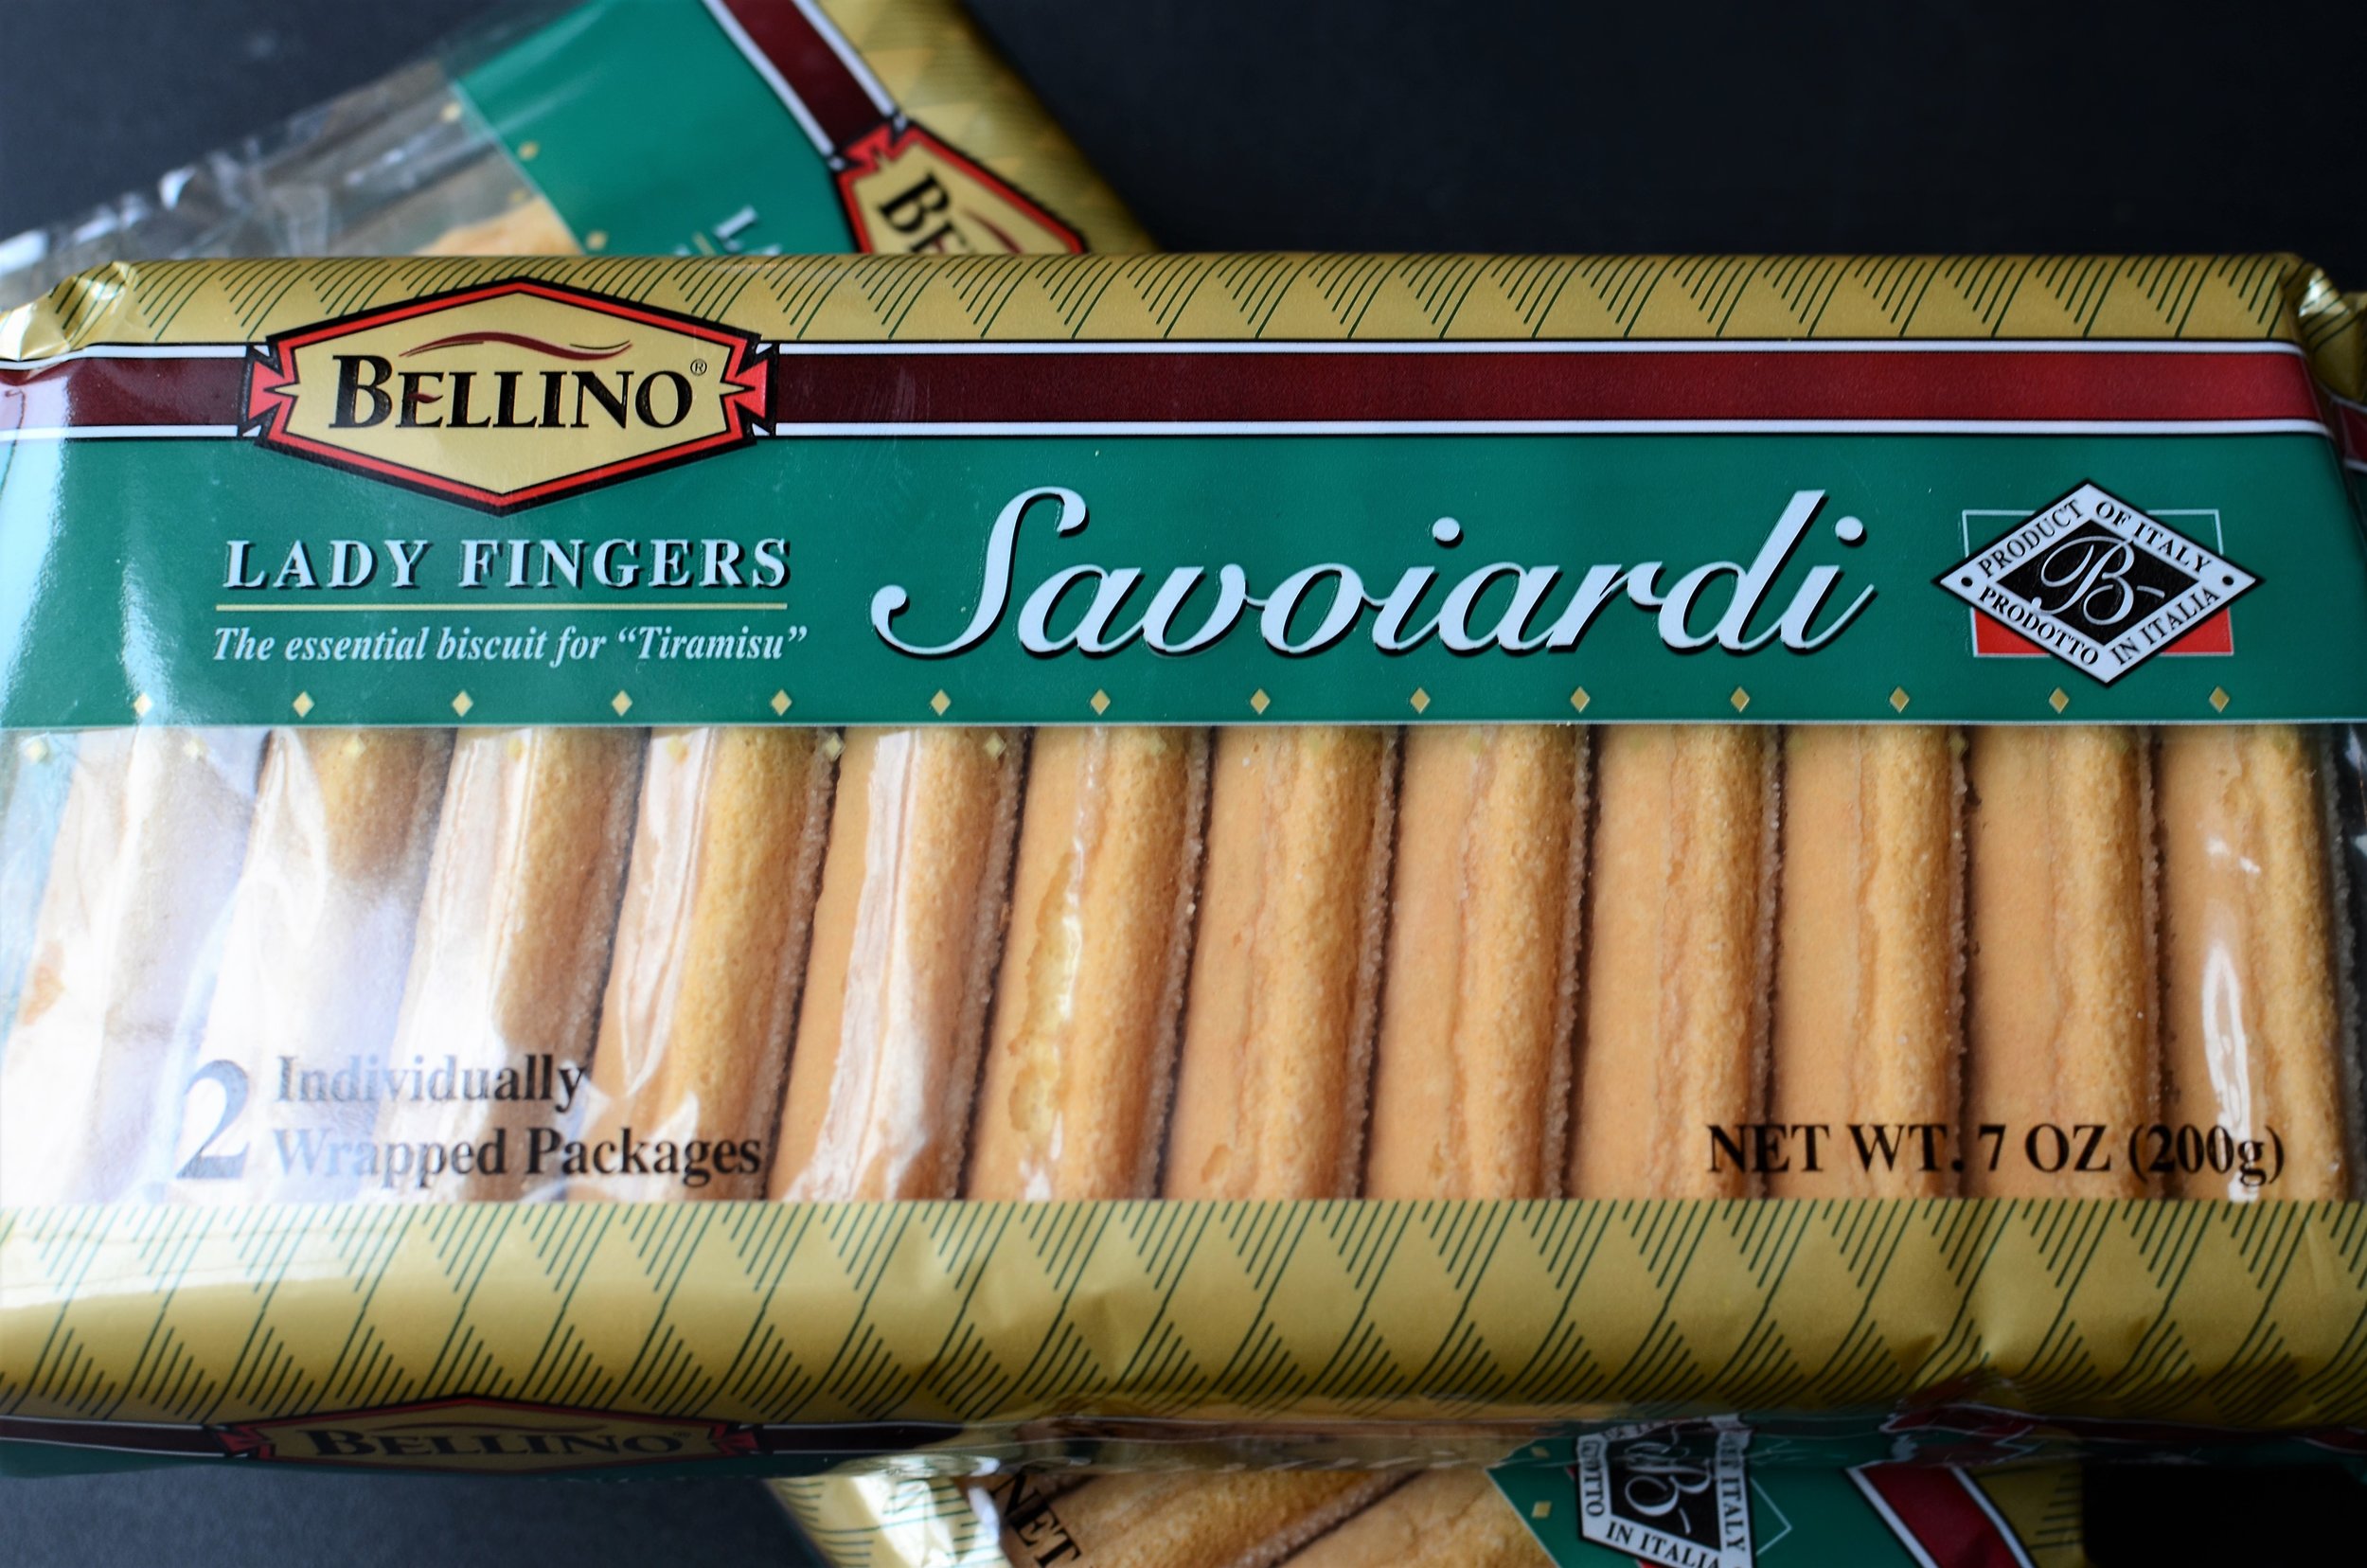
You'll need two 7-ounce packages of Savoiardi cookies (48 cookies), also known as lady fingers, but NOT the soft, spongy kind - be sure to get the dry, crispy kind. Again, these are imported from Italy.

In a 9x13-inch or 3-quart casserole dish (I like this clear one), spread a thin layer of the cheese mixture. This is going to act as glue to anchor the savoiardi.

Quickly dip the savoiardi, ONE AT A TIME, in the coffee mixture and QUICKLY place them in the casserole dish. If you dip them for too long (more than a second or two), they'll start to disintegrate so move fast. Also, you might want to wear a disposable food safe glove on you dipping hand to keep the coffee mixture from staining your fingers and cuticles.
Line up the savoiardi like little soldiers. If you need to squish one or two in the dish, wait a couple of minutes until the coffee mixture has had a chance to soften the cookies, then it'll be easy for you to "encourage" them to fall in line. Fuhgettaboutit!

The ocd baker in me wishes I would have used a dish that was just a tad wider so I could line two rows of cookies next to each other in the same direction, but once you start, there's no going back so you might want to do a dry run to see how they're going to fit in your dish if you're concerned. Otherwise, just get them in there any way you can. It'll still taste just as good. I promise.
When the bottom of the dish is full, use an offset spatula to spread a nice layer of the cheese mixture on top of the cookies. You can use up to half of the cheese mixture in this layer. I used a little less because I knew I'd have a few leftover savoiardi cookies and I had plans for them. Stick with me and I'll show you at the end of this post what I did with them.

Now the whole process is repeated. For the nicest presentation, try to stack the cookies in the same direction as the layer below. This mixture will firm up nicely when it's chilled so there's absolutely no need to stagger the direction of the layers, which is something I've read in a number of recipes. Boggles me.
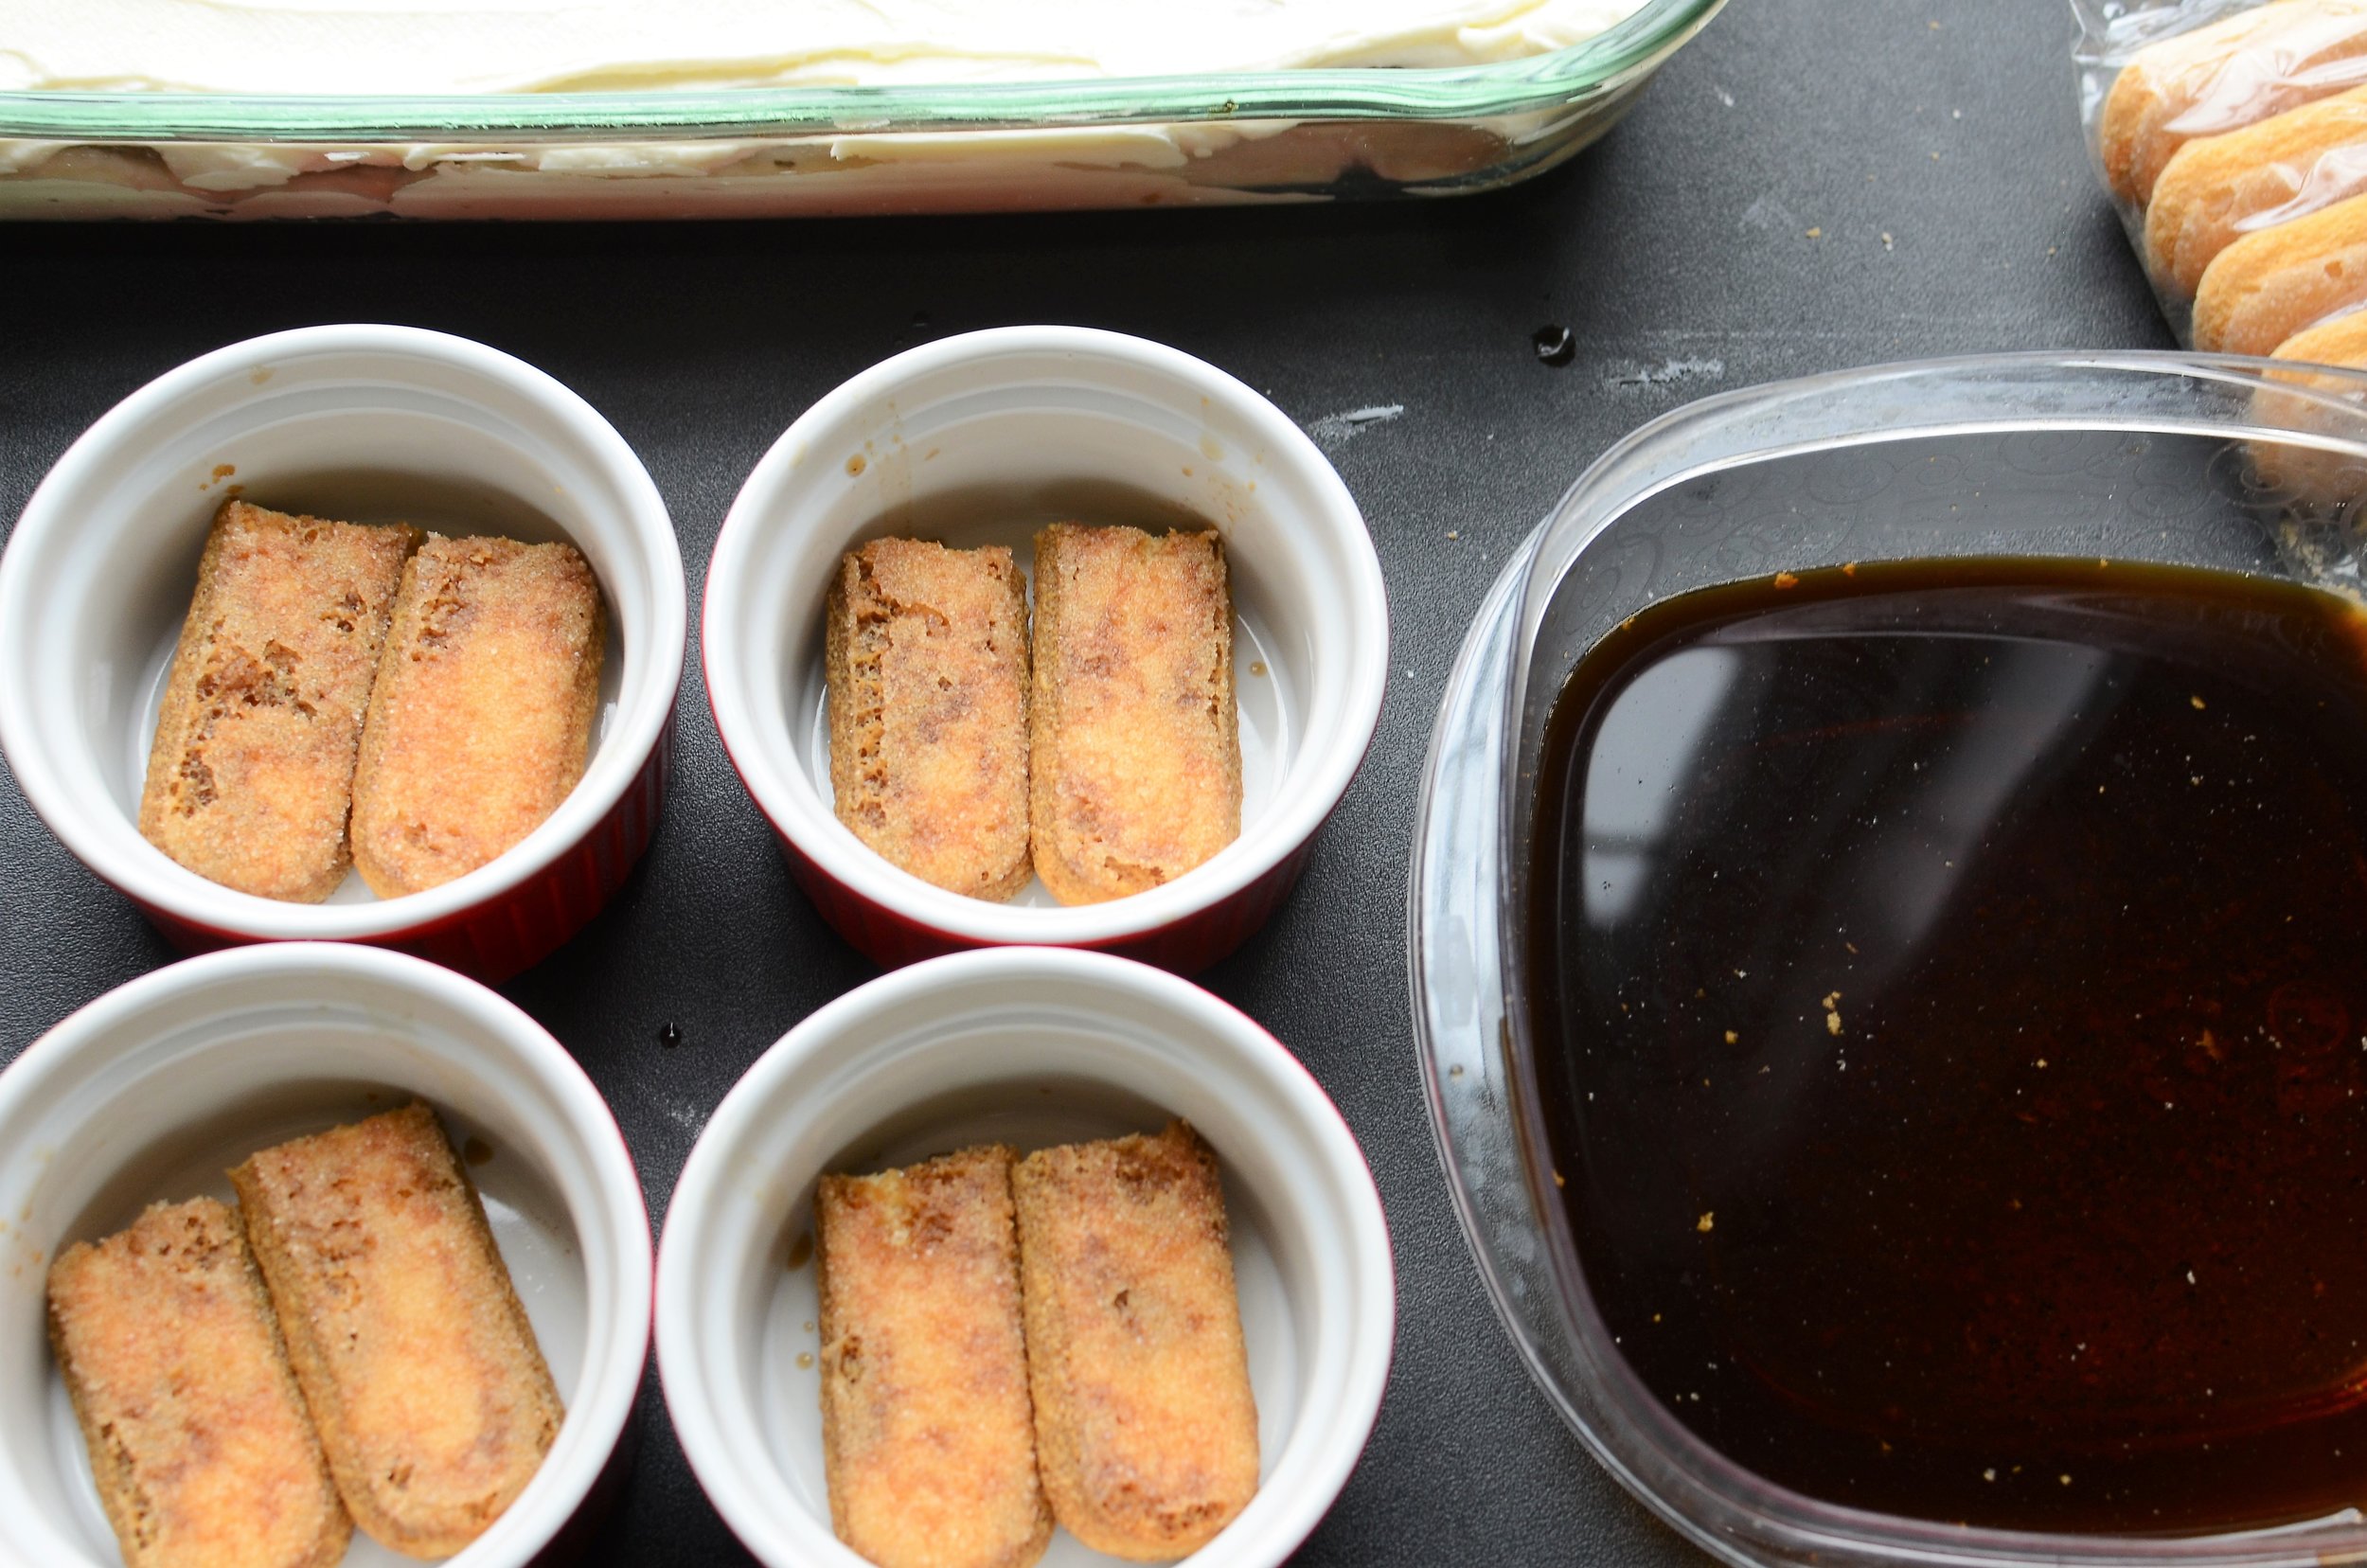
Anyway, I told you I was going to have some leftover savoiardi. Eight of them to be exact, so I held back enough of the cheese mixture to make 4 mini tiramisu. I'd estimate about 2 tablespoons of the cheese mixture per 4-ounce ramekin. Simply dip a savoiardi cookie in the coffee mixture and break it in half before placing it in the ramekin...

Then top with 1 tablespoon of the cheese mixture, repeat with another cookie, and finally, the remaining cheese mixture; spreading the top layer smooth.

Grate your favorite chocolate and spread it evenly all over the top of the Tiramisu. Now it's important to cover well with plastic wrap (to prevent absorption of refrigerator odors) and chill for at least 4 hours, but overnight or up to several days is even better. Serve chilled.

Delizioso!










Items used to make this recipe:
(affiliate links)
savoiardi cookies (ladyfingers) https://amzn.to/338gm4k
pure vanilla extract https://amzn.to/3r9wNGK
9x13 casserole dish https://amzn.to/2D7G60j
individual ramekins https://amzn.to/2Z2xu4n
food safe gloves https://amzn.to/3oy9vbJ
4-ounce ramekins https://amzn.to/3uzQLMW
The New Tiramisu
makes 9x13 pan (12 servings)
Ingredients
2 cups very strong coffee, cooled
2 tablespoons granulated sugar
1 teaspoon pure vanilla extract (or see note below)
16 ounces mascarpone cheese, room temperature
1/2 cup granulated sugar
1 teaspoon pure vanilla extract
2 cup heavy cream or whipping cream
4 ounces semisweet or bittersweet chocolate, grated
14 ounces savoiardi cookies (the crisp kind, not spongy)
Directions
In a shallow dish large enough to dip an entire savoiardi cookies, combine the coffee, 2 tablespoons or sugar, and pure vanilla extract (or alcohol if using); set aside.
In the bowl of a stand mixer fitted with the whip attachment, cream the room temperature mascarpone cheese, 1/2 cup sugar, and pure vanilla extract on medium speed, just until combined; stop the mixer and scrape down the sides of the bowl.
Turn the mixer back on medium speed and slowly pour in the cold heavy cream; increase speed to medium-high and continue to whip until the whip leaves distinct tracks in the mixture.
To assemble, spread a thin layer of the cheese mixture in the bottom of a 9x13-inch casserole dish.
Dip the savoiardi cookies, ONE AT A TIME, in the coffee mixture and QUICKLY place them in the bottom of the casserole dish; repeat until the bottom of the pan is filled with cookies.
Top with half of the cheese mixture, spreading it into an even layer.
Repeat step 5; follow by repeating step 6.
Sprinkle grated chocolate all over the top.
Cover well with plastic wrap and chill for at least 4 hour, or up to several days. Serve chilled.
Notes
If you'd like to add alcohol to the coffee mixture, add enough to suit your taste. Kahlua, Rum, Amaretto, and Chocolate Liqueur are nice options.
Can be assembled several days ahead of time.