Coeur a la Creme
Patricia @ ButterYum

Ooh-la-la! Coeur a la creme is an amazingly creamy and delicious dessert. Plan ahead, this French delicacy has to be made ahead.
**This post contains affiliate links.
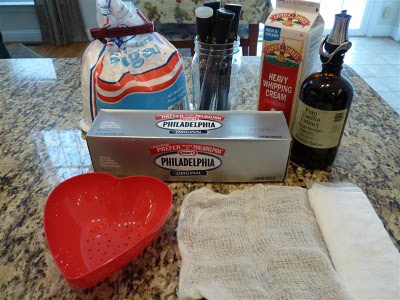
The cast of characters - cream cheese, heavy cream, powdered sugar, vanilla extract, and vanilla bean seeds - Hello! What's not to love? I can't think of a more perfect dessert for Valentine's Day.
You'll also need some cheesecloth and a coeur a la creme mold. Alternates for both listed further down, so keep reading.
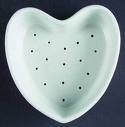
This is a traditional French porcelain coeur a la creme mold. I'm not at all fond of the shape of this porcelain mold (too pointy and kinda weird). So I decided to make my own.
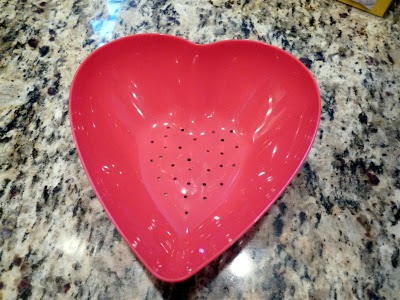
I found this plastic candy dish at Wal-Mart for $1.50. I simply drilled holes in the bottom and voila, a coeur a la creme mold in a more pleasing puffy heart shape.

But hey, you don't need a heart-shaped mold to make this yummy dessert. You can use a mesh sieve.
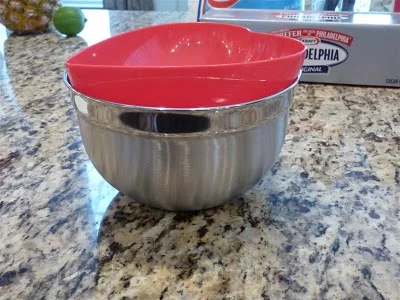
The porcelain molds have little feet on the bottom. My homemade mold doesn't, so here I'm using a mixing bowl to suspend the mold and catch the liquid as it drains.

A bird's eye view of the set-up.

Before we begin mixing the ingredients together, let's line our mold with cheesecloth. No cheesecloth? No problem - you can use coffee filters or paper towels instead.

Time to mix the ingredients. In the bowl of a stand mixer, place the softened cream cheese and sift the confectioner's sugar on top.

I always sift clumpy ingredients like powdered sugar and cocoa powder.
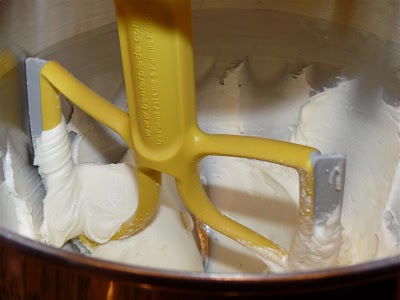
I know I sound like a broken record, but I LOVE my BeaterBlade attachment. LOVE, LOVE, LOVE. If you own a stand mixer, you need to get one!
Okay, combine the sugar and cream cheese and beat on high for 2 minutes. Next we'll add the pure vanilla extract and vanilla bean seeds.
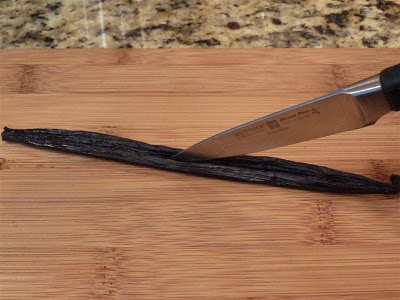
I love using vanilla beans - cut it down the middle with a sharp knife...
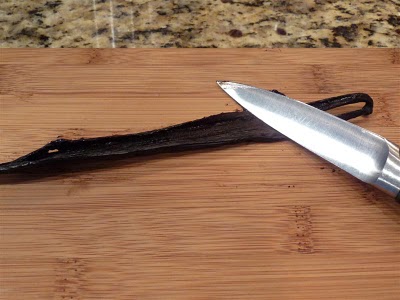
...and scrape out the seeds. Easy!

Mmmm. Look at all of that yummy flavor!

Don't throw that vanilla bean away - make vanilla sugar by submerging the pods in granulated sugar and store in an airtight container. Keep adding bean pods and sugar and you'll always have a supply on hand to make cookies, desserts, beverages... really great stuff!

Back to our Creme - Beat in the vanilla extract and vanilla bean seeds. See all those yummy vanilla specks?
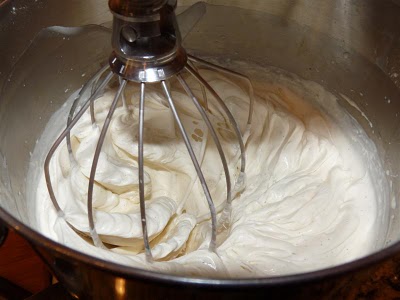
Add the heavy cream and replace the paddle with the whip attachment. Beat on high until stiff peaks form.
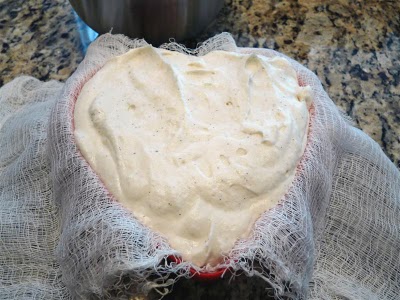
Pour the mixture into the prepared mold - it will shrink a bit as it drains.
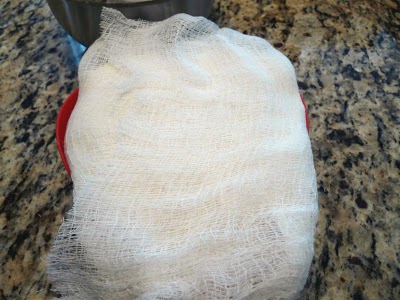
Wrap the excess cheesecloth over the top and place the mold in a container to catch the liquid that will eventually seep out.
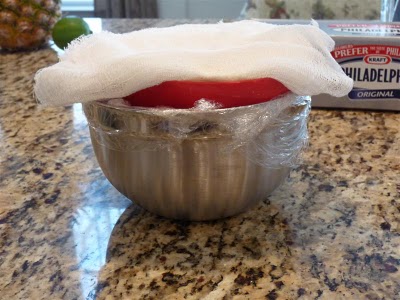
I ran into an unexpected problem when I placed my filled mold in the mixing bowl to drain. The mold was kind of top heavy and kept tilting sideways - I solved the problem by placing plastic wrap around the rim of the bowl which acted like a gasket and kept the plastic mold from tilting.
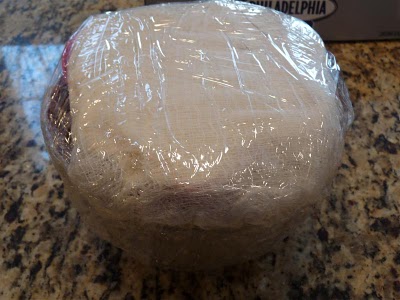
Dairy products are notorious for absorbing refrigerator odors (not that there are any in MY refrigerator), but you never know when one of the teens is going to put an open container of leftover Chinese take-out in there. So just to be on the safe side, I wrapped it well with plastic wrap.

Here we are after 24 hours. See how the creme has compressed a bit. You can't tell by looking at the photo, but the cheesecloth is completely saturated with liquid that drained out of the Creme.
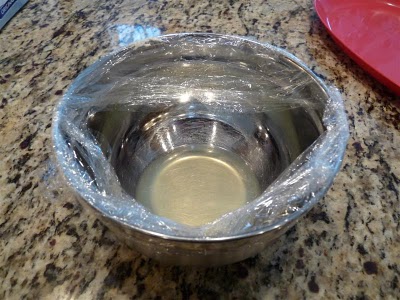
And look at how much liquid collected in the bottom of the bowl.

Enough with that - time to unmold our glorious creation.
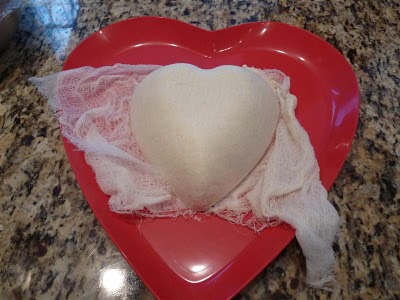
Place the Creme on a serving platter and lift the mold straight up so as not to mar its soft surface.

Carefully peel away the cheesecloth - I love the impression it leaves behind.

If I was serving this dessert on a white platter, I would probably have made a strawberry or raspberry sauce, but since I'm serving this one on a red platter, I thought chocolate sauce would be more appropriate. I made a simple sauce by combining 1 part dark chocolate with 2 parts heavy cream; stirring constantly over med heat until combined. Cool before using.

I garnished with some wild black raspberries I had stashed in the freezer. Voila!


Items used to make this recipe:
(affiliate links)
coeur a la creme mold https://amzn.to/2E5uWKi
sieve https://amzn.to/2vVX4Lq
cheesecloth https://amzn.to/2vX8TB0
vanilla beans https://amzn.to/2EhmZSn
Barefoot in Paris https://amzn.to/2HgXzpC
Coeur a la Creme
makes 4-6 servings
Ingredients
6 ounces cream cheese, room temperature
1/2 cup plus 2 tablespoons confectioner's sugar, sifted to remove lumps
1 1/4 cups heavy cream, cold
1 teaspoon pure vanilla extract
seeds from 1/2 of a vanilla bean
Directions
In the bowl of a stand mixer, using the paddle attachment (or better yet, a BeaterBlade attachment), slowly combine the softened cream cheese and the confectioner's sugar until the risk of spewing powdered sugar all over your kitchen has passed.
Increase speed to high and beat for 2 minutes.
Turn the mixer off; add vanilla extract and vanilla seeds, combine on low.
Add cream and continue to combine on low until incorporated (scrape sides of the bowl if needed).
Turn mixer off and replace the paddle attachment with the whip attachment.
Whip mixture on high until stiff peaks form.
Pour mixture into a cheesecloth lined mold.
Place mold in a bowl to catch the juices that drain.
Cover well with plastic wrap and refrigerate overnight. unmold, garnish, and serve.
Chocolate Sauce
makes about 1 1/4 cups
Ingredients
4 ounces bitter-sweet chocolate
8 ounces heavy cream
Directions
In a heavy bottomed pan over med heat, melt chocolate and cream together; stirring constantly. Cool before using.
Notes:
Cream cheese will dry out quickly if exposed to the air, so be sure to keep it wrapped while coming to room temperature.
If you're pressed for time, you can quickly bring cream cheese to room temperature by placing it in a sturdy zip-top storage bag and knead it with your warm hands for a few minutes. It will soften up in no time flat.
adapted from Barefoot in Paris by Ina Garten