contact us

Use the form on the right to contact us.

You can edit the text in this area, and change where the contact form on the right submits to, by entering edit mode using the modes on the bottom right.


123 Street Avenue, City Town, 99999

(123) 555-6789

email@address.com


You can set your address, phone number, email and site description in the settings tab.
Link to read me page with more information.

Blog

Butteryum food blog recipes

DIY Authentic Clotted Cream

Patricia @ ButterYum

Authentic Homemade Clotted Cream - ButterYum

Oh boy do I have a treat for you!  I'm talking authentic homemade clotted cream.  It's like heavy cream on steroids.  No joke.  This stuff is amazing.

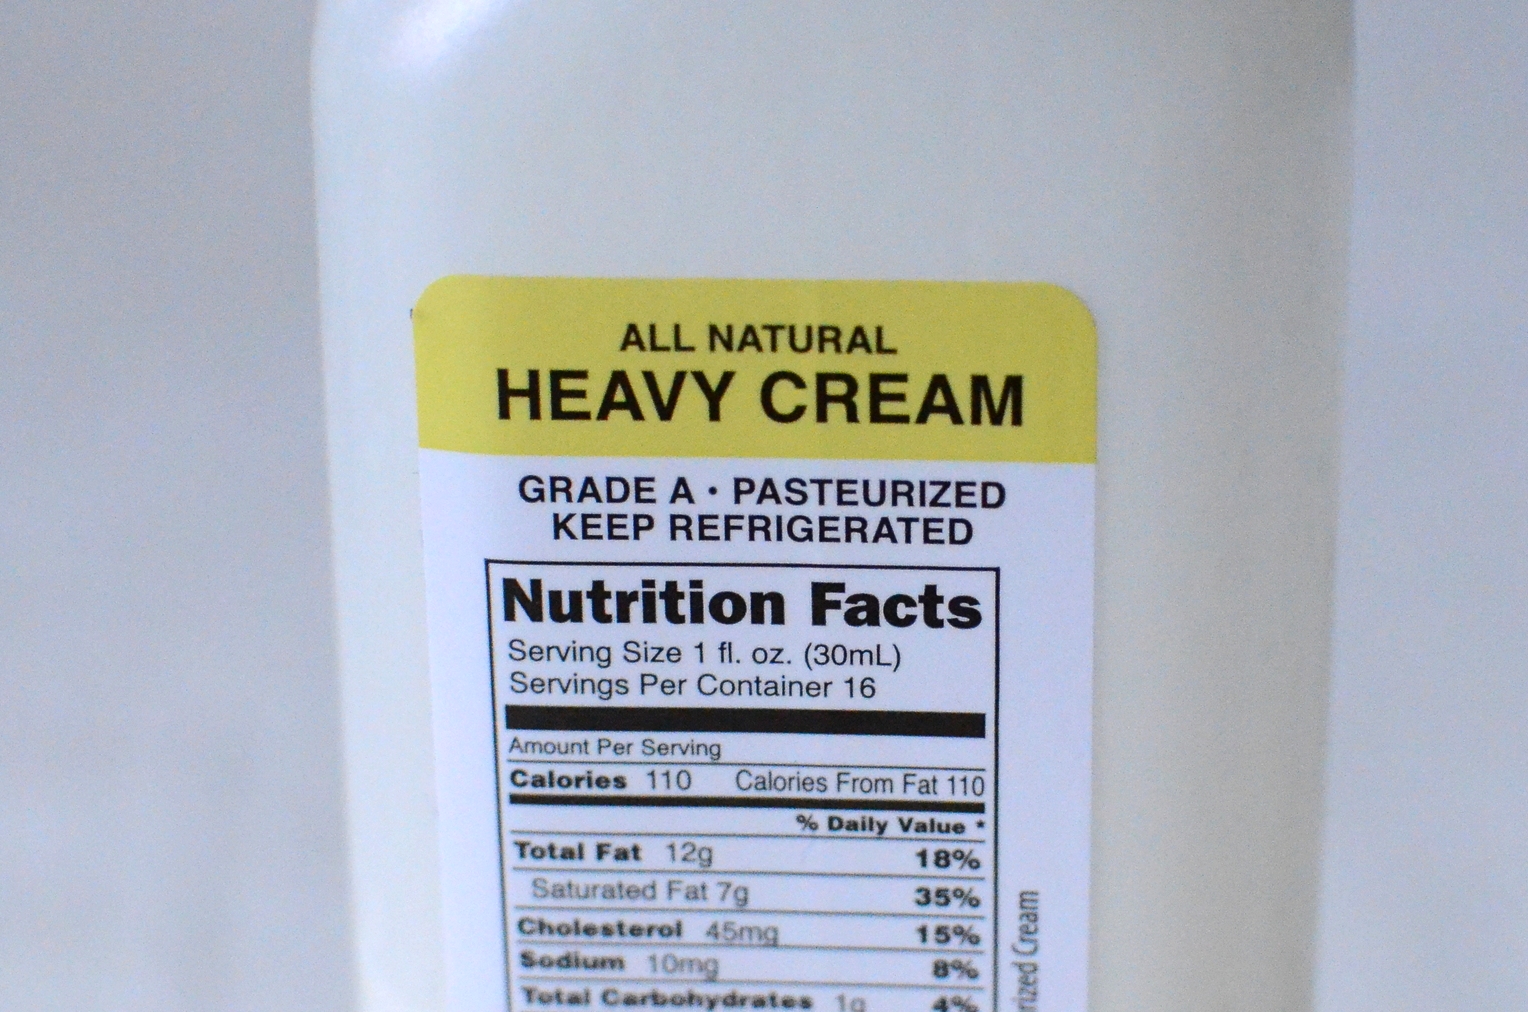
Start with Pasteurized heavy cream, not Ultra-Pasteurized (apparently, ultra-p won't work).   The closest grocery store I can find that sells regular pasteurized cream is oven an hour away, but a couple of my local farmer's markets sell dairy products from small dairies - usually they're not ultra-pasteurized.  You'll pay a bit more, but it'll be worth it when you taste that first bite of clotted cream.  I promise!

Pour the cream into a shallow baking dish so the cream is an inch or so deep.  Here I have a pint of cream in a shallow oven-safe pasta bowl. 

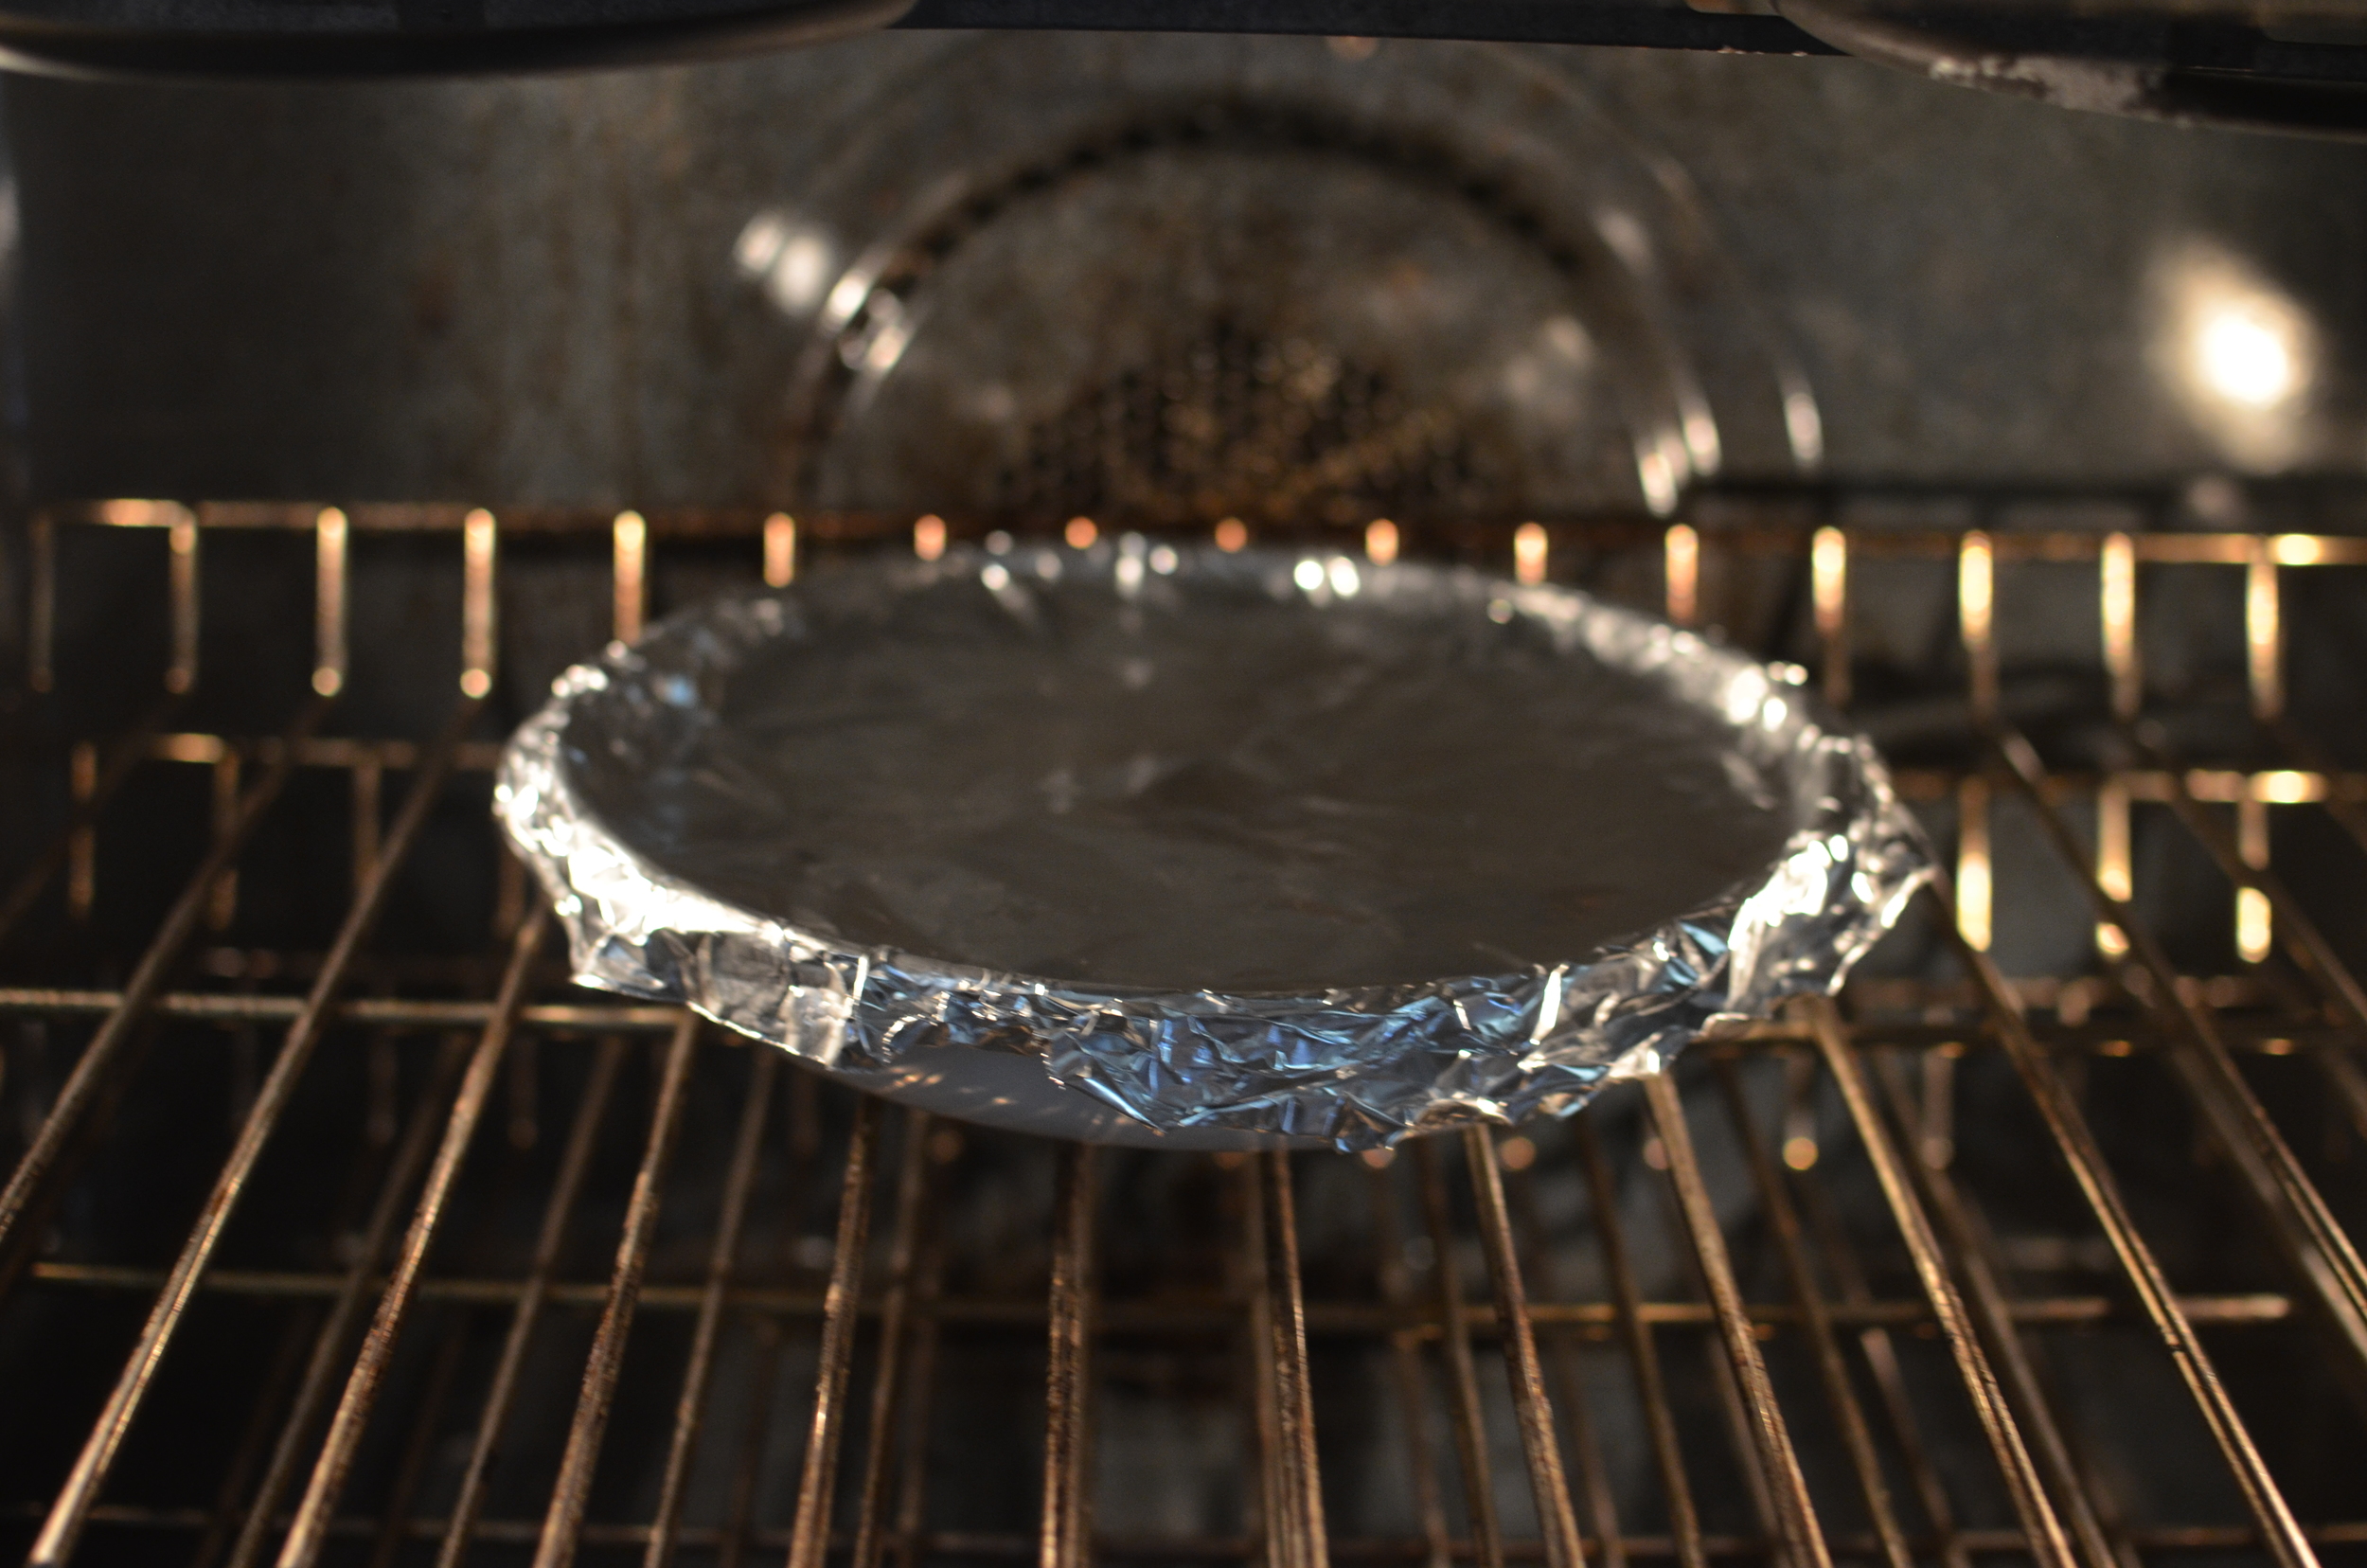
Be sure to cover your baking dish while it's in the oven.  More on why a little later.

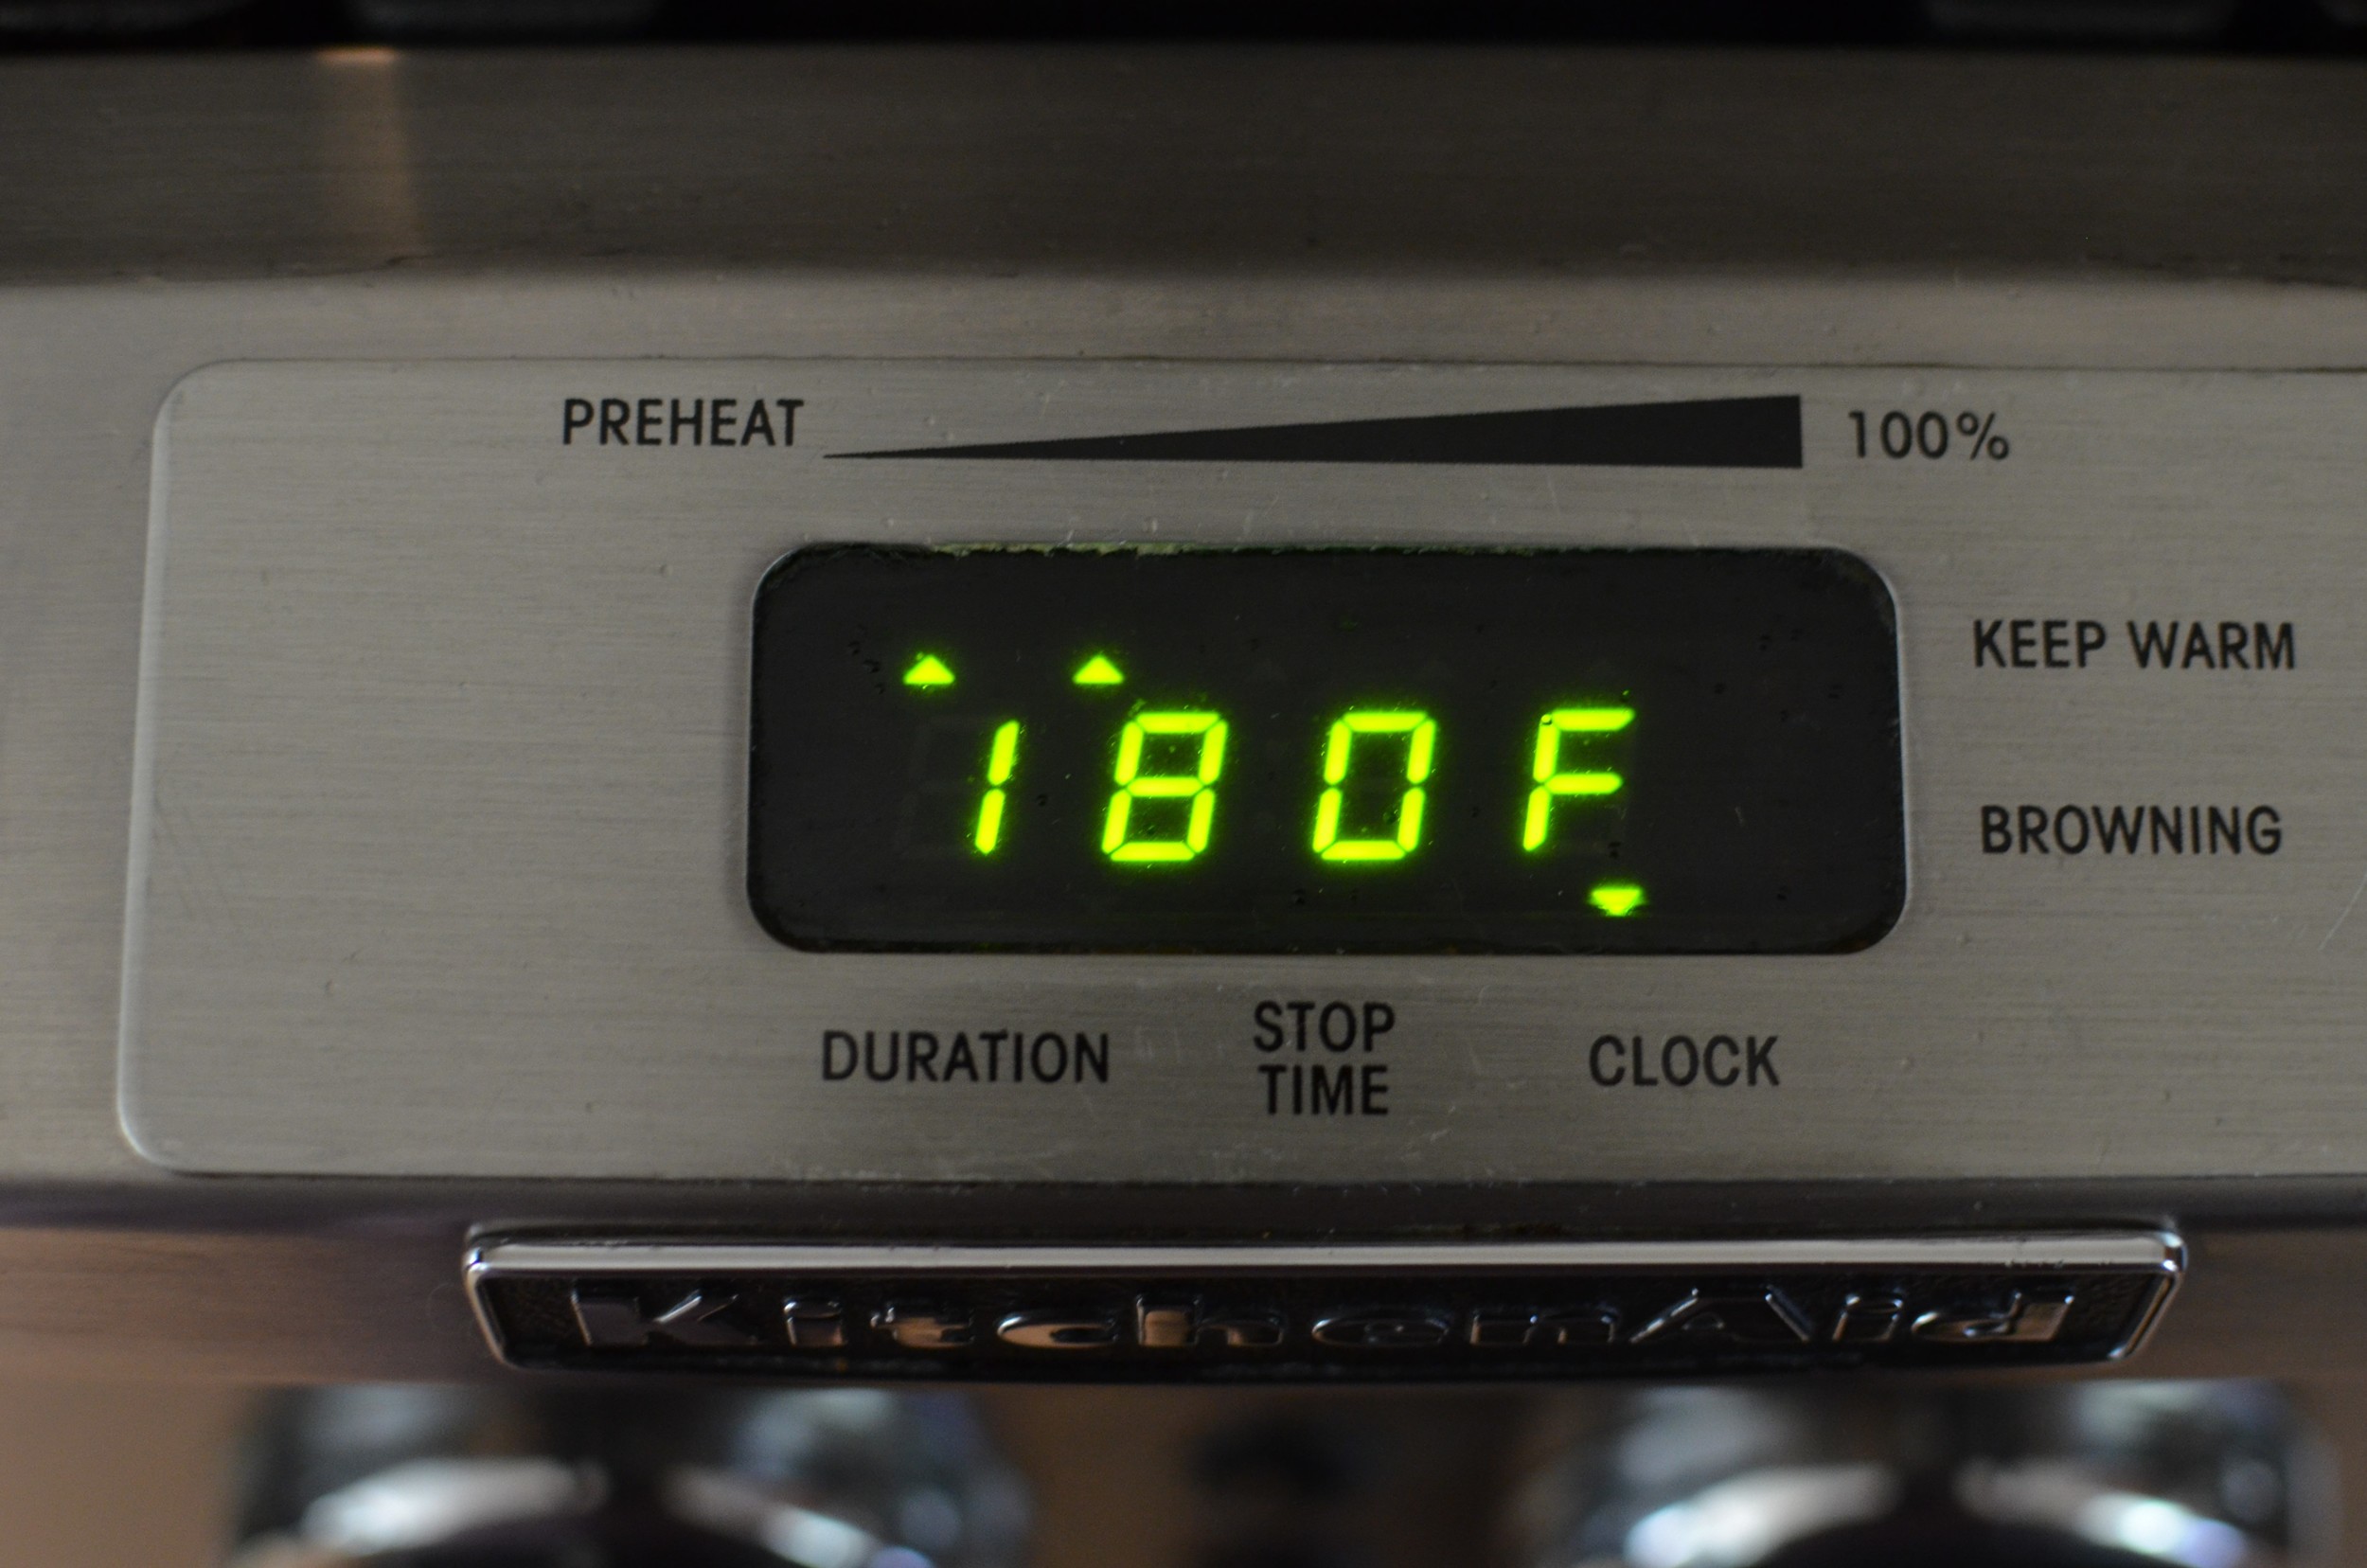
Set the oven to 180F and walk away for 10-12 hours.   Check your owner's manual - some ovens turn off after so many hours.

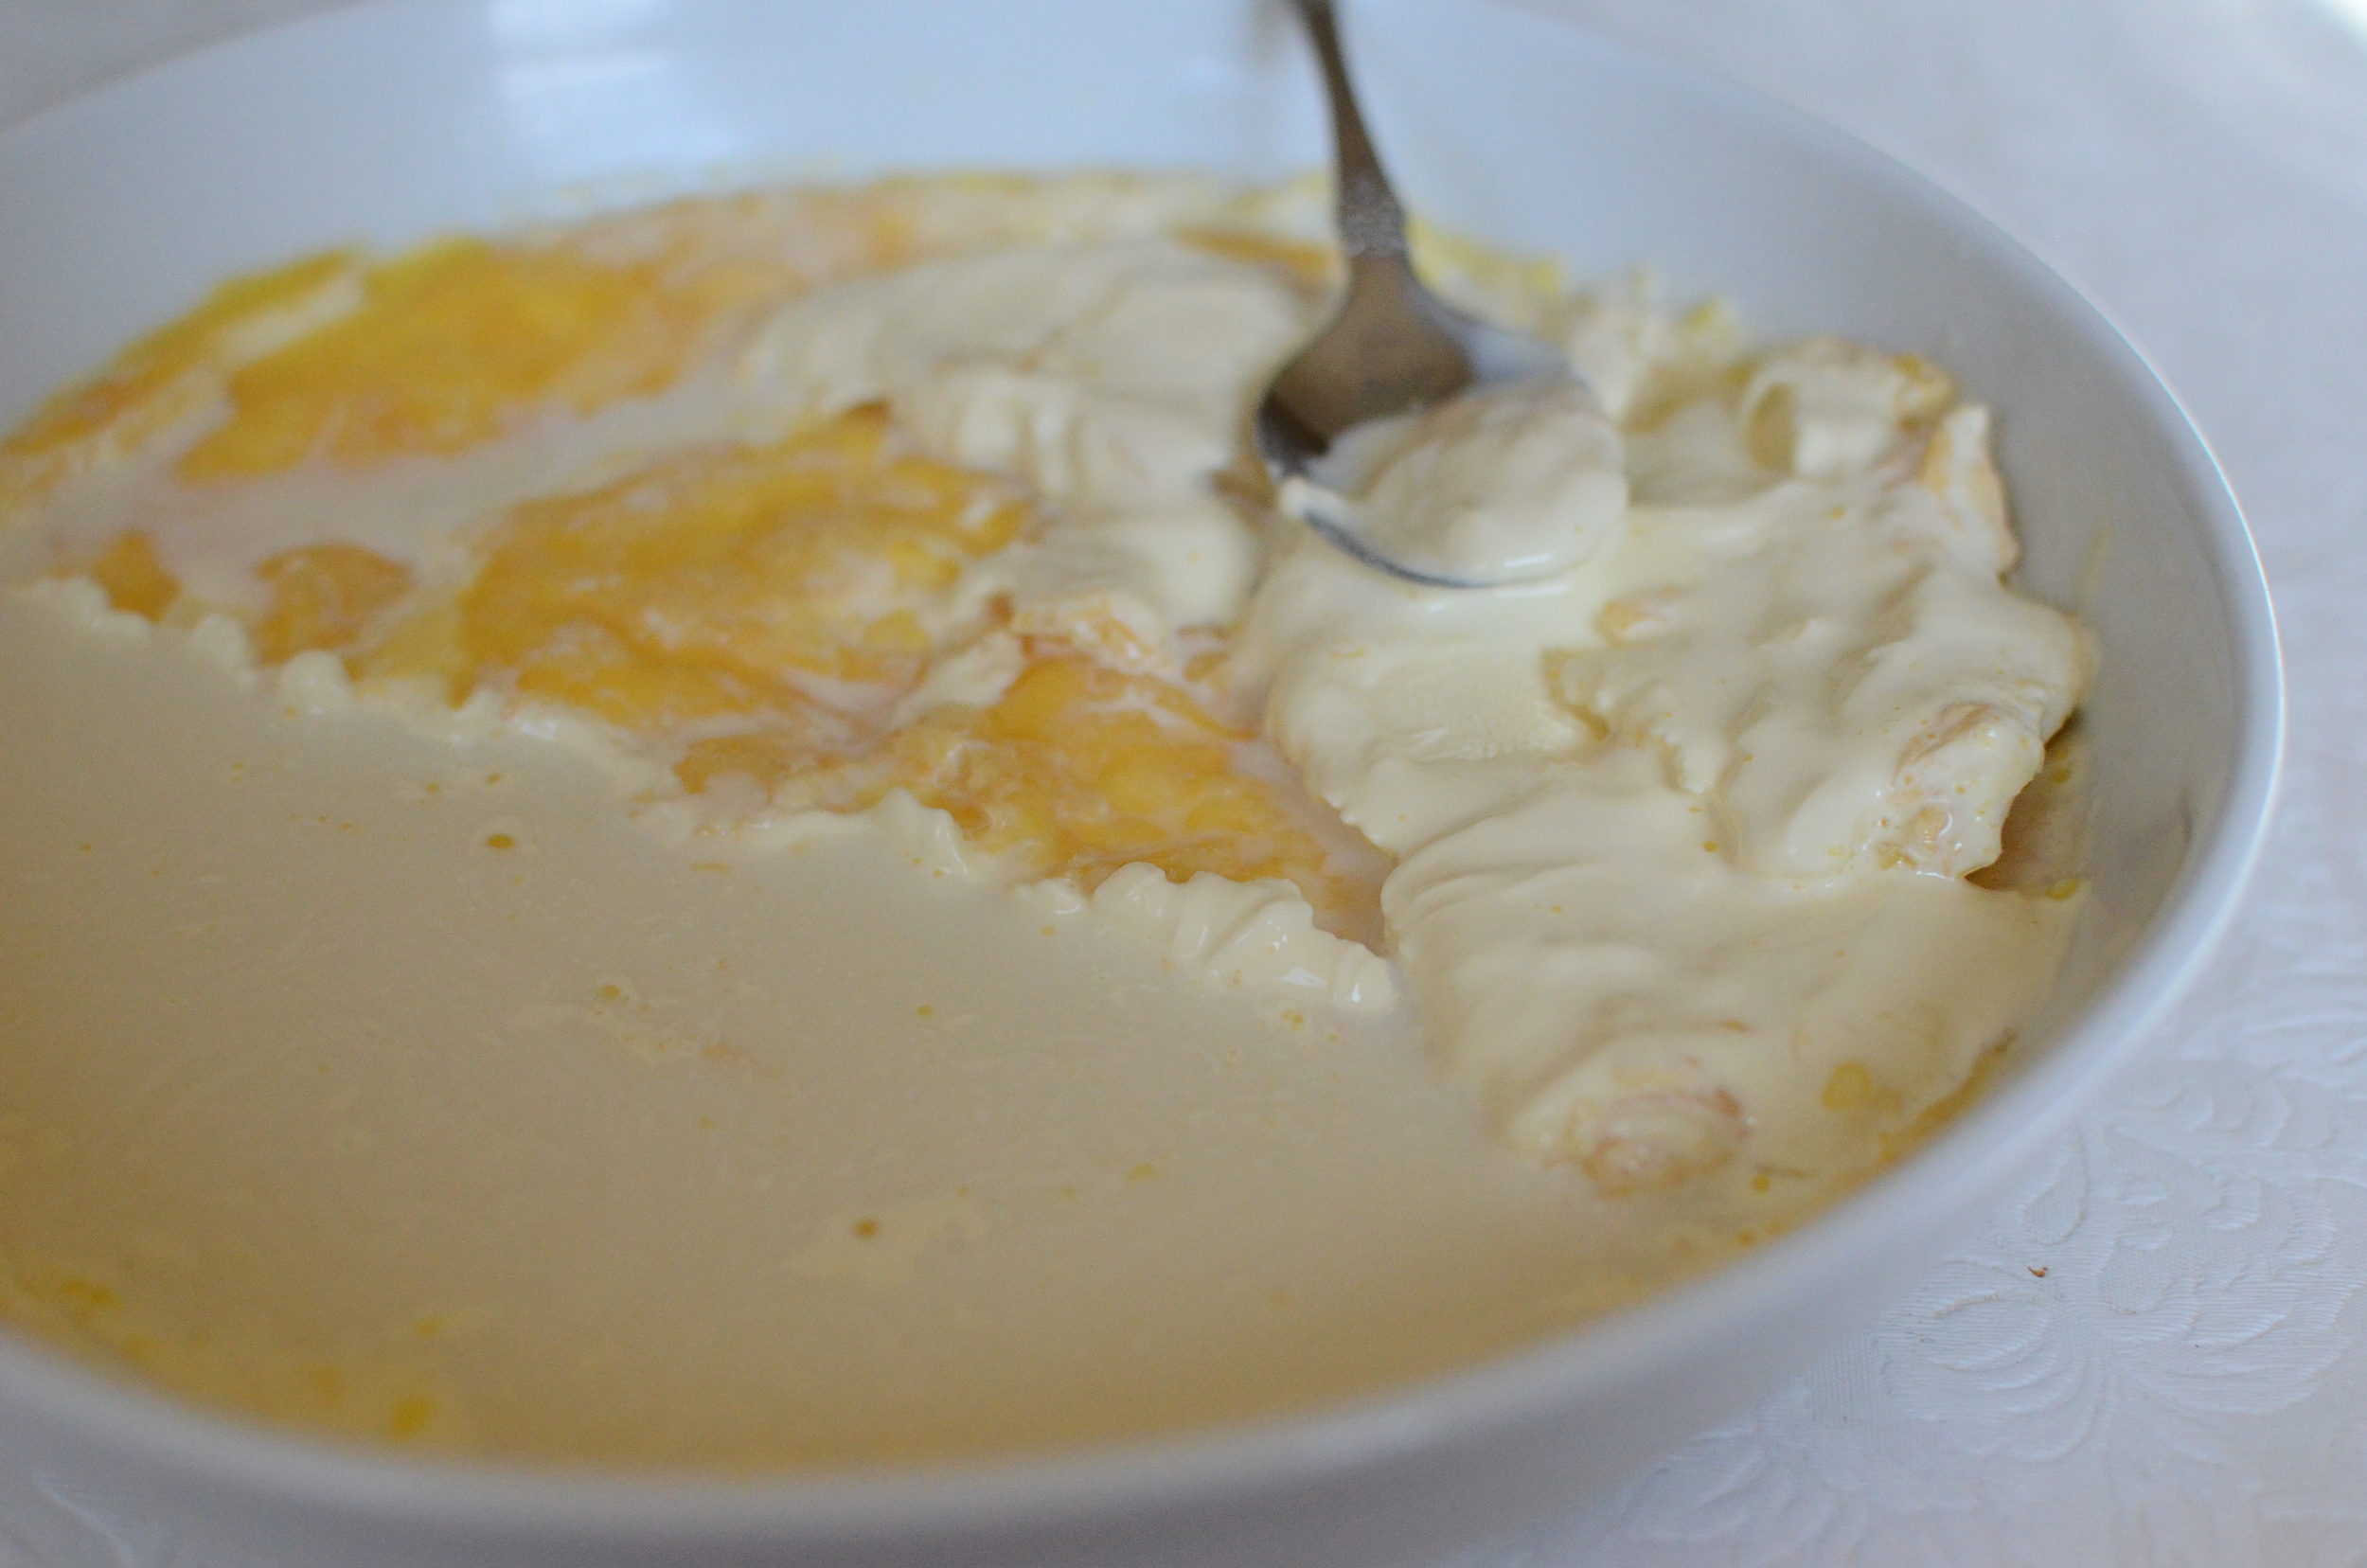
This is what the cream looks like after 12 hours in the oven.  The color has darkened a bit and the cream has thickened substantially.  But it's not done yet.  Allow the cream to cool at room temperature for an hour or so, then cover it well with plastic wrap and chill overnight.

Chilling overnight helps that clotted layer of cream thicken even further.  Remove the thickened layer from the top of the cream and store it in an airtight jar.  The remaining milky liquid can be used in baking or pour it over your breakfast cereal.  You'll end up with about 1 cup of clotted cream and 1 cup of milky liquid.

Here's what will happen if you don't cover your baking dish - some of the lovely thickened cream will crust over.  

The crusty layer peels back to reveal the clotted cream, but you'll get much more clotted cream if you cover your baking dish with foil during the baking process. 

Either way, try not to eat your weight in clotted cream at this point.  

Be strong - I know you can resist!

How to make Clotted Cream at home - Recipe and PHOTOS

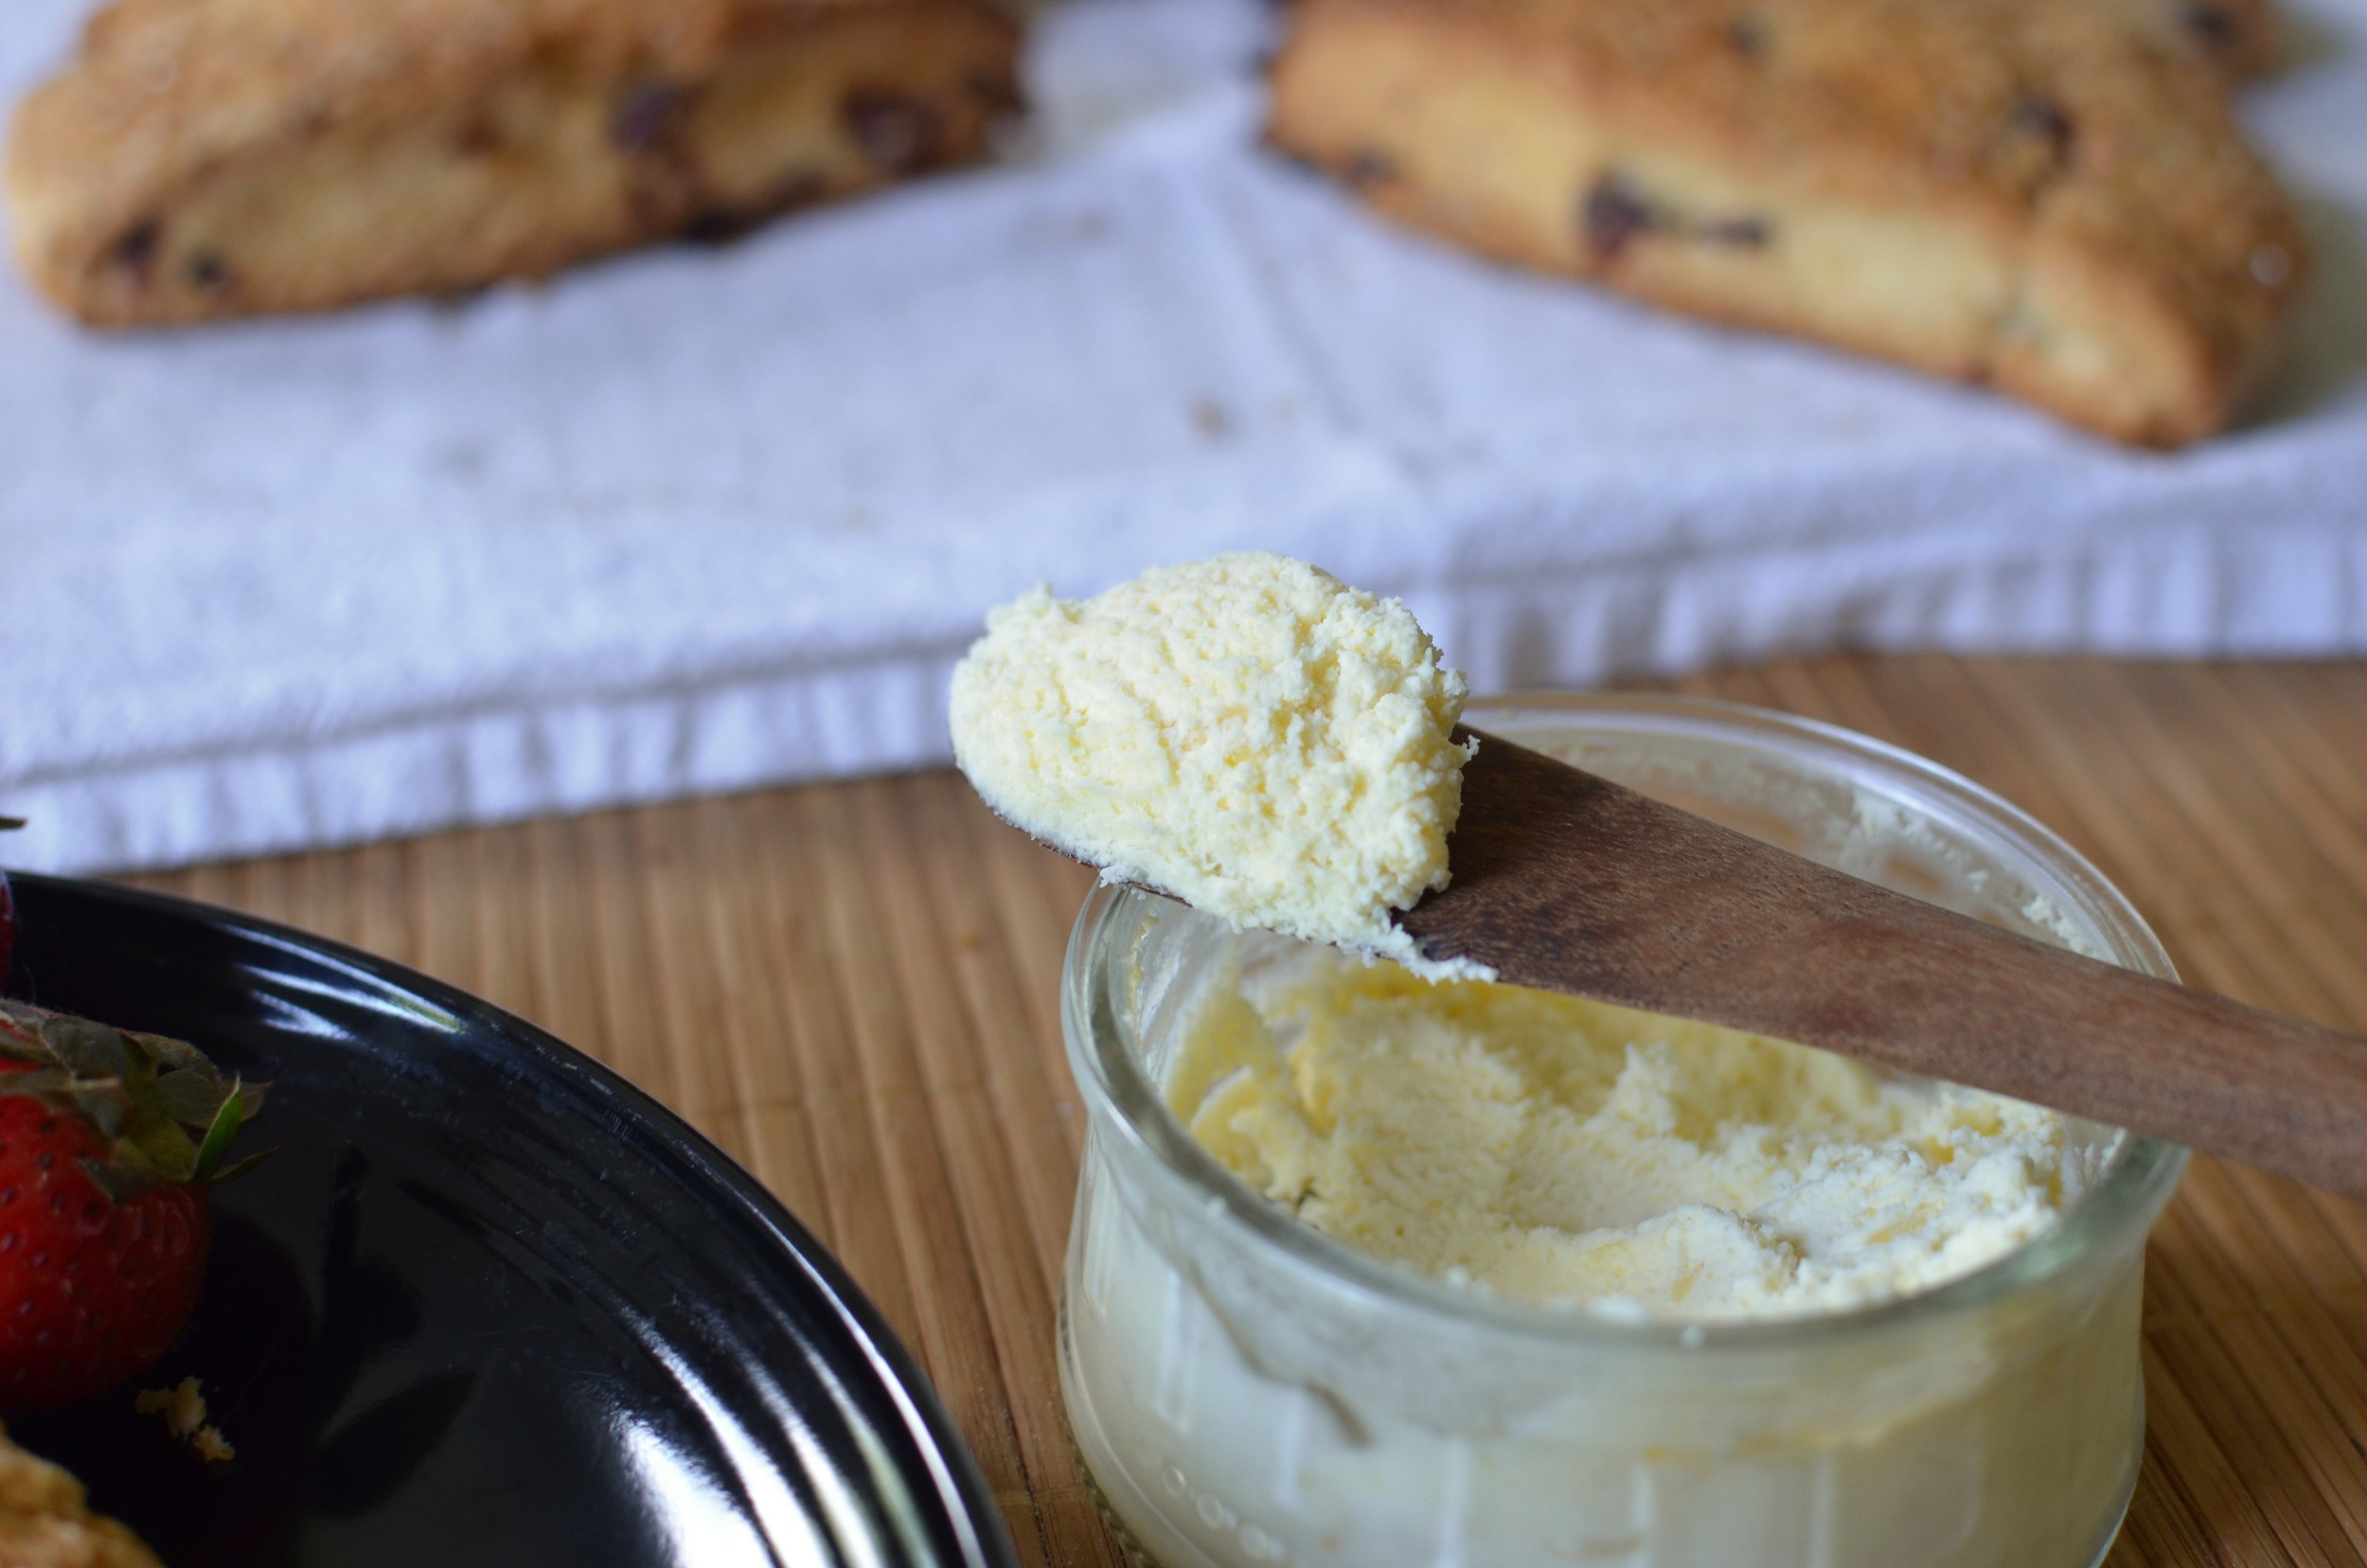
And there you have it.  Spread the clotted cream on scones or toast.  Store in an airtight container in the fridge and use within a week.  The leftover milky liquid can be used for baking or pour it on your morning oatmeal.  Enjoy! 

Items used to make this recipe:

(affiliate links)


DIY Authentic Clotted Cream

Printable Recipe

Ingredients

  • 1 pint pasteurized heavy cream (not ultra-pasteurized)

Directions

  1. Preheat oven to 180F.

  2. Pour cream into a shallow oven-safe baking dish and cover well with foil.

  3. Bake cream for 10-12 hours.

  4. Remove from oven and cool to room temperature, uncovered, for about an hour.

  5. Cover well with plastic wrap and chill overnight.

  6. Scoop clots from milky liquid and place in an airtight container. Chill well and use within a week.

Notes

  • This recipe will yield about 1 cup of clotted cream. The leftover milky liquid can be used for baking or pour it over your breakfast cereal.

  • Clotted cream and Devonshire cream are basically the same, but Devonshire cream is made in Devonshire, England.

Zucchini Meatloaf Minis

Patricia @ ButterYum

Zucchini Meatloaf Minis - ButterYum

It's late summer and either your garden is overflowing with zucchini, or your friends and family's gardens are overflowing with zucchini and they're begging you to take some off their hands, or they're sneaking some into your car, or they're leaving some at your front door, etc, etc.  Right?  So here's a great recipe that will help you use up some of that bounty.  These mini zucchini meatloaves are so moist and tasty, and because they're so small, the oven won't be on long enough to heat up the house.  I like to make a double batch so we have leftovers in the fridge to snack on.  We pop them in the microwave for about a minute and that's that.  Great for the kid's lunch box too.   

You can mix the ingredients by hand, but I like to mix them in my stand mixer using the dough hook attachment.  It mixes everything together so quickly and evenly.

This recipe makes 10 mini meatloaves - I made a double batch so that's why you see all 12 indentations filled.  If I had made a single batch, I would have left the two cups in the center empty.  By the way, these commercial quality USA Pans are totally awesome.

Are you a fan of ketchup or bbq sauce on your meatloaf?  We are.  I usually make a ketchup/brown sugar topping, but I had a jar of this country ketchup in the pantry.  It's very sweet and tangy, almost bbq-y, it was excellent all by itself.

Fun for any age.

Items used to make this recipe:

(affiliate links)


ZUCCHINI MEATLOAF MINIS

makes 10 mini meatloaves

Printable Recipe

Ingredients

  • 1 1/2 pounds lean ground beef

  • 1 cup grated zucchini

  • 2 tablespoons grated onion

  • 3/4 cup Italian seasoned bread crumbs

  • 1/4 cup ketchup

  • 1 egg

  • 1 teaspoon kosher salt

  • 1/2 teaspoon ground black pepper

  • 1/2 cup ketchup or barbecue sauce (optional)

Directions

  1. Preheat oven to 350F and spray a 12-cup muffin pan with non-stick baking spray.

  2. Combine the beef, zucchini, onion, bread crumbs, ketchup, egg, salt, and pepper (I like to do this in the stand mixer fitted with a dough hook).

  3. Divide meat mixture evenly among 10 muffin cups and top each with about a tablespoon of barbecue sauce (or your favorite ketchup/brown sugar meatloaf topping).

  4. Bake for about 25 minutes.

  5. Rest for 5 minutes before removing from pan.

Notes

  • Depending on the fat content of the beef used, you may need to blot fat to drain from mini meatloaves after removing them from the pan.

  • Also, if your shredded zucchini is very wet, you may want to squeeze some of the moisture out of it before adding to the meat mixture. I used medium sized zucchinis and didn't feel the need to squeeze any moisture out of them.