contact us

Use the form on the right to contact us.

You can edit the text in this area, and change where the contact form on the right submits to, by entering edit mode using the modes on the bottom right.

Form Block
This form needs a storage option. Double-click here to edit this form, and tell us where to save form submissions in the Storage tab. Learn more
         

123 Street Avenue, City Town, 99999

(123) 555-6789

email@address.com


You can set your address, phone number, email and site description in the settings tab.
Link to read me page with more information.

Blog

Butteryum food blog recipes

DIY Gummy Snacks

Patricia @ ButterYum

DIY Gummy Snacks - ButterYum

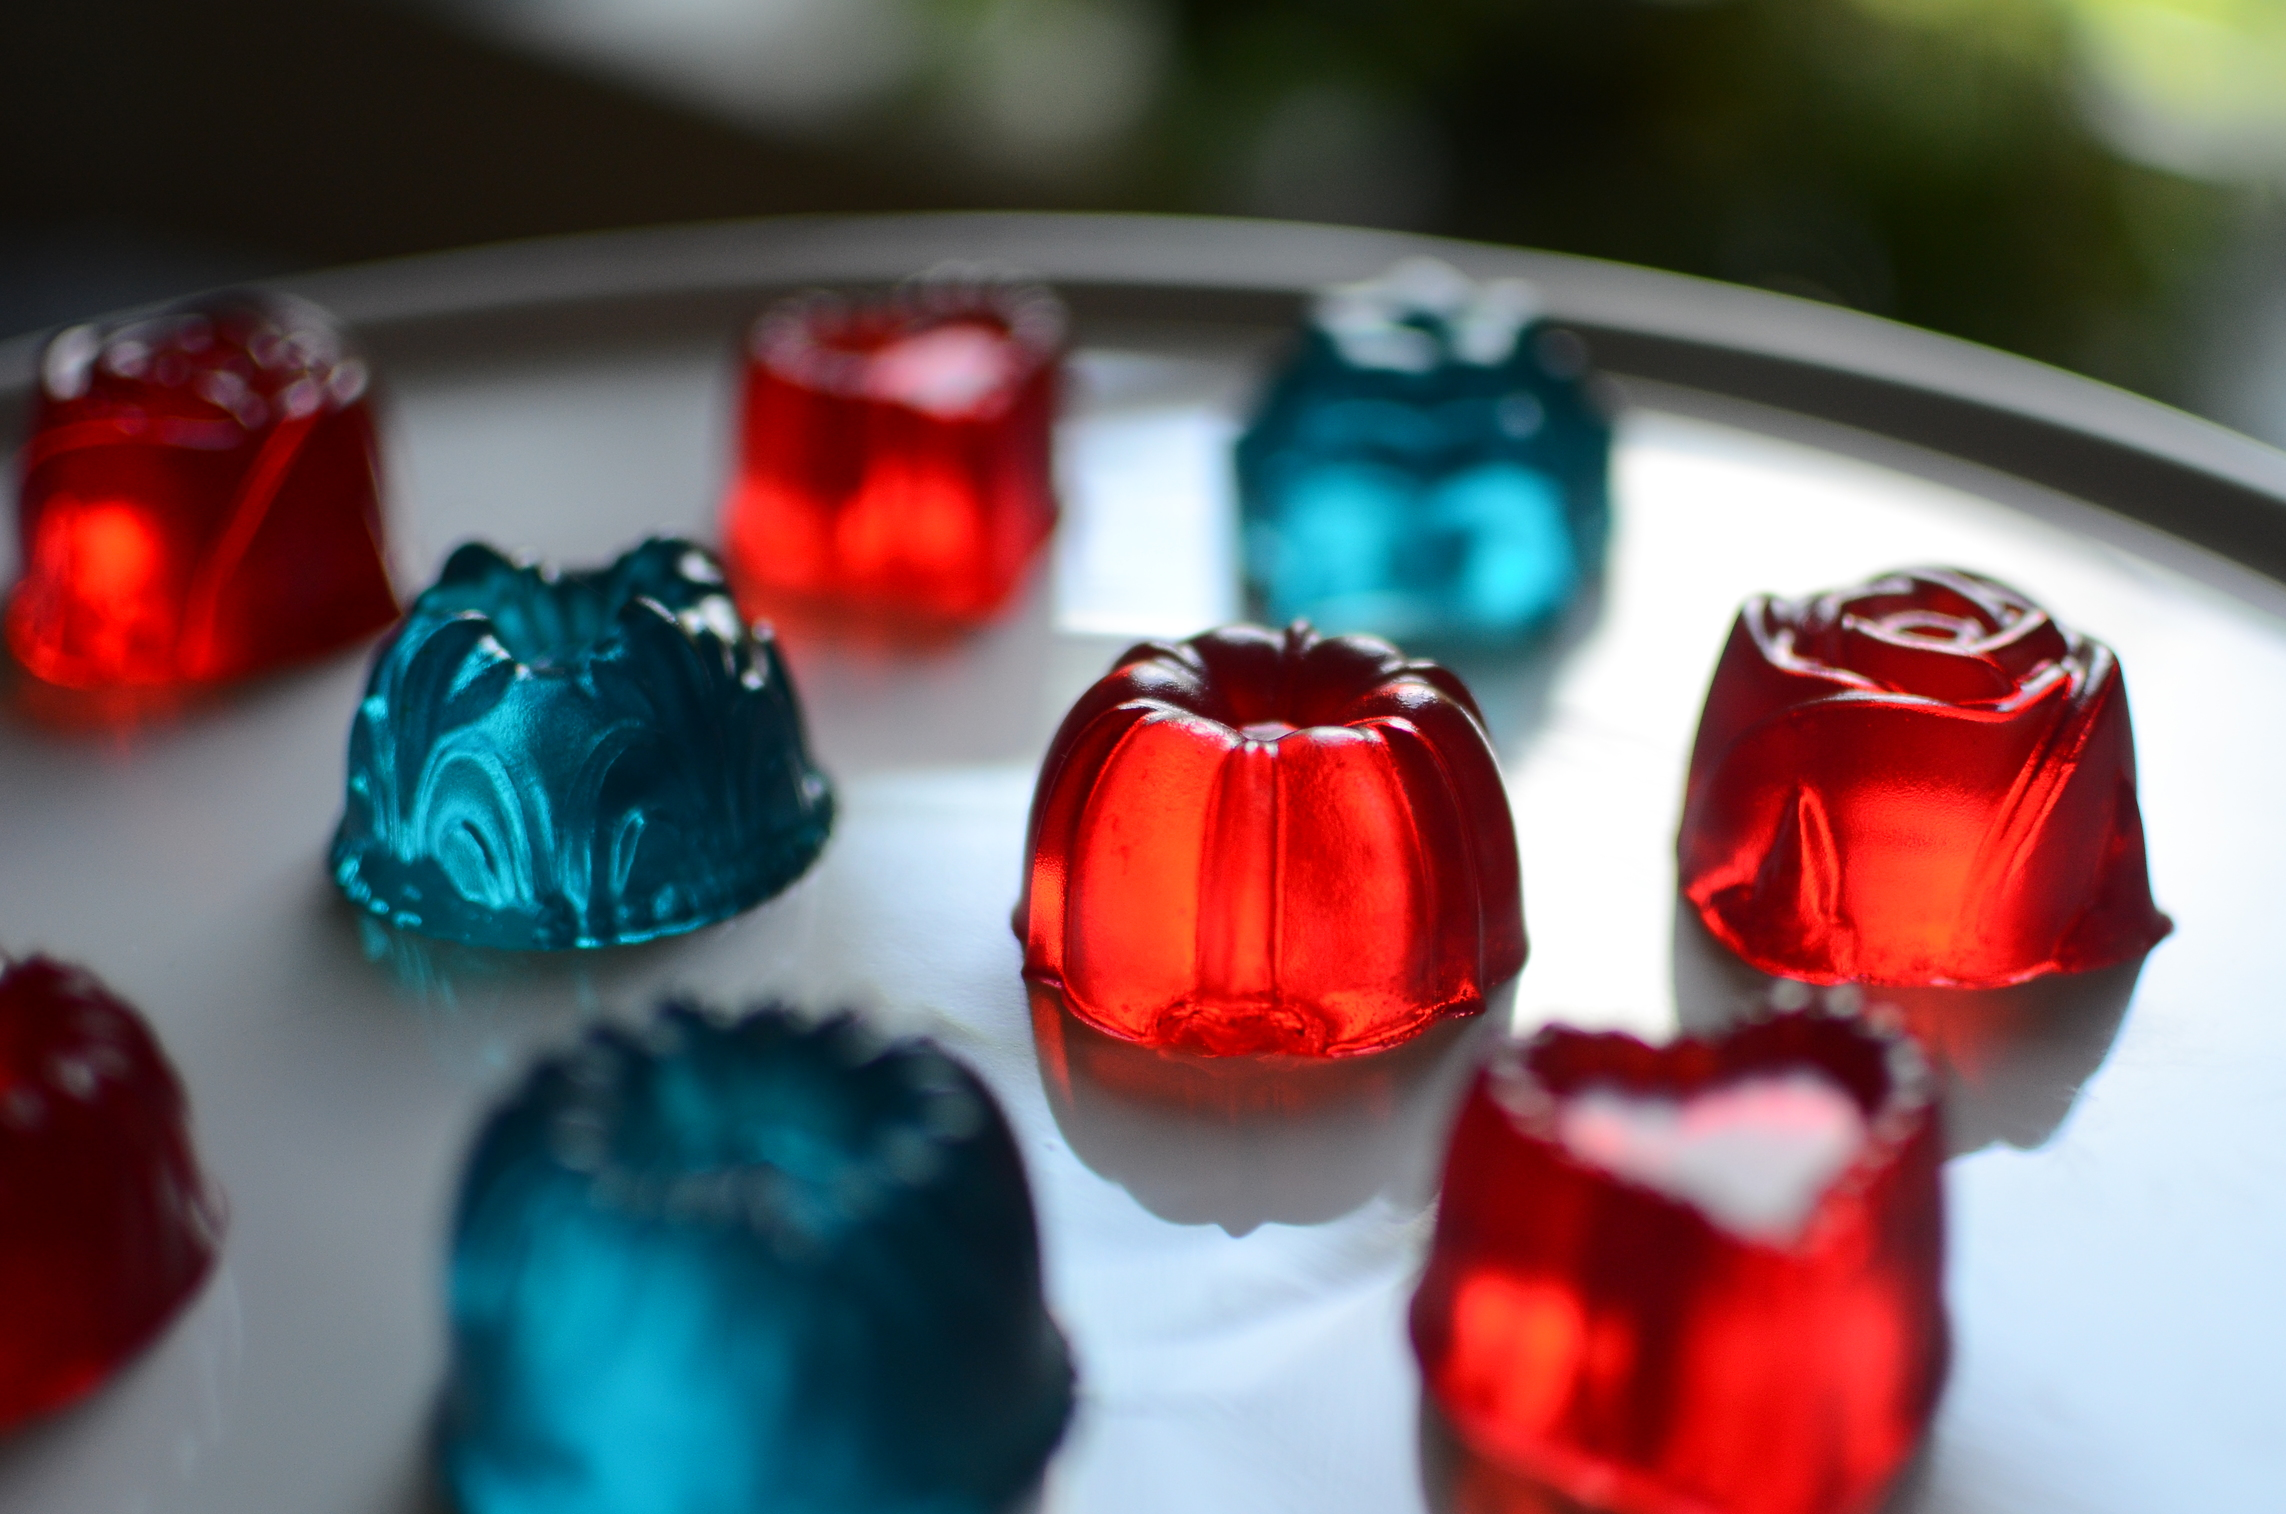
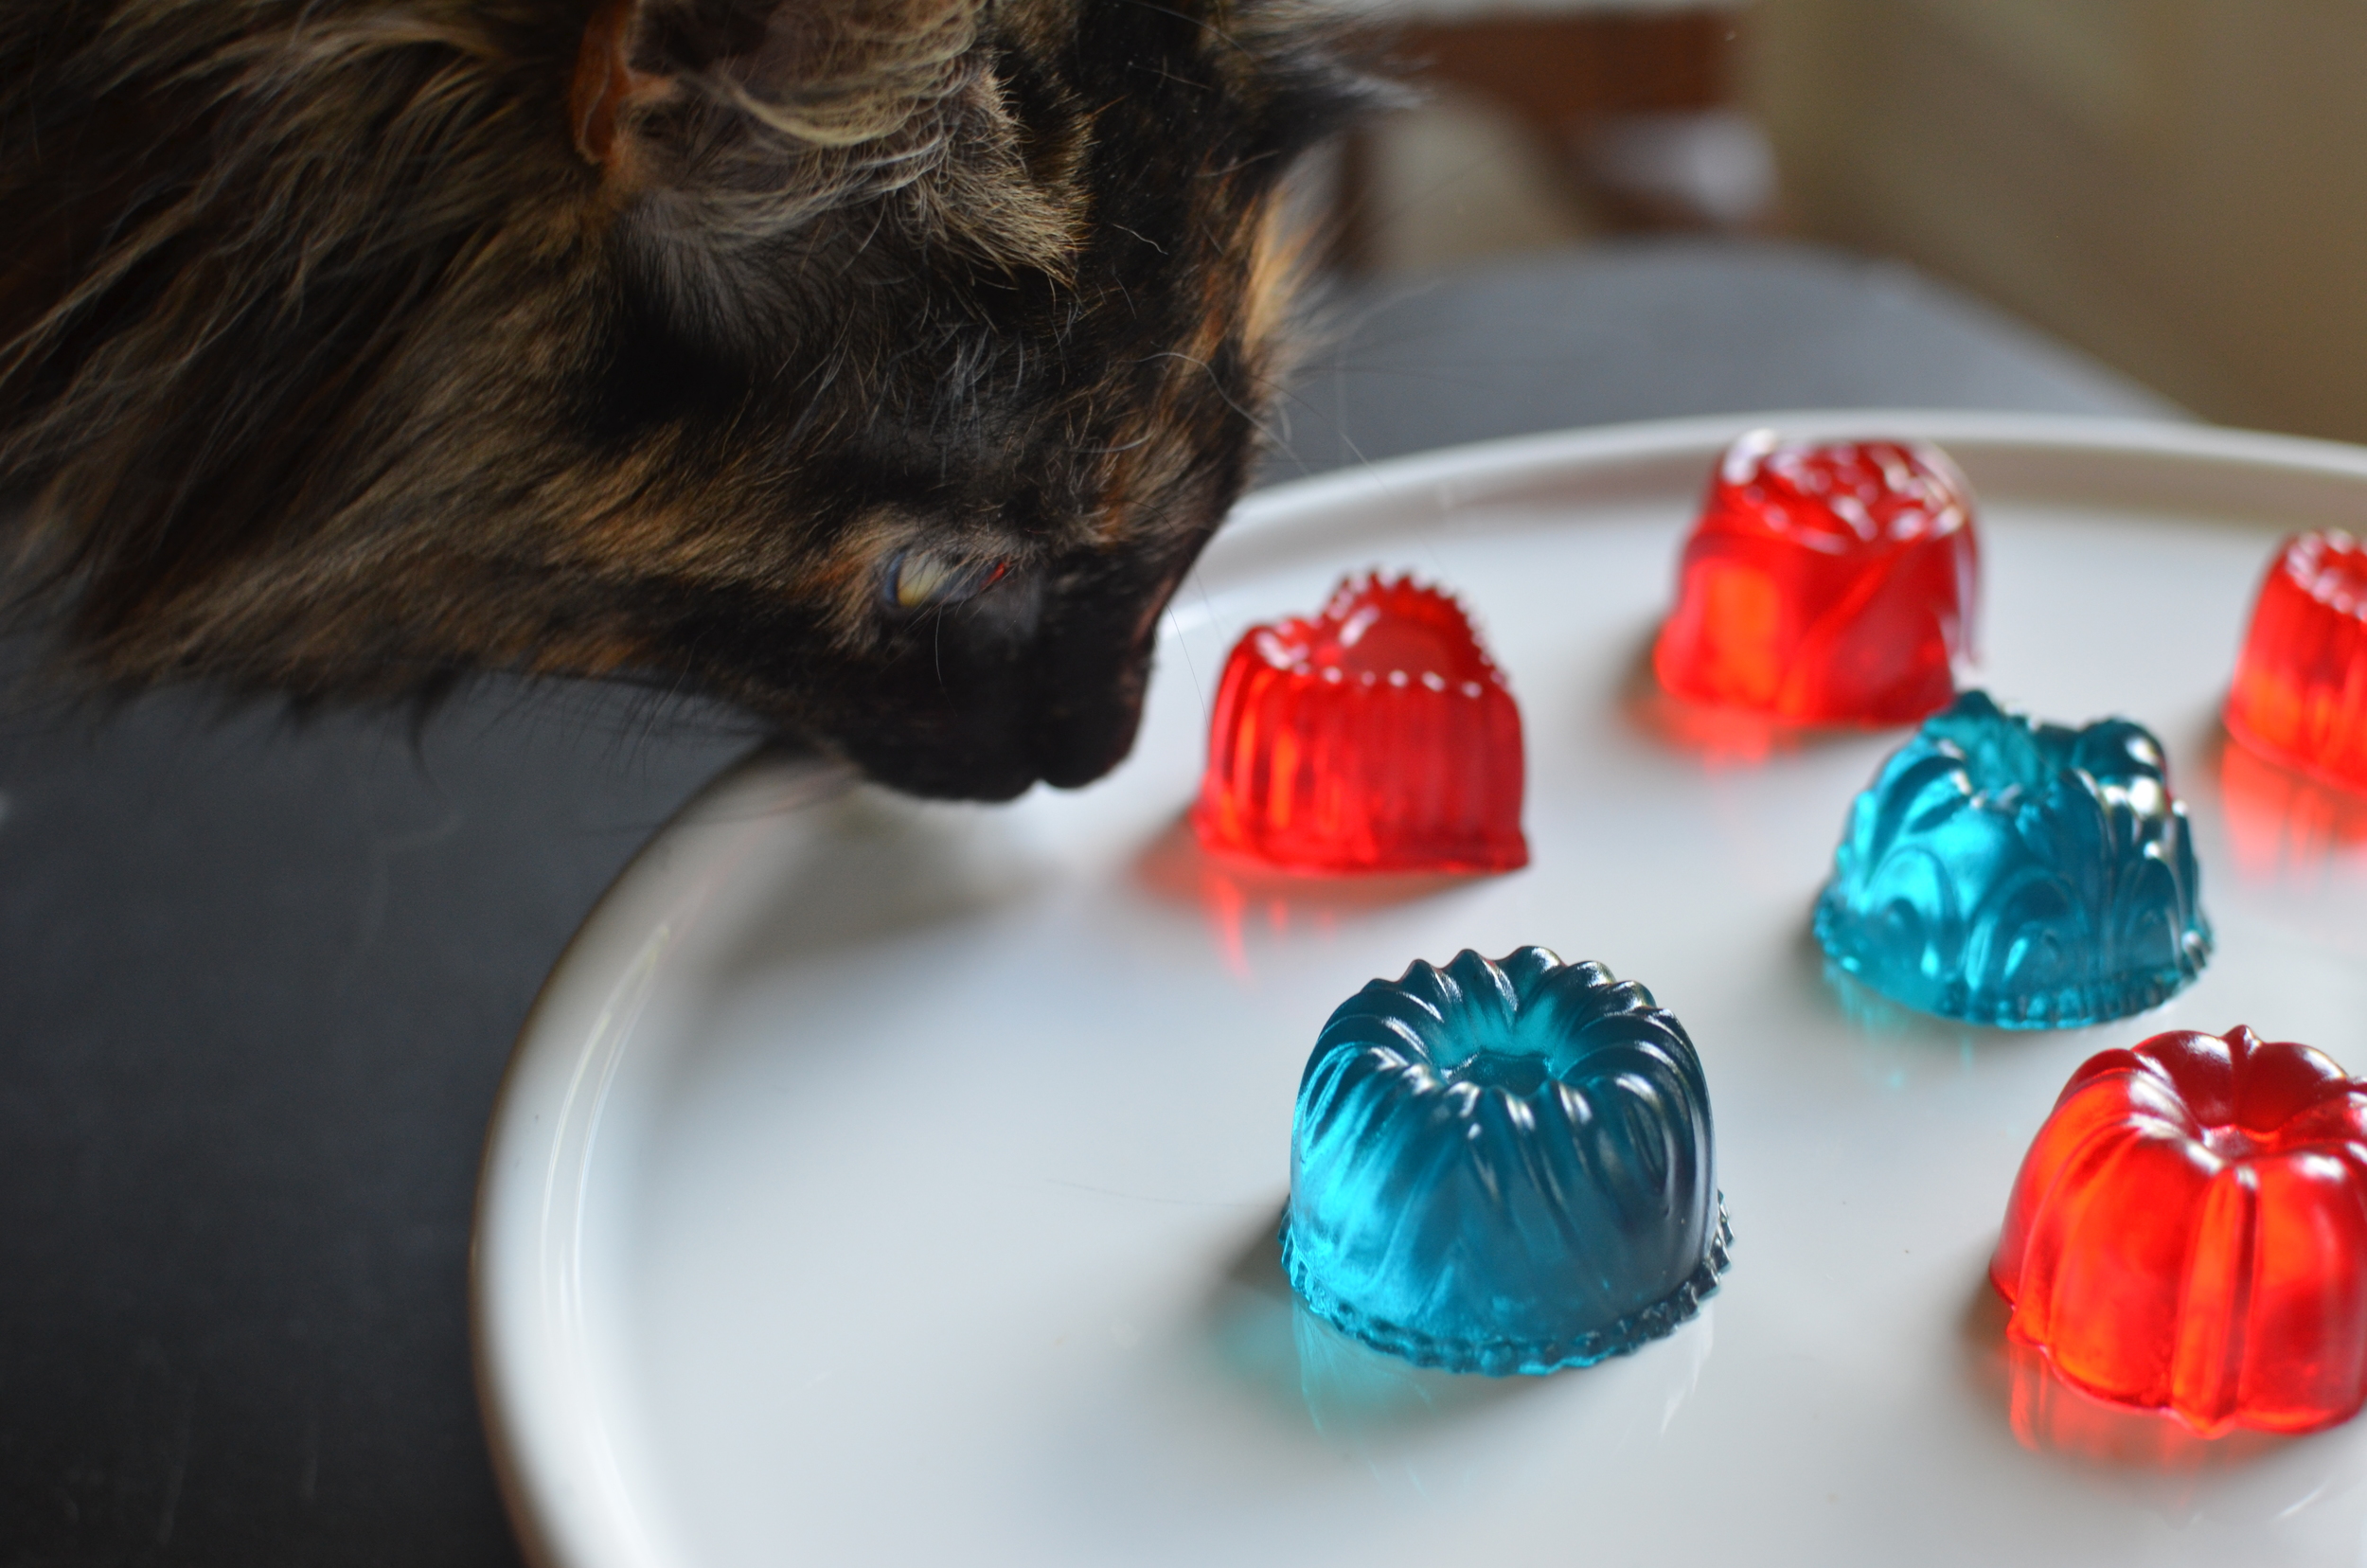
I bet you didn't know you could make your own homemade Gummies.   We used a mini teacake pan and a couple of chocolate molds to make ours, but the options are practically endless so get creative and have fun making all kinds of shapes.  

The mixture doesn't take long to make, but plan ahead. Once the molds are filled, they'll need to rest at room temperature for 5-6 hours before the candies can be unmolded. 

DSC_0475.JPG

If any bubbles form, just use a spoon to remove them.

DIY Gummy Snacks

Printable Recipe

Ingredients

  • 1/2 cup cool water

  • 1/4 cup light corn syrup

  • 2 tablespoons unflavored gelatin (two packets, 1/4 ounce or 7 grams each)

  • 3-ounce package Jell-O, any flavor

Directions

  1. In a small nonstick saucepan, combine water and corn syrup using a heat-proof silicone spatula (no heat at this point).

  2. Add the Jell-O and unflavored gelatin; stir until dissolved.

  3. Heat mixture over medium-low heat, stirring occasionally for 5 minutes.

  4. Remove from heat and allow to cool for 10 minutes.

  5. Scrape foam from surface; discard.

  6. Transfer remaining mixture to an easy-pour container or condiment bottle.

  7. Carefully fill candy molds; allow to rest at room temperature for 6 hours.

  8. Remove gummy treats from molds and enjoy.

Notes

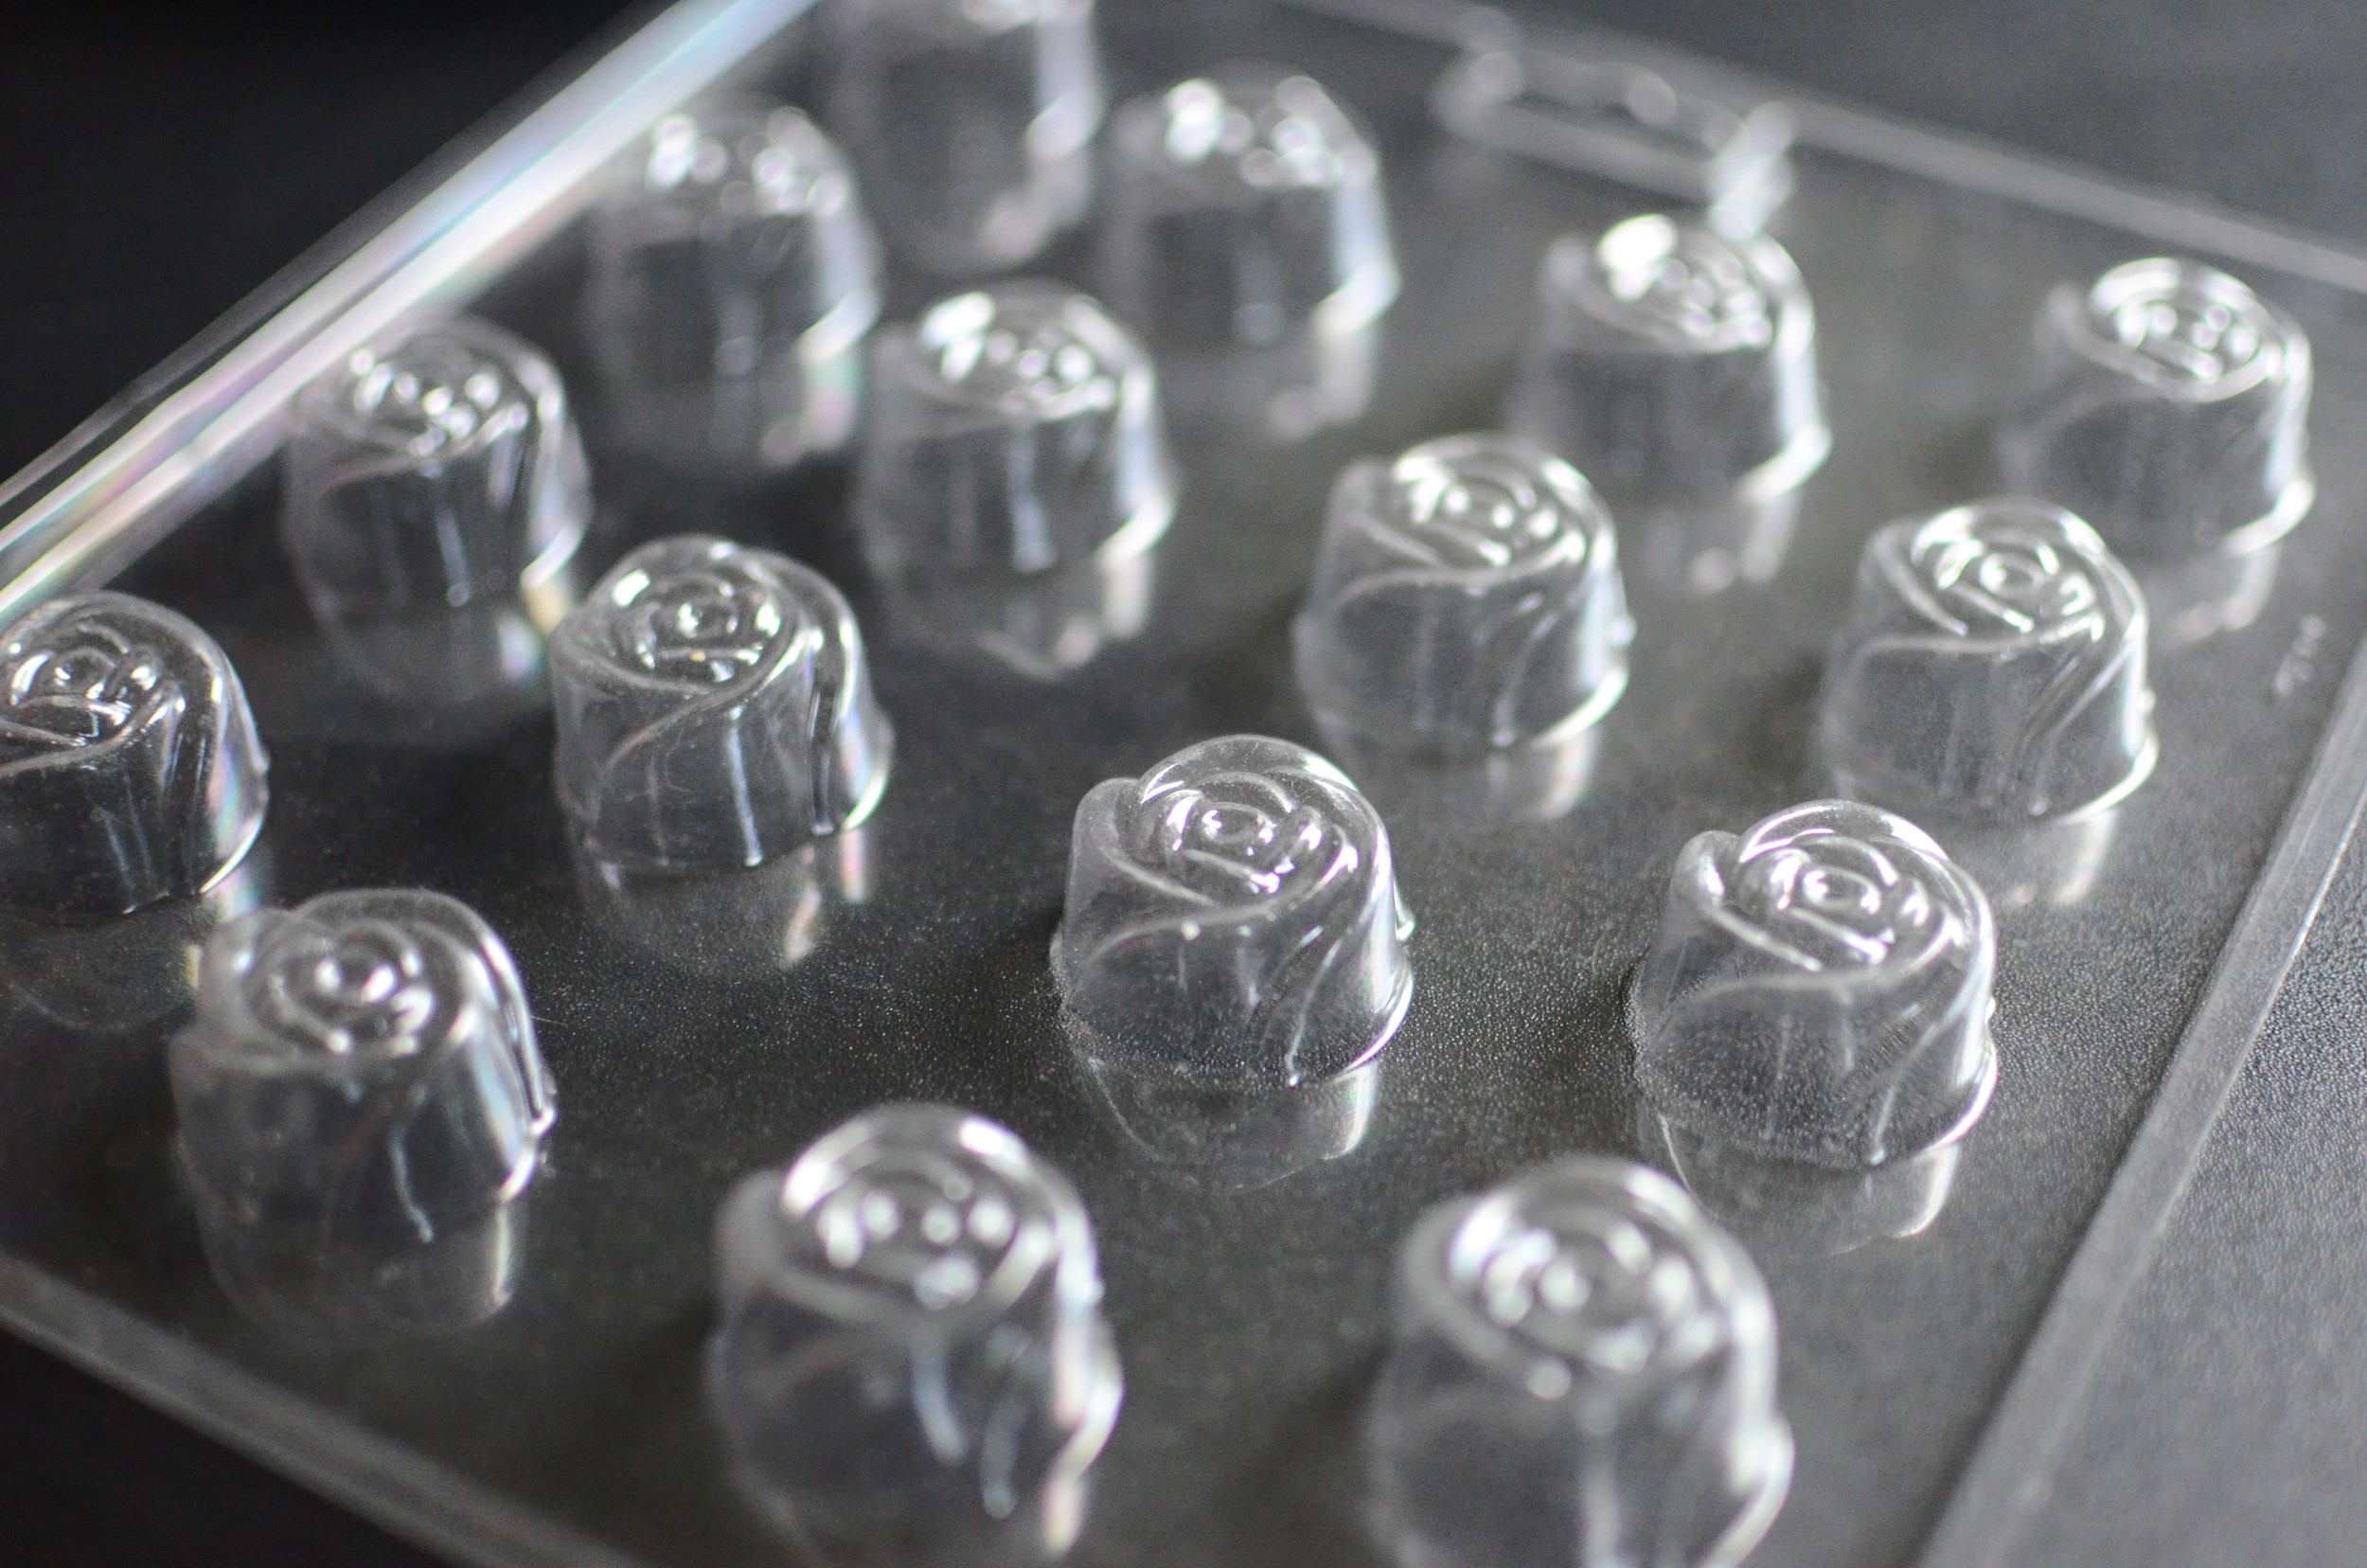
  • I used this metal teacake pan and these and candy molds.  

  • Feel free to use any shape candy, chocolate, soap molds (obviously, soap molds that have never been used to make soap).  

  • There is no need to coat the molds with nonstick spray before filling.  


Hot Milk Cake

Patricia @ ButterYum

Today I'm going to share an old fashioned recipe for Hot Milk Cake.  I don't know why it's fallen off the grid, but this is my attempt to put it back.  So simple and satisfying.  It's sweet and really doesn't need any frosting, but I love to serve it with macerated strawberries and a dollop of freshly whipped cream.  I promise you will not be disappointed with this one.   

Items used to make this recipe:

(affiliate links)


Hot Milk Cake

Printable Recipe

Ingredients

  • 2 1/4 cups all purpose flour

  • 2 1/4 teaspoons baking powder

  • 1/4 teaspoon fine salt

  • 1 1/4 cups whole milk

  • 10 tablespoons unsalted butter

  • 4 eggs, room temperature

  • 2 cups granulated sugar

  • 1 teaspoon pure vanilla extract

Directions

  1. Preheat oven to 350F.

  2. Spray a 9x13-inch cake pan with Baker's Joy; set aside.

  3. In a small bowl, whisk together the flour, baking powder, and salt; set aside.

  4. In a small saucepan, heat milk and butter just until butter is melted; set aside.

  5. In the bowl of a stand mixer fitted with the whisk attachment, beat eggs on high speed for a full 5 minutes until very light yellow in color.

  6. Add the sugar and vanilla; mix until combined.

  7. Add flour mixture; mix until combined and smooth.

  8. Slowly add the milk mixture; mix until combined and smooth.

  9. Pour batter into prepared cake pan.

  10. Bake for 30-35 minutes or until a toothpick inserted near the center comes out clean.

  11. Cool completely on a wire rack before cutting. Serve with fresh fruit and whipped cream. Makes 12 servings.

Note

  • To macerate strawberries:  toss sliced strawberries with granulated sugar to taste; stir well and refrigerate for at least 30 minutes until they darken and turn nice and juicy.