contact us

Use the form on the right to contact us.

You can edit the text in this area, and change where the contact form on the right submits to, by entering edit mode using the modes on the bottom right.

Form Block
This form needs a storage option. Double-click here to edit this form, and tell us where to save form submissions in the Storage tab. Learn more
         

123 Street Avenue, City Town, 99999

(123) 555-6789

email@address.com


You can set your address, phone number, email and site description in the settings tab.
Link to read me page with more information.

Blog

Butteryum food blog recipes

Carrot Cake Cheesecake

Patricia @ ButterYum
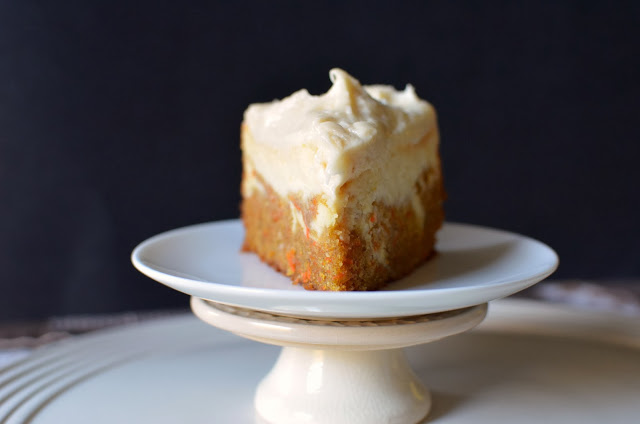
When my oldest was a little guy, he would request carrot cake for his birthday, but once he discovered cheesecake, that was the end of that.  So when he told me recently that he kind of missed carrot cake and was having a hard time deciding which to choose for this year's birthday celebration, I decided to surprise him with both.  This cake is a totally awesome hybrid - moist carrot cake swirled together with a creamy cheesecake layer, then topped with a smooth and flavorful cream cheese topping - Wowzers!  It was so good one of my daughters has already claimed it for her next birthday celebration.  Plan to make this cheesecake at least 6 hours before you want to serve it.
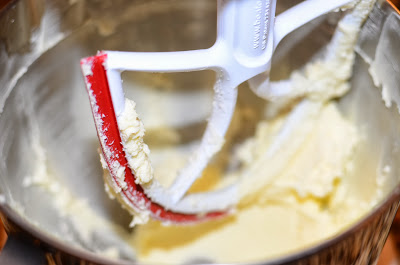
The BeaterBlade is the best attachment to use for making cheesecake (and about a million other things).
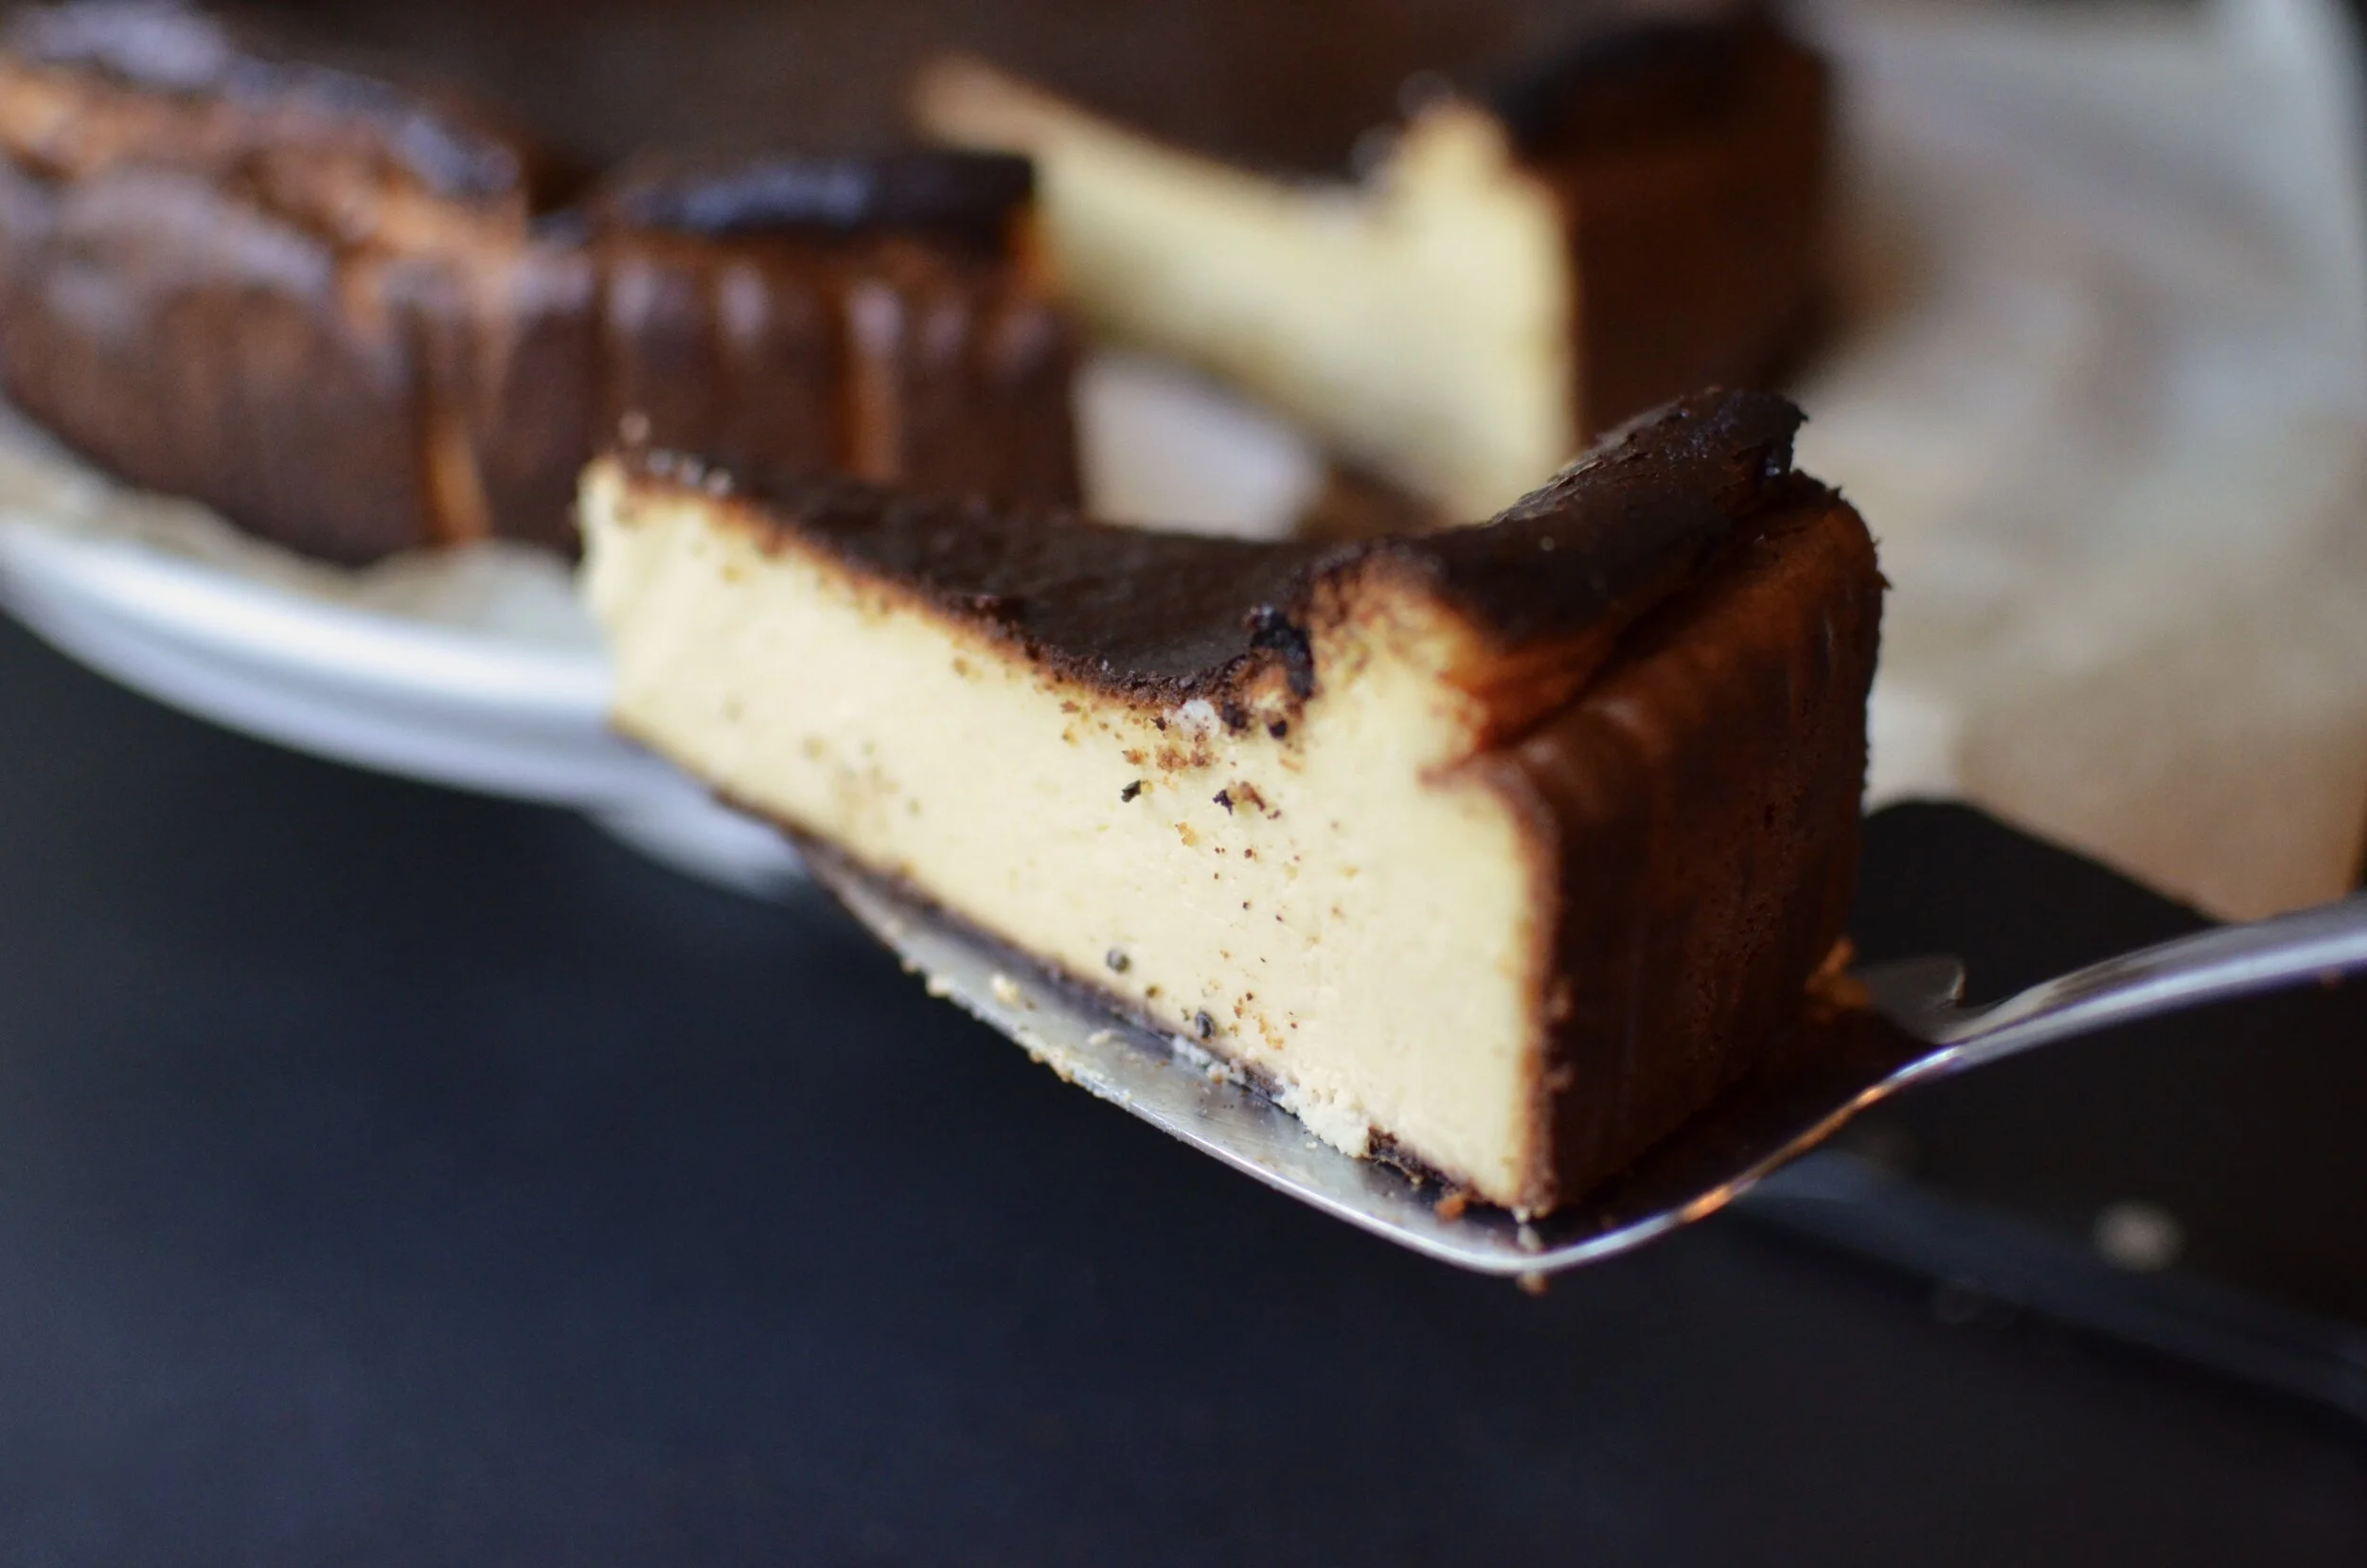
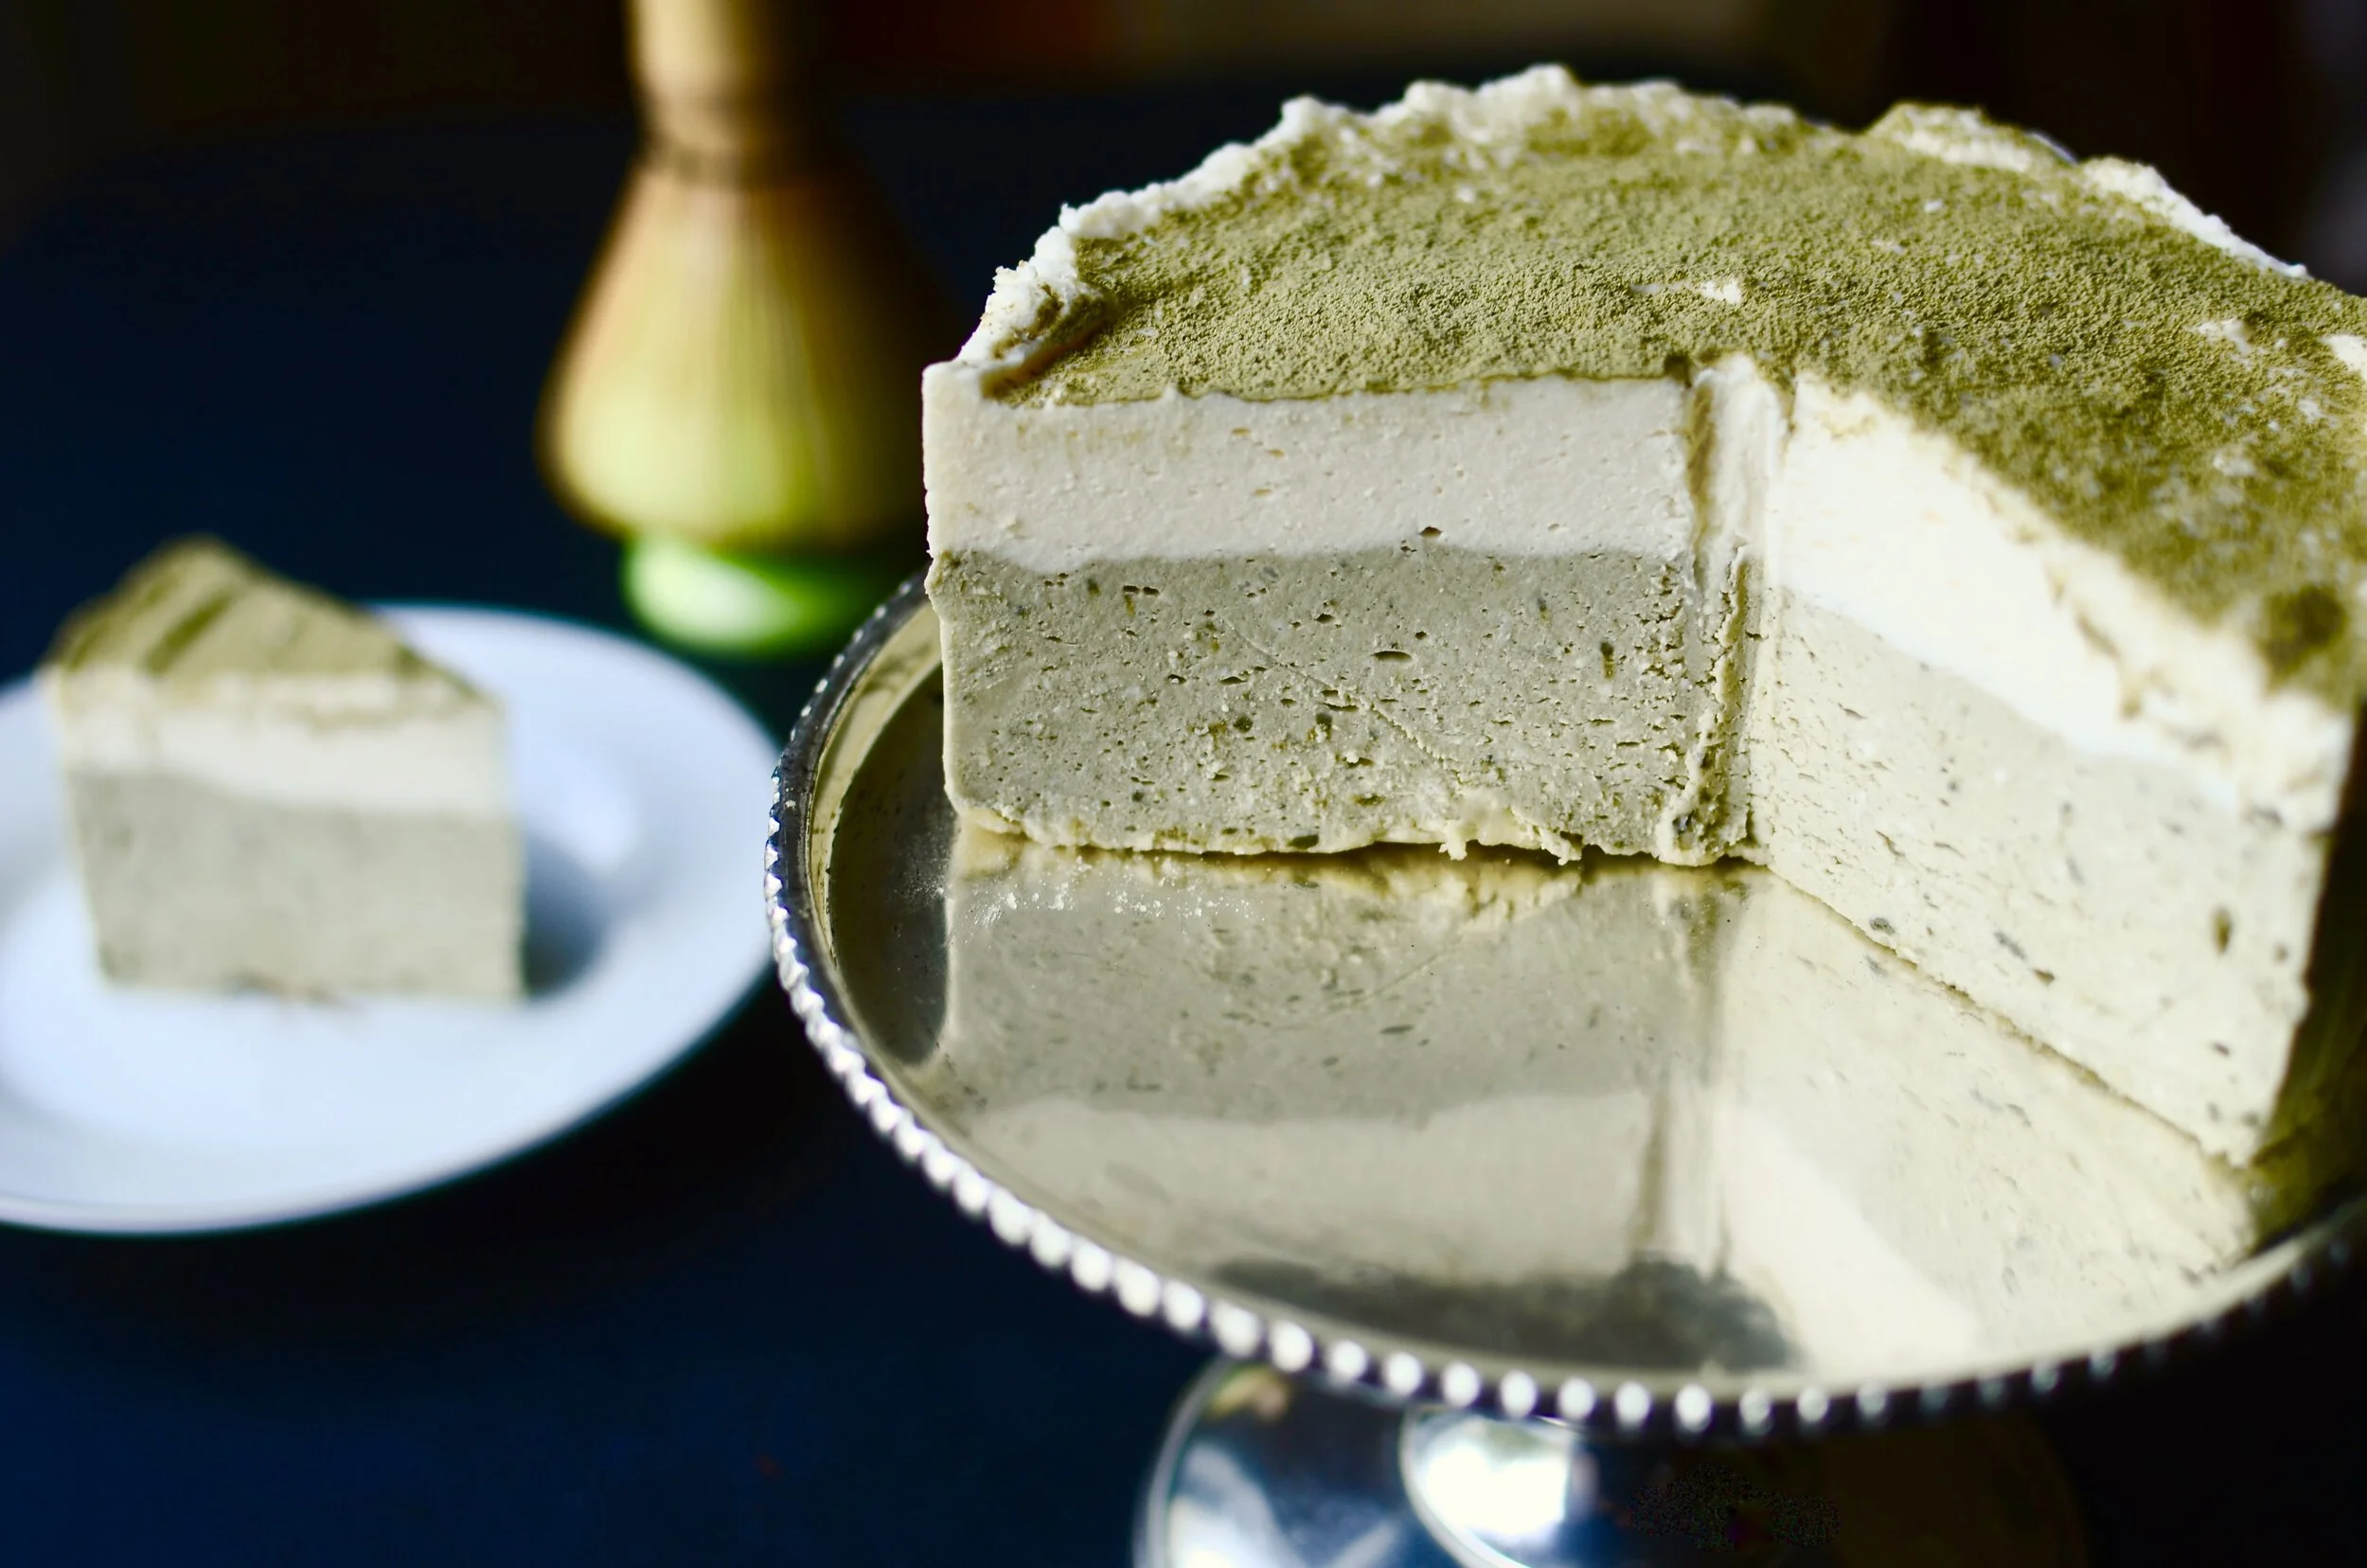
The BeaterBlade is the best attachment to use for making cheesecake (and about a million other things).
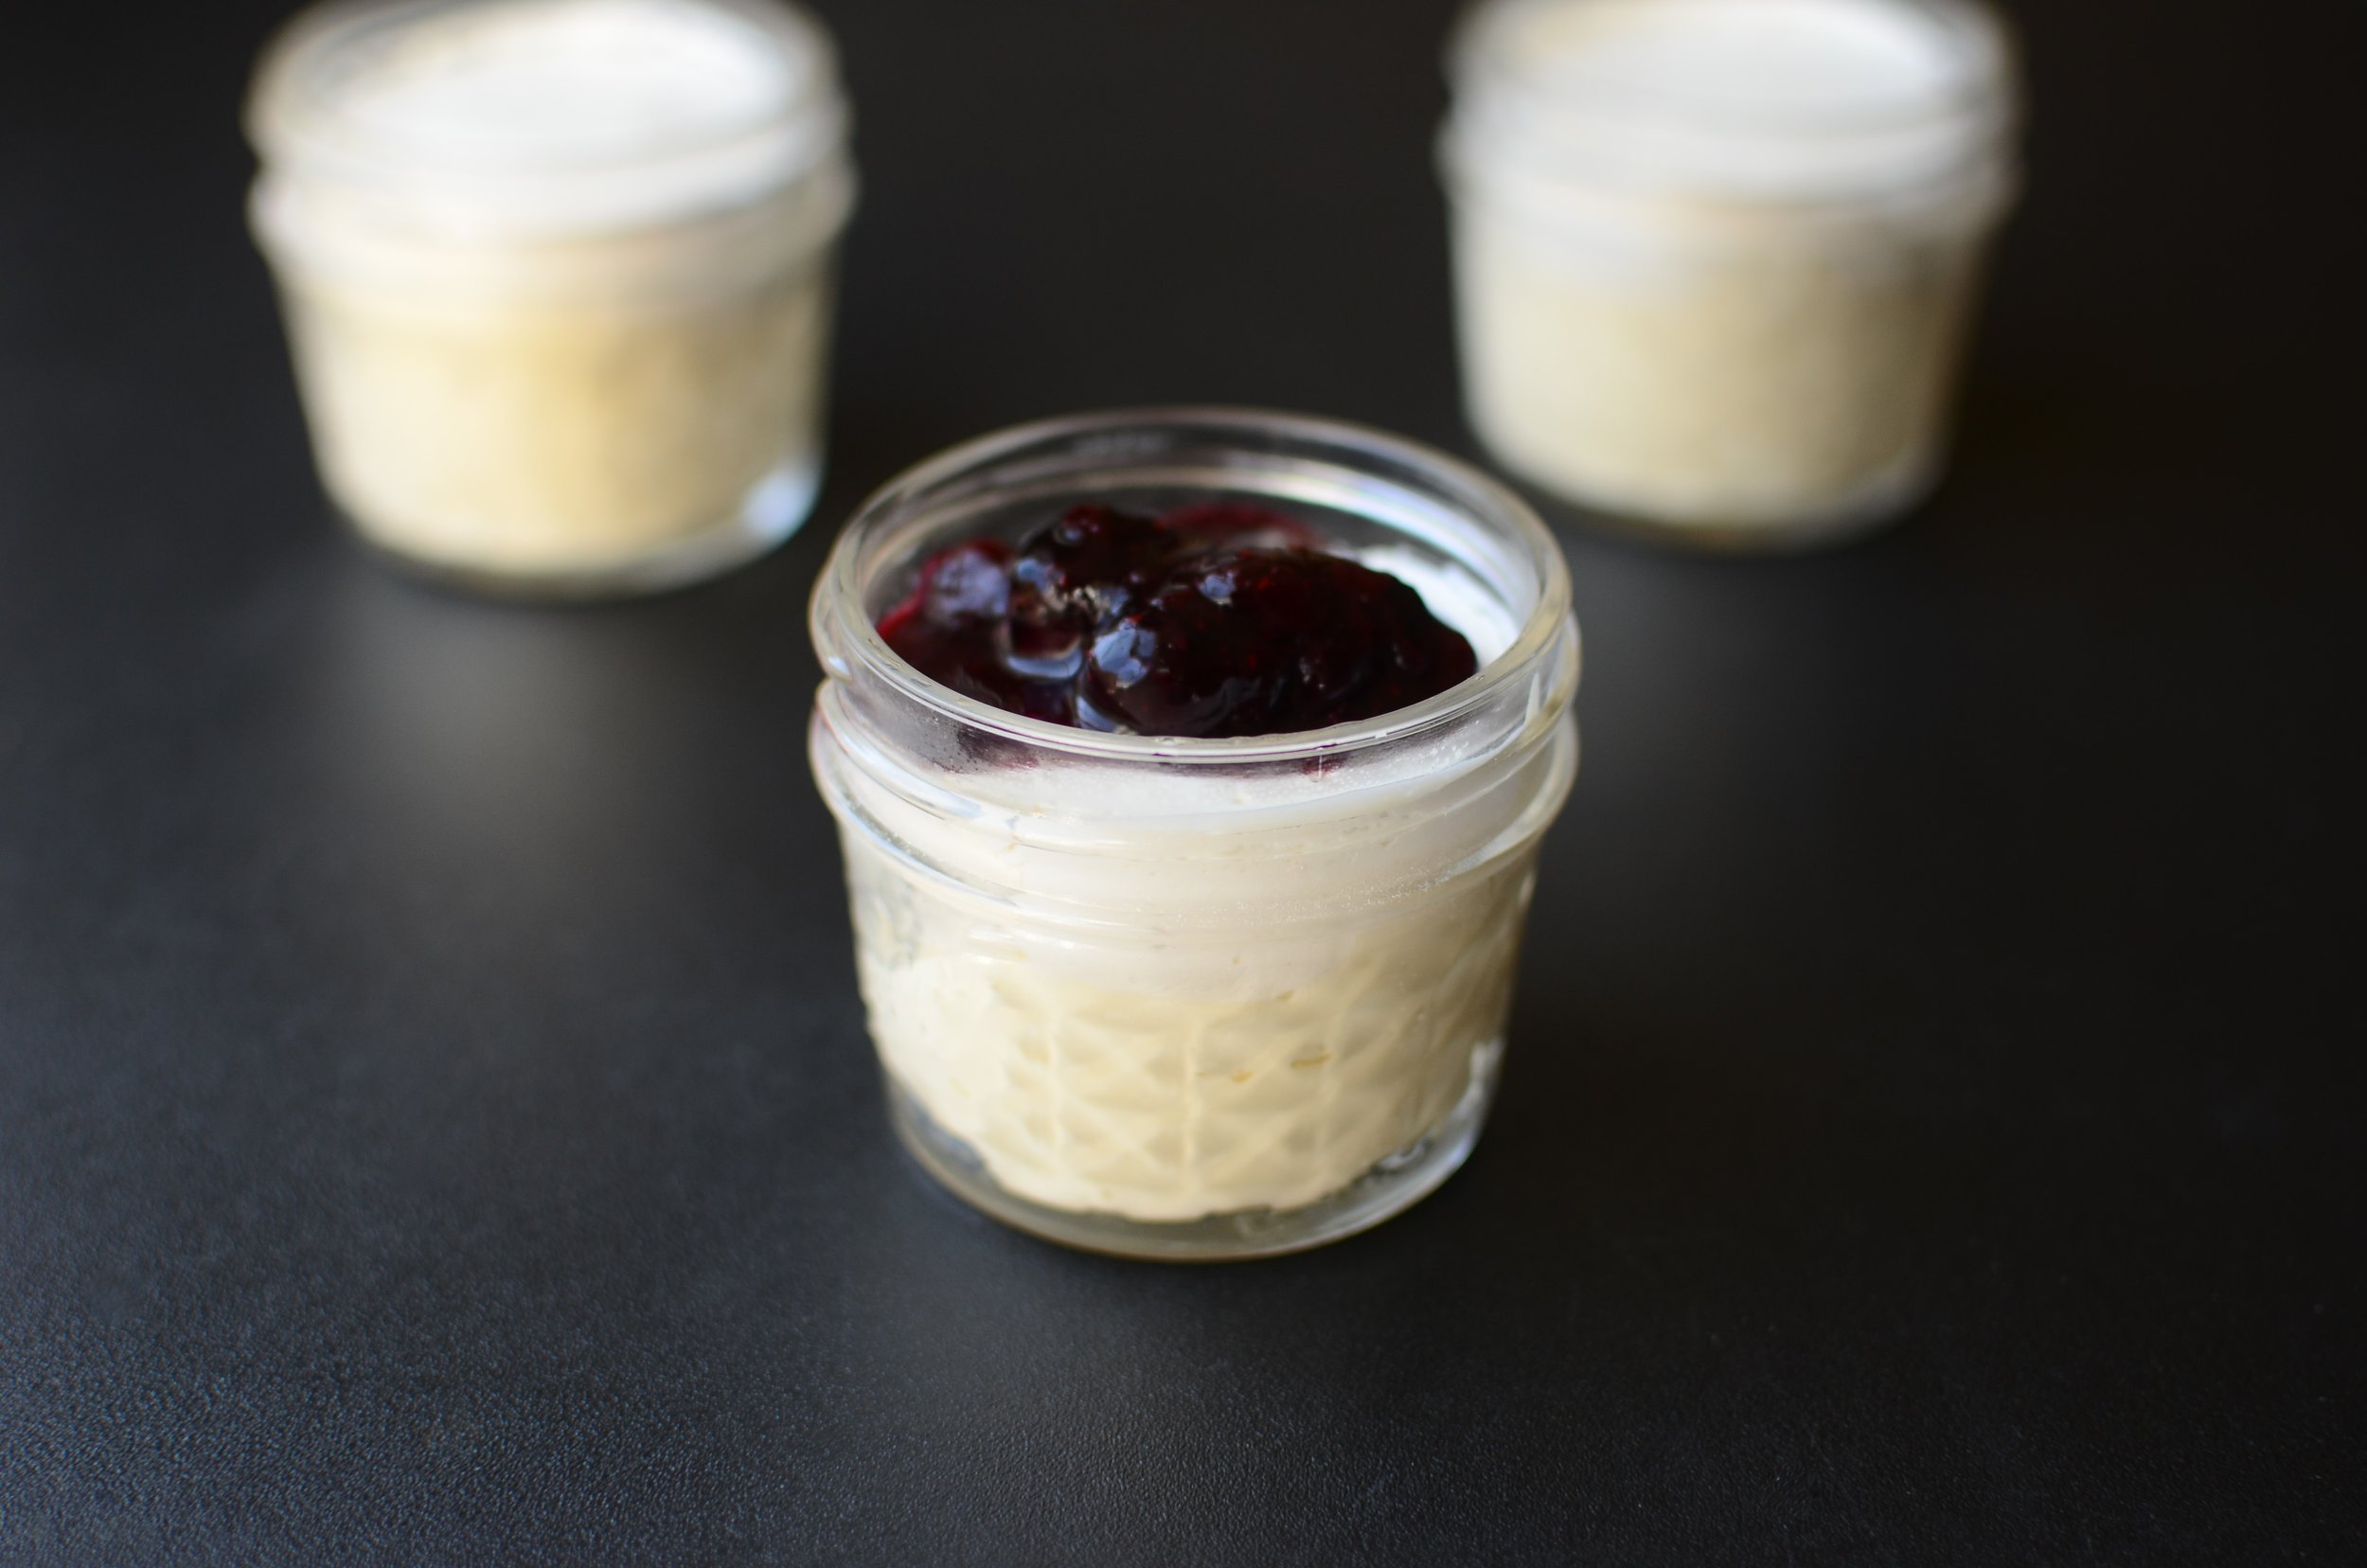
Items used in the making of this recipe:

(affiliate links)


Carrot Cake Cheesecake

makes 12 servings

Printable Recipe

Ingredients

Cheesecake batter:

Carrot cake batter:

  • 3/4 cup vegetable or canola oil

  • 1/4 cup packed light brown sugar

  • 3/4 cup granulated sugar

  • 2 large eggs

  • 1 teaspoon pure vanilla extract

  • 1 1/4 cups all purpose flour

  • 1/2 teaspoon baking soda

  • 3/4 teaspoon ground cinnamon

  • 1/4 teaspoon ground nutmeg (or 1/8 teaspoon fresh)

  • pinch of ground cloves

  • 1/4 teaspoon fine salt

  • 1 cup finely grated carrots

Cream cheese topping (double if using a 10-inch springform pan):

  • 3 ounces cream cheese, room temperature

  • 2 tablespoons unsalted butter, softened

  • 1 1/2 cups confectioner's sugar, sifted

  • 1 teaspoon pure vanilla extract

  • 1 tablespoon sour cream

Directions

Before you begin:

  1. Preheat the oven to 350F.

  2. Lightly grease a 9 or 10-inch springform pan with baking spray and place on a half sheet pan. Note: my photo shows how tall the cheesecake will be if you use a 9-inch springform pan.

To make the cheesecake batter:

  1. In the bowl of a stand mixer fitted with a paddle attachment (or better, a BeaterBlade), beat the cream cheese, sugar, eggs, and flour on medium-low speed until smooth.

  2. Add the vanilla and sour cream; mix just until combined. Set aside.

To make the carrot cake batter:

  1. In the bowl of a stand mixer, cream together the oil and both sugars.

  2. Add the eggs and vanilla; beat until well combined.

  3. Add the flour, baking soda, cinnamon, nutmeg, cloves, and salt just until combined.

  4. Stir in the carrots.

To assemble the cake:

  1. Spread half of the carrot cake batter into the bottom of the prepared pan.

  2. Dollop half of the cheesecake batter on top in large spoonfuls. Don't spread or swirl together, just dollop.

  3. Next dollop the rest of the carrot cake batter on and around the cheesecake batter dollops. Again, don't spread or swirl.

  4. Spread the last half of the cheesecake batter on top and use an offset spatula so smooth it into an even layer. Tap the pan on the counter a few times to dislodge air bubbles.

  5. Bake in the lower half of a preheated oven for 60-70 minutes. The center of the cheesecake should jiggle a bit when the pan is shaken (if you want to be very precise, the temp in the center of the cheesecake batter should reach 150F on a digital thermometer).

  6. Cool completely on a cooling rack while preparing the frosting.

To make the topping:

  1. Cream together the cream cheese and butter until smooth.

  2. Mix in the sifted confectioner's sugar until smooth.

  3. Add the vanilla and sour cream; mix well.

  4. Spread evenly onto the completely cooled cheesecake and refrigerate for at least 4 hours.

Note

  • :Cheesecake can be made up to 2 days in advance, but be sure to store in an airtight container because dairy products readily absorb odors/flavors from the fridge.

recipe adapted from Mel's Kitchen Cafe
Adorable Halloween Ghost Cookies

Patricia @ ButterYum

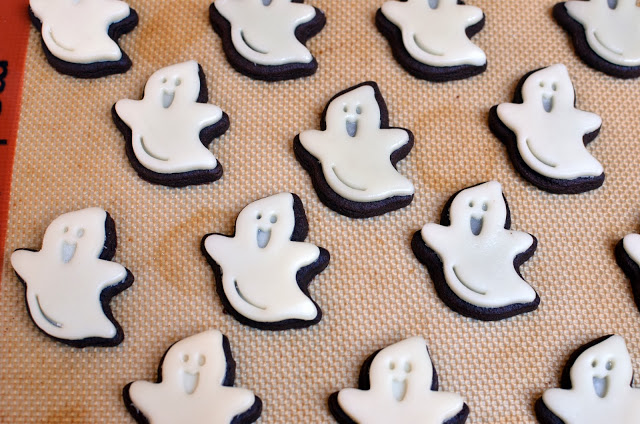
Aren't these adorable?  I'm totally dying here - love them!  And you're not going to believe how incredibly easy they are to make.  All you need are a few essentials:  my yummy chocolate sugar cookie recipe, a rolling pin, a ghost plunge cutter, and white fondant.  There are a few additional items that aren't necessary, but come in handy if you happen to have them - no biggie if you don't.  Okay, let me show you how they're made.

Start by making my yummy chocolate almond espresso cookie dough - you can find the recipe at the end of this post.

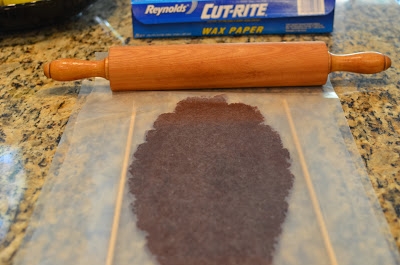
Roll the cookie dough between two pieces of wax paper using 1/4-inch dowels as a guide so each cookie ends up being the exact same thickness. Or try rolling guides.

Remove the top layer of wax paper and use a lightly floured plunger cutter to cut your shapes.  No need to push down the plunger to leave details on the cookie dough - that part comes later.  Wax paper is the unsung hero of this technique.  I go through miles of the stuff when I make a ton of cookies.

IMPORTANT:  Slide the wax paper with the cookie cutouts onto a half sheet pan and refrigerate for at least 5 minutes so the dough will be firm enough to handle without distorting when transferring them to a sheet pan for baking.

When the cookie dough is chilled firm, remove the cutouts from the wax paper and place them on a silpat lined half sheet pan.  Bake in a 350F oven for 10 minutes.  

See how chilling the dough helps the cutouts keep their shape?  No wonky heads or broken arms - every ghost looks the same.  Another great thing about rolling between layers of wax paper, you're not adding lots of excess flour so you can reroll the scraps as many times as you like without any trouble.  

While the cookies are baking, prepare some white fondant by kneading it in your hands until it's soft and pliable.  I prefer Fondarific and Satin Ice.  

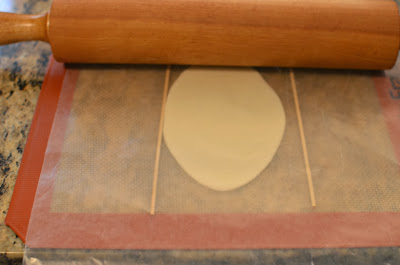
Okay, roll the fondant like we rolled the cookie dough, only this time, instead of using a 1/4-inch dowel, we'll use bamboo skewers because we want a thinner layer of fondant.  Skewers are about 1/8-inch thick.  

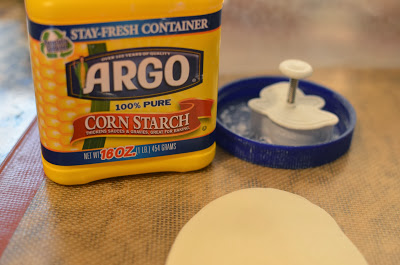
Using the same plunge cutter, dip it lightly in cornstarch and tap off the excess.

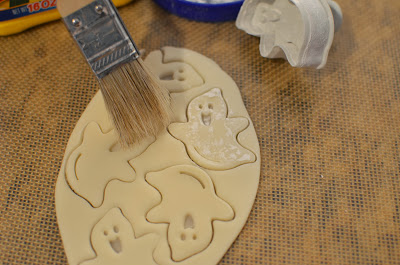
Cut the ghosts out of the fondant, and this time, go ahead and push the little plunger thingy down to leave an impression of the details.

Use a pastry brush to remove any residual cornstarch.  Now pop the fondant ghosts into the fridge for a minute or two so they can firm up - again, so they won't distort when you transfer them to the cookies.

Remove the cookies from the oven and allow them to cool for about 5 minutes, then place a chilled fondant ghosts right on top.  The warmth of the cookie will gently melt the bottom of the fondant cutout and the two will magically bond together. 

See?  It's stuck like glue!

Now, if you have perfectionistic tendencies, you'll want to use a toothpick to clean up any stray bits around the edges of the fondant.  Totally not necessary, but I must.  What can I say.

Ta-da!  I hope you enjoyed this fun tutorial.  Now go make some cute cookies!

Items used to make this recipe:

(affiliate links)


Chocolate Almond Espresso Cookie Cutouts

makes a lot of cookies!!

Printable Recipe 

Ingredients

Directions

  1. Preheat oven to 350F.

  2. In the bowl of a stand mixer fitted with the paddle attachment, cream together the butter and sugar.

  3. In a small bowl, combine the eggs, vanilla extract, almond extract, and espresso powder; add to the butter/sugar mixture until combined.

  4. In a medium bowl, whisk together the flour, baking powder, salt, and cocoa; slowly add it to the butter mixture until all the ingredients are well combined.

  5. Roll dough to a thickness of 1/4-inch between two layers of parchment.

  6. Cut out desired shapes with a lightly floured cutter and chill until firm before transferring to a silicone lined sheet pan.

  7. Bake for about 10 minutes.

  8. Cool for 5 minutes before transferring cookies to a cooling rack.

  9. Top with fondant cutouts, if desired, while cookies are still warm.

  10. Store in an airtight container for up to a week.

PS - this cookie dough works with plunge cutters even if you don't want to top the cookies with fondant - not as cute though ;).