contact us

Use the form on the right to contact us.

You can edit the text in this area, and change where the contact form on the right submits to, by entering edit mode using the modes on the bottom right.


123 Street Avenue, City Town, 99999

(123) 555-6789

email@address.com


You can set your address, phone number, email and site description in the settings tab.
Link to read me page with more information.

Blog

Butteryum food blog recipes

Filtering by Category: pie and tart recipes

Blueberry Crostata for Two

Patricia @ ButterYum

Sometimes I'm in the mood for pie, but if there aren't enough family members around to consume said pie, and rather than have an entire pie calling my name at all hours of the night, I opt to make a tiny, rustic, free-form pie known as a crostata (if you want to be Italian) or a galette (if you want to be French).

using-an-adjustable-ring-to-cut-pastry

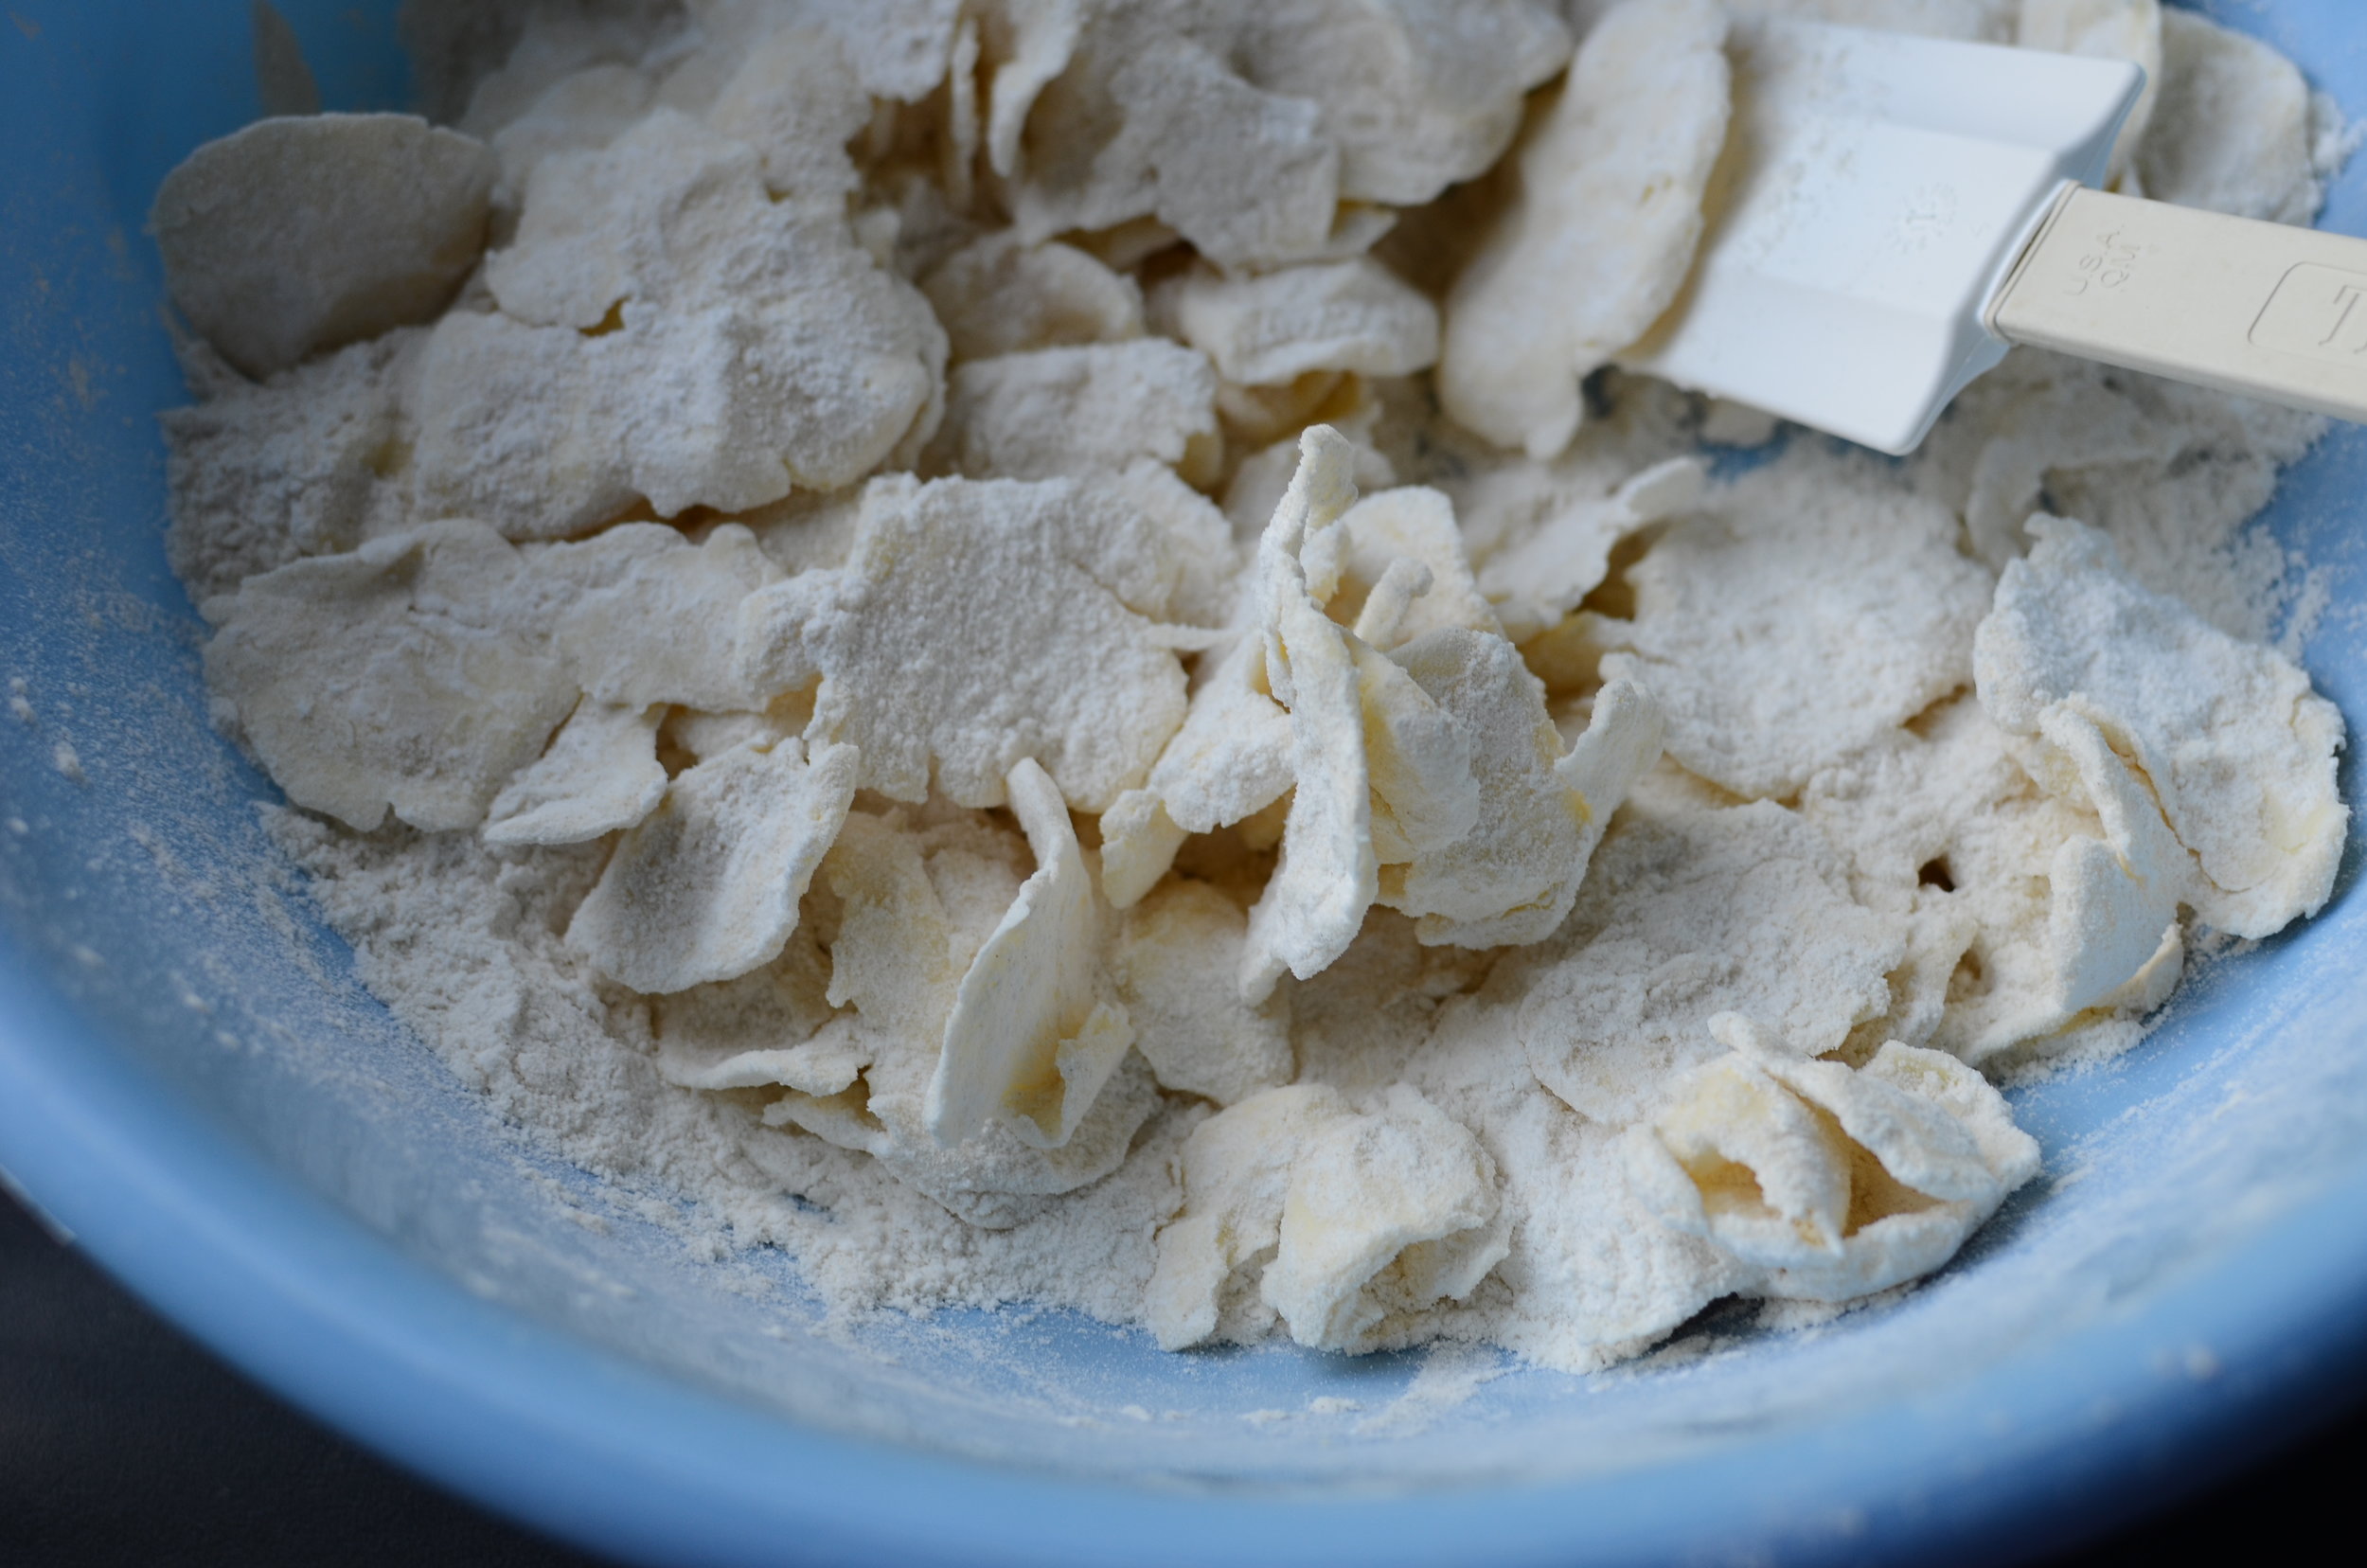
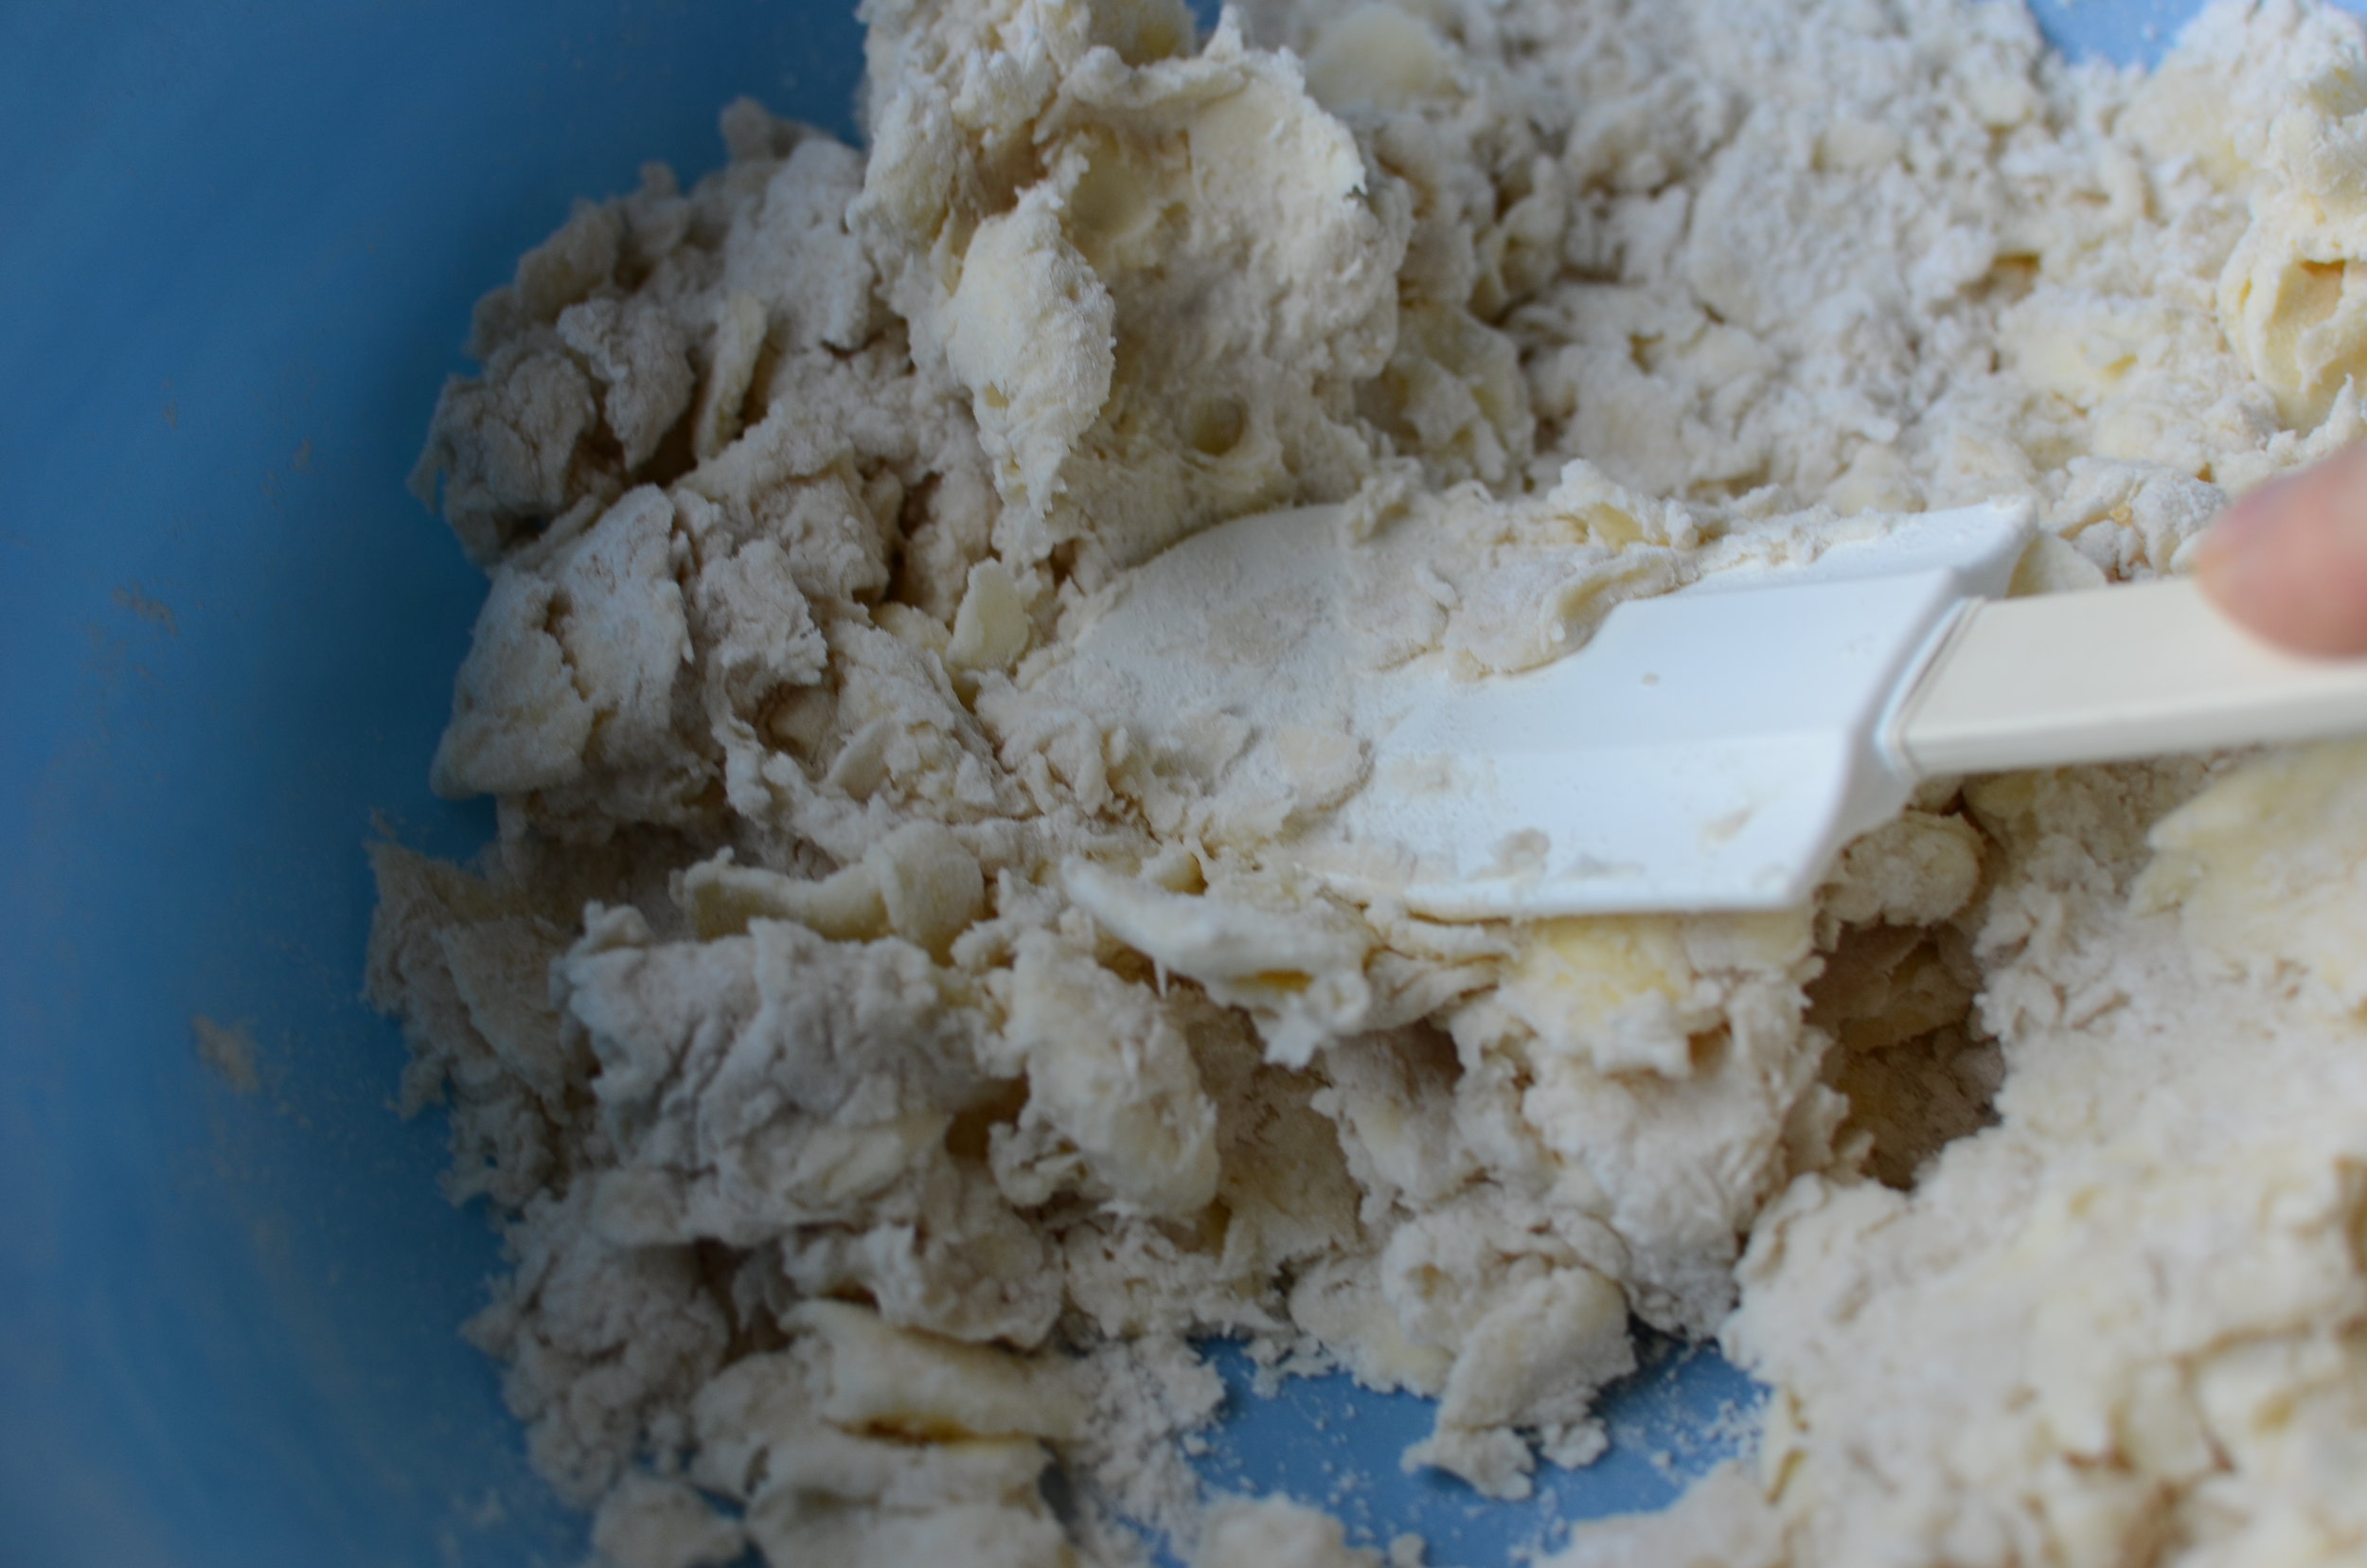
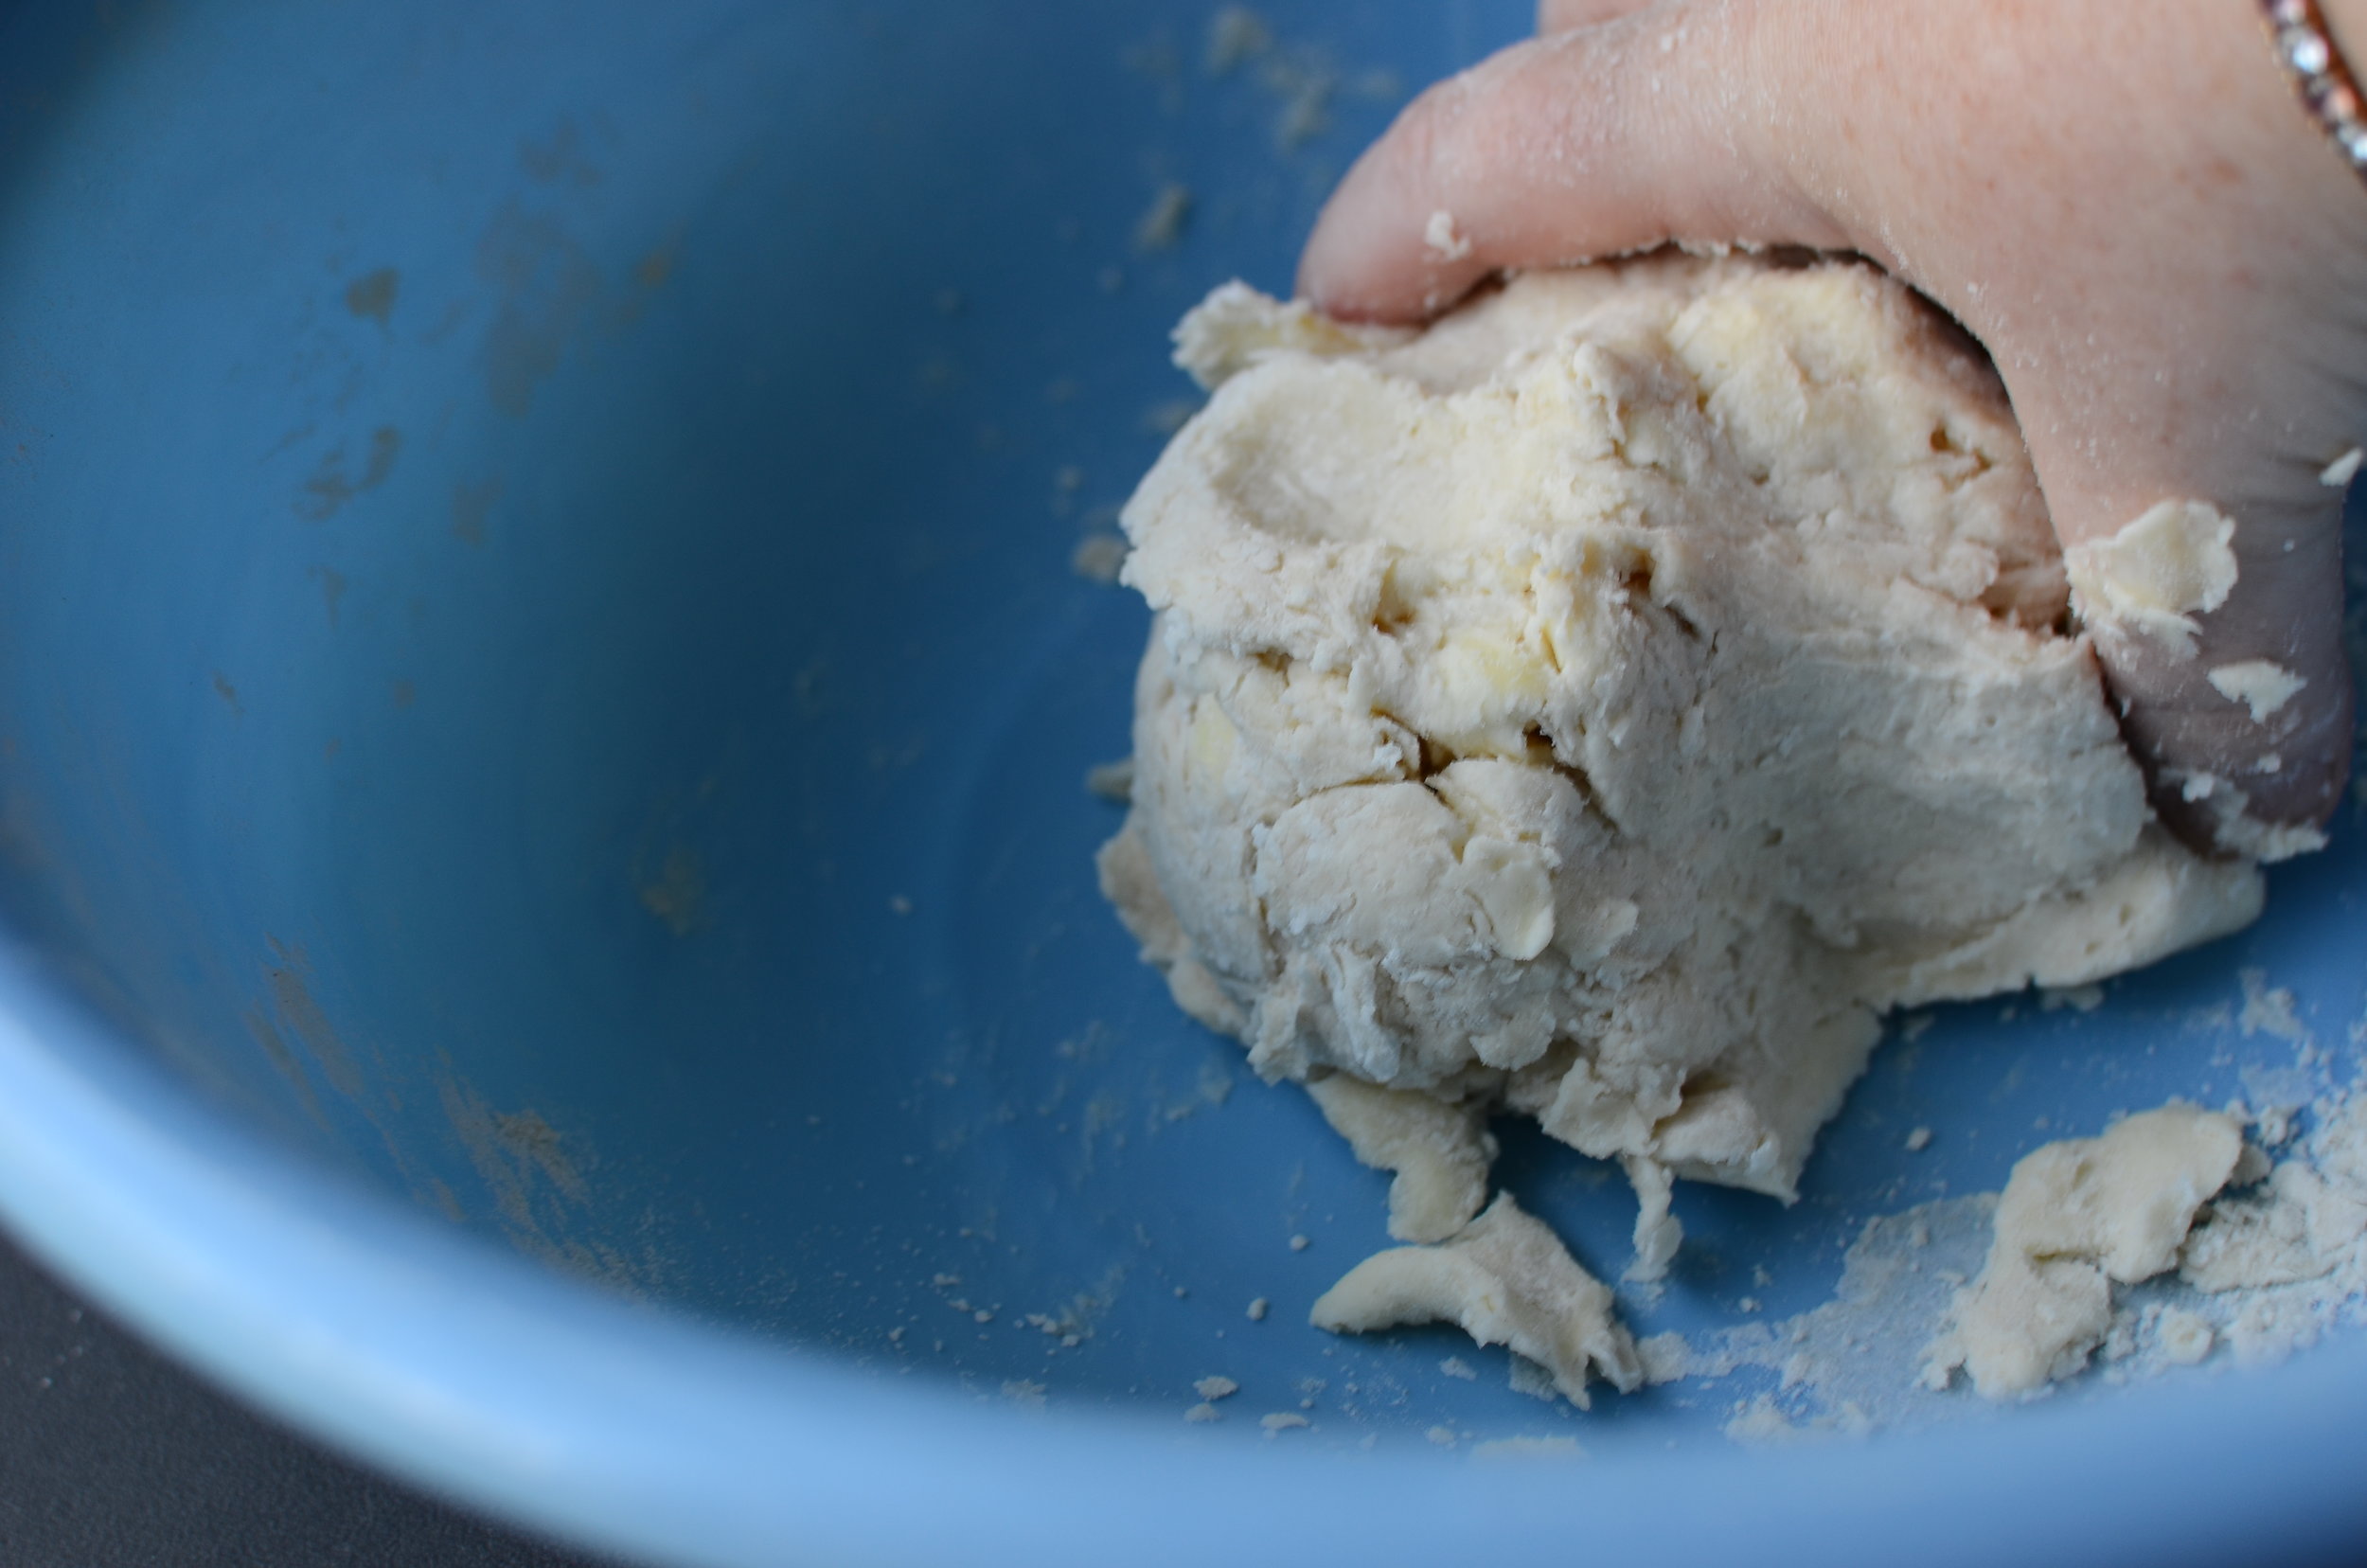
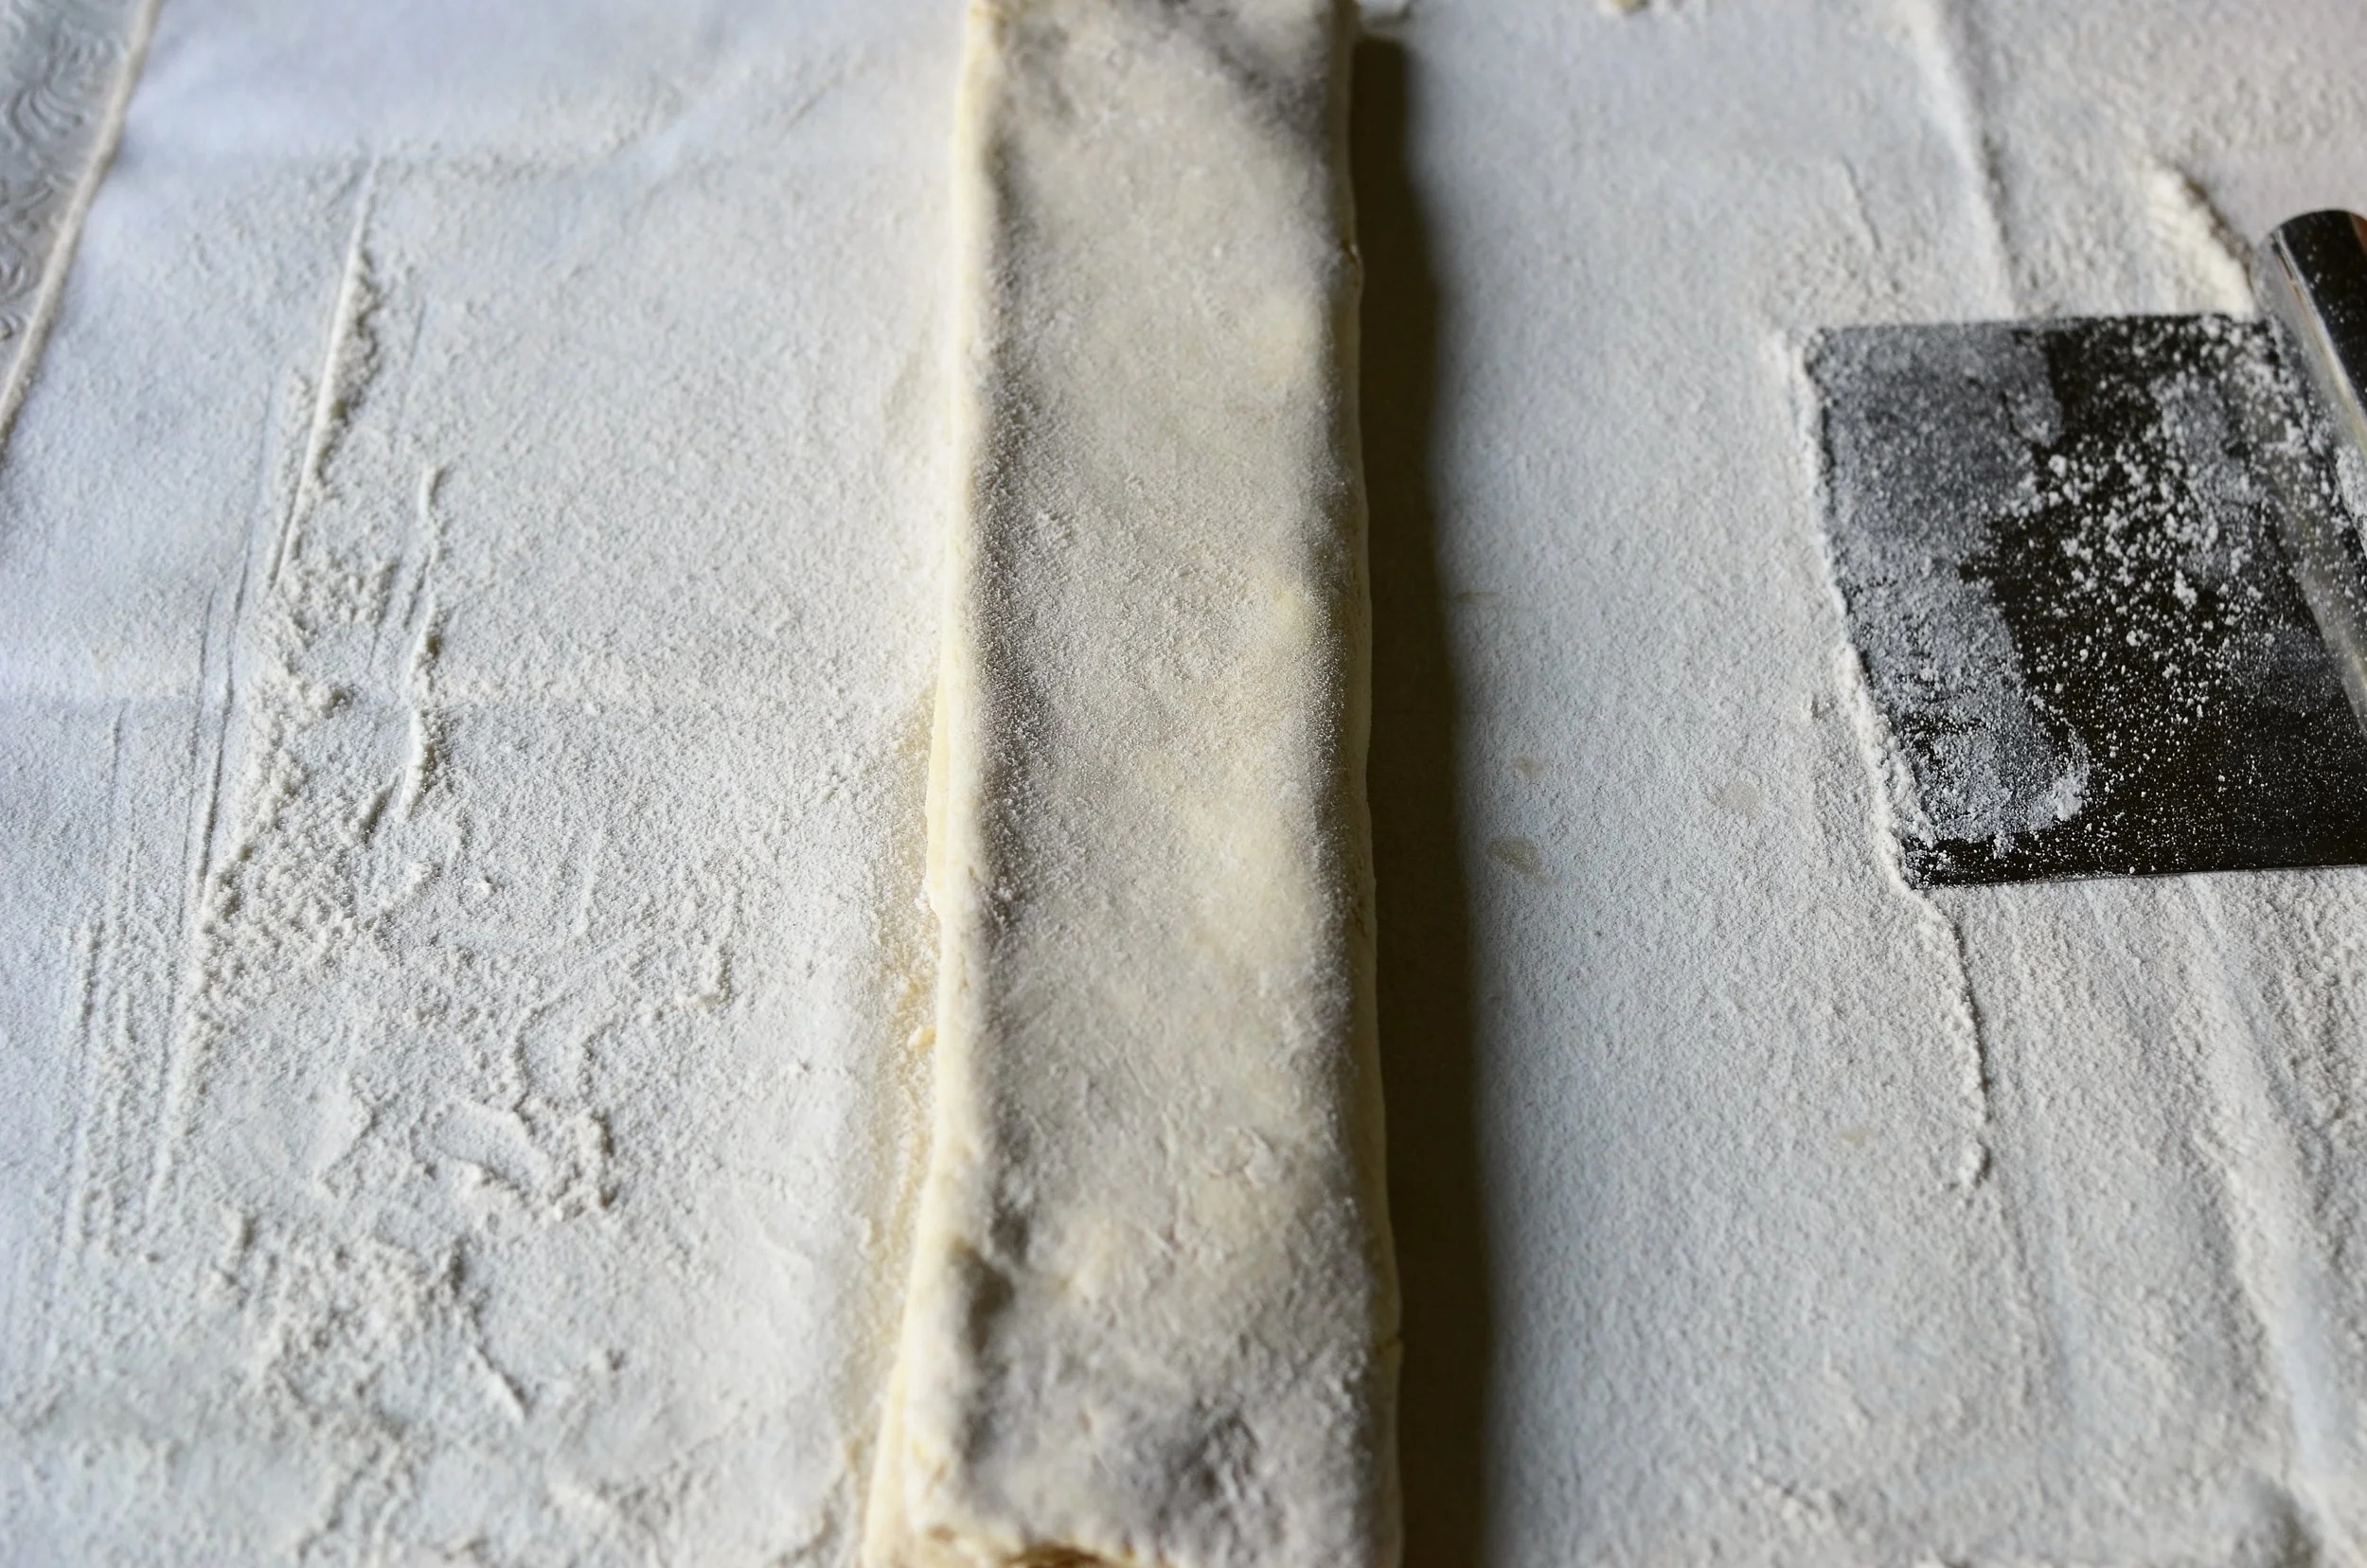
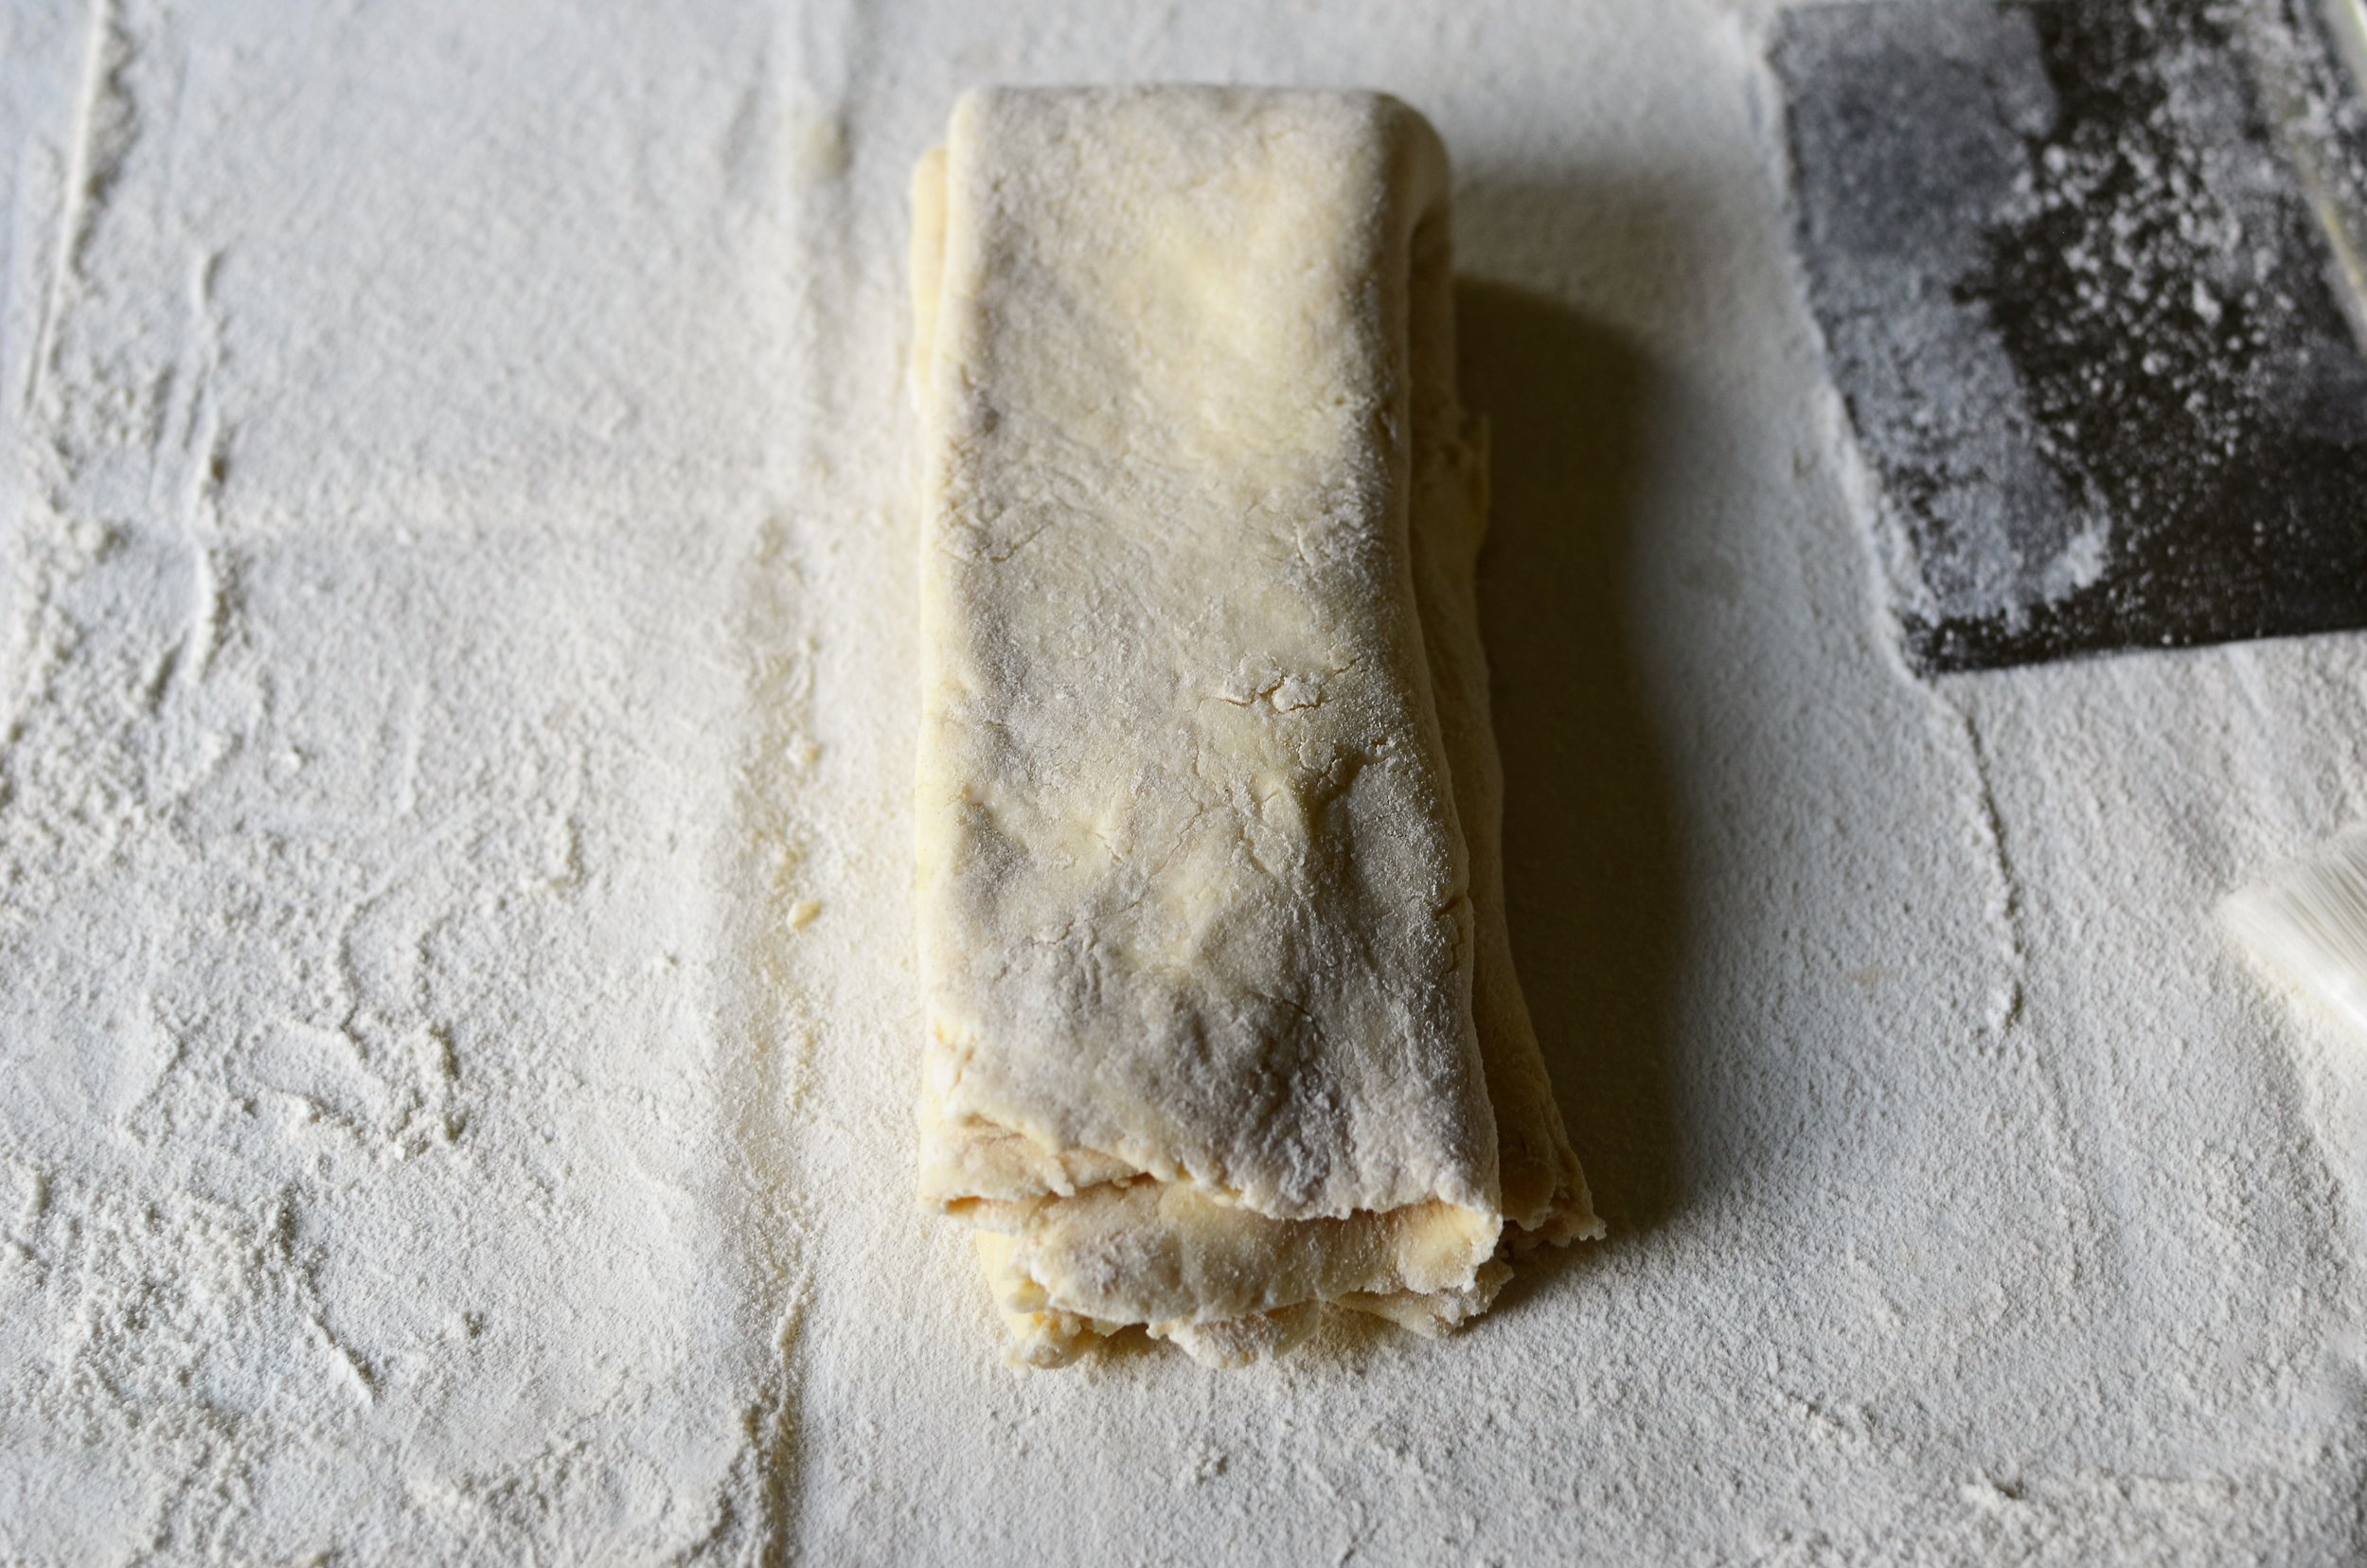
Start by rolling out your favorite pie crust recipe.  A single pie crust recipe is enough to make two of these crostatas. 

Check out my Super Flaky All-Butter Pie Crust tutorial HERE if you want to make the flakiest pie crust ever and you don't mind getting your hands dirty.

Check out my All-Butter Pie Crust tutorial HERE if you prefer the ease and speed of making your pie crust using a food processor.

10-inch-pastry-circle

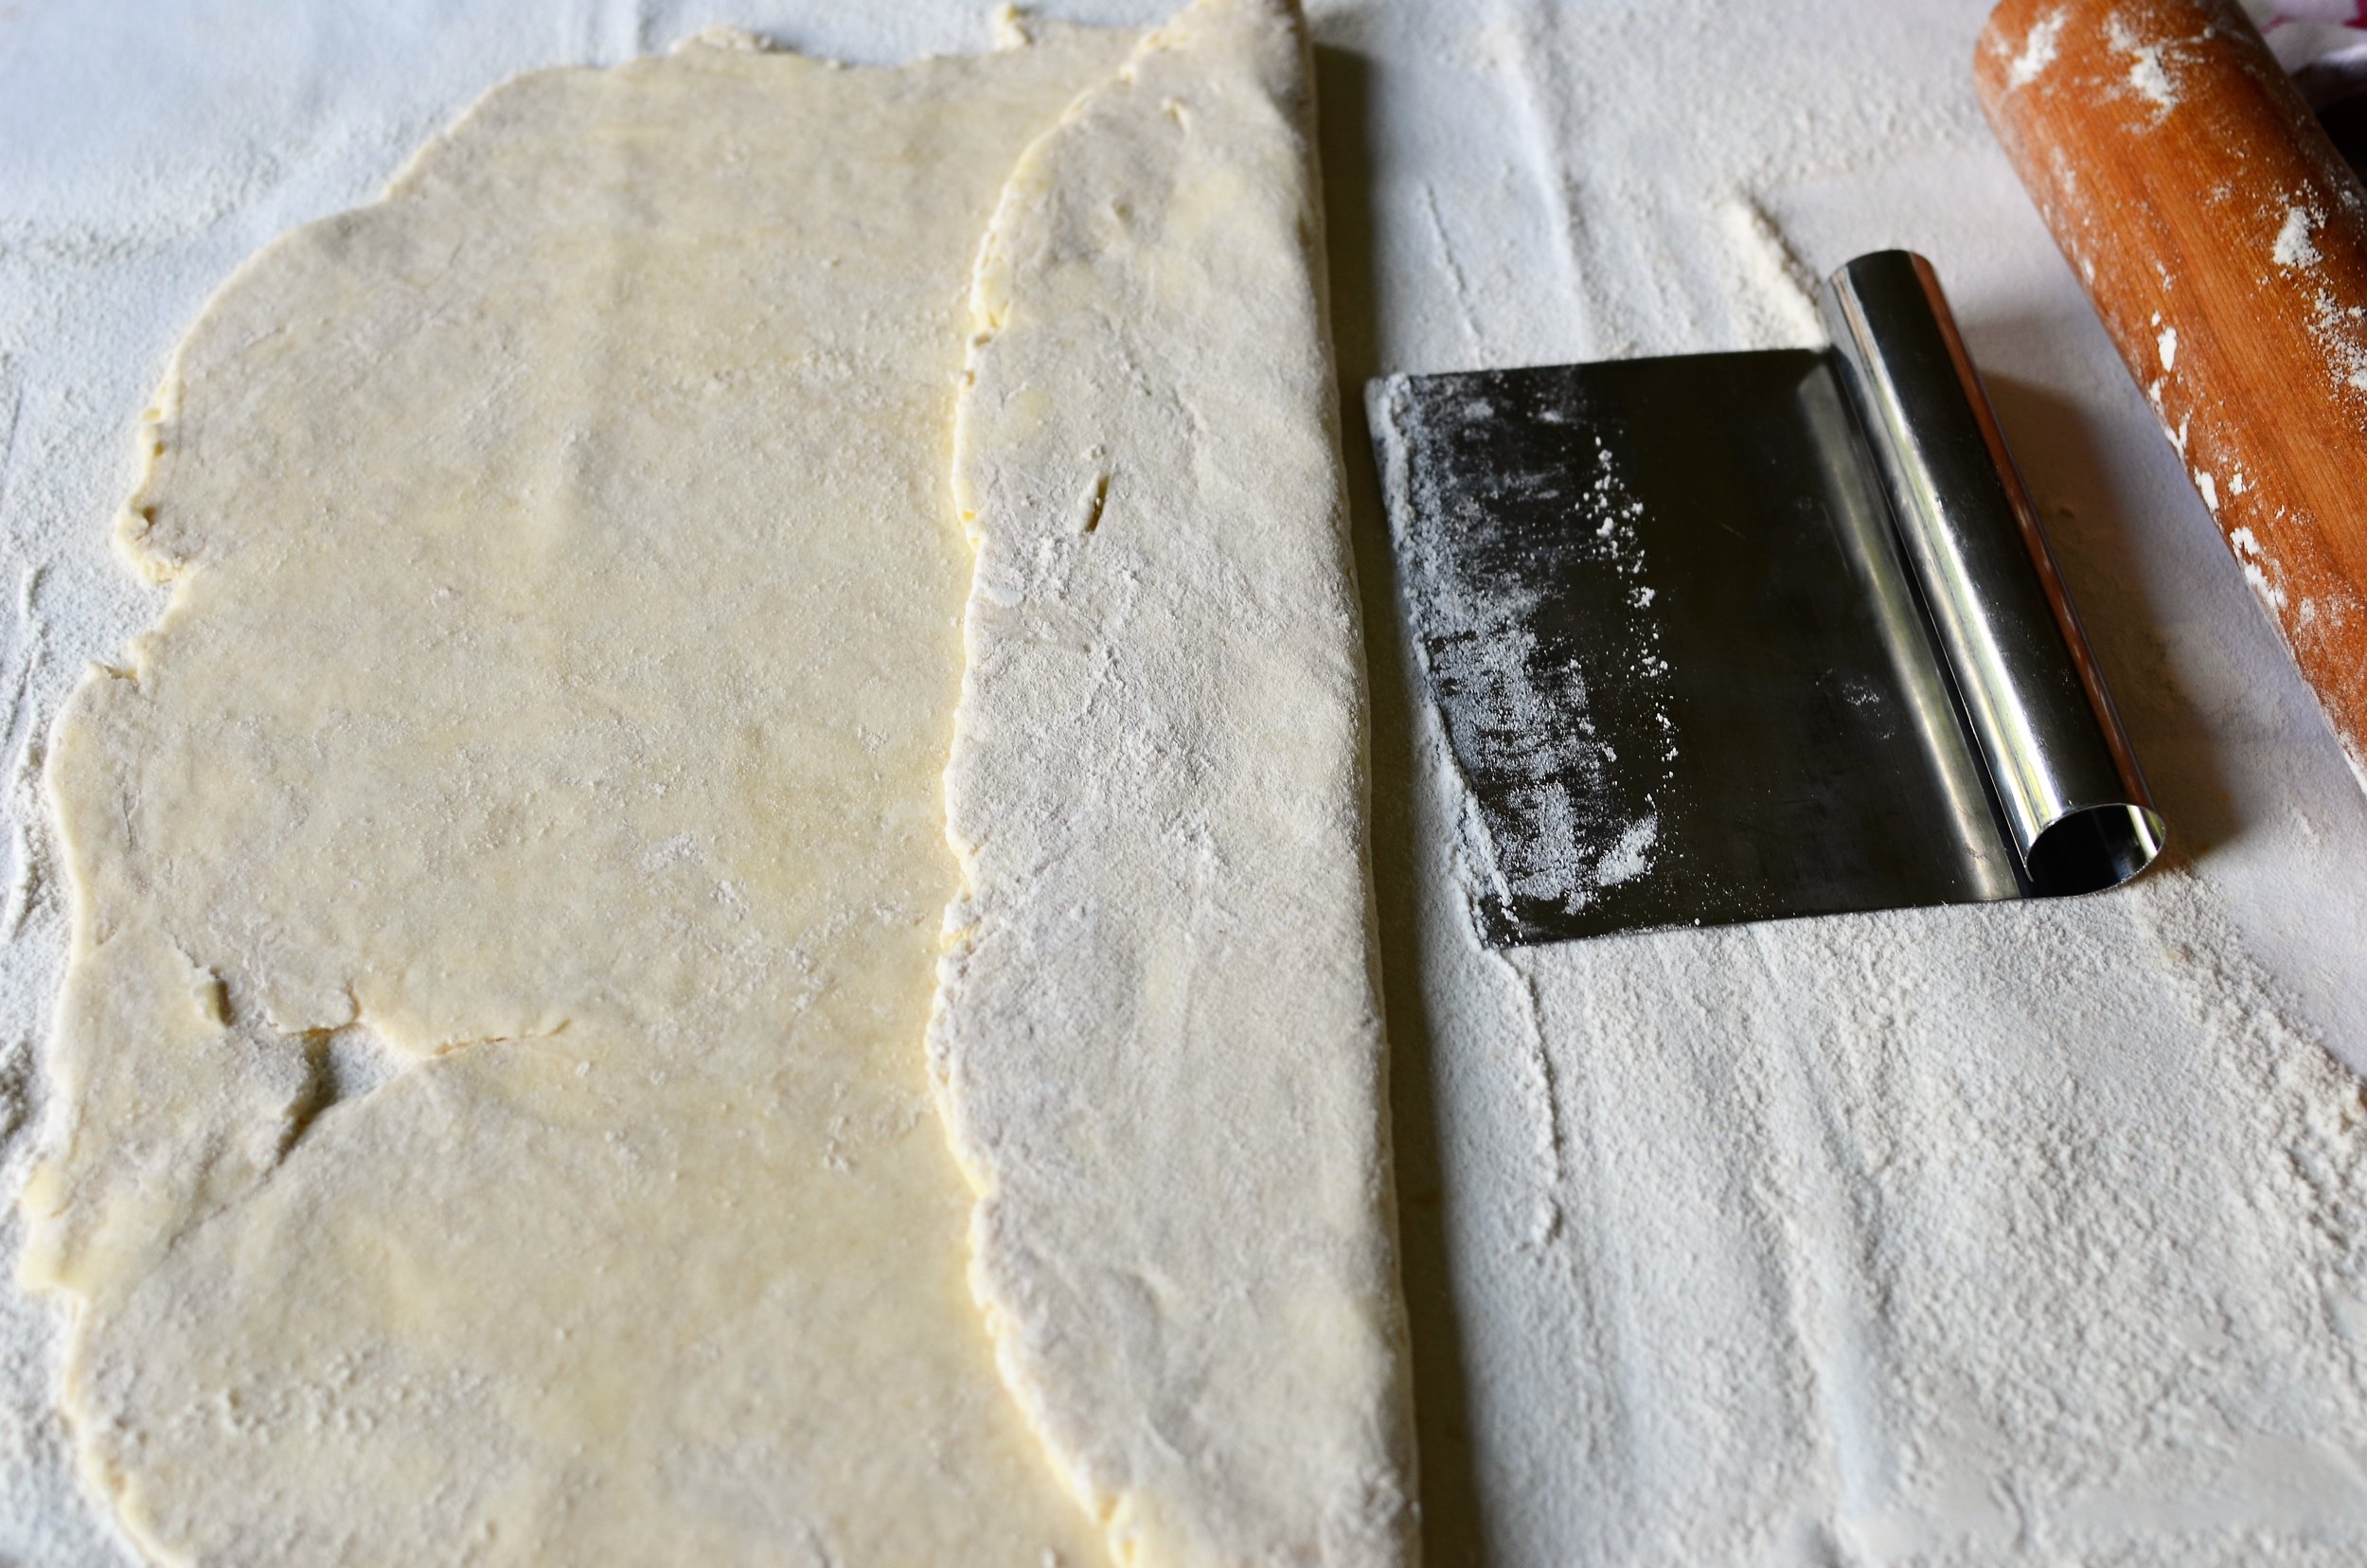
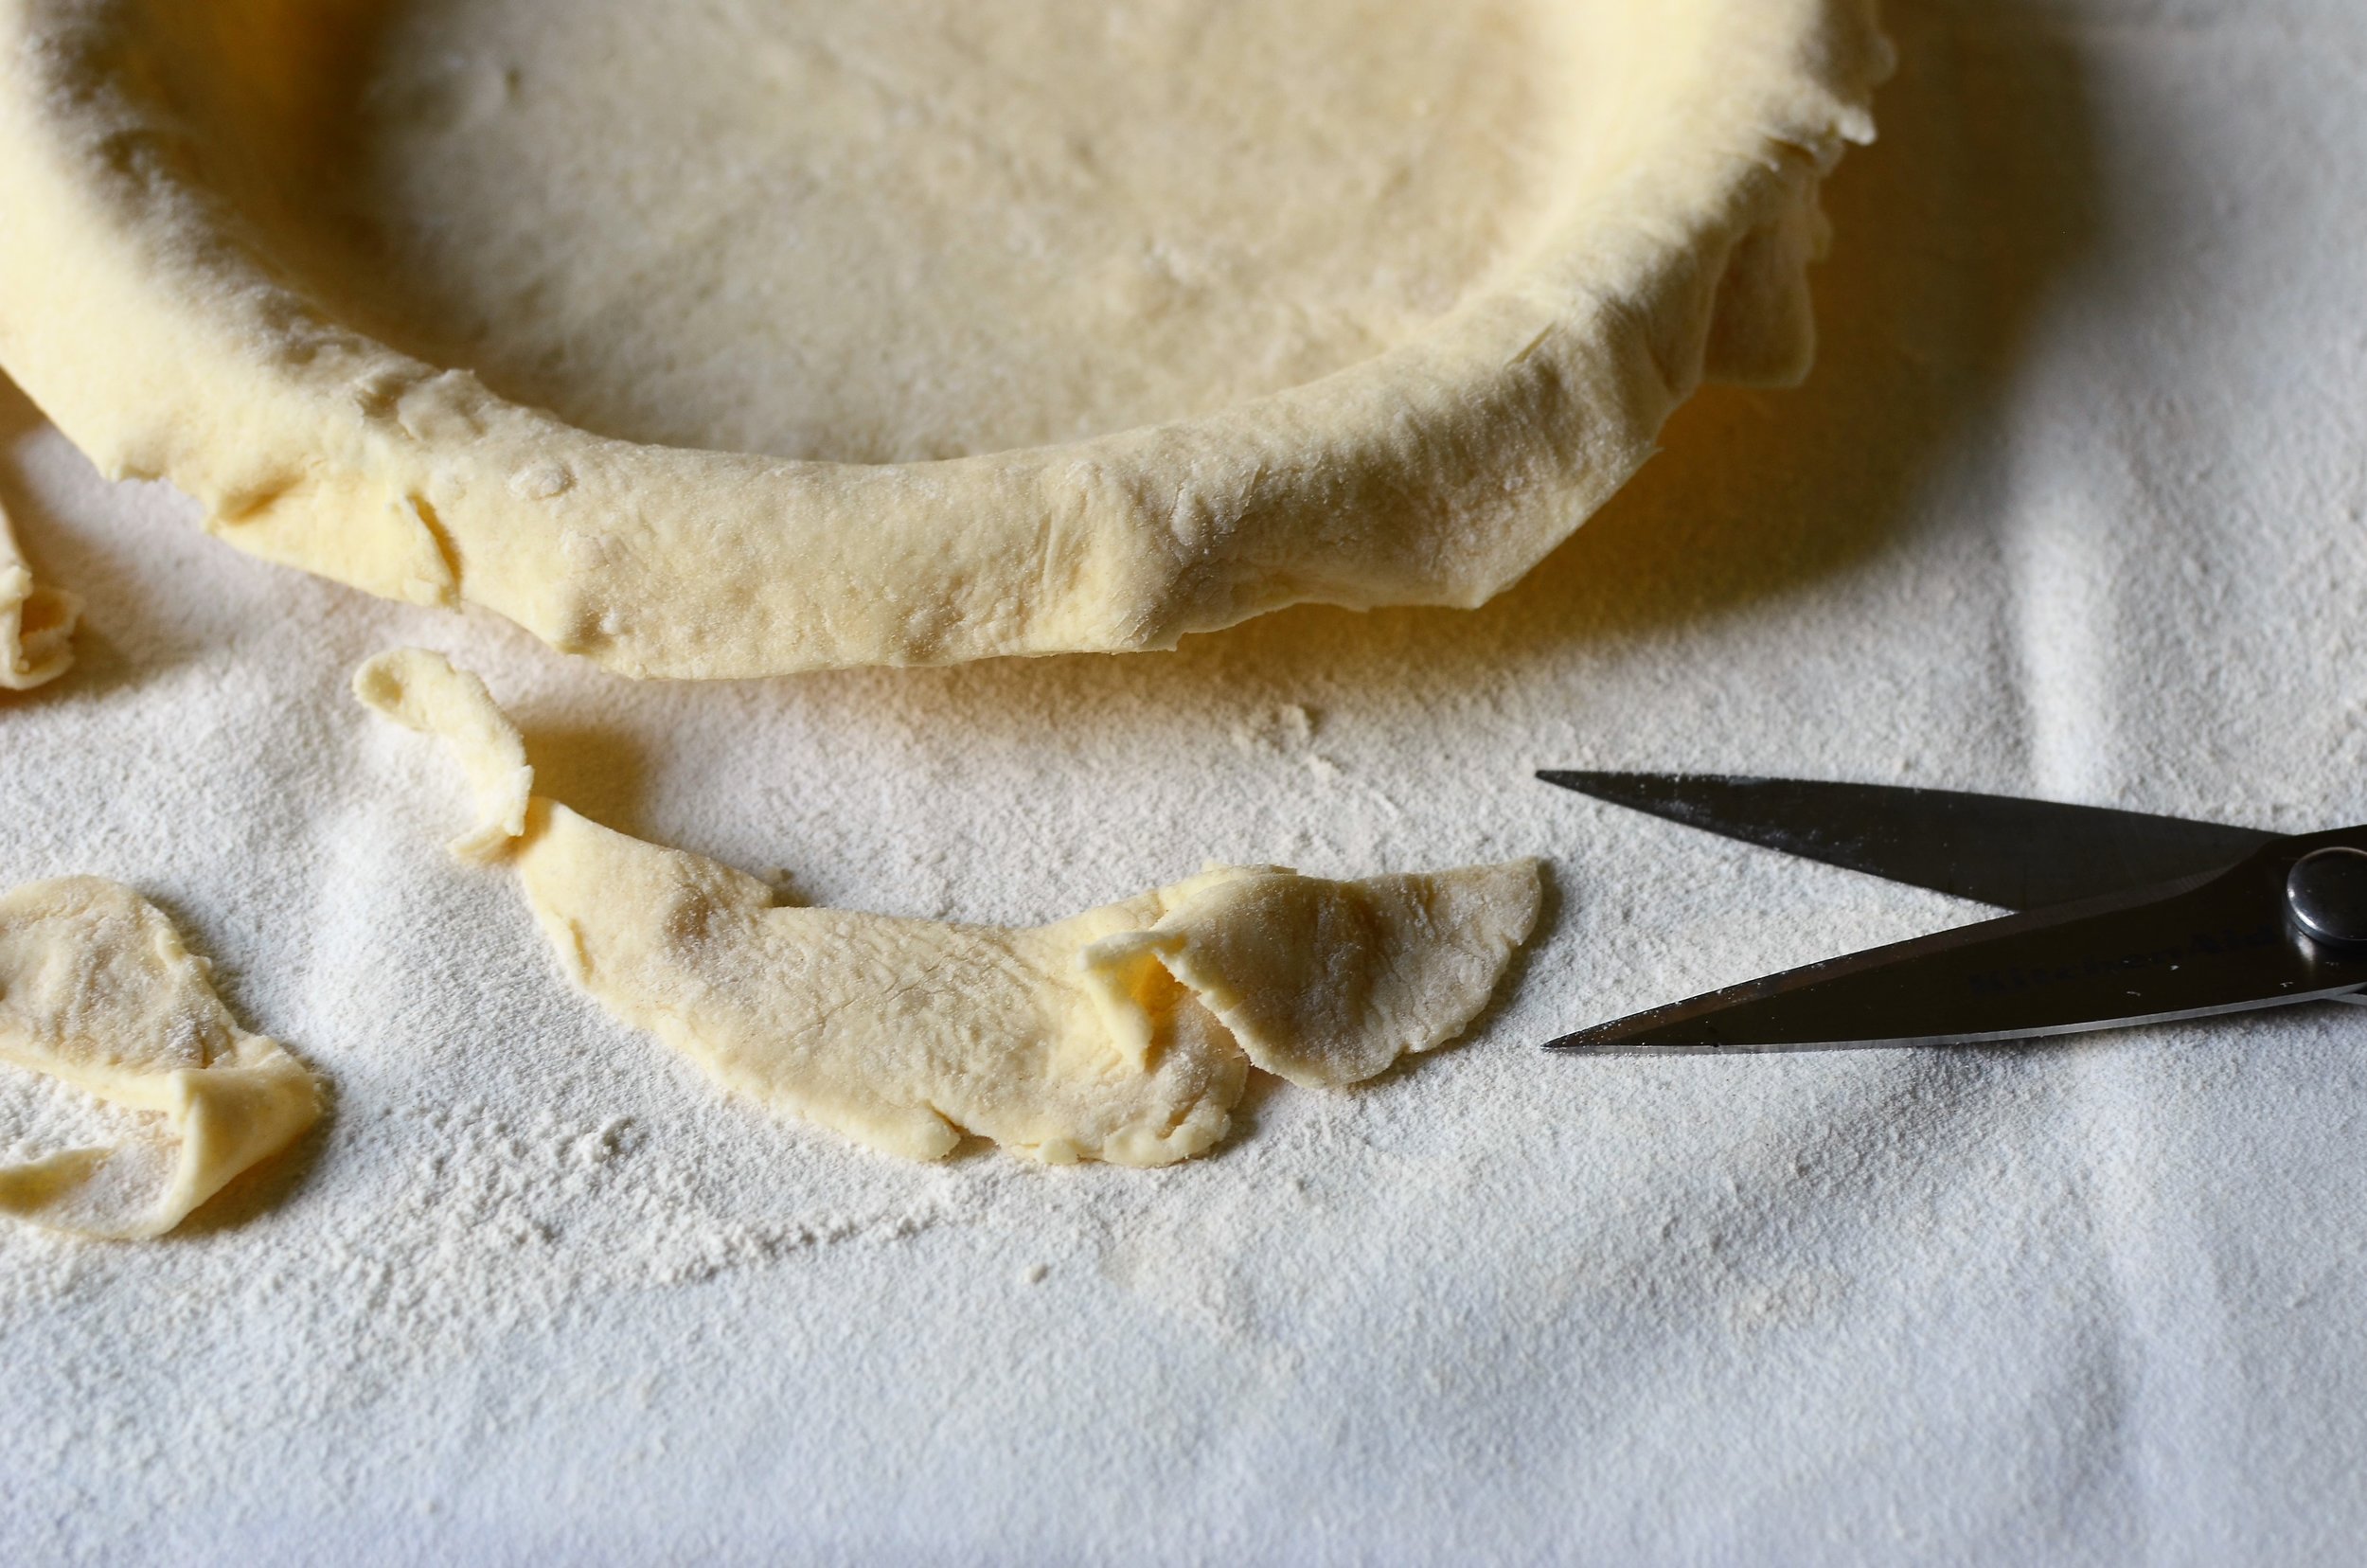
For the recipe we're making today, you'll need a 10-inch circle of pie dough.  You can keep it rustic if you like, or you can cut it into a perfect circle if that's how you roll.

pastry-on-silpat

Place the 10-inch circle of dough on a quarter sheet pan that is lined with parchment or a silicone baking mat.  Despite the photo above, and the fact that I think silicone baking mats produce the best results 99% of the time, I actually prefer parchment paper for this recipe.  Using parchment allows the bottom crust to bake up a bit more crispy.

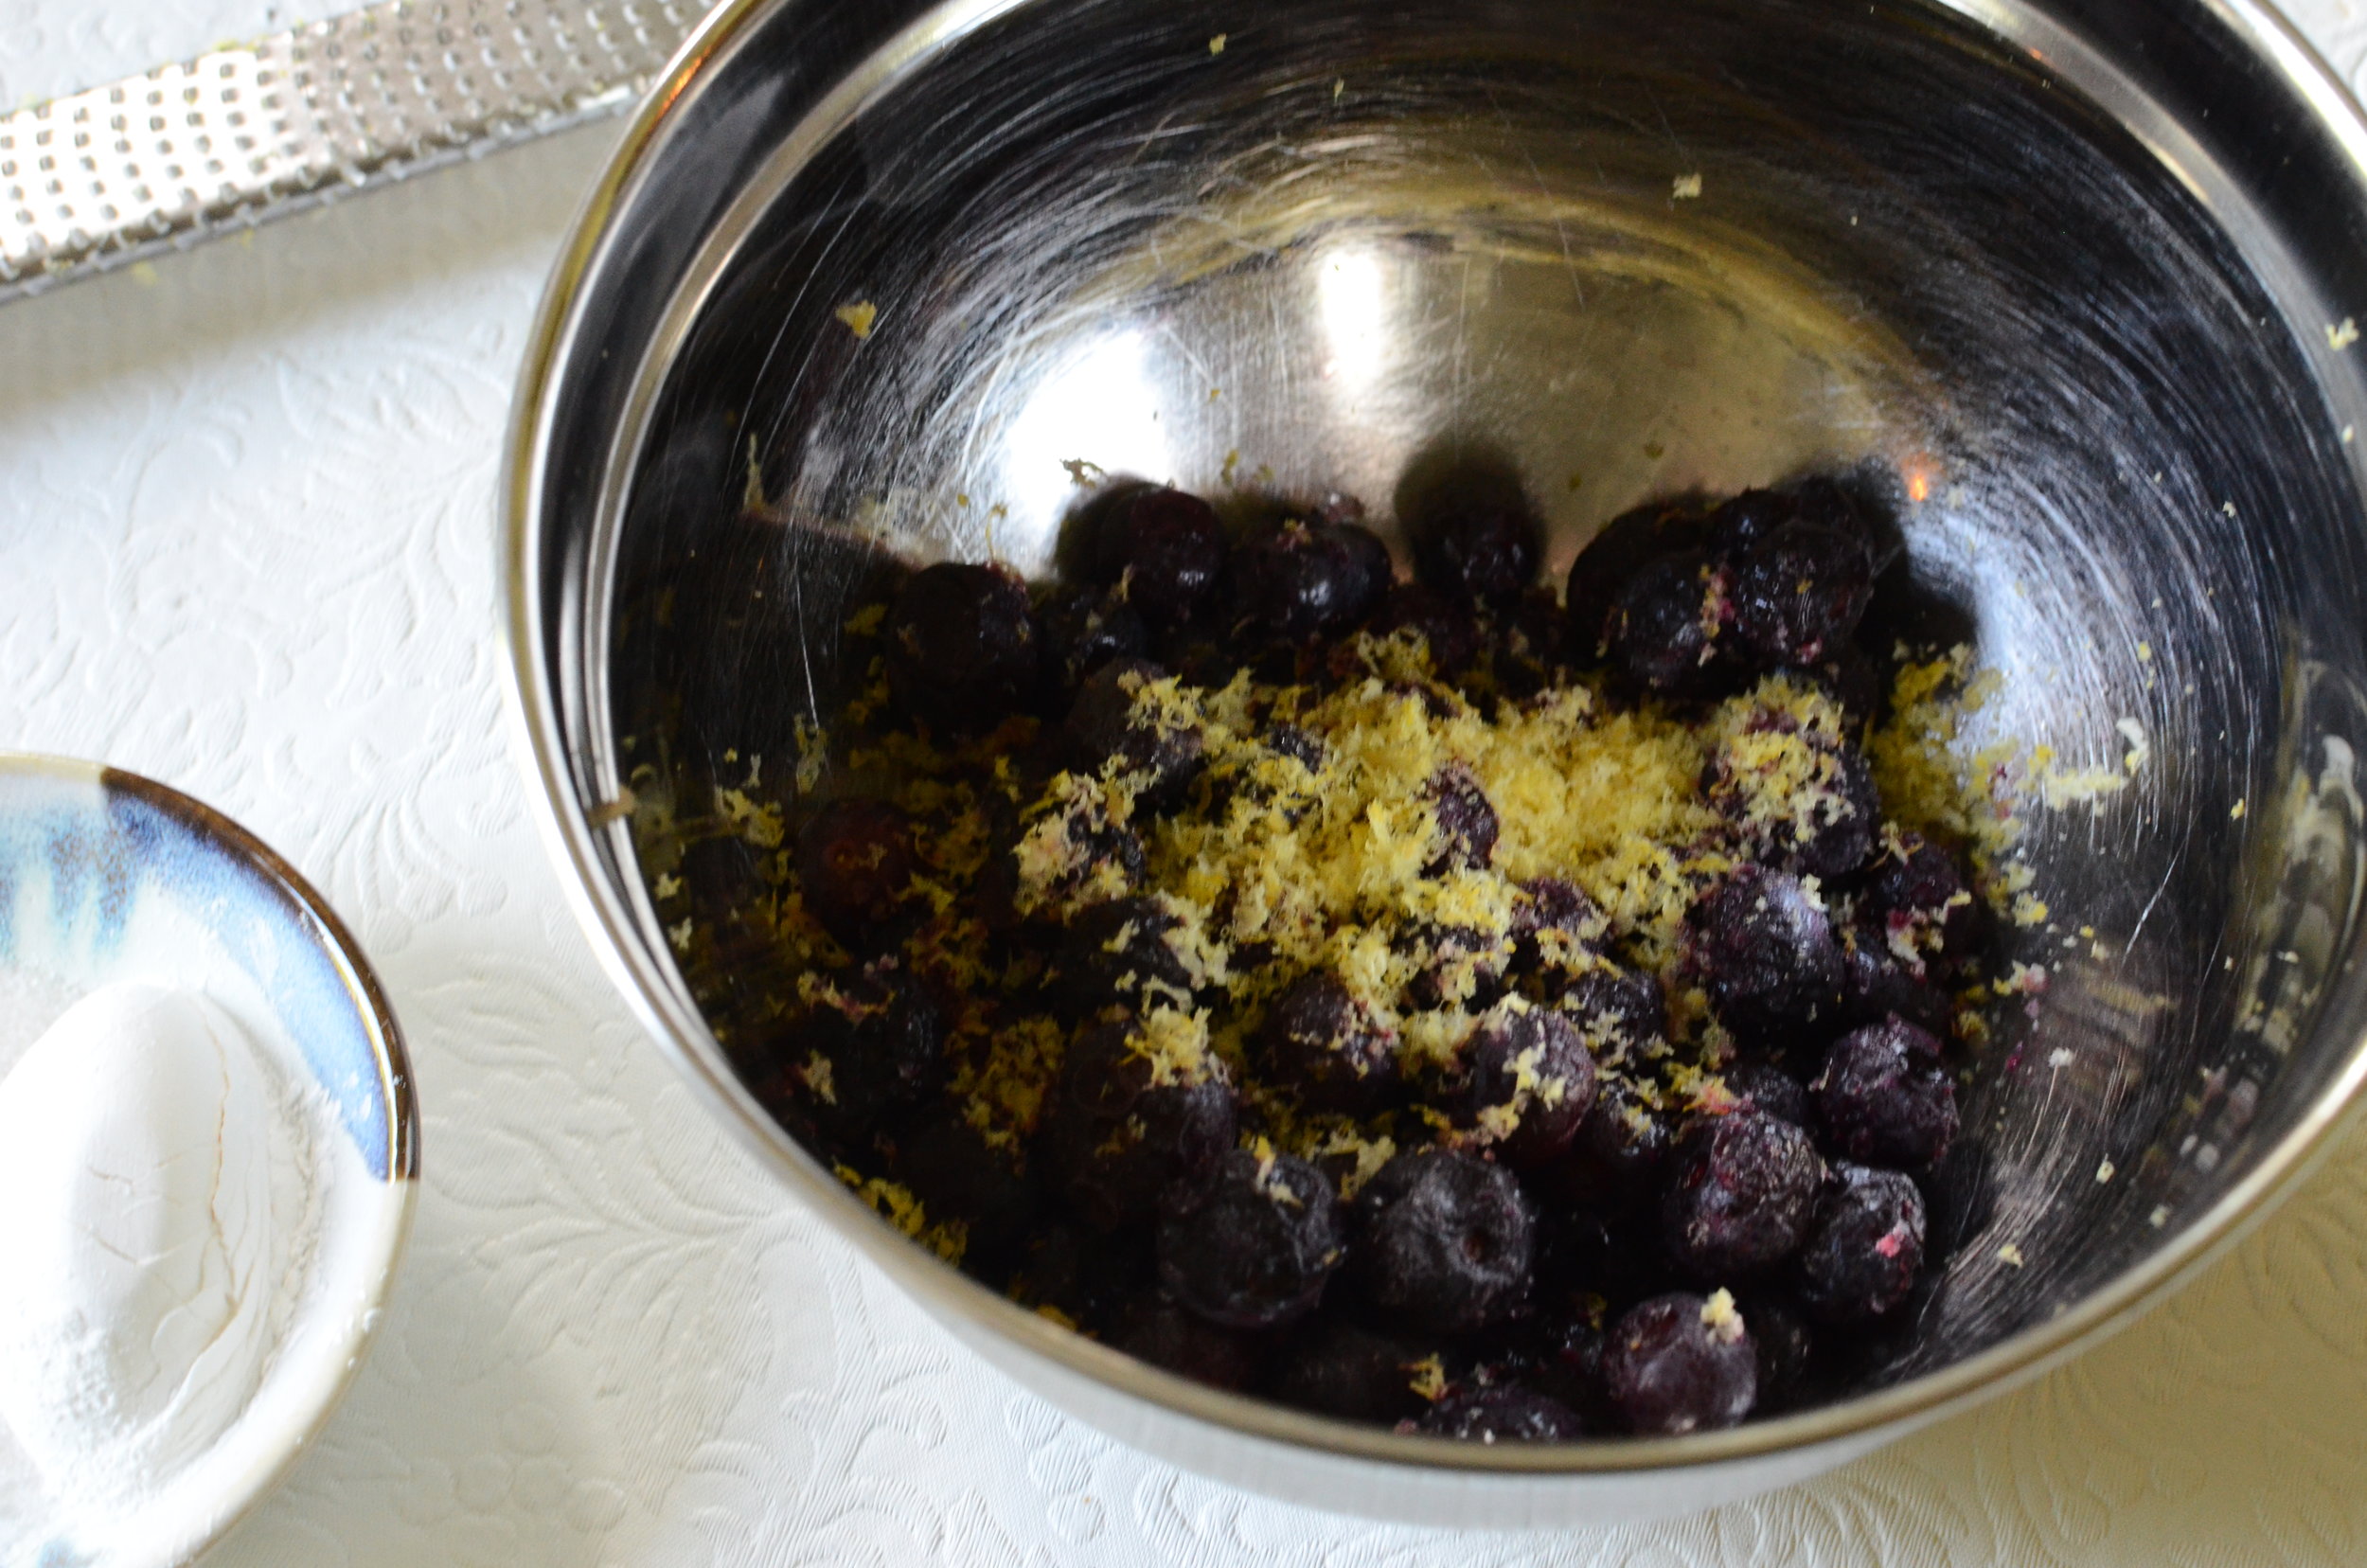
Back to the recipe - you'll need blueberries, fresh or frozen.

freeze-lemon-shells-for-zesting-at-a-later-date

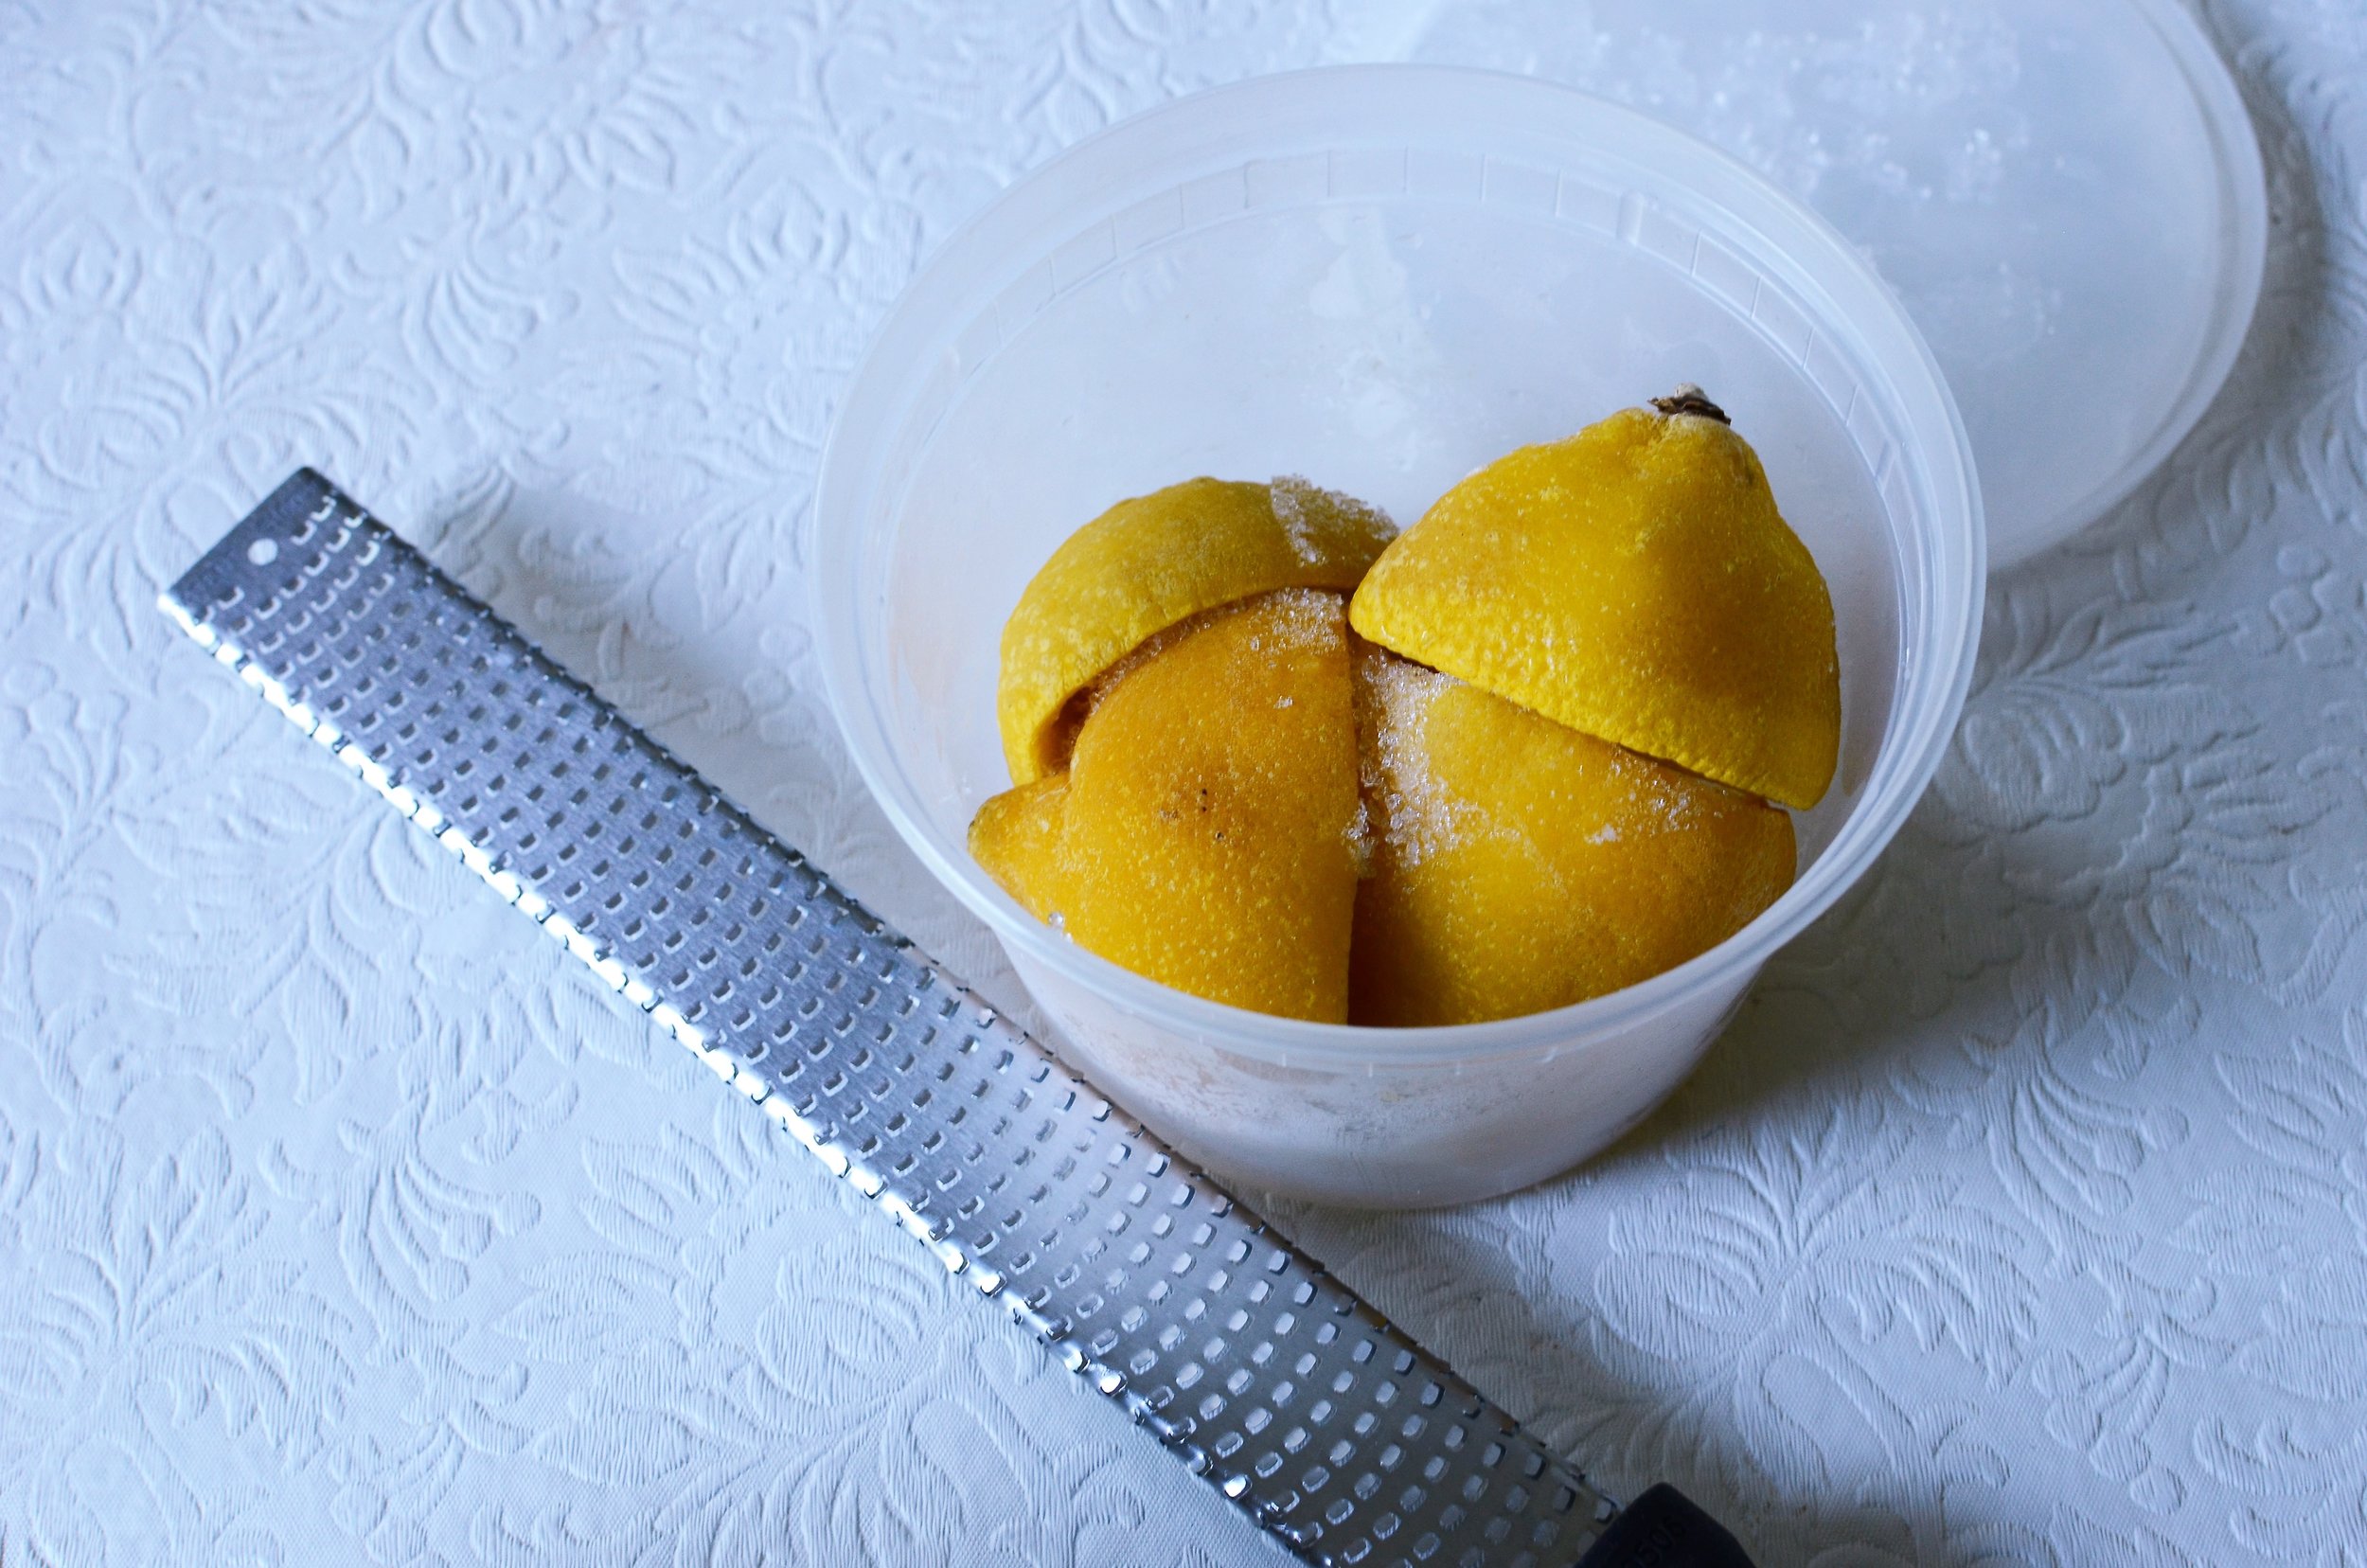
And some lemon zest.  

Here's a tip - next time you squeeze fresh lemon juice, pop the used lemon halves into the freezer.  You'll always have lemon zest on hand.

grating-lemon-zest-off-frozen-lemon-shell

Just grab one of your frozen lemon shells and grate it using a microplane grater.

blueberries-and-lemon-zest-for-crostata-or-galette-filling

Lemons and blueberries are best friends.

DSC_3782 (2).JPG

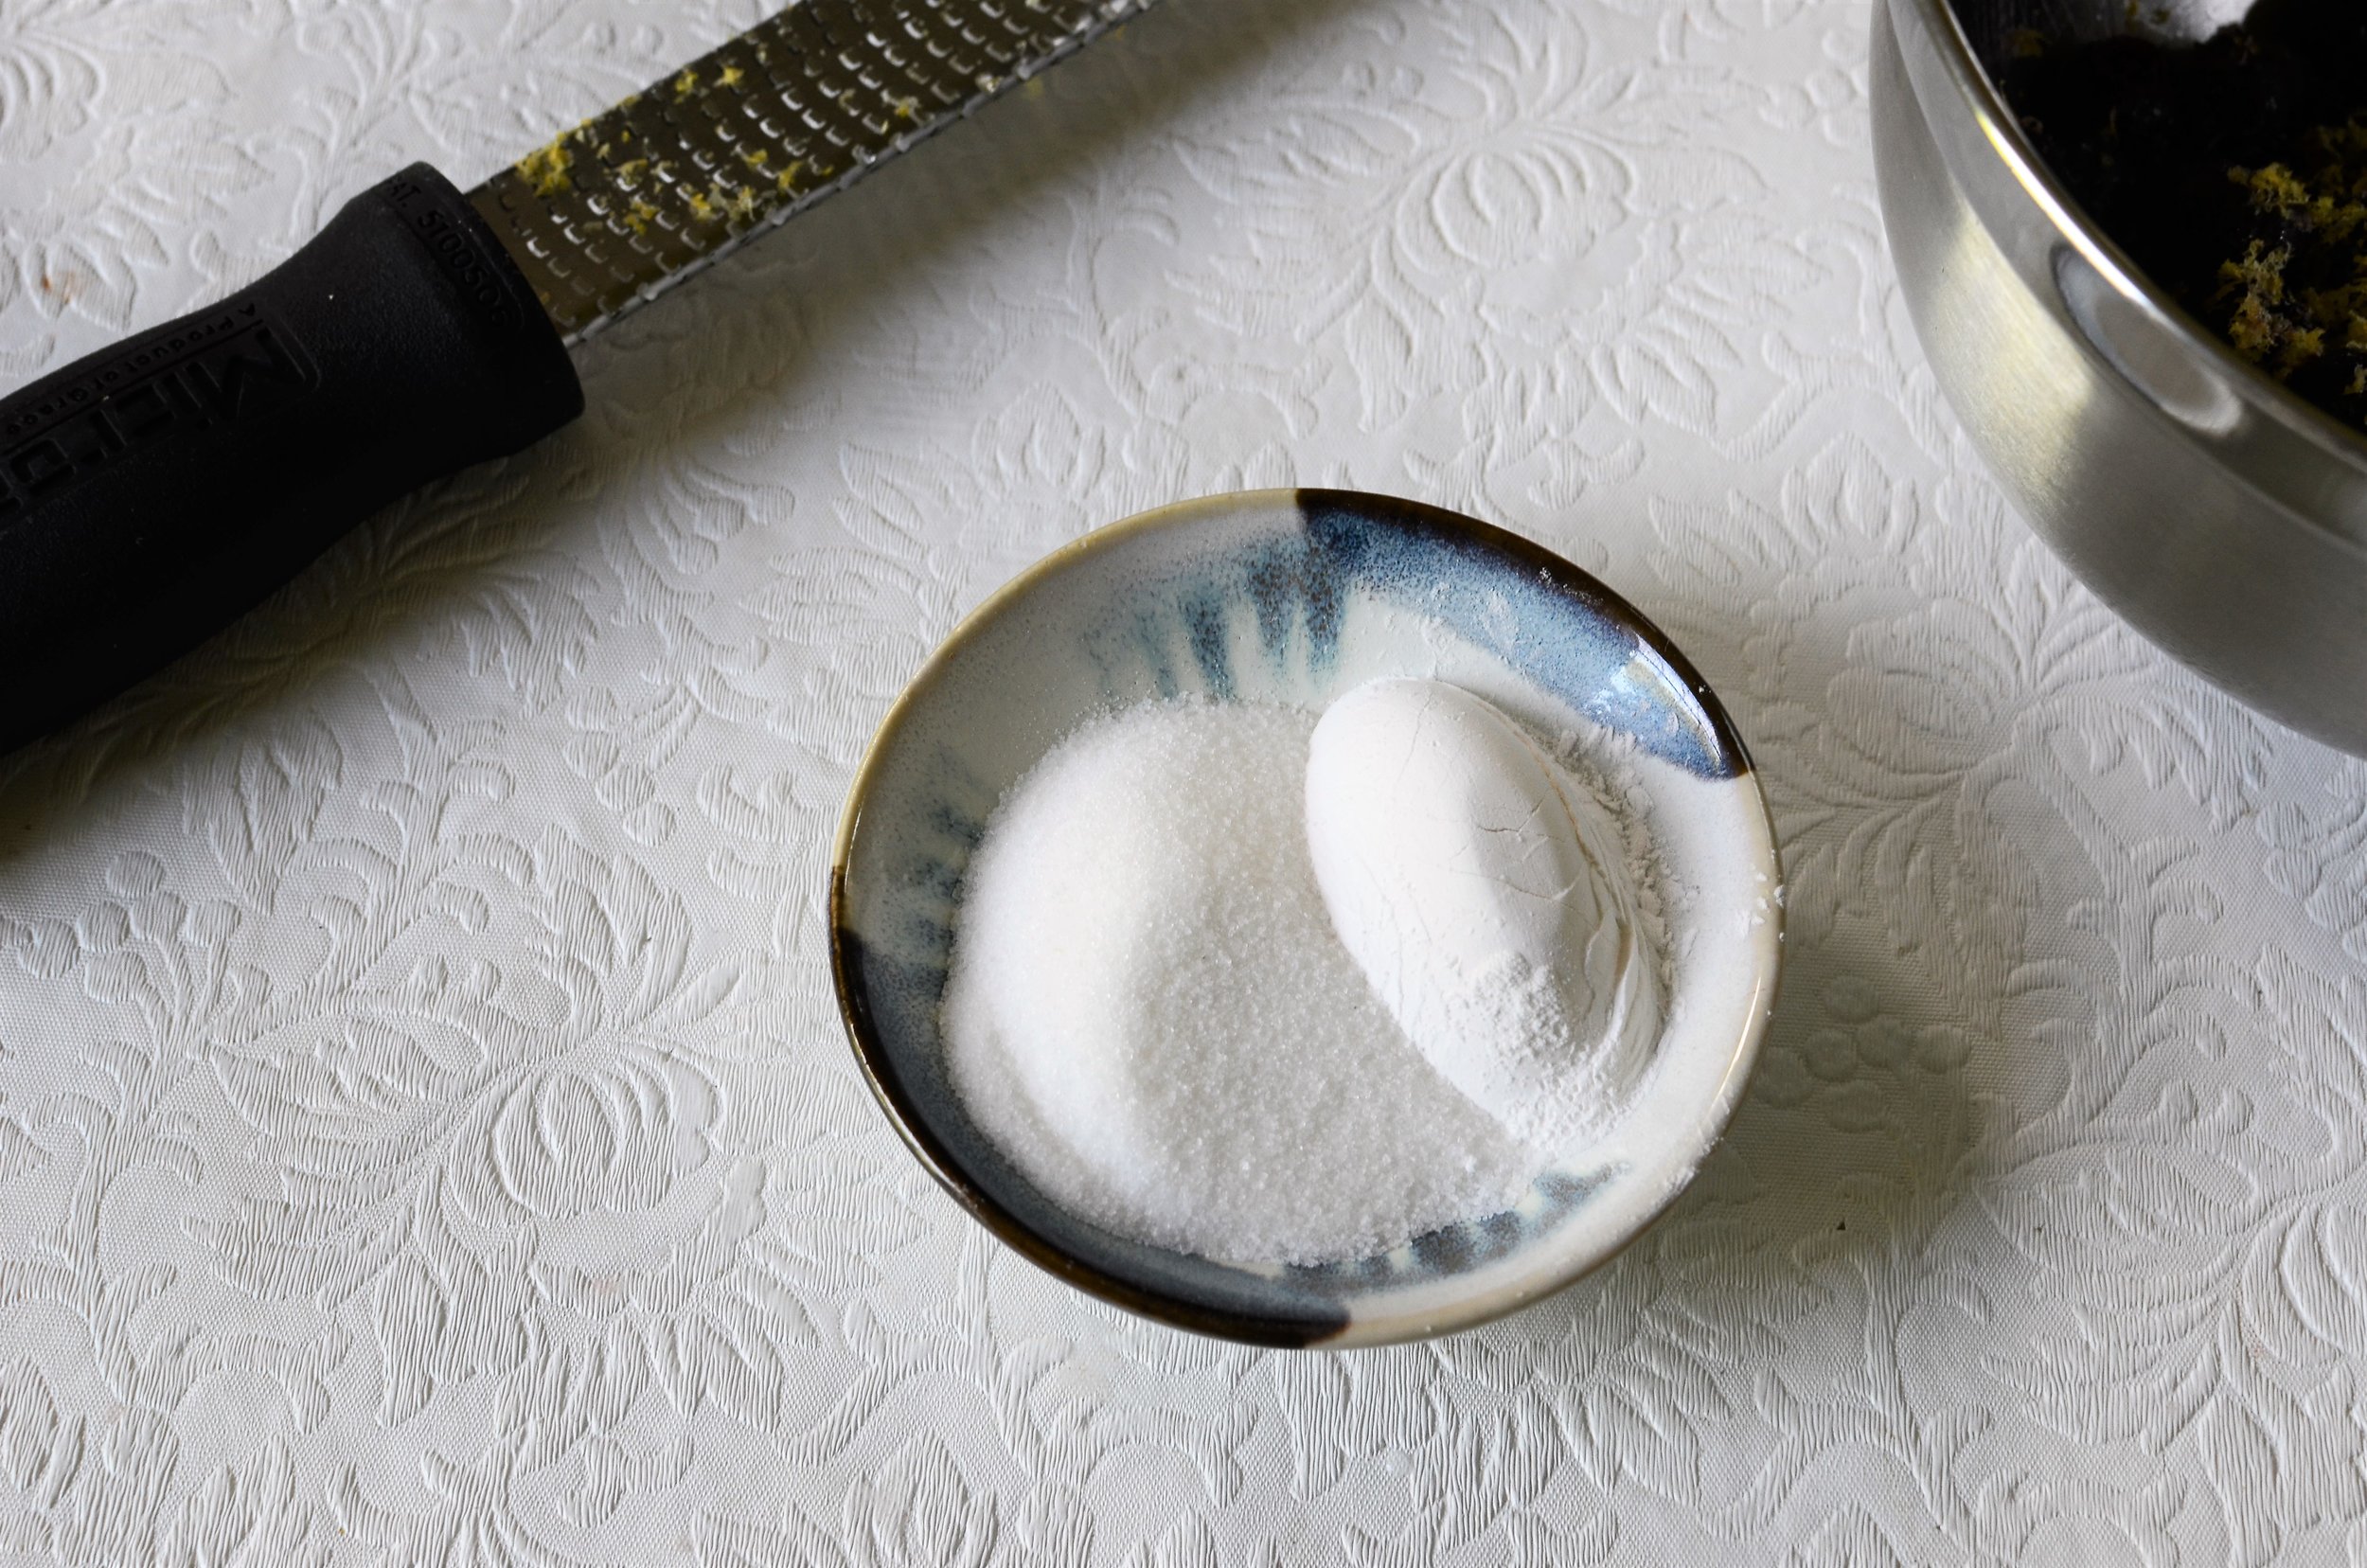
Add sugar, finely ground tapioca starch, and just a pinch of fine salt. 

Note:  If you only have pearl tapioca starch in your pantry, you can pulse it in a spice grinder.

blueberry-filling

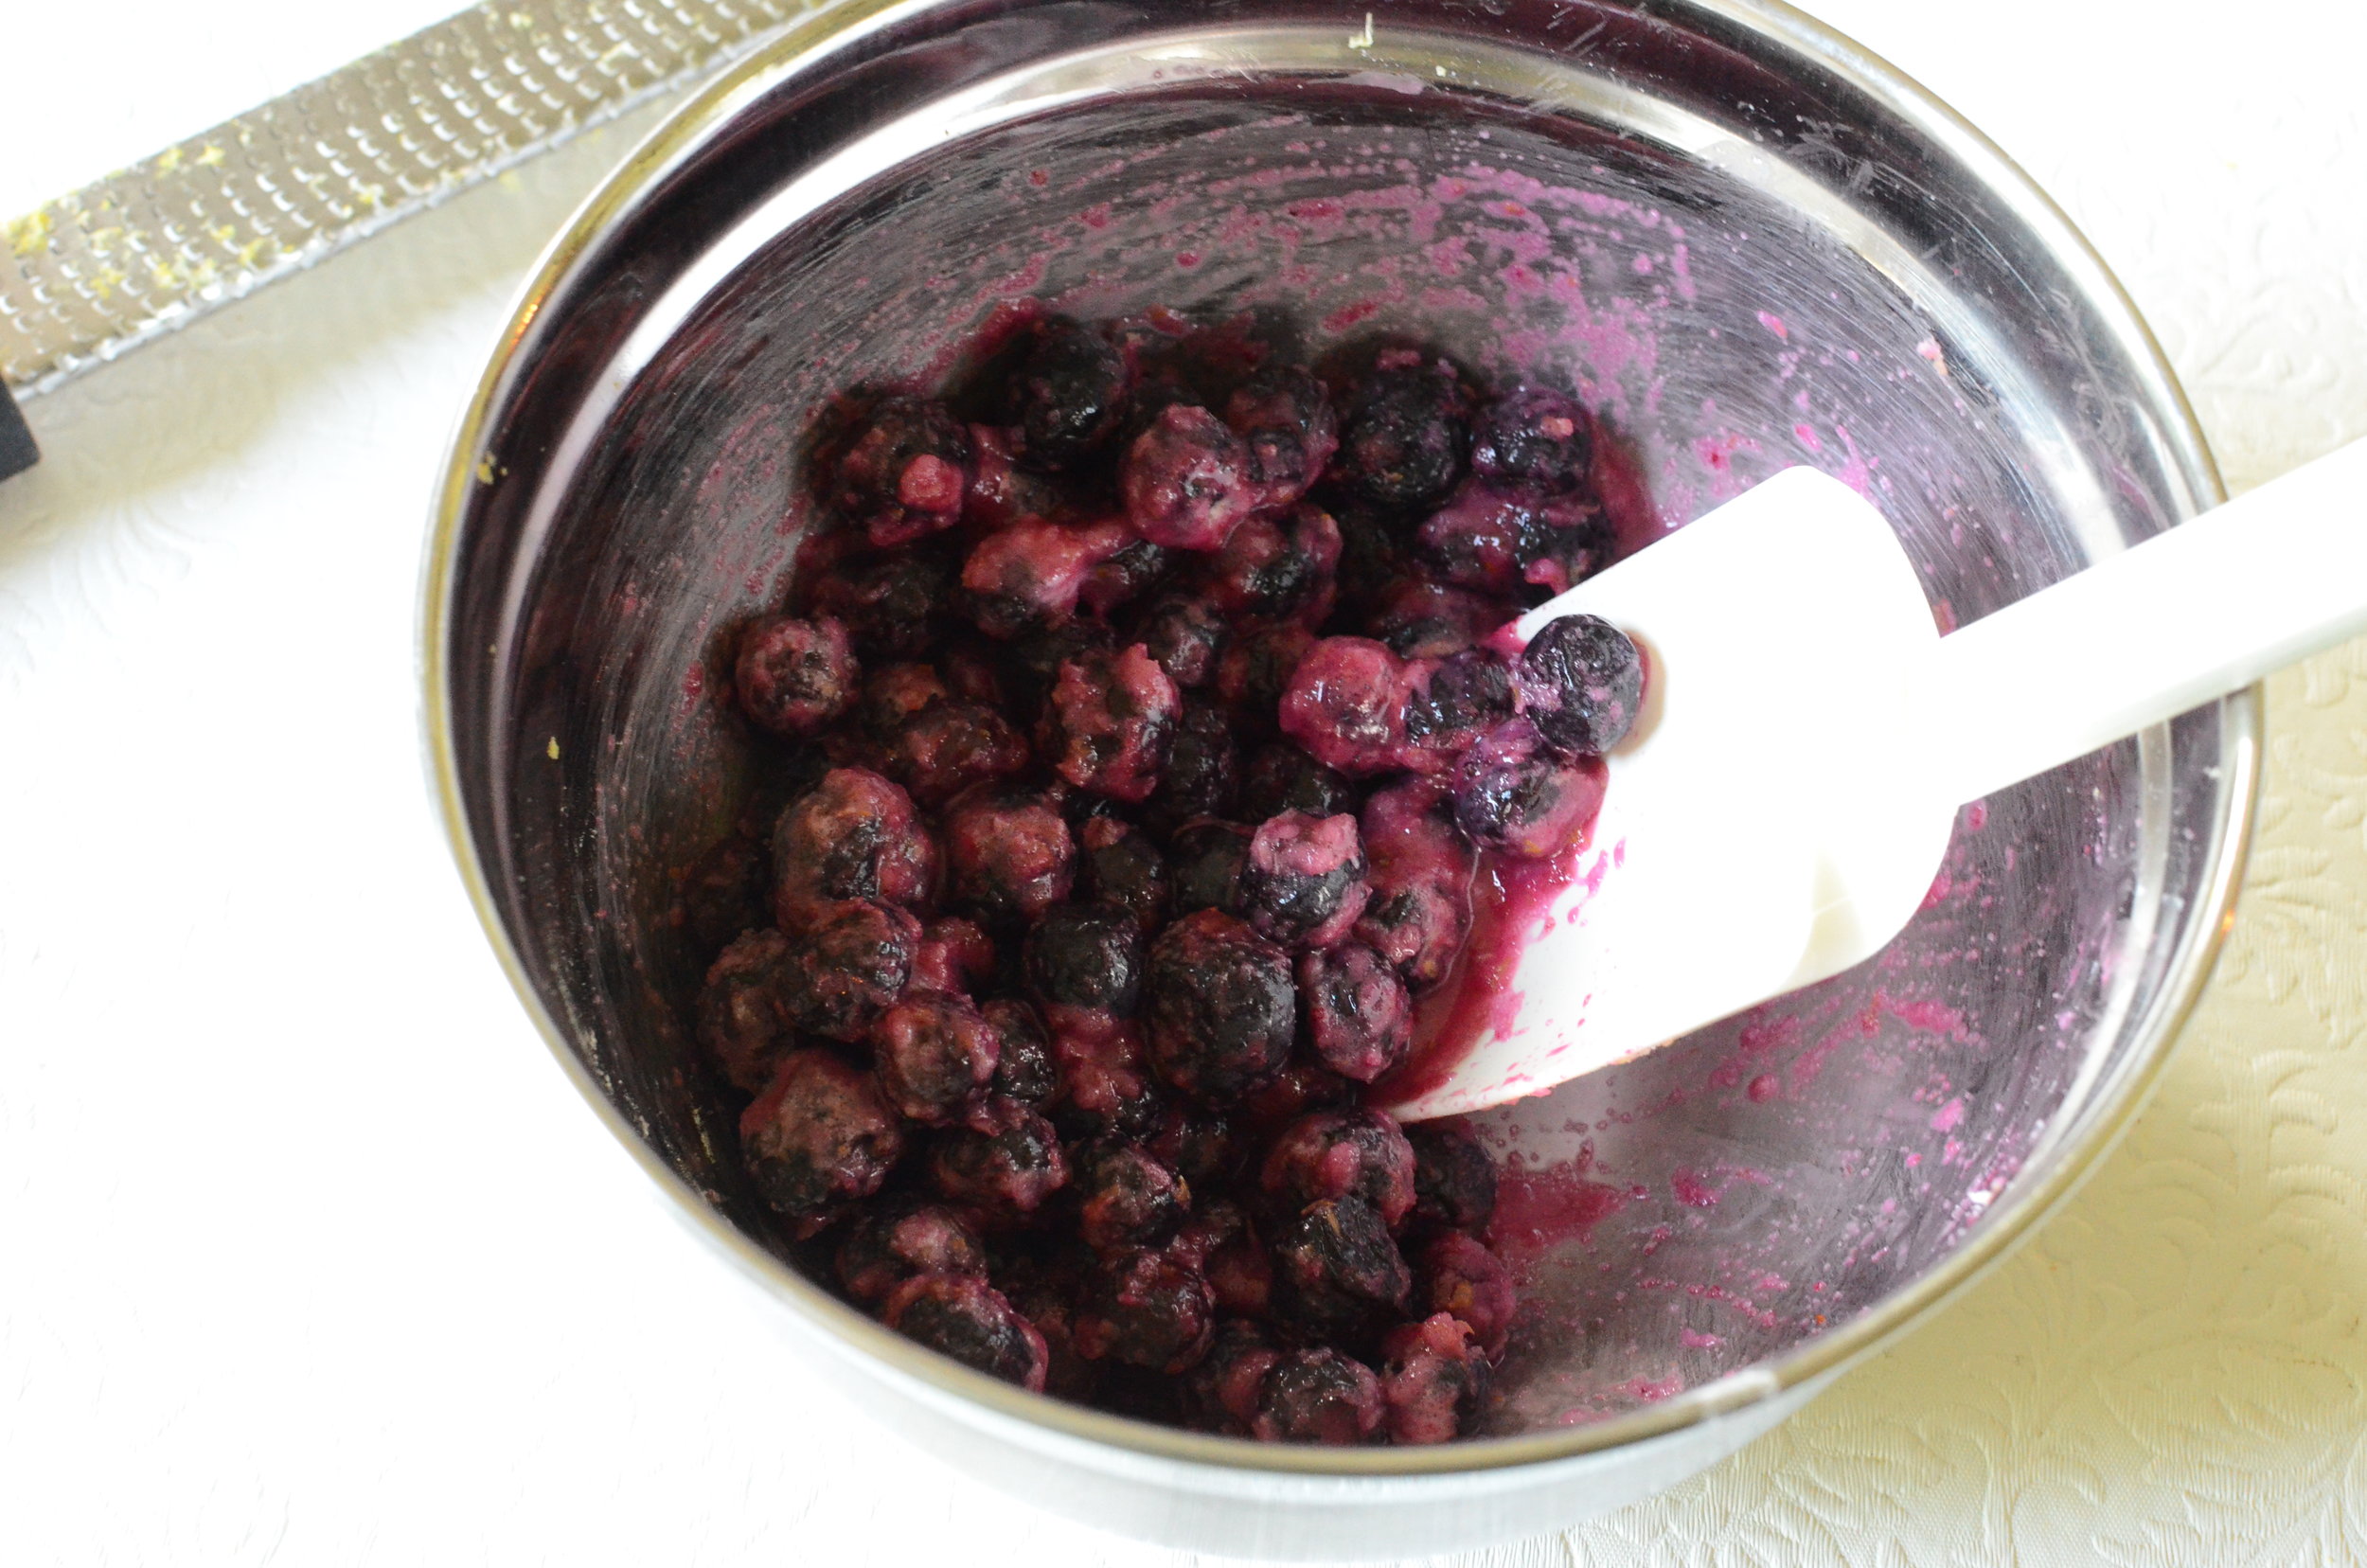
Stir the blueberries, lemon zest, sugar, tapioca, and salt together well.

crostata or galette recipe. blueberry crostata for two - recipe and how to photos. blueberry galette for two - recipe and how to photos. blueberry galette recipe. how to make a crostata. how to make a galette. how to make a pie without a pie plate. …

Place the berry mixture in the center of the pie crust.

folding-crust-over-crostata-or-galette-filling

Dot the filling with butter and fold up the edges of the crust as shown.  Pop the whole thing in the fridge and chill well for 2 hours before baking.  

brushing-egg-wash-on-pastry

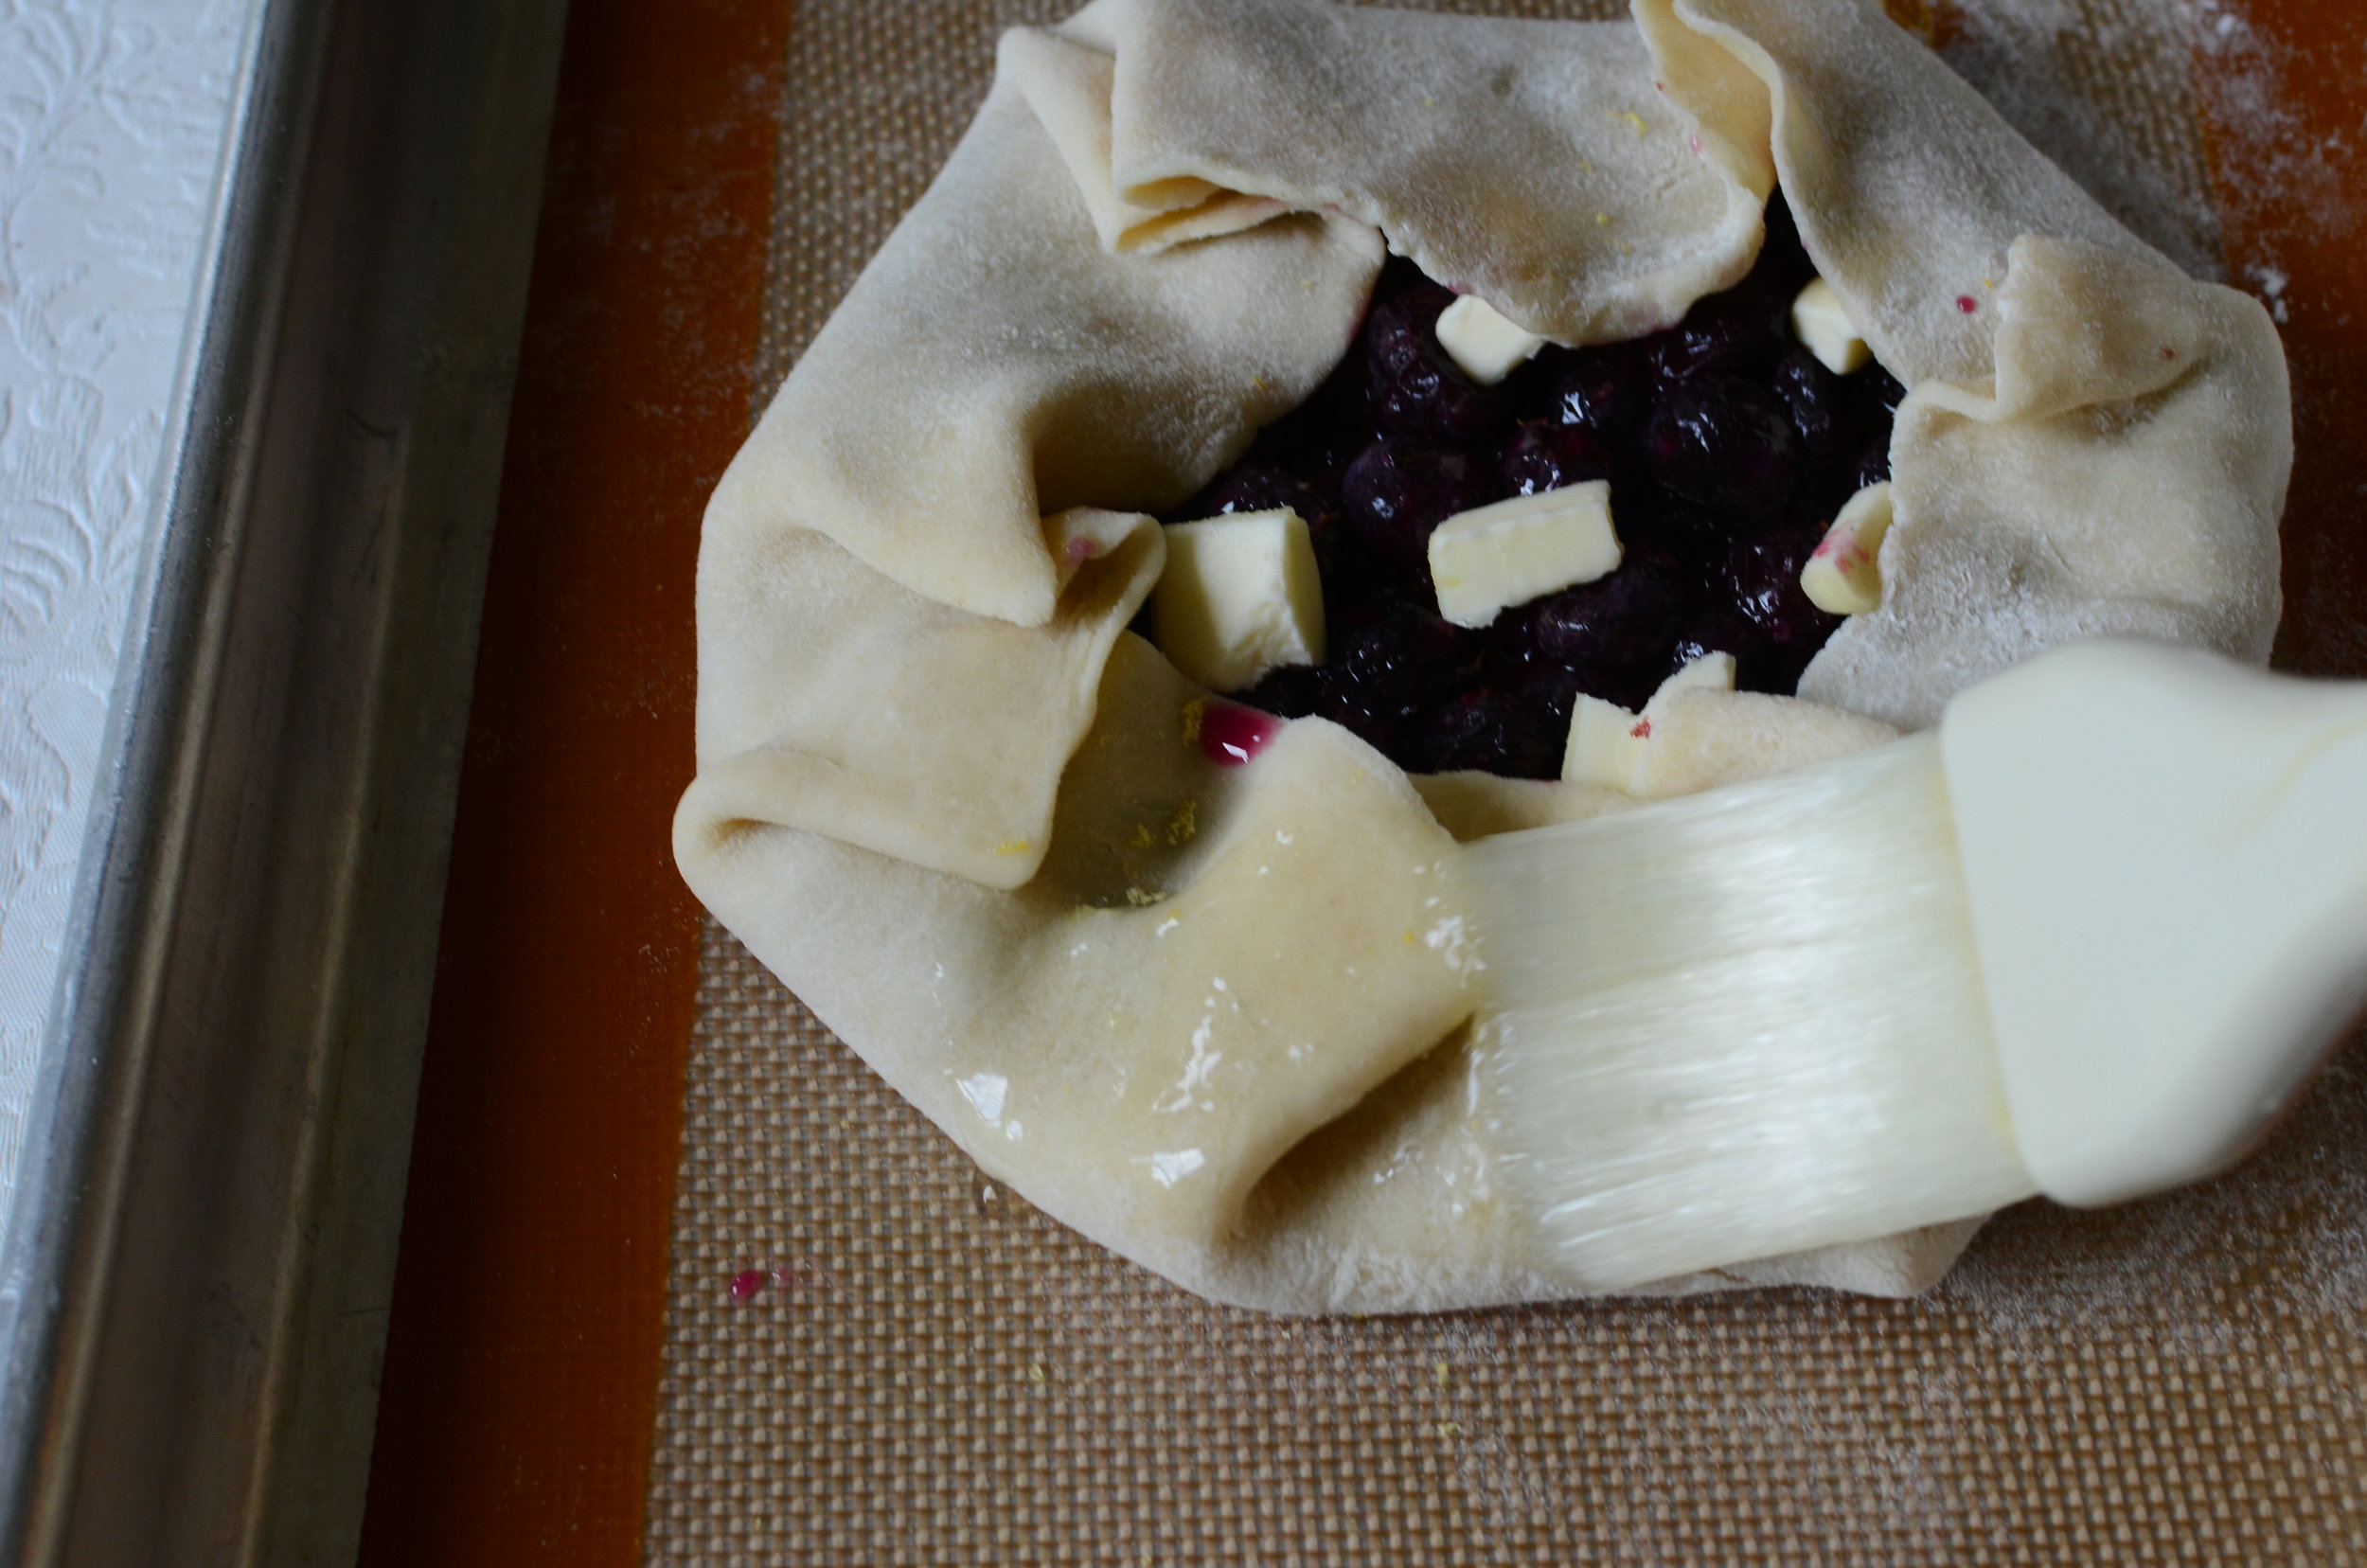
Preheat the oven to 400F.  Just before baking, brush the crostata with milk, cream, beaten egg, egg white, or any combination thereof.

store-turbinado-sugar-in-airtight-container

This step is optional, but I like to follow the egg wash with a sprinkling of either sanding sugar or turbinado sugar.  

blueberry-crostata-or-galette

See how pretty?  I can't wait!

Items needed to make this recipe:

(affiliate links)


Blueberry Crostata for Two

makes one 6-inch crostata (2 servings)

Printable Recipe

Ingredients

  • single pie crust (recipe and how-to photos here)

  • 1 cup blueberries (fresh or frozen)

  • 1 tablespoon tapioca starch, finely ground

  • 2-3 tablespoons granulated sugar (depending on how sweet the berries are)

  • 1/2 teaspoon grated lemon zest

  • pinch of fine salt

  • 1 teaspoon butter, cut into small bits

  • optional: beaten egg, milk, or cream to brush over crostata

  • optional: turbinado or sanding sugar to sprinkle over crostata

Directions

  1. Roll enough pie crust to make a 9-inch round; place on a silpat-lined quarter sheet pan and chill until needed (wrap remaining crust well and freeze for use later).

  2. In a small mixing bowl, combine the blueberries, sugar, tapioca, and lemon zest; stir well to combine.

  3. Place the berry mixture in the center of the crust; spreading it in an even layer that measures 6 inches wide.

  4. Pull the remaining crust over the top of the blueberries, overlapping as shown in the photos; chill for 1 to 2 hours before baking.

  5. Preheat the oven to 400F.

  6. Just before baking, dot the berries with the butter, brush the crust with beaten egg, milk, or cream, and sprinkle with turbinado or sanding sugar.

  7. Bake for 40 minutes, or until crust is golden brown and filling is hot and bubbly.

  8. Remove crostata from oven and cool for at least 30 minutes before serving.

Super Flaky All-Butter Pie Crust

Patricia @ ButterYum

I've long been a fan of all-butter homemade pie crusts, but recently I stumbled upon a pretty unique technique for making an all-butter crust that results is the flakiest pie crust I've ever made.  The technique is from Stella Parks, the pastry chef, cookbook author, and blogger behind BraveTart.

Traditional pie crust recipes (like this one I shared a couple years ago) call for very cold butter and varying amounts of ice cold water depending on how dry or humid the atmosphere is.  Then, once the crust ingredients are combined, the dough is chilled well before rolling, which can be difficult for people who tend to be pastry challenged.  Also, you have to be careful to not incorporate too much additional flour during the rolling process, otherwise the crust gets really tough.

However, this technique uses butter pulled straight out of the fridge and a very specific amount of room temperature water (whoohoo for no guessing!).  The easy-to-handle crust is rolled with liberal amounts of extra flour as soon as the dough is formed (it's so easy!).  And the finished crust bakes up so incredibly flaky, I can hardly believe it.  Another bonus is that you don't need a pastry blender or food processor for this technique - all you need are your hands.  Let me show you how it's done.   

mise-en-place-pie-crust-ingredients

Start by gathering all the ingredients.  Ideally, the room you're working in should be around 73F (23C).  If your room is much warmer than that, you will need to occasionally place the butter and flour mixture in the fridge to chill for a couple of minutes to keep the butter from getting too soft.

DSC_3625.JPG

In a large bowl, whisk the flour, sugar, and salt together.  For the most professional results, be sure to weigh your ingredients - it's the best way to ensure your crust will turn out exactly the way it should (this is my favorite scale - I use it every single day).

DSC_3629.JPG

Add the cubed butter to the flour mixture and toss so all the cubes are completely coated.  If any cubes stick together, simple pry them apart.

flattened-butter-disks-for-flaky-all-butter-crust-recipe-butteryum

One by one, use your finger tips to flatten each cube of butter into a flat disk and drop the disk back into the flour mixture, tossing with the flour so each disk is completely coated.  If the butter cubes start to get too soft, pop the whole bowl into the fridge for a couple of minutes.

making-pie-crust-by-hand-butteryum

Once all the cubes are flattened and you're sure they're all coated with the flour mixture, pour all the water into the bowl.

mixing-butter-disks-water-and-flour-to-make-pie-crust

Grab a silicone spatula and start smooshing the butter disks, water, and flour together until all (or mostly all) of the flour is incorporated.

making-pie-crust-from-scratch-butteryum

Now press all the buttery clumps together to form a ball of dough like this.

professional-tip-roll-pie-dough-on-floured-pastry-cloth

Remove the dough from the bowl and press it into a flat-ish disk on a liberally floured pastry cloth.  Yes, I use a pastry cloth - they're a little old fashioned, but wow are they fabulous... and to prove it, I'll share this little tidbit - just about every one of my pastry students has purchase their own after using mine, so there you go. If you don't have a pastry cloth, roll the dough on your kitchen counter (but trust me, a pastry cloth is way better).

best-surface-for-rolling-pie-dough-pastry-cloth

Sprinkle more flour liberally over the top of the dough.

brushing-away-excess-flour

Use your favorite rolling pin to roll the dough into a large rectangle.  Use a pastry brush to brush the excess flour off the surface before moving on to the next step.

using-a-bench-scraper-to-fold-dough-over

Starting on one of the long sides of the dough, fold over the edge to the center like you're closing one shutter over a window.  A bench scraper can be a very useful tool here, especially if you're not working on a pastry cloth.

folding-pie-dough

Do the same with the other side and, again, brush away excess flour from the exposed dough.

dough-releases-easily-from-floured-pastry-cloth

Now take one folded side and flip it over the other, like closing a book.  Again, brush away excess flour...

folding-pie-crust-for-maximum-flakiness

Now take the long strip of dough that is 4 layers thick and fold it in half widthwise so the top edges line up with the bottom edges.  You should be left with 8 layers of folded dough.

double-pie-crust-recipe-butteryum

Now cut the 8 layers of dough in half widthwise again - no need to dirty a knife, use your bench scraper.  Each of these halves will make a single pie crust.  

trim-pie-crust-with-scissors-butteryum

Roll the crust immediately and line your pie plate.  Chill for 2 full hours before filling and baking.  Leftover crust should be wrapped well and used within a few days or you can freeze it for up to a month.  Happy Baking!

Items used to make recipe:

(affiliate links)


Super Flaky All-Butter Pie Crust

makes a double crust recipe (enough for two 9-inch pie shells)

Printable Recipe

Ingredients

  • 8 ounces (1 2/3 cups; 225g) BLEACHED all purpose flour (it’s important to used bleached here)

  • 1 ounce (2 tablespoon; 30g) granulated sugar (half for savory pies)

  • 1/2 teaspoon (4g) fine table salt (or the same weight or twice the volume of kosher salt)

  • 8 ounces (1/2 pound; 225g) cold unsalted butter, cut into 1/2-inch cubes

  • 4 ounces (1/4 cup; 115g) cold tap water water

Directions

  1. In a large bowl, whisk the flour, sugar, and salt together.

  2. Add butter cubes and toss well so all the cubes are coated with the flour mixture.

  3. Use your finger tips to flatten each cube of butter into a flat disk and drop the disk back into the flour mixture, tossing well to ensure each disk is completely coated (if the butter cubes start to get too soft, pop the whole bowl into the fridge for a couple of minutes).

  4. Pour water over the butter/flour mixture; using a rubber or silicone spatula, smoosh the butter disks, water, and remaining flour together until all (or mostly all) of the flour is incorporated.

  5. Remove the dough from the bowl and press it into a flat-ish disk on a liberally floured pastry cloth or work surface.

  6. Roll the dough into a rectangular shape; folding each long end towards the center (like closing a pair of window shutters.

  7. Fold the two folded sections of dough together lengthwise (like closing a book).

  8. Fold the dough one more time, widthwise (so the top edges meet the bottom); cut in half widthwise to make 2 crusts.

  9. Roll each portion of crust and place in pie plate; chill for 2 full hours before filling and baking. Leftover dough can be wrapped well in plastic and refrigerated for up to 3 days (or freeze for up to a month).

Note

  • Just in case you're wondering, I usually bake my pies at 400F for 40-50 minutes

Recipe adapted from Stella Parks