contact us

Use the form on the right to contact us.

You can edit the text in this area, and change where the contact form on the right submits to, by entering edit mode using the modes on the bottom right.


123 Street Avenue, City Town, 99999

(123) 555-6789

email@address.com


You can set your address, phone number, email and site description in the settings tab.
Link to read me page with more information.

Blog

Butteryum food blog recipes

Filtering by Category: holiday recipes

Simple Heart Cookies

Patricia @ ButterYum

You don't need the skills of a pastry chef to make these adorable cookies - with just a few simple tools, you can make them too!  Follow me into the kitchen and I'll show you how it's done. 

rolling guides

To begin, you'll need waxed paper, a small fondant rolling pin, rolling guides (1/8-inch and 1/16-inch thicknesses to make these cookies)....

How to make professional looking heart / Valentine's Day cookies with no skills! Recipe and how-to photos.

And fondant plunger cutters.  There are all kinds of shapes available so have fun so this technique can be used for endless occasions.

red fondant

You'll also need some good quality fondant.  Some of the brands available in my area that I like are satin ice, fondarific, duff goldman, and fat daddios.  I do not care for wilton. 

I always keep white fondant on hand because I can custom color it any way I like, but it's also nice to keep darker colors on hand (red, brown, black) because it's hard to achieve the deep saturation mixing gel colors in manually.

bread proofing box to soften fondant

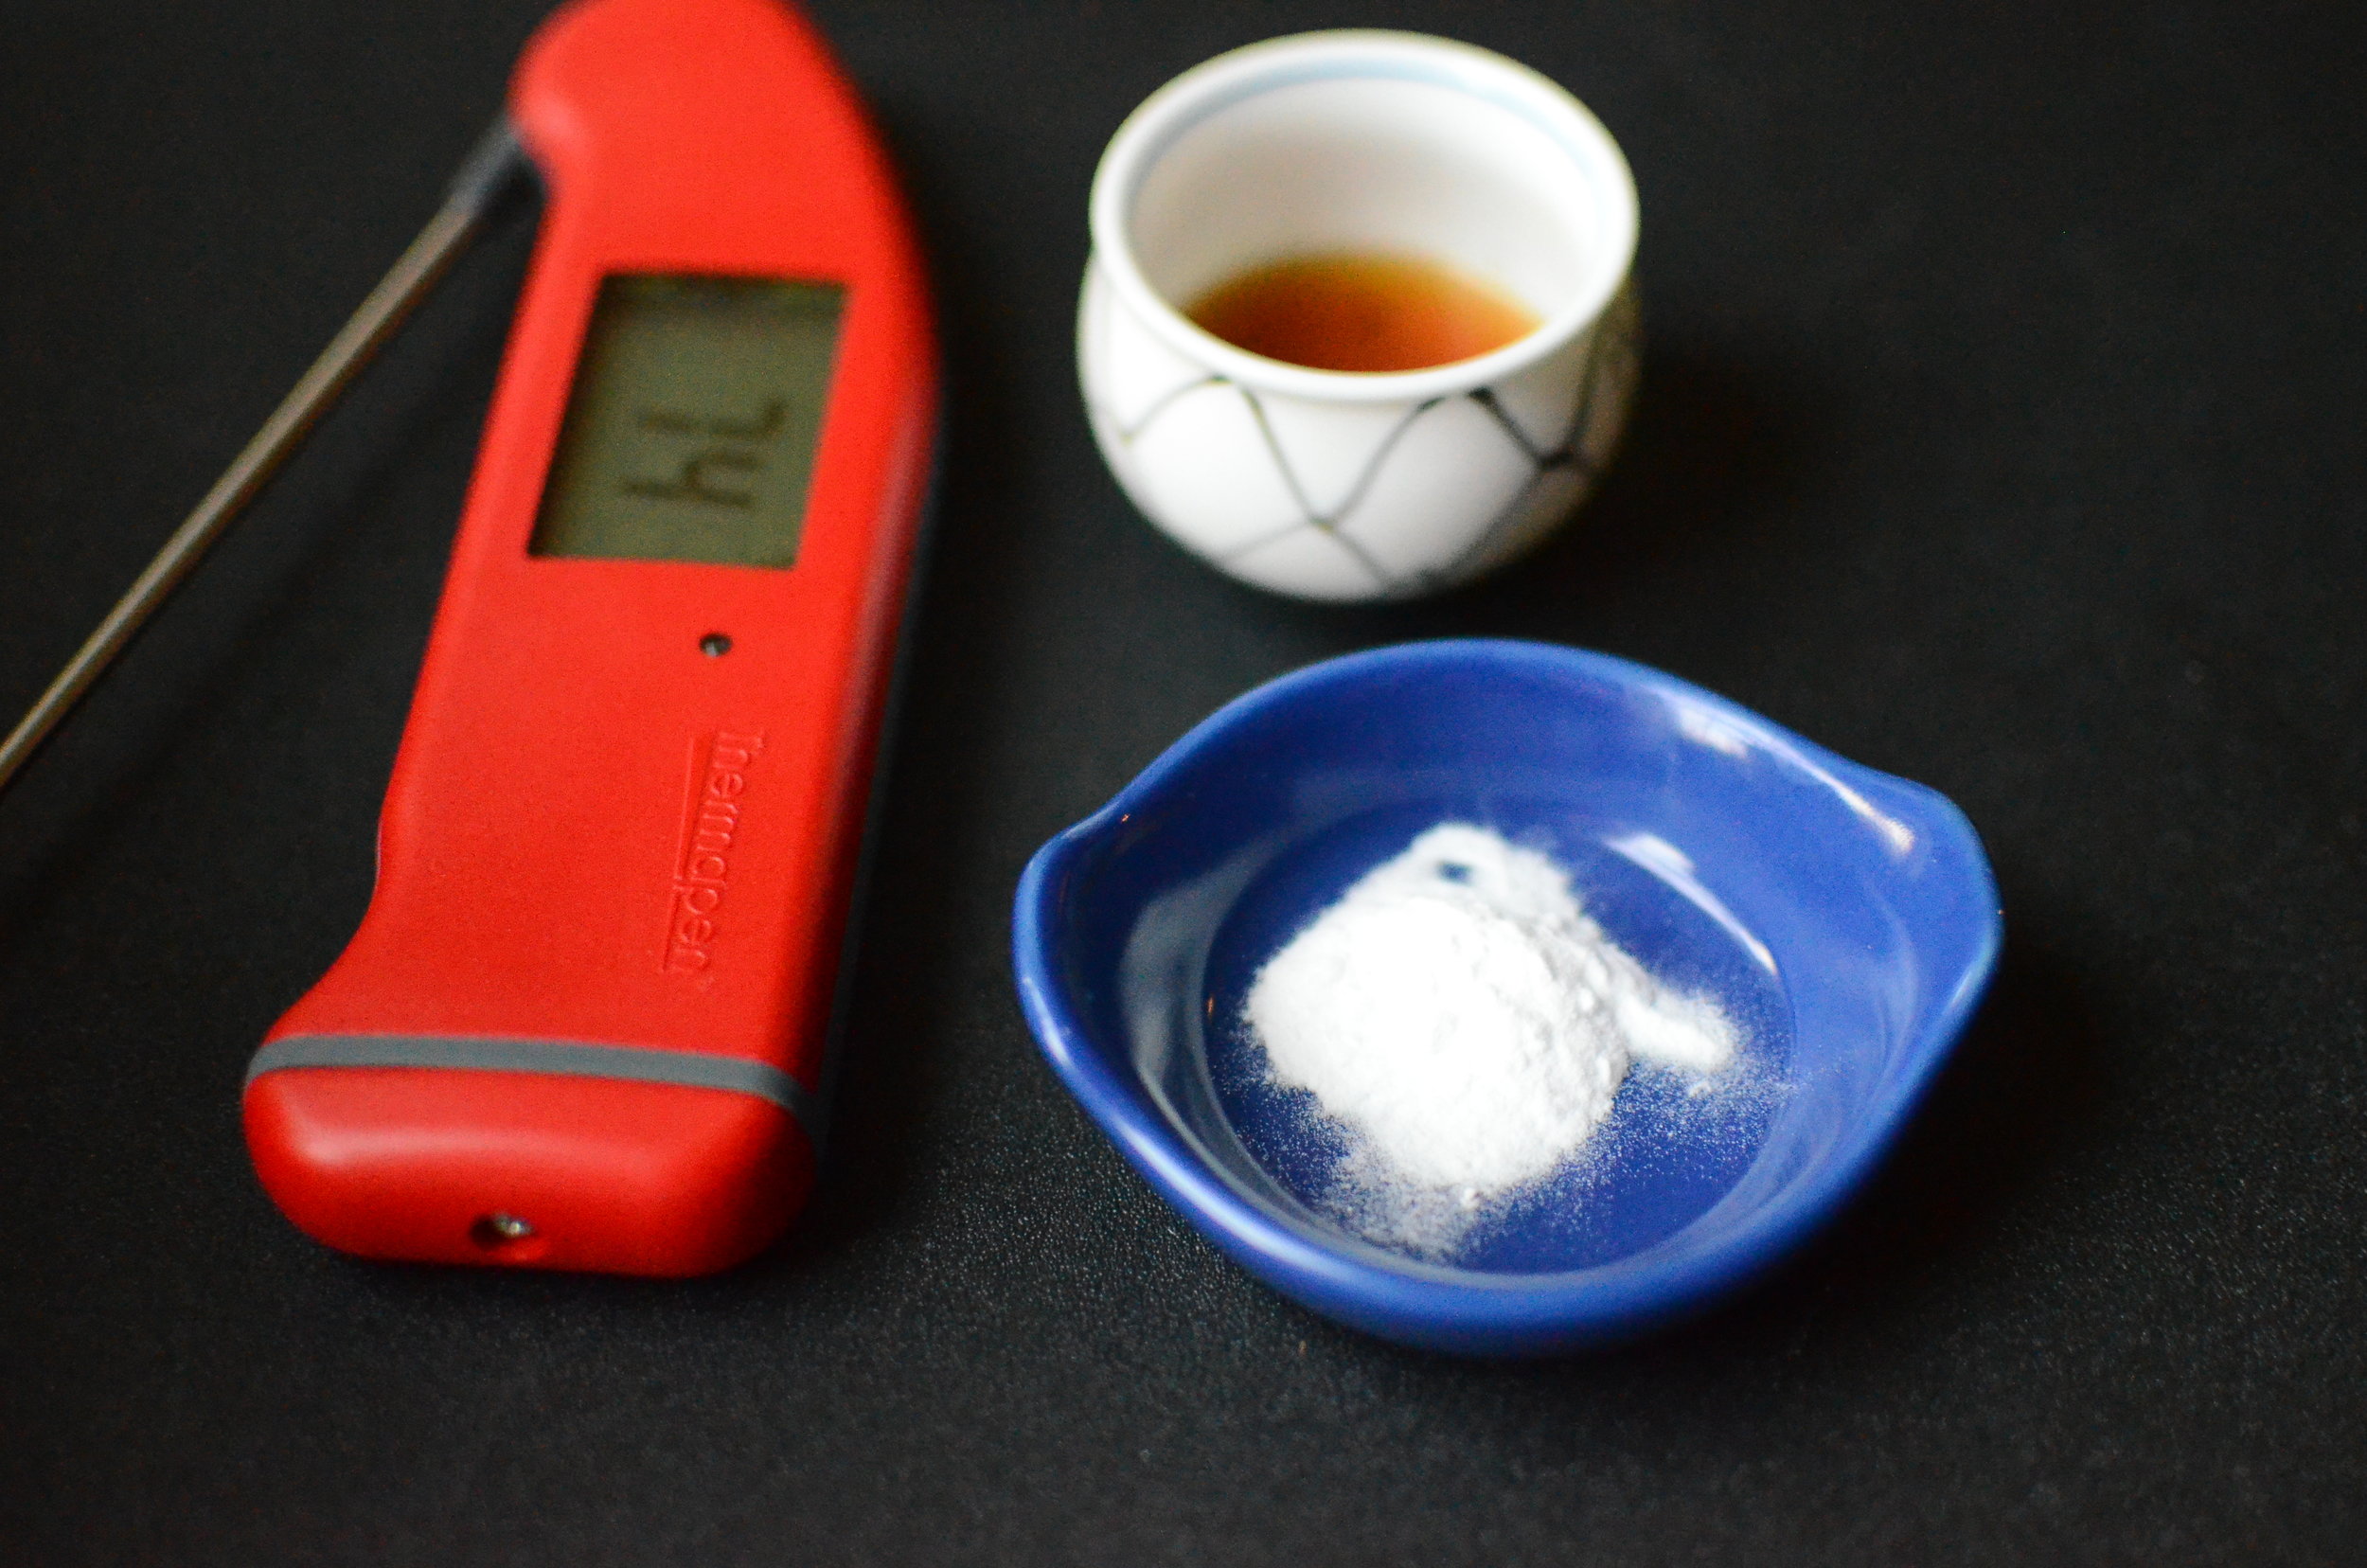
(this isn't a necessary tool, but it sure is handy) 

When I'm working with large quantities of fondant, I keep it in a bread proofing box set at 90F (keeping the fondant sealed in an airtight container the whole time).  When I'm ready to work with the fondant, it's warm enough that I can roll it easily without first having to knead it until it's soft and workable.

using a break proofing box to soften fondant

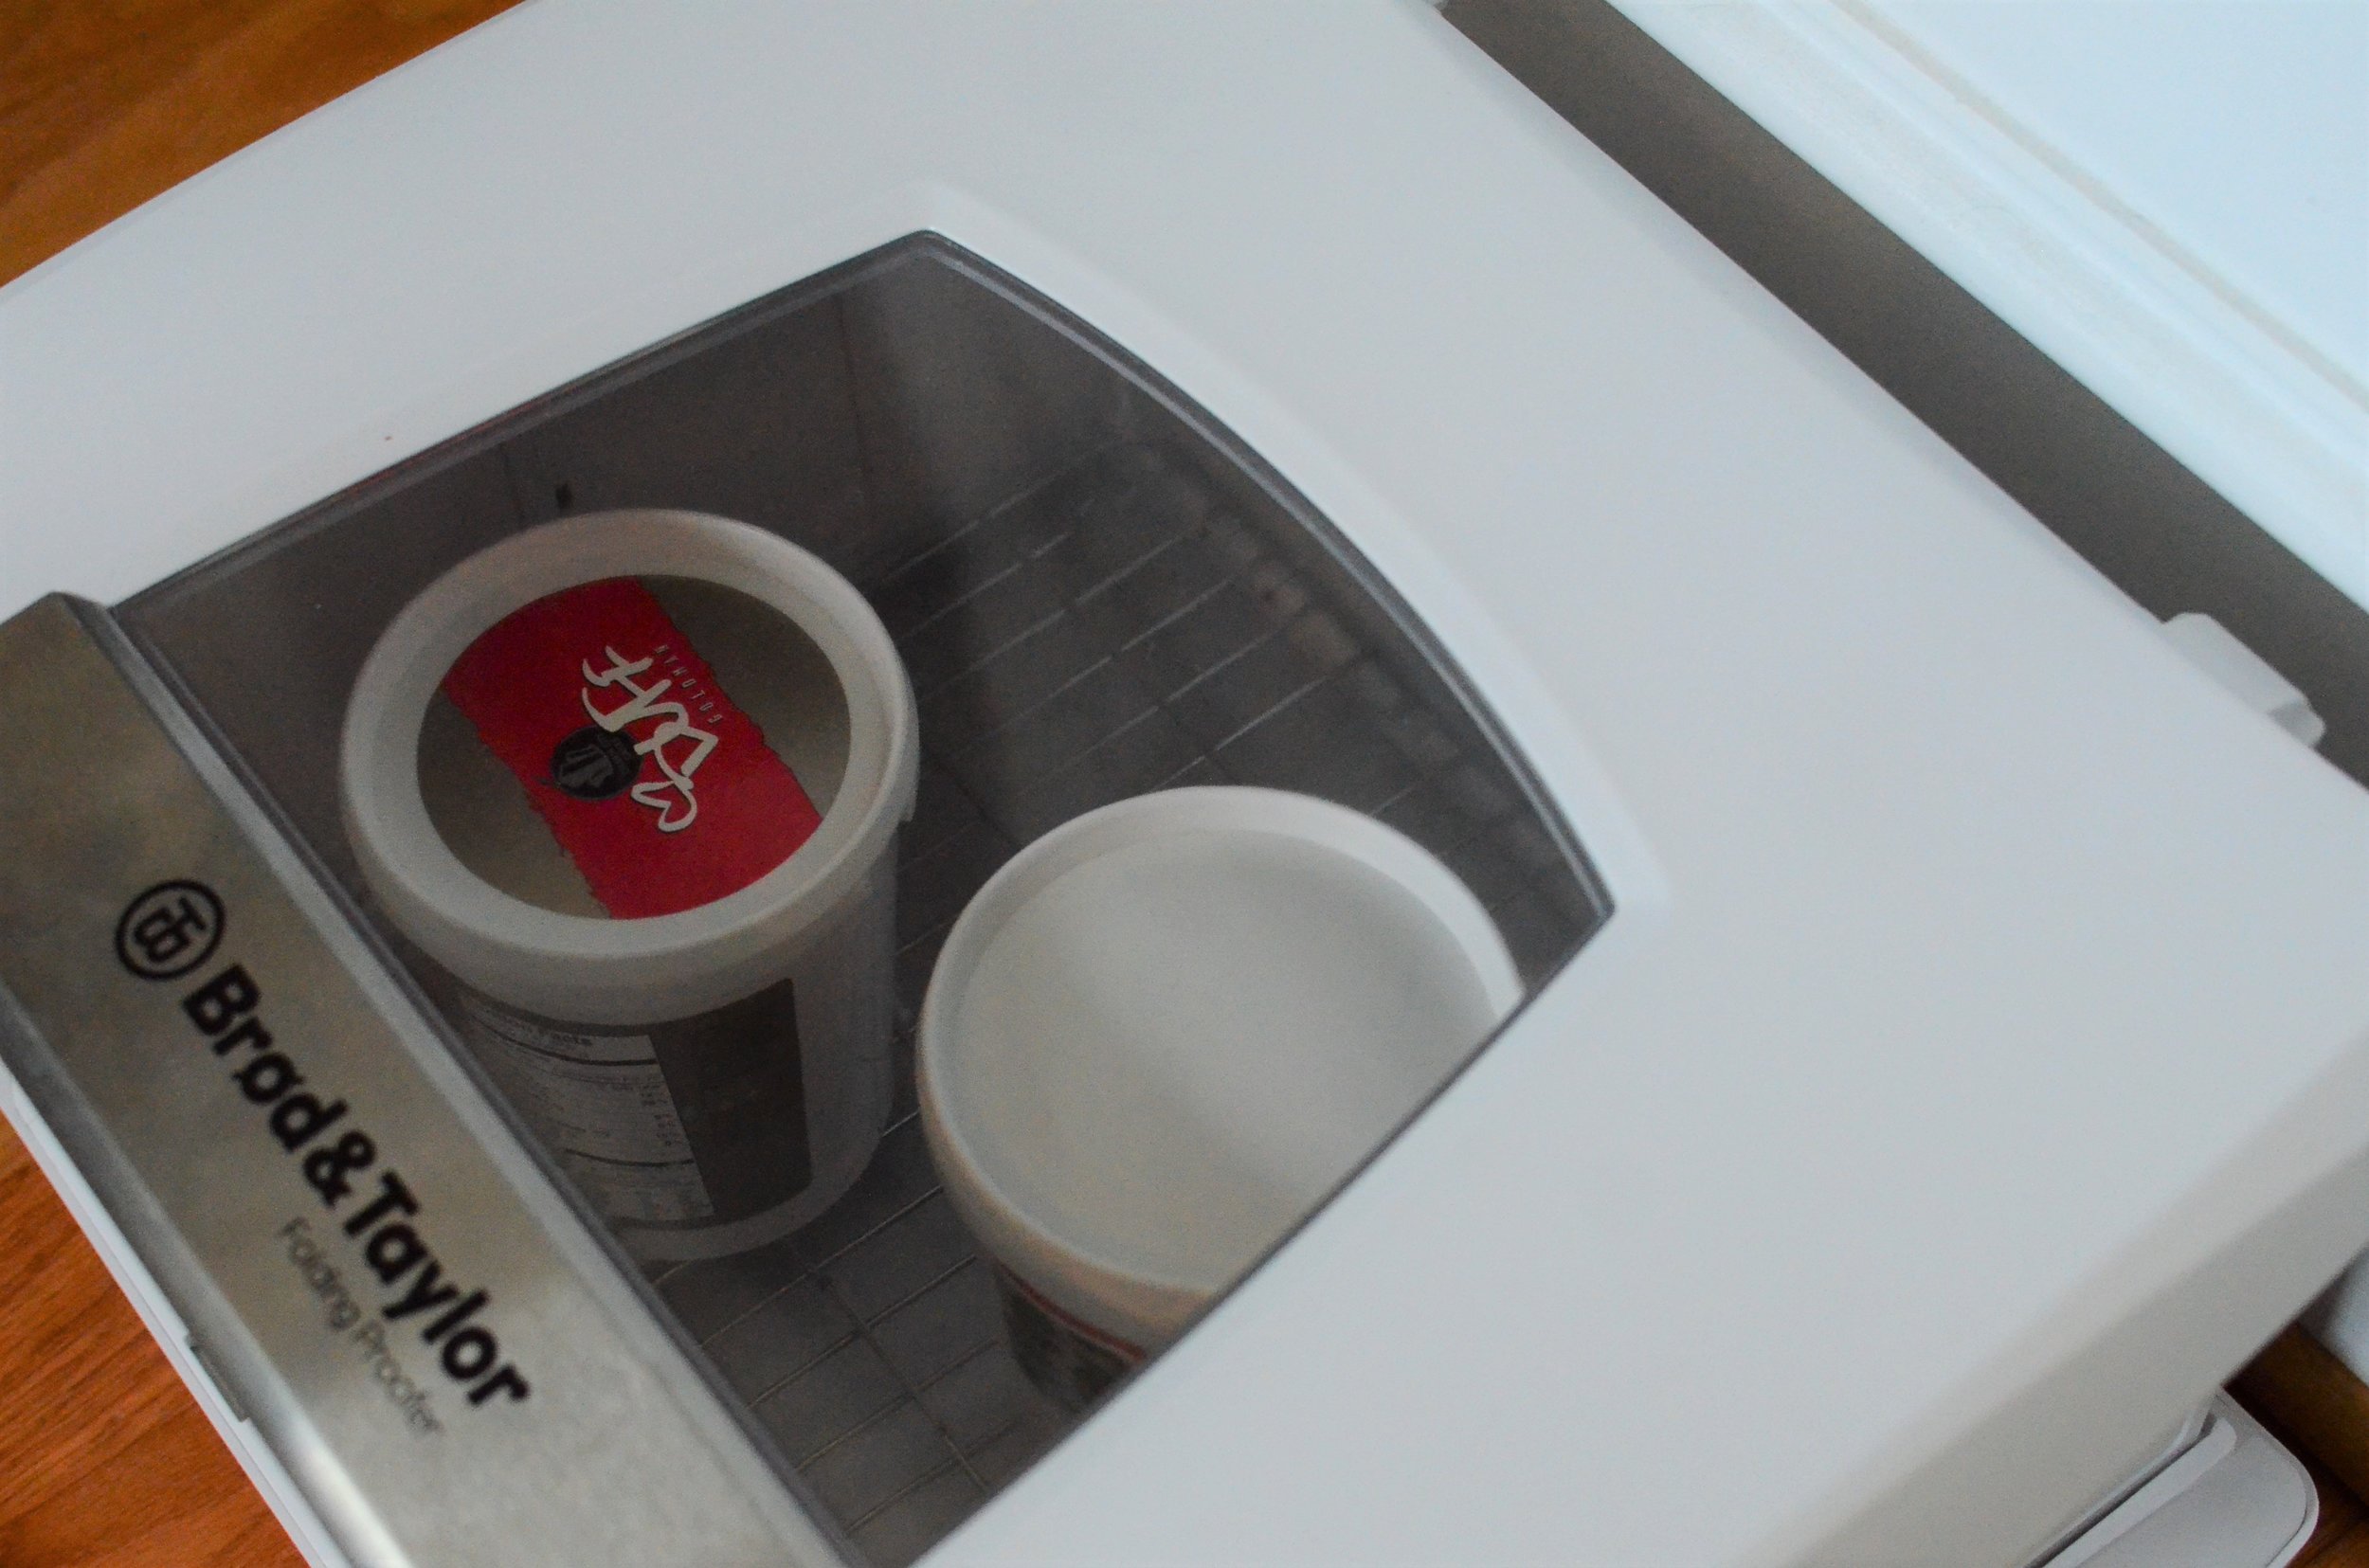
Love my bread proofing box from Brod & Taylor.  It's great for proofing bread dough, of course, but it has a temperature range of 70-120F, so it's good for making yogurt, melting chocolate, and keeping tempered chocolate in temper too. 

Best cookie decorating hack ever!

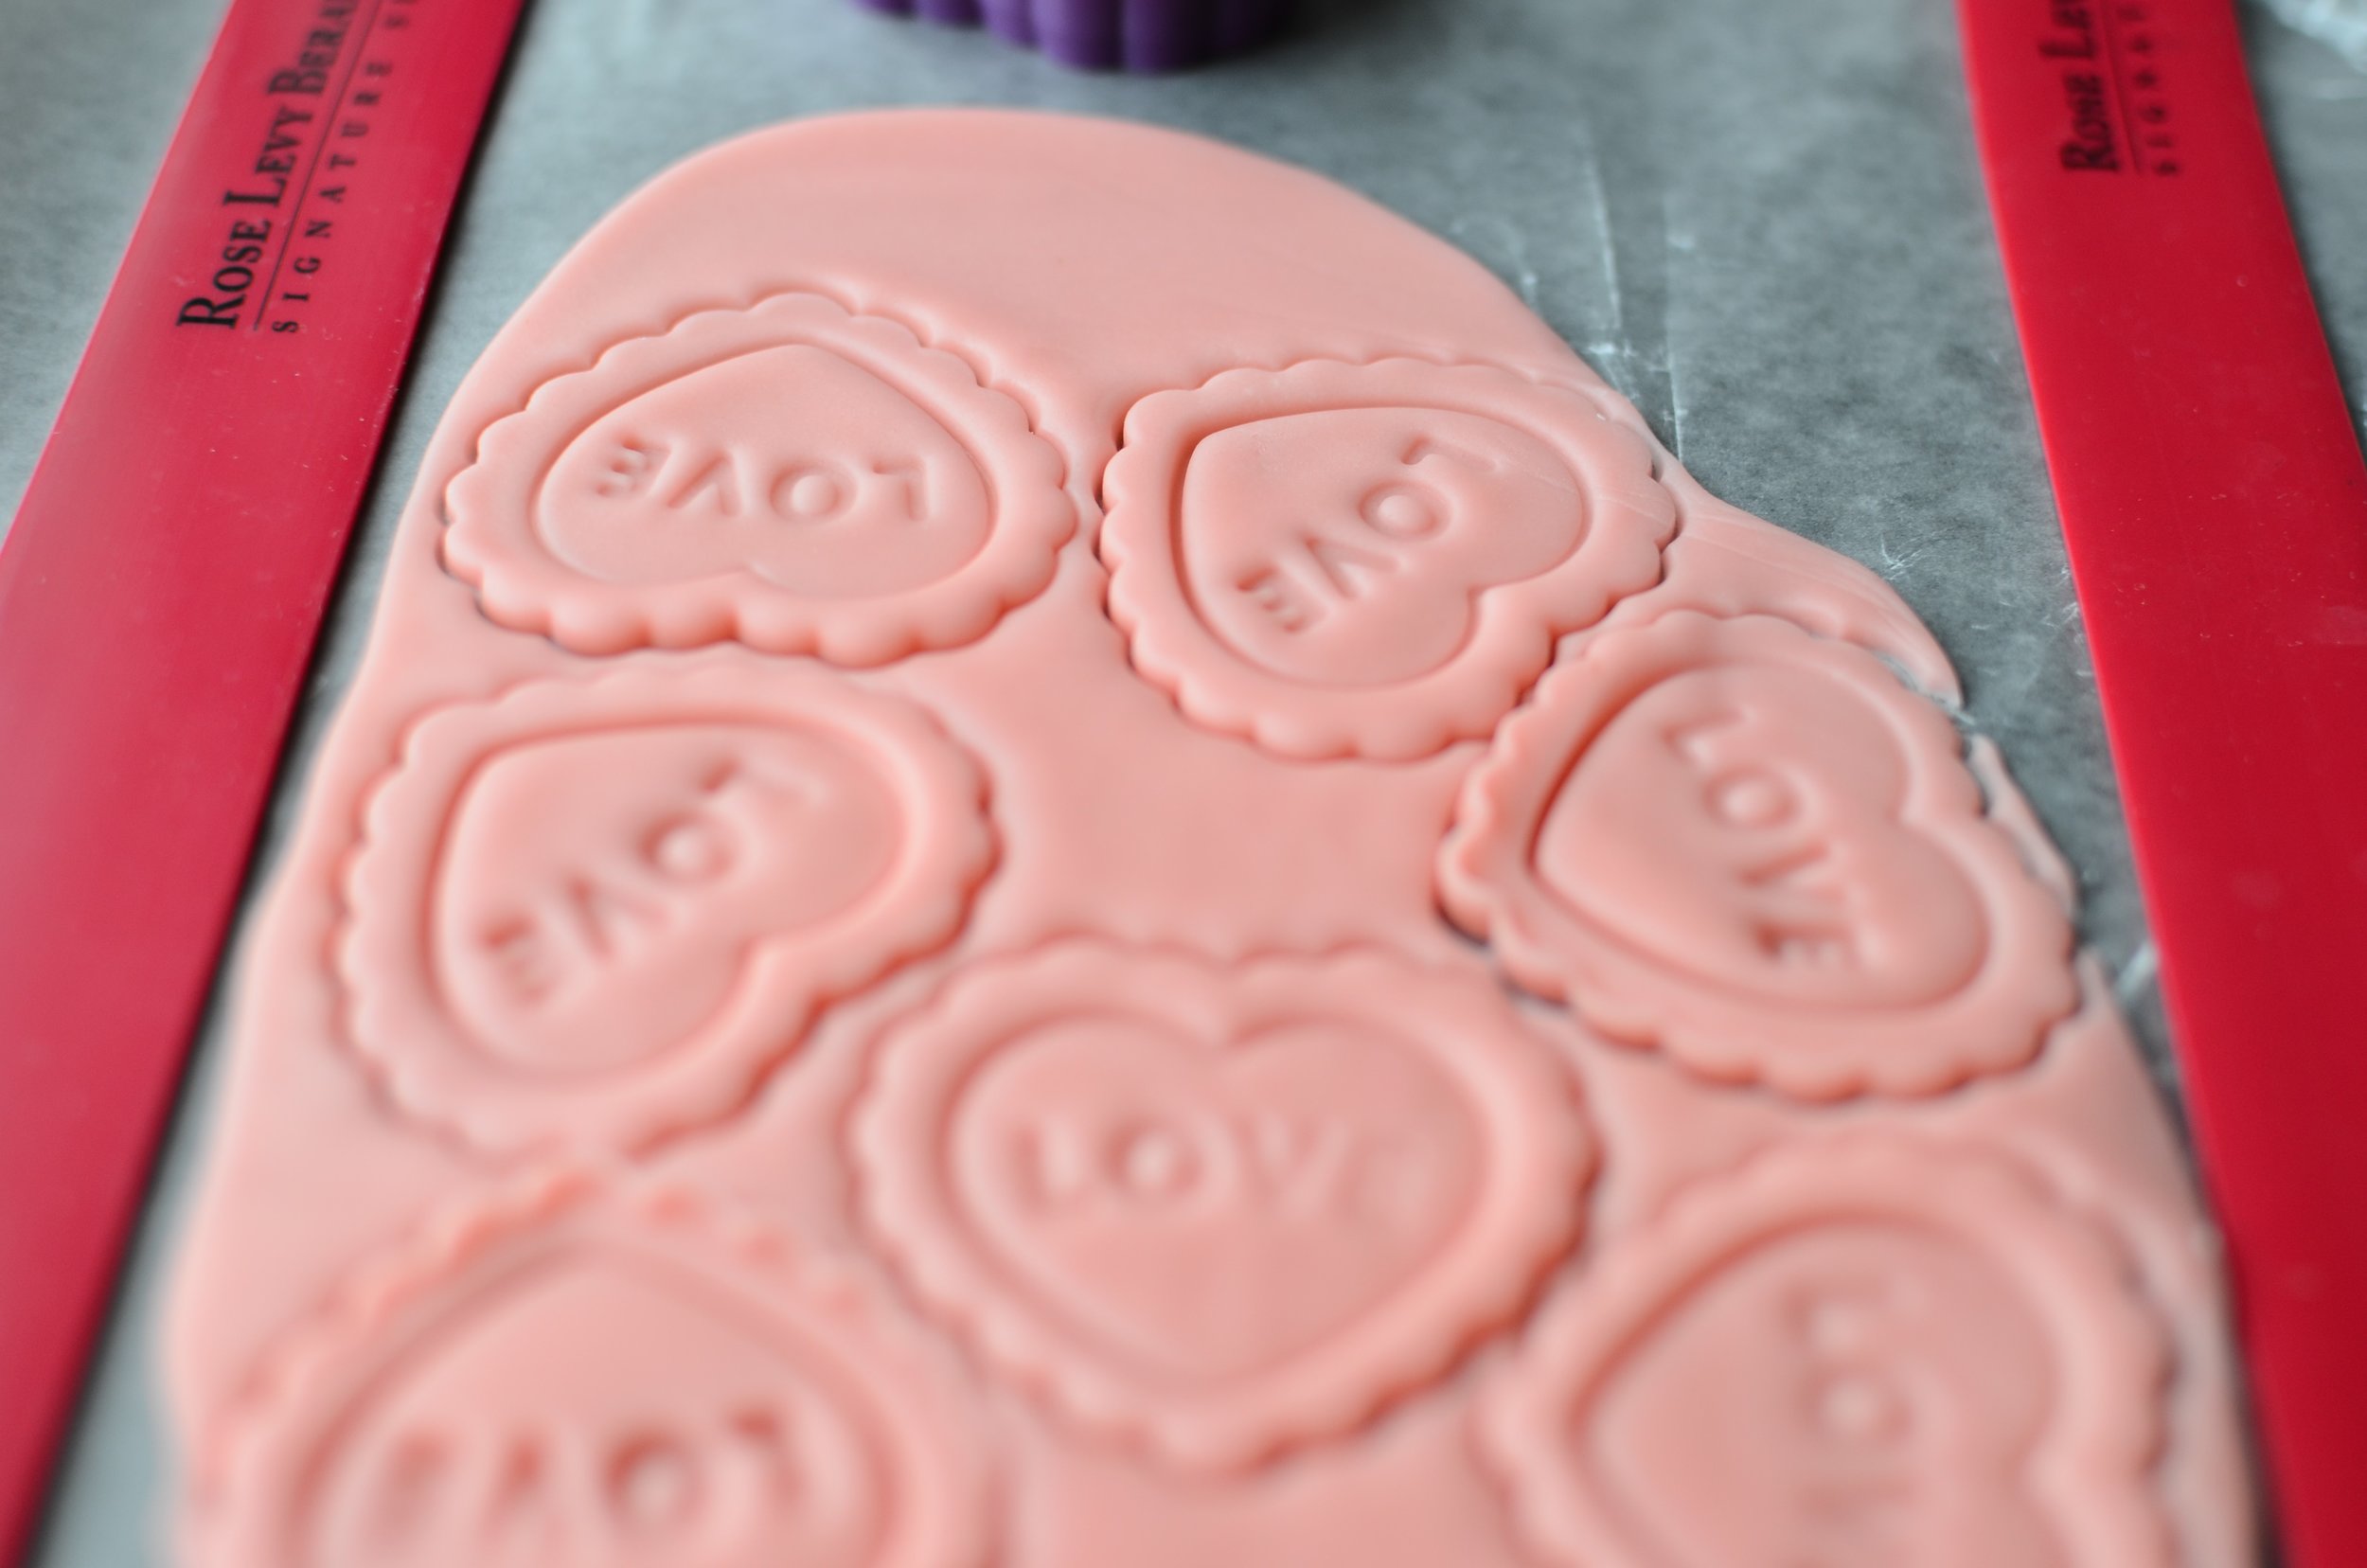
Alright, while the fondant is still warm and soft, roll it out between two layers of waxed paper (1/16-inch thickness) and use fondant plunger to cut shapes and imprint designs.  

How to decorate cookies with fondant

Remove scraps and allow fondant shapes to sit at room temperature until needed (they'll firm up as they rest).  Do this step before baking the cookiesbecause you'll want them ready to go when the cookies come out of the oven.

Check out this clever way to use fondant plunger cutters.

For the cookies:  roll cookie dough between two layers of waxed paper (1/8-inch thickness) and use fondant plunger to cut out shapes (no need to imprint the designs here).

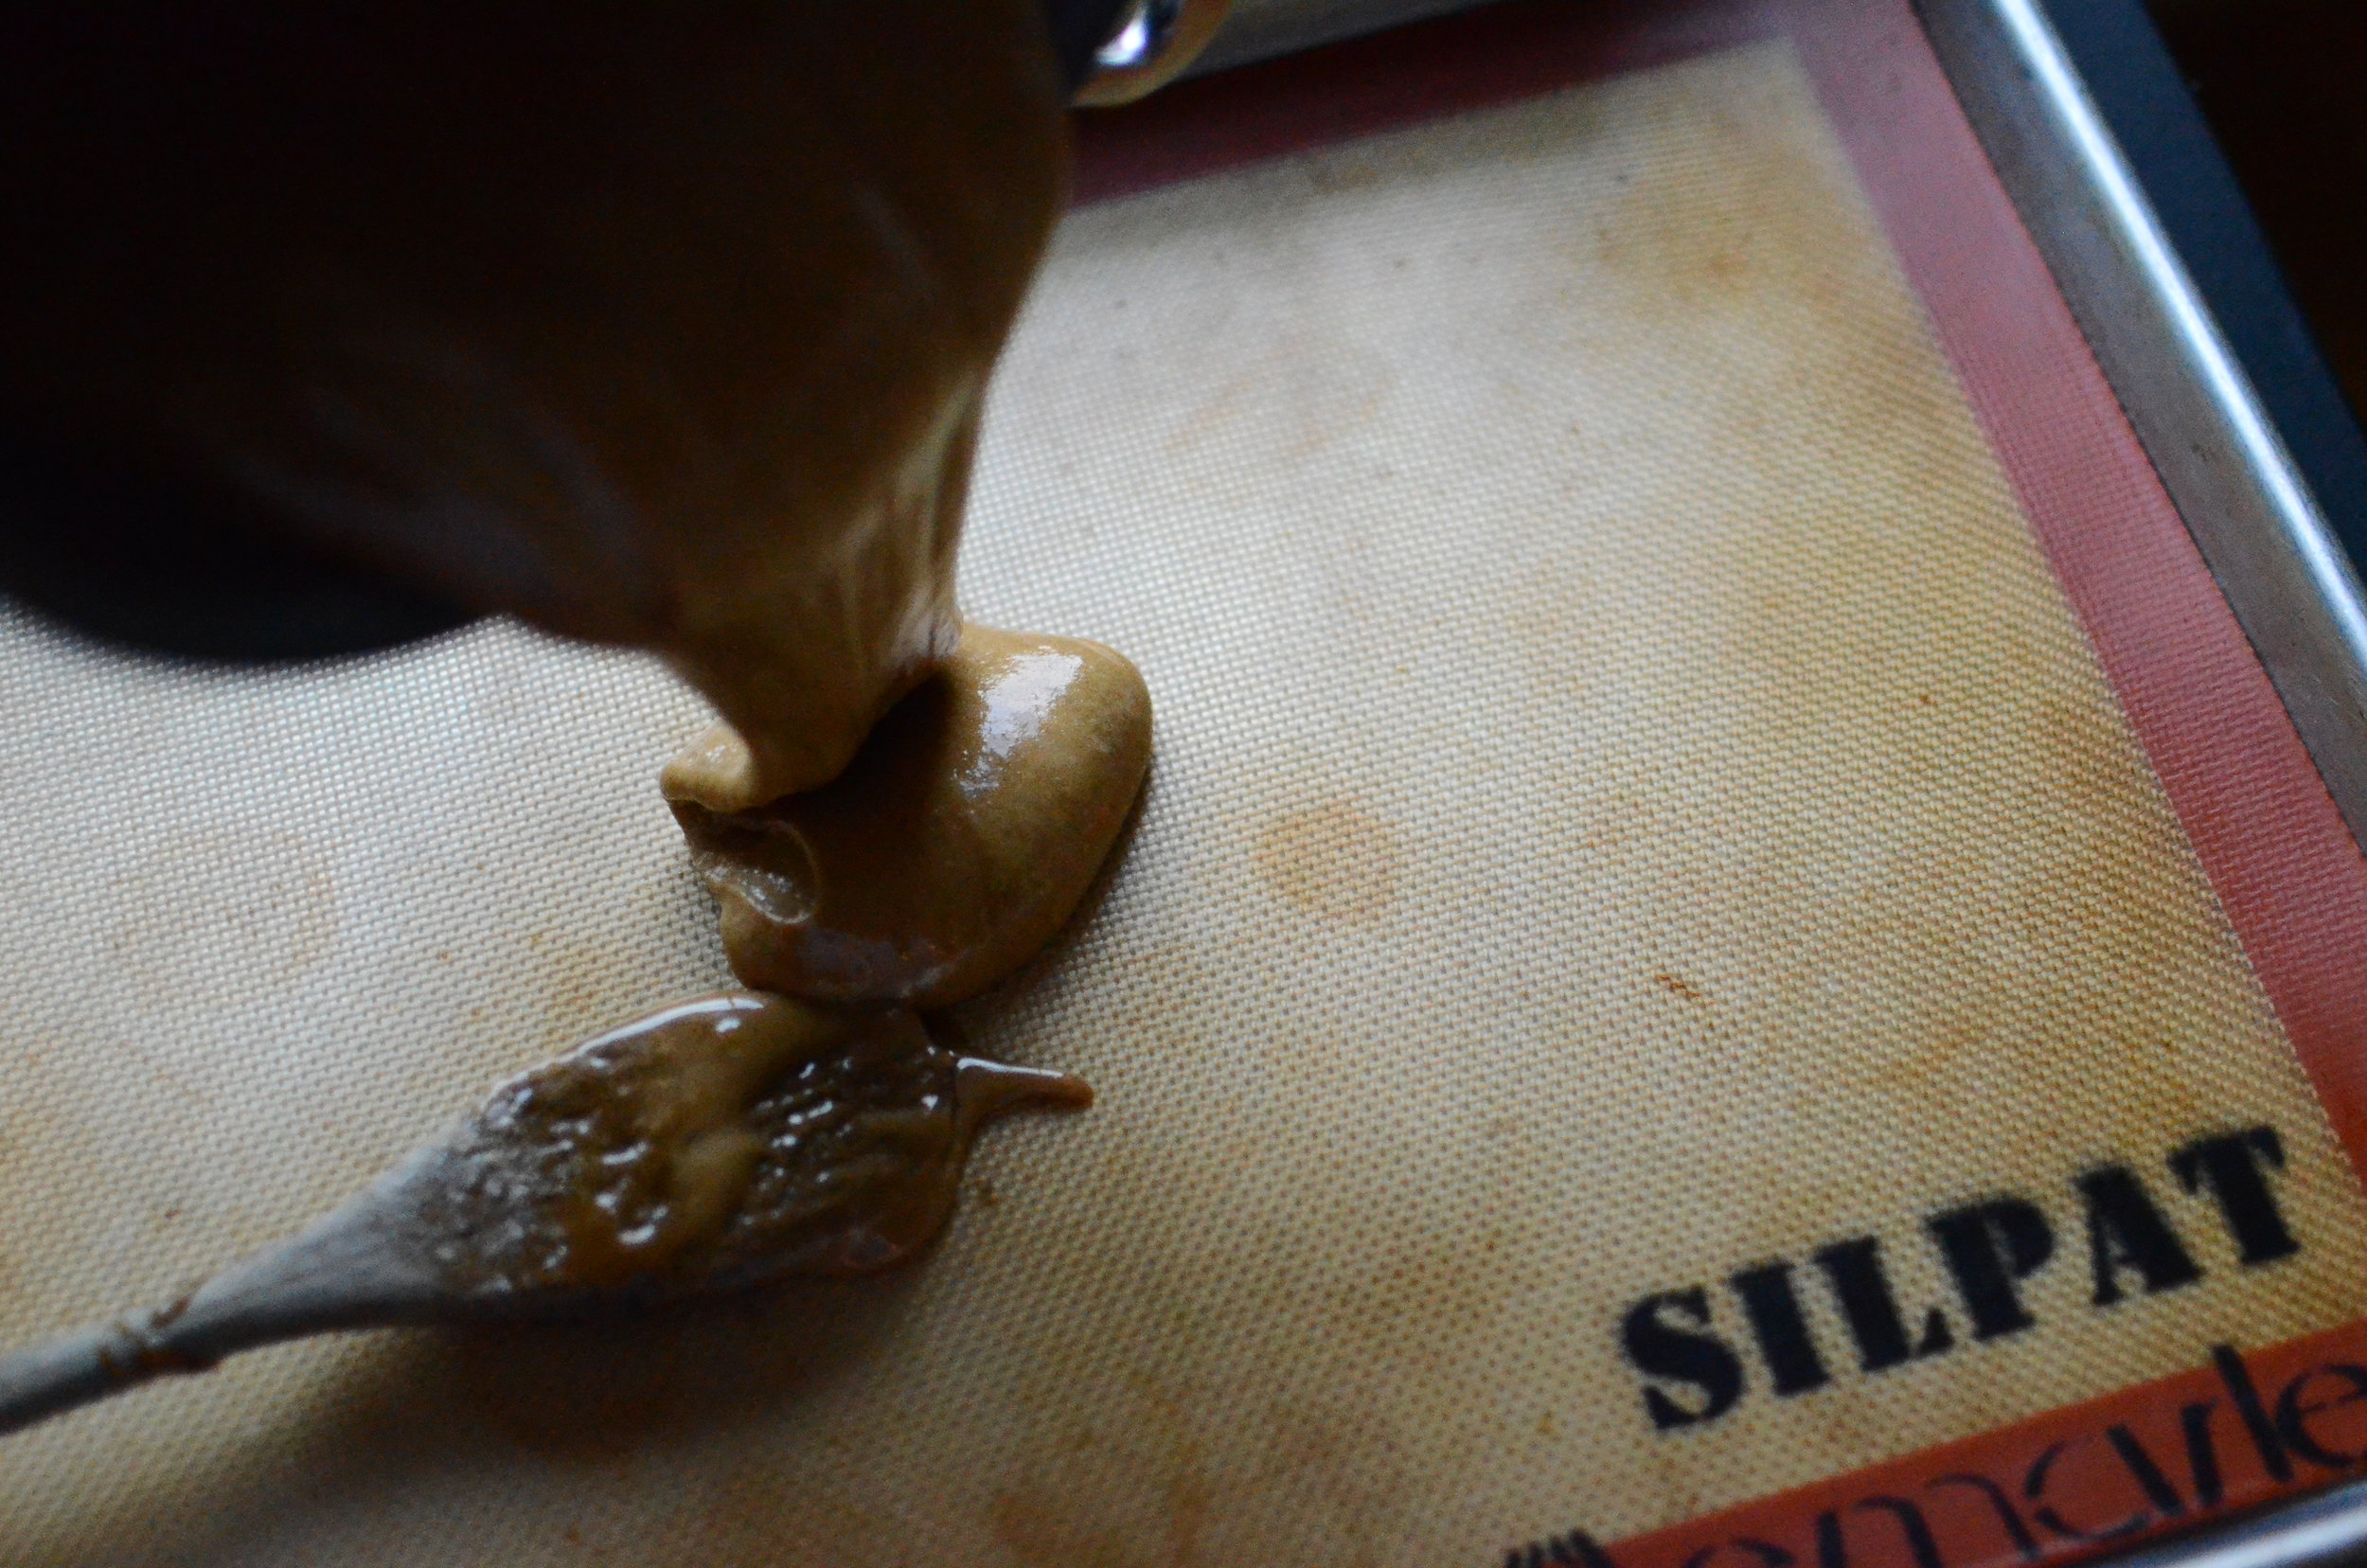
Note:  If the cookie dough cutouts get too soft to move without getting distorted, slide the waxed paper onto a sheet pan and pop it in the fridge to firm the dough before transferring the cutouts to a silpat lined half sheet pan to bake as directed (as shown in this graham cracker post I shared a number of years ago).

The easiest way to decorate cookies ever!

Remove the cookies from the oven and immediately place the prepared fondant cutouts on top. 

Cookie Decorating Hack for any holiday or occasion, with recipe and photos. Valentine's Day Cookies, Easter Cookies, Baby Shower Cookies, Christmas Cookies, Halloween Cookies, Fall / Thanksgiving Cookies.

As the cookies cool, the residual heat will melt the fondant cutouts just enough that they will bond to the cookies.   

Awesome cookie hack

Enjoy!

Items used to make this recipe:

(affiliate links)


CHOCOLATE CUTOUT COOKIES

makes 40-60 cookies

Printable Recipe

Ingredients

Directions

To make the cookie dough:

  1. In a medium bowl, whisk together the flour, cocoa powder, baking powder, and salt; set aside.

  2. In the bowl of a stand mixer fitted with the BeaterBlade attachment, beat the butter and sugar on medium high speed for 30 seconds.

  3. Add egg and vanilla; beat to combine.

  4. Add flour mixture and beat until incorporated.

  5. Remove dough from mixer bowl and wrap well with plastic wrap; chill for 1-3 hours.

  6. Preheat oven to 375F.

  7. Roll each dough portion to 1/8-inch thickness between 2 layers of wax paper.

  8. Cut out desired shapes with plunger cutters, without plunging the design into the cutout (dust cutter in flour if needed).

  9. Chill dough before transferring cutouts to sheet pan to prevent distorting.

  10. Place cookies 2-inches apart on silpat lined sheet pan.

  11. Bake for 6-8 minutes; remove from oven and top with fondant cutouts (cut to 1/16-inch thick) that have the design pressed into them.

  12. Cool completely before serving. Store in airtight container between with wax paper between layers.

Notes

  • Recipe makes 40-60 cookies, depending on size.  

  • Plan to use about 1/2 pound fondant (I like to buy white fondant so I can color it any way I like).  

  • Fondant cutouts can be made a day or more in advance if stored on wax or parchment paper in an airtight container.  

  • If the cookies cool before fondant toppers are applied, you can warm the cookies for a few seconds in the microwave (but I recommend applying the fondant to cookies as soon as they come out of the oven).

English Toffee

Patricia @ ButterYum

Seriously, is there anything better than caramelized sugar?  Ok, maybe caramelized sugar, a stick of butter, lightly toasted almonds, and a glorious robe of melted chocolate.  Heaven help me, this stuff is amazing!  

silat lined sheet pan

Before beginning, have ready a half sheet pan lined with a silpat liner.

chopped chocolate

Also, make sure you have chopped chocolate ready to go.  I'm a huge dark chocolate fan, but you can certainly use milk chocolate if that's your thing.

oven roasted almonds

And another thing you need before you start is toasted, sliced almonds.  I place the almonds on an unlined half sheet pan and pop them into a cold oven.  Then I turn the oven on to 350F and slowly toast them until golden brown and fragrant.  

grind almonds in food processor

Allow the almonds to cool completely, then chop them into smaller bits in a small food processor, being careful not to chop them too much.  You still want to recognize they are sliced almonds.

Alternatively, you can place the almonds in a resealable bag and crush with a rolling pin.

Ok, now that the half sheet pan is prepared, and the chocolate and almonds are ready to go, it's time to start cooking - in a 3 or 4-quart saucepan, heat butter, water, corn syrup, and dark brown sugar over medium-high heat.  

Have an instant read digital thermometer, as well as the pure vanilla extract and baking soda nearby.

cooking toffee

The toffee mixture should be stirred occasionally until it reaches the proper temperature.  Note that I used a nonstick pan for easy cleanup.

cooked toffee mixture

Stop cooking when the toffee reaches 285F.

English Toffee recipe with lots of how-to photos - ButterYum

Stir in the vanilla and baking soda; stir vigorously to combine.

pour hot toffee mixture on silpat lined sheet pan

Pour mixture onto silpat lined half sheet pan.

making English toffee

Spread mixture with an offset spatula.  I like my toffee on the thin side so I spread mine out more than directed by the recipe. 

melting chocolate on hot toffee

While the toffee is still hot, evenly sprinkle the chocolate bits all over.

chocolate melting on hot toffee

Allow chocolate to rest on the hot toffee for 5 minutes.

spreading melted chocolate on toffee

Use an offset spatula to spread the melted chocolate evenly over the toffee.

English toffee recipe with how-to photos

While the chocolate is still warm, sprinkle the toasted almonds evenly all over.

how to make English Toffee from scratch - recipe and how-to photos - ButterYum

Pop the whole tray into the fridge until the toffee and chocolate set.  Break into pieces and enjoy.

Items used to make this recipe:

(affiliate links)


English Toffee

makes 12 servings

Printable Recipe

Ingredients

  • 3 ounces semisweet or bittersweet chocolate, chopped into small pieces

  • 3/4 cup sliced almonds, toasted and cooled completely

  • 1 1/4 cups brown sugar (light or dark), packed

  • 1/4 cup light corn syrup (or Lyle’s Golden Syrup)

  • 8 tablespoons unsalted butter

  • 2 tablespoons water

  • 1 teaspoon pure vanilla extract

  • 1/2 teaspoon baking soda

Directions

  1. Begin by lining a half sheet pan with a silpat liner (I have 6!) and measure out all the ingredients.

  2. Place toasted almonds in the bowl of a food processor and pulse 2 or 3 times to break into smaller bits, being careful not to make the pieces too small. Alternatively, you can place the toasted almonds in a resealable bag and crush them with a rolling pin.

  3. In a 3 or 4-quart heavy bottomed nonstick saucepan over medium-high heat, combine butter, corn syrup, butter, and water; heat, stirring occasionally, until the mixture reaches 285F.

  4. Remove mixture from heat and vigorously stir in the vanilla and baking soda.

  5. Pour the mixture onto a silpat lined half sheet pan; use an offset spatula to spread thinly over the silpat.

  6. While the toffee is still hot, sprinkle the chocolate bits evenly all over; allow chocolate to soften from the residual heat for a few minutes, then use an offset spatula to spread the chocolate into an even layer (I like to stop just short of the edge of the toffee).

  7. Immediately sprinkle the almond pieces evenly all over the melted chocolate.

  8. Place the toffee in the refrigerator for 10 minutes; remove from fridge and break into serving pieces. Store at room temperature in an airtight container with waxed paper between layers.

Note

  • To toast almonds, spread in a single layer on an unlined half sheet pan and place in a cold oven; turn the oven on to 350F and allow the almonds to toast for 8-12 minutes until lightly browned and fragrant (watch them carefully).  Cool completely before using.

adapted from The Baking Bible