contact us

Use the form on the right to contact us.

You can edit the text in this area, and change where the contact form on the right submits to, by entering edit mode using the modes on the bottom right.


123 Street Avenue, City Town, 99999

(123) 555-6789

email@address.com


You can set your address, phone number, email and site description in the settings tab.
Link to read me page with more information.

Blog

Butteryum food blog recipes

Homemade Cultured Sour Cream

Patricia @ ButterYum

homemade.cultured.sour.cream.1_butteryum.jpg

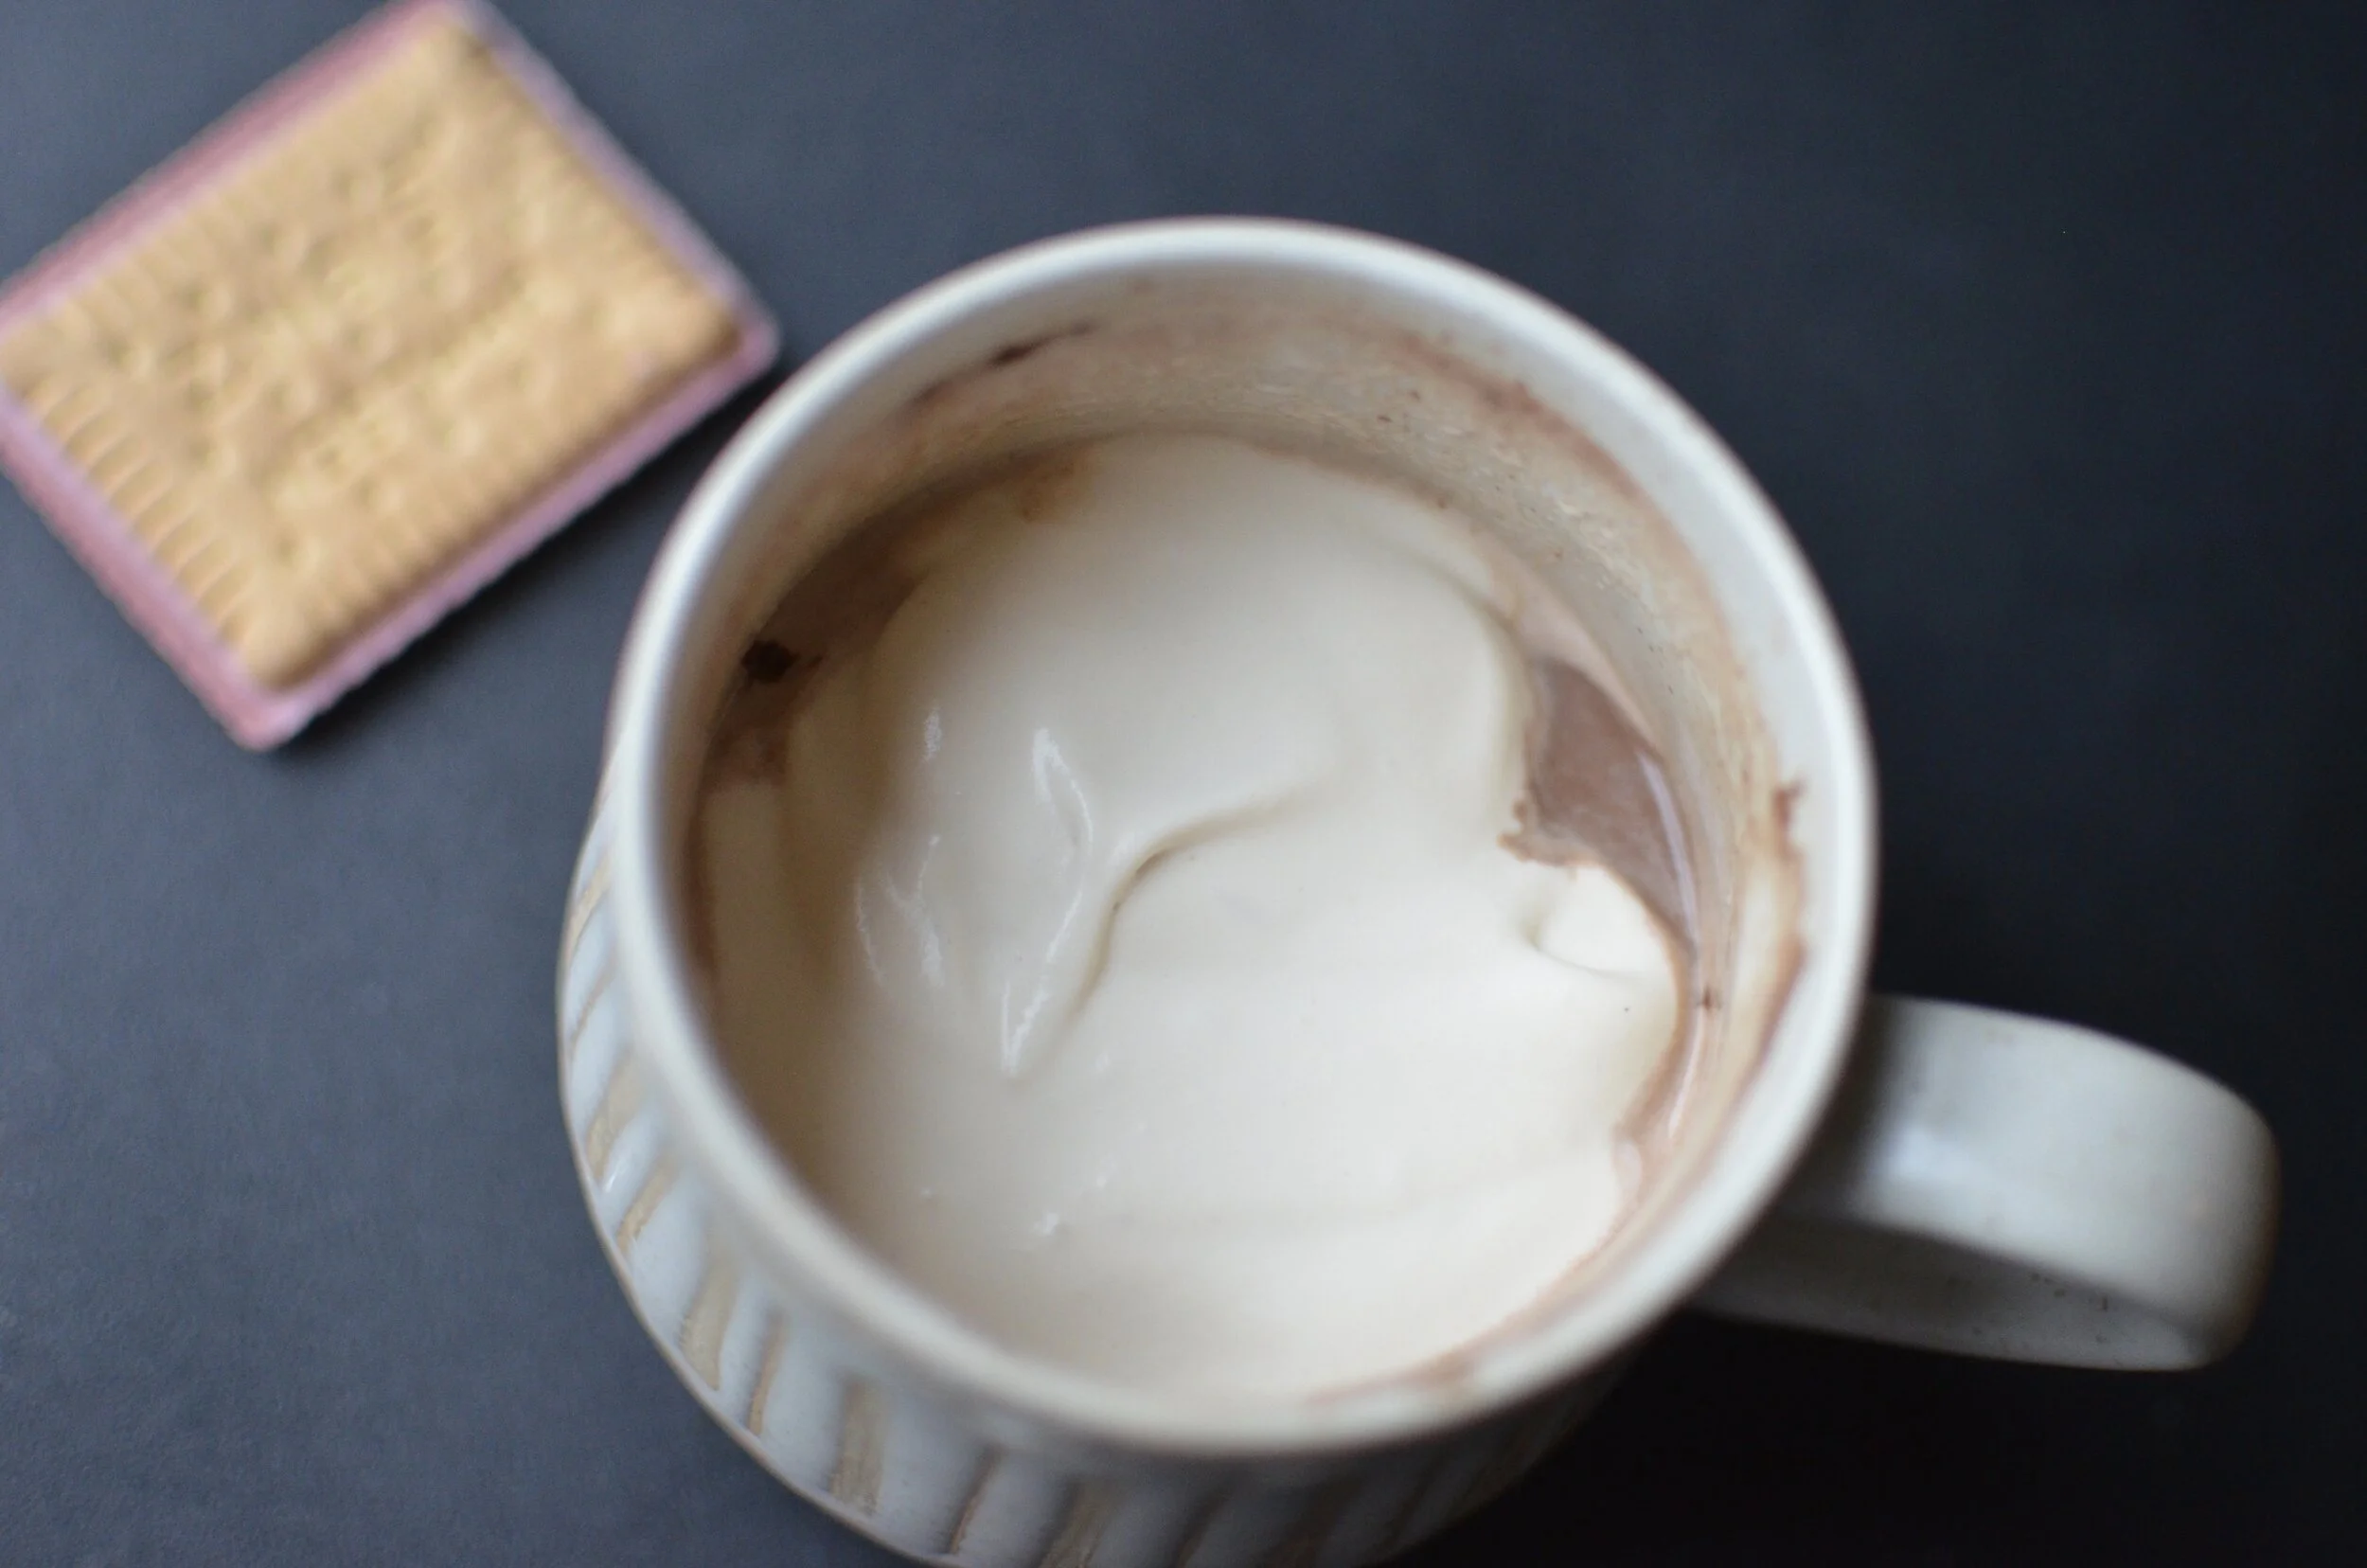
Have you ever wondered how cultured sour cream is made? It’s pretty easy - easy enough to make yourself. All you need are a couple of ingredients and about 24 hours. Oh, and there’s no cooking required. Now that’s what I call easy!

homemade.cultured.sour.cream.2_butteryum.jpg

For the ingredients, you need heavy whipping cream and plain yogurt with “live and active cultures”. You can use either regular or greek yogurt, but make sure it’s unflavored.

homemade.cultured.sour.cream.4_butteryum.jpg

You can see the ingredient list on the yogurt includes “live and active cultures”.

homemade.cultured.sour.cream.3_butteryum.jpg

Combine the proper ratio of cream and yogurt together in a clean jar (recipe below), then cover the jar with a paper towel or other breathable topper and set it aside in a warm corner of your kitchen for the next 24 hours while the magic happens. The sour cream can be used right away or place a lid on the jar and store in the fridge for up to 2 weeks. For a more pronounced tangy flavor, stir a teaspoon or two of freshly squeezed lemon juice into the chilled sour cream.

Items used to make recipe:

(affiliate links)


Homemade Cultured Sour Cream

makes 1 cup

Printable Recipe

Ingredients

  • 1 cup heavy whipping cream

  • 1 tablespoon yogurt (containing lives cultured)

  • (optional) freshly squeezed lemon juice

Directions

  1. Place the cream in a sterile jar; add yogurt and mix well.

  2. Cover jar with a paper towel, cheesecloth, or coffee filter and set aside for 24 hours.

  3. Remove paper towel and cover jar with proper lid; refrigerate for up to 2 weeks.

Chocolate Panna Cotta

Patricia @ ButterYum

chocolate.panna.cotta.recipe_butteryum.jpg

The next time you need an easy, yet elegant make-ahead dessert, look no further than this recipe for Chocolate Panna Cotta. Luxuriously rich, a simple garnish of fresh berries and a dollop of whipped cream are all you need for an impressive presentation.

Want to dress it up even more? Make a ruby red sauce by pureeing sweet, ripe raspberries with a splash of fresh lemon juice (add a touch of sugar if needed). I like to make large batches of raspberry puree to store in 8-ounce freezer-safe deli containers so I always have some on hand.

Items used to make this recipe:

(affiliate links)


Chocolate Panna Cotta

makes 6 servings

Printable Recipe

Ingredients

  • 2 cups whole milk

  • 1 tablespoon unflavored granulated gelatin (see notes)

  • 1/2 cup heavy cream

  • 3 ounces semisweet or bittersweet chocolate, chopped (see notes)

  • 3 tablespoons dutch-processed cocoa powder, sifted

  • 1/3 cup granulated sugar

  • 6 ounces mascarpone (or cream cheese)

  • 1 tablespoon Grand Marnier or other orange liqueur (optional)

  • garnish: whipped cream, fresh fruit, chocolate curls, etc

Directions

  1. Prepare six 6-ounce custard cups by using a paper towel to apply a very thin coat of neutral-flavored oil to the inside of the cups (no need if you don’t plan to unmold the panna cotta).

  2. In a small bowl, combine gelatin and 1/4 cup of the milk, use a fork or small whisk tog combine well and break up clumps; set aside to “bloom” for at least 5 minutes.

  3. In a medium bowl, whisk together cocoa powder and 1/2 cup milk until smooth.

  4. In a medium saucepan over medium heat, combine the bloomed gelatin, cocoa mixture, and all remaining ingredients except optional liqueur; whisk constantly until it almost reaches a boil (don’t let it boil).

  5. Remove from heat and stir in optional liqueur; if bits of unmelted chocolate or mascarpone remain, use immersion blender to smooth out mixture (or strain through a fine mesh sieve).

  6. Pour mixture into prepared custard cups and chill for at least 6 hours before turning the panna cotta out of the cups (see notes below).

Notes

  • Cover filled custard cups with plastic wrap if there are strong odors in your refrigerator.

  • For best results, serve within 48 hours.

  • Do not allow mixture to boil - that will lessen the effectiveness of the gelatin.

  • I usually suggest bar chocolate over chips, but for this recipe, feel free to use your favorite high quality chocolate chips.

  • You only need to oil the custard cups if you plan to unmold the panna cotta from the custard cups.

  • If you’re in a hurry, the panna cotta will be firm enough to serve after just 4 hours of chilling, but it won’t be firm enough to unmold so plan to serve it in the custard cups.

  • For reference: 1 packet of Knox gelatin contains about 2 1/2 teaspoons of gelatin (although the amount in each packet is very inconsistent).

  • Three sheets of leaf gelatin can be substituted for the 1 tablespoon of granulated gelatin called for in this recipe. If using sheet gelatin, soak in cold water for 5-10 minutes and squeeze out excess water before adding in step #4 above.

adapted from Chef Jean-Pierre

chocolate Panna Cotta with mascarpone - ButterYum