contact us

Use the form on the right to contact us.

You can edit the text in this area, and change where the contact form on the right submits to, by entering edit mode using the modes on the bottom right.

Form Block
This form needs a storage option. Double-click here to edit this form, and tell us where to save form submissions in the Storage tab. Learn more
         

123 Street Avenue, City Town, 99999

(123) 555-6789

email@address.com


You can set your address, phone number, email and site description in the settings tab.
Link to read me page with more information.

Blog

Butteryum food blog recipes

Swiss Chard with Bacon and Garlic

Patricia @ ButterYum

Swiss Chard with Bacon and Garlic - ButterYum

Swiss chard is my favorite dark leafy green, and my favorite way to prepare it is to saute it with a little garlic and bacon, then, just before serving, I add a splash of red wine vinegar to balance the sweet and savory flavors - oh my goodness, it's so darn good!  Some people discard the stems, but I think they add a lovely texture to the dish.  If you can find rainbow chard, buy it - the color variations make for an even more appetizing dish.  

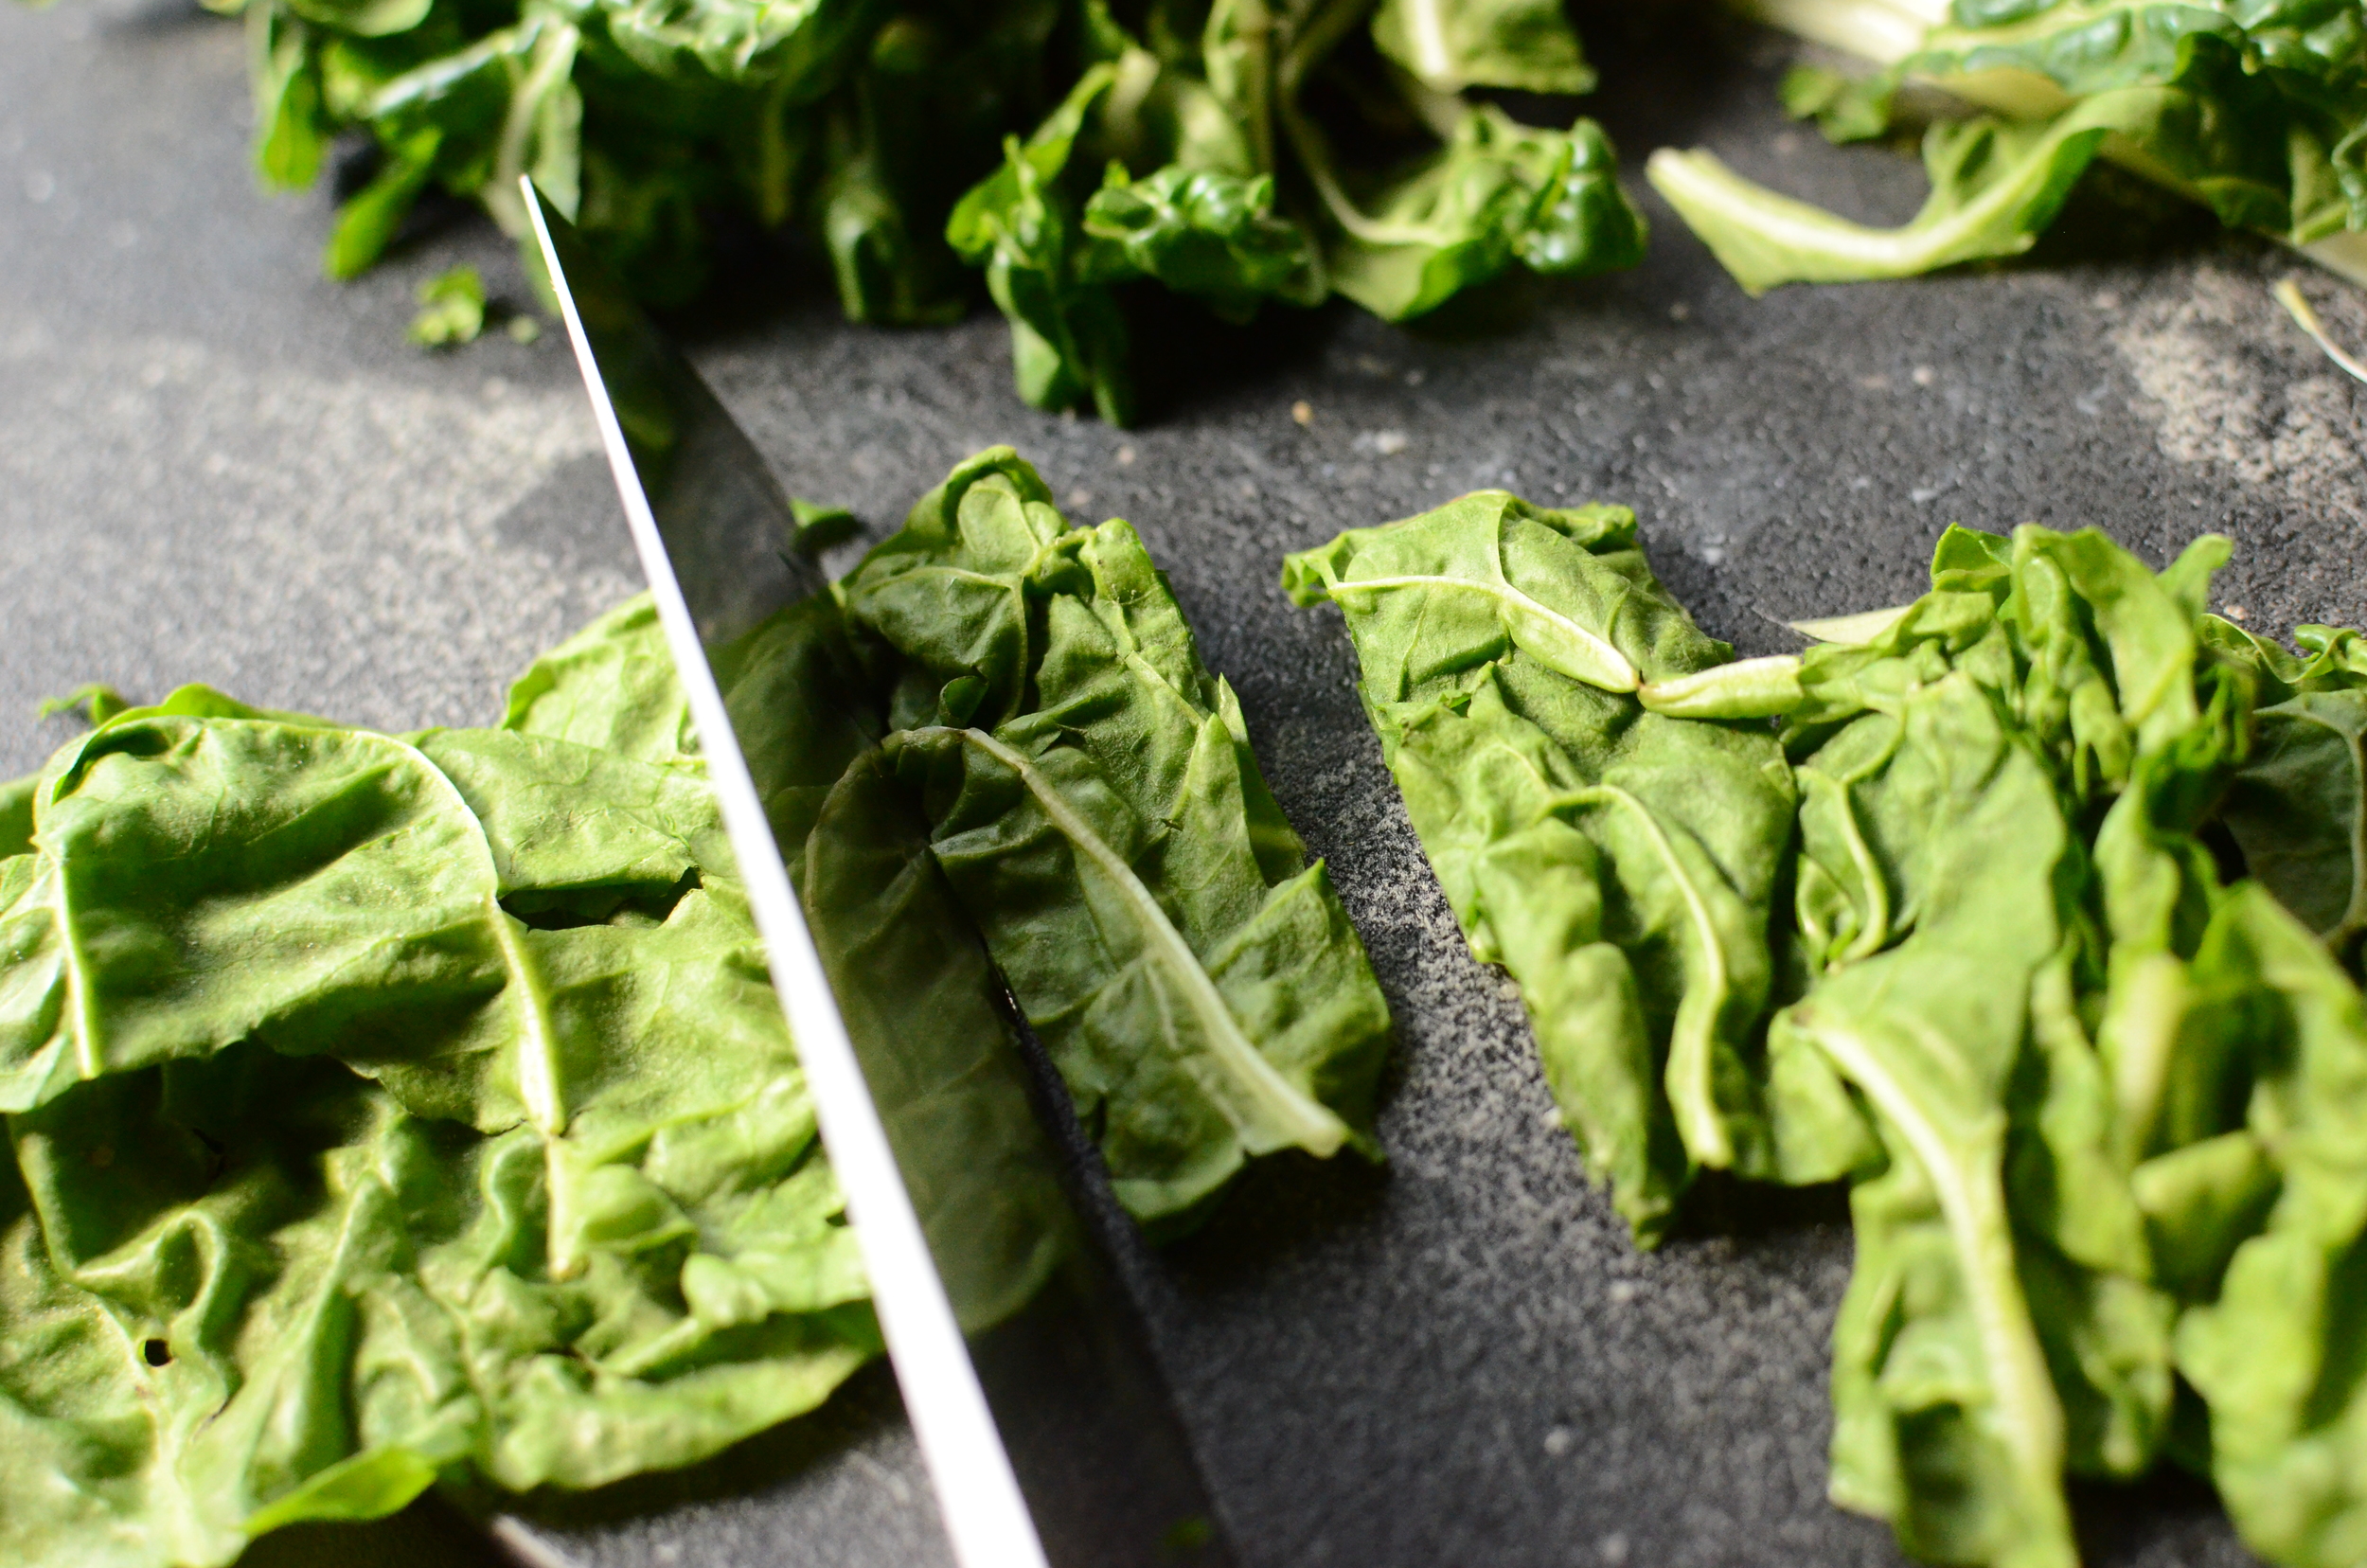
Start with beautiful swiss chard leaves.  Carefully cut the stems from the leafy parts. Don't throw away those stems - we're going to cook them too. Cut the leafy parts into 3/4-inch thick ribbons.

chopped swiss card
cold bacon

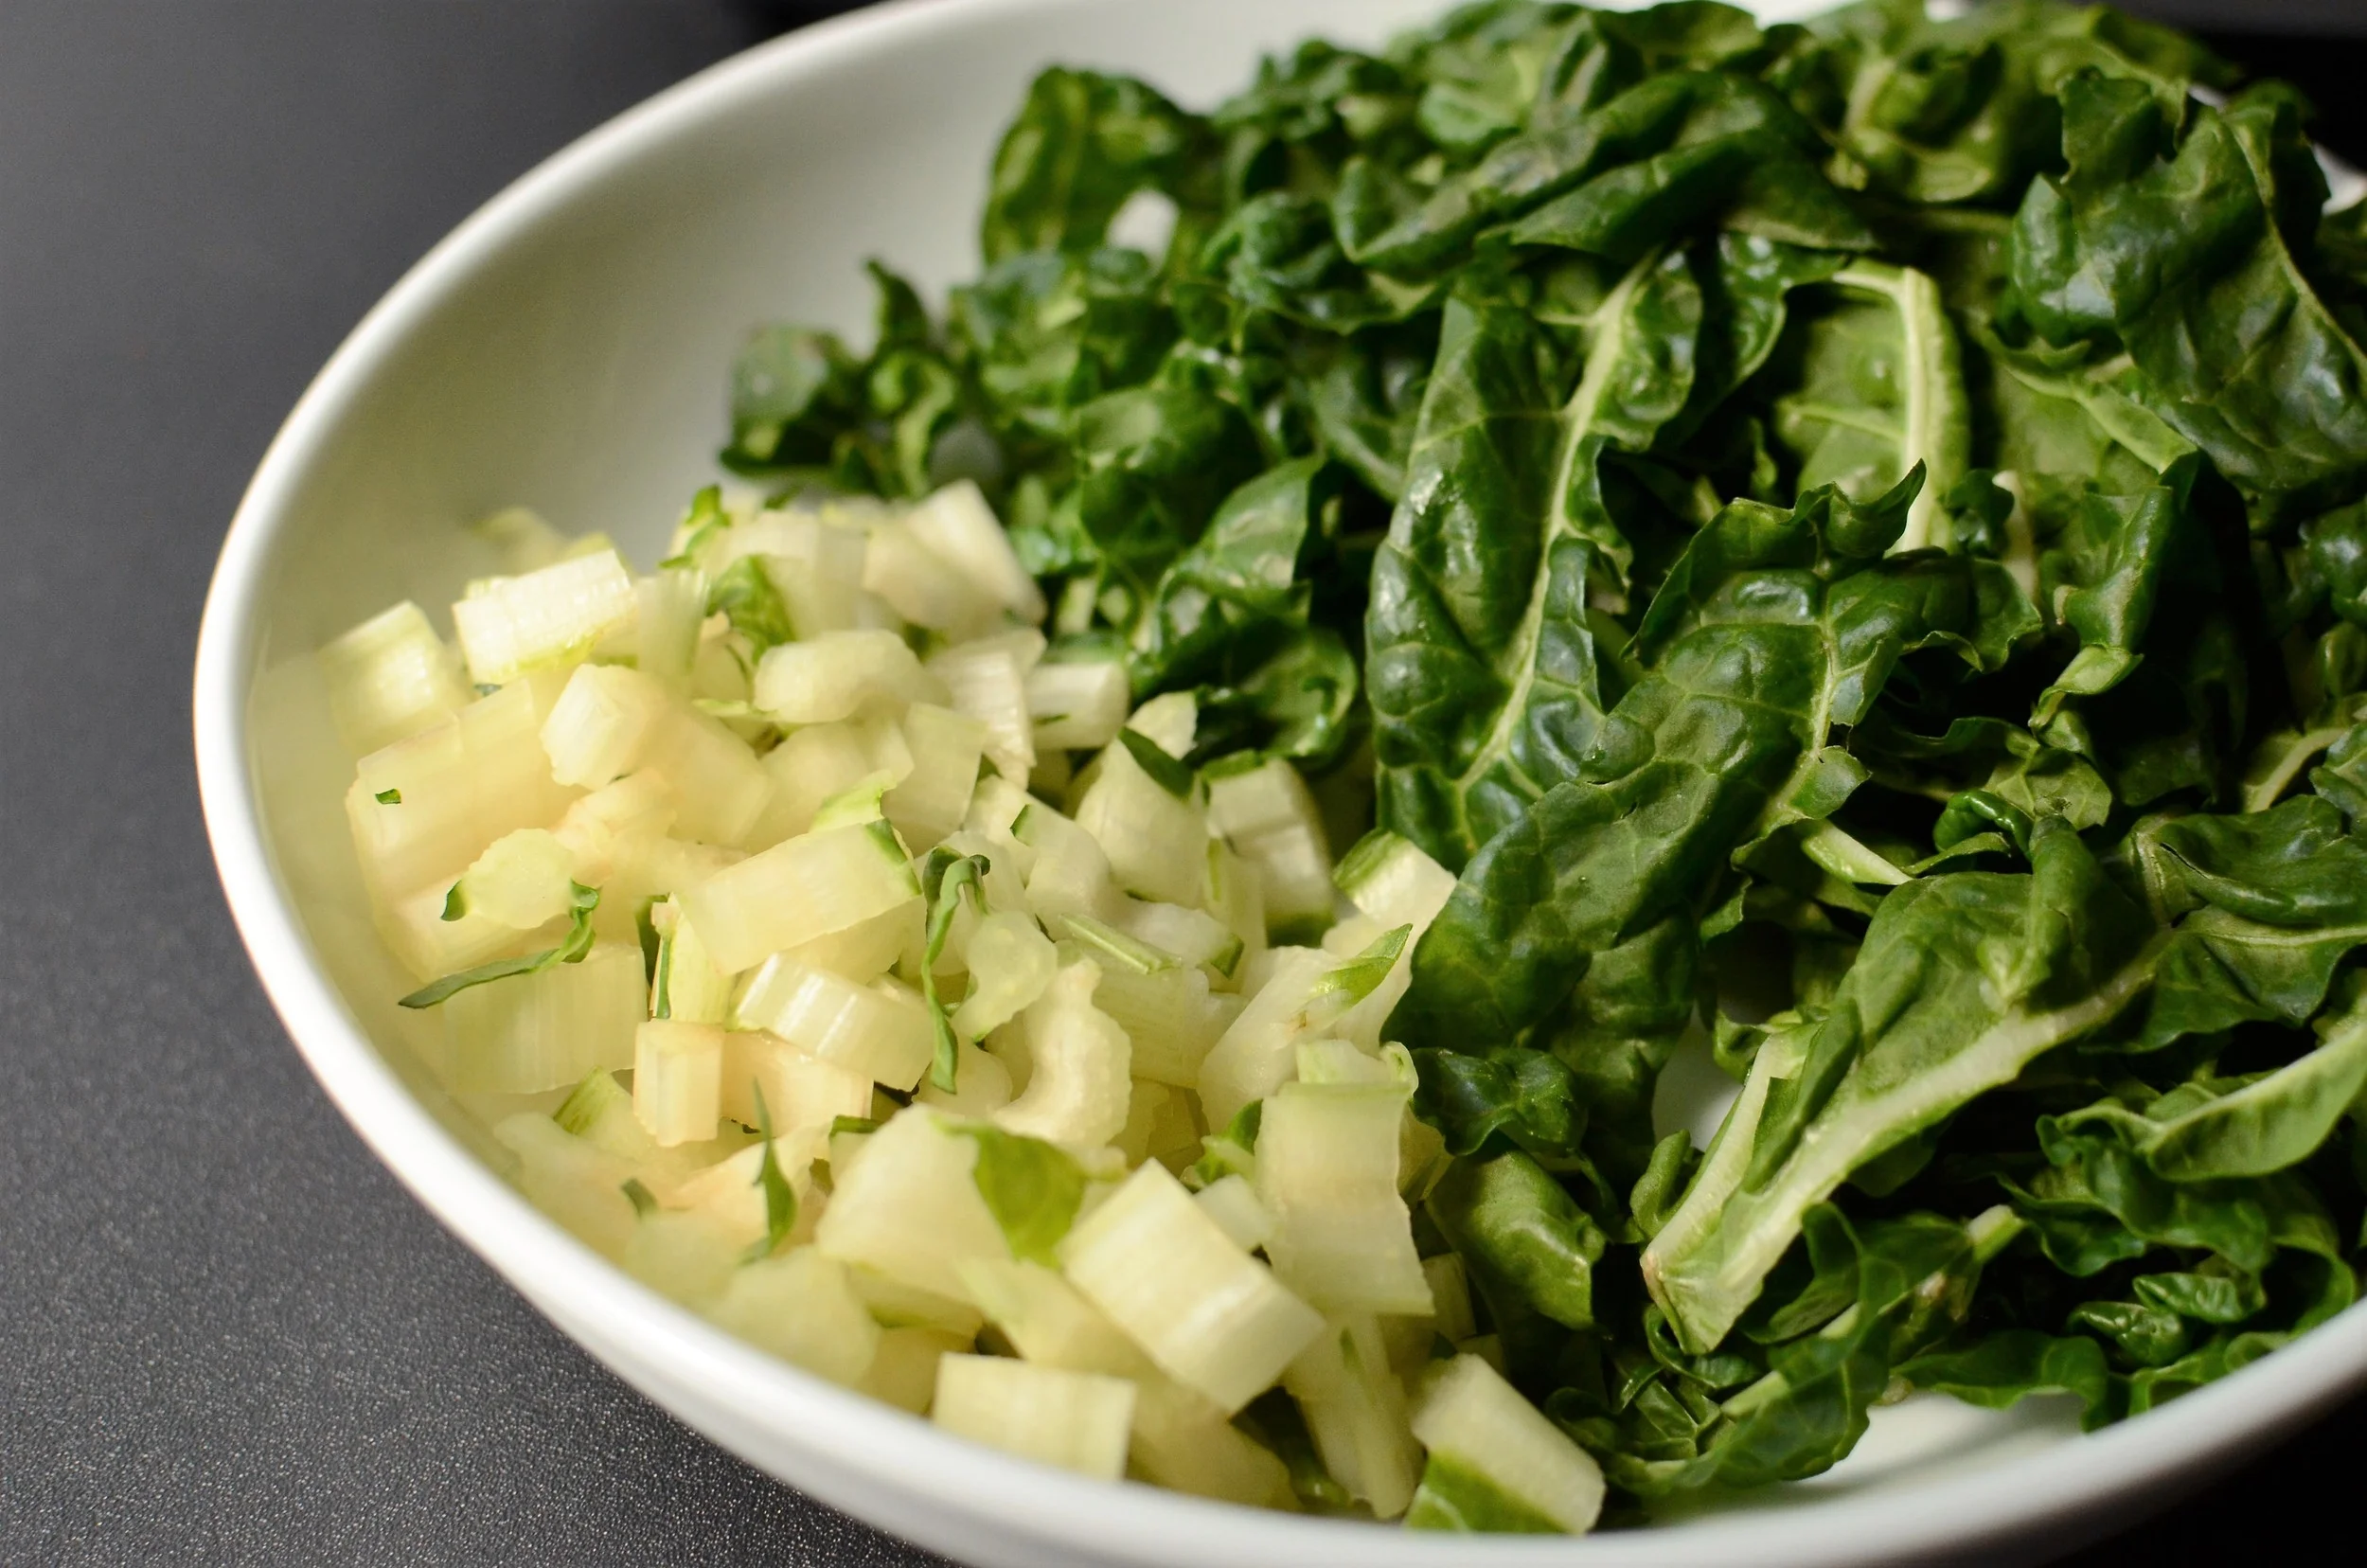
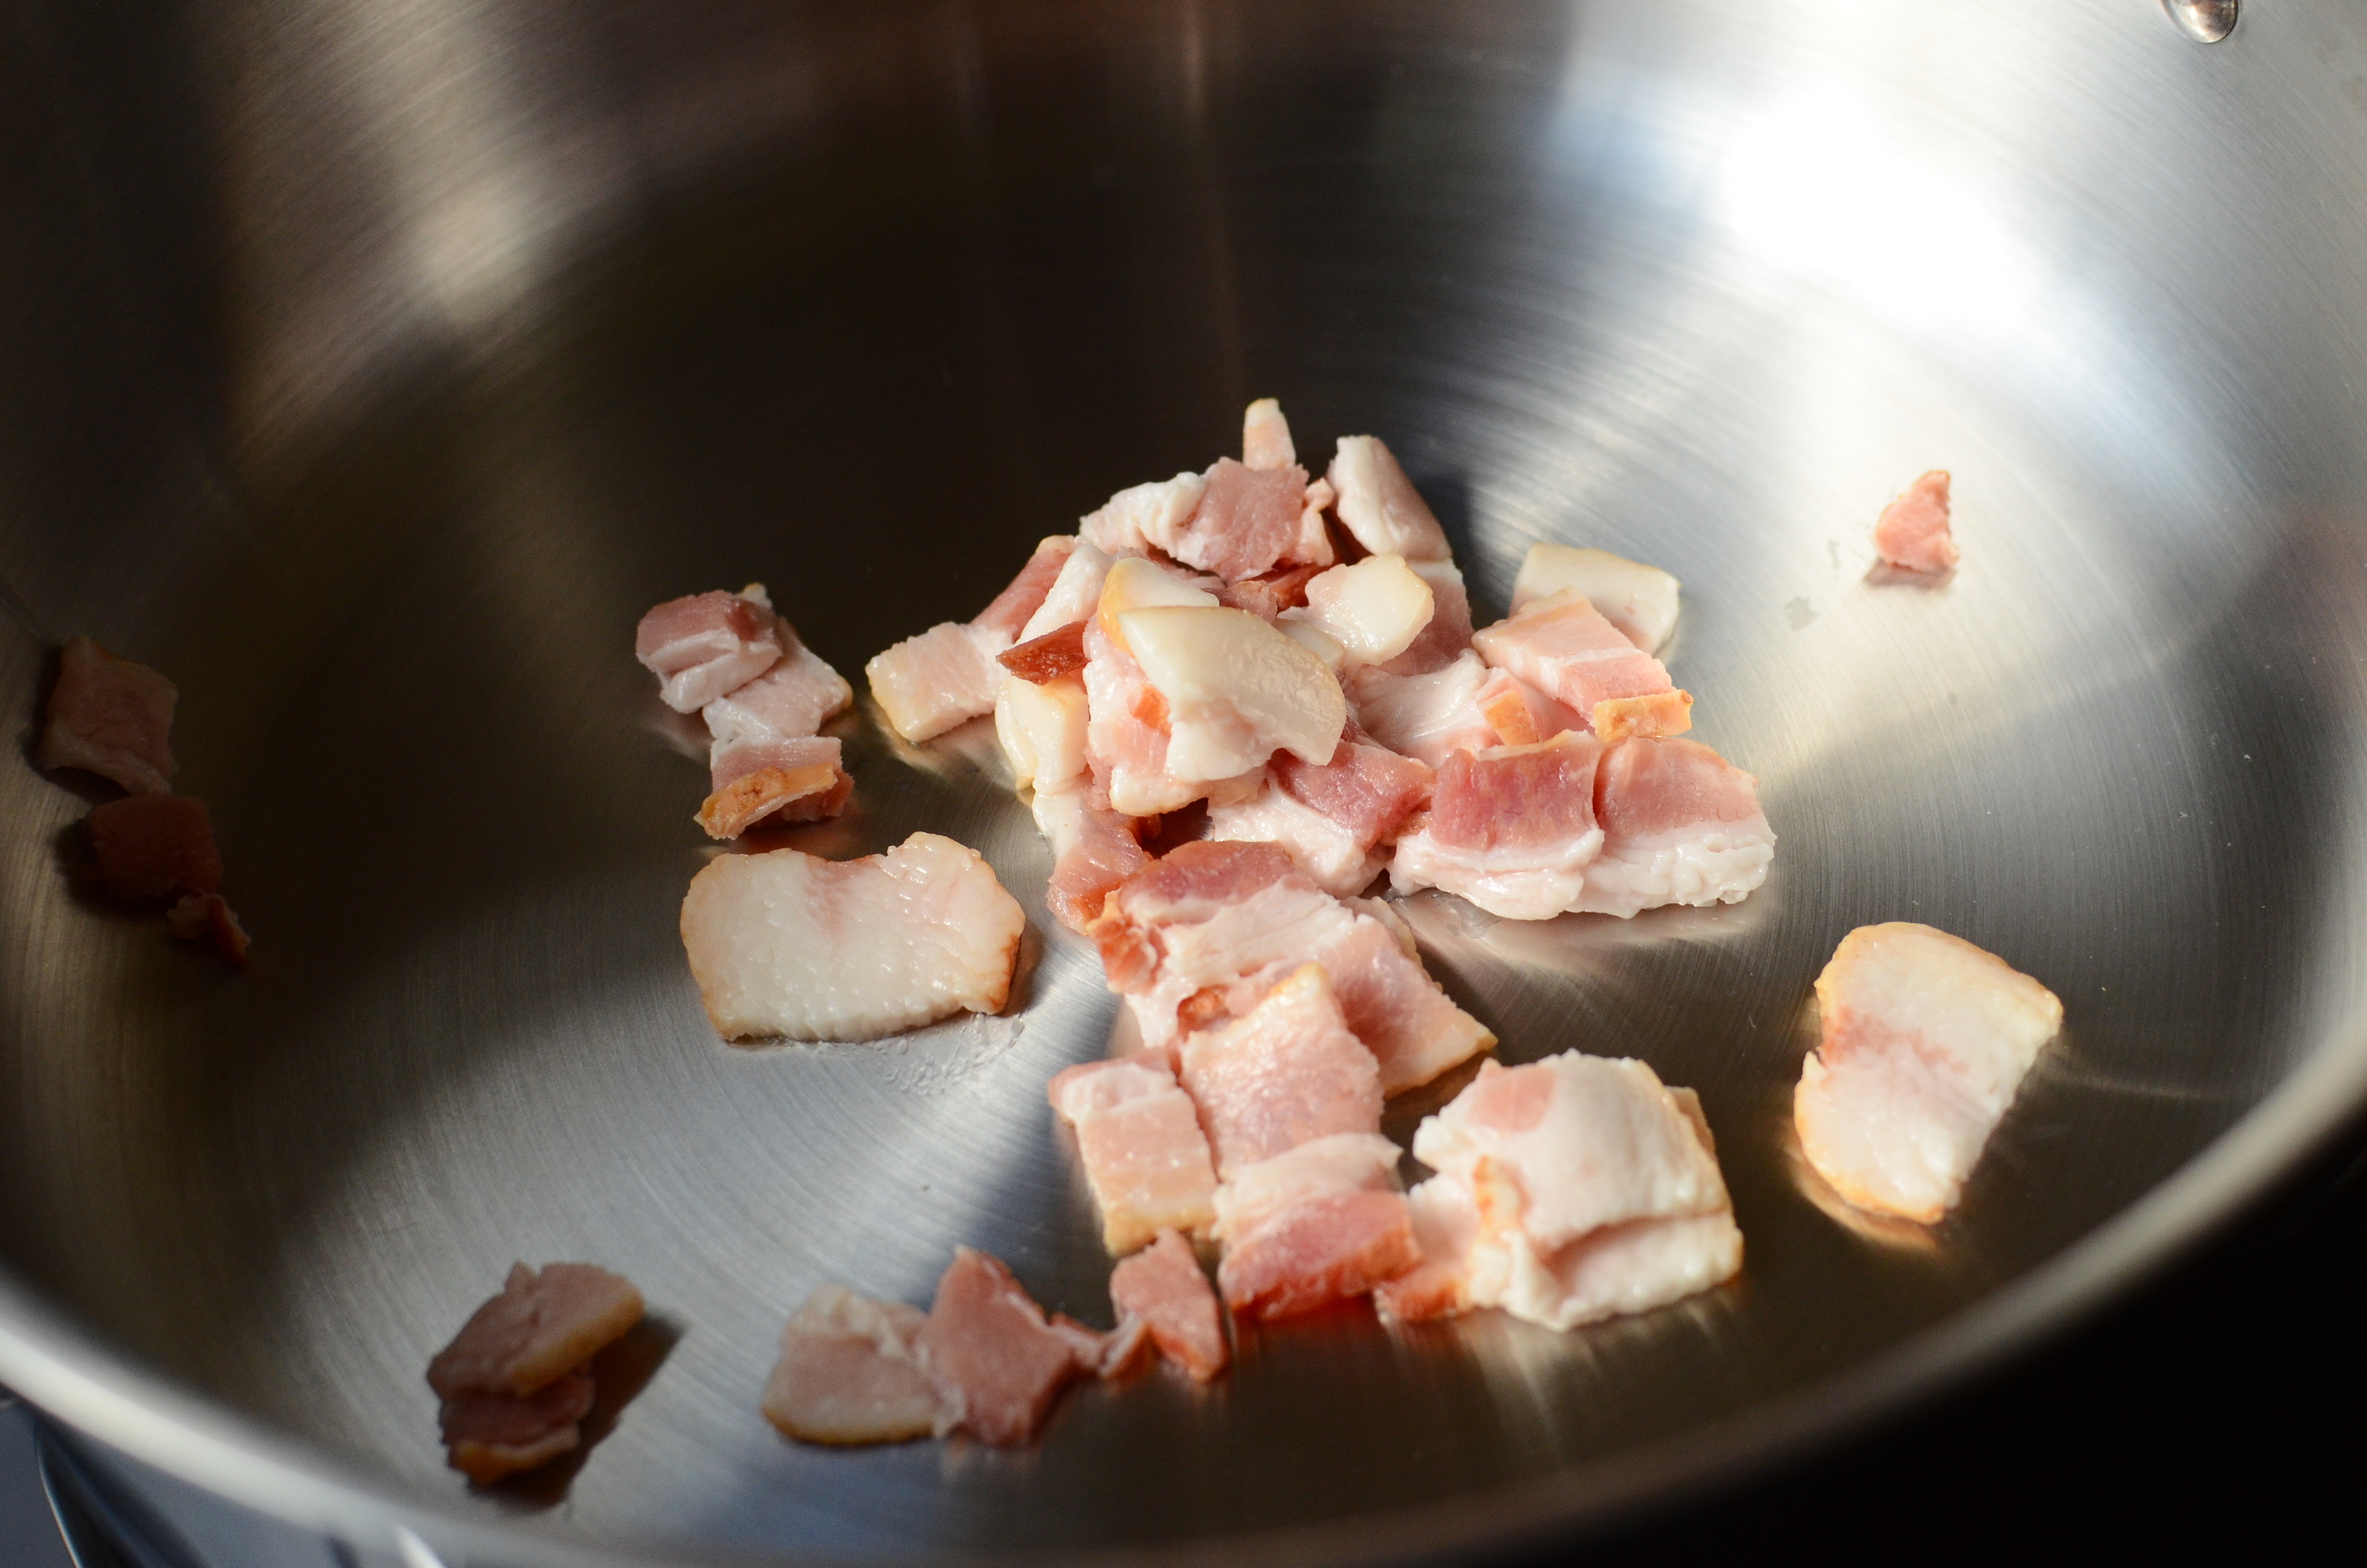
Cut the stems into 1/2-inch thick pieces. Saute chopped bacon in a dry pan over medium heat.

cooked bacon
garlic and crushed red pepper

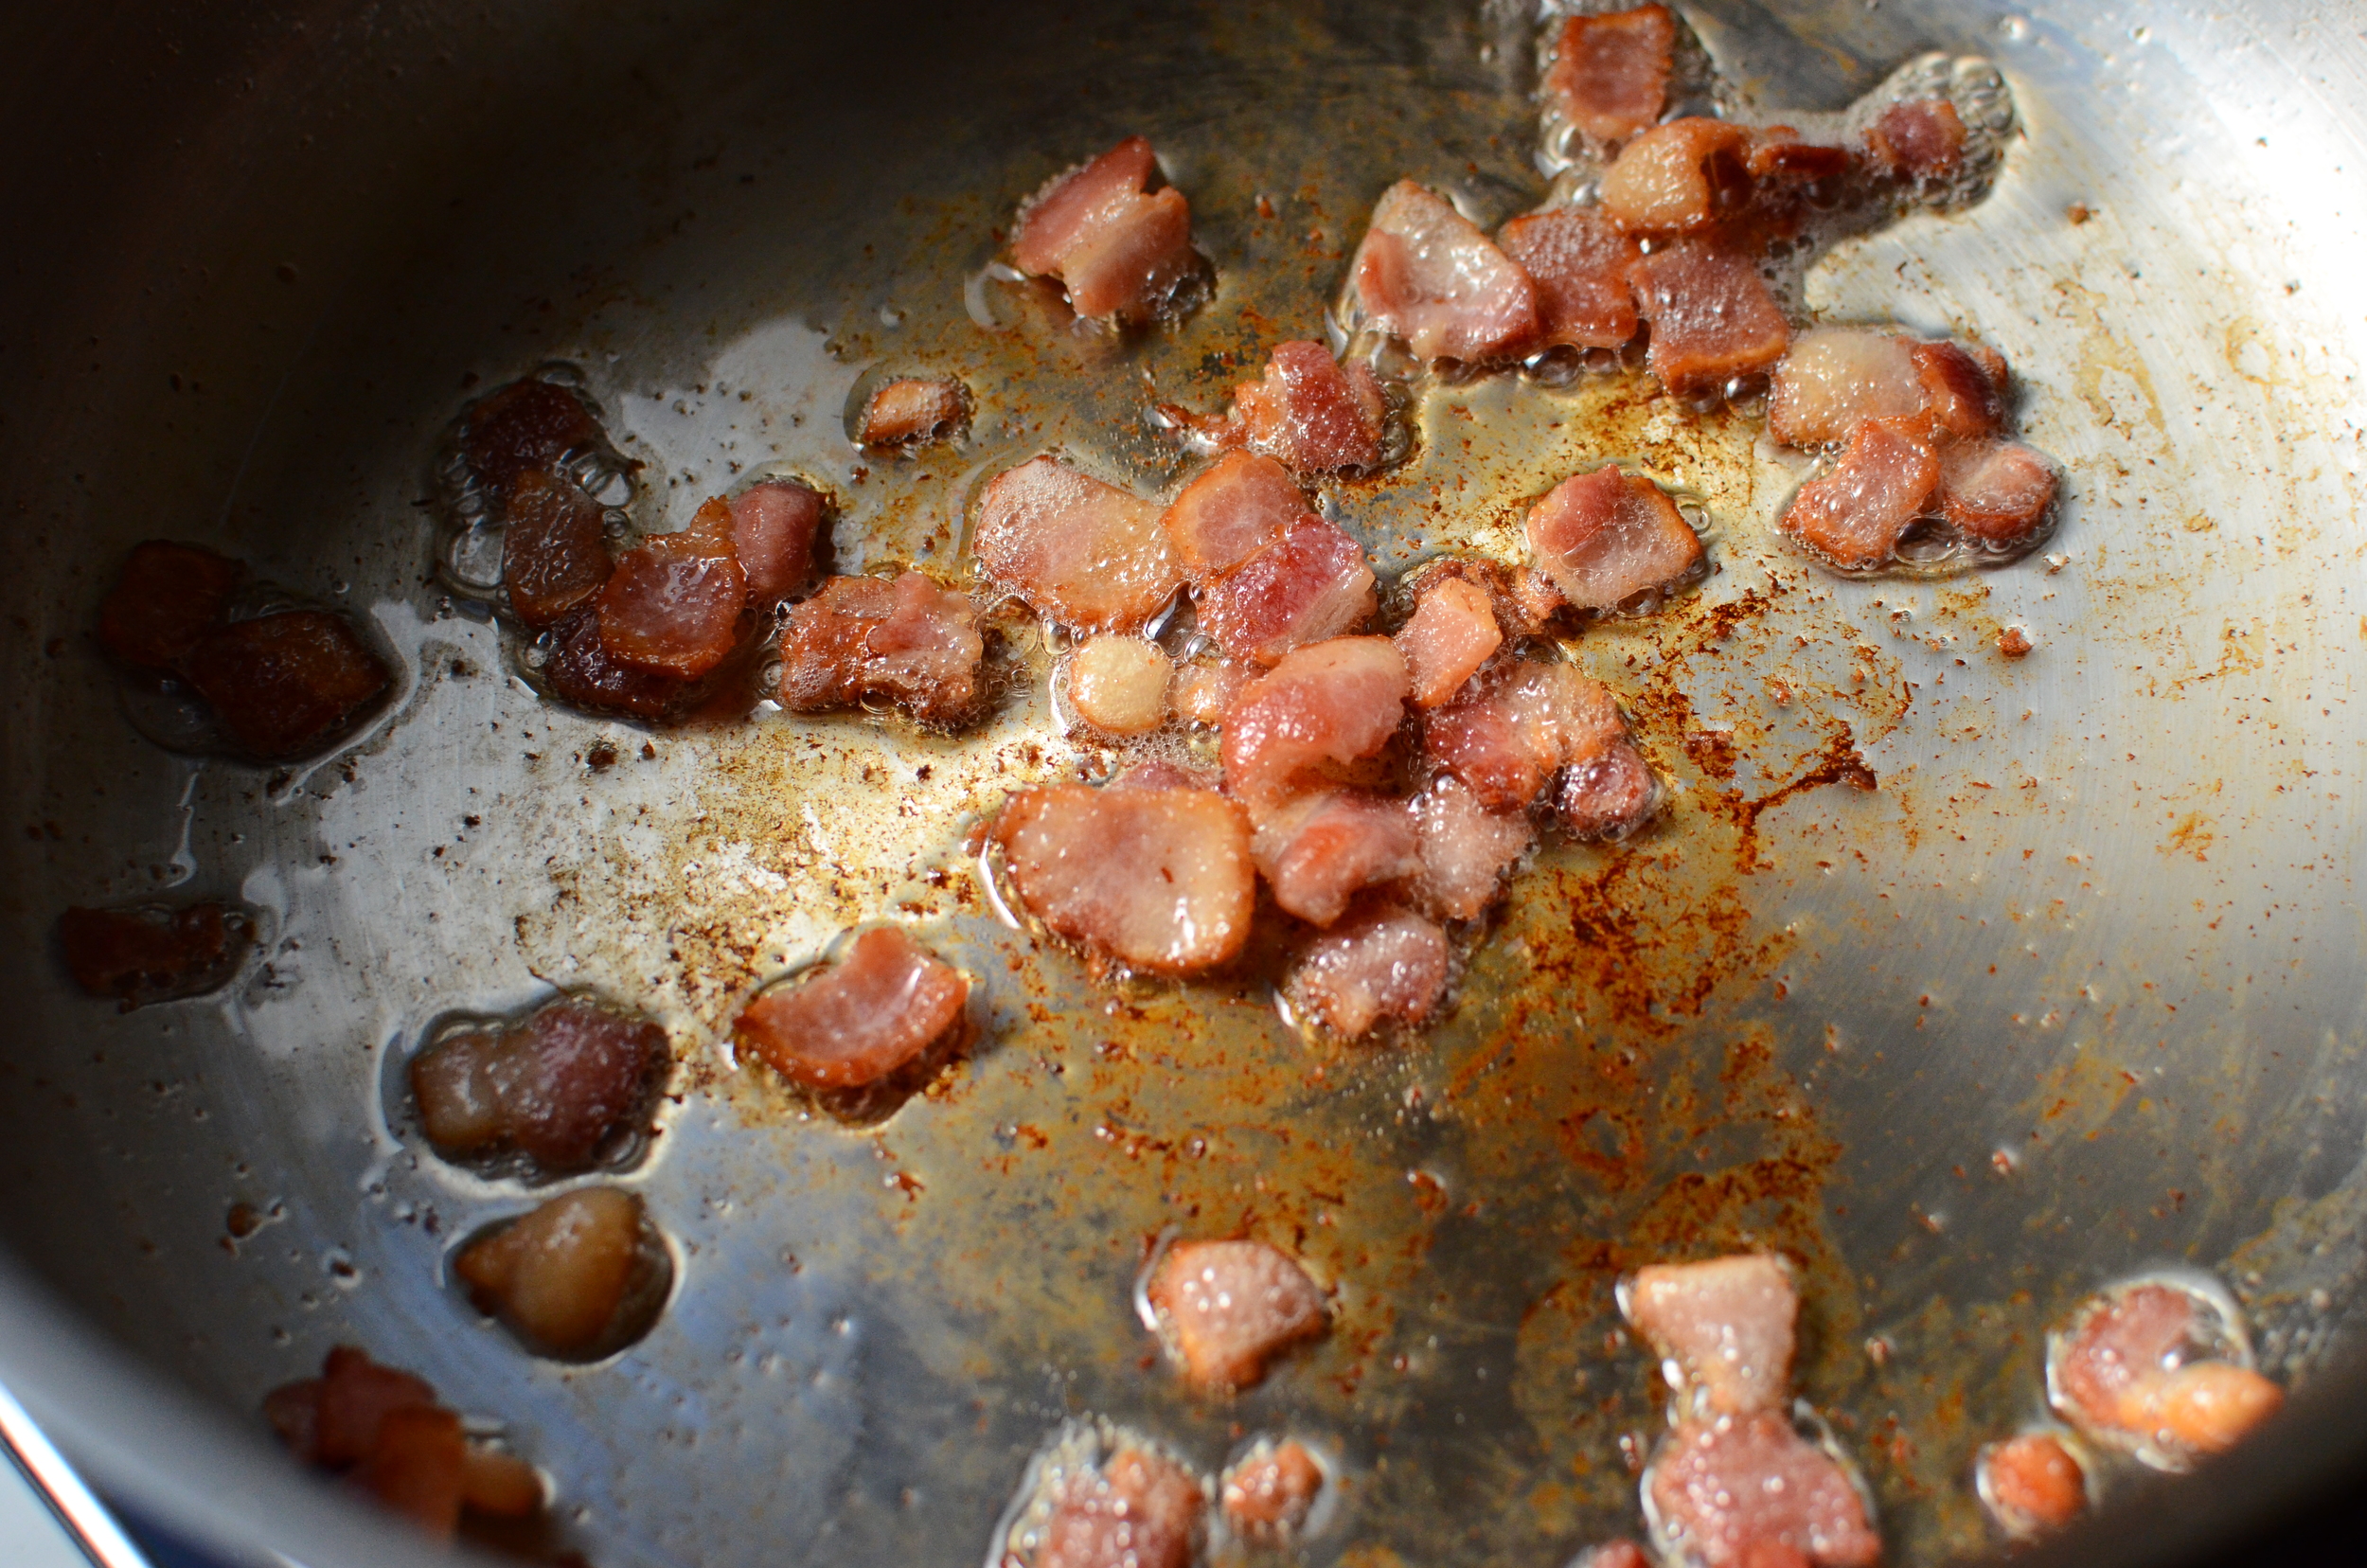
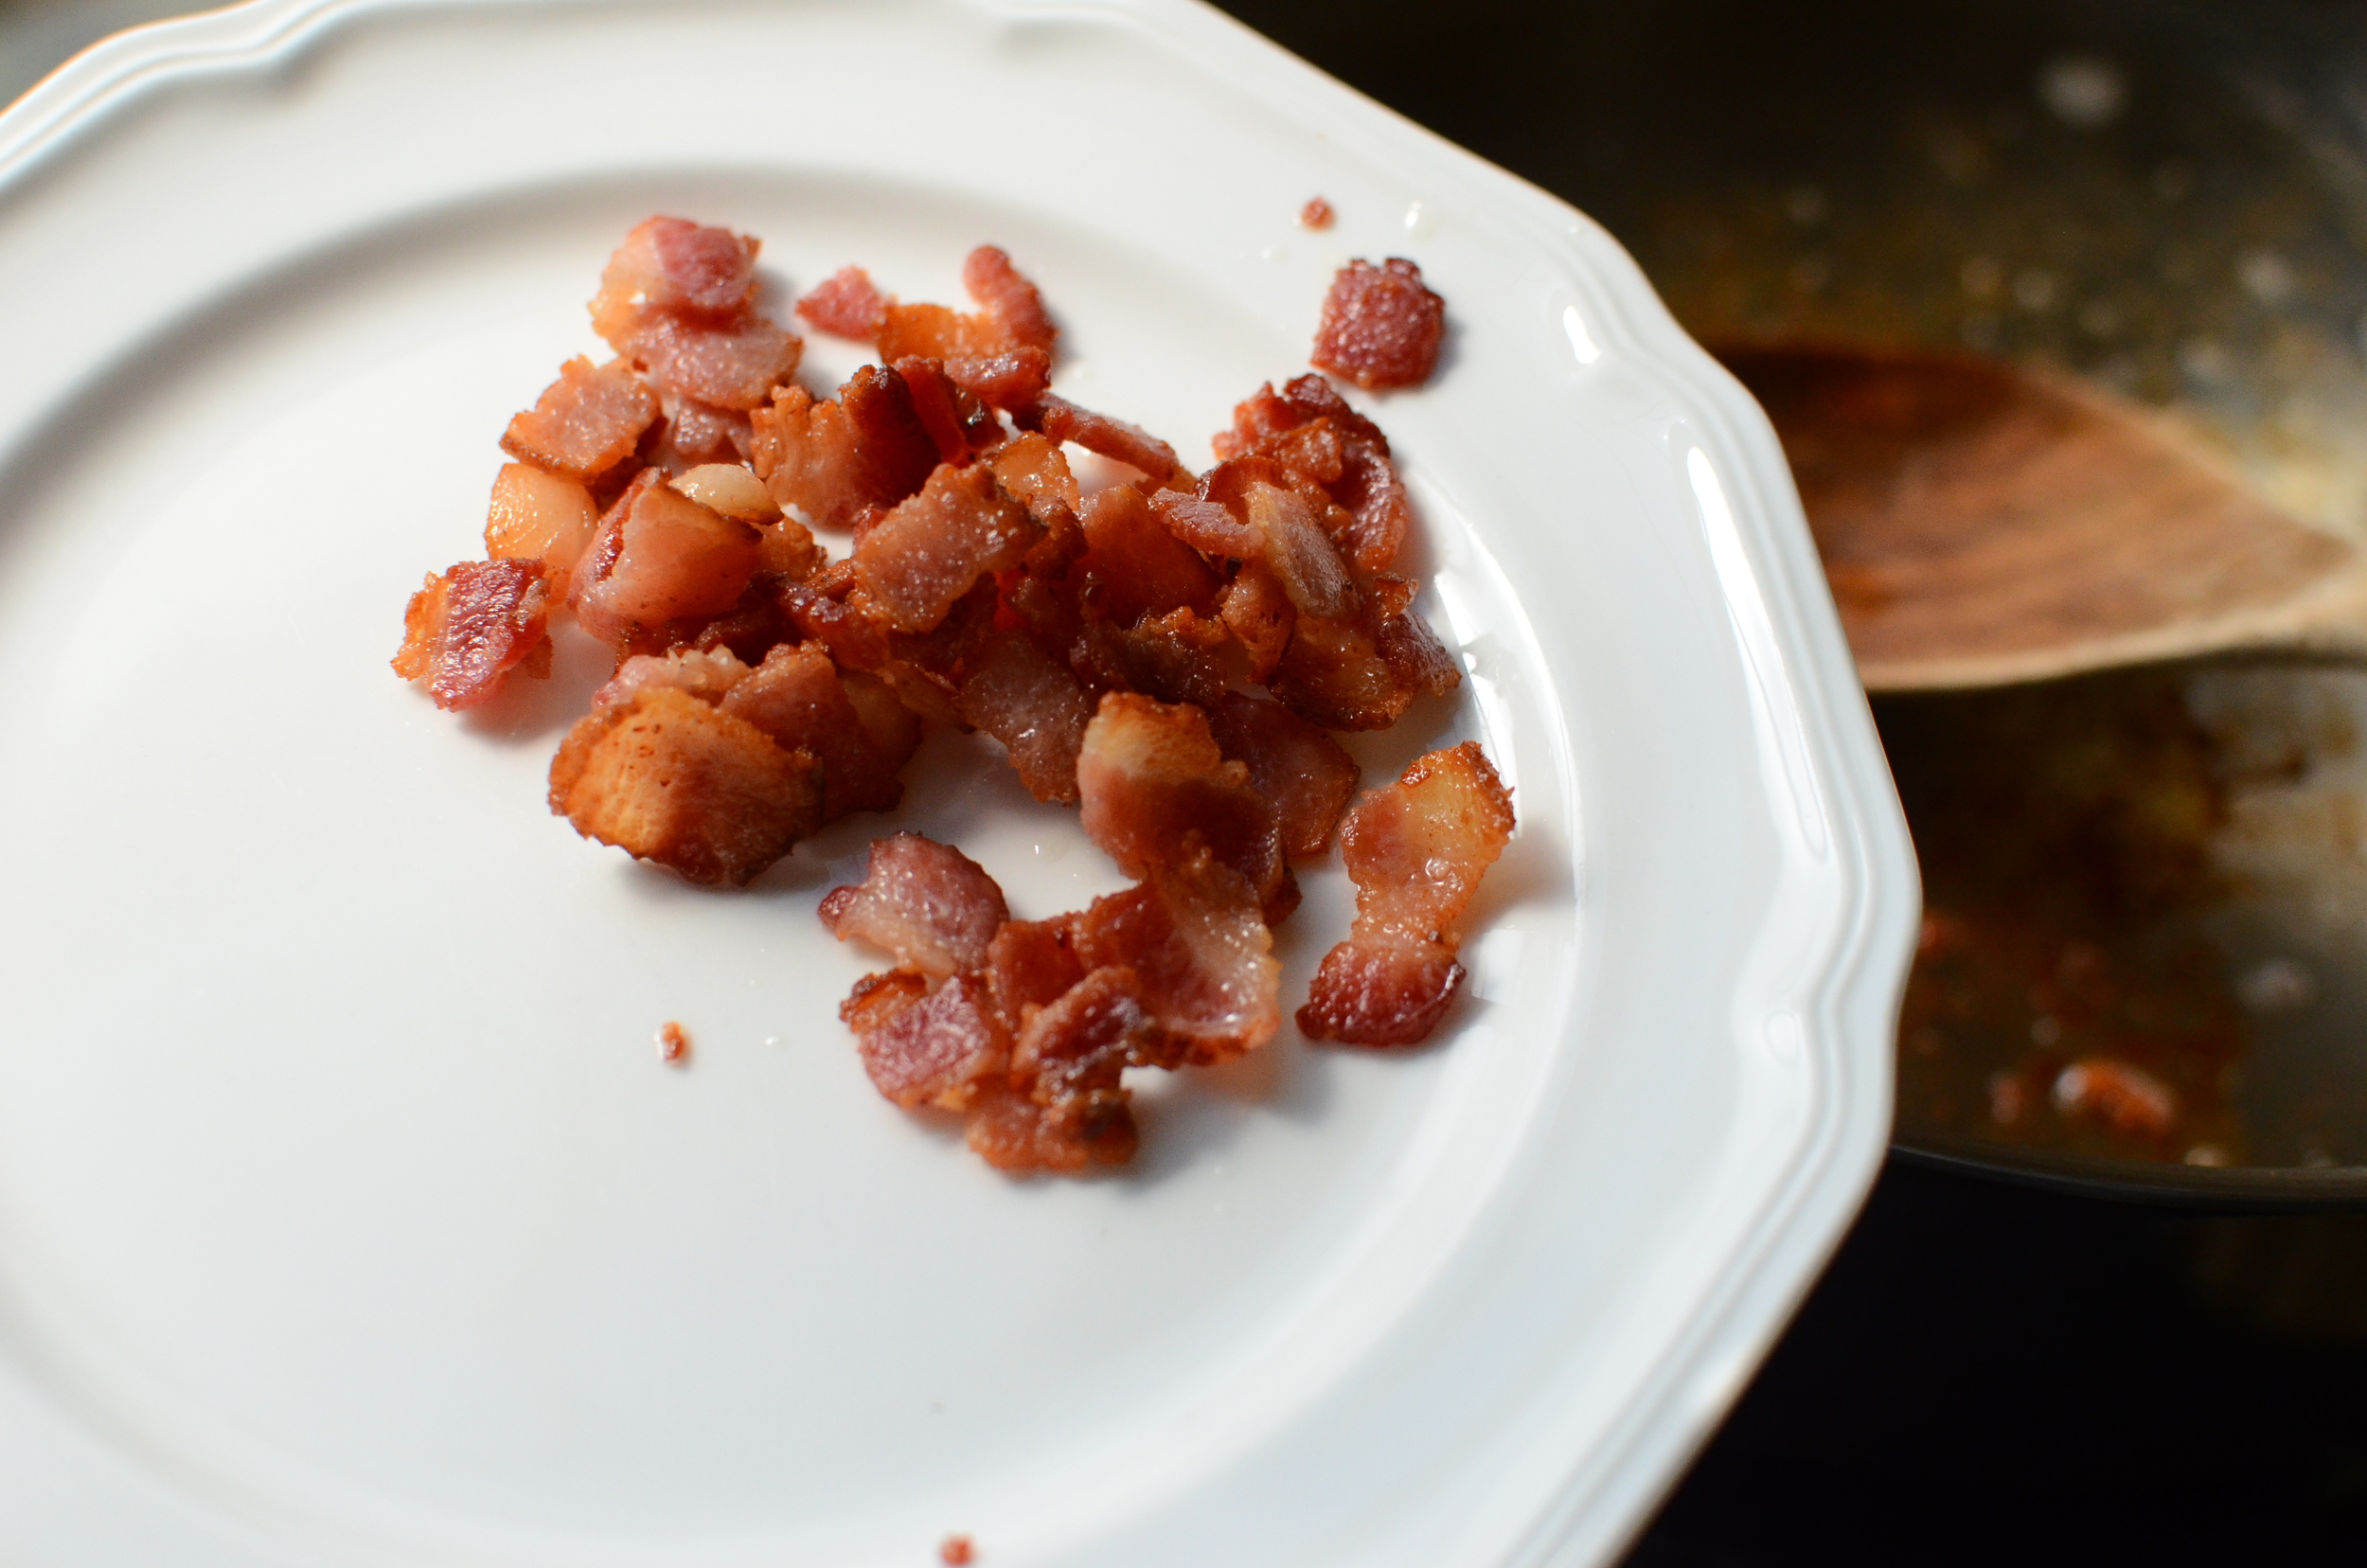
Cook the bacon the way you like it.  I like it chewy. Remove the bacon from the pan and reserve until later.  Time to cook garlic and crushed red pepper flakes in the bacon drippings.

garlic and crushed red pepper in the pan
sliced stems in the pan

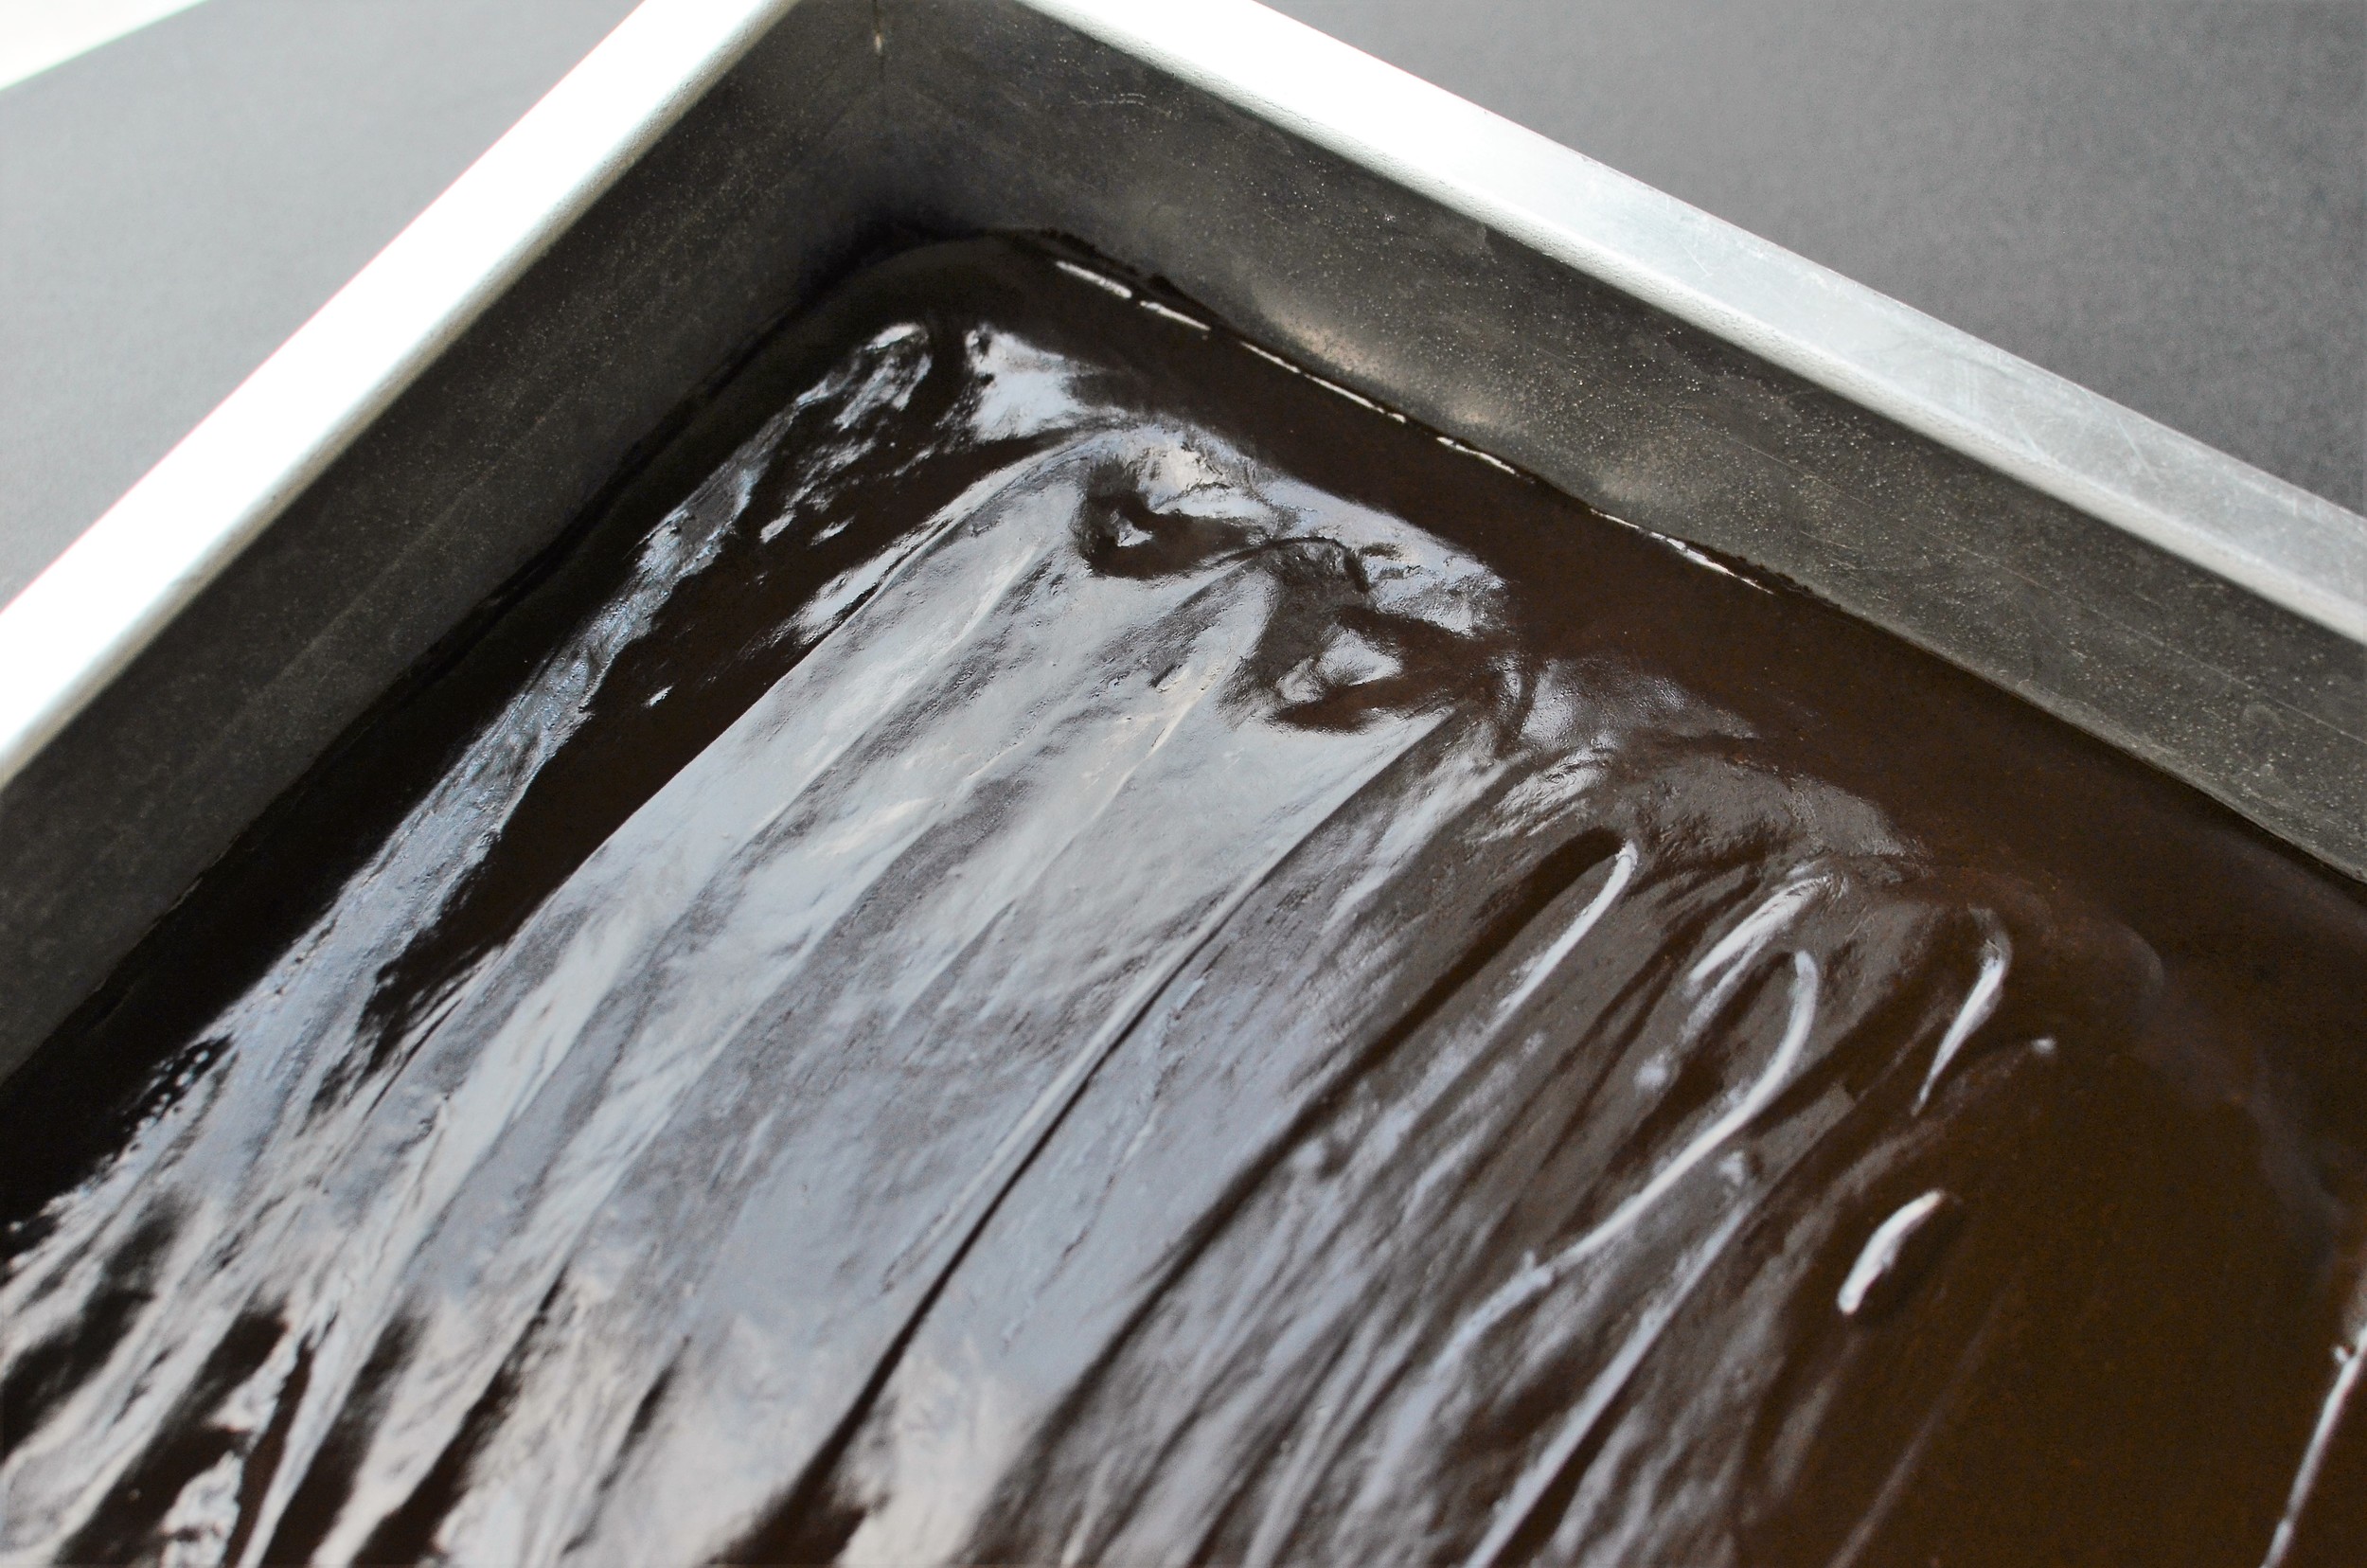
Mmmm.  Stir them around for 30 seconds, then add the chopped stems and water to the pan; cook, stirring occasionally, until the water evaporates.  The water serves two purposes - it will keep the garlic from burning, and it will deglaze the pan so all those brown bits from the pan flavor the swiss chard. Mmmm.  Getting hungry yet?

swiss chard ribbons in the pan
bacon back in the pan
secret ingredient - red wine vinegar

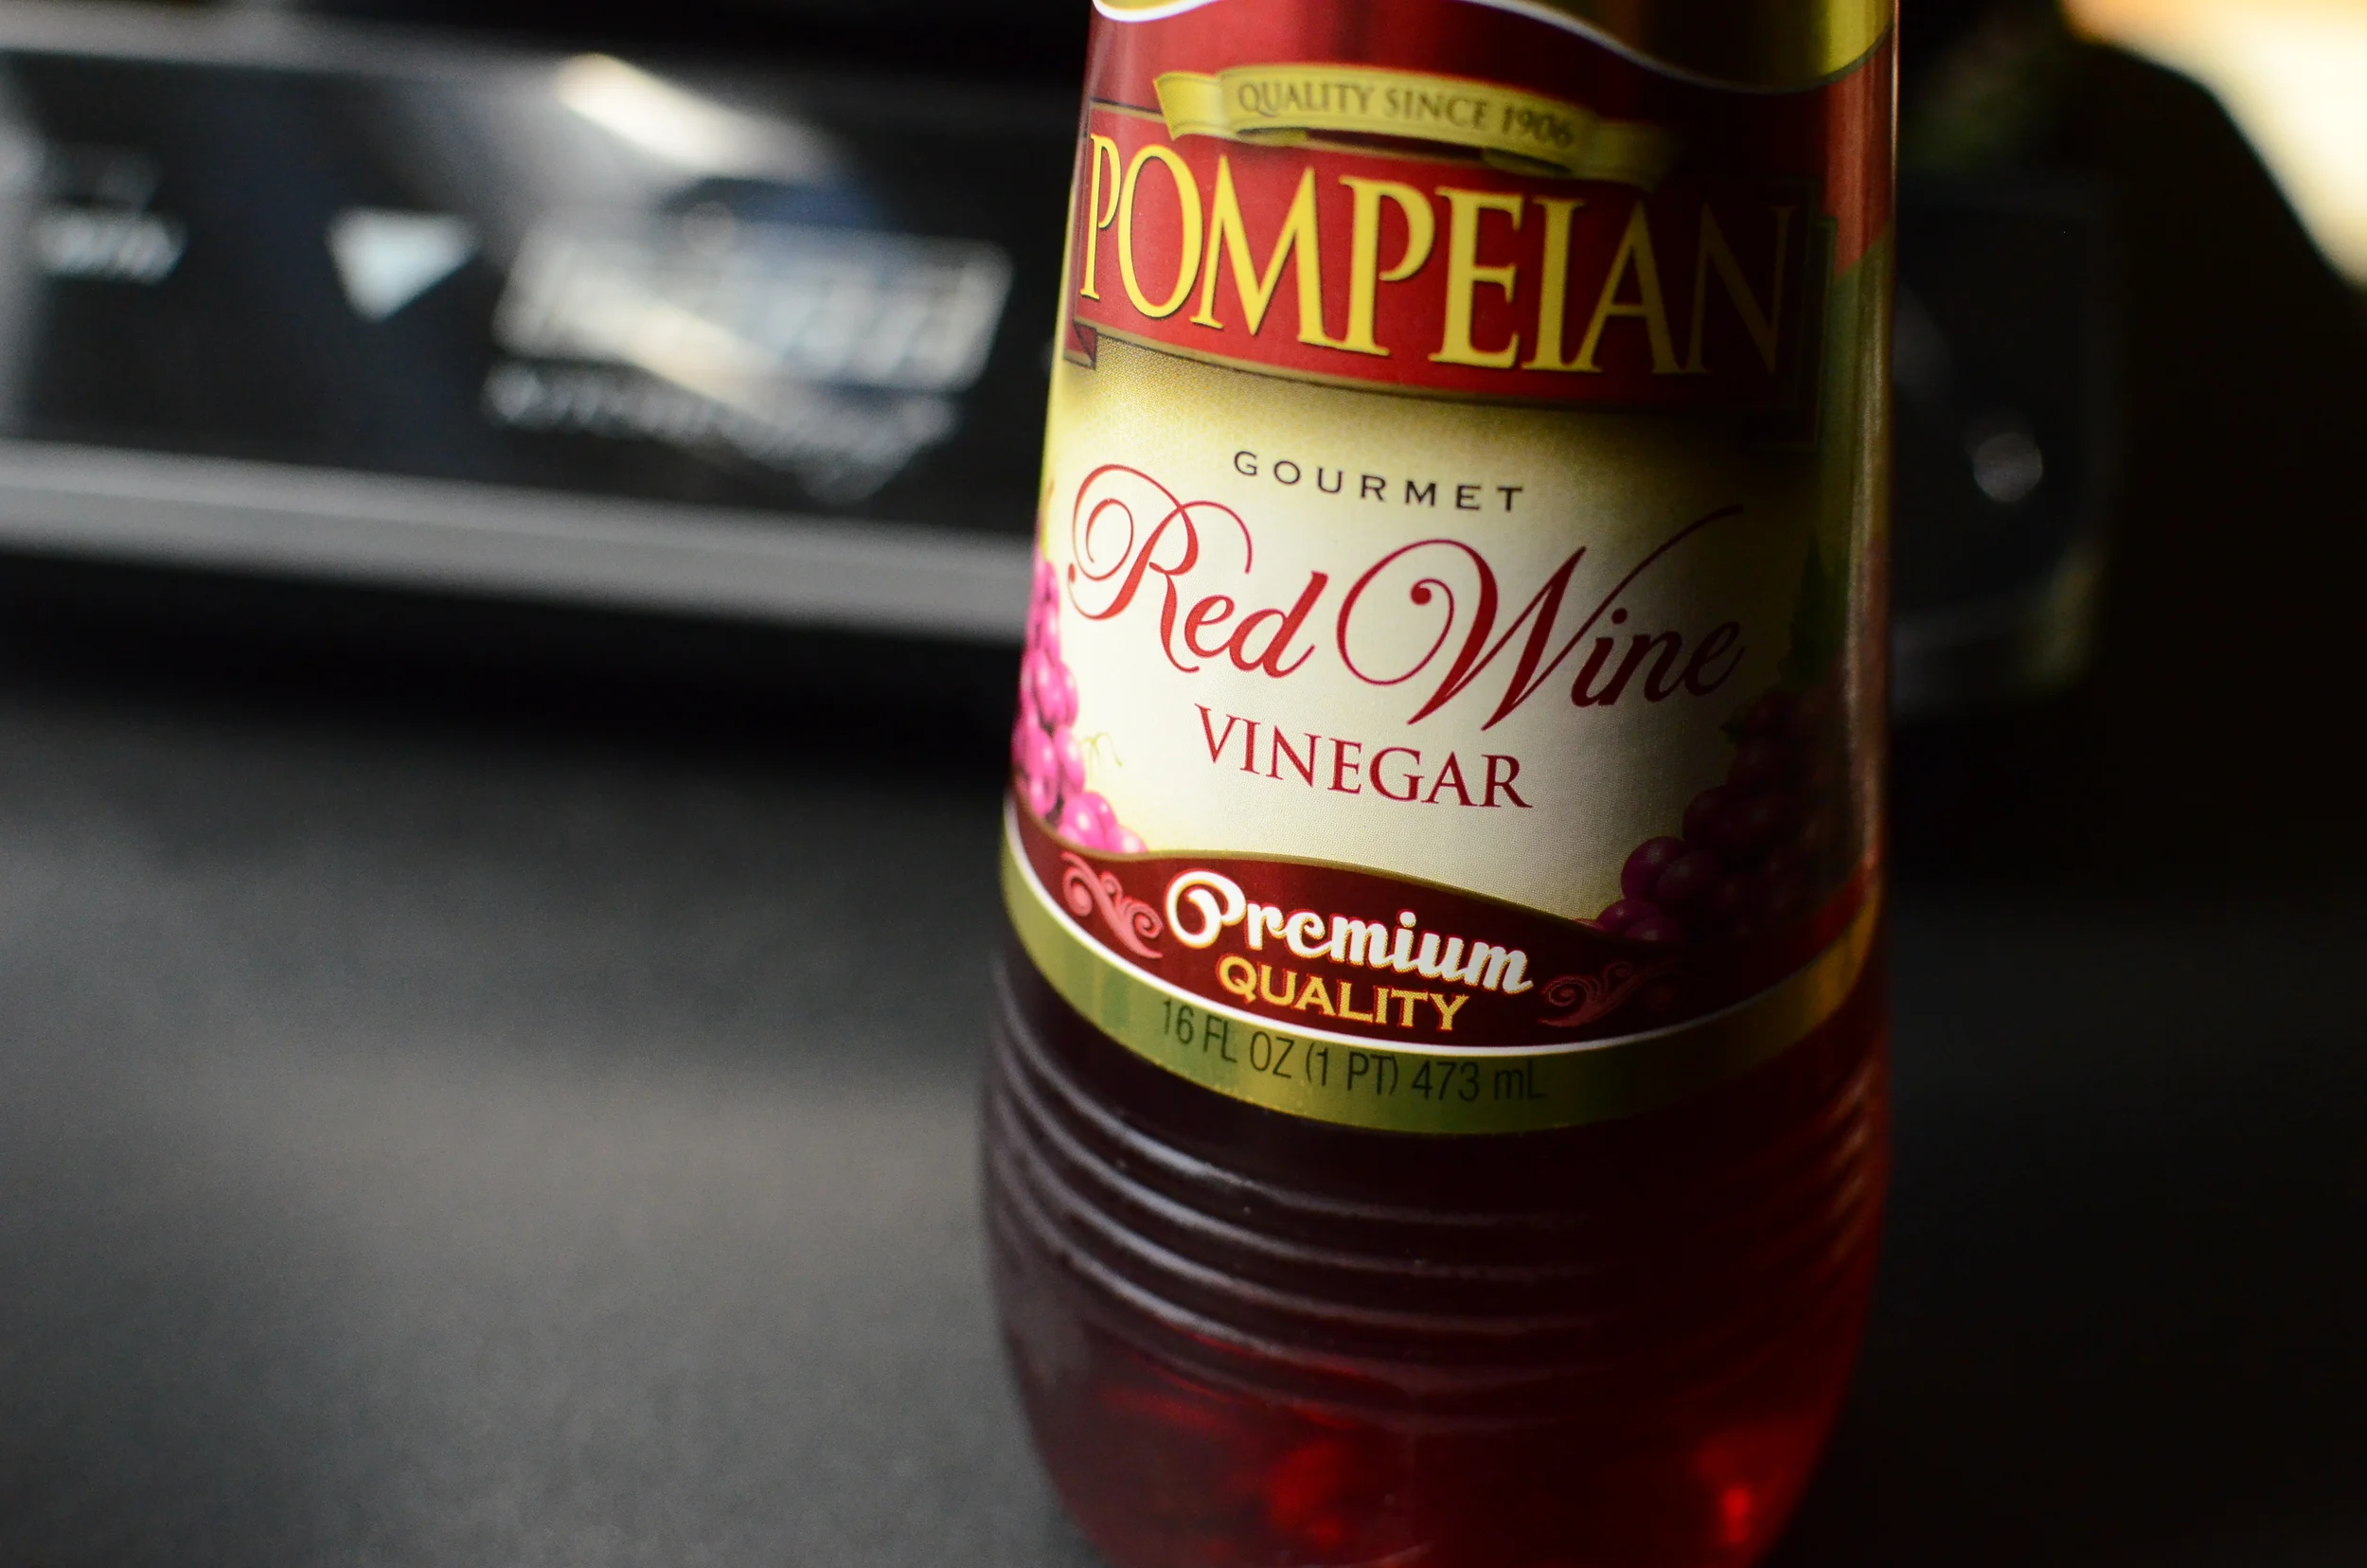
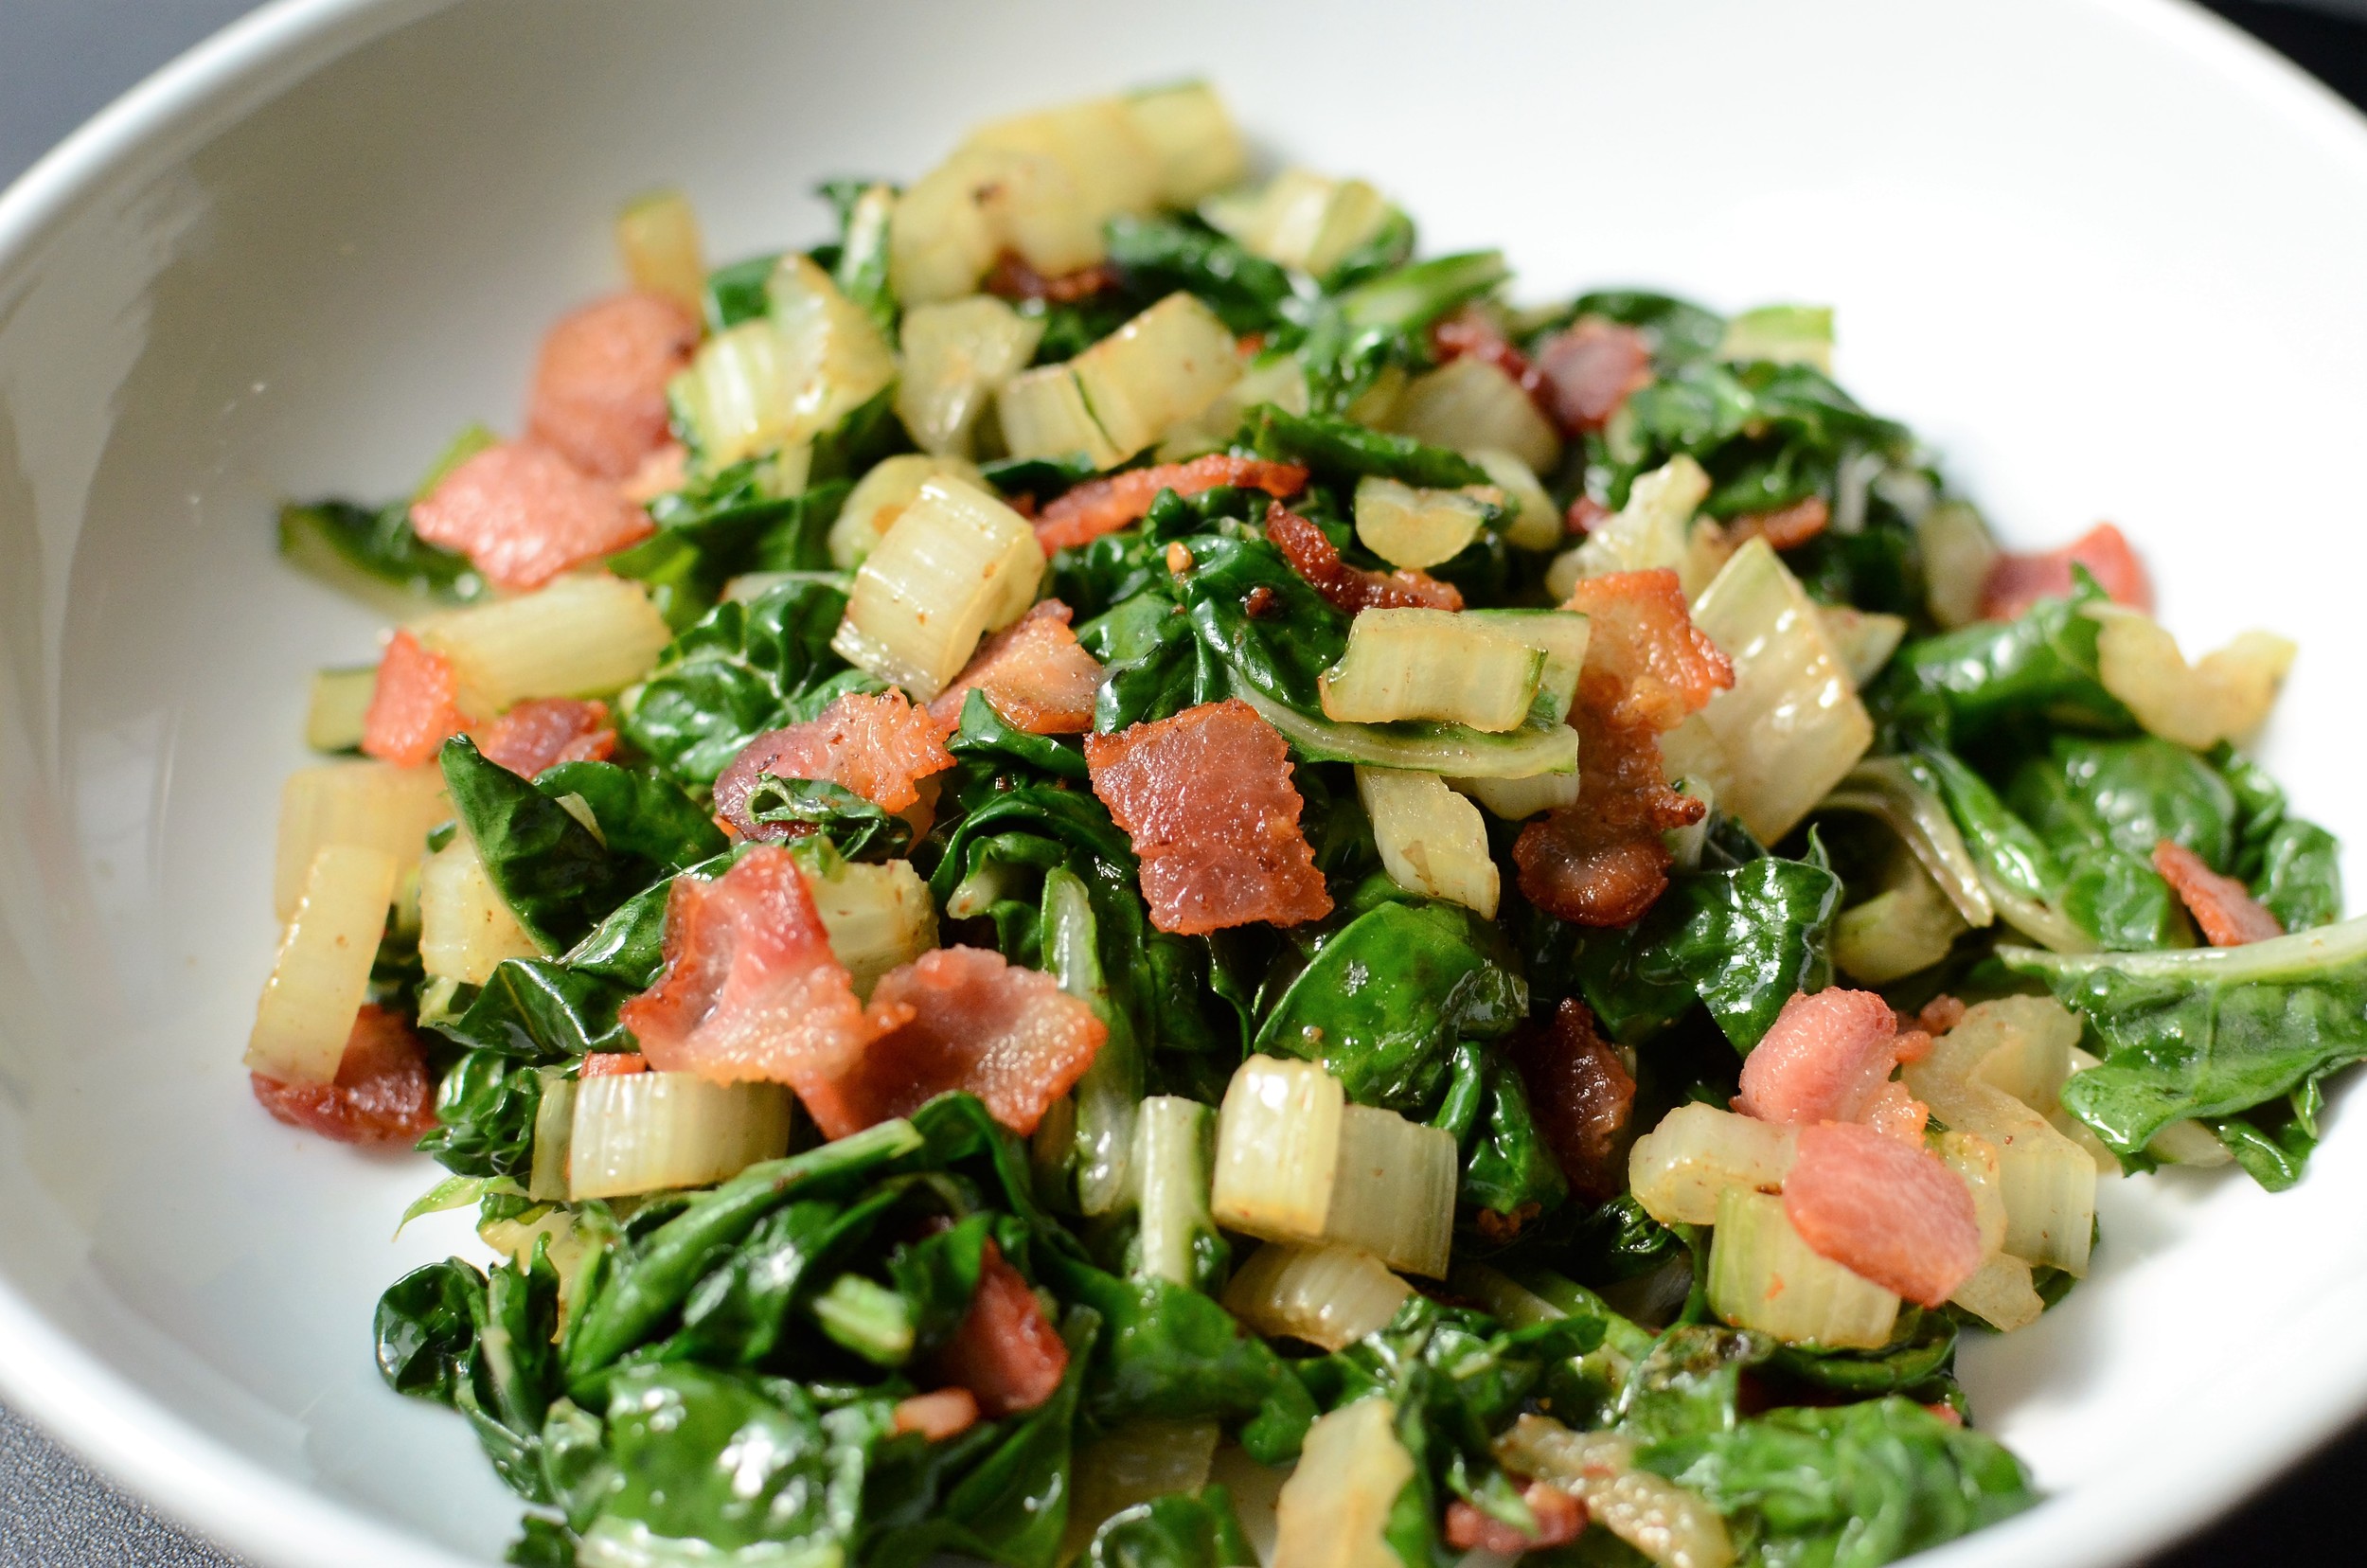
Add the leafy ribbons to the pan and stir for about a minute until the leaves wilt and deepen in color. Remove the pan from the heat and add the reserved bacon. And lastly, the secret ingredient - add a splash of red wine vinegar and give everything a toss.  Don't skip this step - it adds something magical and you won't regret it.

time to dig in!

Dig in!

Items used to make this Recipe:

(affiliate links)


Swiss Chard with Bacon and Garlic

makes 2 servings

Printable Recipe

Ingredients

  • 4 stalks swiss chard, washed

  • 2 strips thick bacon, cut into 1/2-inch slices

  • 1 clove garlic, minced

  • 1/8 teaspoon crushed red pepper flakes

  • 1/4 cup water

  • 1/2 teaspoon red wine vinegar (or more to taste)

Directions

  1. Prepare swiss chard by separating the tender green leaves from the stems; keeping both parts.

  2. Slice stems crosswise into 1/2-inch thick slices; slice tender leaves crosswise into 3/4-inch thick strips; keep separate.

  3. In a large skillet over medium-high heat, saute the bacon until it reaches your desired level of doneness. I like it to stay a little on the chewy side.

  4. Lower heat and remove bacon from pan; reserve.

  5. Add garlic and crushed red pepper flakes to the bacon drippings that are leftover in the pan; stir for about 30 seconds, or until you can smell the garlic.

  6. Immediately add the chopped stems and water to the pan; increase heat back to medium-high and stir frequently until most of the water evaporates.

  7. Add the sliced leaves to the pan and stir constantly for about a minute until the color deepens and the leaves wilt a little.

  8. Remove from heat and add the reserved bacon and red wine vinegar; stirring well to combine.

  9. Taste and add salt and pepper if needed. Serve immediately.

Chocolate Mocha Zucchini Cake

Patricia @ ButterYum

Do you ever find yourself with an abundant supply of zucchini?  How about summer squash?  Want a great recipe that will help use them up?  Look no further - this CHOCOLATE MOCHA ZUCCHINI CAKE is rich, dark, and delicious.  To gild the lily further, add a silky smooth layer of dark chocolate ganache.  Here's how it's made.

Prepare an aluminum cake pan with Baker's Joy.  I use it for all the cakes I bake.  If you want to turn this cake out of the pan, line the bottom of the pan with parchment. For best results, use a professional cake pan.

Note: if you use a glass or ceramic pan, lower the oven temp 25F.

Gather the dry ingredients - flour, sugar, sifted dark cocoa (aka black cocoa), ground cinnamon, baking soda, baking powder, and fine salt.

The ground cinnamon is optional, but I really like it.  Also, I use the darkest cocoa powder I can find.  It makes the cake extra dark, which is extra irresistible. 

Put all the dry ingredients in a large bowl and whisk together.

Done; set aside.

Gather the wet ingredients - eggs, oil, vanilla (be sure to use use the good stuff), greek yogurt, and brewed coffee (not pictured).

Put all the wet ingredients in a medium bowl and whisk together.

Done.

Add the wet ingredients to the dry and mix together.

Done.

Last, add the shredded zucchini to the batter.  You can substitute up to half of the zucchini with summer squash (remove seeds before grating).

Stir the zucchini (and summer squash) into the batter.

Pour the batter into the prepared cake pan.

insulated cake strips help the cake to bake in an even layer - no hump!

insulated cake strips help the cake to bake in an even layer with no hump!

Wrap the pan with moistened insulated baking strips.  You don't have to do this step, but it will help the cake bake into an even layer.   Otherwise, your cake will likely develop a hump in the middle.

Remove the cake from the oven and cool completely.  While the cake cools, prepare the ganache.  When the cake is completely cool, spread the ganache evenly over the cake.  Chill until service.

chocolate mocha zucchini cake recipe, chocolate zucchini cake tutorial, chocolate zucchini and yellow squash cake recipe with step-by-step photos

I like to serve this cake well chilled.  Time to dig in - enjoy!

Items used to make this recipe:

(affiliate links)


Chocolate Mocha Zucchini Cake

makes one 9x13-inch cake (15 servings)

Printable Recipe

Ingredients

Cake:

  • 2 cups all purpose flour

  • 2 cups granulated sugar

  • 1/2 cup dark cocoa powder, sifted (darkest you can find, like black cocoa)

  • 1 1/2 teaspoons ground cinnamon (optional)

  • 1 teaspoon baking powder

  • 1 teaspoon baking soda

  • 1 teaspoon fine salt

  • 2 large eggs

  • 3/4 cup greek yogurt

  • 1/4 cup vegetable oil

  • 1/4 cup brewed coffee

  • 2 teaspoons pure vanilla extract

  • 2 cups shredded zucchini (or substitute up to half yellow summer squash)

Ganache:

  • 8 ounces semisweet chocolate, chopped

  • 8 ounces heavy cream

Directions

To make the cake:

  1. Preheat oven to 350F, spray metal cake pan with Baker's Joy, and wrap pan with insulated baking strips (optional, but they keep the cake from forming a hump in the middle).

  2. In a large bowl, whisk together the flour, sugar, cocoa, cinnamon, baking powder, baking soda, and salt; set aside.

  3. In a medium bowl, whisk together the eggs, greek yogurt, oil, coffee, and pre vanilla extract.

  4. Pour wet mixture into bowl containing the dry ingredients and mix well; add shredded zucchini and stir until combined.

  5. Pour batter into cake pan and bake for 30-35 minutes or until a toothpick inserted into the center of the cake comes out clean.

  6. Remove from oven and cool completely before adding ganache.

To make the ganache:

  1. Place chopped chocolate in a heat-safe bowl; set aside.

  2. In a medium heavy-bottom saucepan, heat cream until just before it reaches the boiling point (small bubbles will form around the edges).

  3. Remove cream from heat and pour over chocolate.

  4. Let the chocolate and cream steep together for 2 minutes, then whisk gently until the two combine and become shiny, dark, and glossy.

  5. When cake is completely cool, pour ganache over cake; use an offset spatula to spread evenly.

  6. Chill cake until service. Store in an airtight container.