Mini Chocolate Whoopie Pies
Patricia @ ButterYum

It may be hard to believe, but these adorable mini whoopie pies are made with only 6 ingredients. I know, right?

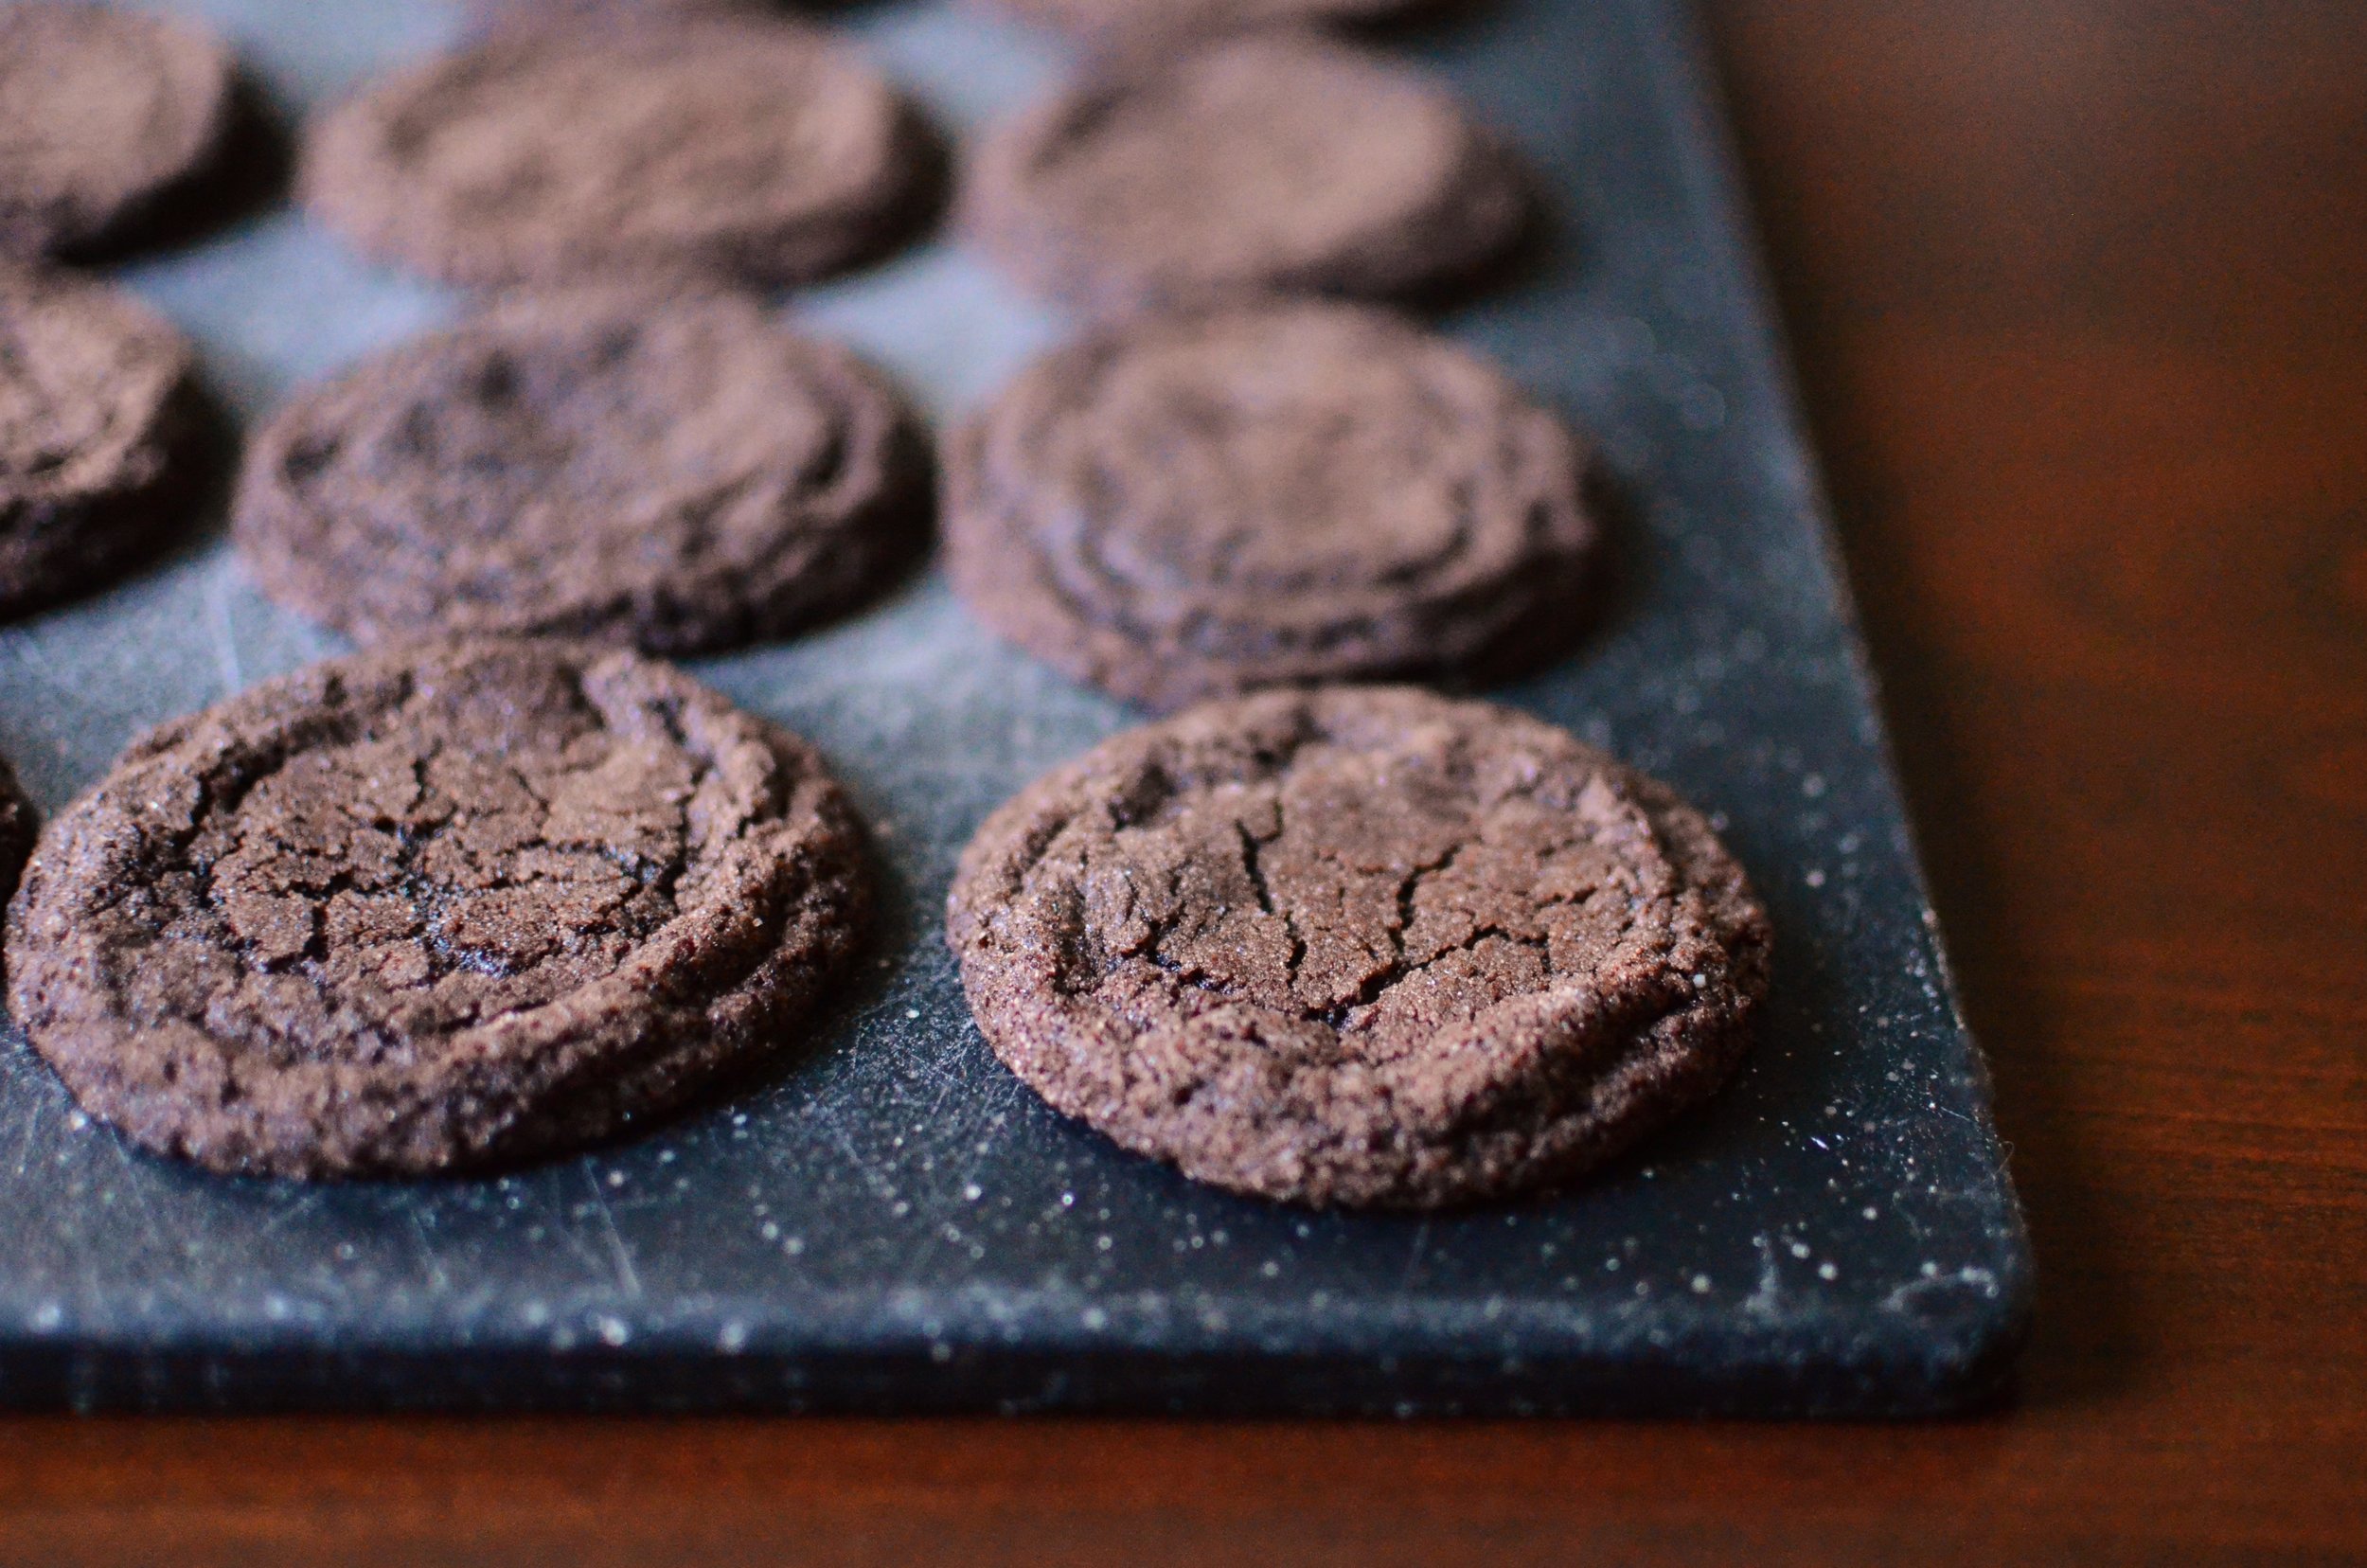
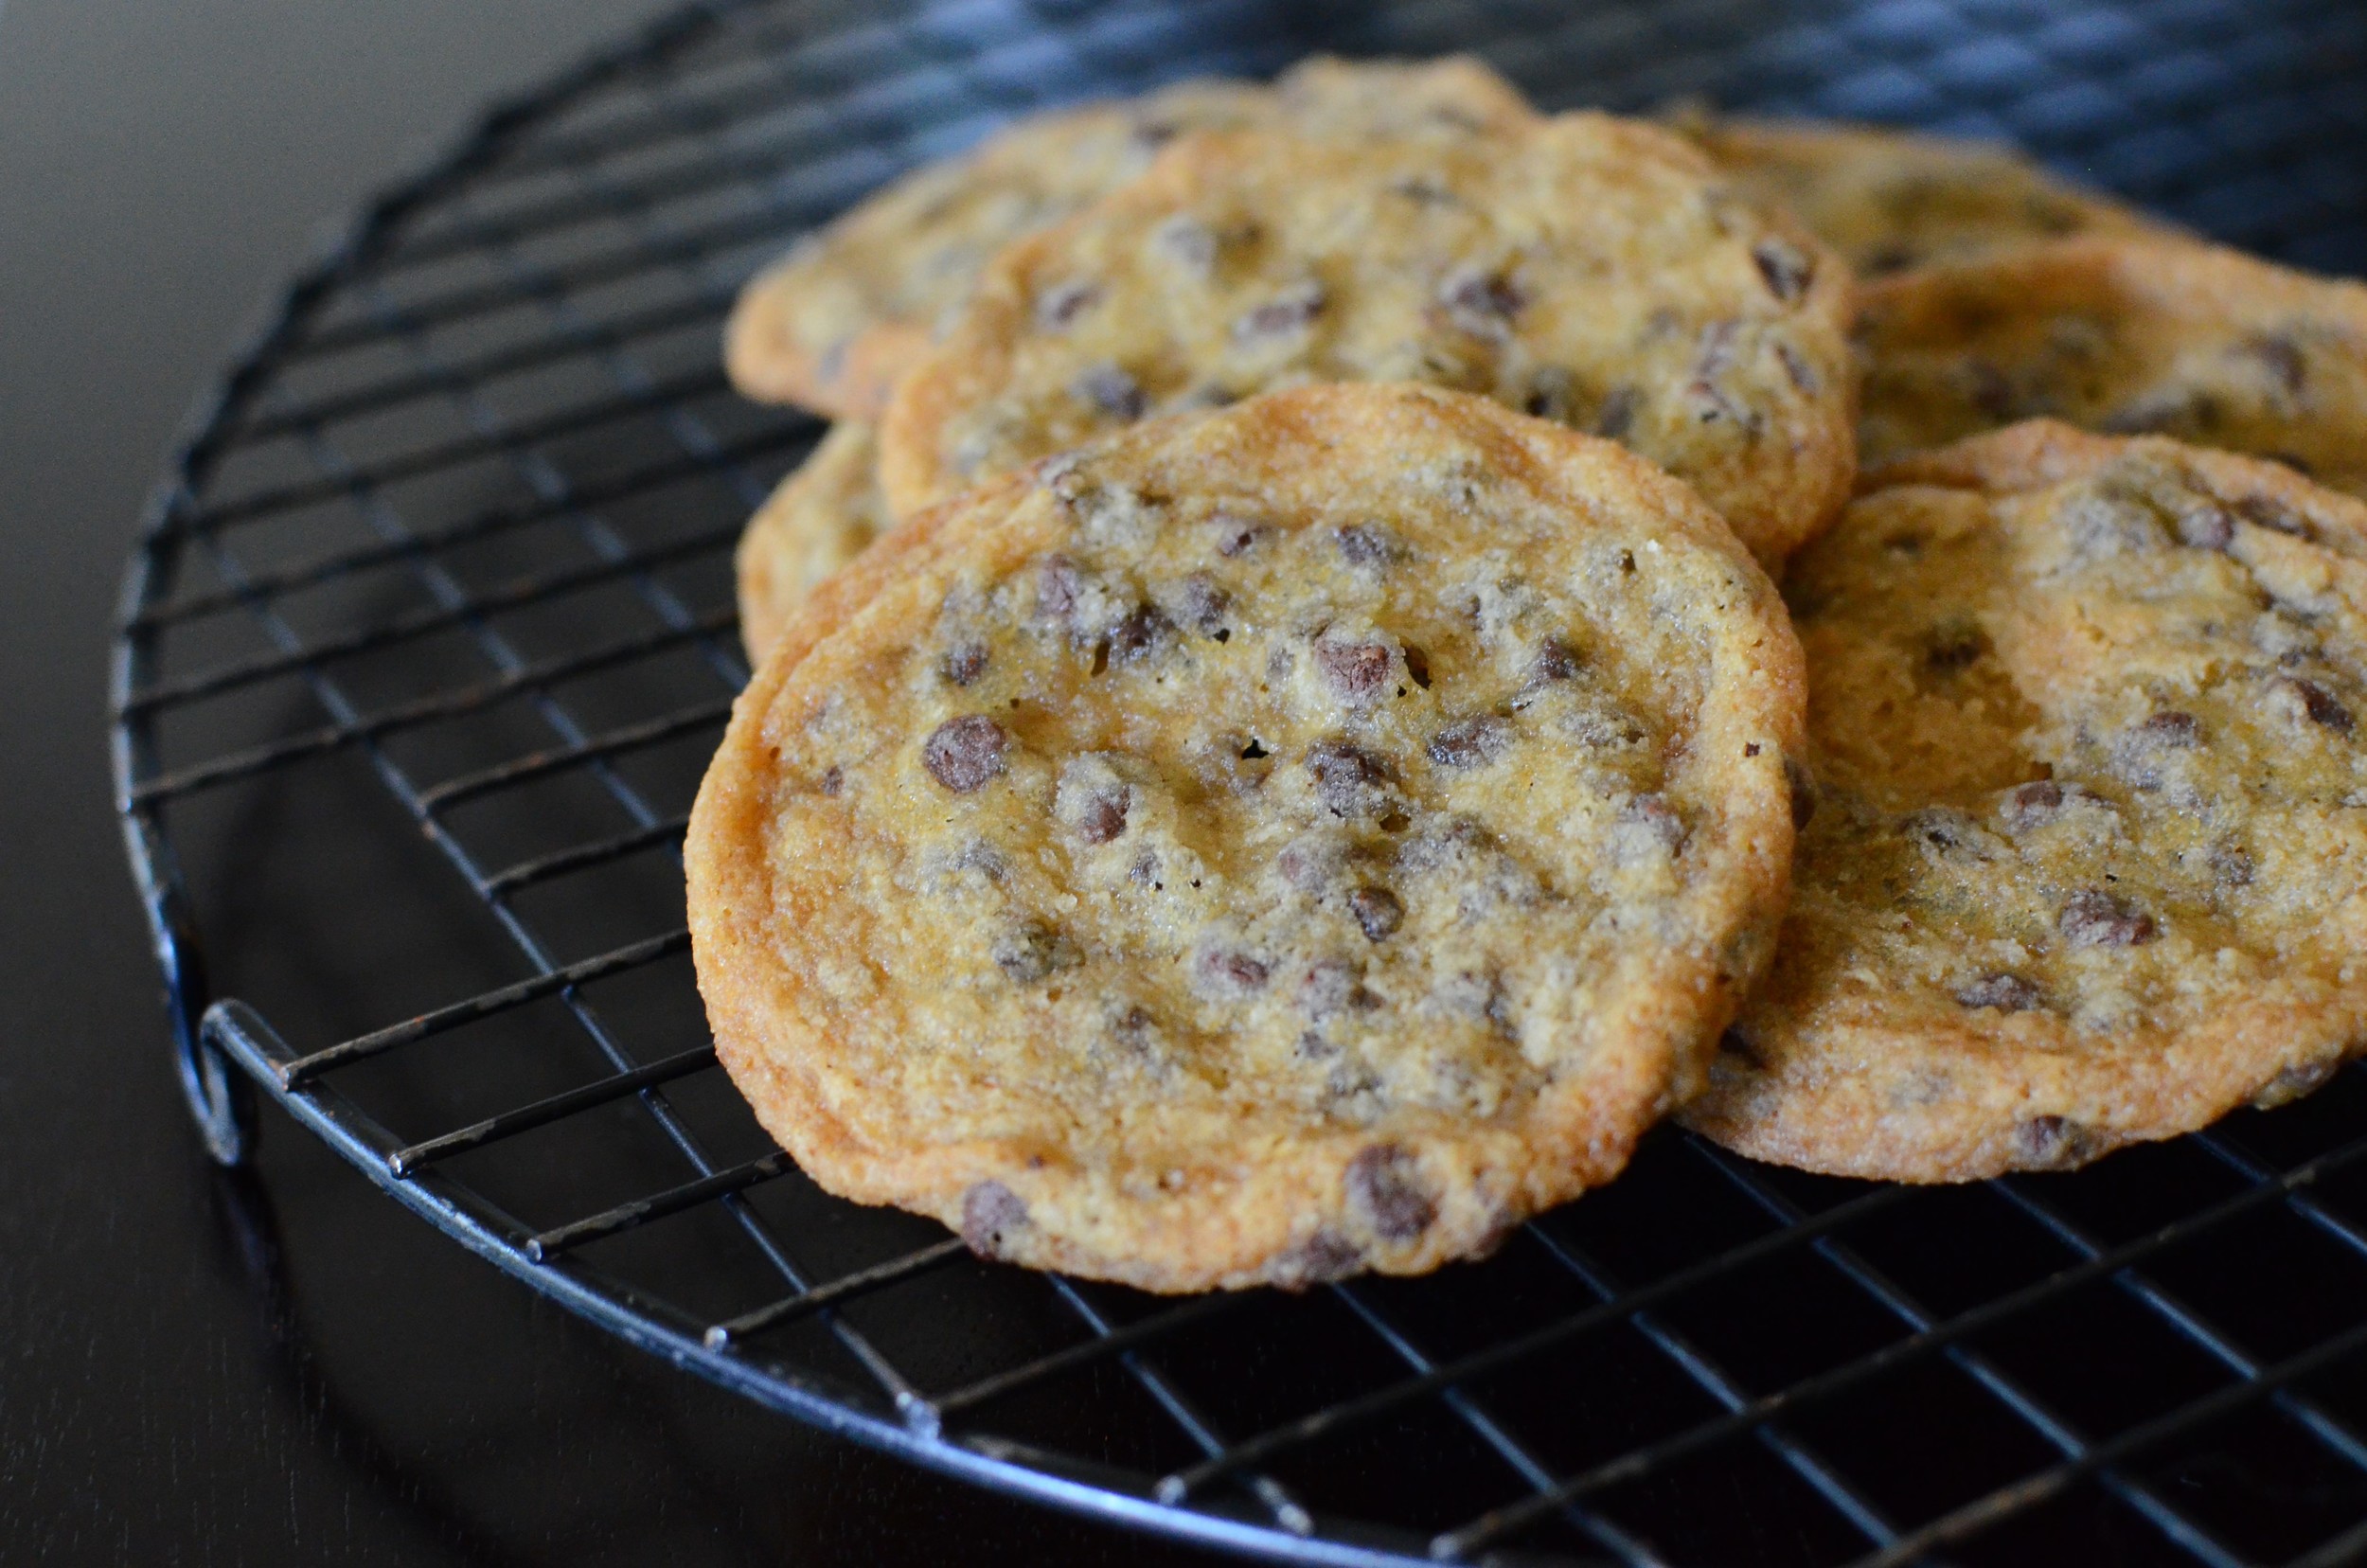
To make the cookies, combine one box of dry devils food cake mix and one can of 100% pure pumpkin puree. No egg, no water, no oil, just the dry mix and pumpkin. That's all. I mix them in my stand mixer using a BeaterBlade or flat beater attachment.

Then I use a #50 scoop to portion 1 tablespoon mounds of dough onto silpat lined half sheet pans. This recipe will make 4 pans of cookies. If you don't have 4 pans with liners, you can rotate 2 pans - just be sure the pans are completely cool before putting cookie dough on them.

While the cookies are baking, make the cream filling.

Cream together room temperature butter and confectioners sugar. Make sure the butter is at room temperature. This is one of the few recipes that I use salted butter. You can use unsalted if you like, just add a healthy pinch or two of fine salt for flavor.

Whip the butter and sugar together for a full 3 minutes. I like to use my BeaterBlade attachment so I don't have to scrape down the sides of the bowl. LOVE my BeaterBlade!!

Add the marshmallow cream. It's so sticky!

And lastly, add pure vanilla extract. Use the good stuff - it makes all the difference.

Mix again, just until the marshmallow cream and vanilla are fully incorporated.
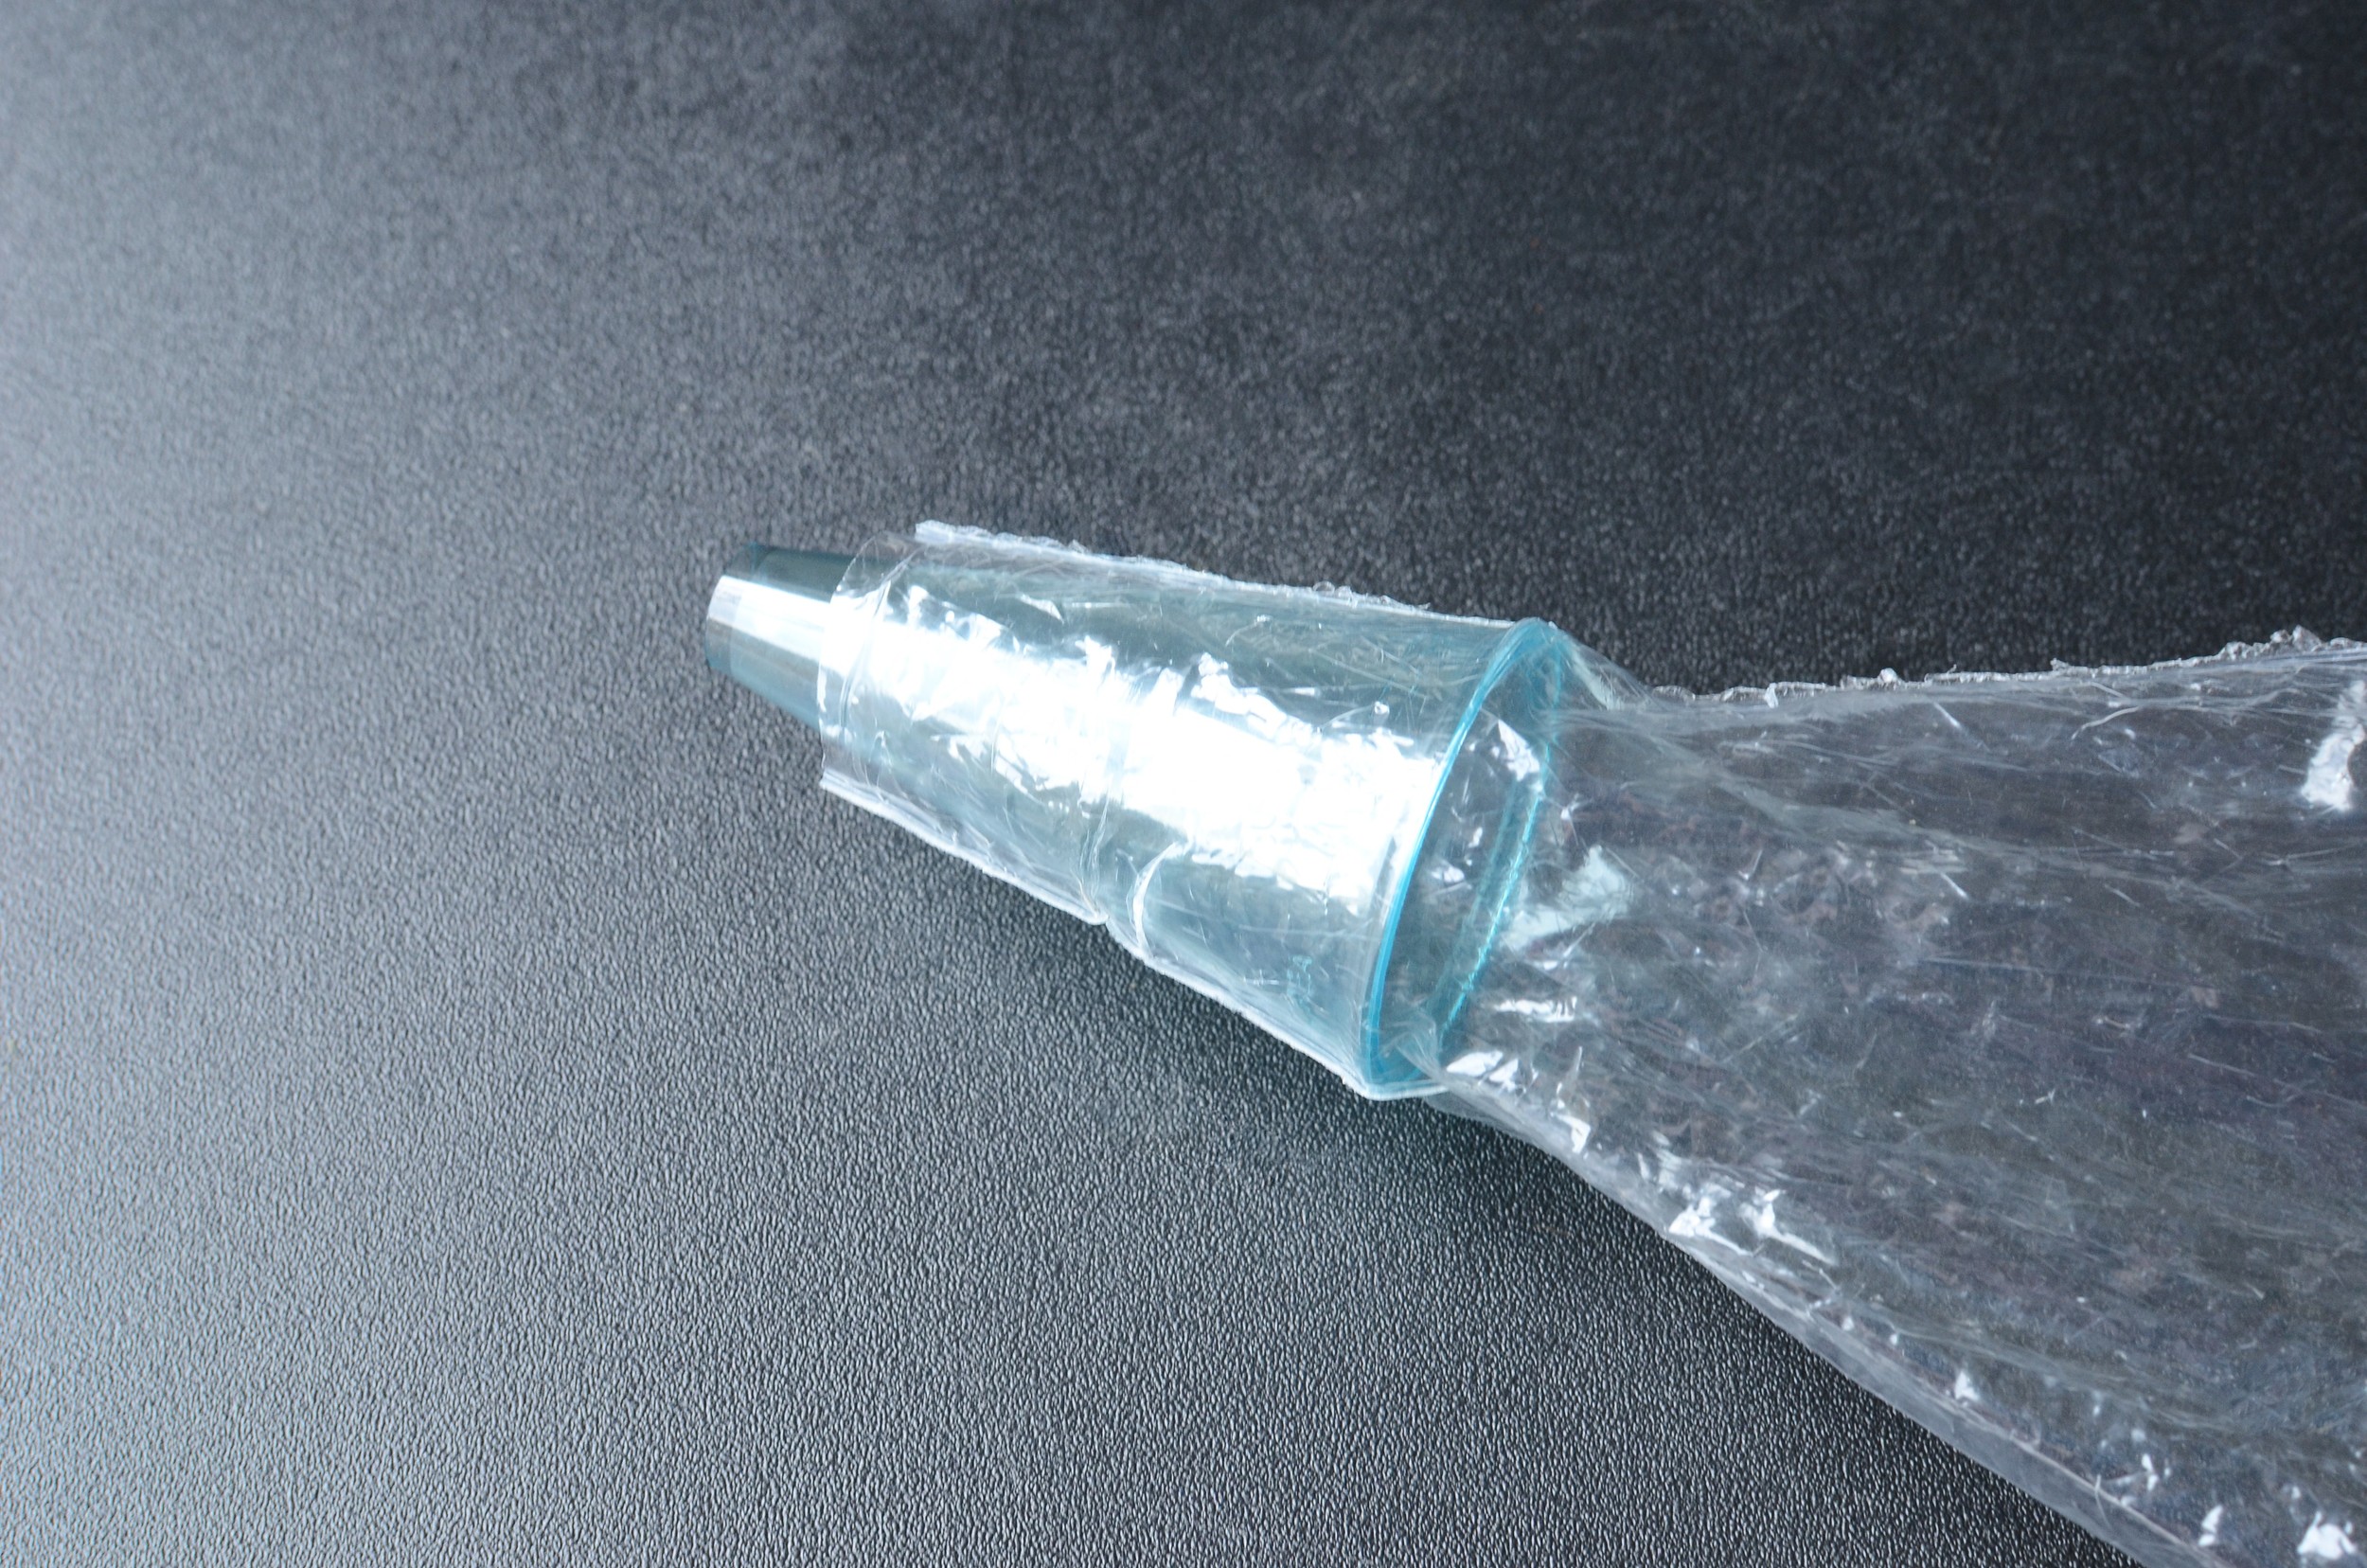
Place the cream filling in a large pastry bag fitted with a round tip. I like to use plastic and polycarbonate tips for several reasons:
They don't have seams, which can leave marks in your piped design.
They don't get cold like metal tips. cold metal can make some fillings seize and clog the tip (like anything containing temperature sensitive ingredients like chocolate or butter).
You can spot large air bubbles before they have a chance to explode all over the place.
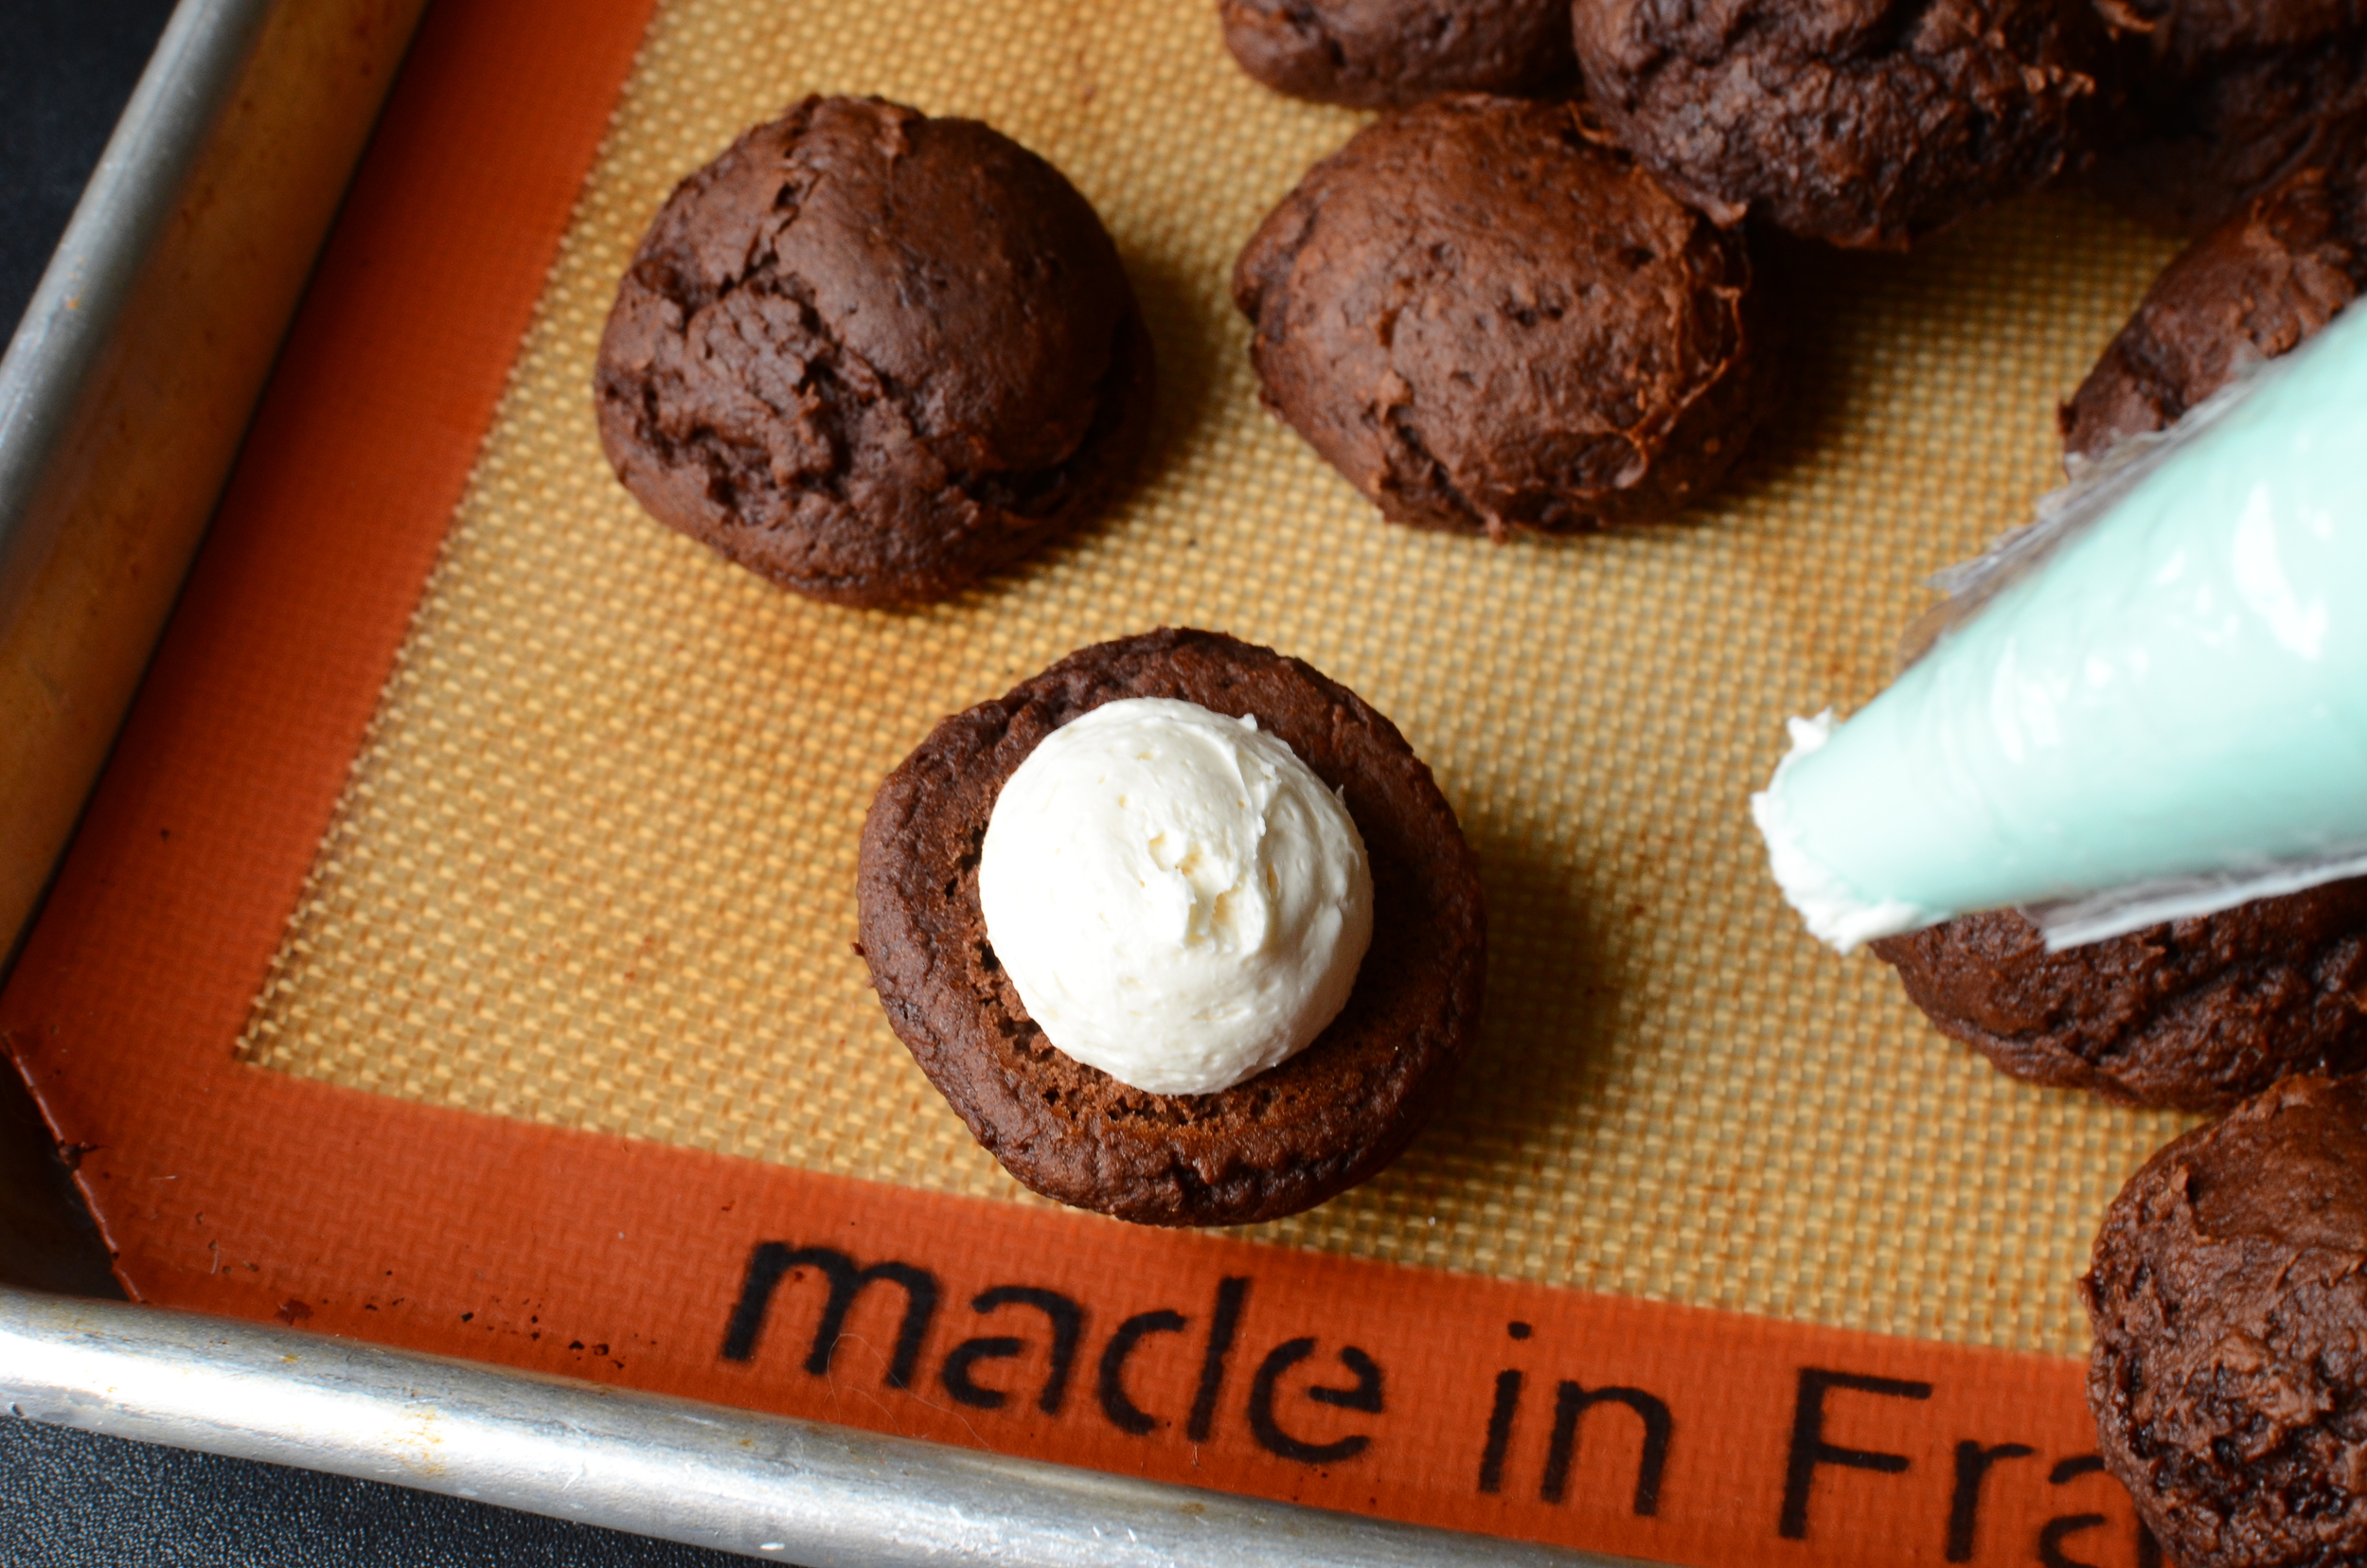
Ok, back to our mini whoopie pies. Squeeze a good dollop of filling on the flat side of one cookie and top with another cookies, sandwiching the two flat sides together as shown below.
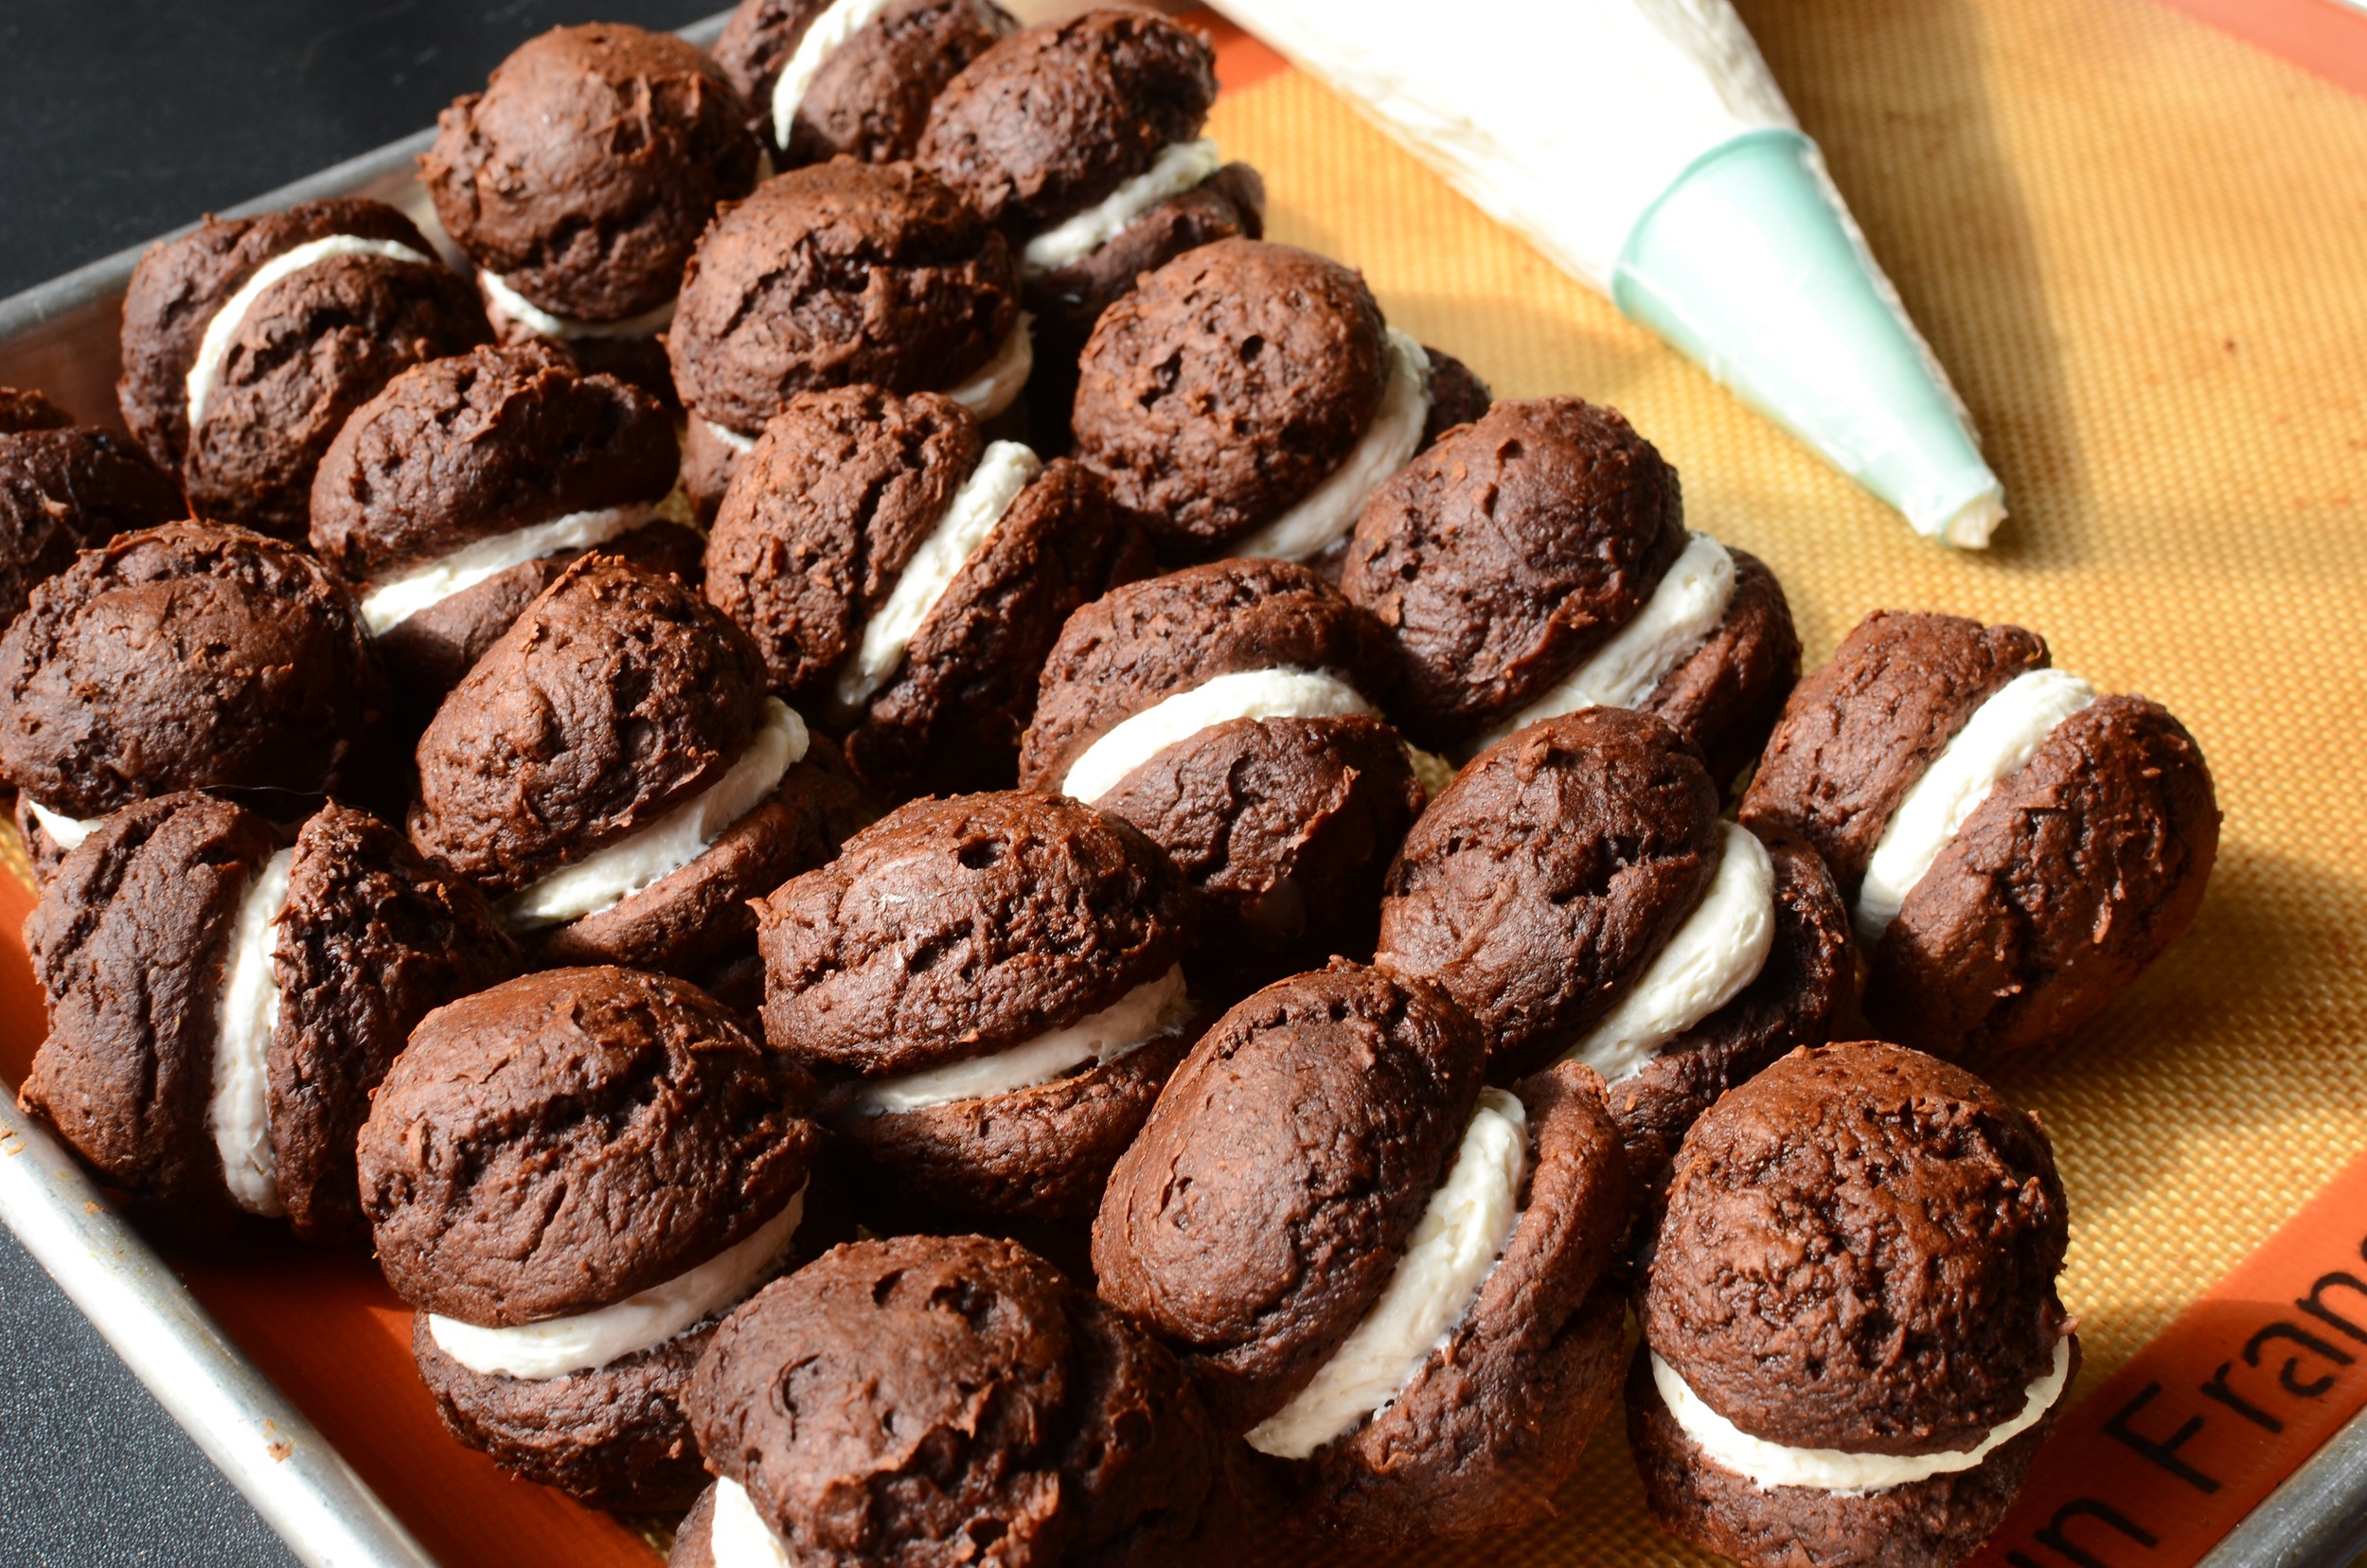
And that's all there is to it. Store these bite-size treats in an airtight container. Serve chilled.


Items used to make this recipe:
pure vanilla extract https://amzn.to/3r9wNGK
marshmallow cream https://amzn.to/3rmcFBu
#50 scoop https://amzn.to/32OW1Rg
beaterblade https://amzn.to/348gOzS
half sheet pans https://amzn.to/3L6vNv8
silpat liner https://amzn.to/3rjZzo3
100% pure pumpkin puree https://amzn.to/3IVYxob
devils food cake mix https://amzn.to/3ugjfew
Mini Chocolate Whoopie Pies
makes approximately 30 mini whoopie pies
Ingredients
Whoopie Pies
18.5 ounce box devils food cake mix
15 ounces 100% pure pumpkin puree
Filling
16 tablespoons salted butter, room temperature
2 cups confectioners sugar
7.5 ounces marshmallow cream
2 teaspoons pure vanilla extract
Directions
To make cookies:
Preheat oven to 350F and line 2 half sheet pans with silpats.
In the bowl of a stand mixer fitted with a BeaterBlade (or paddle attachment), combine cake mix and pumpkin until no signs of dry cake mix remain.
Use a #50 scoop (about 1 tablespoon) to portion 15 cookies onto each prepared sheet pan.
Bake one pan at a time, in the center of the oven, for 15 minutes; repeat until all cookie dough is baked (be sure sheet trays are completely cool before placing cookie dough on them).
Allow cookies to cool completely on sheet pan before filling.
To make filling and assemble whoopie pies:
In the bowl of a stand mixer fitted with a BeaterBlade (or paddle attachment), cream butter and sugar together for 3 minutes.
Add marshmallow cream and vanilla; mix until combined.
Place filling in a disposable pastry bag fitted with a large round tip.
Pipe filling onto flat side of one cooled cookie and top with a second cookie to form a mini whoopie pie; continue until all the cookies are filled.
Chill whoopie pies in an airtight container; serve cold.
Notes
Leftover cream filling can be frozen in an airtight container.
Thaw overnight in the fridge and re-whip to restore consistency if needed.