contact us

Use the form on the right to contact us.

You can edit the text in this area, and change where the contact form on the right submits to, by entering edit mode using the modes on the bottom right.

Form Block
This form needs a storage option. Double-click here to edit this form, and tell us where to save form submissions in the Storage tab. Learn more
         

123 Street Avenue, City Town, 99999

(123) 555-6789

email@address.com


You can set your address, phone number, email and site description in the settings tab.
Link to read me page with more information.

Blog

Butteryum food blog recipes

Chocolate Baby Shower Cupcakes

Patricia @ ButterYum

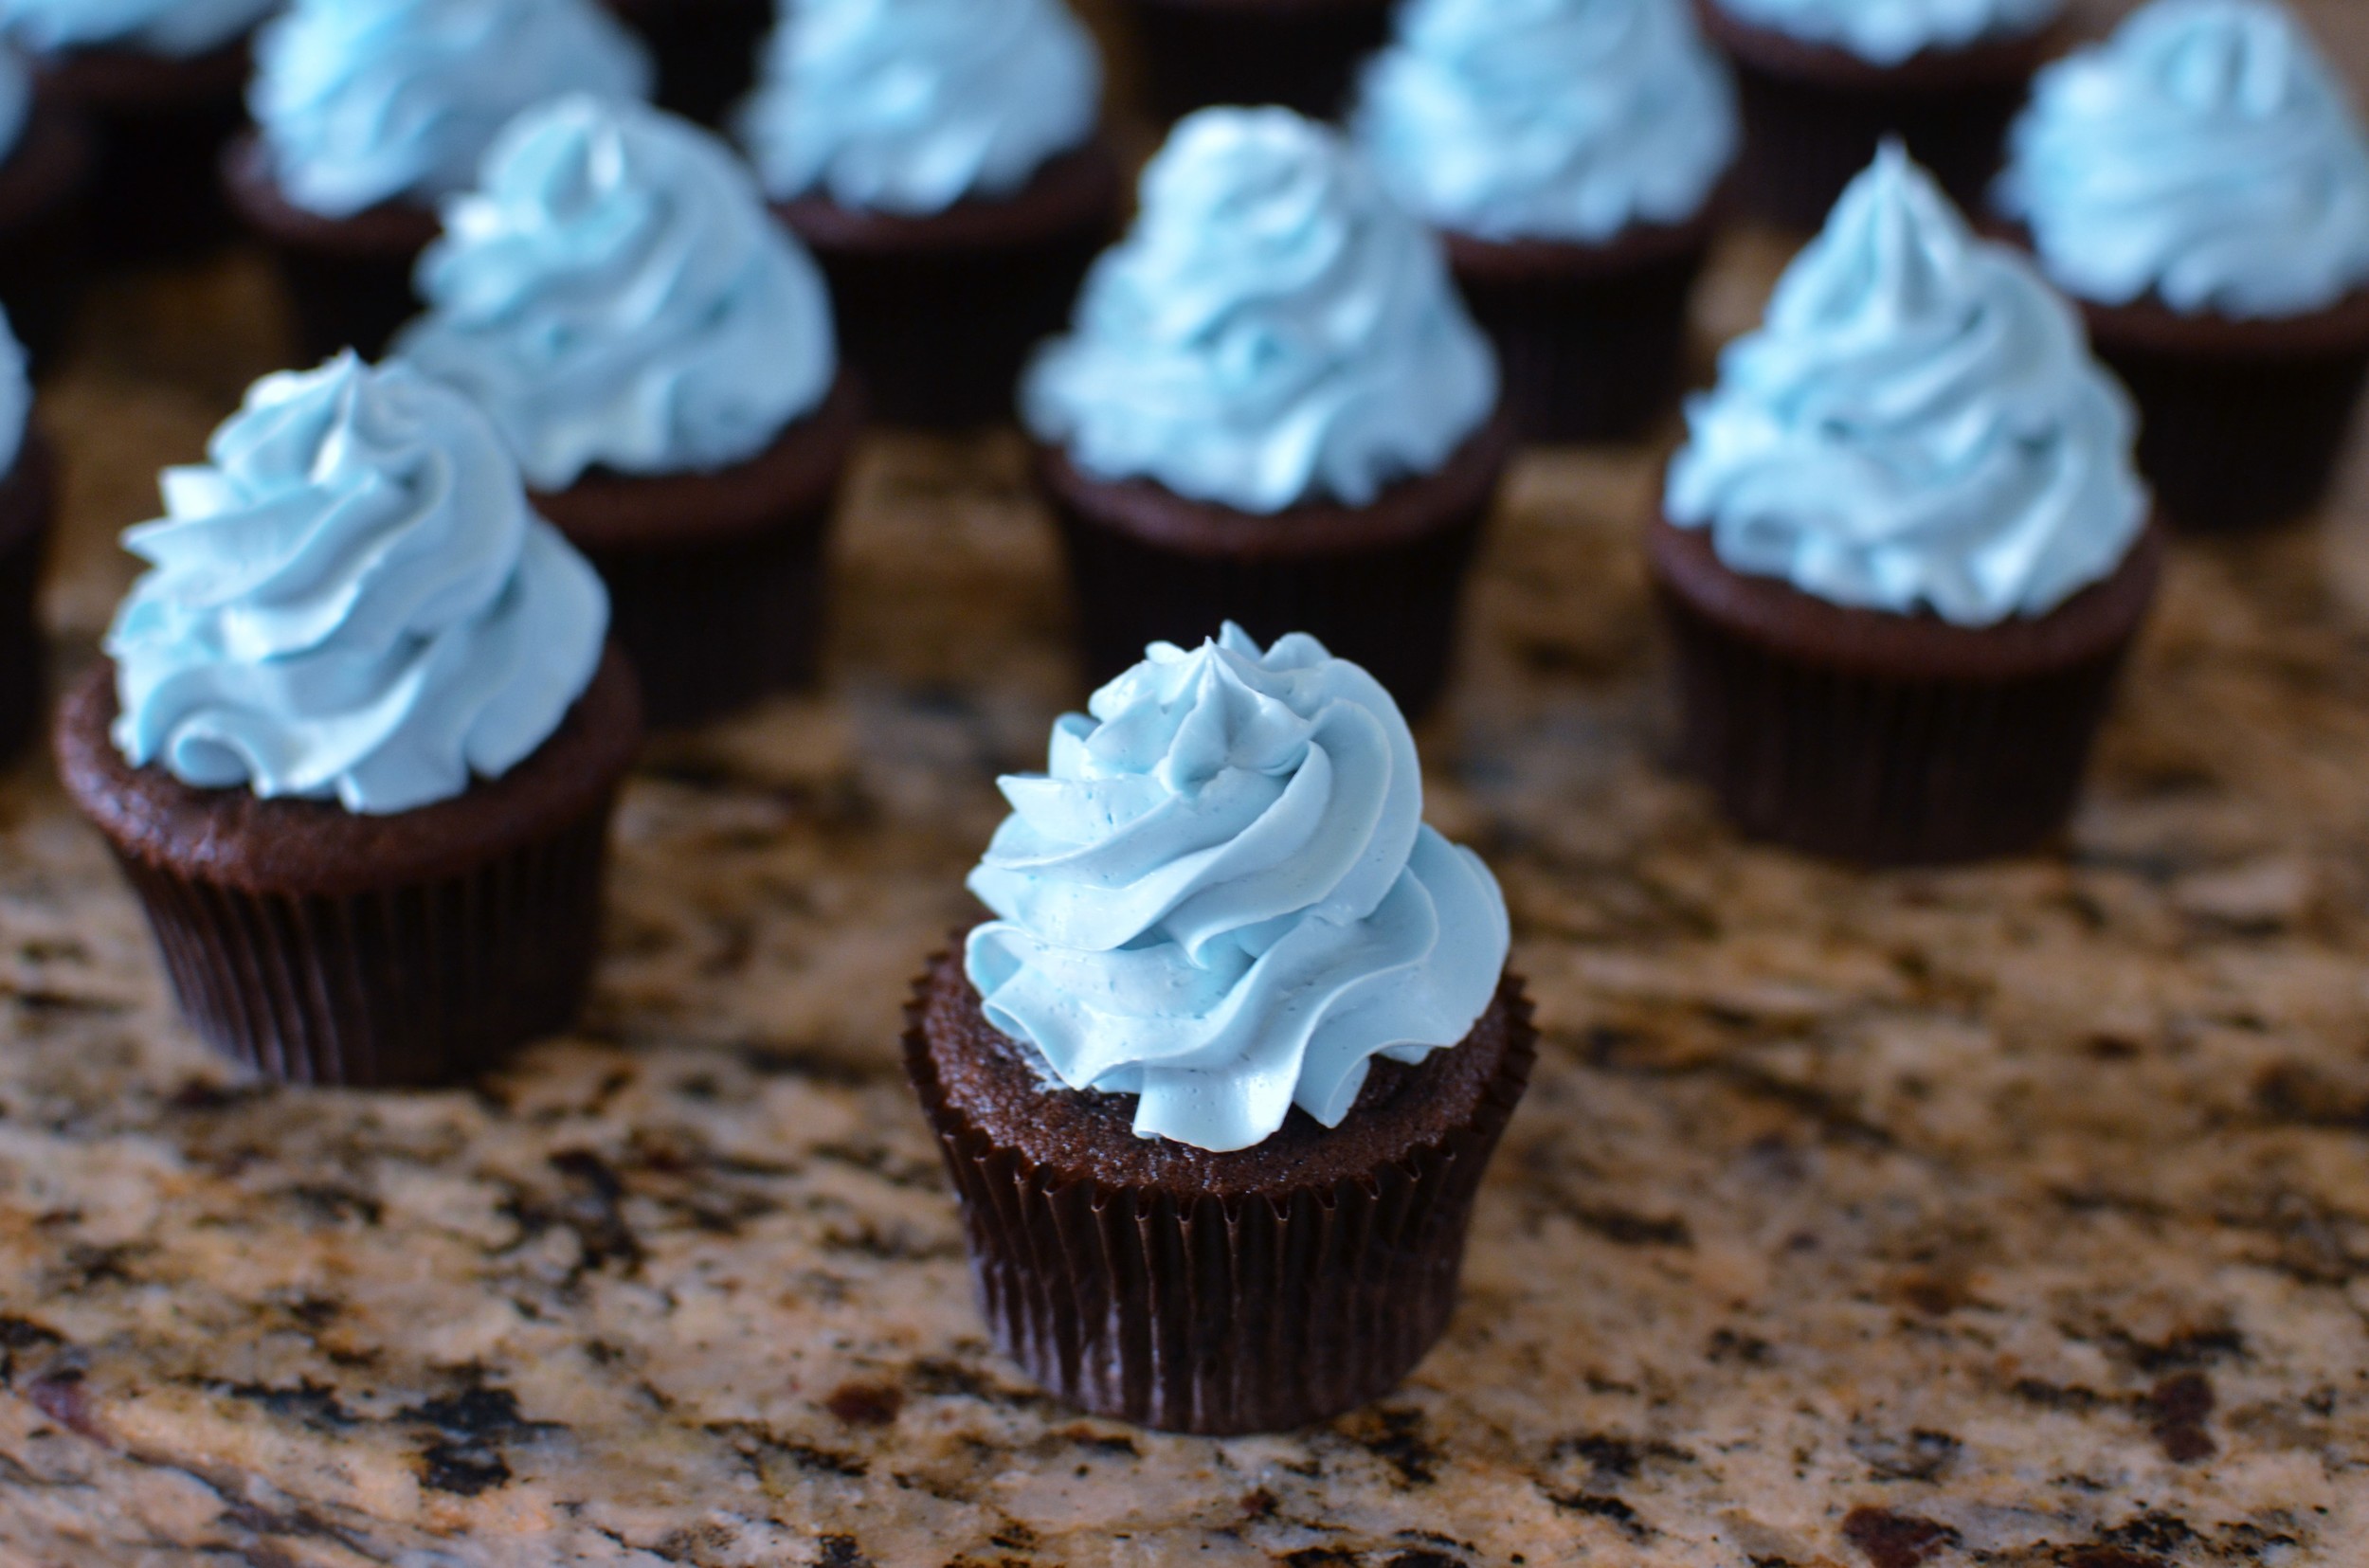
I had the pleasure of making these Chocolate Cupcakes with blue Italian Meringue Buttercream for a baby shower this weekend.  The cupcakes bake up with flat tops, making them the perfect platform for festive swirls of the silkiest, best tasting buttercream you can imagine.  

The cupcake recipe will make 36.  You'll have to double the buttercream recipe to decorate them all, but you'll be left with a few cups of buttercream to freeze for another day.  

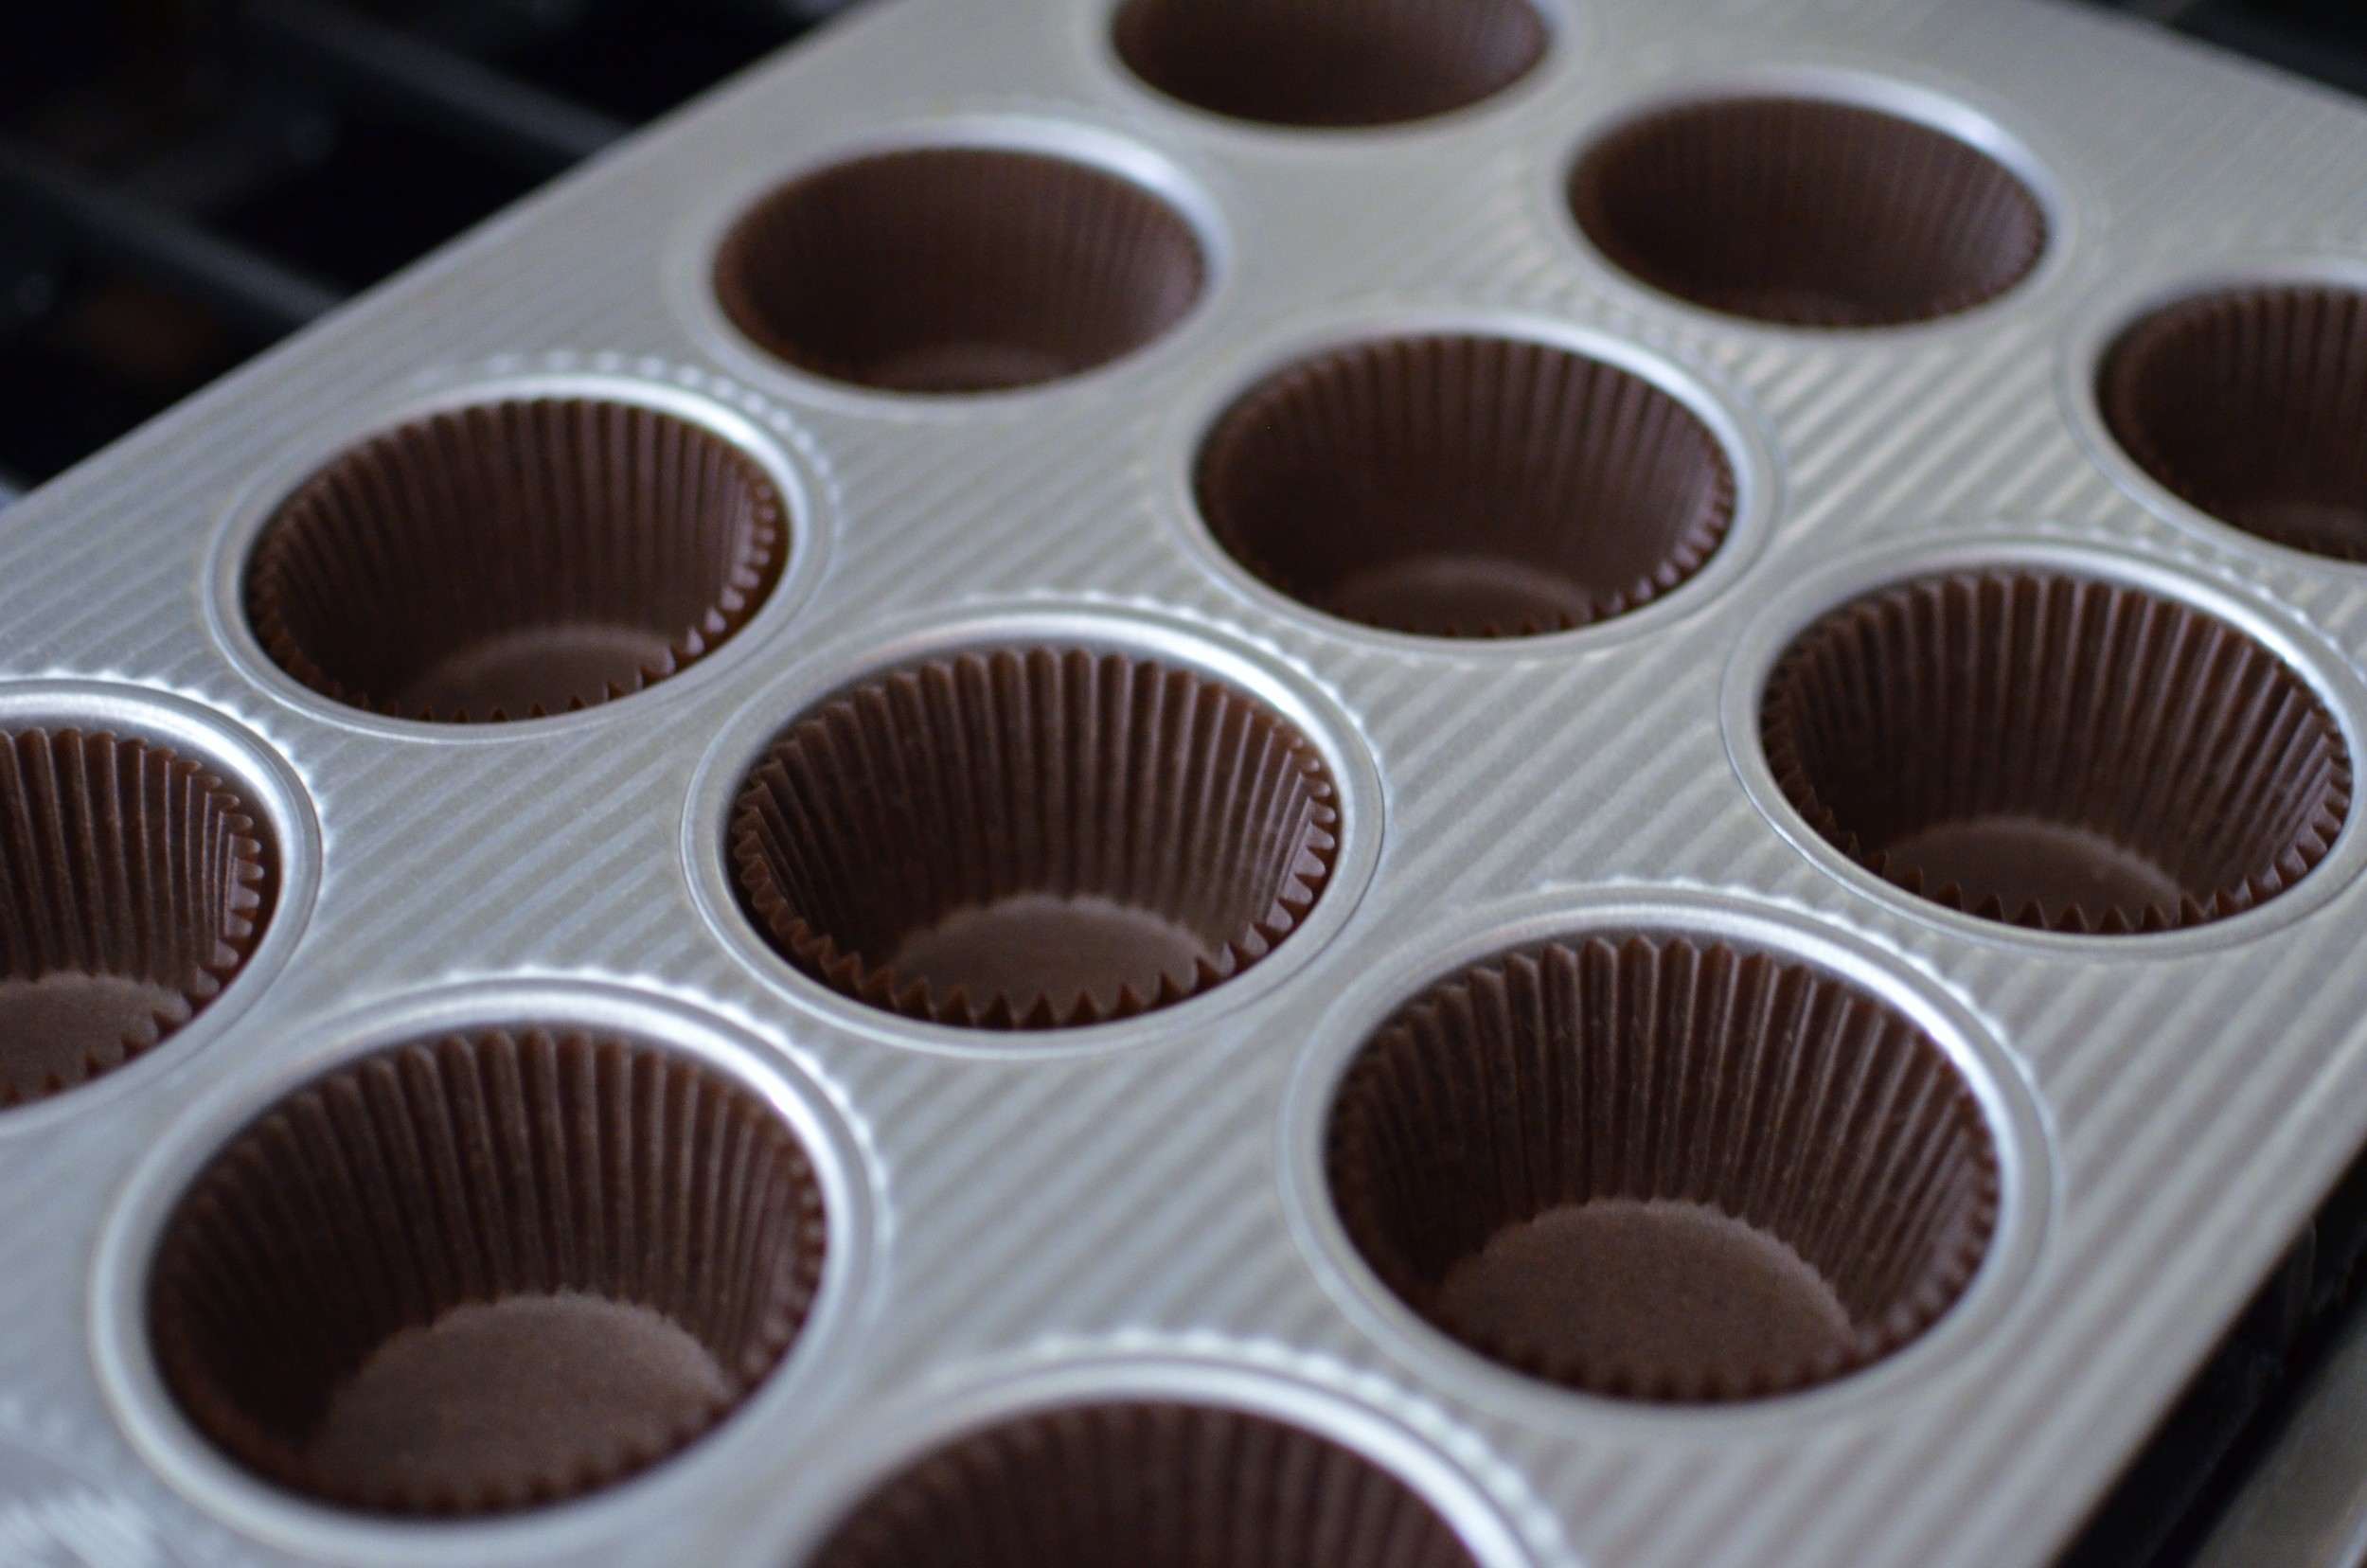
For chocolate cupcakes, I like to use brown grease-proof liners.  I also love using this heavy weight commercial quality muffin/cupcake pan.  

DSC_8745.JPG

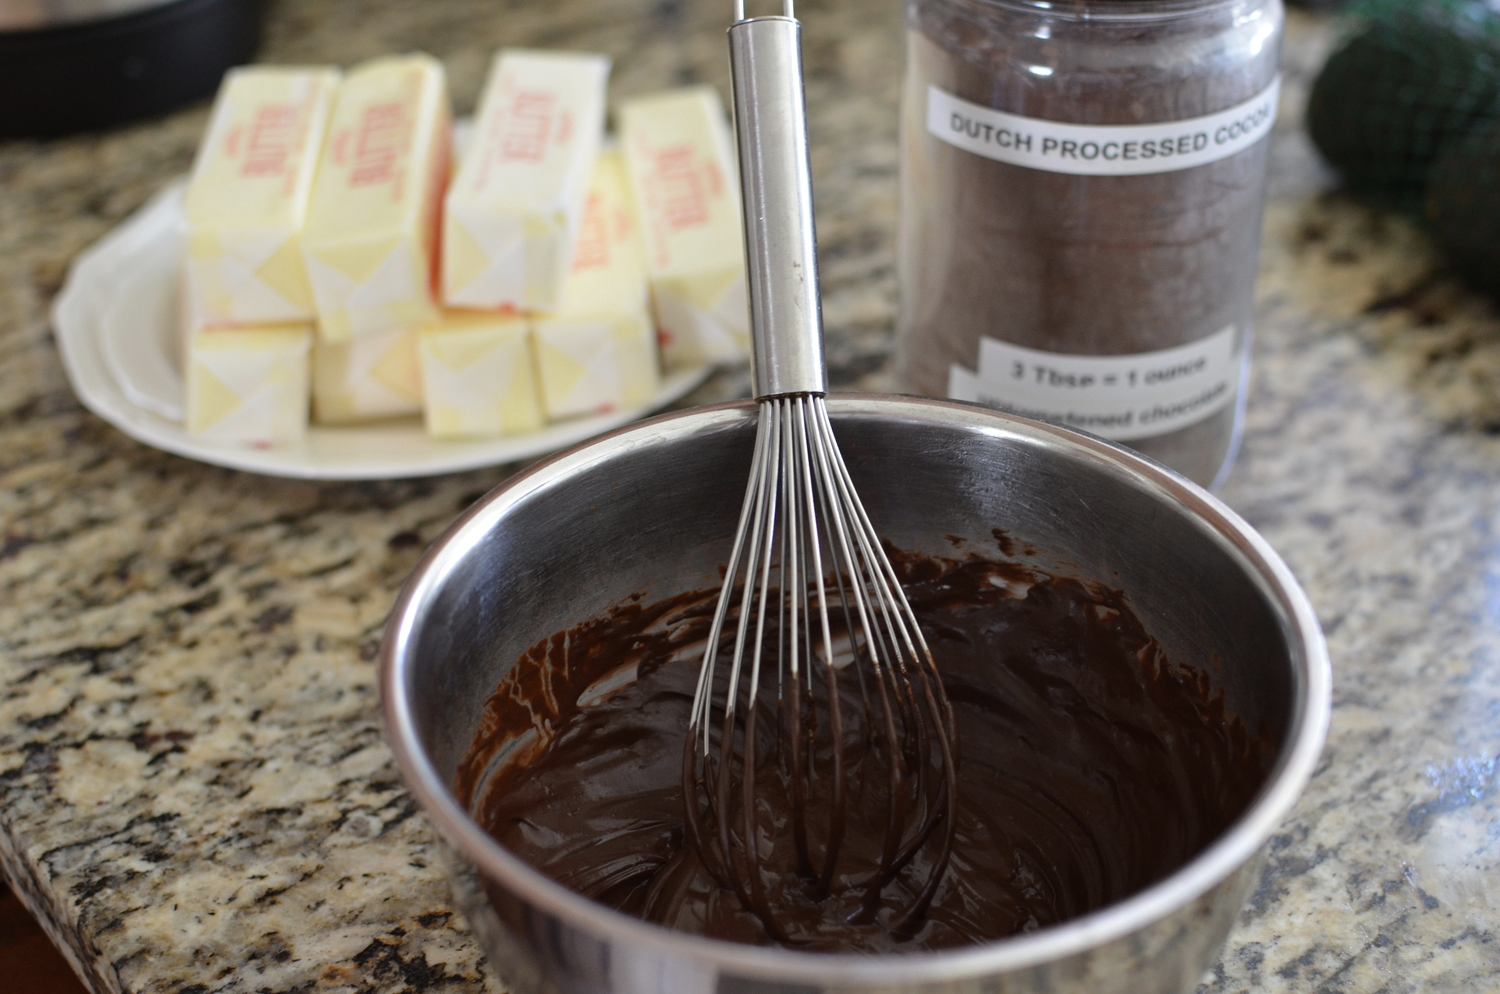
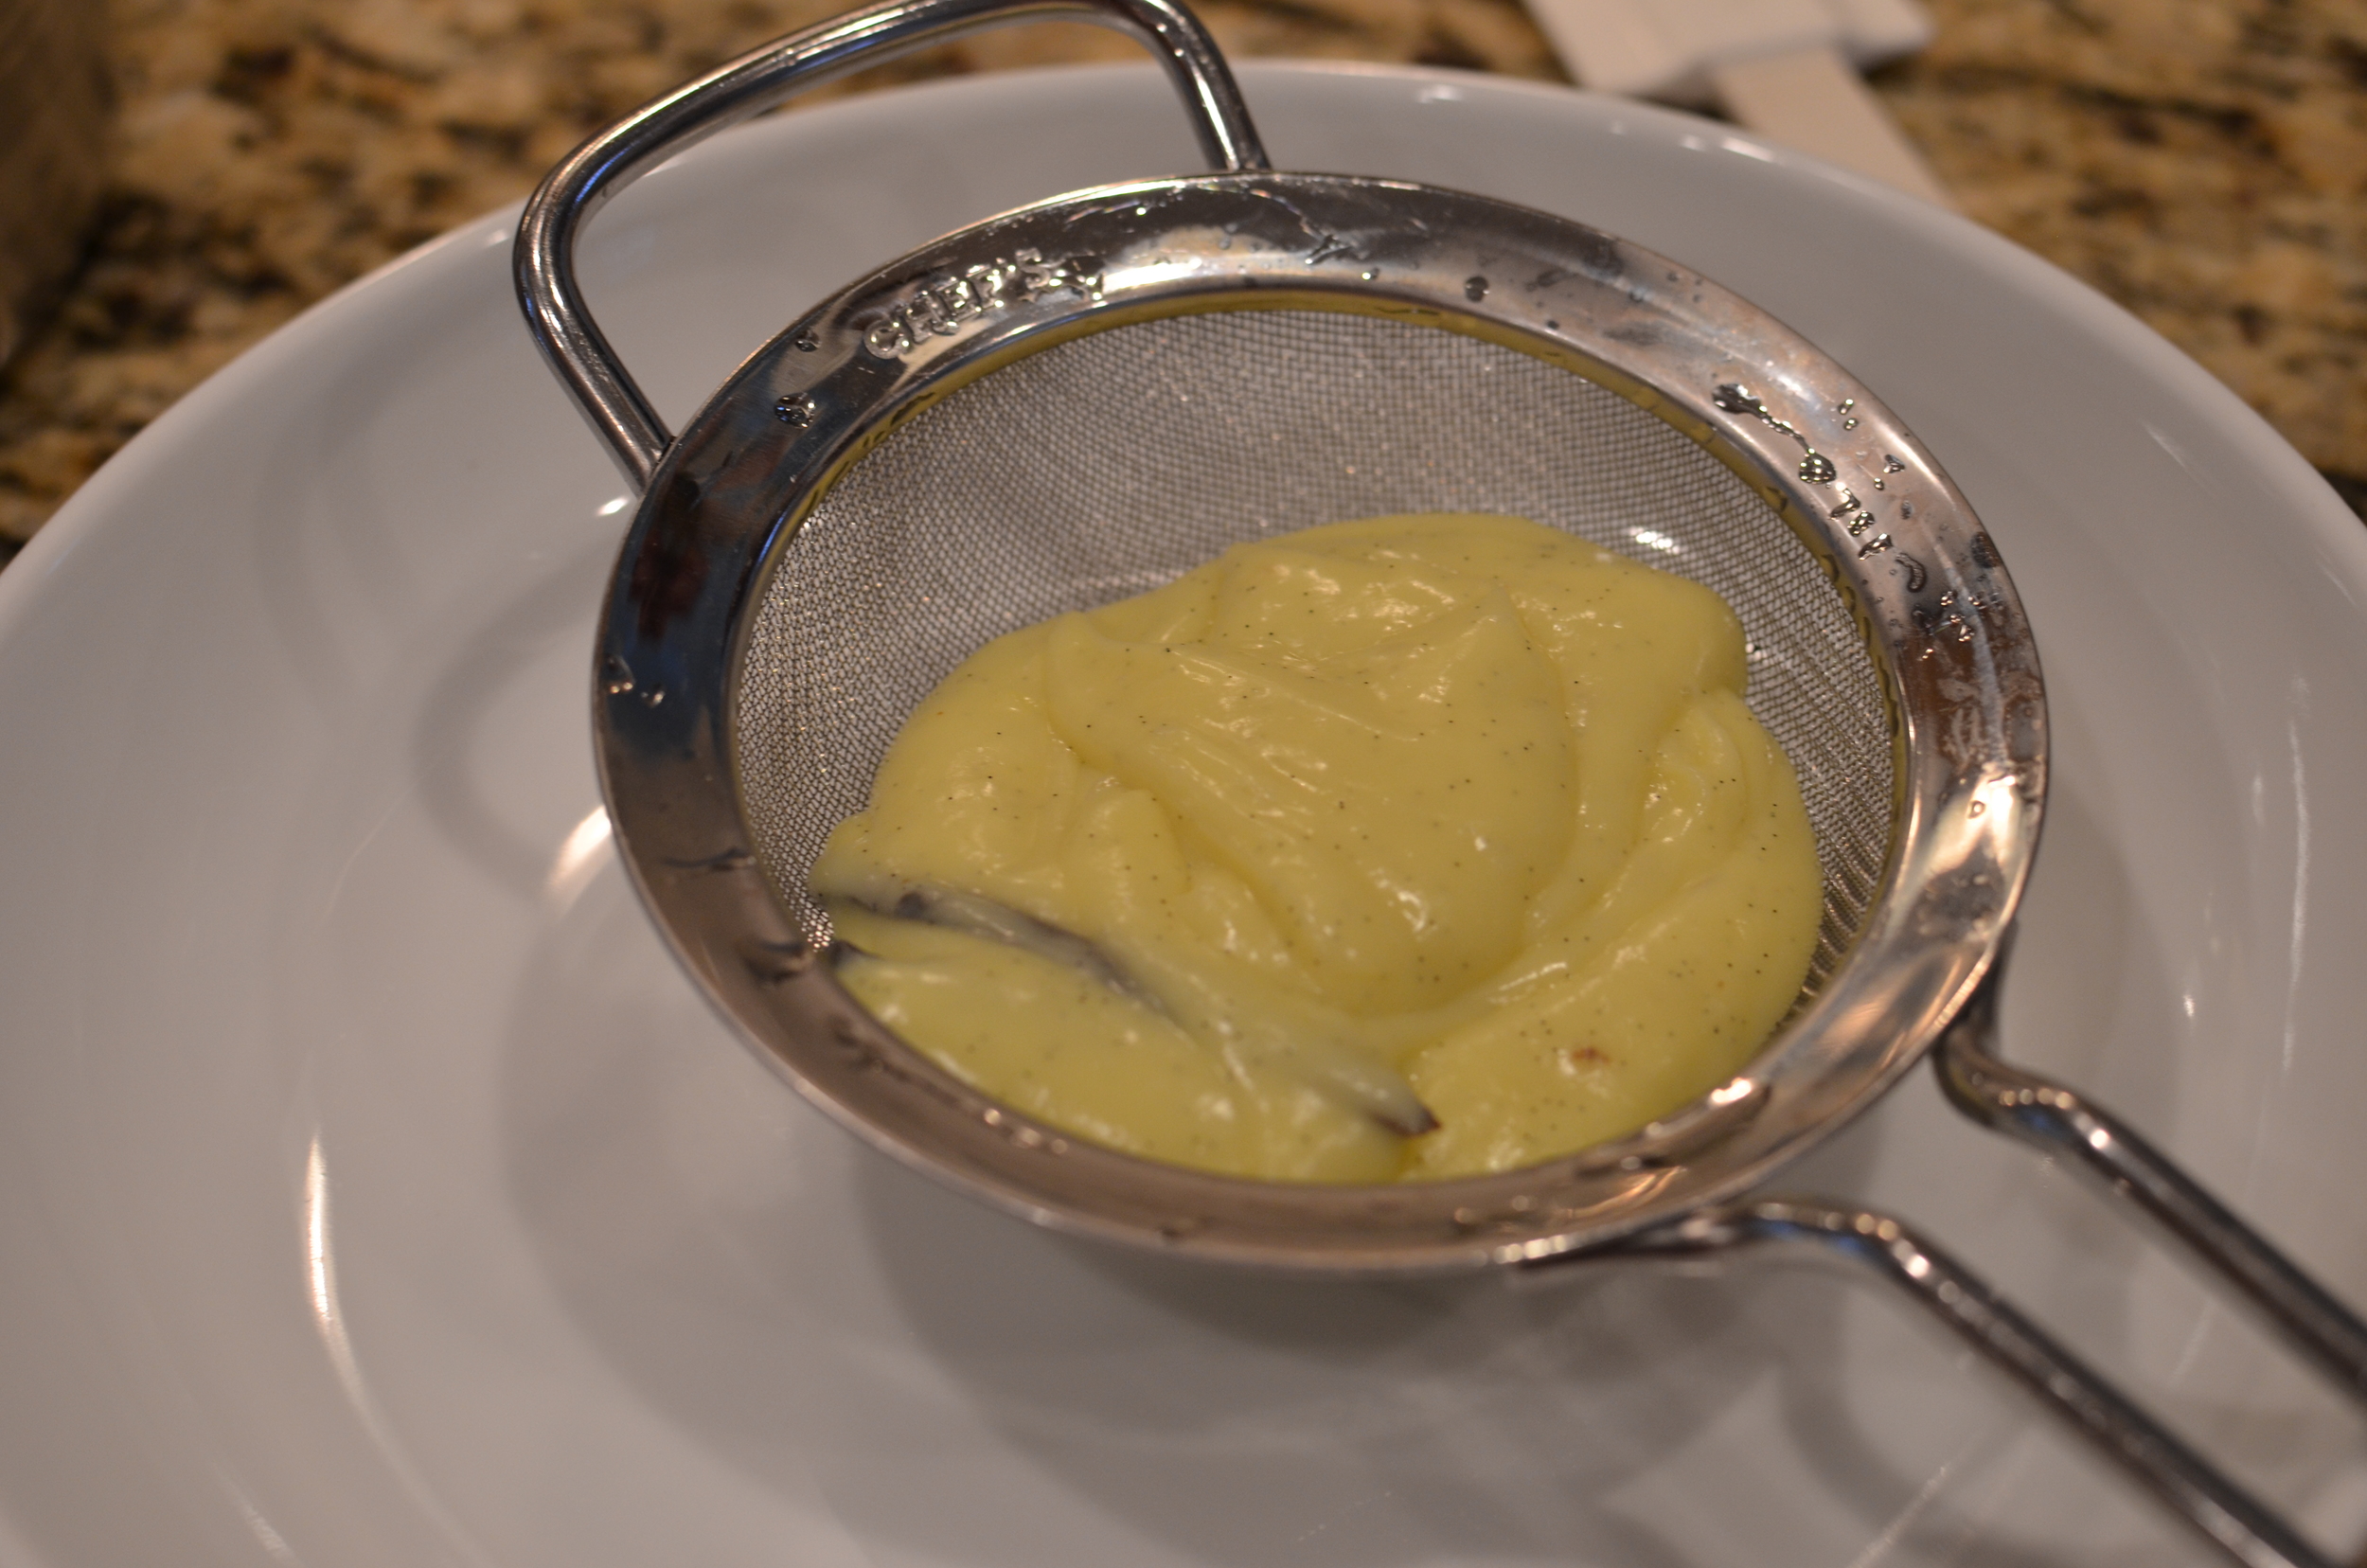
To start the recipe, we need to combine Dutch-processed cocoa and boiling water.  Whisk them together until smooth.

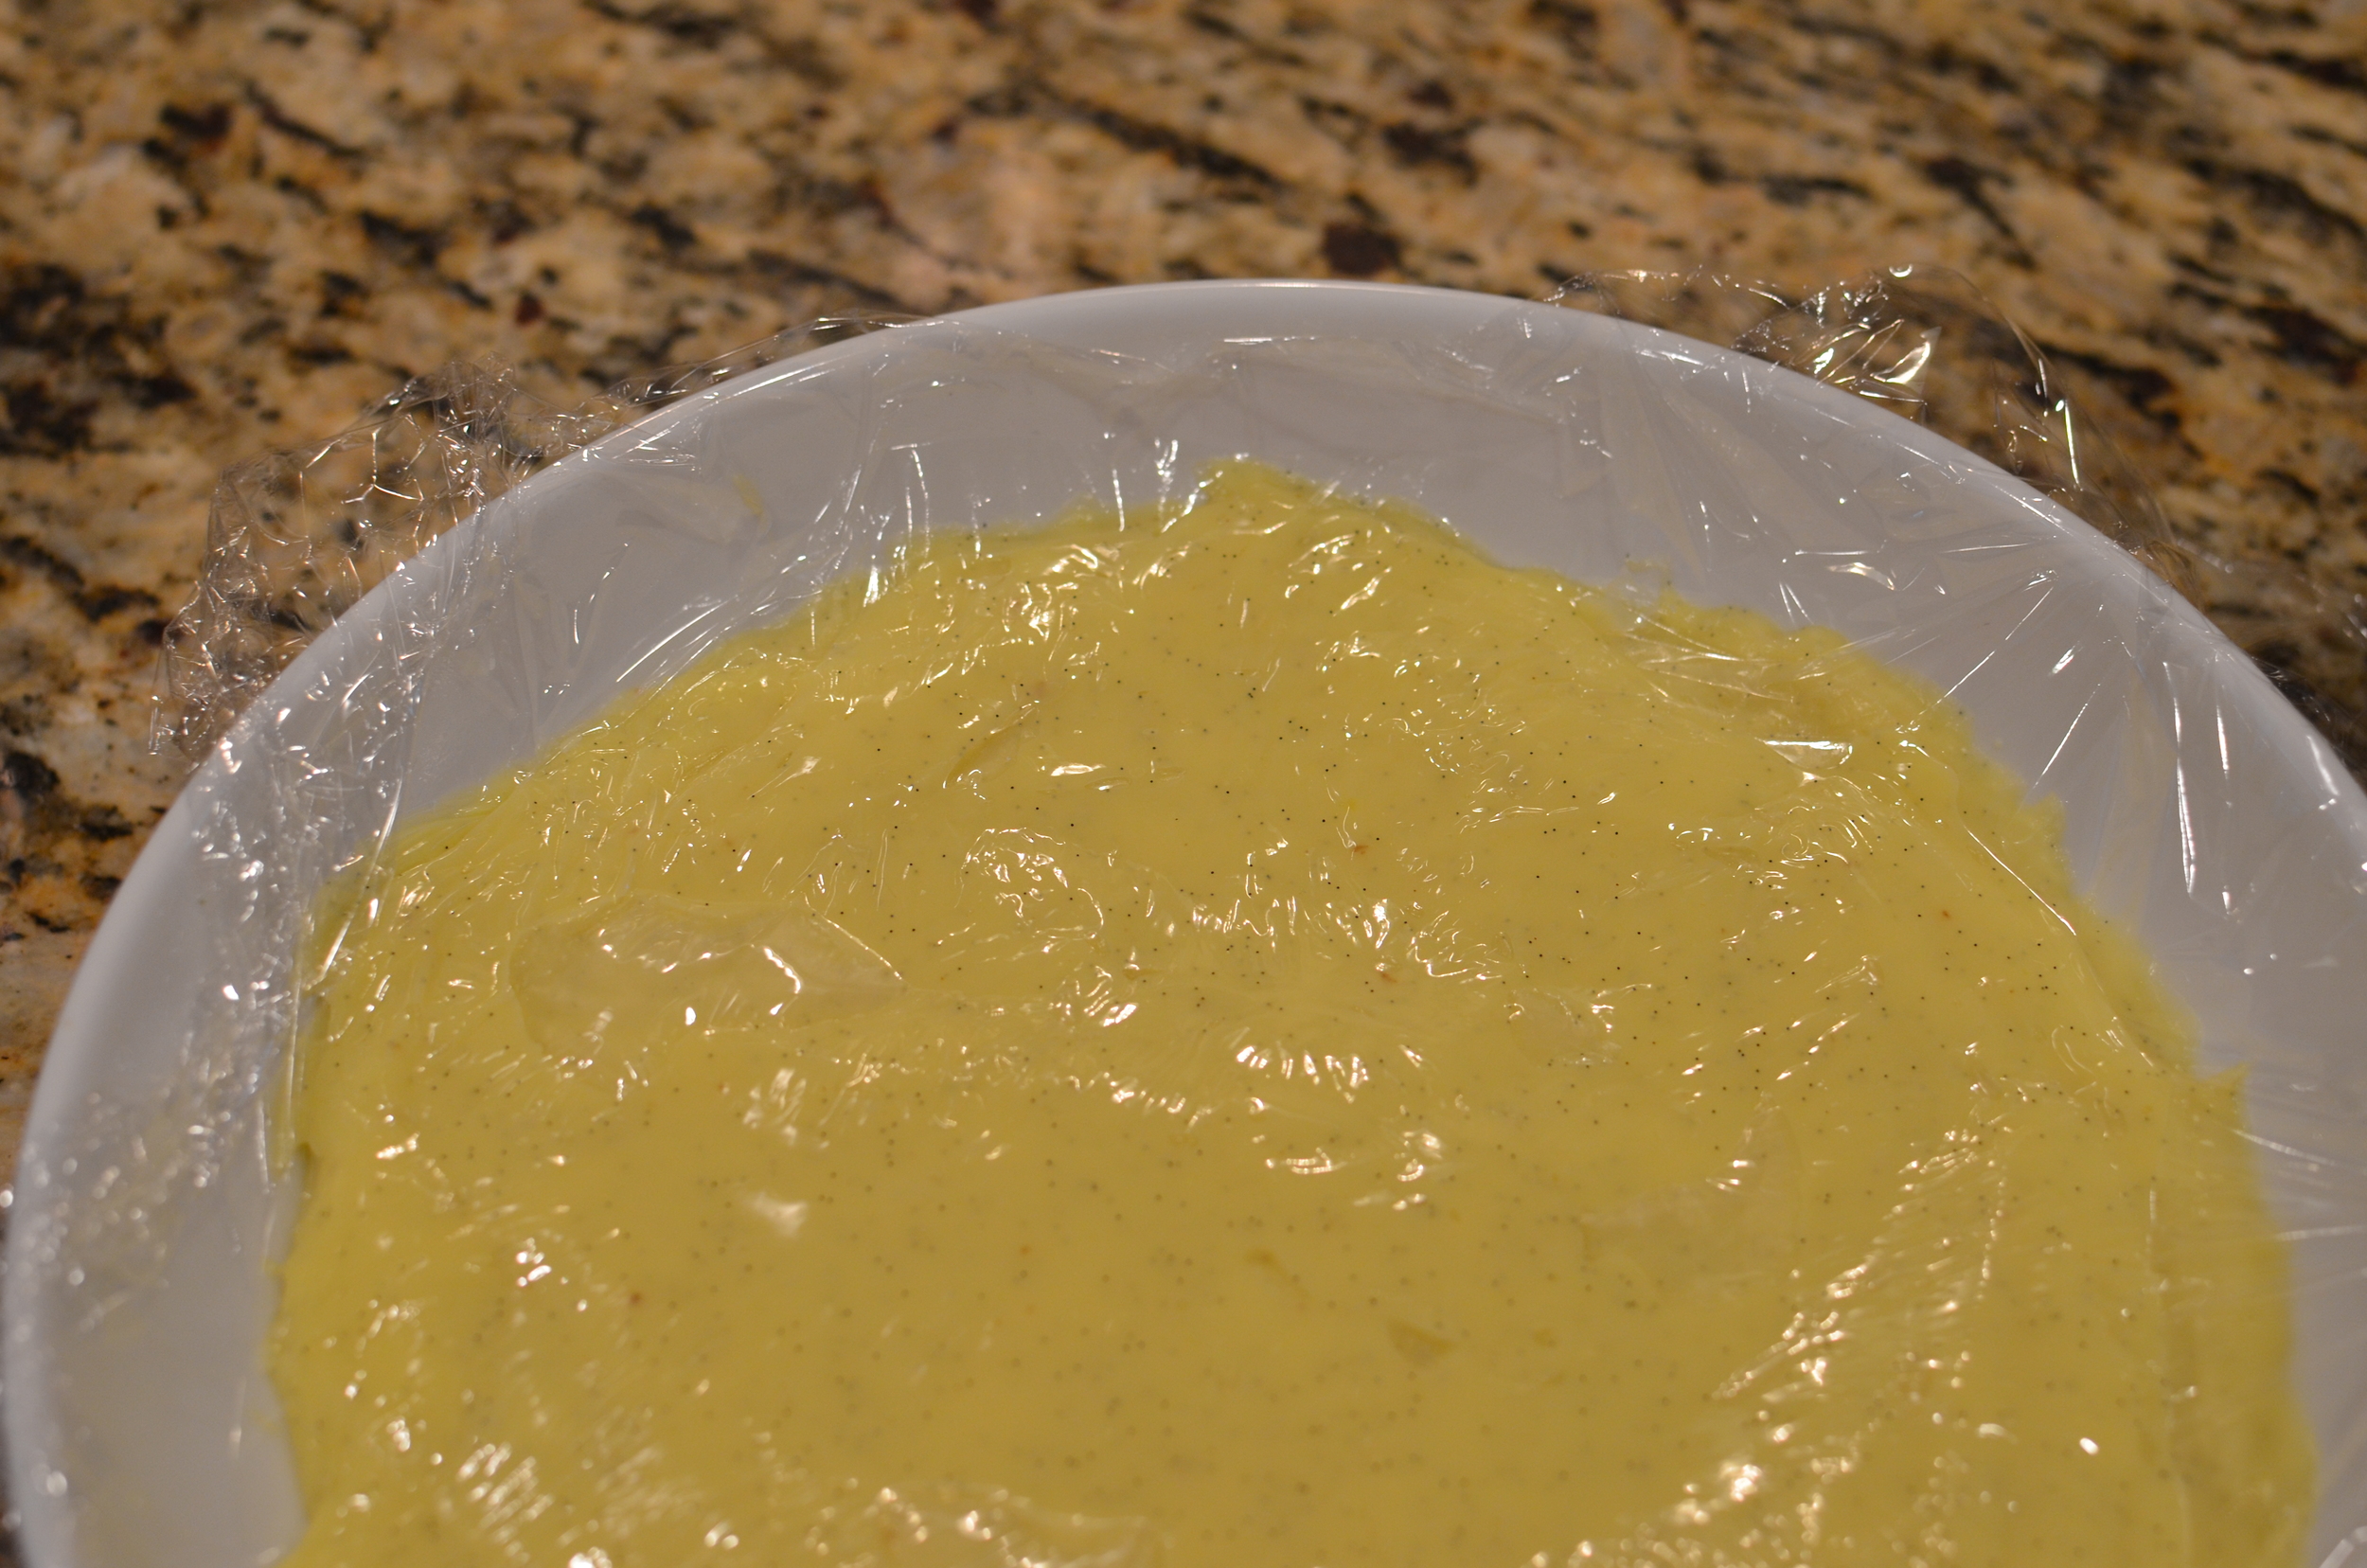
Then set it aside to cool, keeping it covered to prevent it from drying out.

In the bowl of a stand mixer fitted with a BeaterBlade attachment, cream room temperature butter and sugar together.

Add the eggs, salt, and vanilla extract.

Beautiful.

Then add the reserved cocoa mixture, buttermilk, flour, baking soda, and baking powder. 

Done. 

The batter will make 36 cupcakes - be sure to bake just one batch of 12 cupcakes at a time.  Cover the bowl of batter with plastic wrap and allow it to sit on the counter until you're ready to bake the next batch (being sure to allow the pan to cool before filling).  I use a #20 scoop (3 tablespoons) to fill my cupcake liners so every cupcake ends up being the same size. 

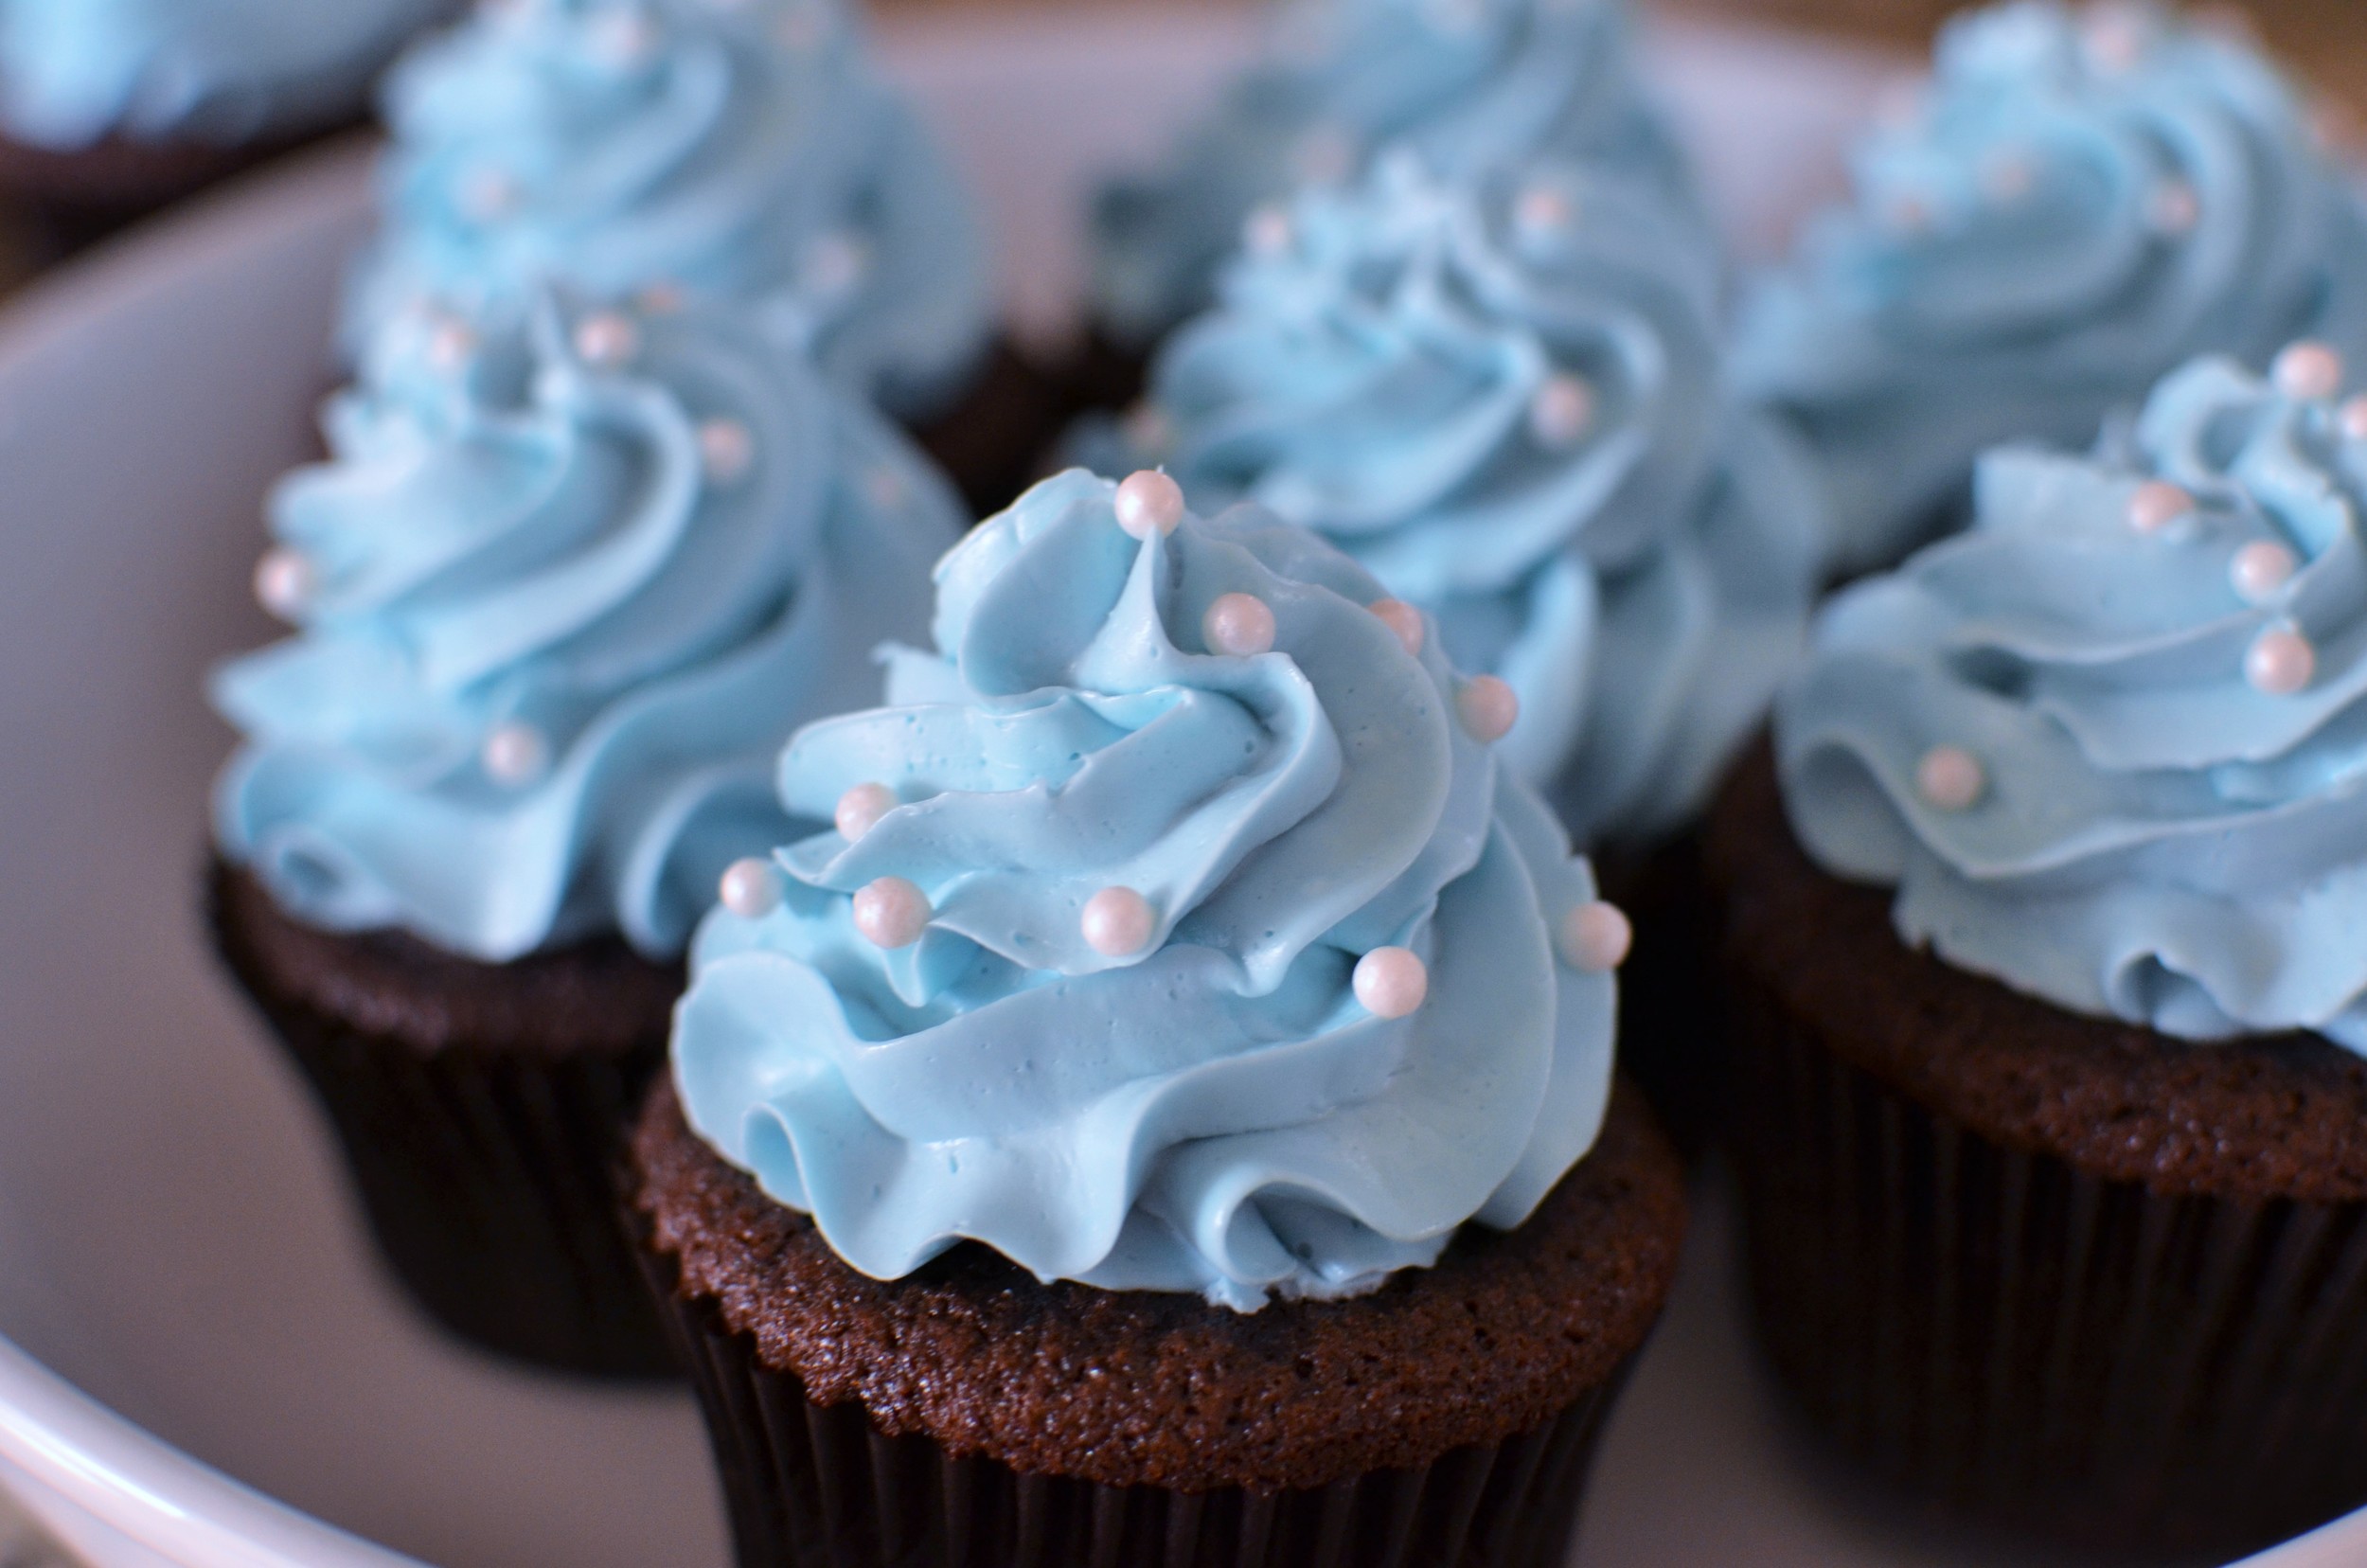
The Italian Meringue Buttercream (recipe and how-to photos) can be found here.  Make 2 separate batches to frost 36 cupcakes (a double batch is too big to make in a 6-quart stand mixer, but single batches will fit in a 5 or 6-quart mixer fine).  Note: you may want to use clear vanilla if you plan to tint your buttercream.  I use pure vanilla extract 99.99% of the time, but I make a rare exception when I tint buttercream a light color that would otherwise be affected by the slightly ivory tone pure vanilla extract naturally lends to buttercream.    

For this blue shade, I tinted the buttercream with this brand of gel coloring.  I also used these round sprinkles, and Ateco polycarbonate piping tips (or a Wilton 1M).  I love polycarbonate tips and prefer them to metal for a number of reasons:  they don't bend out of shape, you can see air bubbles through them, they don't rust or discolor, and they don't have a seam so they're super easy to clean.  Love them.  

Items used to make this recipe:

(affiliate links)


Chocolate Cupcakes

makes 36

Printable Recipe

Ingredients

  • 3/4 cup boiling water

  • 3/4 cup dutch-processed cocoa powder

  • 2 1/2 cups all purpose flour

  • 1 teaspoon baking soda

  • 1 teaspoon baking powder

  • 12 tablespoons unsalted butter, room temperature

  • 2 cups granulated sugar

  • 3 large eggs, room temperature

  • 1 teaspoon fine salt

  • 1 teaspoon pure vanilla extract (or clear vanilla extract)

  • 1 cup buttermilk

Directions

  1. Preheat oven to 350F and place rack in center position.

  2. Line muffin pan with paper liners; set aside until needed.

  3. In a medium bowl, whisk together boiling water and cocoa powder until smooth; cover with plastic wrap and cool until needed.

  4. In another medium bowl, whisk together the flour, baking soda, and baking powder; set aside until needed.

  5. In the bowl of a stand mixer fitted with a BeaterBlade attachment, cream butter and sugar for a couple minutes until light and fluffy.

  6. Add eggs, vanilla, and salt; mix until combined.

  7. Add cooled cocoa mixture, flour mixture, and buttermilk; mix just until combined.

  8. Use a #20 scoop to fill cupcake liners and tap the pan on the counter to even the level of batter before baking.

  9. Bake cupcakes for 15-20 minutes until a toothpick inserted in the center comes out clean.

  10. Cool cupcakes in pan for several minutes before transferring to a cooling rack to cool completely.

Note

  • Be sure cupcakes are completely cool before frosting with Italian Meringue Buttercream (recipe and photos found here).  You'll need to make 2 batches to frost 36 cupcakes. 

adapted from recipegirl.com 

Mixed Berry Fruit Tart

Patricia @ ButterYum

We have a tradition of allowing each family member choose the menu for their birthday celebration.  Some ask for exactly the same meal each year, some switch up the meal, but stick to the same dessert, and others change the entire menu each year.  My oldest daughter falls into the last category so I never quite know what to expect.... and it isn't unusual for her to change her mind at the last minute.  That's exactly what happened this week.  She originally requested my Vanilla Nut Bars for dessert, but then changed her mind and asked for a mixed berry fruit tart.  It's very early spring here and I've been dying to see some bright colors so I was more than happy to comply.  

The mixed berries will sit on a bed of vanilla pastry cream that has to be cooked and cooled completely before assembling the tart so I'll start by making that.

I placed whole milk and half of a vanilla bean that was split and scraped into the small heavy-bottom saucepan over medium heat.  

DSC_8652.JPG

In a small bowl I whisked together sugar and egg yolks until they were completely combined.

Then I sifted in cornstarch.

And whisked until the mixture was smooth again. 

Back to the milk mixture - as soon as small bubbles begin to form around the perimeter of the pan, remove it from the heat. 

Quickly whisk a ladle or two of the hot milk mixture into the egg mixture and whisk it vigorously to combine.  This helps "temper" or raise the temperature of the egg mixture so it doesn't curdle when we pour it into the hot milk mixture to finish cooking. 

Pour the warmed egg mixture into the hot milk mixture and return to the heat (medium), whisking constantly until the mixture thickens.

It won't take long at all.  Just a minute or two.  Don't stop whisking, and be sure to get the whisk down in the corners of the pan.  A flat whisk is very helpful here. 

As soon as the mixture thickens, turn off the heat and whisk in the butter until it melts and incorporates completely. 

Strain the pastry cream through a sieve to remove the vanilla bean pod and any little lumps or bumps of cooked egg or whatnot that might have formed.

Even though those vanilla beans are used, they still contain wonderful flavor so don't thrown them away.  They can be rinsed and dried and tossed into a container with granulated sugar to make homemade Vanilla Sugar.   I have a jar that I've been using for years.  I just keep adding dried vanilla pods and sugar so I never run out. 

Back to the tart.  Cover the hot pastry cream with a layer of plastic wrap touching the surface to prevent a skin from forming, then chill until cold.  The more shallow vessel you use, the faster it will chill.  

DSC_8632.JPG

While the pastry cream chills, we'll make the shortbread tart shell by combining room temperature butter, sugar, flour, salt, and egg yolks in a stand mixer.  This is a great time to use your BeaterBlade attachment so you don't have to scrape the sides of the bowl.  Great invention!

Those of you who don't like rolling crust will be happy to hear that this particular crust recipe is now ready to go straight into the tart pan. 

Press the crumbs evenly into a 10-inch tart pan with a removable bottom.

I use a straight-sided measuring cup and my finger to help press the crumbs along the edges of the tart pan.  The flat bottom of the measuring cup also helps press the crumbs evenly into the bottom of the pan. 

Freeze the unbaked tart shell for 20-30 minutes while the oven preheats.  

When it's time to bake the tart shell, place the tart pan on a sheet pan and bake it in the center of the oven for about 15 minutes or until the edges of the tart shell start to turn golden brown.  

Note: if your tart pan is dark like the one I'm using, be sure to lower the oven temp by 25F.  

Mmm - we're almost done!  The tart shell has to cool completely before filling so set aside for about an hour.  Hint - I've been known to use a fan to speed the cooling process along.  It works pretty well. 

Alrightly, when you're ready to assemble the tart, spread the chilled pastry cream evenly into the completely cooled tart shell.  An offset spatula is the perfect tool for this. 

That was easy.  Now for the really fun part.

Arrange the berries any way you like.  I opted for this intentionally random placement.  I forgot to get photos of the glazing process, but all you do is heat a couple tablespoons of apple or apricot jelly with a splash of water to thin it out a bit, then brush it all over the fruit.  It's an optional step, but it adds a beautiful shine.  Chill until you're ready to serve. 

Items used to make this recipe:

(affiliate links)


Mixed Berry Fruit Tart

makes a 10-inch tart

Printable Recipe

Ingredients

Vanilla Pastry Cream:

  • 1 1/2 cups whole milk

  • 1/2 vanilla bean, split and seeds scraped

  • 6 tablespoons granulated sugar

  • 4 egg yolks

  • 3 tablespoons cornstarch

  • 2 tablespoons unsalted butter

Shortbread Tart Shell:

  • 6 tablespoons unsalted butter, room temperature

  • 1 1/2 cups all purpose flour

  • 1/4 cup granulated sugar

  • 2 large egg yolks

  • 1/4 teaspoon fine salt

Fruit Filling:

  • 3 kiwi fruits, peeled and sliced

  • 5 strawberries, hulled and sliced

  • 1 pint blueberries

  • 1 pint raspberries

  • 2 tablespoons apple or apricot jelly (for glaze)

Directions

To Make the Vanilla Pastry Cream:

  1. In a small heavy-bottom sauce pan over medium heat, combine milk, split vanilla bean, and vanilla bean seeds.

  2. Remove from heat as soon as small bubbles start to appear around the perimeter of the pan.

  3. In a small mixing bowl, whisk together sugar and egg yolks until smooth.

  4. Sift cornstarch into the egg mixture; whisk until smooth again.

  5. Add a ladle or two of the hot milk mixture into the egg mixture; whisk immediately.

  6. Pour the egg mixture into the milk mixture and return to heat, whisking constantly for a minute or two until it thickens.

  7. Remove from heat and whisk in butter.

  8. Pour hot mixture through a sieve into a shallow bowl.

  9. Cover pastry cream with plastic wrap touching the surface.

  10. Chill until thoroughly cooled.

To Make the Shortbread Tart Shell:

  1. Place all the ingredients into the bowl of a stand mixer fitted with a BeaterBlade attachment; mix on low speed until evenly combined and mixture looks crumbly.

  2. Press crumbs evenly into the bottom and up the sides of a 10-inch removable bottom tart pan.

  3. Freeze tart shell for 20-30 minutes while the oven preheats.

  4. Preheat oven to 350F (lower temp by 25F if you use a dark tart pan like I did).

  5. Place tart pan on a rimmed sheet pan and bake in the center of the preheated oven for about 15 minutes, or until the edges of the shell turn golden brown.

  6. Cool completely before assembling (about an hour).

To Assemble Tart:

  1. Spread vanilla pastry cream evenly into cooled tart shell using an offset spatula.

  2. Arrange prepared fruit as you wish.

  3. Heat jelly with a little water until the jelly melts and makes a glaze; brush on fruit.

  4. Chill tart until service.

This tart made by my girls for my bday celebration.  Thank you girls, you did a beautiful job, and it was amazing!!

This tart made by my girls for my bday celebration. Thank you girls, you did a beautiful job, and it was amazing!!