contact us

Use the form on the right to contact us.

You can edit the text in this area, and change where the contact form on the right submits to, by entering edit mode using the modes on the bottom right.

Form Block
This form needs a storage option. Double-click here to edit this form, and tell us where to save form submissions in the Storage tab. Learn more
         

123 Street Avenue, City Town, 99999

(123) 555-6789

email@address.com


You can set your address, phone number, email and site description in the settings tab.
Link to read me page with more information.

Blog

Butteryum food blog recipes

Eggplant Parmesan - My All-Time Favorite Dish!

Patricia @ ButterYum
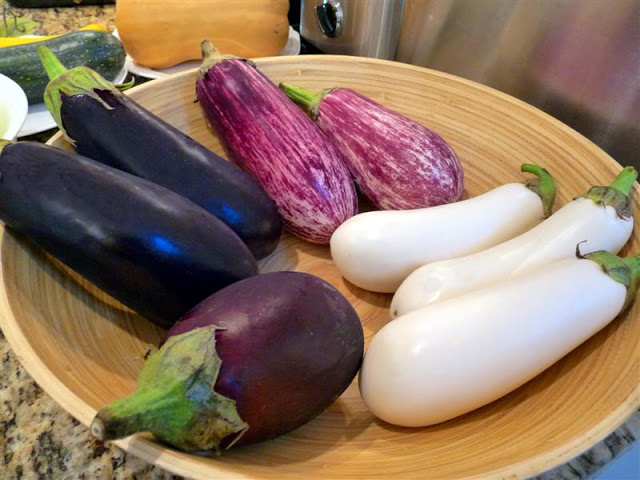
What a lovely array of eggplants - check out those striated ones! I couldn't help but purchase a variety of varieties (haha) when I found these lovely creatures at the grocery store. Each and every one of them was absolutely Perfect! I splurged a little on this organic selection because they looked so good, but I normally just use the common variety purple eggplants. Choose ones that have smooth skin and haven't grown too large.

Dear Lord, Thank You for Eggplant!

This is my absolute favorite thing in the whole wide world to eat. As a child, I would request it each year for my birthday. It's a little time consuming (and very high in calories), so I don't make it very often... about once every 4-5 years. I was thrilled this year when my oldest son recently requested it for his birthday dinner! I made a Huge 11x14 pan of it and the 7 of us gobbled it up in no time flat. My youngest even asked to bring some to school for lunch the next day (what her friends must think!).

Anyway, this is exactly the way I watched my mother make is so many times... I hope you'll consider giving it a try - most people have never had it, but they always LOVE it... and your Italian friends will thank you for the trip down taste bud memory lane!

The most important thing, besides starting with beautiful eggplant, is PEELING them. Please don't skip this step. Nothing disappoints me in the eggplant world more than taking a bite of eggplant parmesan that still has the leathery skin on it - ick, uck, yuck!!!

Now we cut the eggplant into 1/2-inch thick slices, dunk in beaten egg, then give them a healthy coating of Italian Seasoned Bread Crumbs (Progresso or 4C are great brands). Trust me on this one... use the seasoned bread crumbs - they make the dish! If you like, you can mix some grated parmesan or pecorino cheese in with the breadcrumbs - oh yeah! (I like to do 50/50 cheese/breadcrumbs).

Mmmm, I can almost taste it now!

Okay, last really important thing is to fry these babies up in Extra Virgin Olive Oil. Don't pay attention to anything you've read about not using EVOO for frying. Just trust me.

Btw, I really love this 14.5 inch frying pan I purchased at Costco - all 7.5 quarts of it. It holds so much food. I can brown 3-4 lbs of ground beef at one time, it holds almost 2 lbs of cooked pasta, I can cook 6 chicken breasts with room to spare, etc. I noticed they were on clearance recently so I purchased 2 more... just to have as back ups. I might even get another. Seriously... I love this pan!

Okay, fry the eggplant in hot EVOO and don't even think about turning them over until they've reached this lovely brown color (brown equals flavor). Don't crowd your pan... just do batch after batch until they're all cooked. Drain on paper towels until you're ready for the next step.

The wait is killing me. I can't stand it.... soooooooo goood!!

Hurry, preheat your oven to 350F. Line the bottom of your baking dish with fried eggplant slices. They're kind of maliable so just squish them in there. This is a very large 11x14 pan - look how many it will hold!

(obviously you can make as much or as little as you like)

Add a thin layer of your favorite tomato sauce or use my homemade San Marzano Sauce.

Time for the cheese - layer on shredded mozzarella - Hello!!!!

Repeat with another layer of eggplant, sauce, and cheese. Cover with foil (non-stick works especially well and won't stick to the cheese). Place the foil covered dish on a large sheet pan to catch any drips that might try to escape. Bake for about an hour or until heated through and bubbly. I like to remove the foil and turn on the broiler for the last 3-4 minutes to brown the cheese. HEAVEN!!!!!!!

Seriously, make this and invite me over!  Enjoy.
Hungarian Jancsi Torta

Patricia @ ButterYum

ButterYum Hungarian Jancsi Torta

ButterYum Hungarian Jancsi Torta

Here's my entry for the first cake selection of the new baking group Heavenly Cake Bakers , featuring recipes from Rose's Heavenly Cakes by Rose Levy Beranbaum.

Begin by preparing a 9" springform pan - grease and line the bottom with parchment, spray parchment and sides with baking spray. Set aside.

black walnuts in a torte

black walnuts in a torte

The recipe didn't specify what kind of walnuts to use, so I chose Black Walnuts over the more common English variety. Black Walnuts have the most amazing flavor, one that pairs extremely well with chocolate. The flavor is hard to describe, but Hammon's website has a list of flavor descriptions here. Looks like they're pretty good for you too - you can find nutritional information here.

Note: Black Walnuts are kind of hard to find, but they usually appear in the stores around the Thanksgiving and Christmas holidays. I found these at Costco (my favorite store). Stock up and store them in the freezer because they have a tendency to quickly go rancid otherwise.

We have lots of Black Walnut trees growing on our property, but I know how difficult harvesting them can be after my mother-in-law spent the better part of a weekend doing just that several years ago. First you repeatedly drive over the hard outer husk with your car (no joke), then you pry the outer husks away, then you smash the inner shells with a heavy mallet, then you pry them all open and pick out all the itty-bitty pieces of nut meat - your hands practically stained for life in the process... all that you only get about a cups worth in the end... definitely not worth the effort.

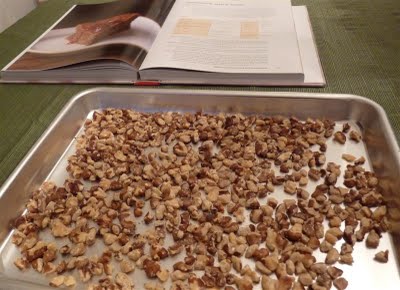
Okay, back to the recipe - the Black Walnuts are toasted to enhance their flavor, then the walnuts are placed in a clean kitchen towel to rub as much of the thin nut skin off as possible. This is a pretty messy process. Use an old or dark colored kitchen towel. The photo above is before the skins were removed.

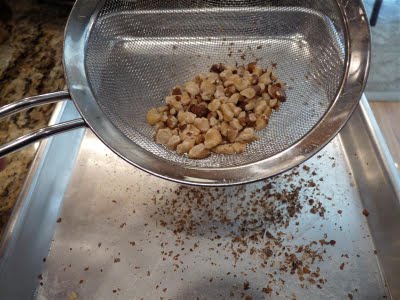
Here's what the nuts look like after - it's impossible to remove all of the skin. Additionally, it's really difficult to separate all the nuts from the loose papery skins, so I ended up shaking the nuts in a sieve with medium gauge mesh. Worked pretty well!

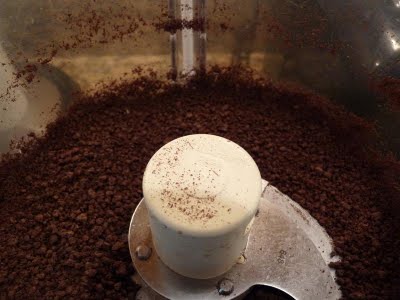
Then the walnuts are ground in the food processor with a bit of sugar.

Dark chocolate is also ground in the food processor. I suppose you could use semi-sweet or milk chocolate if you wanted to. Caution - the food processor can have a tendency to melt the chocolate a bit, so you might want to chill the chocolate as well as the chopping blade in the fridge for a couple of minutes first. By the way, I wear earplugs when I chop chocolate in the food processor... you wouldn't believe the noise!

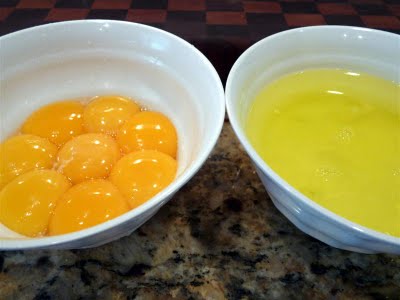
Next I separated the eggs.

The yolks were whipped until light and fluffy. Then the ground nuts and chocolate were stirred in and the mixture set aside.

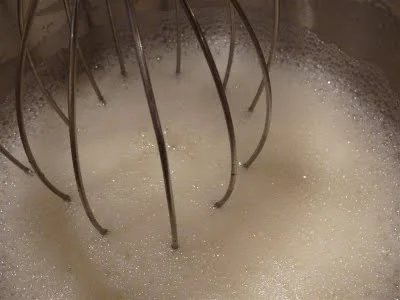
Now for the meringue - in a separate mixing bowl, whip the whites until frothy. This is the stage when you should add the cream of tartar.

Btw, I have 2 bowls and 2 whip attachments for each of my mixers - invaluable investment!

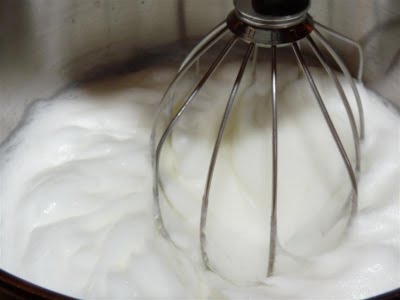
When the eggs reach soft peaks, the sugar can slowly be added.

Continue whipping until the stiff peak stage is reached.

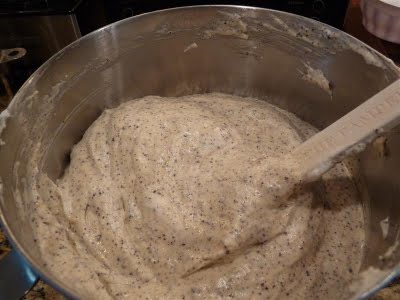
Time to gently fold the egg whites into the yolk mixture.

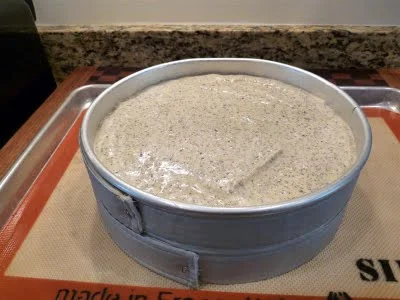
Everybody into the pool, I mean pan. I used insulated cake strips around the outside of my pan. They keep the sides of the cake from baking too fast. The recipe stated that the batter would fill the pan about 1/2 full, but the batter actually filled my pan about 3/4 full, so I placed the springform on a sheet pan just in case the batter decided to spill over in the oven.

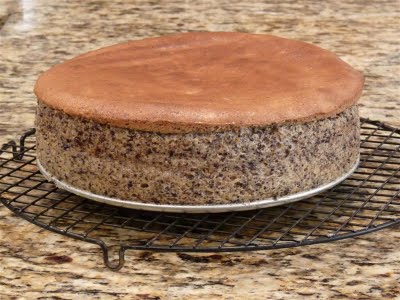
Thankfully no spills occurred. The cake is removed from the oven when the internal temp reaches 200F (about 45 minutes). The cake should cool on a wire rack for 5 minutes before the sides of the pan are removed. The Torta can be served warm or at room temperature. I opted for room temp.

Here it is - isn't it pretty?

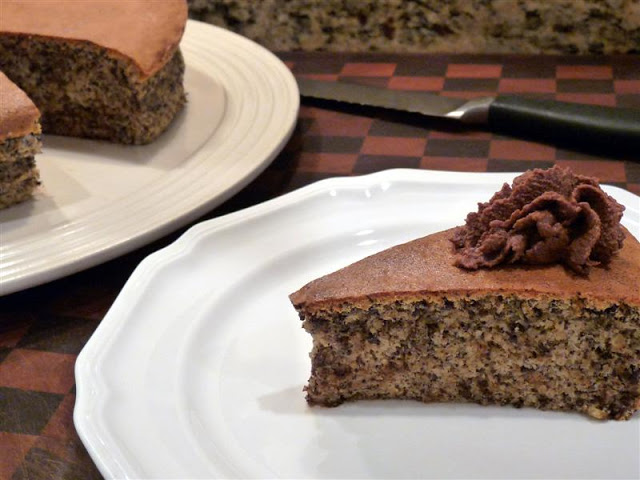
Rose suggests serving with apricot preserves, sour cherry preserves, or ganache. I was feeling very chocolaty today, so I topped my Torta with a quick combo of ganache and mascarpone cheese - heaven!

Mascarpone Ganache

  • 1/4 cup dark chocolate, chopped

  • 1/4 cup heavy cream, scalded

  • 1/2 cup Mascarpone cheese, softened

  • Raspberry puree for garnish (optional)

Directions

  1. Combine heavy cream and chocolate until well combined; cool to room temp.

  2. In a small bowl, cream mascarpone until soft and smooth; add chocolate and combine.

Yum - I really like this Hungarian Jancsi Torta. The texture is so light it's practically a souffle. Oh, I found cutting this torta easiest using a hot/dry serrated knife coated with oil. Just run the knife under hot water, dry it off, and wipe a little oil on with a paper towel. Don't cut yourself!

Enjoy!

For more Heavenly Cake Baker posts about this Hungarian Jancsi Torta, visit Marie's blog.