contact us

Use the form on the right to contact us.

You can edit the text in this area, and change where the contact form on the right submits to, by entering edit mode using the modes on the bottom right.

Form Block
This form needs a storage option. Double-click here to edit this form, and tell us where to save form submissions in the Storage tab. Learn more
         

123 Street Avenue, City Town, 99999

(123) 555-6789

email@address.com


You can set your address, phone number, email and site description in the settings tab.
Link to read me page with more information.

Blog

Butteryum food blog recipes

Filtering by Category: dessert recipes

Soft and Chewy Chocolate Chip Cookies

Patricia @ ButterYum
Soft and Chewy Chocolate Chip Cookies - ButterYum

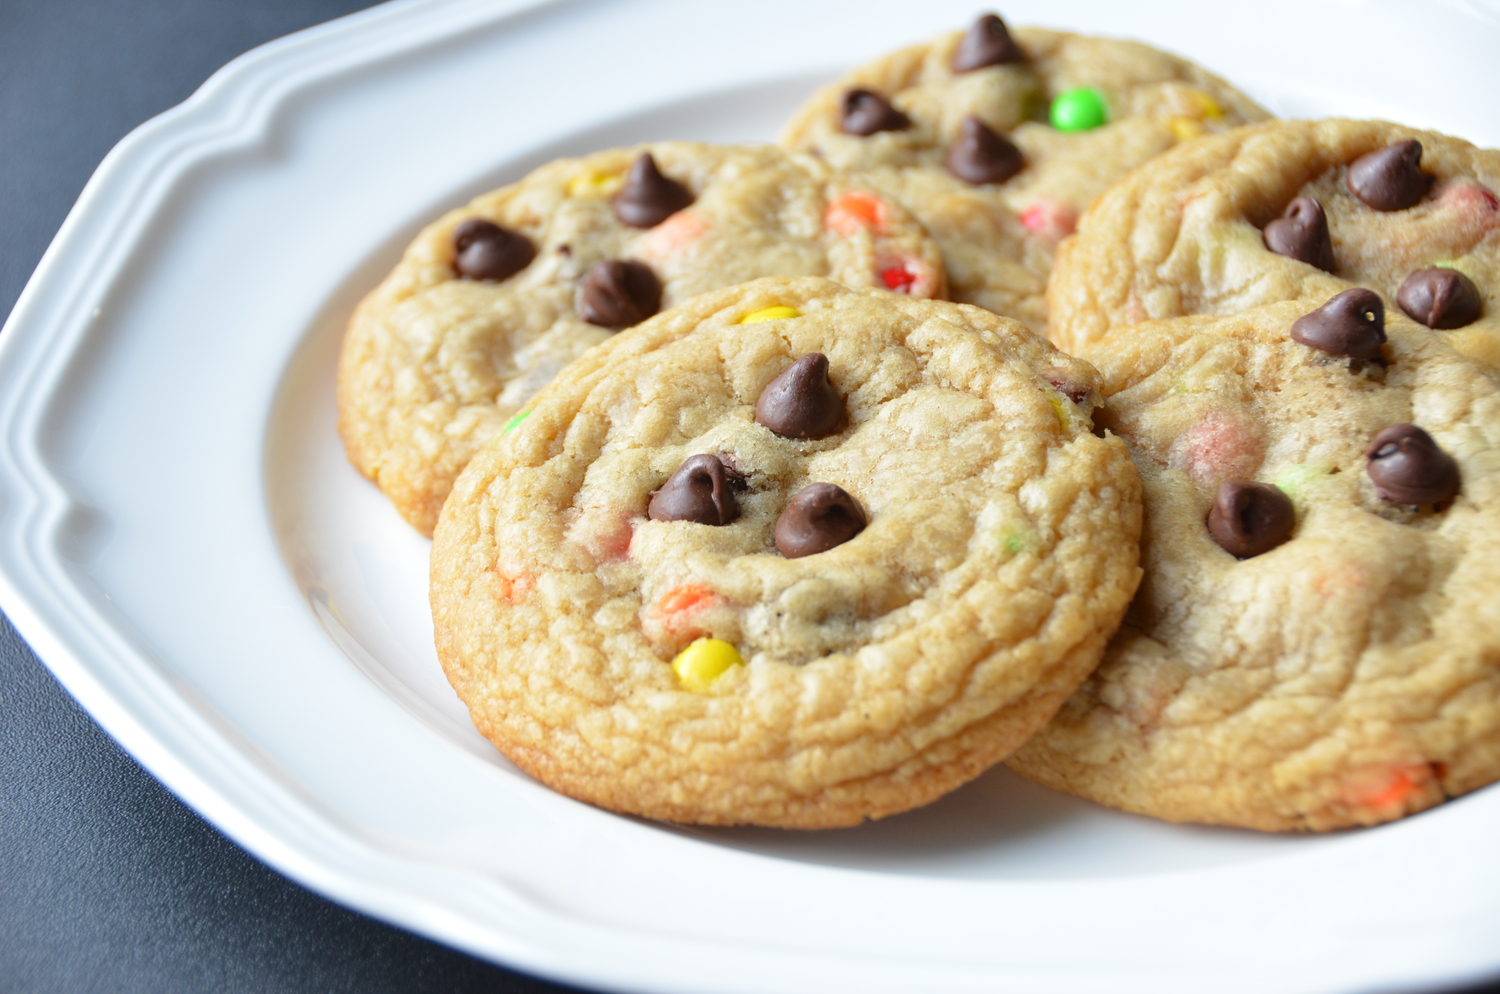
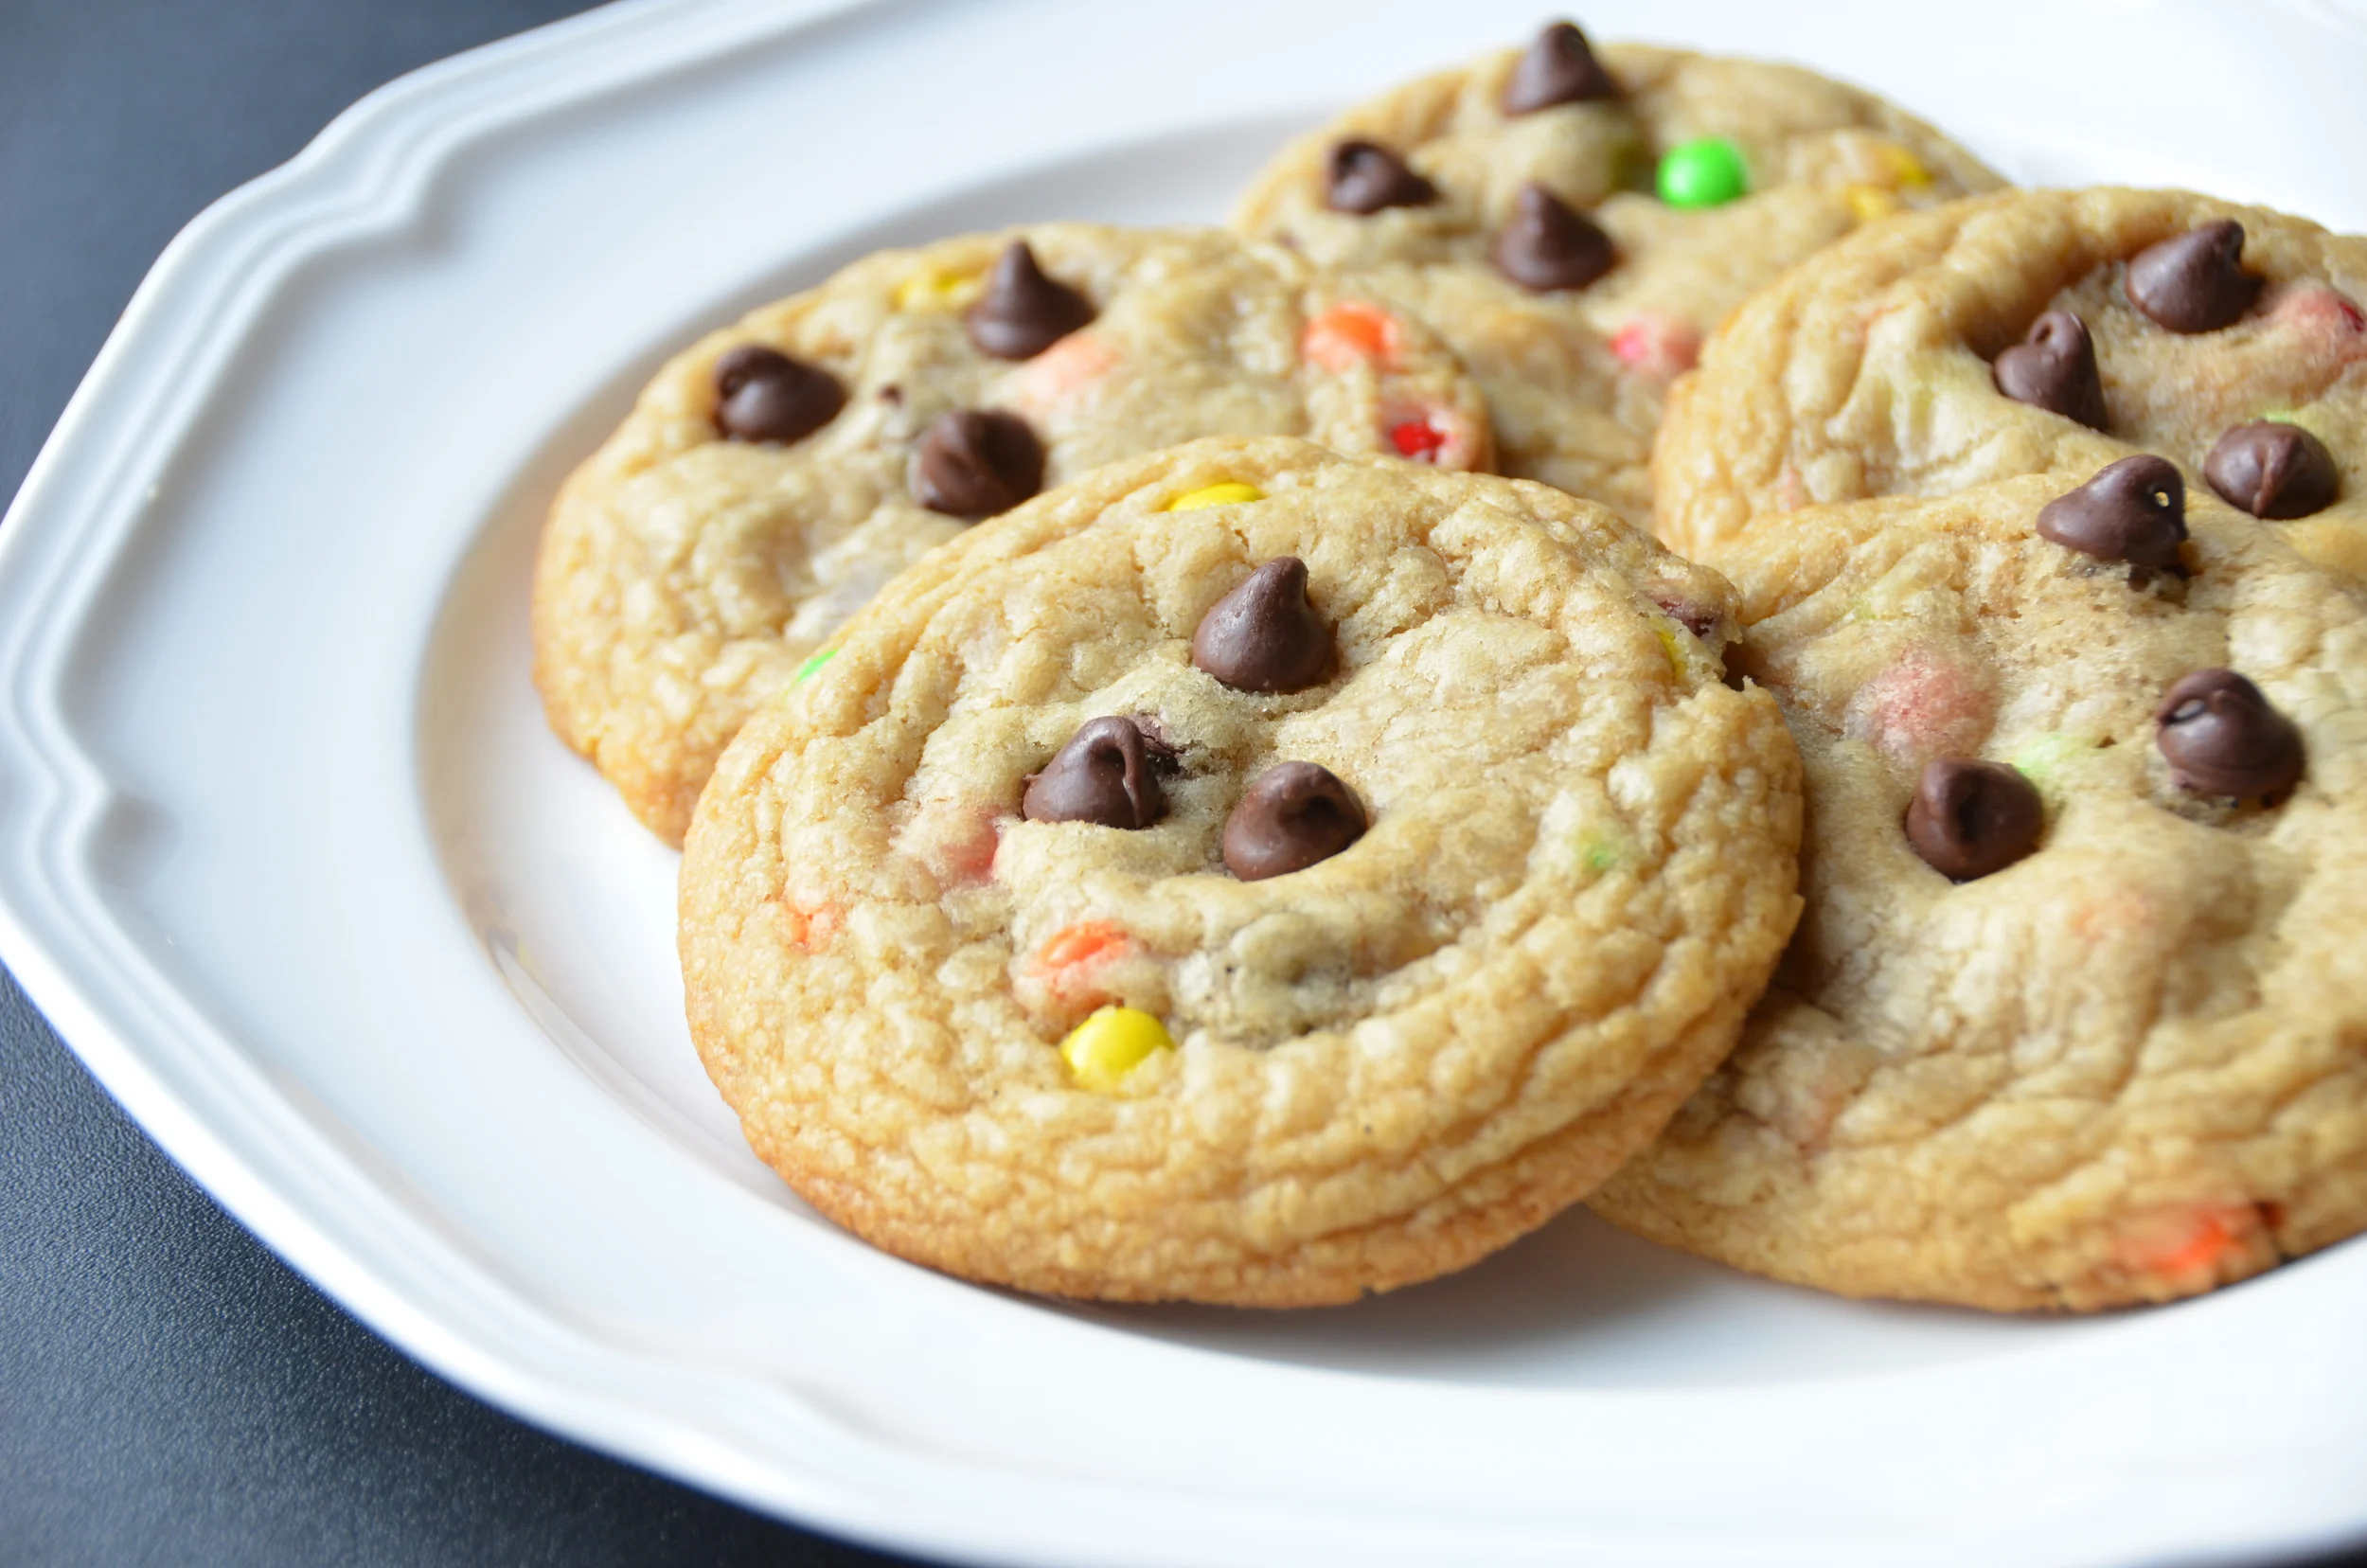
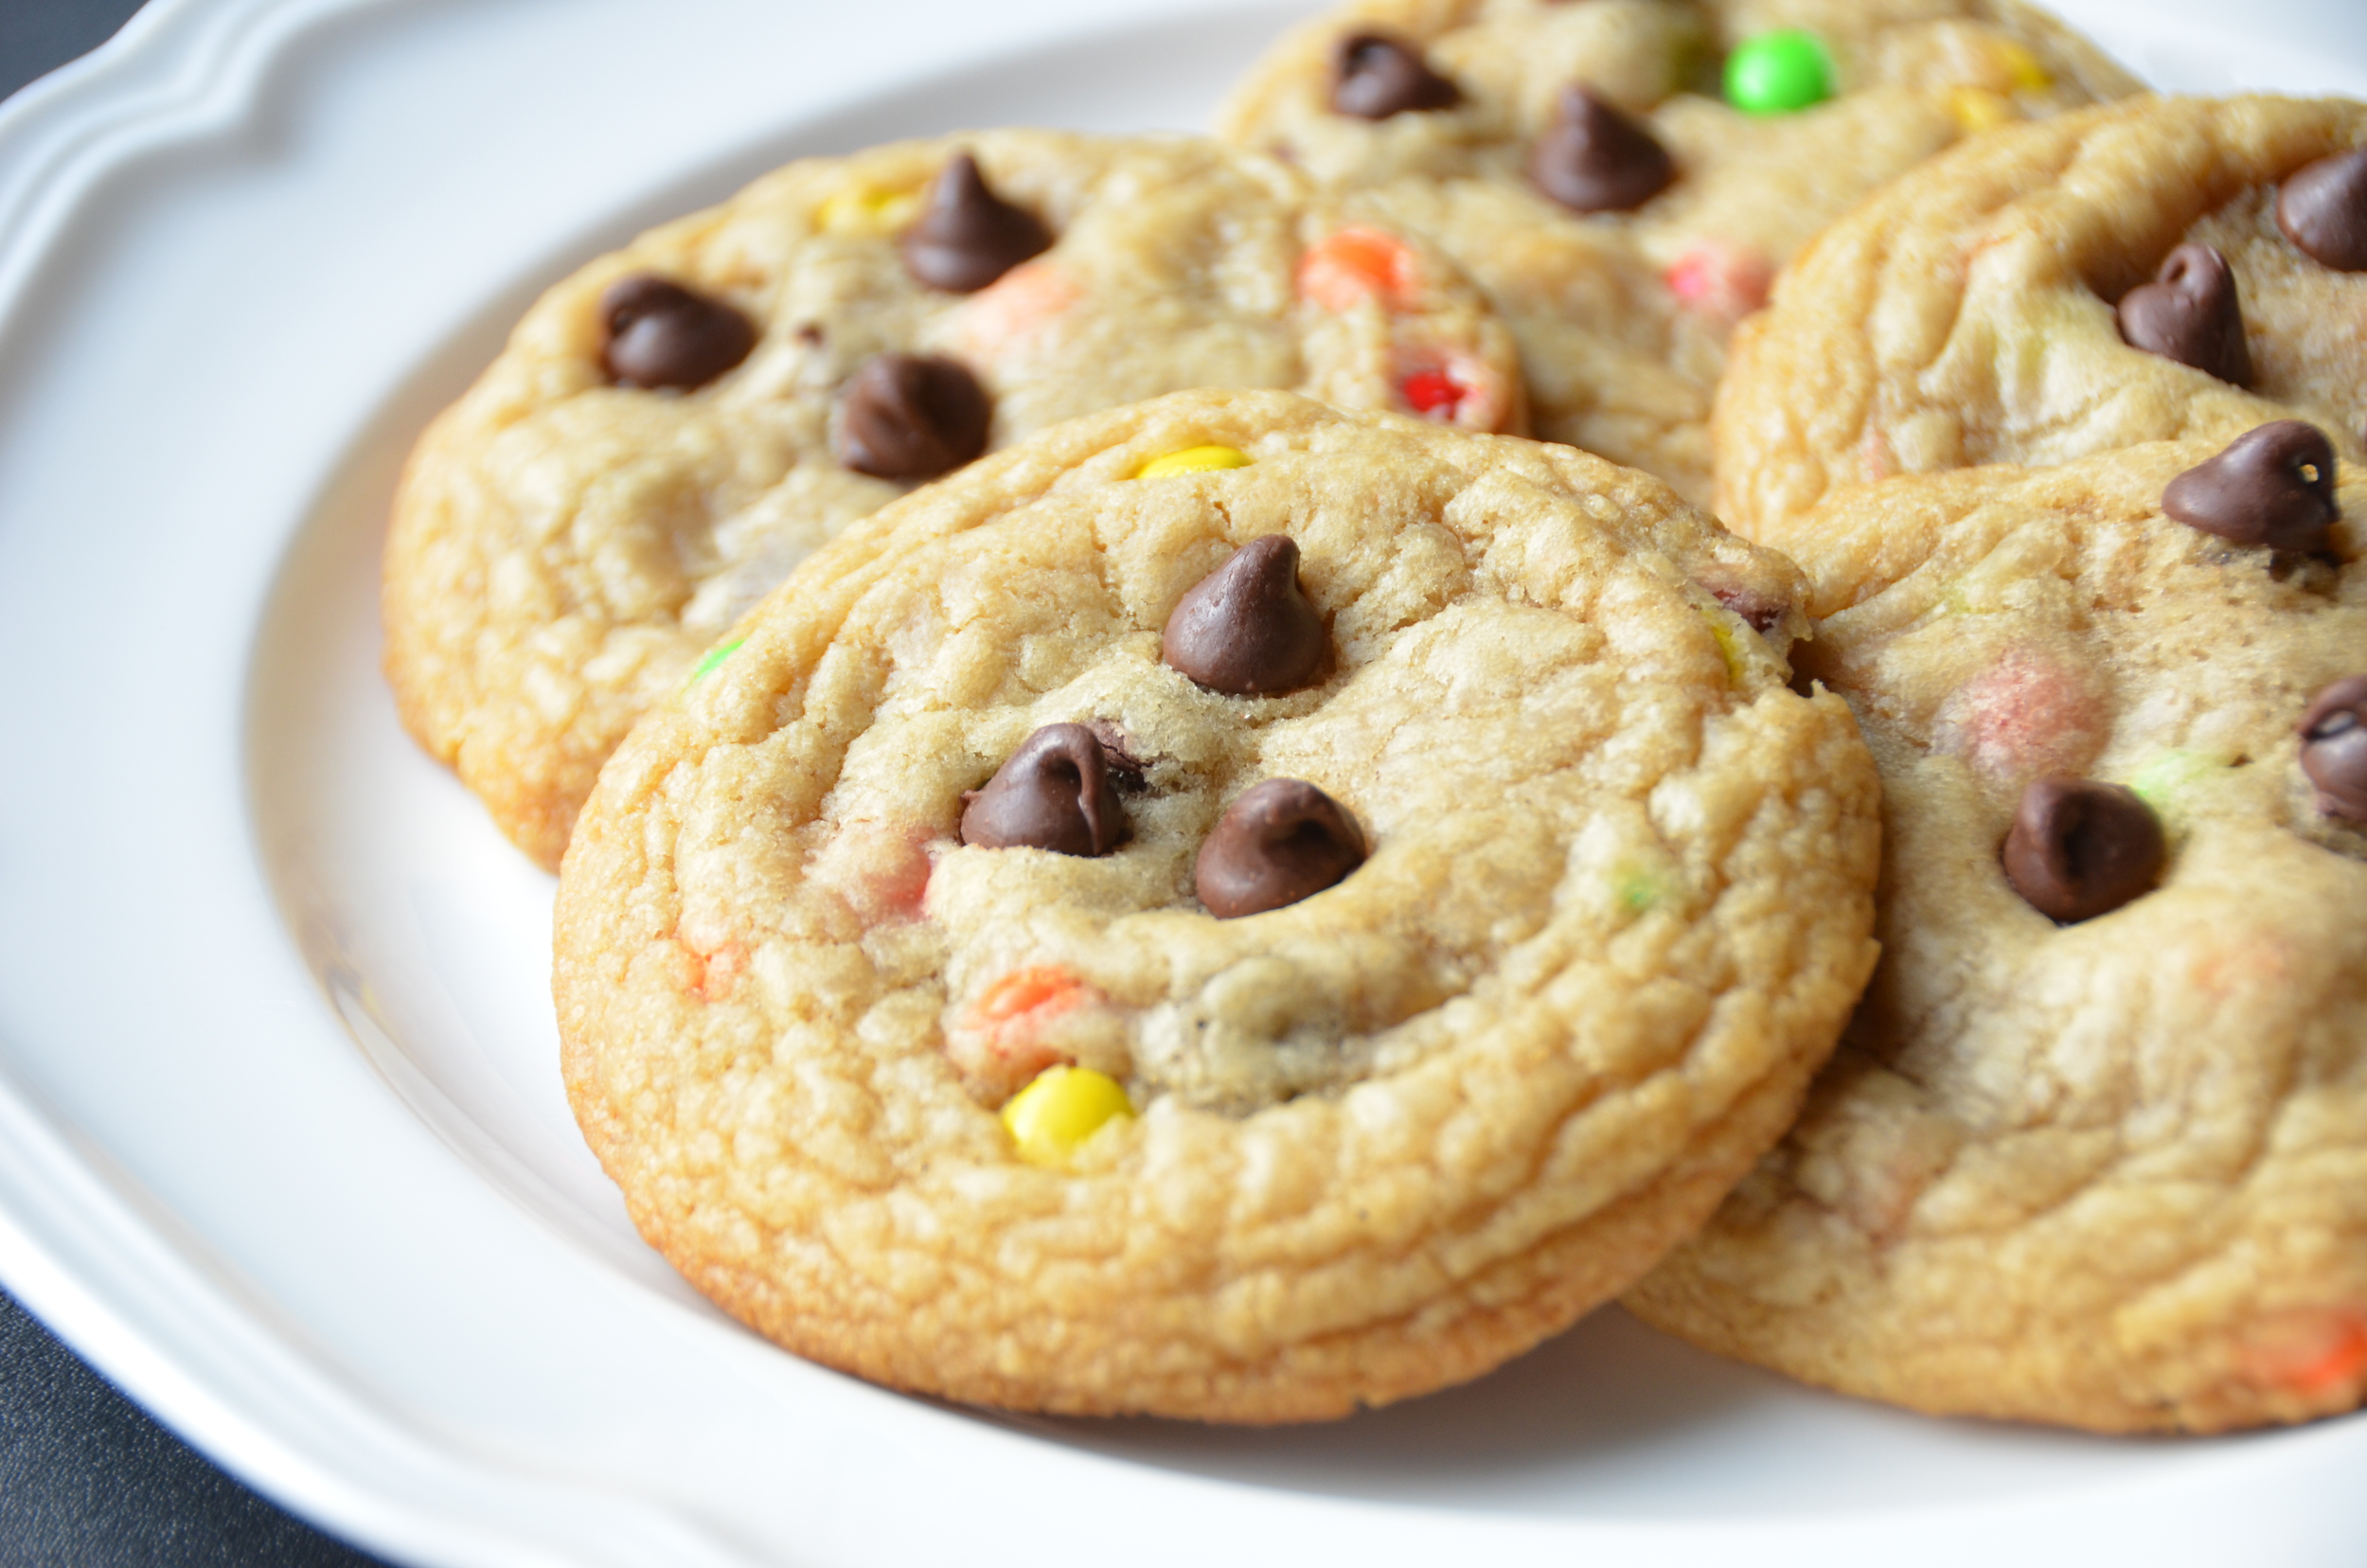
Who doesn't love chocolate chip cookies?  We're big fans and I have a family favorite recipe, but I recently stumbled upon a really interesting technique for making really big, really soft, really chewy CCCs that piqued my curiosity so I thought I'd share them with you. 

Mmmm. Look how big these cookies are. Let’s make some, shall we?

The dough is super easy to mix by hand.

I usually use a #50 scoop for cookies, but these cookies are much larger - they use a #20 scoop.

Sally suggests chilling the dough well before using a scoop to portion the dough, but I scooped it first, then chilled.  Either way, chilling the dough anywhere from 2 hours to 3 days is very important (be sure to cover it well with plastic wrap to prevent it from drying out in the fridge).

When it's time to bake the cookies, use the heat of your hands to roll the cookie dough into smooth balls.

Then shape each of the dough balls into a barrel shape - they should be a bit taller than they are wide. Place 3 chocolate chips on top of each (not necessary, but doing so will look nice then the cookies are done). Place on prepared sheet pans; bake and cool as directed.

Yum!
Soft and Chewy Chocolate Chip Cookies

makes 12 cookies

Printable Recipe

Ingredients

  • 2 1/4 cups (280 grams) all purpose flour

  • 1 teaspoon baking soda

  • 1 1/2 teaspoons cornstarch

  • 1/2 teaspoon fine sea salt

  • 3/4 cup (170 grams) unsalted butter, melted

  • 3/4 cup (135 grams) light brown sugar, loosely packed

  • 1/2 cup (100 grams) granulated sugar

  • 1 large egg, room temperature

  • 1 egg yolk, room temperature

  • 2 teaspoons pure vanilla extract

  • 1 cup (180 grams) chocolate chips or candy coated chocolate pieces (or a combination thereof)

  • 48 chocolate chips for decoration (optional)

Directions 

  1. In a large bowl, whisk together flour, baking soda, cornstarch, and salt; set aside.

  2. In a medium bowl, whisk together the melted butter, brown sugar, and white sugar until smooth.

  3. Whisk in egg, egg yolk, and vanilla.

  4. Pour the wet ingredients into the reserved flour mixture and mix with a spoon or spatula until well combined.

  5. Fold in the chocolate chips and/or candy coated chocolate pieces.

  6. Cover the dough with plastic wrap and chill for anywhere from 2 hours to 3 days (Sally says this step is mandatory).

  7. When it's time to bake the cookies, preheat oven to 325F and prepare 2 half sheet pans with parchment paper or silicone baking mats.

  8. Allow the cookie dough to sit at room temperature for about 10 minutes.

  9. Use a #20 scoop to measure out each cookie (the cookies are big - about 3 tablespoons each).

  10. Use the warmth of your hands to roll each dough portion smooth and shape into a ball, and then into a barrel (so the dough is a little taller than it is wide - that way they'll puddle into perfect mounds while baking).

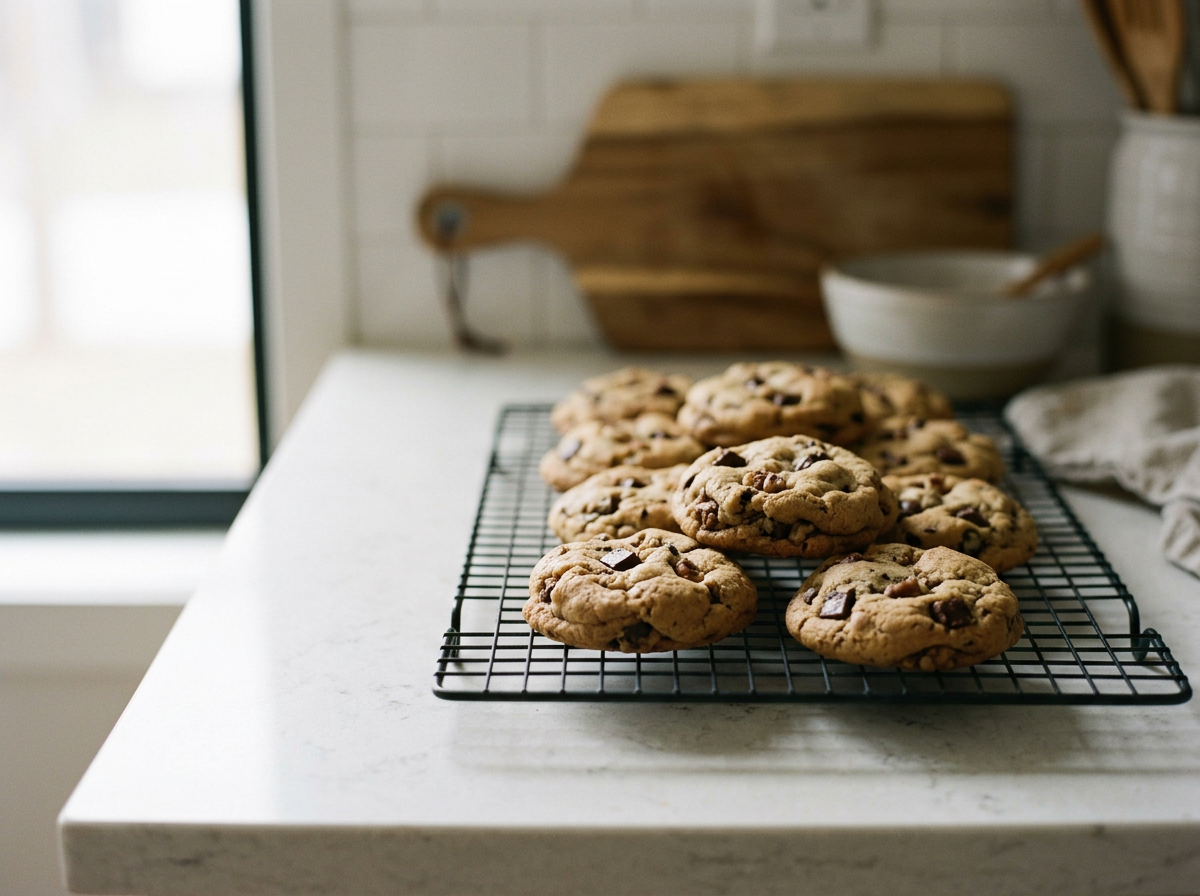
  11. Place 8 portions of dough on each sheet pan and top each with 3 chocolate chips as shown. If dough gets too soft, chill for several minutes before baking

  12. Bake cookies, one sheet pan at a time, in the center of the oven for 11-12 minutes.

  13. Remove from oven and allow cookies to rest on hot sheet pan for 10 minutes before transferring to a cooling rack to finish cooling (don't be alarmed if the cookies look underbaked when they're removed from the oven).

adapted from Sally’s Baking Addiction.
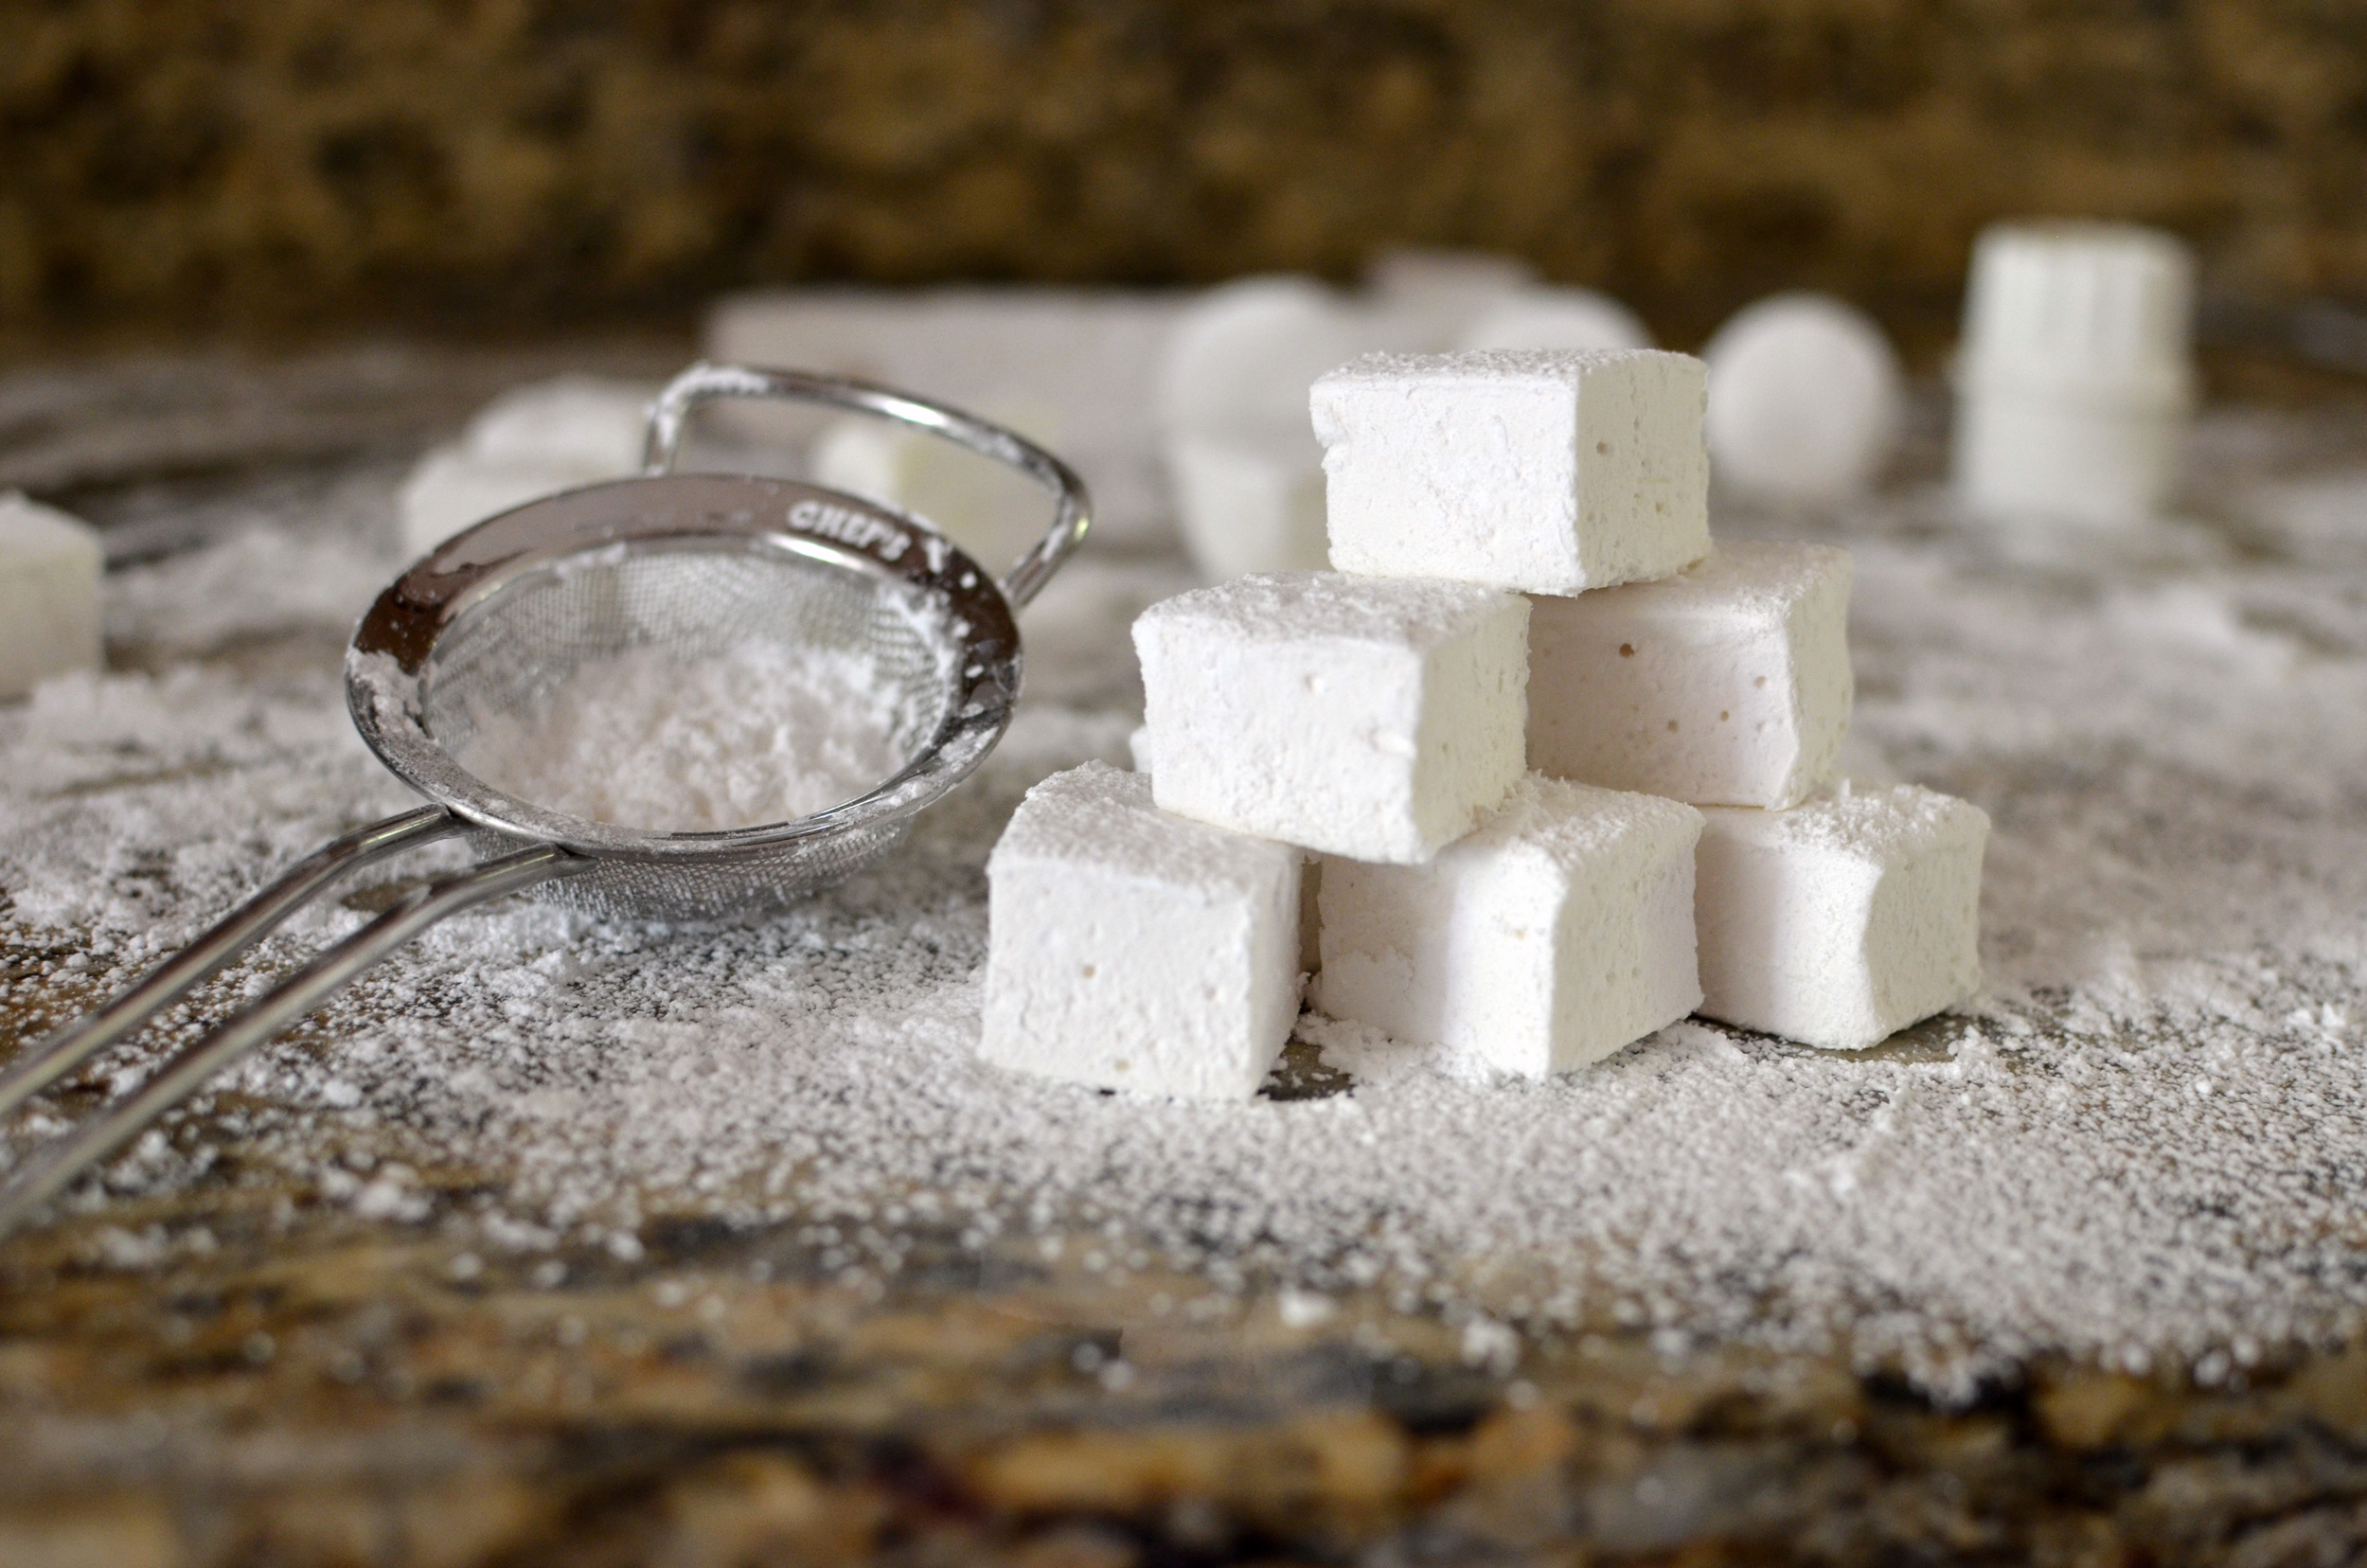
Vanilla Marshmallows

Patricia @ ButterYum

Homemade Marshmallows - ButterYum —

Most of my kids want me to make cheesecake or a layer cake for their birthday, but my youngest doesn't necessarily follow the lead of her siblings.  One year she asked for cookies, another year she wanted pumpkin pie, and this year she requested homemade marshmallows. I don't know anyone who likes marshmallows more than she does so I wasn't surprised at all.

Marshmallows are easy to make as long as you follow these simple rules:

  • Avoid making marshmallows in high humidity conditions - the egg whites will not whip up properly.

  • Use egg whites from whole eggs, not from a carton.

  • Cold eggs are easiest to separate, but egg whites whip better when they're allowed to come to room temperature first.

  • Don't allow any fat to come in contact with the egg whites, bowl, or beaters.

  • Be sure to use an accurate candy thermometer.

  • Don't be tempted to remove the sugar syrup from the heat before it reaches the proper temperature.

  • Have all your ingredients and equipment prepped and ready to go before you start.

Okay, let's make some marshmallows.

Place the water in the mixing bowl. Sprinkle the granulated gelatin evenly over the surface of the water and allow it to “bloom” (this is when the gelatin’s appearance changes from opaque to translucent as it absorbs water).

Place the bowl containing the water and bloomed gelatin on the stand mixer fitted with the whisk attachment; let it rest until the sugar syrup is ready to go.

Next combine a few ingredients in a nonstick saucepan: salt...

Water…

And corn syrup.

Stir until the sugar dissolves.

Place a candy thermometer into the sugar mixture.

Tip: if your thermometer bulb isn’t submerged under the level of the liquid, turn it upside down.

Like this.

Bring the sugar mixture to a boil and continue to boil until it reaches 240F.

Immediately turn the stand mixer on low speed and pour the hot sugar syrup into the gelatin mixture.

Add pure vanilla extract - be sure to use the good stuff!

Increase the mixer speed to high.

Continue mixing for 10-15 minutes until the mixture cools and thickens.

Pour the marshmallow mixture into an oiled sheet pan (use a neutral flavored oil). Oil your fingers and press the mixture into an even layer. Allow to cool completely for several hours or overnight.

When marshmallows are completely set, dust very well with confectioners' sugar, cut, and toss with more confectioners' sugar. Store in an airtight container.

Items used to make this recipe:

(affiliate links)


Vanilla Marshmallows

makes 1/2 sheet pan

Printable Recipe

Ingredients

  • 3 tablespoons unflavored gelatin (three 1/4-ounce packages)

  • 1/2 cup water

  • 1 1/2 cups granulated sugar

  • 1 cup light corn syrup

  • 1/4 teaspoon fine sea salt

  • 1/2 cup water

  • 1 tablespoon pure vanilla extract

  • vegetable or canola oil

  • confectioners' sugar for dusting

Directions

  1. Prepare a quarter sheet pan (9x13-inches) by coating with neutral flavored oil; set aside.

  2. In the bowl of a stand mixer, combine gelatin with 1/2 cup water.

  3. Place the bowl on the stand mixer fitted with the whisk attachment; let gelatin mixture rest while you make the sugar syrup.

  4. In a nonstick sauce pan over medium high heat, combine sugar, corn syrup, salt, and 1/2 cup water; stir until sugar dissolves, then boil until temperature reaches 240F.

  5. Turn the stand mixer on low and slowly add the hot sugar syrup.

  6. Add the vanilla and increase the mixer speed to high for 10-15 minutes until the mixture cools and thickens.

  7. Pour marshmallow mixture into prepared sheet pan; allow to set up for several hours or overnight (if needed, use well oiled hands to spread mixture evenly in pan).

  8. When marshmallows are completely set, dust very well with confectioners' sugar, cut, and toss with more confectioners' sugar.

  9. Store in an airtight container.

recipe adapted from Barefoot Contessa Family Style by Ina Garten