contact us

Use the form on the right to contact us.

You can edit the text in this area, and change where the contact form on the right submits to, by entering edit mode using the modes on the bottom right.

Form Block
This form needs a storage option. Double-click here to edit this form, and tell us where to save form submissions in the Storage tab. Learn more
         

123 Street Avenue, City Town, 99999

(123) 555-6789

email@address.com


You can set your address, phone number, email and site description in the settings tab.
Link to read me page with more information.

Blog

Butteryum food blog recipes

Filtering by Category: dessert recipes

Miette's Homemade Graham Crackers

Patricia @ ButterYum

How do homemade graham crackers sound?  Irresistible if you ask me.  That's why I ran straight to the kitchen to make them when I came across the recipe in the Miette Cookbook.   I had a lot of fun making them.  Flavor-wise they're scrumptious, although the original recipe calls for honey and the honey I used was very strong and a bit overpowering so the next time I made them, I substituted my favorite ingredient, Lyle's Golden Syrup, which adds a beautiful caramel flavor.  The dough can be made up to 2 days ahead and the baked cookies can be stored for up to 2 weeks in an airtight container.

*This post contains affiliate links.

Roll cookie dough between 2 sheets of waxed paper.  I find a ball-bearing rolling pin does the job best.  To ensure all the cookies turn out the same thickness and bake in the same amount of time, use 1/8-inch wooden dowels as a guide when rolling the dough.  

UPDATE:  Rolling guides work even better than dowels because they don't roll away from your work surface.    

Cut your cookies with your favorite cookie cutters.  I love my set of scalloped cutters and my message cookie cutters.

The message cutters are so fun to play with.

Transfer wax paper to a sheet pan and chill until dough is very firm.

When dough is firmly chilled, slide an offset spatula between the cookie dough and wax paper.

Transfer cookies to a parchment or silicone lined sheet pan OR…

After making several batches, I discovered I could speed the process along a bit faster if I chilled the cutouts in the freezer for about 5 minutes.

Partially freezing the dough firms it enough to peel the wax paper away easily.

And the partially frozen cutouts are easier to transfer to a prepared sheet pan for baking.

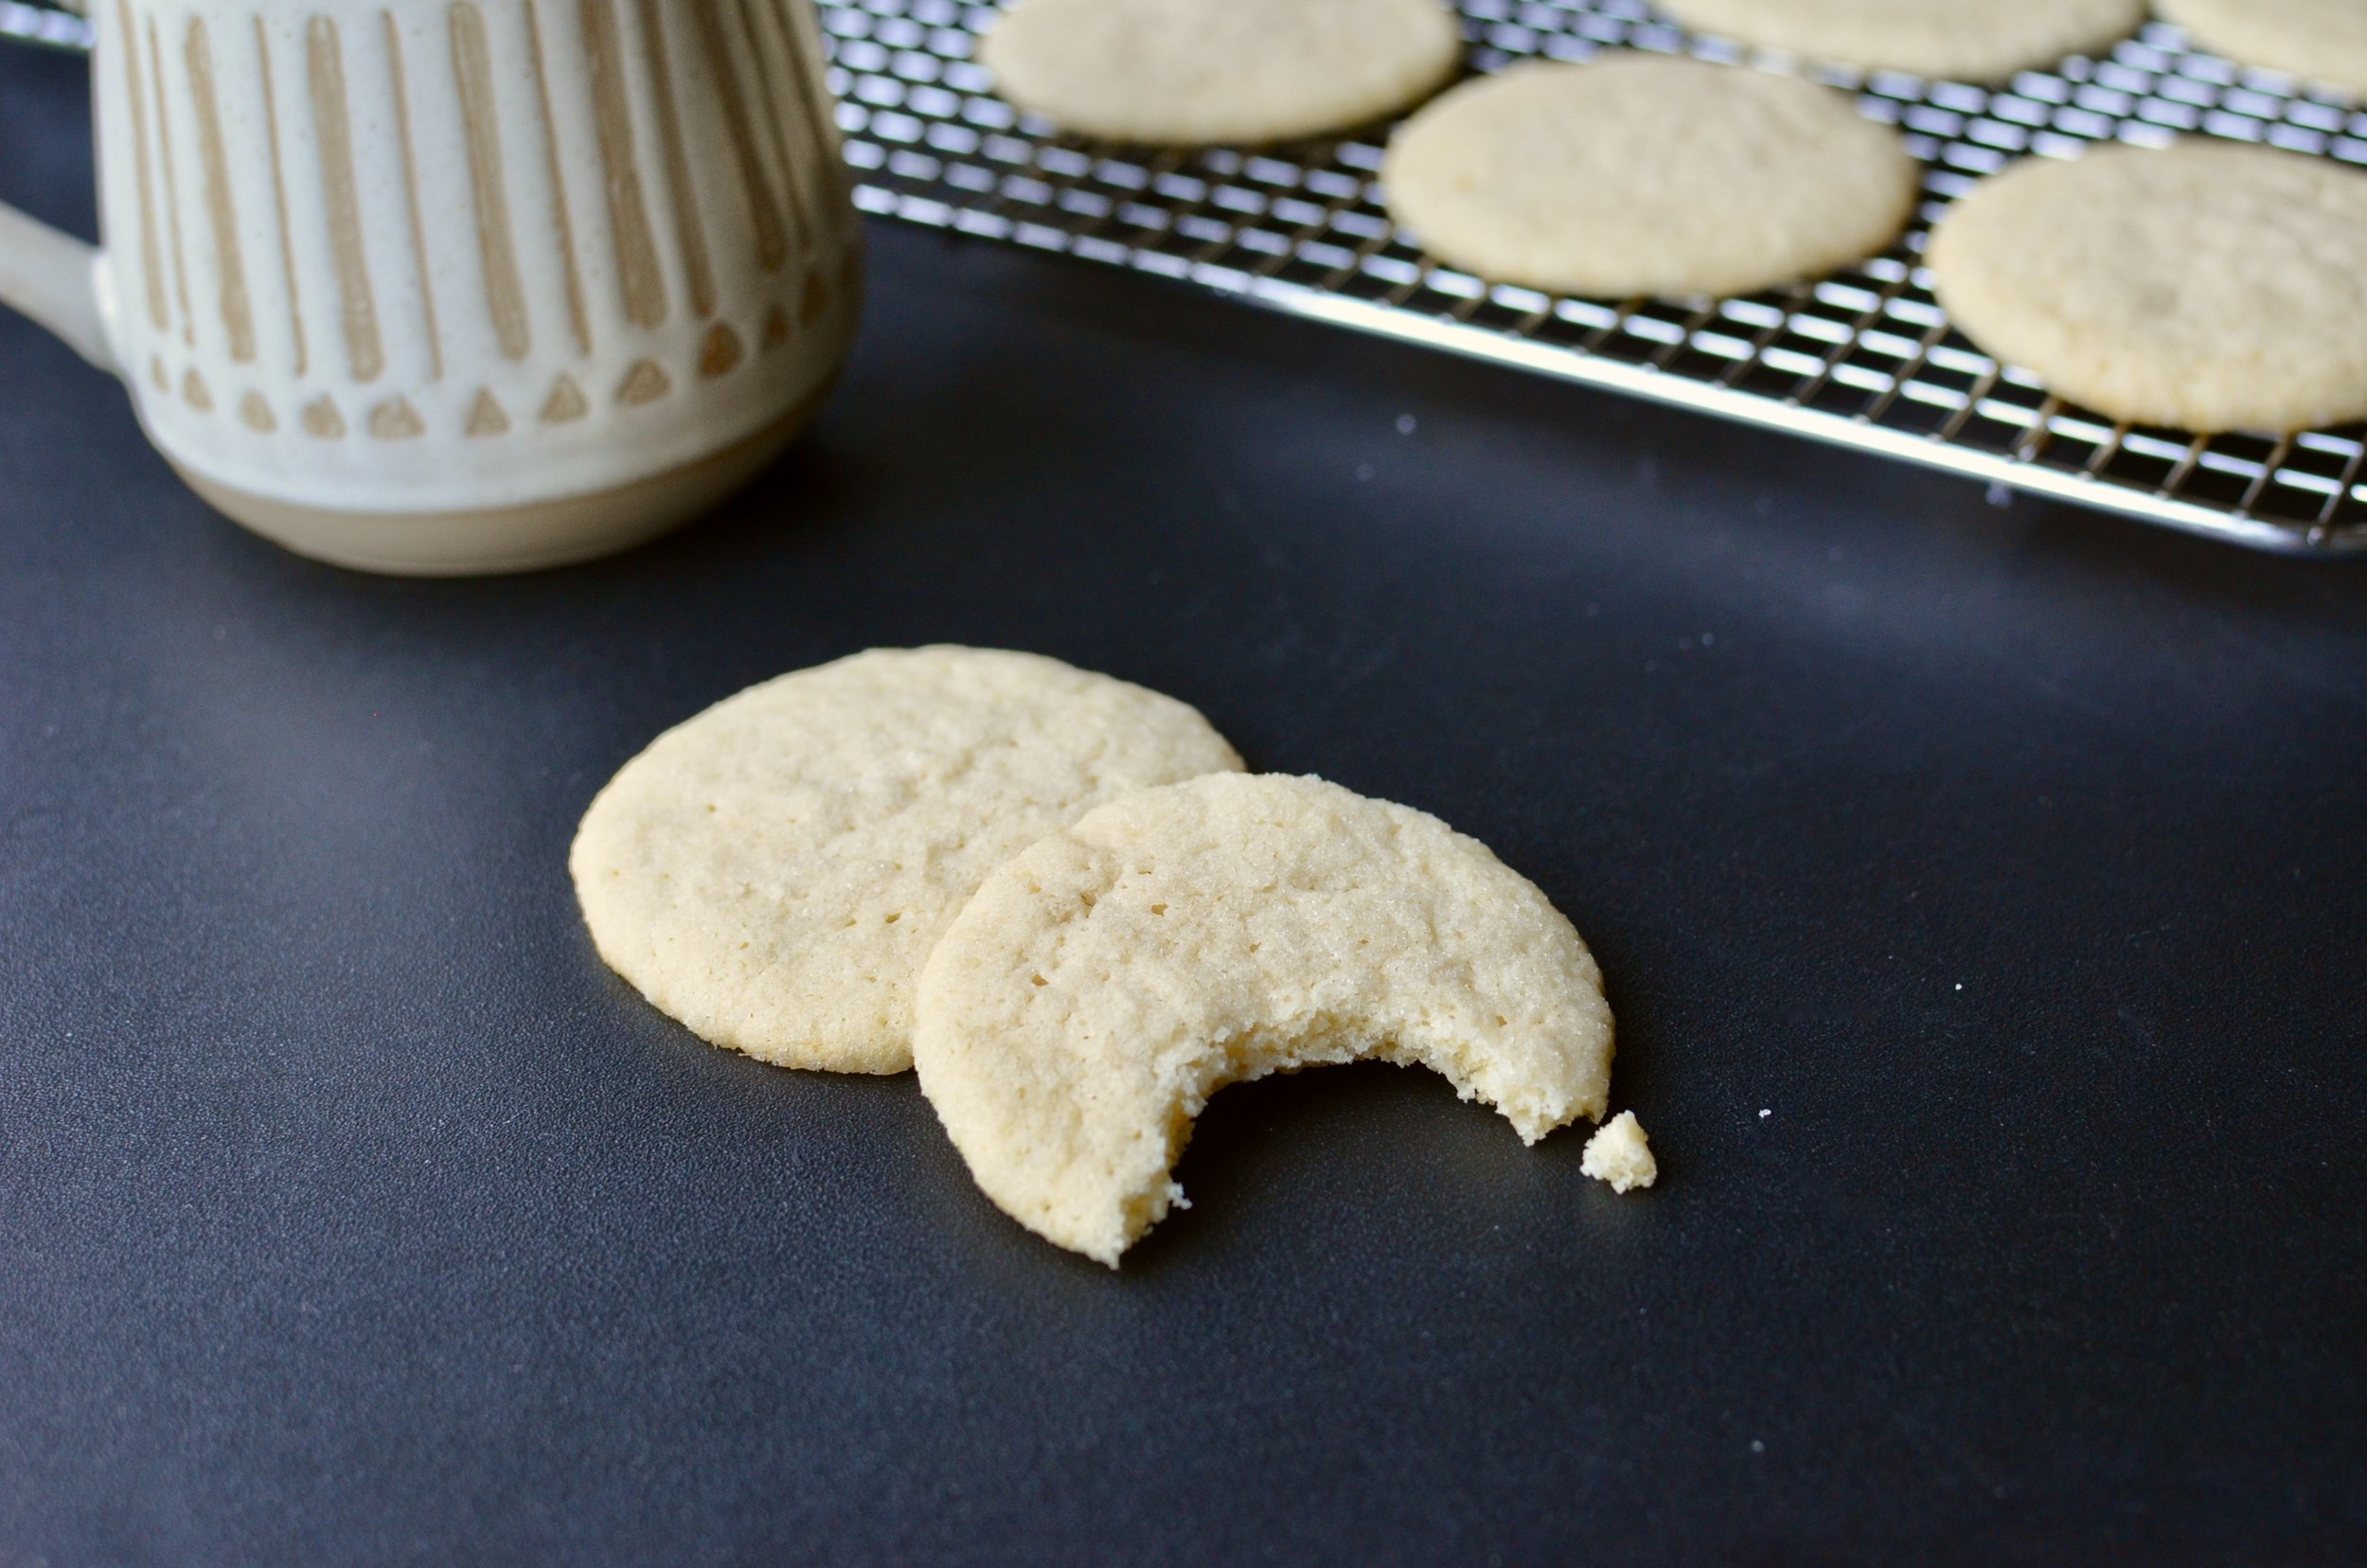
Keep cutouts chilled until it's time to bake them.  Before they go in the oven, sprinkle them with granulated sugar.

If cutting round shapes, use a skewer or toothpick to poke a few decorative holes - this will help the cookies bake evenly.  This step isn't necessary if you use the message cutters.

Eat 'em plain.

Or turn them into ice cream sammies.  Fun-fun!!
Items used to make this recipe:

(affiliate links)


Homemade Graham Crackers

makes two dozen 2.5-inch cookies

Printable Recipe 

Ingredients

  • 12 tablespoons unsalted butter, softened (6 ounces)

  • 1/2 cup packed light brown sugar (4 ounces)

  • 2 tablespoons Lyle's Golden Syrup (or honey)

  • 1 1/2 cups all-purpose flour (7 1/2 ounces)

  • 1/3 cup whole wheat flour (1 1/2 ounces)

  • 1/4 teaspoon table salt

  • 1/4 teaspoon ground cinnamon

  • granulated sugar for sprinkling

Directions

To make the dough:

  1. Sift dry ingredients together; set aside.

  2. In the bowl of a stand mixer, beat butter, brown sugar, and golden syrup together for 5 minutes.

  3. Add dry ingredients and mix just until combined.

  4. Wrap dough in plastic wrap and chill for at least 30 minutes, or up to 2 days.

To cut cookies:

  1. Using a rolling pin, roll dough between layers of waxed paper to 1/8-inch thickness.

  2. Use 1/8-inch wooden dowels as a guide.

  3. Cut shapes from rolled dough and chill well before transferring to sheet pan.

  4. I used these scalloped round cutters and these message cookie cutters.

To bake cookies:

  1. Preheat oven to 350F.

  2. Place chilled cookie cutouts on a cool parchment or silpat lined sheet pan and sprinkle with granulated sugar.

  3. Bake in the center of a preheated oven for 10-13 minutes.

  4. Cool completely.

  5. Store cookies in an airtight container for up to 2 weeks.

Note

  • Measuring ingredients like flour and sugar by weight is much more accurate than measuring them by volume so weigh ingredients with a digital scale for the best results.

adapted from the cookbook Miette: Recipes from San Francisco's Most Charming Pastry Shop

(affiliate links)

The Wooden Spoon Adventure: Virginia Apple Pudding (Cake)

Patricia @ ButterYum

Last week I was contacted by Jenn from the blog Knitty Baker (US) to see if I was interested in participating in The Wooden Spoon Adventure, a fun blog opportunity to celebrate the 5th blog Anniversary of the blog A Merrier World by Kate (UK).  Kate began a few weeks ago by posting a recipe that was made with a very special wooden spoon, then the spoon was sent to another blogger who followed suite, and then it was sent to another blogger, and so on.  Bloggers who participate are honorary "Spoonees".  The goal is for the spoon to travel from one spoonee to another, across the globe, cooking local ingredients or recipes along the way.  Then the spoonees share what they made on their blogs, including photos of the special wooden spoon being used to make the recipe.  Such a fun idea.  So, let me say Happy Blogiversary to Kate at A Merrier World.  I'm thrilled to be part of this very cool celebration, and when I’m done I’ll be sending the spoon to my friend Jamie from Jamie Cooks it Up.

So agreeing to participate was an easy choice, but next I needed to decide whether to feature a local ingredient or recipe.  In the end, I decided to feature a little of both.  It happens to be the peak of apple season in my apple orchard-filled town - and as a nod to our British heritage, I chose to make a kind of cake called a pudding (common in the UK, but not so common here in the US).  Everyone in the family loves this sweet, tender, moist cake which is packed full of fresh apple flavor.  My youngest even asked me to make it for her birthday.  Enjoy!

The Wooden Spoon arrived complete with a lovely note from Jenn, the Spoonee who picked me to carry on the tradition, as well as the original note Kate wrote when she started this nifty adventure.

ND7K 215.jpg

Alrighty, let's get started - this cake starts with a bowl of diced apples.  Choose an apple variety that holds it shape well when baked and doesn't give off too much juice or turn mushy.  Galas, Honeycrisp, or Golden Delicious are good choices.  

Add ground cinnamon.

ND7K 222.jpg

Stir well to combine.

Precook the apples in the microwave for 3-5 minutes or until they begin to soften.  

Here you can see the apples have shrunken down a bit. 

Oh how I wish you could smell my kitchen right about now!

ND7K 232.jpg

In a separate bowl, stir together the dry ingredients.

ND7K 235.jpg

Add the melted butter, milk, and pure vanilla extract; stir until smooth.

ND7K 312.jpg

Pour the batter into a deep 9-inch pie plate or and 8x8x2 square baking dish.

ND7K 316.jpg

Sprinkle the precooked apples evenly over the batter.  Bake in the lower half of a preheated oven for 30-40 minutes or until a toothpick inserted in the center comes out clean.

ND7K 341.jpg

And here's how it looks when it's done (we fight over those yummy brown edges).  I hope you'll give this recipe a try, and be sure to visit past Spoonees to see what recipes they shared during this adventure - A Merrier World, Melinda's Kitchen Diary, Evil Cake Lady, Knitty Baker, ButterYum. And keep an eye open for Jamie’s future post on Jamie Cooks it Up.

ND7K 458.jpg

Enjoy!

Virginia Apple Pudding (Cake)

makes 8 servings

Printable Recipe

Ingredients

  • 2 cups peeled and diced (Galas, Honeycrisp, or Golden Delicious work well)

  • 1 teaspoon ground cinnamon

  • 1 cup all-purpose flour

  • 1 cup granulated sugar

  • 2 teaspoons baking powder

  • 1/2 teaspoon fine table salt

  • 8 tablespoons unsalted butter, melted

  • 1 cup whole milk

  • 1 teaspoon pure vanilla extract (use the good stuff)

Directions

  1. Preheat oven to 375F and place oven rack in lower third position.

  2. In a microwave-safe bowl, combine apples and cinnamon; cook in microwave for 3-5 minutes until the apples begin to soften.

  3. In a mixing bowl, combine the flour, sugar, baking powder, and salt.

  4. Add the melted butter, milk, and pure vanilla extract; stir until smooth.

  5. Pour batter into a deep 9-inch pie plate or 8x8x2-inch square baking dish; sprinkle precooked apples evenly over the batter.

  6. Bake in the lower third of a preheated oven for 30-40 minutes or until a toothpick inserted in the center of the cake comes out clean.

  7. Cool completely before serving directly from the baking dish.

Notes

  • Recipe can be doubled and baked in a 9x13 casserole dish.

  • Use apples that hold their shape well and don't exude too much moisture during baking, such as Galas, Honeycrisp, or Golden Delicious.

  • This cake is best eaten within 24 hours because the high sugar content will absorb moisture from the apples and the atmosphere, causing the cake to get soggy over time.

  • For a rustic presentation, bake in a cast iron skillet.

(affiliate links)