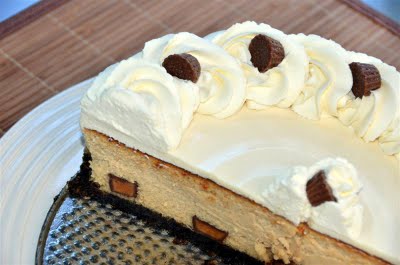
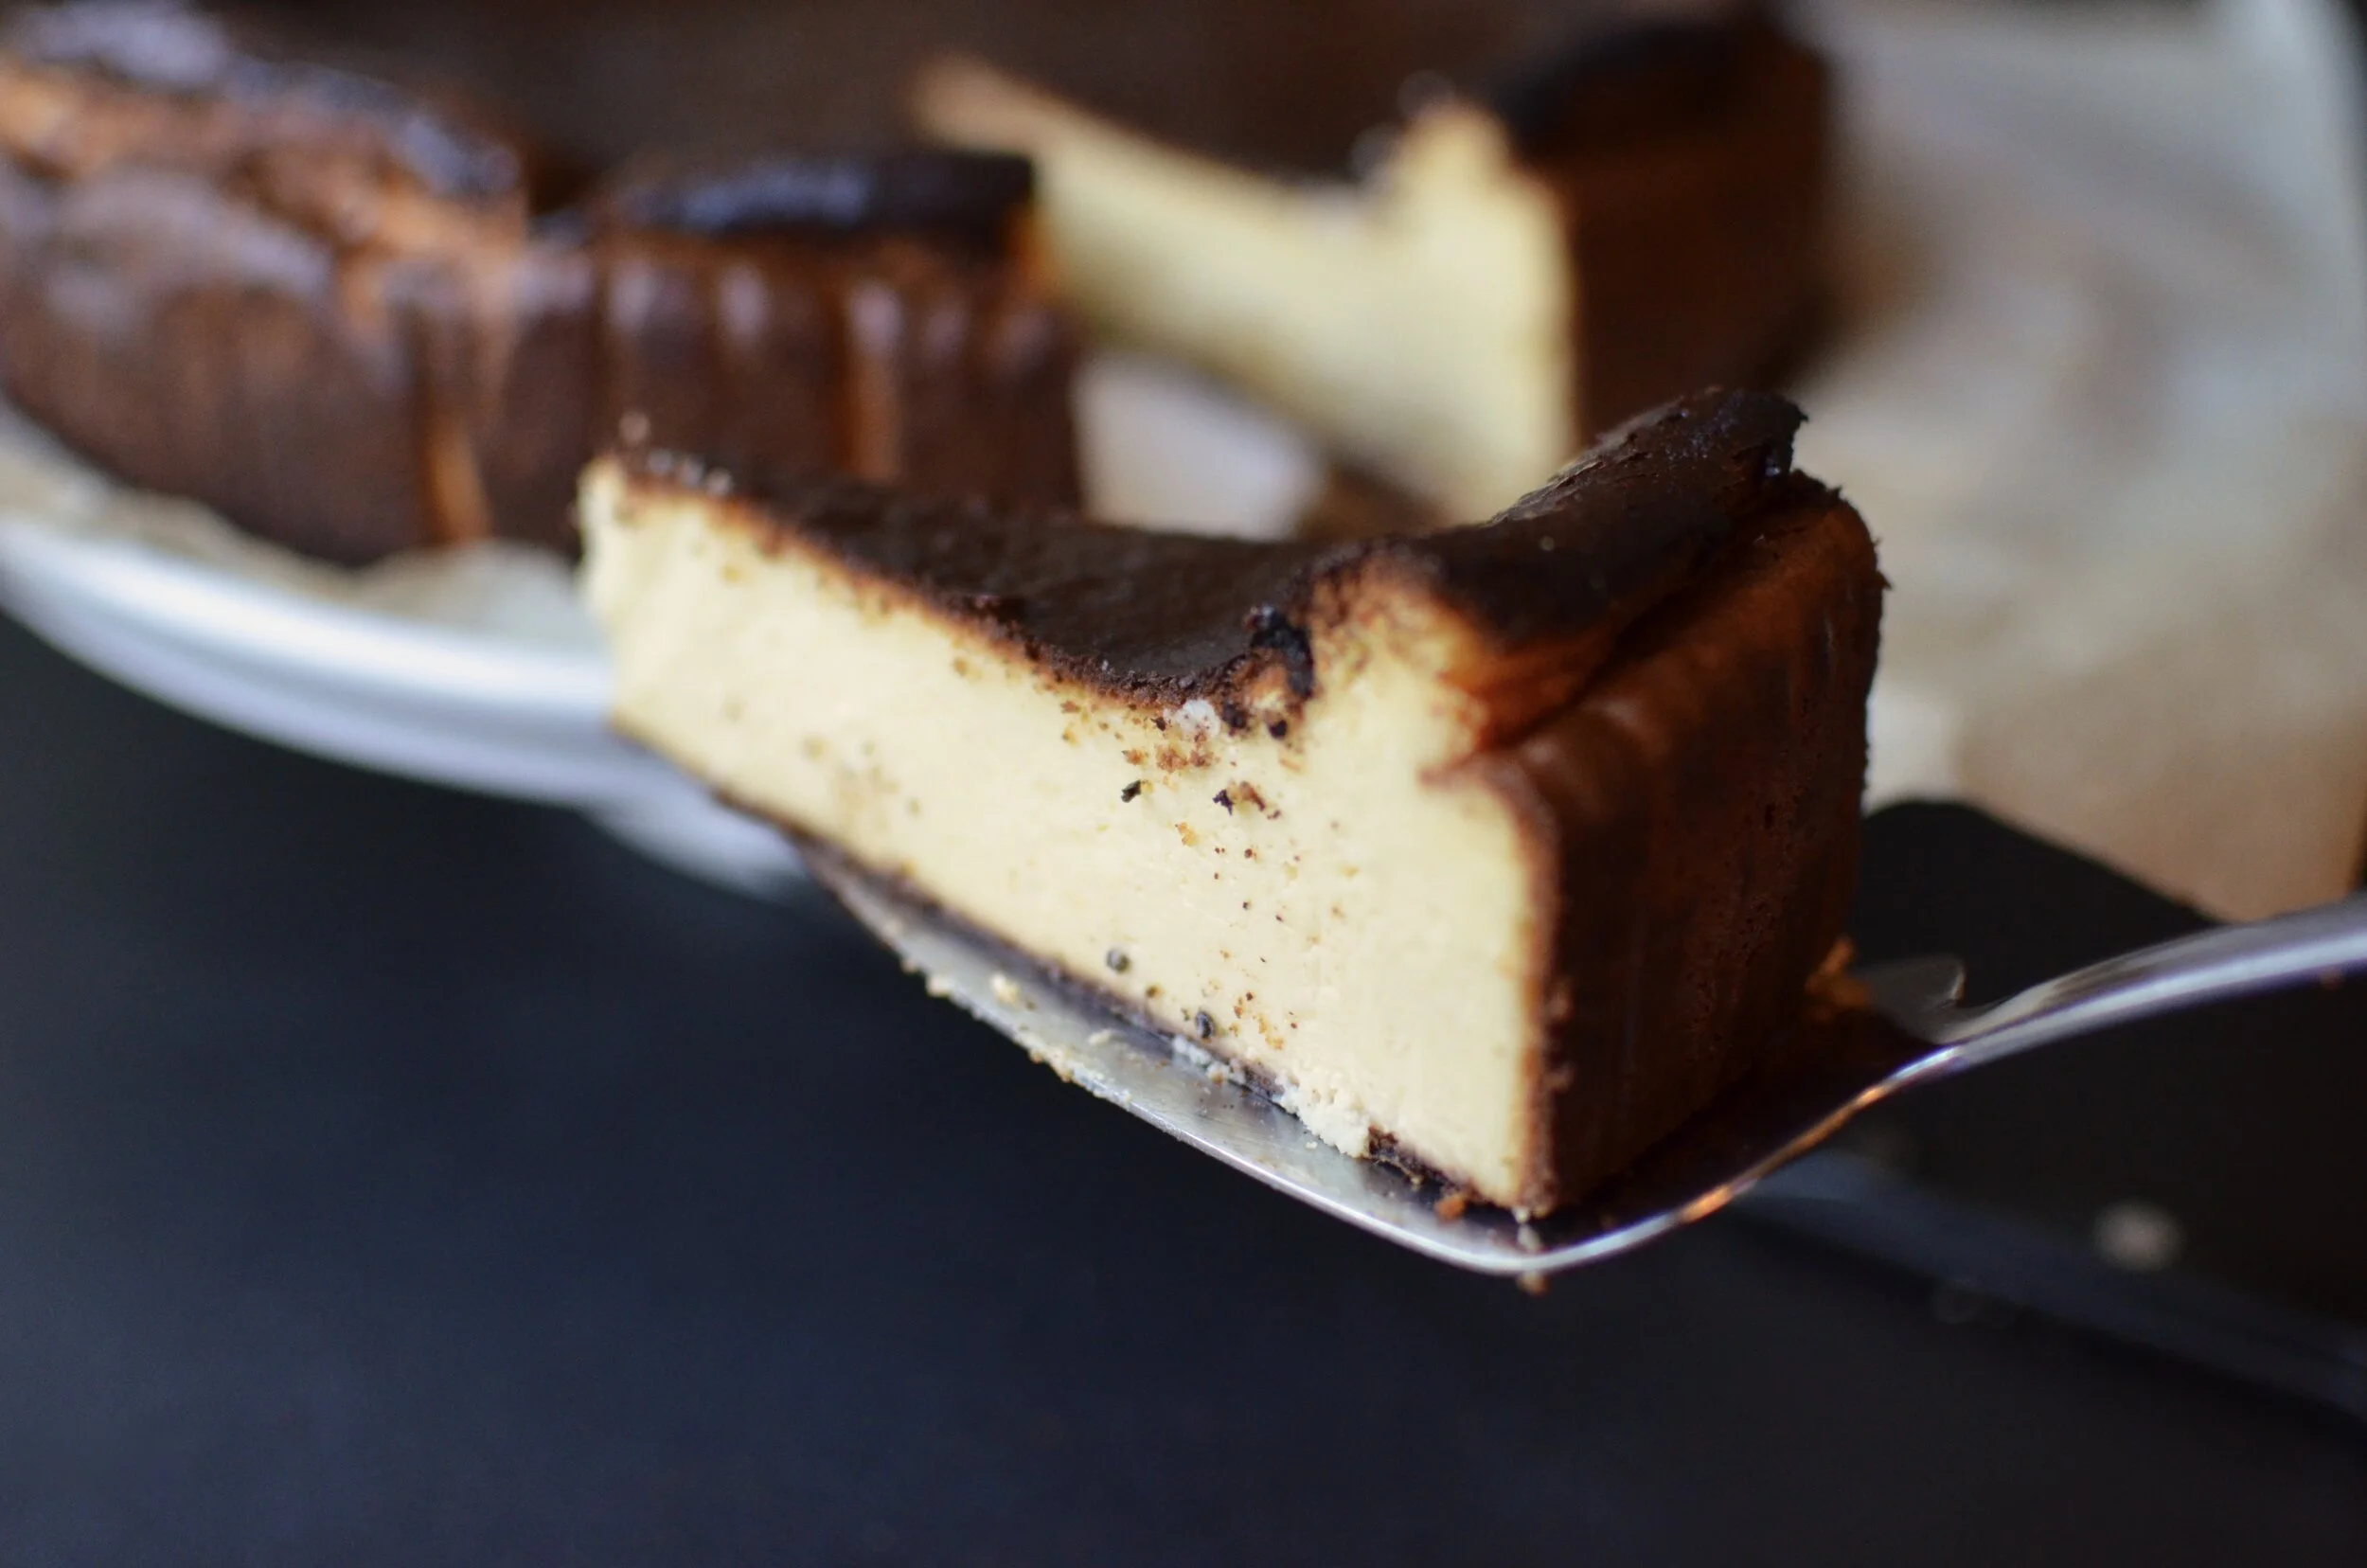
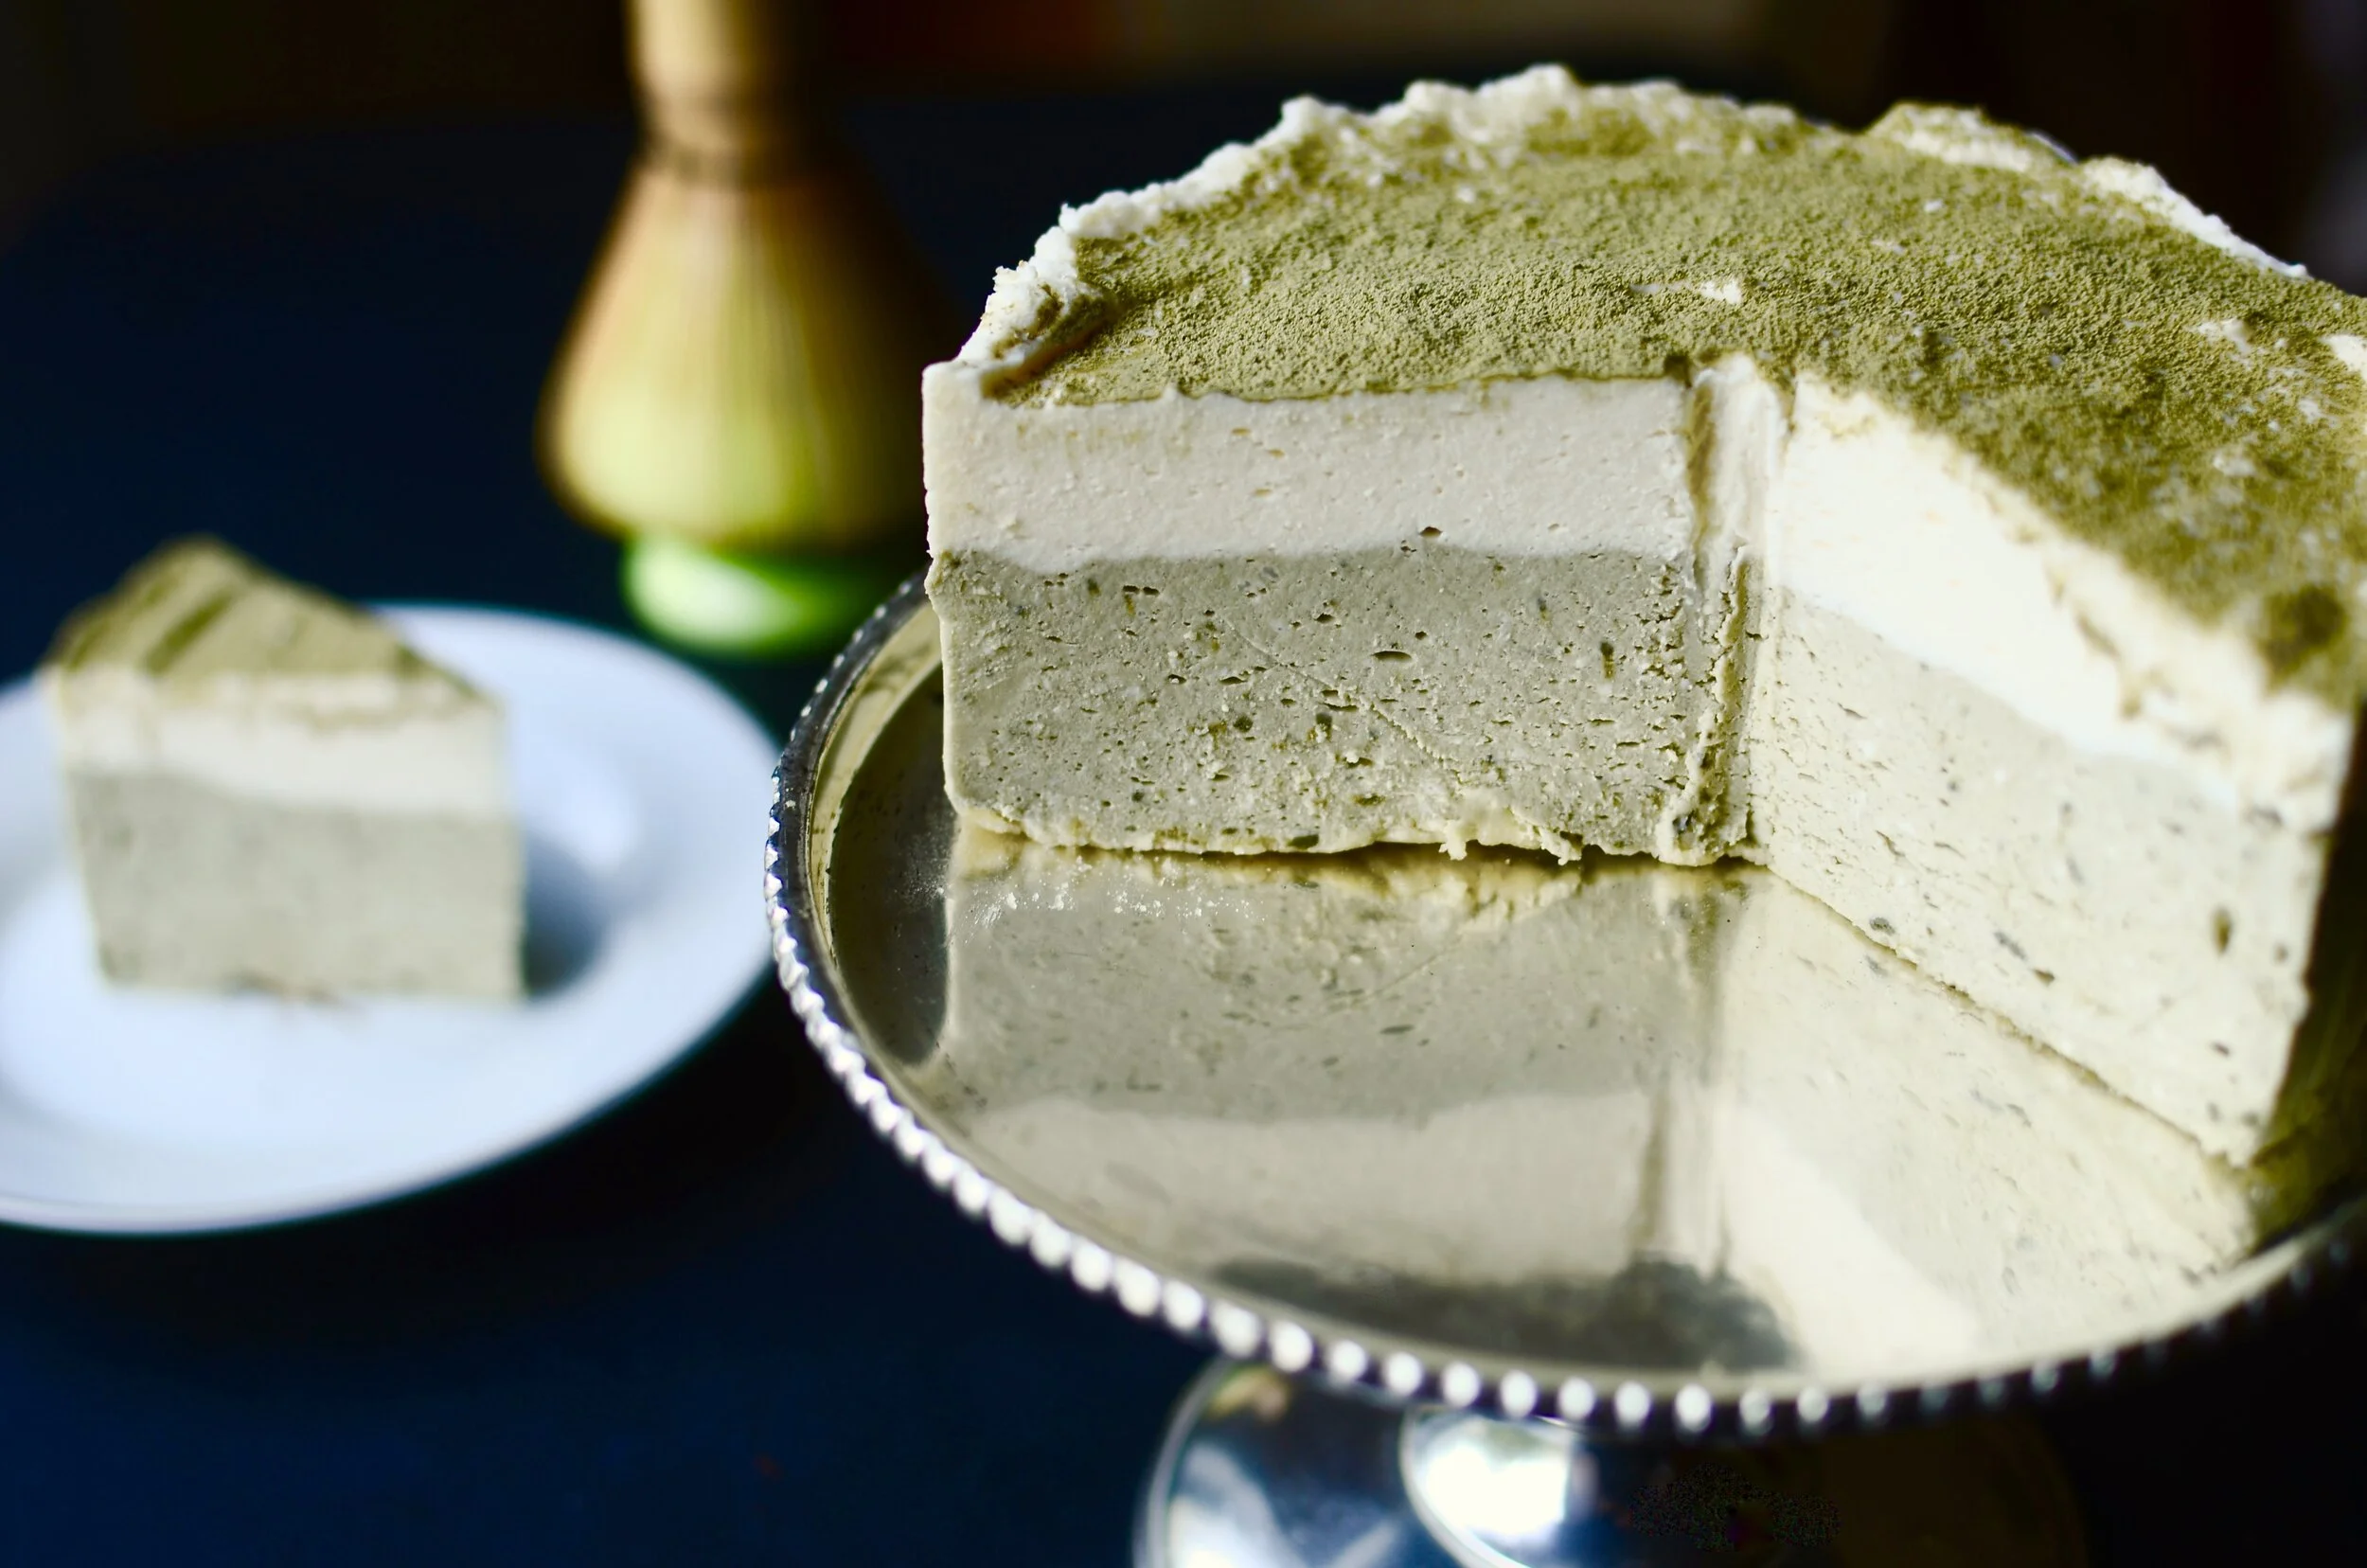
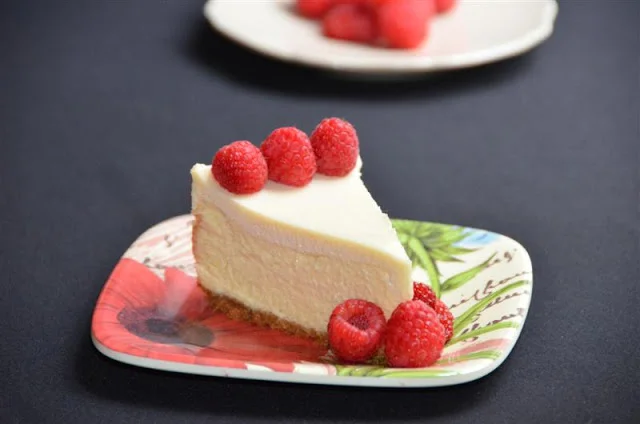
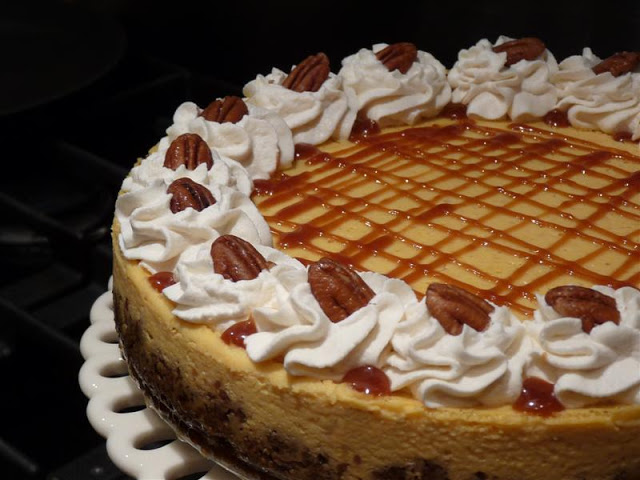
Reese's Minis Peanut Butter Cup Cheesecake
Patricia @ ButterYum
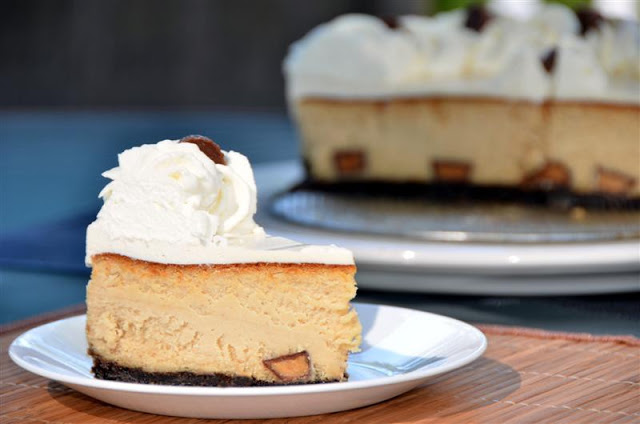
Kid #2 recently had a birthday and as expected, he requested his favorite meal - Shrimp Linguine Alfredo, garlic bread, green beans with garlicky mushrooms, and cheesecake. Easy, right? Almost - instead of our usual family favorite cheesecake, this year he specifically asked for a peanut butter cheesecake. Now, if you've been following my blog for any length of time, you probably are aware that I don't like peanut butter desserts, but I managed to come up with this version which is a compilation of a couple of different recipes. Although I refused to sample the finished product, all of my peanut butter loving taste testers gave it two thumbs up. Most importantly, the birthday boy proclaimed it to be the best cheesecake ever... so who am I to argue with the birthday boy?
Enjoy!


Items used to make this recipe:
(affiliate links)
Reese’s minis https://amzn.to/2Vo8iT0
oreo cookies https://amzn.to/2JyWlHM
10-inch springform pan https://amzn.to/3lJOLLx
pure vanilla extract https://amzn.to/2JDL5Ky
pure vanilla bean paste https://amzn.to/2LFg2R4
instant read digital thermometer https://amzn.to/2VlfPBS
insulated baking strips https://amzn.to/2W2esN8
my food processor https://amzn.to/2W2floW
professional stand mixer https://amzn.to/2ViwQNm
BeaterBlade attachment https://amzn.to/2Hg80d3
Reese's Minis Peanut Butter Cup Cheesecake
Makes one 10-inch Cheesecake (serves 16)
Ingredients
Crust:
12 cream filled chocolate cookies (like Oreos)
1 1/2 tablespoons unsalted butter, melted
Filling:
24 ounces cream cheese, room temperature
1 cup creamy peanut butter
3/4 cup granulated sugar
1/3 cup brown sugar
1 1/2 teaspoon pure vanilla extract
4 large eggs
1/3 cup sour cream
8 ounce package Reese's Minis (reserve 16 for garnish)
Topping:
16 ounces sour cream
1/2 cup sugar
1 teaspoon vanilla bean paste (or pure vanilla extract)
Garnish:
sweetened whipped cream
reserved mini peanut butter cups (16)
Directions
To make the crust:
Position rack in the lower center of the oven. Preheat to 350F.
In the bowl of a food processor, pulse the cream filled cookies (cream filling and all) and process until finely ground; add the melted butter and process until the mixture starts to stick together.
Press the crumb mixture in the bottom of a greased 10-inch springform pan.
Bake for about 12 minutes and then set aside to cool while you make the filling.
To make the filling:
In the bowl of a stand mixer, using the paddle attachment on low speed, combine the cream cheese and peanut butter until smooth; add sugar and continue to beat until smooth.
Add the eggs, one at a time, followed by the sour cream and vanilla: again, beating until smooth. Be careful to incorporate as little air as possible.
Pour enough batter into a 10-inch springform pan to cover the bottom crust; add all but the 16 reserved mini peanut butter cups and top with remaining batter.
Wrap the sides of the springform pan with insulated cake strips and place on a sheet pan (keeps the cheesecake sides from over baking).
Bake for 1 hour and 25 minutes.
To make the topping:
Whisk together the sour cream, sugar, and vanilla until the sugar dissolves; set aside at room temperature until cheesecake is done.
After 1 hour and 25 minutes, remove the cheesecake from the oven, but don't turn it off yet.
Pour sour cream topping onto hot cheesecake and smooth the surface; return to hot oven for 5 minutes.
Remove from oven and cool for 1 hour before placing in the fridge to chill for at least 4 hours (overnight is preferable).
To garnish:
Just before service, fill a large disposable pastry bag fitted with a large closed star tip and pipe a decorative border of sweetened whipped cream around the perimeter of the chilled cheesecake and evenly distribute the Reese's peanut butter cup minis.
Tips for Cheesecake Success:
Be sure the ingredients for the cheesecake batter are at room temperature (keep cream cheese wrapped to prevent it from drying out while it comes to room temperature).
Mix cheesecake batter on low speed to minimize air incorporation. Too much air mixed into the batter will cause the cheesecake to puff up and deflate during baking; resulting in a cracked top.
Cheesecakes should jiggle a bit in the center when removed from the oven (they continue to cook as they rest). It's not critical that you know this, but internal temperature in the center of the cheesecake should reach about 150F - I use an instant read digital thermometer to check.
Cheesecakes aren't firm enough to cut until they are completely chilled (at least 4 hours - overnight is best)
Cheesecakes will absorb lingering odors from the fridge so be sure to store in an airtight container.
For professional looking slices, rinse knife with hot water and dry between each cut.
(affiliate links)