Christmas Cookie Cutouts (No Futzing with Frosting)
Patricia @ ButterYum
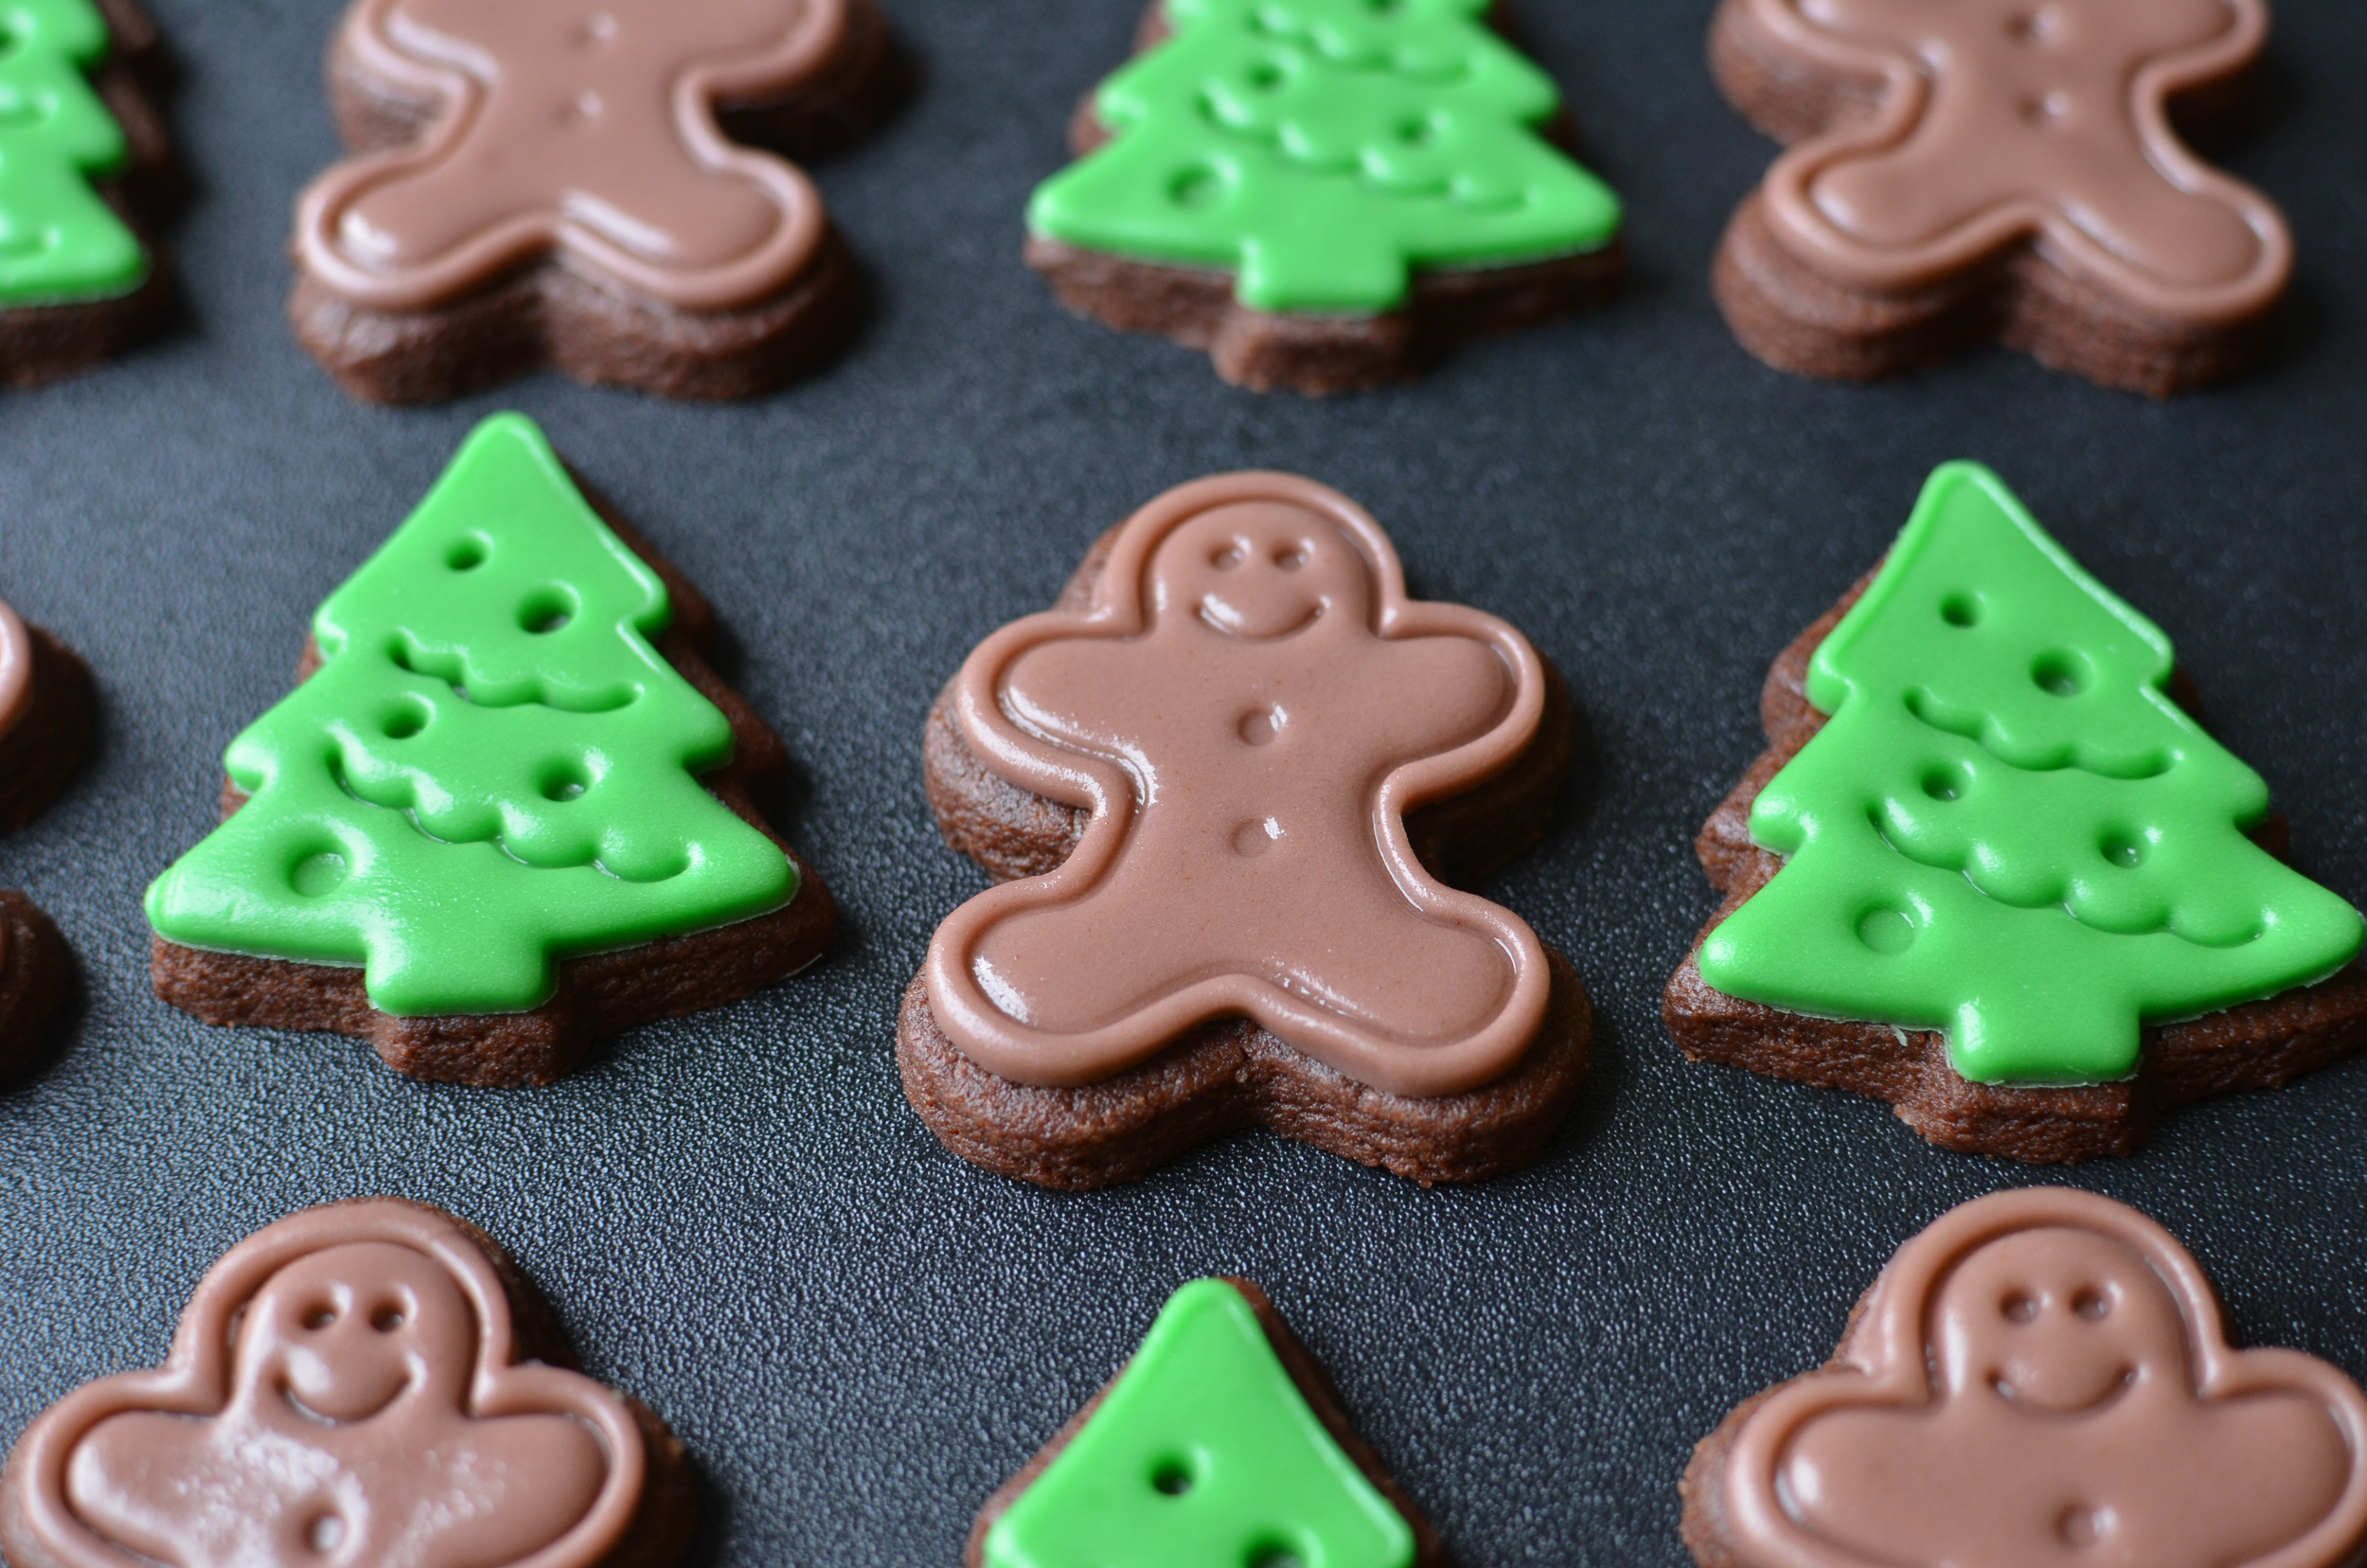
Aren't these cookies adorable? And they are so easy to make, you won't believe it. And you can make all different kinds. (Thanks to Terri for coming up with the catchy tagline!)
Here's a set of 4 small snowflake cutters, and the large snowflake cutter.
Here's a set that includes the snowman, gingerbread man, ornament, and Christmas tree.
To make the cookies, roll the cookie dough between 2 pieces of plastic wrap. No extra flour is needed and you can reroll the scraps multiple times without it affecting the quality of the cookies. To ensure all my cookies are the same thickness, I use rolling guides.
Now it's time to cut the cookies with the plunger cutters, but there's no need to push the plunger thingy down at this point. Pop the cut dough in the fridge to chill so the dough hardens before transferring the cutouts to a sheet pan - this will keep the cutouts from distorting.
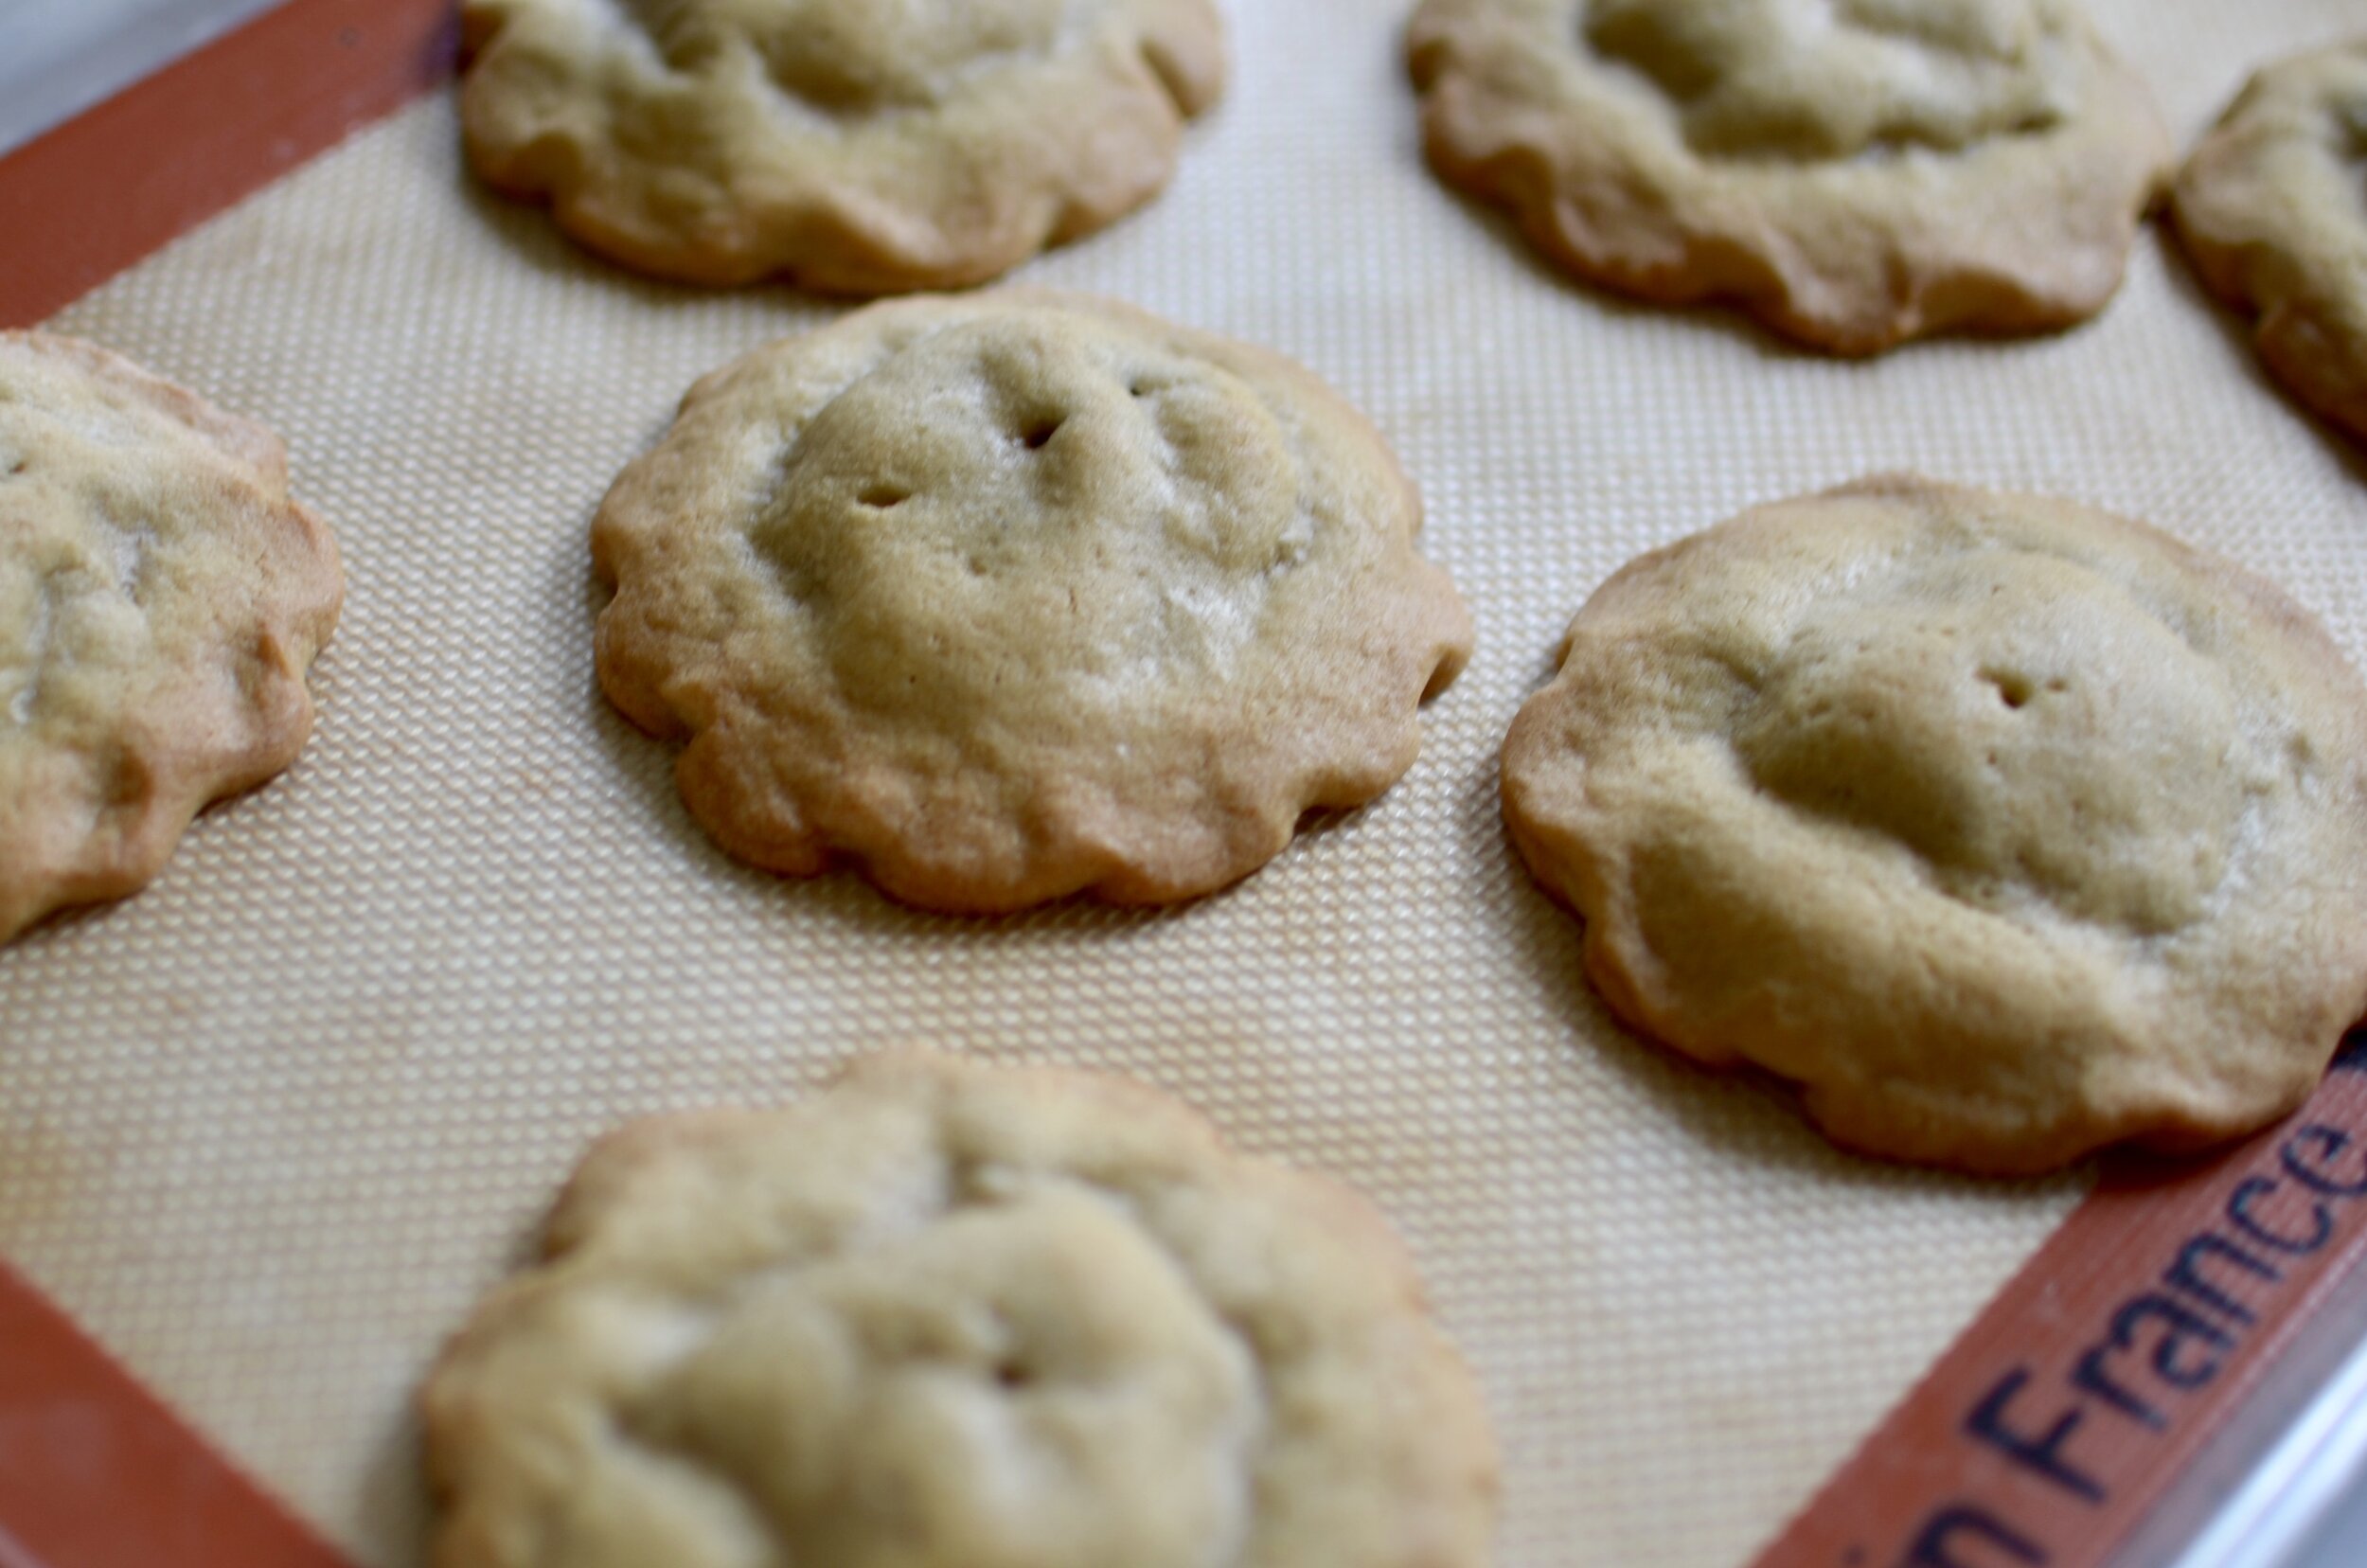
I forgot to get a photo of the cookies going into the oven, but you know the drill. I bake my cookies on a silpat lined half sheet pan.
While the cookies are baking, knead the fondant to make it pliable and roll it to 1/16-inch thickness, again I'm using my rolling guides. Use any fondant that you like. I sometimes buy colored fondant, but most of the time I buy white fondant and color it using gel colors.
When I cut the cookie dough, I didn't push the plunger down, but I will now.
Then I away the scraps and save them in an airtight container to be used another time. I let the fondant sit at room temp to firm up before placing them onto the baked cookies - if the room is warm, I pop them in the fridge for a couple minutes.
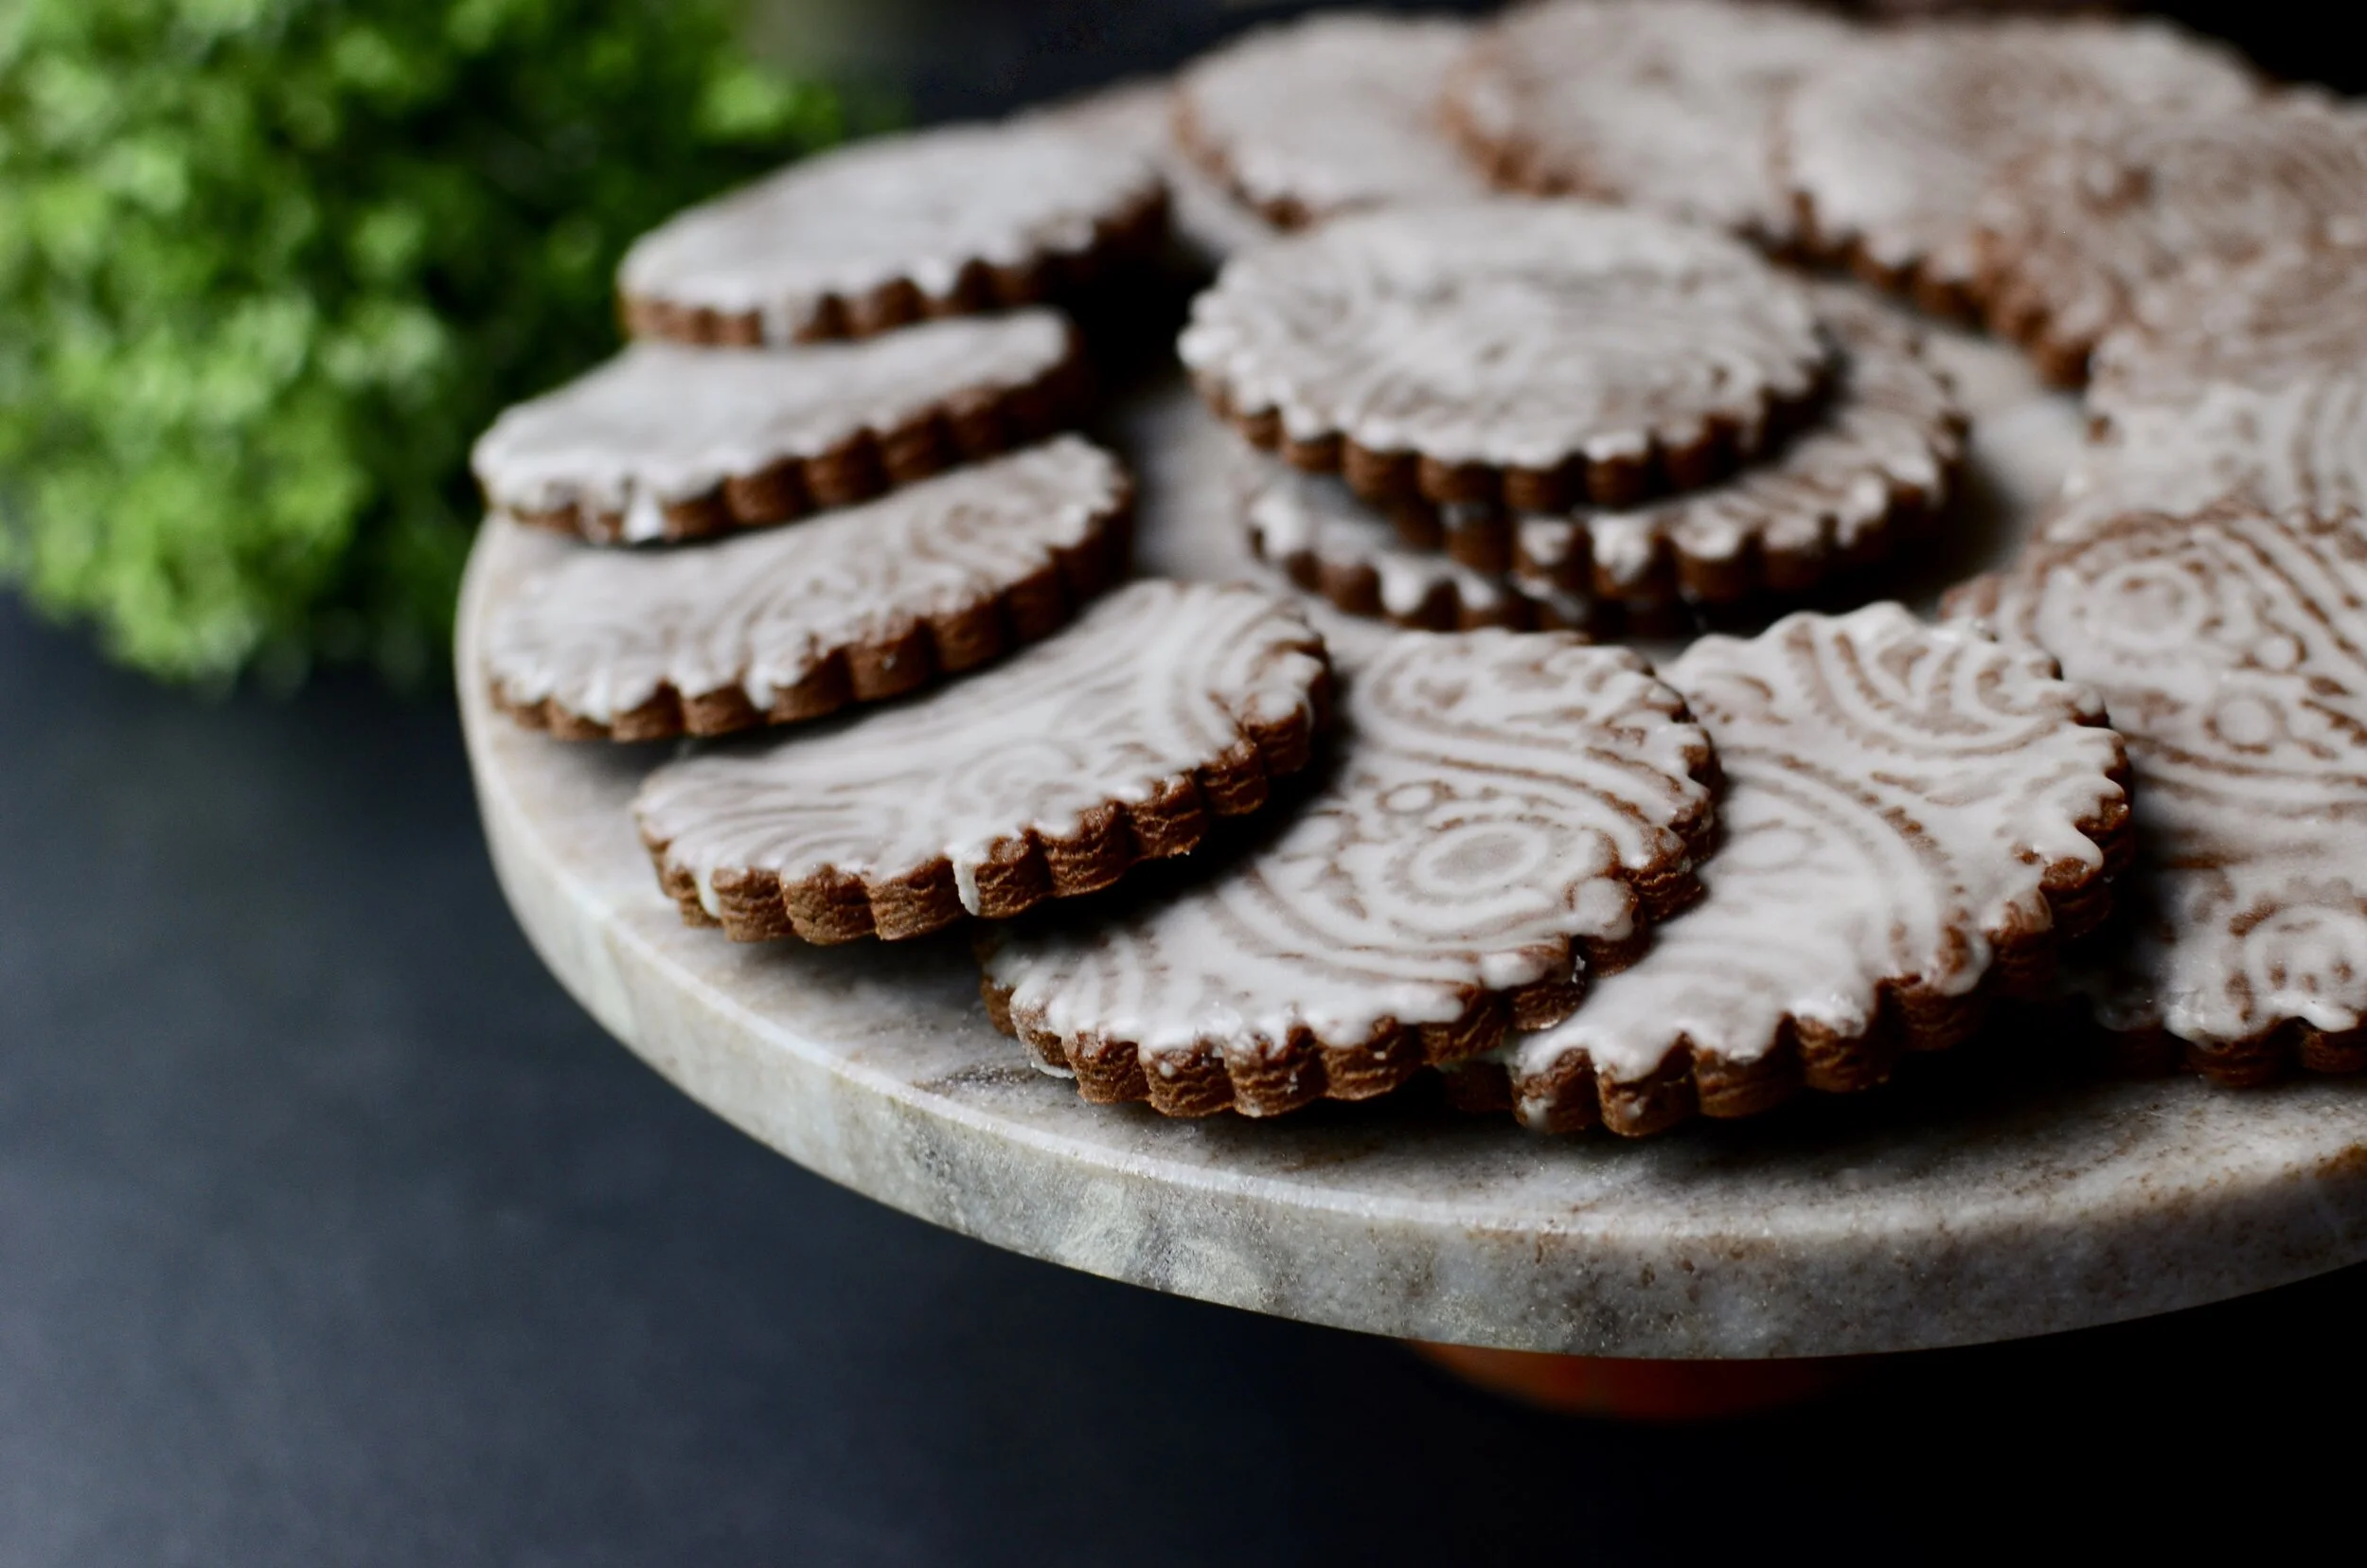
Place the fondant cutouts onto the cookies while they're still warm from the oven. This will allow the fondant to melt ever so slightly so it adheres to the cookie. That's it folks. Super easy.
And super cute!
I love them all, but the pink snowflakes are my favorite.
Okay, go get some plunger cutters and make yourself some cookies!


Items used to make this recipe:
(affiliate links)
pure vanilla extract https://amzn.to/3HanYSv
Dutch processed cocoa powder https://amzn.to/2SBYQL2
Christmas cutter set https://amzn.to/2Rlr3Zt
snowflake cutter set https://amzn.to/2ArHKbR
rolling guides https://amzn.to/2Vn82F6
silpat liner https://amzn.to/2CJPLKR
commercial half sheet pan https://amzn.to/3HdgONw
gel food colors https://amzn.to/33UOD7J
Christmas Cutout Cookies
Ingredients
2 1/4 cups all-purpose flour
1/2 cup Dutch-processed cocoa powder, sifted
1 teaspoon baking powder
1/4 teaspoon fine salt
1 cup butter, softened
1 cup granulated sugar
1 egg
1 teaspoon pure vanilla extract
Directions
To make the cookie dough:
In a medium bowl, whisk together the flour, cocoa powder, baking powder, and salt; set aside.
In the bowl of a stand mixer fitted with the BeaterBlade attachment, beat the butter and sugar on medium high speed for 30 seconds.
Add egg and vanilla; beat to combine.
Add flour mixture and beat until incorporated.
Remove dough from mixer bowl and wrap well with plastic wrap; chill for 1-3 hours.
Preheat oven to 375F.
Roll each dough portion to 3/16-inch thickness on a lightly floured surface.
Cut out desired shapes with floured plunger cutters, without plunging the design into the cutout.
Chill dough before transferring cutouts to sheet pan to prevent distorting.
Bake for 6-8 minutes; remove from oven and top with fondant cutouts that have the design pressed into them.
Cool completely before serving. Store in airtight container between with wax paper between layers.
Notes
Recipe makes 40-60 cookies, depending on size.
Plan to use about 1/2 pound fondant (I like to buy white fondant so I can color it any way I like).
Fondant cutouts can be made a day or more in advance if stored on wax or parchment paper in an airtight container.
If cookies cool before fondant toppers are added, warm the cookies for a few seconds in the microwave.