contact us

Use the form on the right to contact us.

You can edit the text in this area, and change where the contact form on the right submits to, by entering edit mode using the modes on the bottom right.


123 Street Avenue, City Town, 99999

(123) 555-6789

email@address.com


You can set your address, phone number, email and site description in the settings tab.
Link to read me page with more information.

Blog

Butteryum food blog recipes

Filtering by Category: canning and preserving recipes

Freezing Cherries

Patricia @ ButterYum

Freezing Fresh Cherries - ButterYum. now to freeze cherries. how to freeze fresh cherries. how to freeze bing cherrie. how to freeze sweet cherries.

Fresh cherries are in season and I thought I'd show you how easy it is to freeze them for future use.  This technique works for sweet or tart cherries.  

how to freeze fresh cherries - ButterYum

Start with clean cherries.  Remove all stems and pits.  I like to use a nifty cherry pitter - it's kind of fun.... and as you can see, a little messy too.  Totally worth it though.

Actually, you can freeze cherries without pitting them, but I prefer to use a cherry pitter to get the pesky pits out before freezing.

PittedCherriesOnPlasticLinedSheetPan

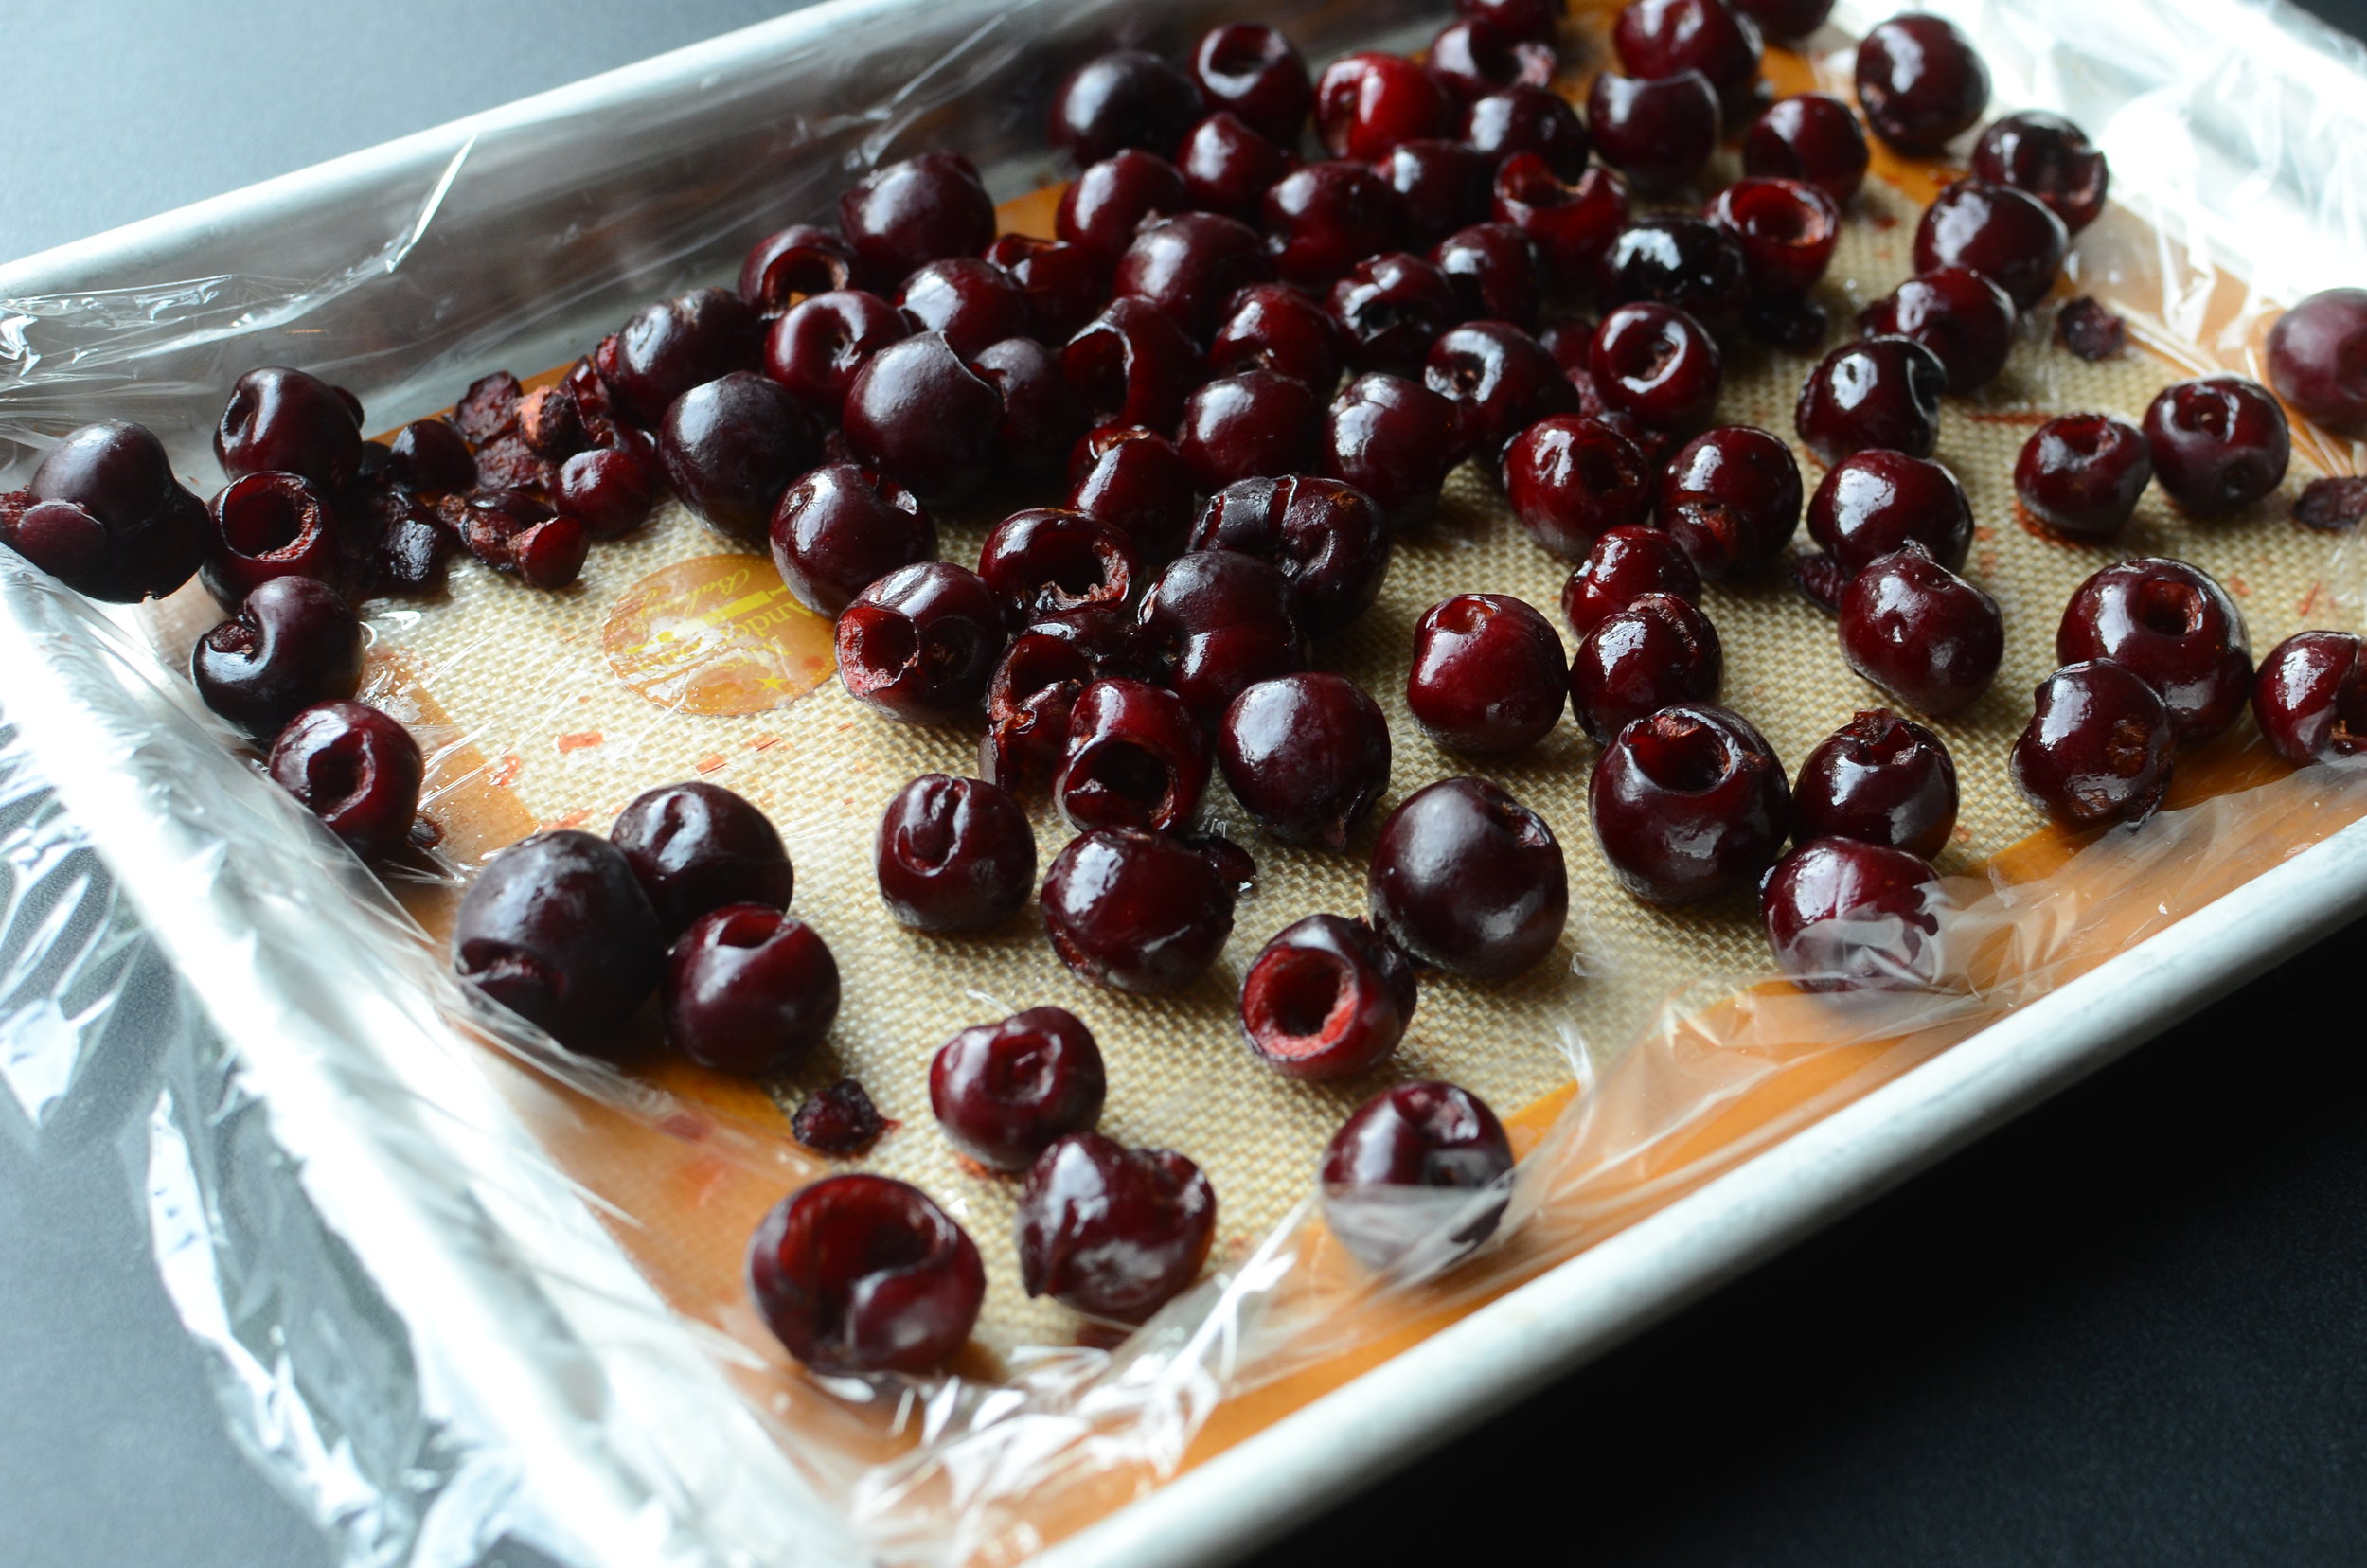
Place the pitted cherries in a single layer on a sheet pan and pop them in the freezer for a few hours or overnight.  I've lined my pan with plastic wrap to keep the cherries from sticking and for easy cleanup.  Parchment paper would work too. 

If you have a side-by-side freezer, a quarter sheet pan should fit.

how to pit and freeze sweet or tart cherries - ButterYum

Here's how my cherries looked after they were frozen overnight.

prepping fresh cherries for storage in the freezer - ButterYum

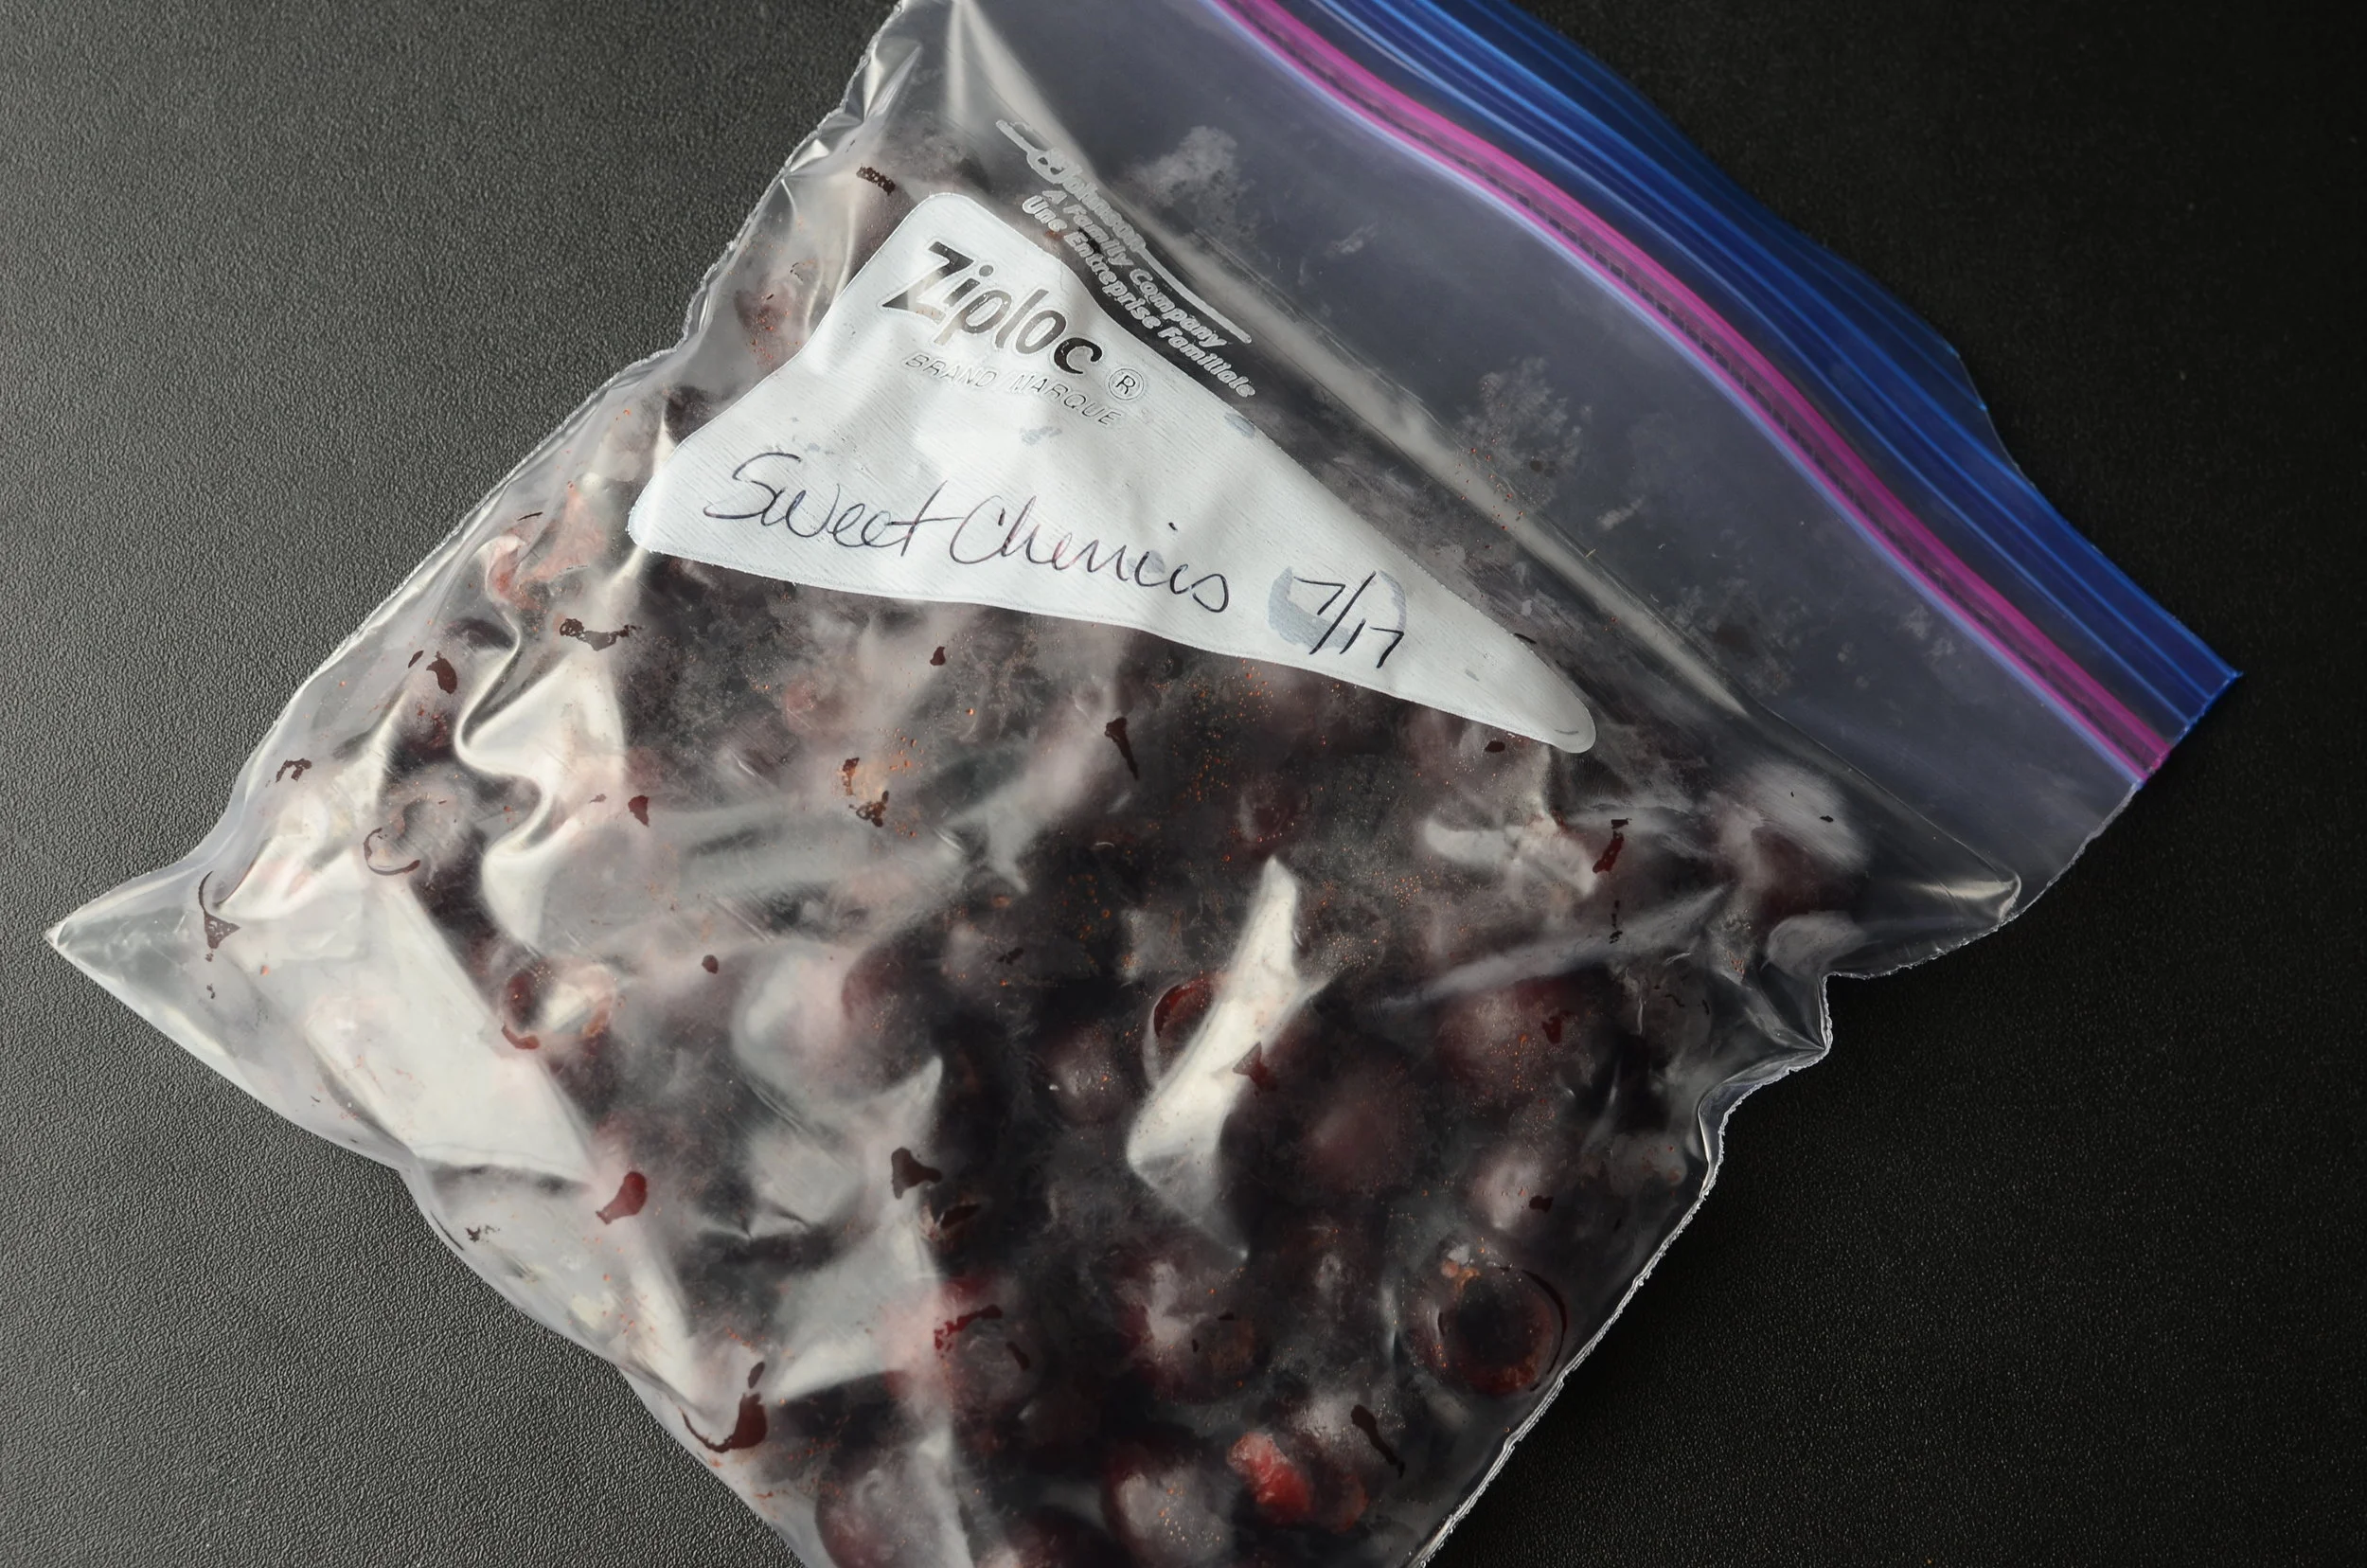
Transfer the frozen cherries in a freezer-grade storage bag and place in freezer.  That's all there is to it.


Items used:

(affiliate links)

DIY Sun-Dried Tomatoes

Patricia @ ButterYum

DIY Sun-Dried Tomatoes - ButterYum

Tomato season is winding down here in VA and I have a wonderful way to prolong the life of all those cherry tomatoes bursting out of your garden.  Everybody love sun-dried tomatoes, but do you know how they're made?  They're placed outside  and allowed to dry naturally, uncovered and exposed to all kinds of debris floating around in the air (dust, pollen, and yes, bugs).  I prefer a more controlled environment - a clean, dust-free, pollen-free, bug-free dehydrator.   

Wash and cut your little tomatoes in half length-wise.

Place them cut side up on dehydrator trays, allowing space between them so the air can flow freely around each tomato.  Give them a light sprinkling of Kosher salt.

Stack up as many trays as you need and turn on the dehydrator.  The total time will vary greatly depending on the size of your tomatoes, but mine took about 14 hours on a very low setting, rotating the racks every few hours.  Follow the guidelines give by your dehydrator or just check them periodically, removing individual tomatoes as they're done.  I like them to remain on the soft and chewy side - they'll feel flexible and leathery, but they won't exude any moisture when pressed between your thumb and forefinger.  If you let them dehydrate longer, they'll turn crispy - great for snacking, but if you want to cook with them, reconstitute them in warm water until pliable before using.  

DIY Sun-Dried Tutorial, how to make sun-dried tomatoes with step by step photos, dehydrated tomatoes with how-to photos

I like to store my dried tomatoes in the fridge, in a pretty, repurposed jam jar filled with really good olive oil.  Use in recipes, on salads, or just snack on them.  They'll last for many months in the fridge.  Enjoy! 

how to make your own sun-dried tomatoes, technique and step-by-step photos

Items used to make this recipe:

(affiliate links)