contact us

Use the form on the right to contact us.

You can edit the text in this area, and change where the contact form on the right submits to, by entering edit mode using the modes on the bottom right.


123 Street Avenue, City Town, 99999

(123) 555-6789

email@address.com


You can set your address, phone number, email and site description in the settings tab.
Link to read me page with more information.

Blog

Butteryum food blog recipes

Filtering by Tag: tomato recipes

DIY Sun-Dried Tomatoes

Patricia @ ButterYum

DIY Sun-Dried Tomatoes - ButterYum

Tomato season is winding down here in VA and I have a wonderful way to prolong the life of all those cherry tomatoes bursting out of your garden.  Everybody love sun-dried tomatoes, but do you know how they're made?  They're placed outside  and allowed to dry naturally, uncovered and exposed to all kinds of debris floating around in the air (dust, pollen, and yes, bugs).  I prefer a more controlled environment - a clean, dust-free, pollen-free, bug-free dehydrator.   

Wash and cut your little tomatoes in half length-wise.

Place them cut side up on dehydrator trays, allowing space between them so the air can flow freely around each tomato.  Give them a light sprinkling of Kosher salt.

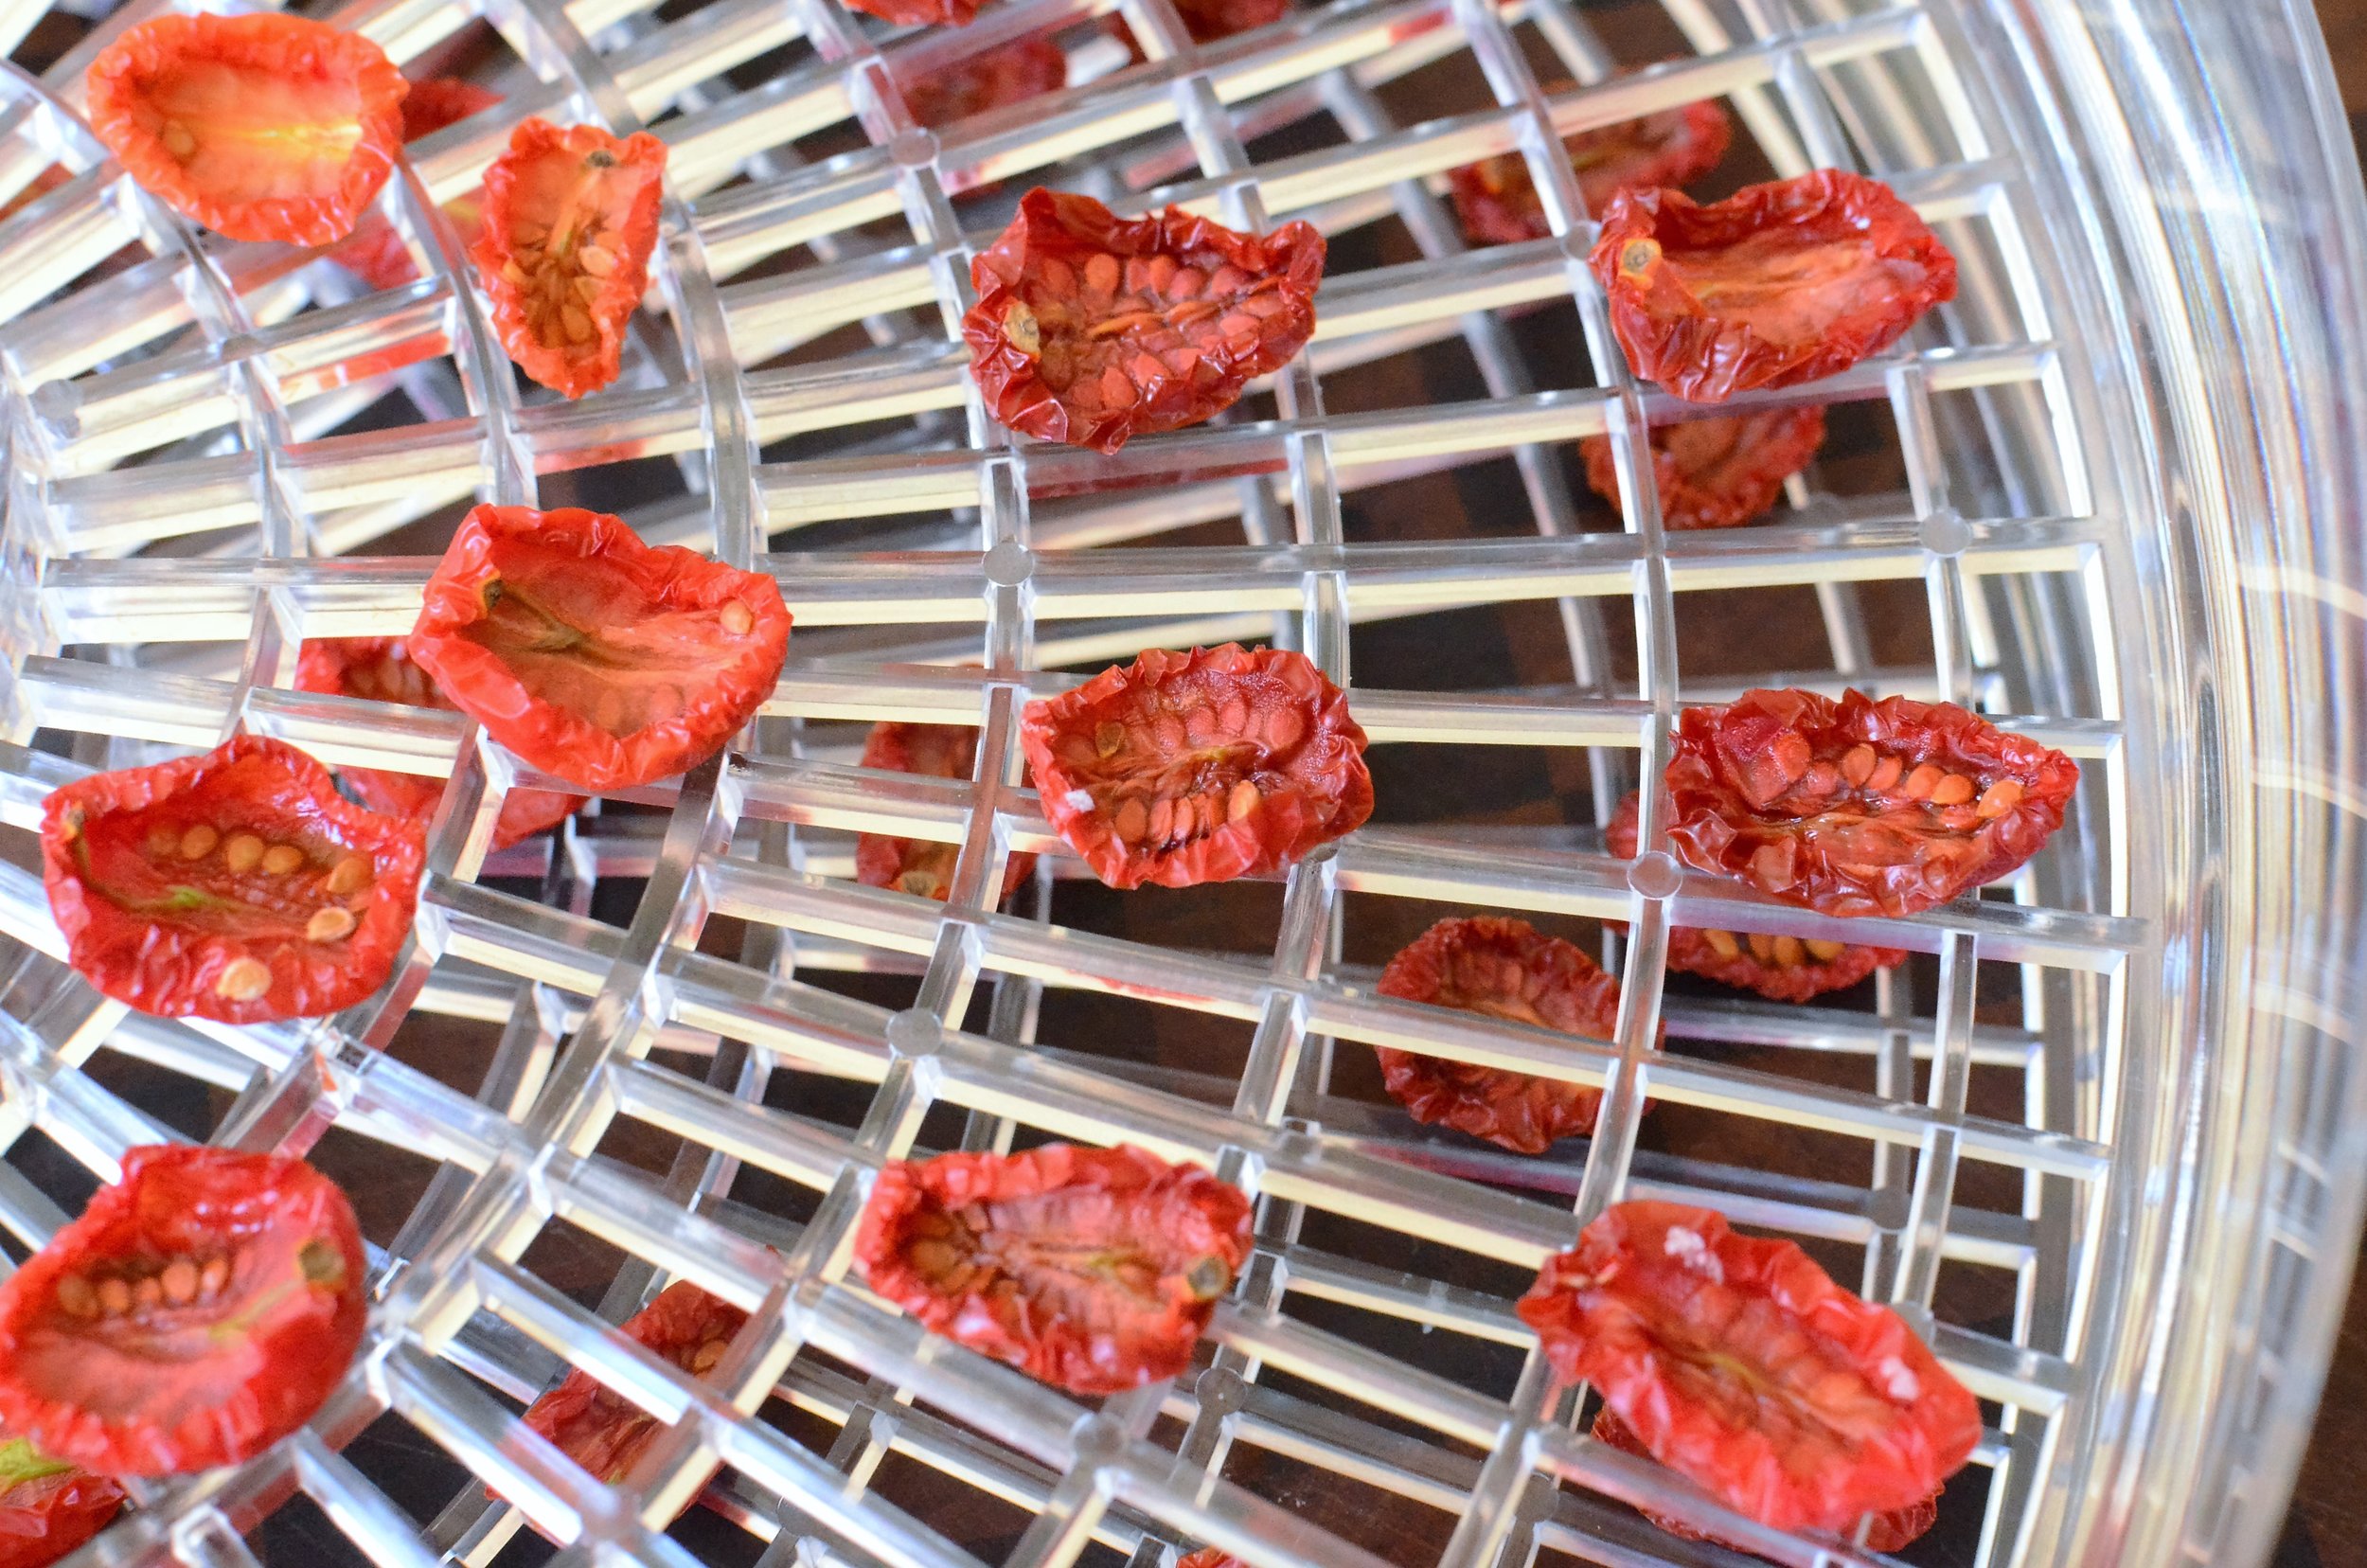
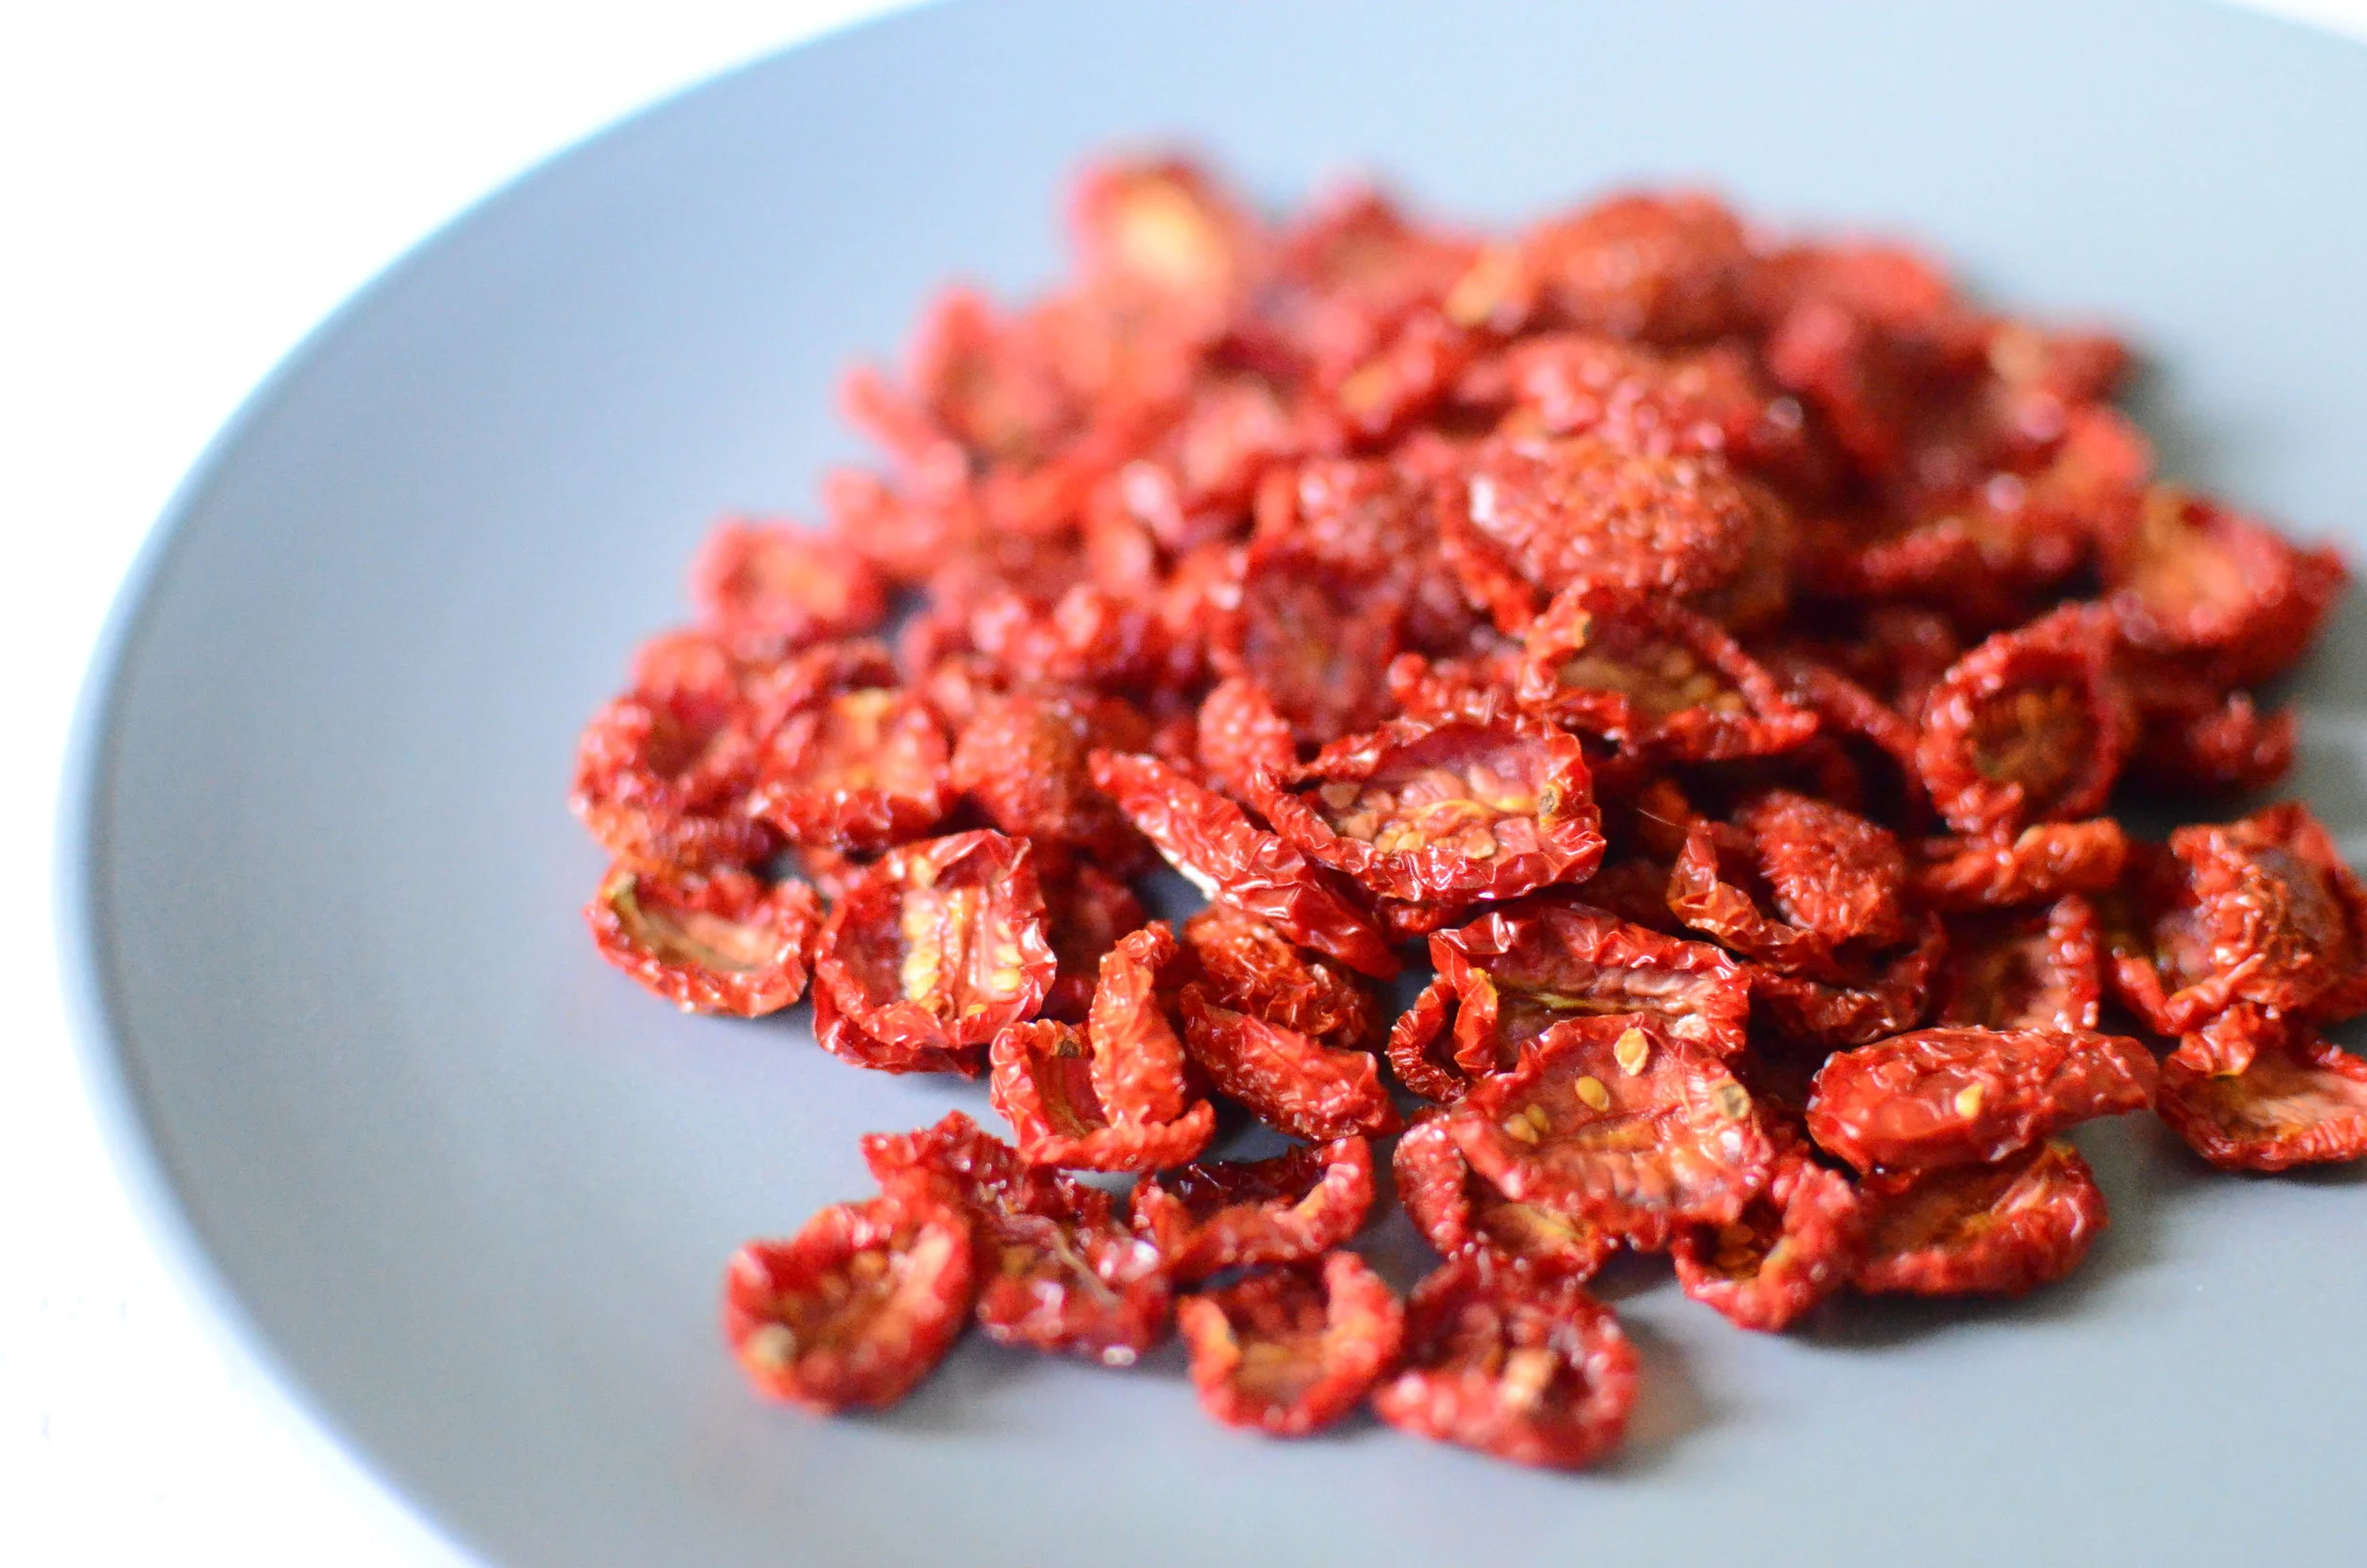
Stack up as many trays as you need and turn on the dehydrator.  The total time will vary greatly depending on the size of your tomatoes, but mine took about 14 hours on a very low setting, rotating the racks every few hours.  Follow the guidelines give by your dehydrator or just check them periodically, removing individual tomatoes as they're done.  I like them to remain on the soft and chewy side - they'll feel flexible and leathery, but they won't exude any moisture when pressed between your thumb and forefinger.  If you let them dehydrate longer, they'll turn crispy - great for snacking, but if you want to cook with them, reconstitute them in warm water until pliable before using.  

DIY Sun-Dried Tutorial, how to make sun-dried tomatoes with step by step photos, dehydrated tomatoes with how-to photos

I like to store my dried tomatoes in the fridge, in a pretty, repurposed jam jar filled with really good olive oil.  Use in recipes, on salads, or just snack on them.  They'll last for many months in the fridge.  Enjoy! 

how to make your own sun-dried tomatoes, technique and step-by-step photos

Items used to make this recipe:

(affiliate links)

Oven Roasted Tomato Dip-Sauce-Spread-Stuff...

Patricia @ ButterYum

I don't know what you should call it, but do yourself a favor and grab some Roma tomatoes - you're going to want to make this delectable dip-sauce-spread-stuff right away.

Did I mention how versatile this stuff is? Use it as a great dip for fresh veggies or pita chips, use it as a sauce on chicken or pasta**, use it as a flavorful mayo substitute on cold cut sandwiches, or use it as a delicious accompaniment to your favorite cooked eggs. Let me know how you decide to enjoy this yummy concoction.

As usual, it's really easy to make - let me show you how. Here we go...

First we roast Roma tomatoes and whole cloves of garlic in a hot oven. Cool to room temperature and proceed to the next step.

When tomatoes and garlic are cool, peel the papery skin off the garlic cloves. Put peeled garlic, tomatoes, cream cheese, sour cream, salt, and pepper into food processor bowl fitted with a metal cutting blade. Process until mix is smooth. Serve at room temperature. May be made up to 2 days ahead. Refrigerate leftovers.

Oven Roasted Tomato Dip-Sauce-Spread-Stuff

makes about 2 cups

Printable Recipe

Ingredients

  • 6 Roma Tomatoes, quartered

  • 2 clove garlic, whole and unpeeled

  • 2-3 tablespoons olive oil

  • 6 ounces cream cheese, softened

  • 1/4 cup sour cream

  • 1 1/4 teaspoons Kosher salt

  • 1 1/2 teaspoons ground black pepper

  • Garnish with chopped chives, scallions, or parsley

Directions

  1. Preheat oven to 450F.

  2. Place tomatoes and whole, skin-on garlic cloves on a baking sheet.

  3. Sprinkle with olive oil and toss to coat.

  4. Roast in a preheated oven for 25-30 minutes.

  5. Remove from oven and cool completely.

  6. Remove paper skin from garlic cloves.

  7. Place tomatoes, peeled garlic, cream cheese, sour cream, and s&p into the work bowl of a food processor fitted with metal chopping blade.

  8. Process until smooth.

  9. Garnish and serve at room temperature.

Notes

  • Can be made up to 2 days in advance. Refrigerate leftovers.

  • To use as a sauce for pasta, thin it slightly with a bit of milk or cream. Use it sparingly - it's very intensely flavored.