Prince William's Favorite Chocolate Biscuit Cake
Patricia @ ButterYum
I had been waiting for an opportunity to make The Royal Touch Chocolate Biscuit Cake by Darren McGrady (chef to Queen Elizabeth) since I first heard about it around the time of William and Katherine's wedding. Father's Day was just such an opportunity - my husband loves all things chocolate, and we had all the kids home for dinner so I knew I wouldn't have a lot of leftover cake through the week.
Most of you probably know by now that this is the cake Prince William requested as his Groom's Cake. It's apparently a favorite of Queen Elizabeth's as well - Grady reports she ordered it every time Prince William would join her for tea.
Although this is a no-bake cake, you'll need to prepare it at least 4 or 5 hours ahead of time. It stores nicely in the refrigerator for several days once made (sits well covered at room temperature for several days too). Chef McGrady suggests serving it chilled, but my family enjoyed it best at room temperature. Either way, it's incredibly rich so serve very thin slices with plenty of coffee, tea, or milk.
Coincidentally, I just learned that today is Prince William's birthday. I wonder if he’ll be enjoying this cake?
Prince William's Chocolate Biscuit Cake
makes one 6-inch cake (I used an 8x4 silicone loaf pan) or 8-12 servings
Ingredients
Softened butter for greasing pan
8 ounces McVities tea biscuits, broken into pieces (or digestive biscuits - click here for a recipe to make your own)
4 tablespoons unsalted butter, softened
1/2 cup superfine granulated sugar (caster sugar)
4 ounces dark chocolate, chopped
1 egg, beaten
8 ounces dark chocolate, chopped (for icing)
Cinnamon for dusting
Directions
Lightly grease a 6" spring form pan; set aside.
Cream the butter and sugar in a bowl until mixture has lightened in color.
Melt 4 ounces chocolate in a double boiler.
Add butter and sugar mixture to the chocolate whisking constantly.
Add the egg and continue to whisk.
Fold in biscuit pieces until they are completely coated with the chocolate mixture.
Spoon the chocolate coated biscuits into the prepared pan.
Press firmly with the back of a spoon to fill in any gaps (tap the pan on the counter to help settle the biscuit pieces) - the bottom of the cake will be the top when turned out. Chill the cake in the refrigerator for 3 hours.
Unmold cake and rest, bottom side up, on a wire rack.
Melt remaining 8 ounces of chocolate and pour over the cake.
Spread smooth with an off-set spatula.
Allow chocolate coated cake to sit at room temperature until chocolate is set.
When set, run a spatula under the cake to remove from wire rack (chocolate makes it stick a little).
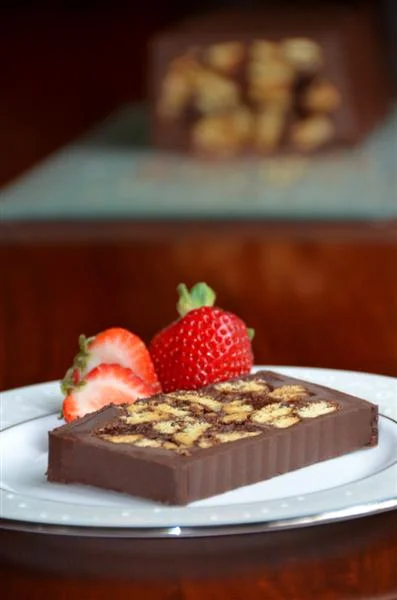
Transfer to a fancy serving platter; slice and serve.
Notes
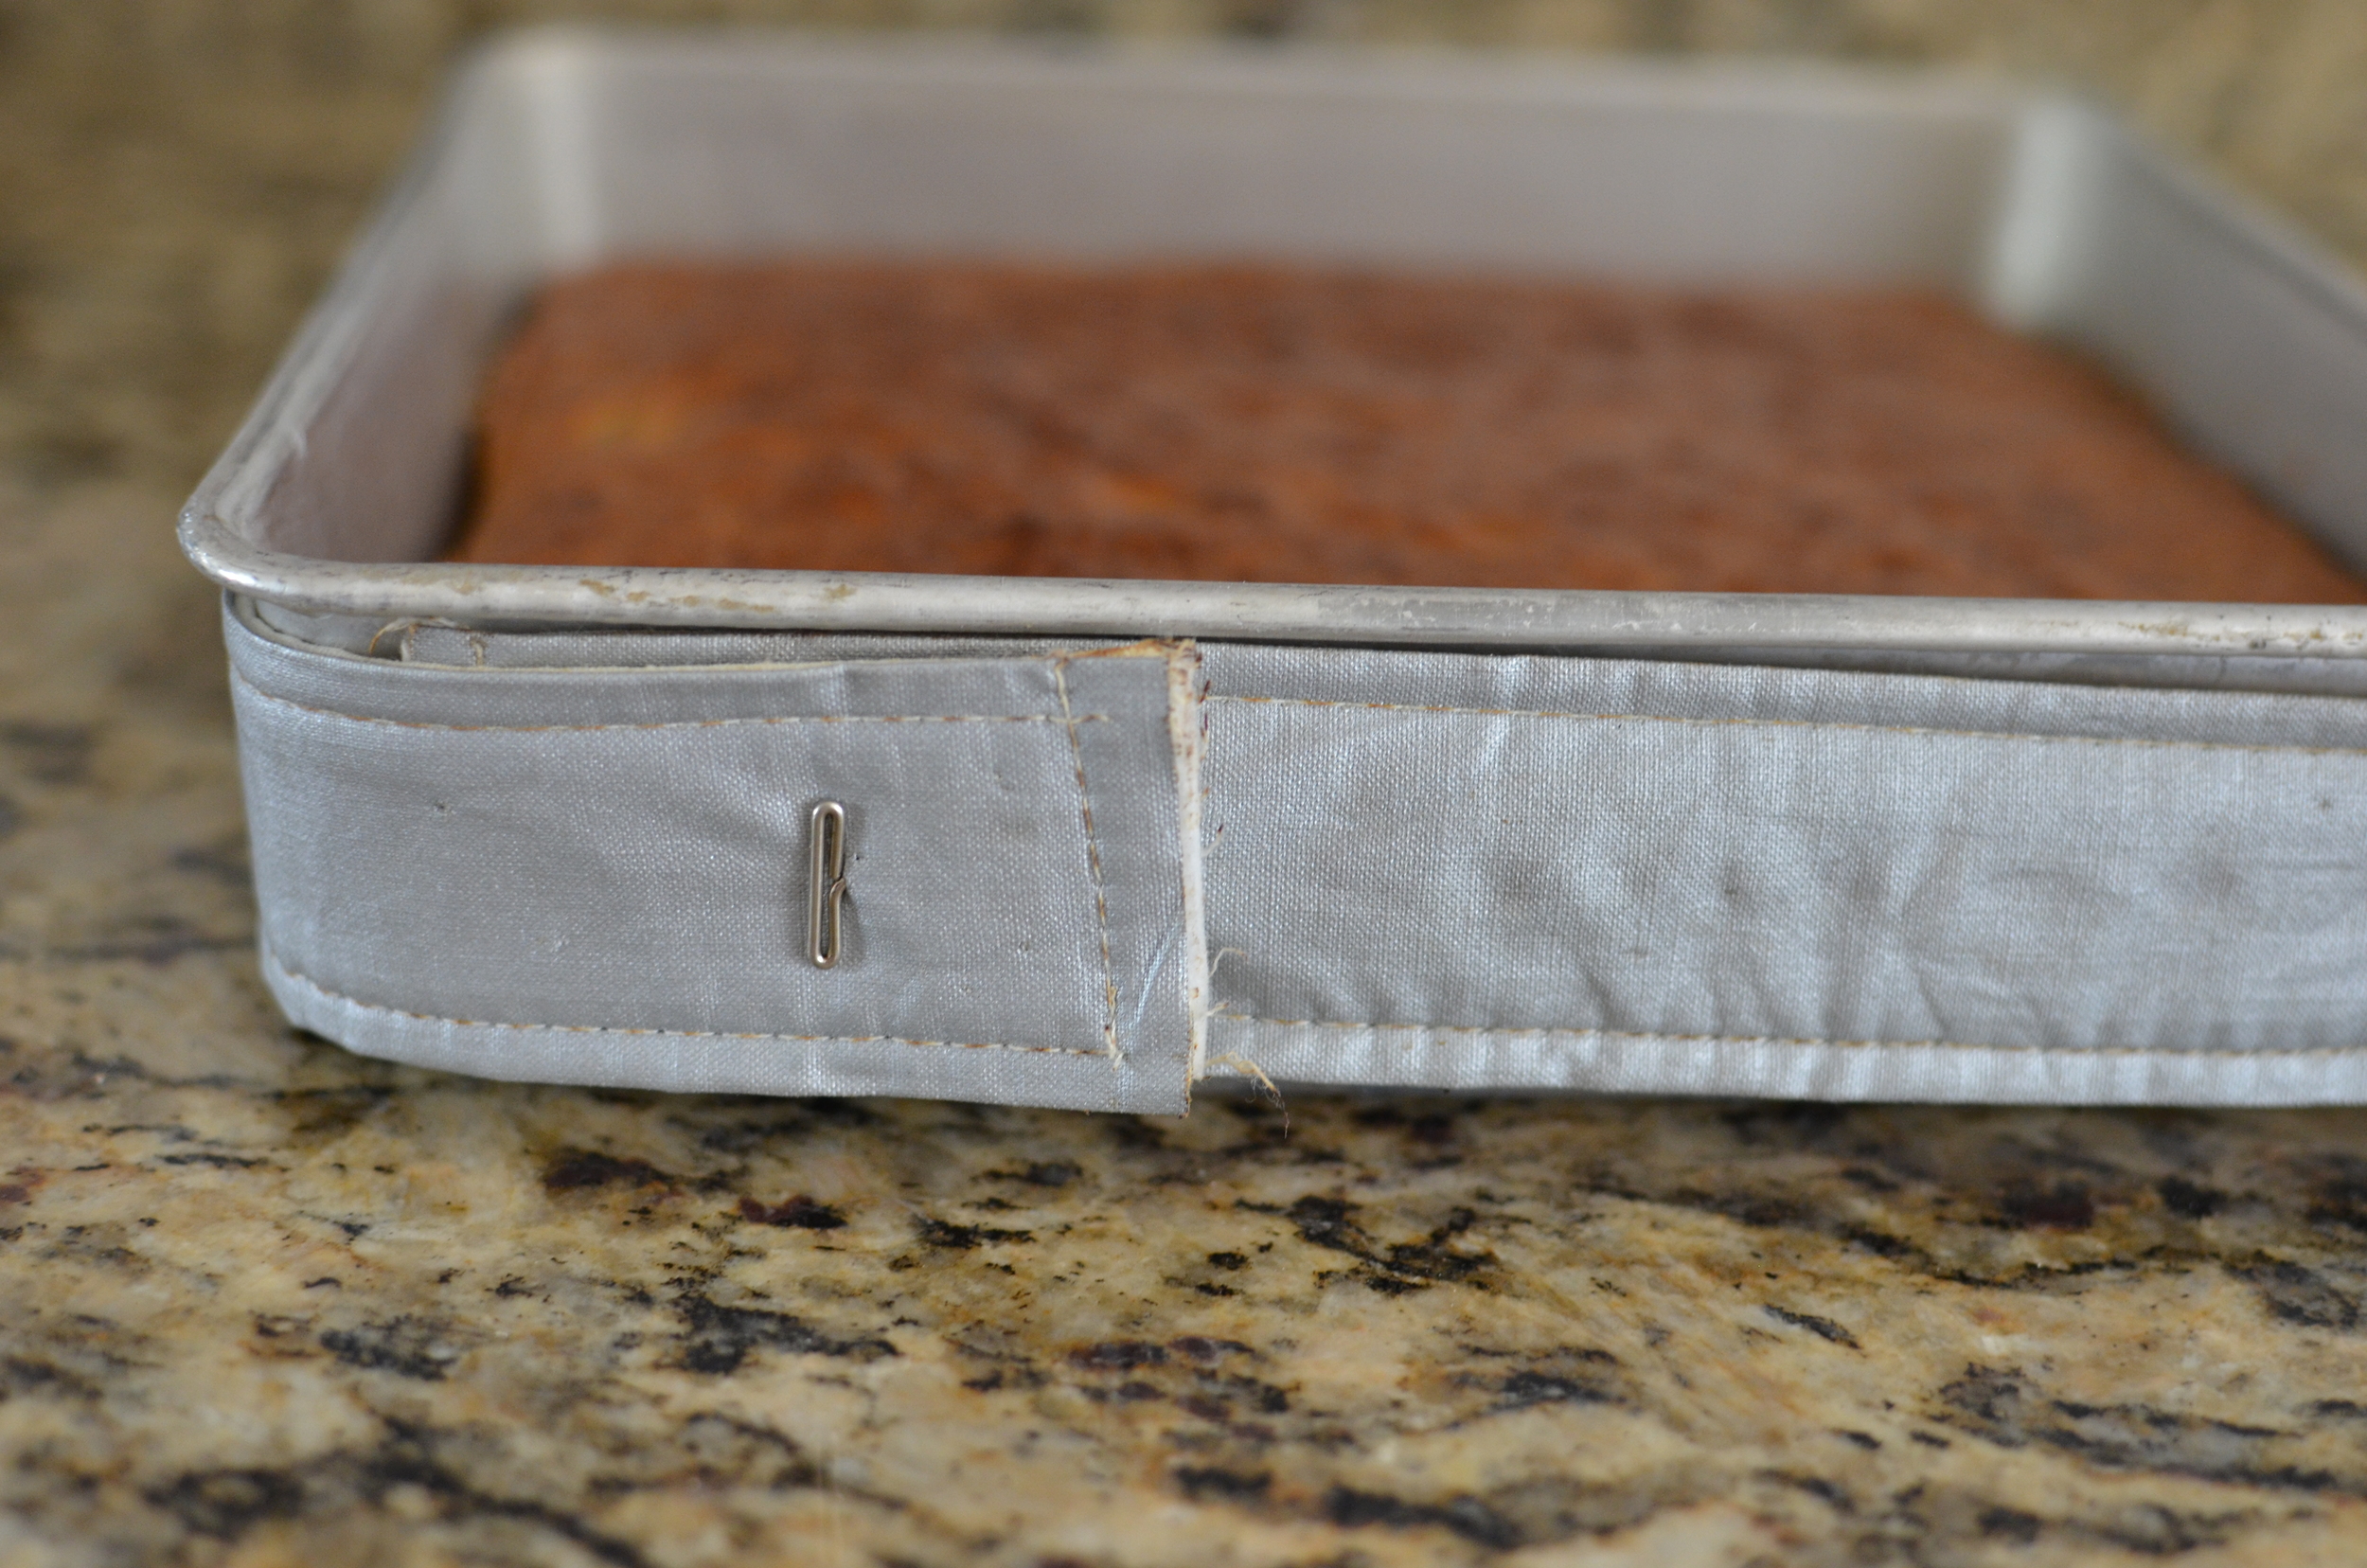
My 6-inch spring form pan seems to be missing in action, so I used an 8x4 silicone loaf pan which worked perfectly (and I think neat slices offer a more elegant presentation). An added bonus - chilled chocolate doesn't stick to silicone at all.
One 8x4 cake will serve 16 1/2-inch slices.
McVities (aka digestive biscuits) are a sandy textured wheat cookie from the UK. I found them here in the US in the international aisle at Wegman's. Graham crackers, arrowroot cookies, or chocolate wafers would all be nice substitutions. Or you can make your own - click here for the recipe.
You can make your own superfine sugar from white granulated sugar - just blitz it in your food processor.
Darren McGrady: A chocolate biscuit cake is not a traditional cake in the fresh-from-the-oven sense. It's essentially a chilled chocolate-butter mousse speckled with crushed cookies, then glazed in chocolate. "I used to prepare it for both [Prince William and the Queen] when they had tea together," explains McGrady via his blog . "The Queen would request the cake in the menu book for Sunday tea when she knew her grandson would be joining her from Eton."
McGrady says when afternoon tea included the chocolate biscuit cake, the staff knew not to dare touch the leftovers (it keeps well for several days in the fridge). "Her Majesty loves this cake so much she takes a mental picture of how much she is sending back to the kitchens each day," continues McGrady. "I remember her on one occasion instructing her page to call the kitchen to ask who had been eating her cake."
adapted from Darren McGrady, Eating Royally