Three Ways to Season Carbon Steel
Patricia @ ButterYum
Carbon Steel cookware has been around for generations. It’s long been a favorite of professional chefs, and for good reason, but home cooks are starting to catch on. Like cast iron, carbon steel needs to be seasoned regularly to build up a nonstick finish and prevent it from rusting, but its lighter weight and heats much more quickly than cast iron so you’ll find yourself reaching for it again and again. It also has a smooth, polished finish that results in a more nonstick cooking surface than the cast iron being produced these days.
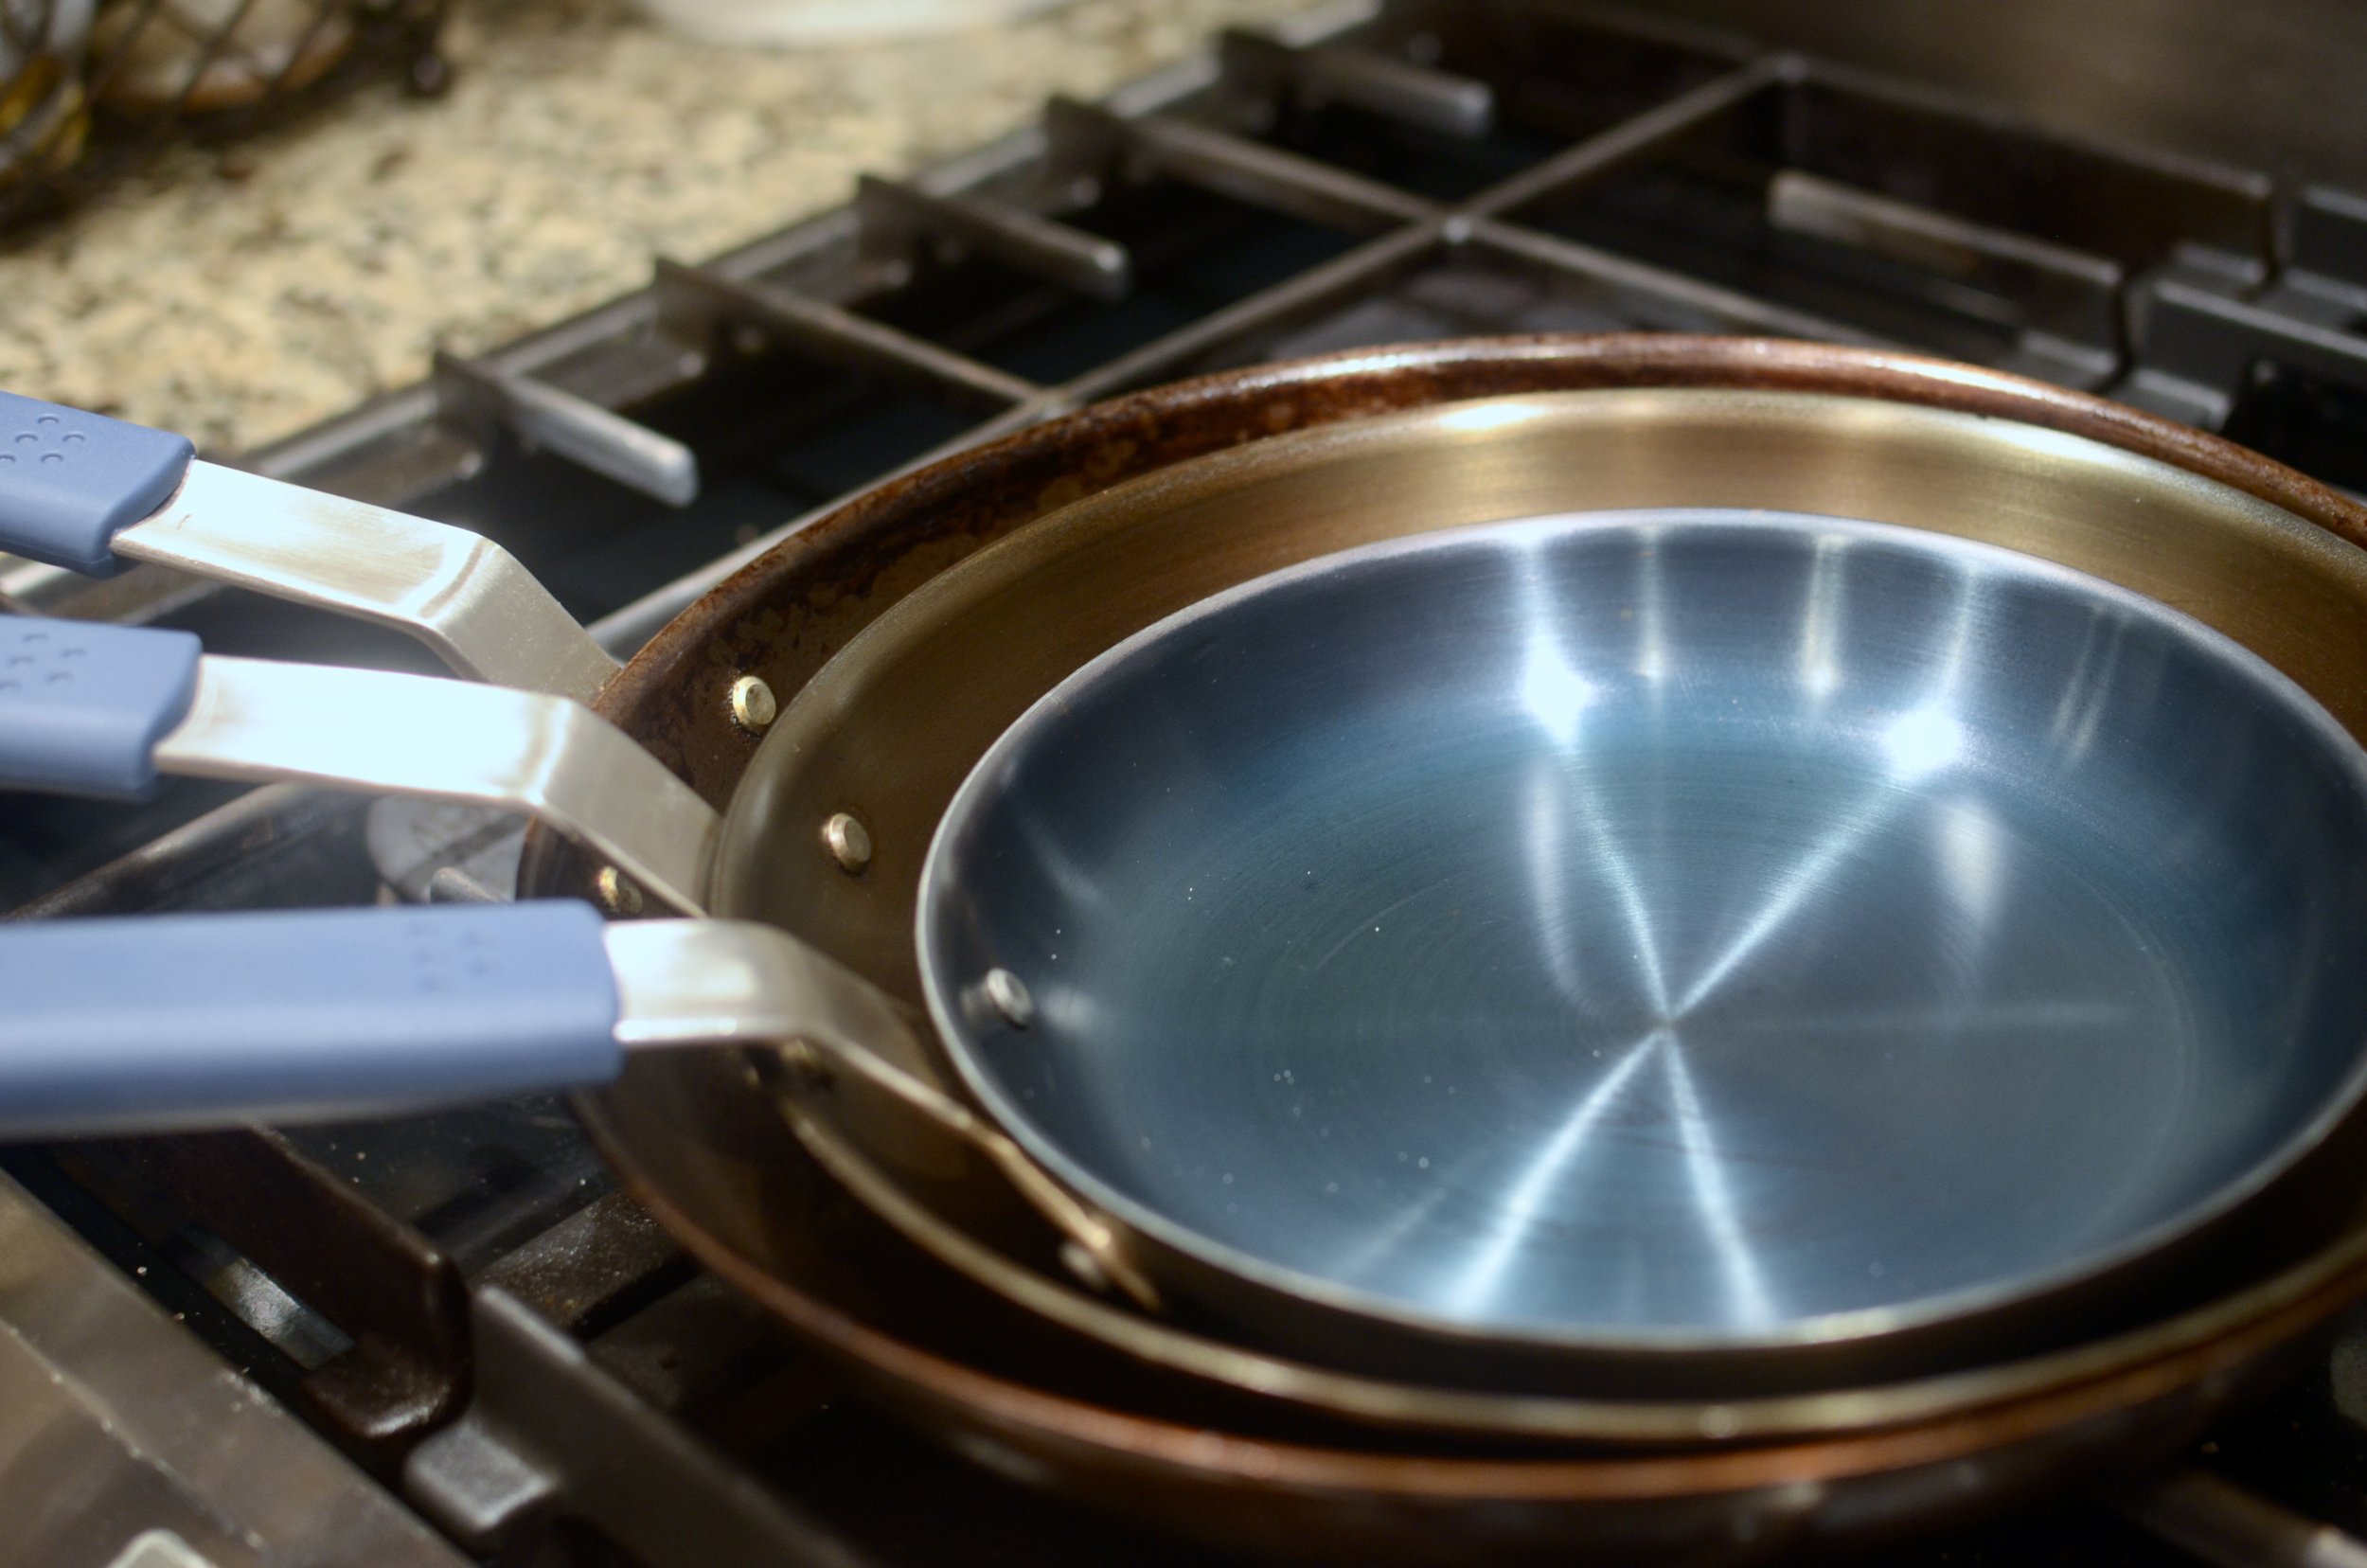
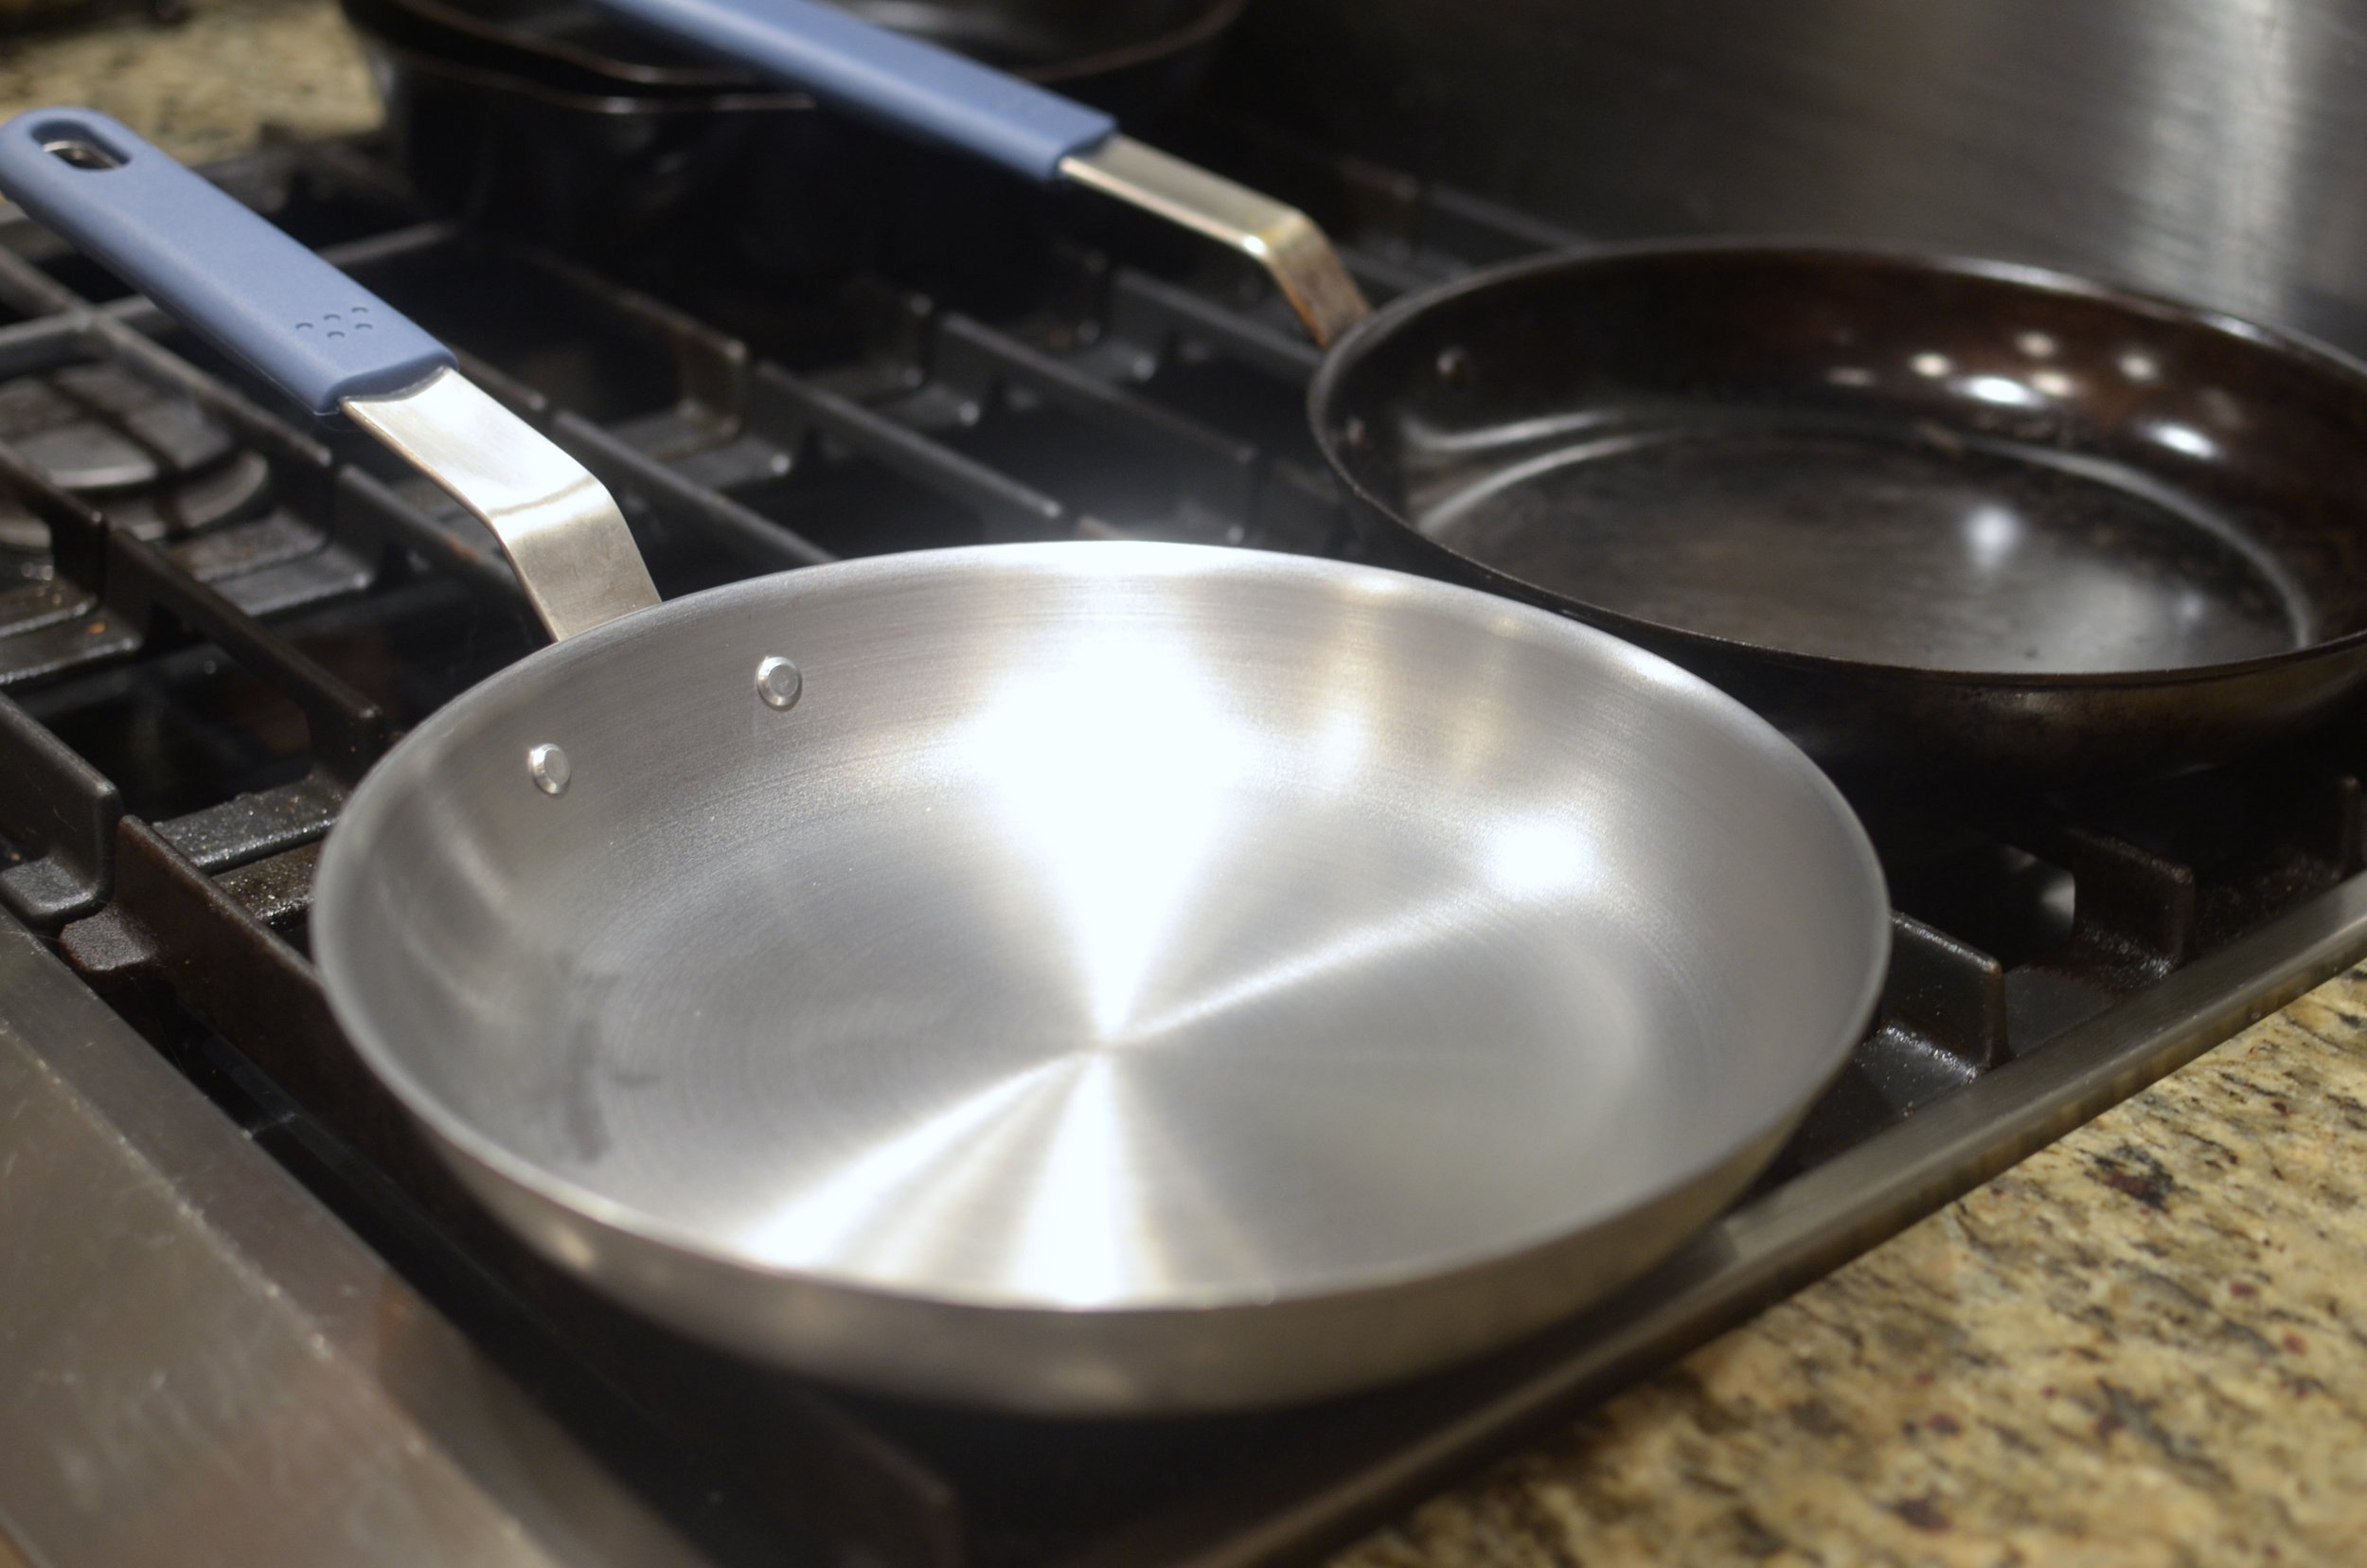
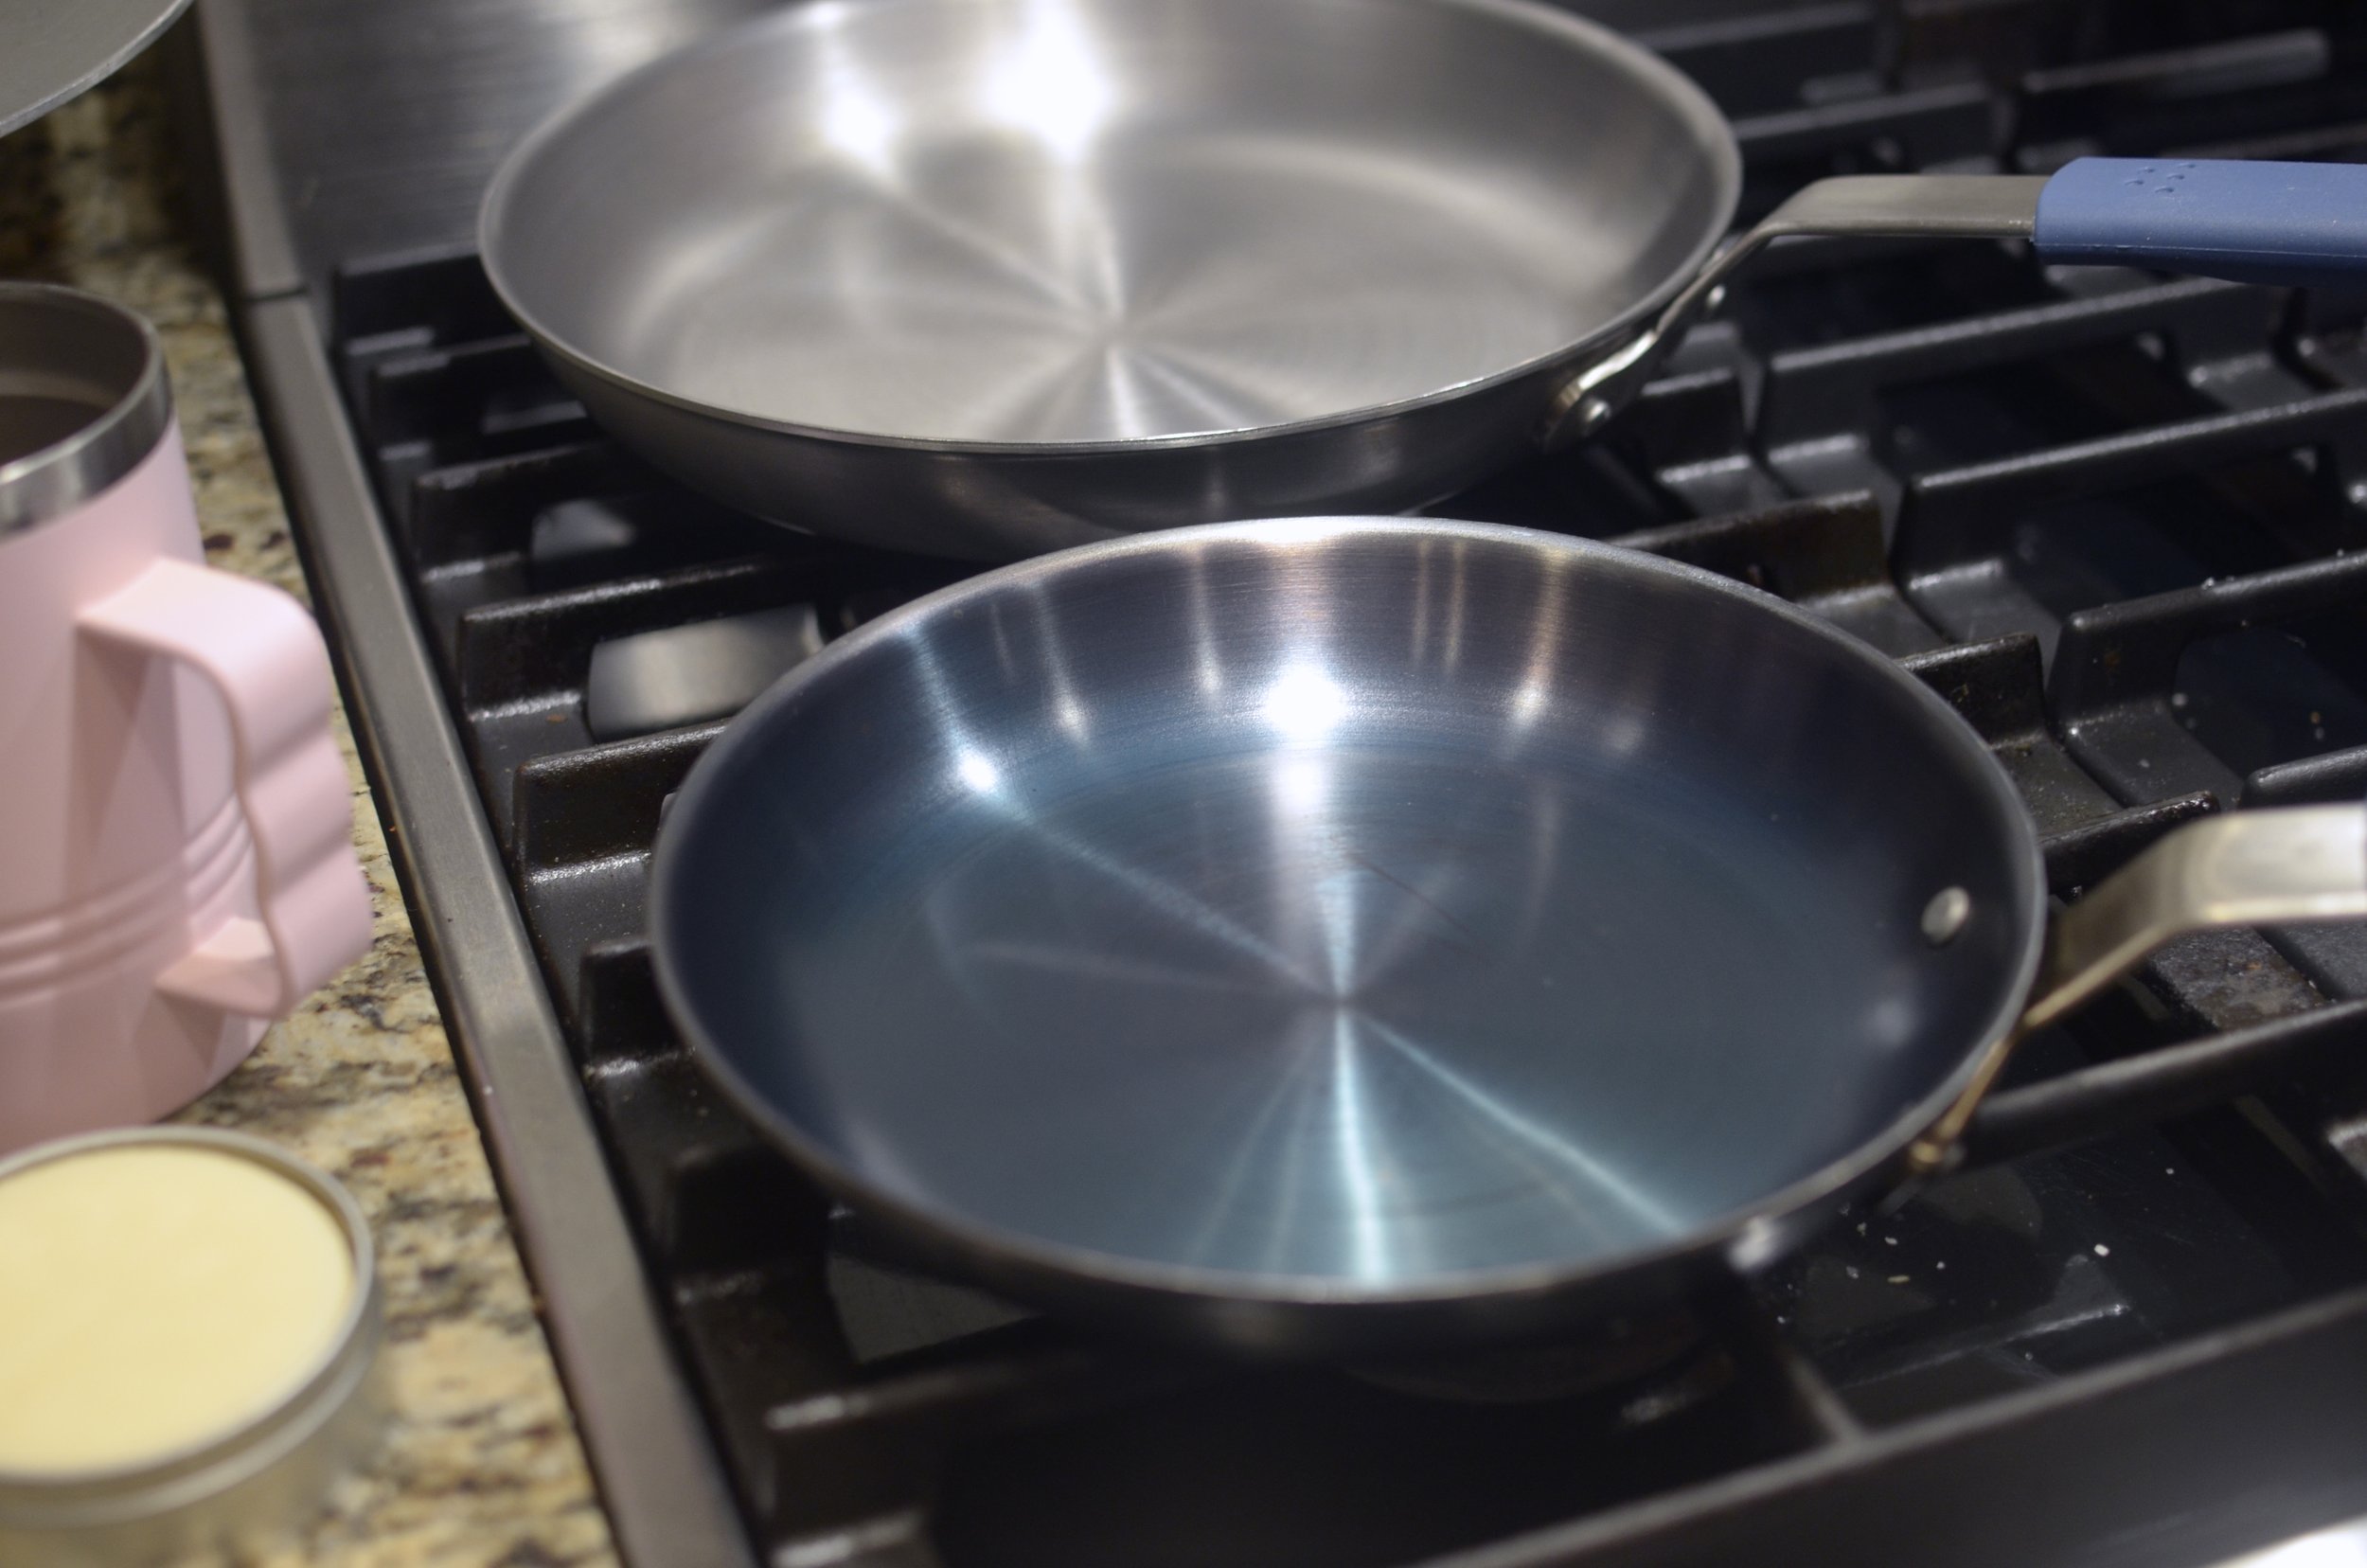
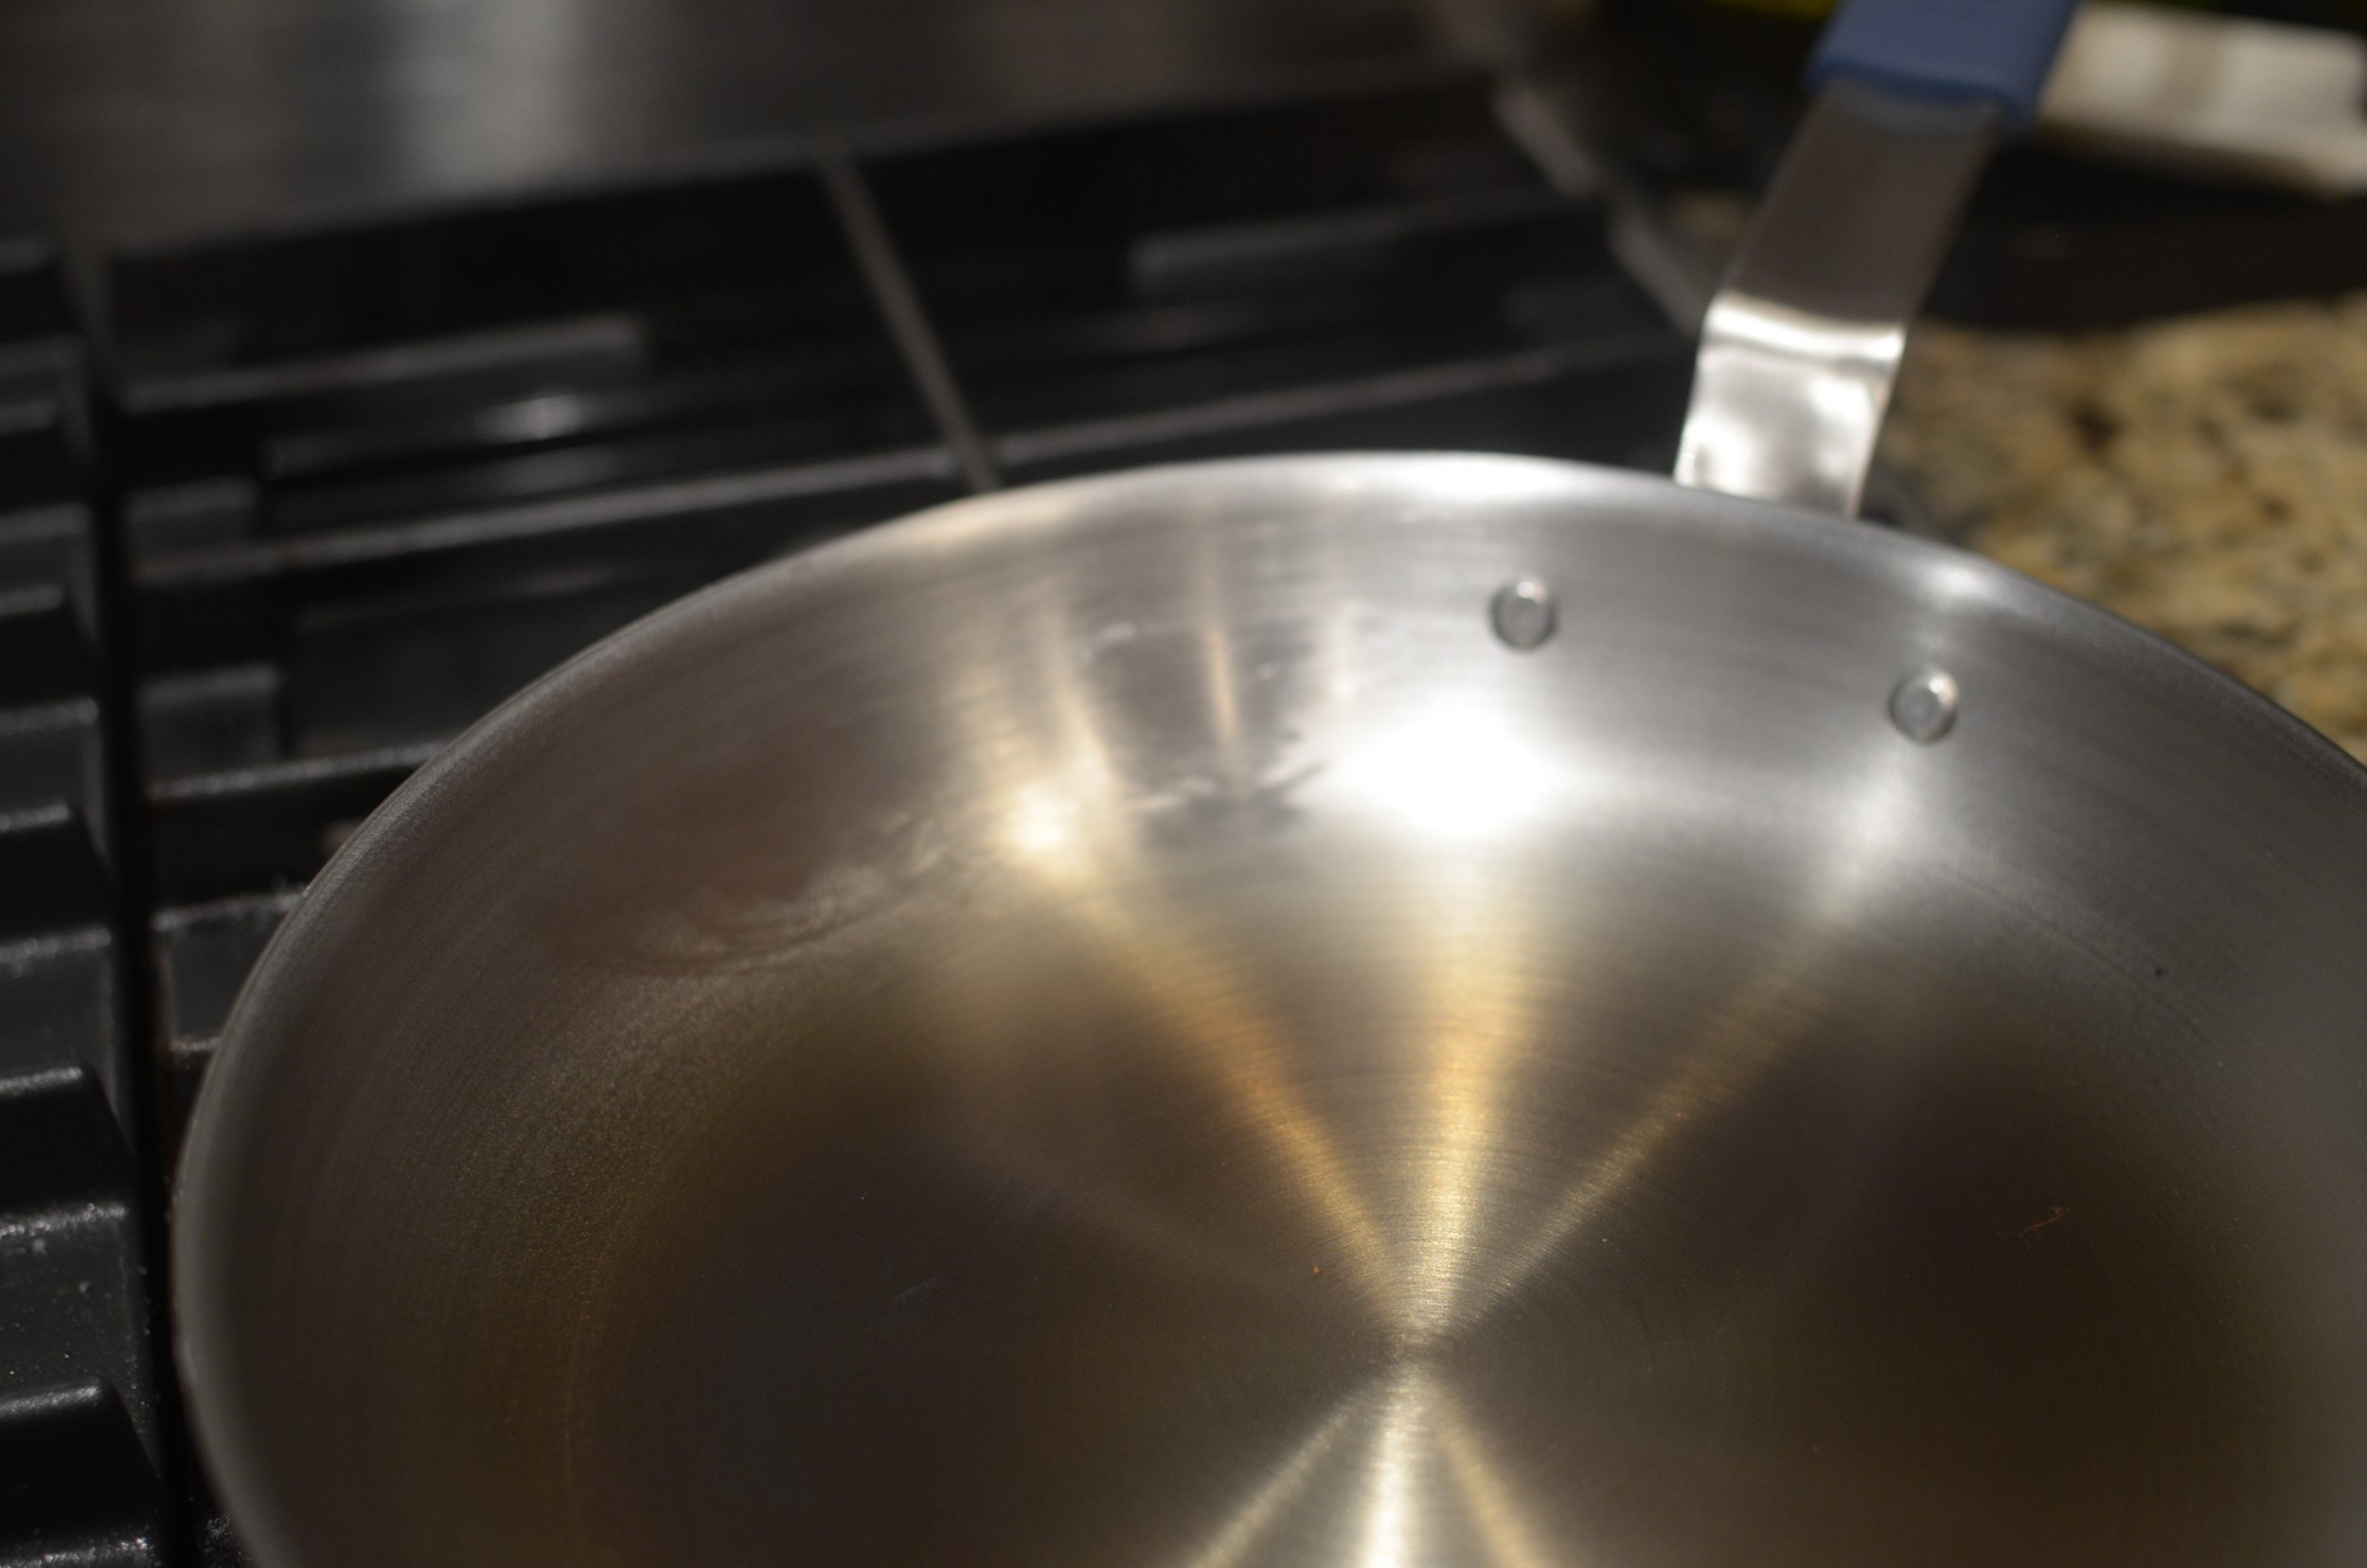
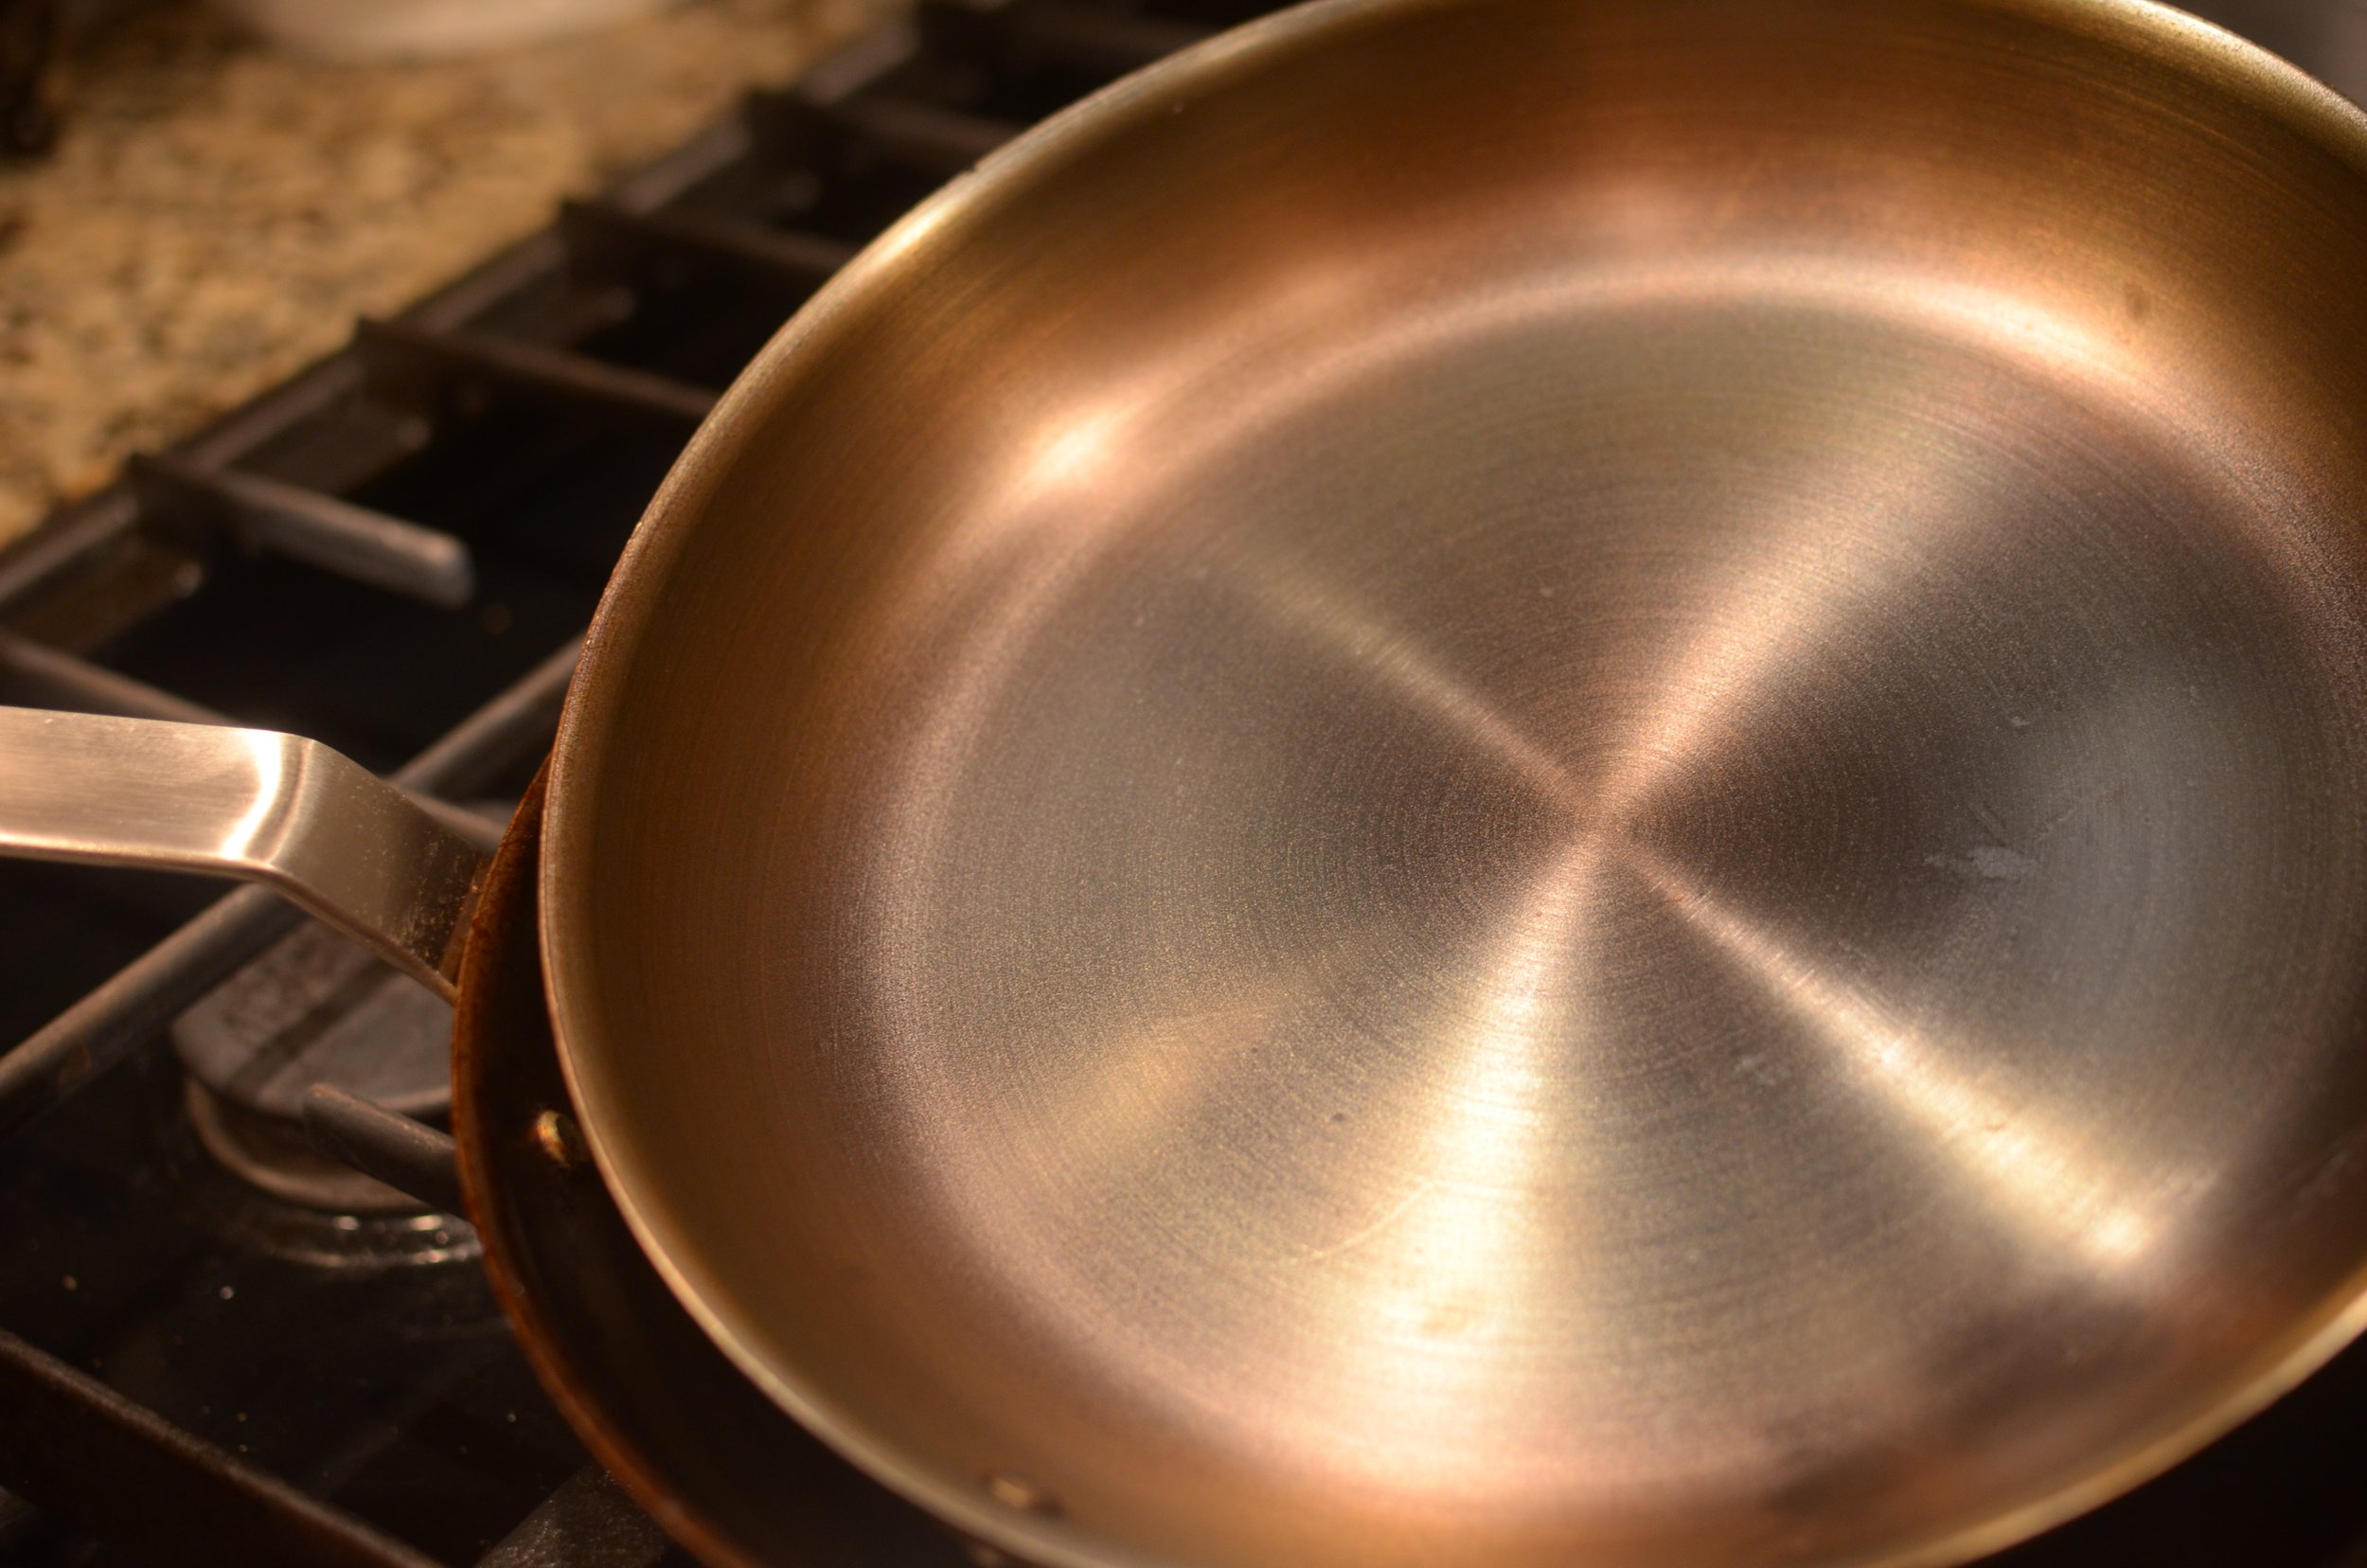
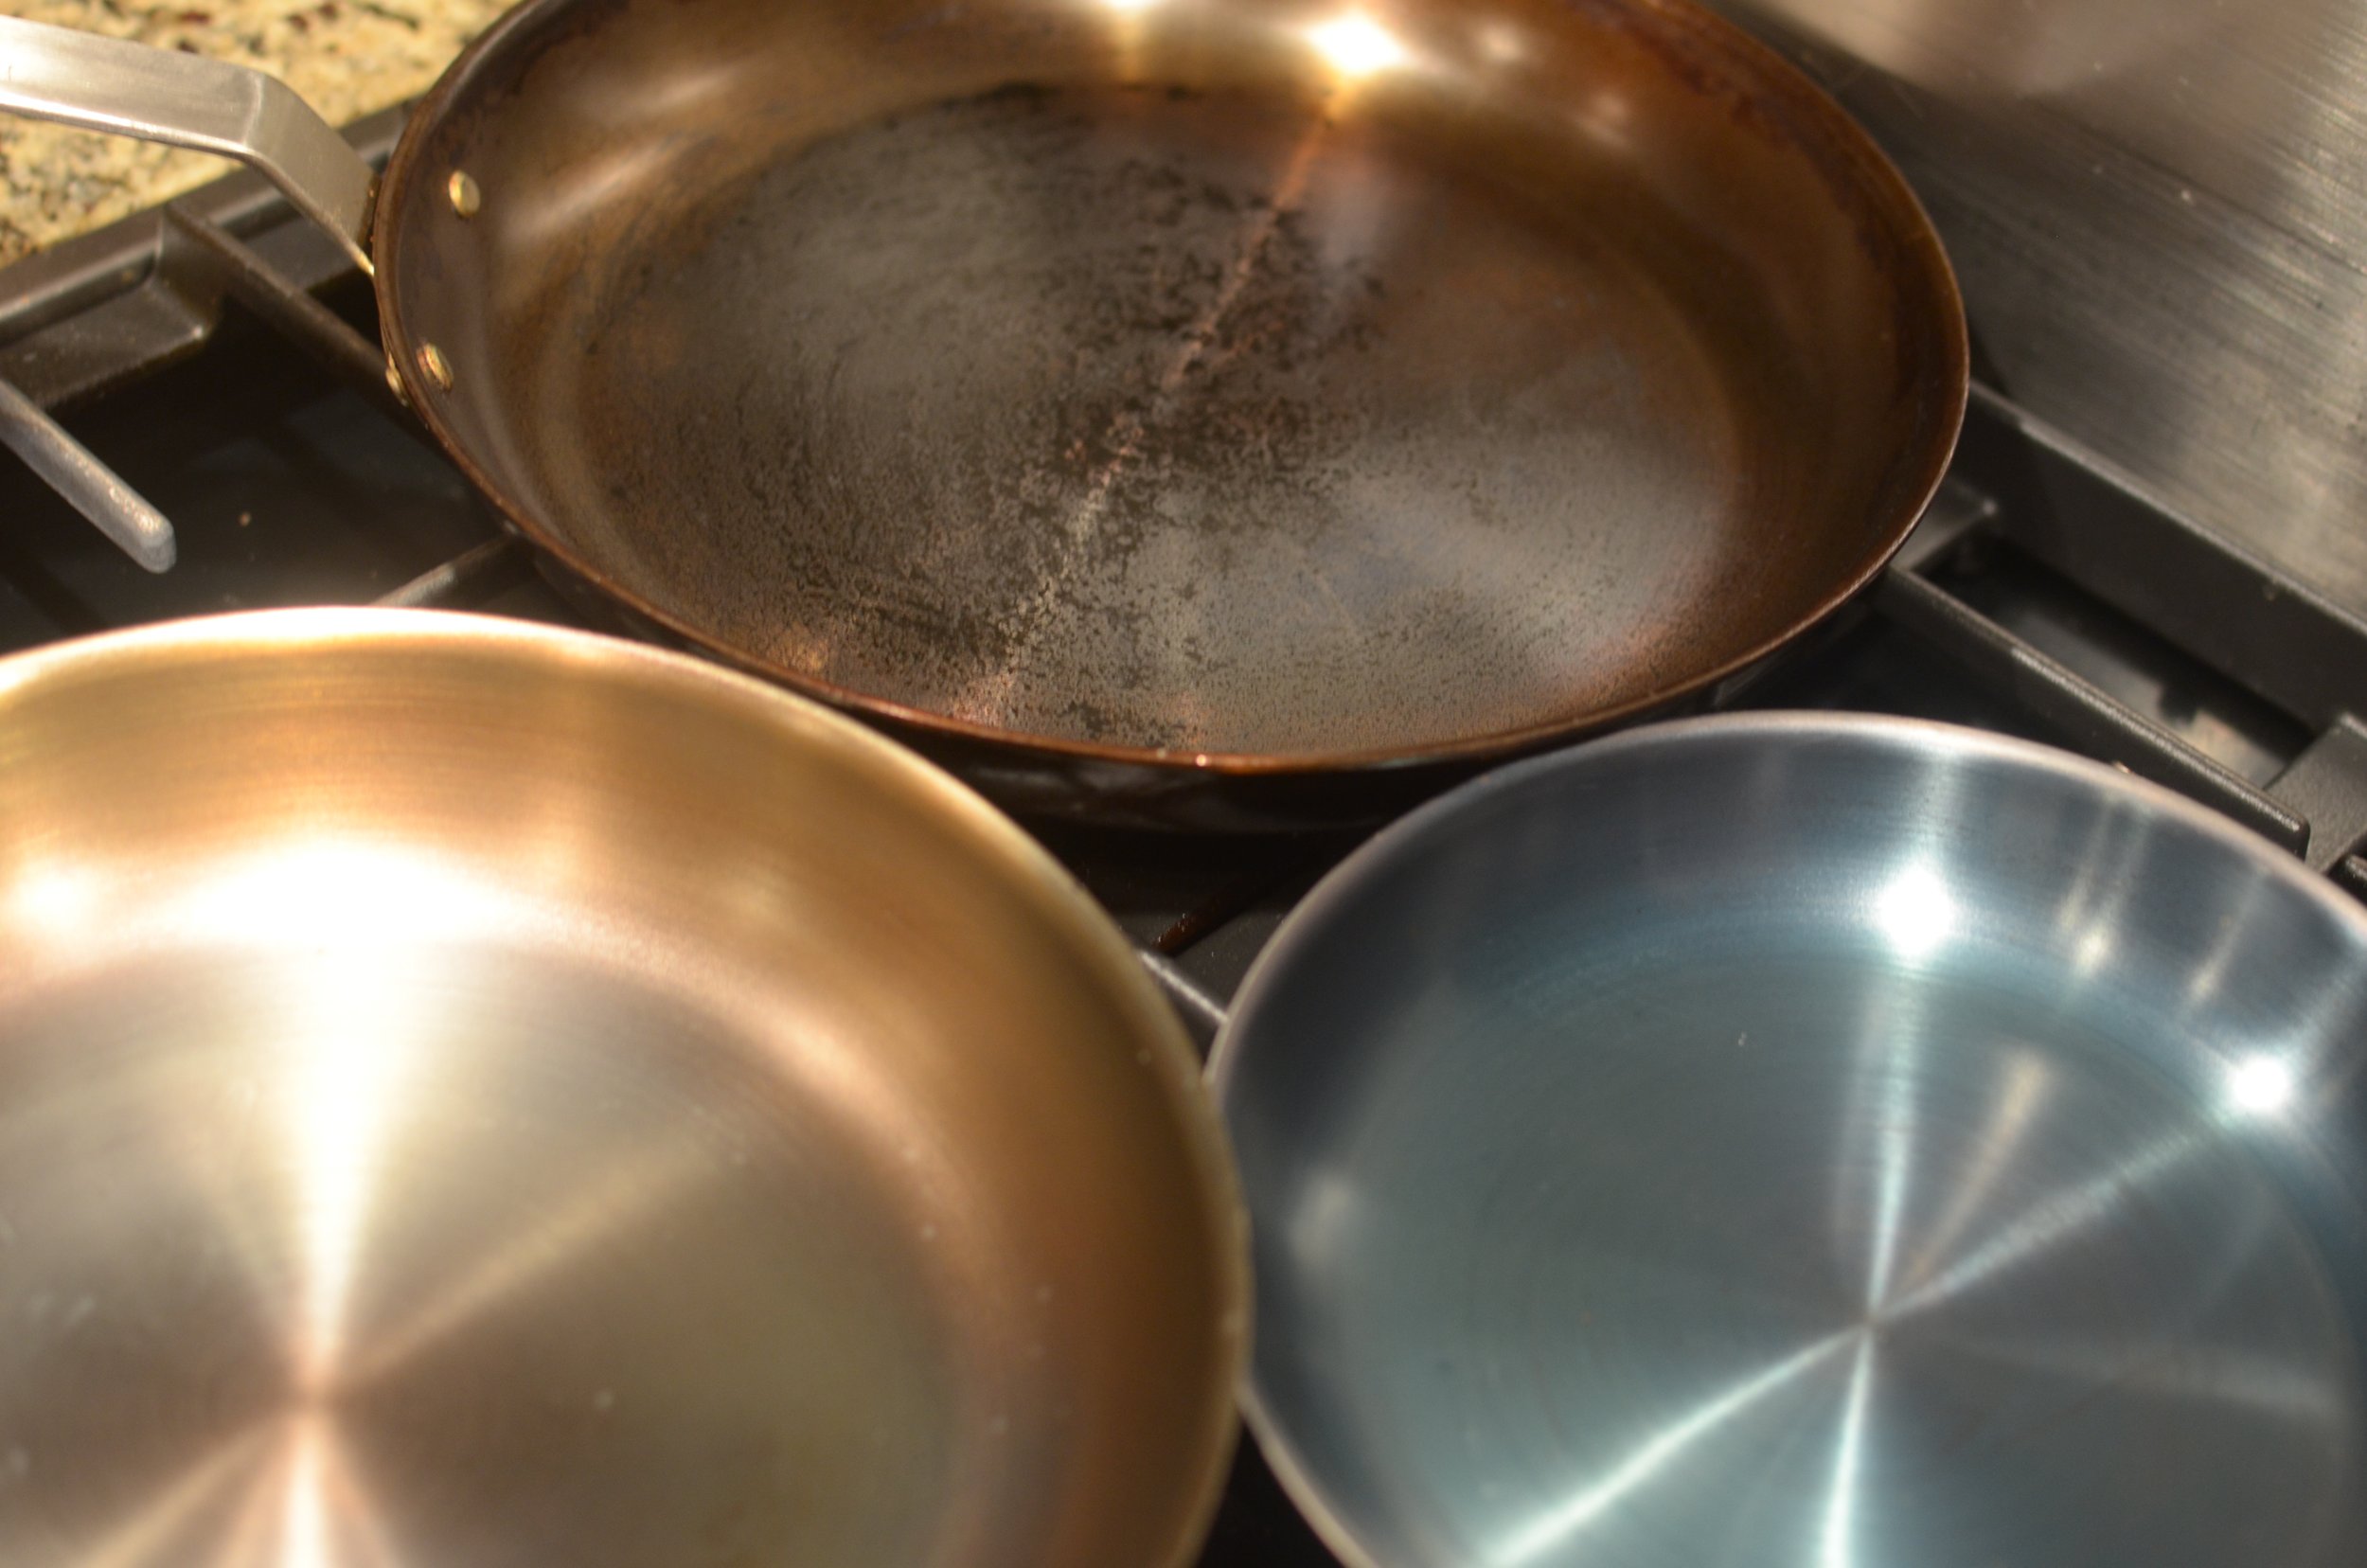
Below is a great before and after shot of two carbon steel pans. The one on the left is brand new and unseasoned. The one on the right has been seasoned and used regularly for a couple of weeks. The more you use your carbon steel, the darker and more nonstick the finish will become.
One of my daughters recently purchased 3 carbon steel pans and she asked if she could come over to season them. Since she had 3 pans, we decided to experiment with 3 different seasoning methods and the results were fascinating. Let me walk you through the process and tell you which methods produced the best results.
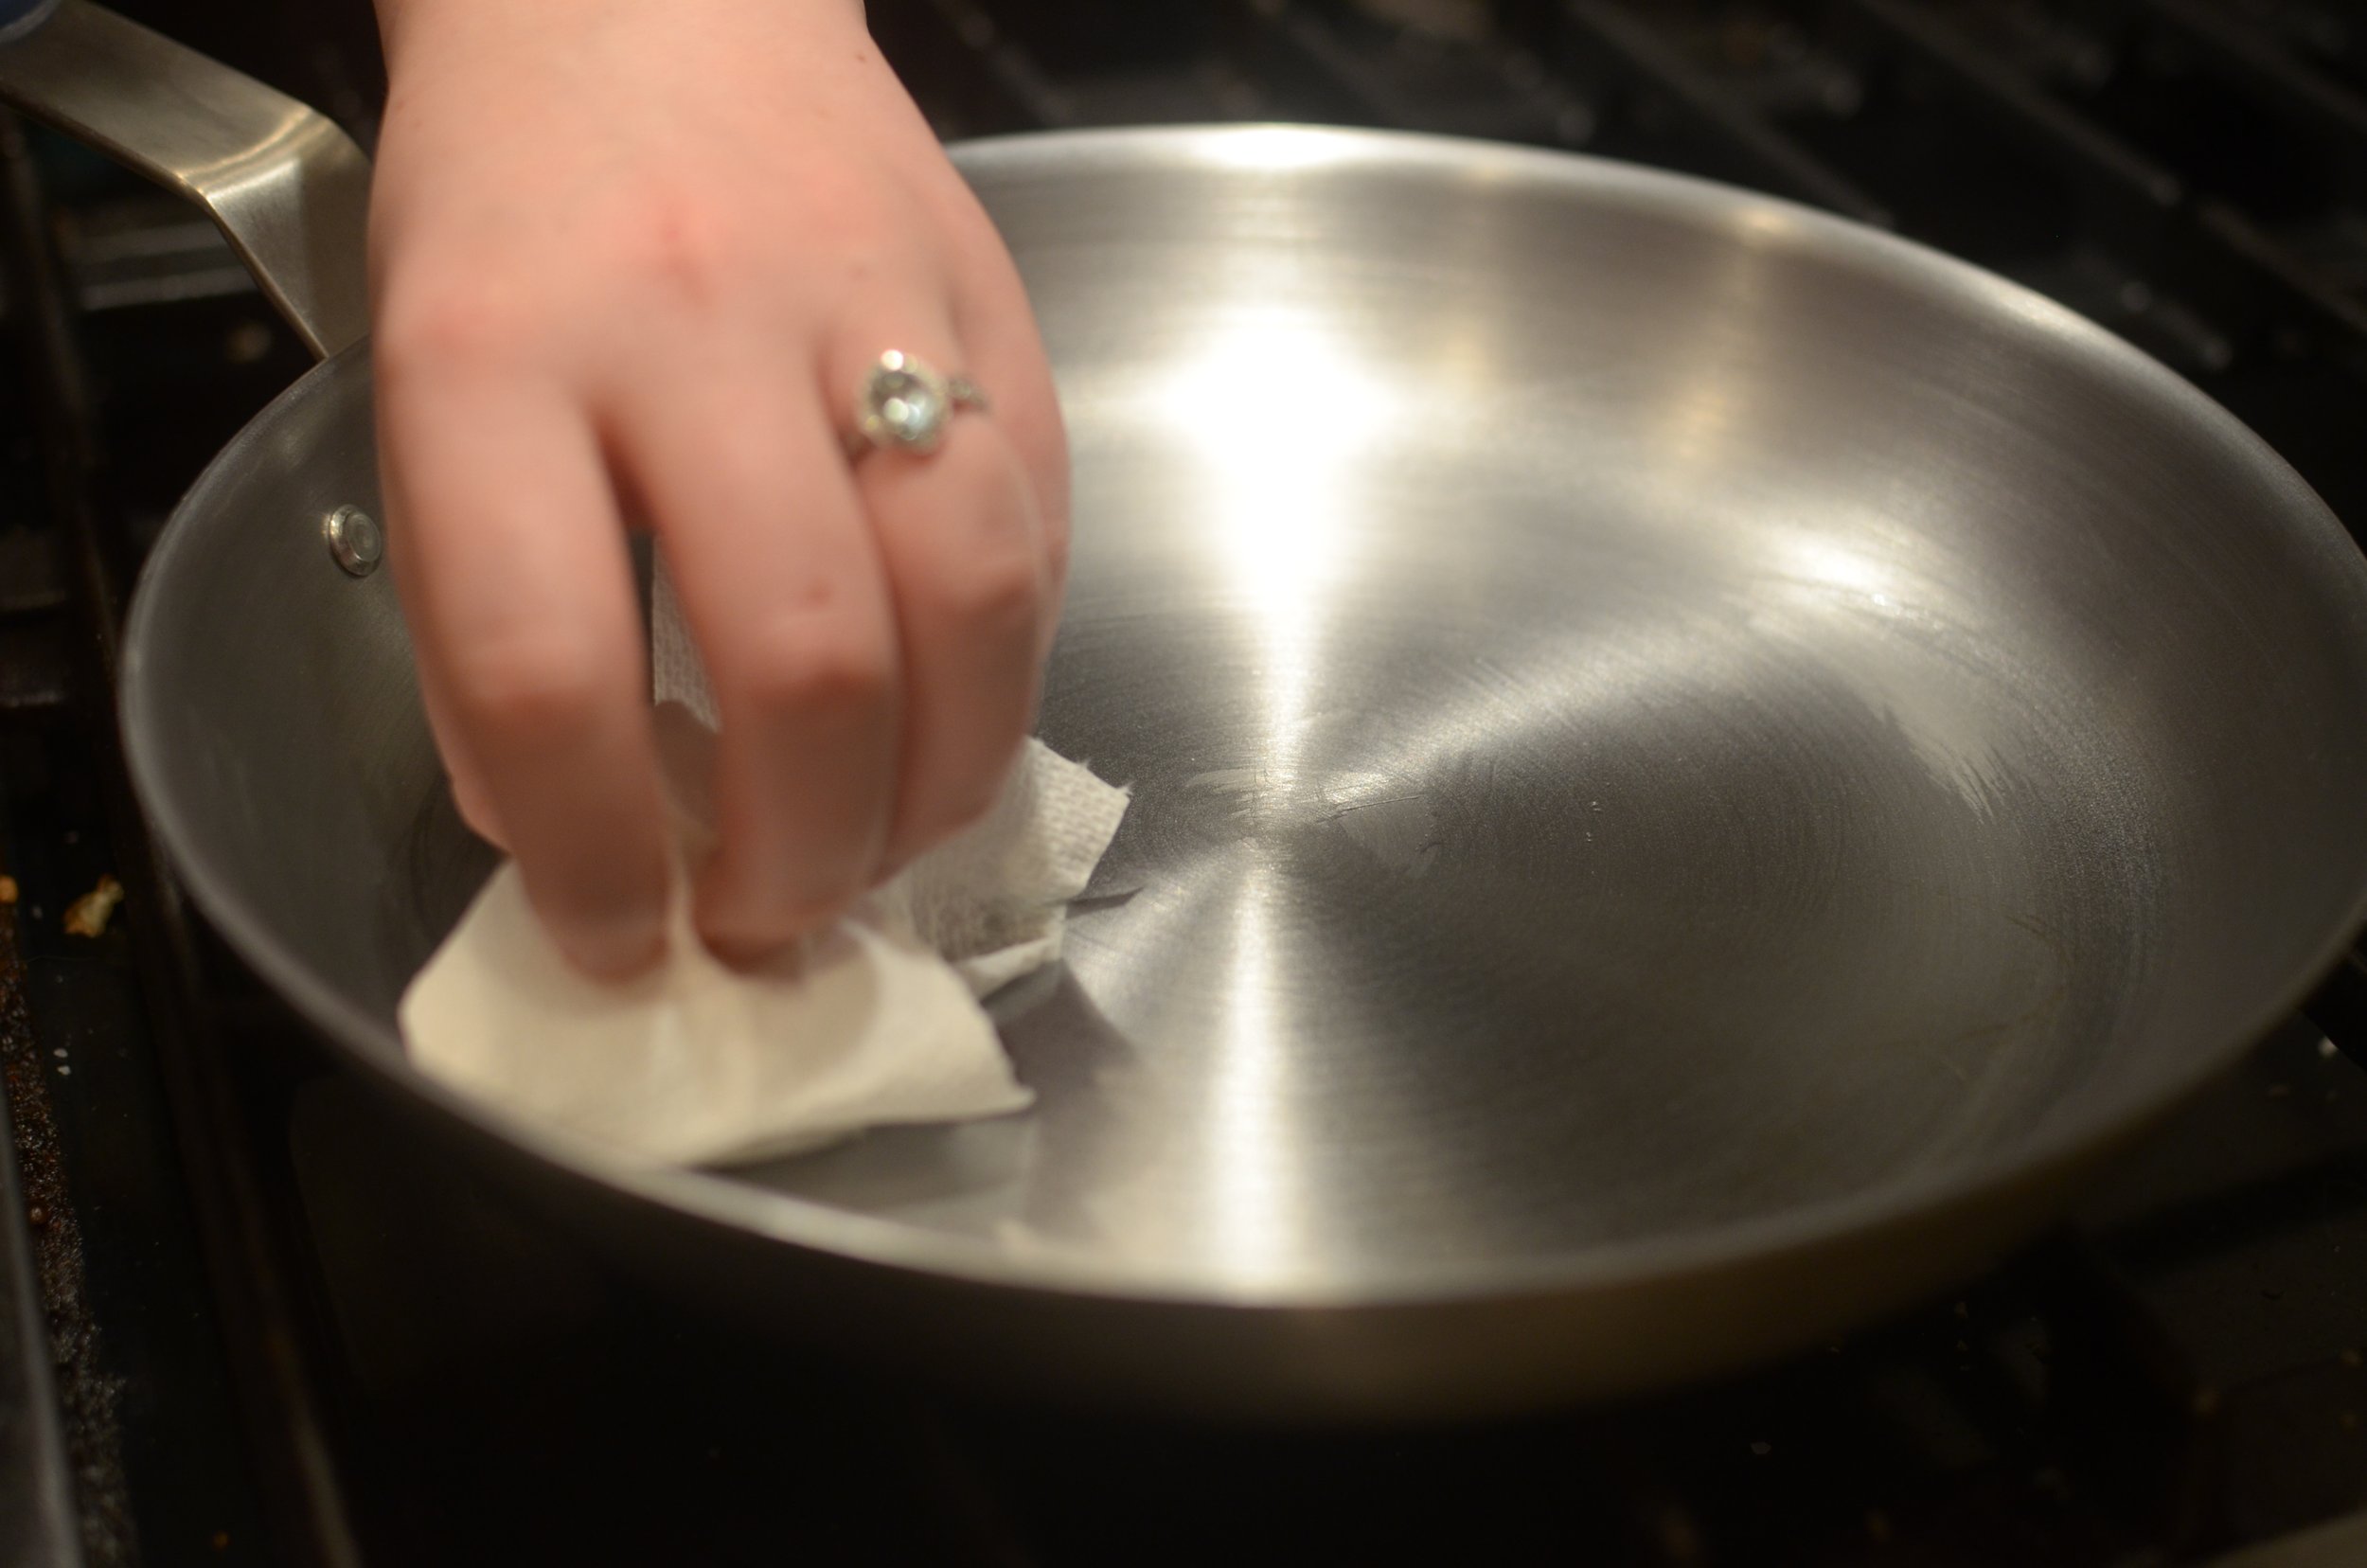
Before we begin, unseasoned carbon steel has a factory coating to prevent rusting. That coating has to be removed before we can season. Wash the coating away using hot, soapy water, inside and out, then dry thoroughly. Uncoated carbon steel will start rusting very quickly so don’t do this until you’re ready to start the seasoning process.
Okay, let’s check out all 3 methods.
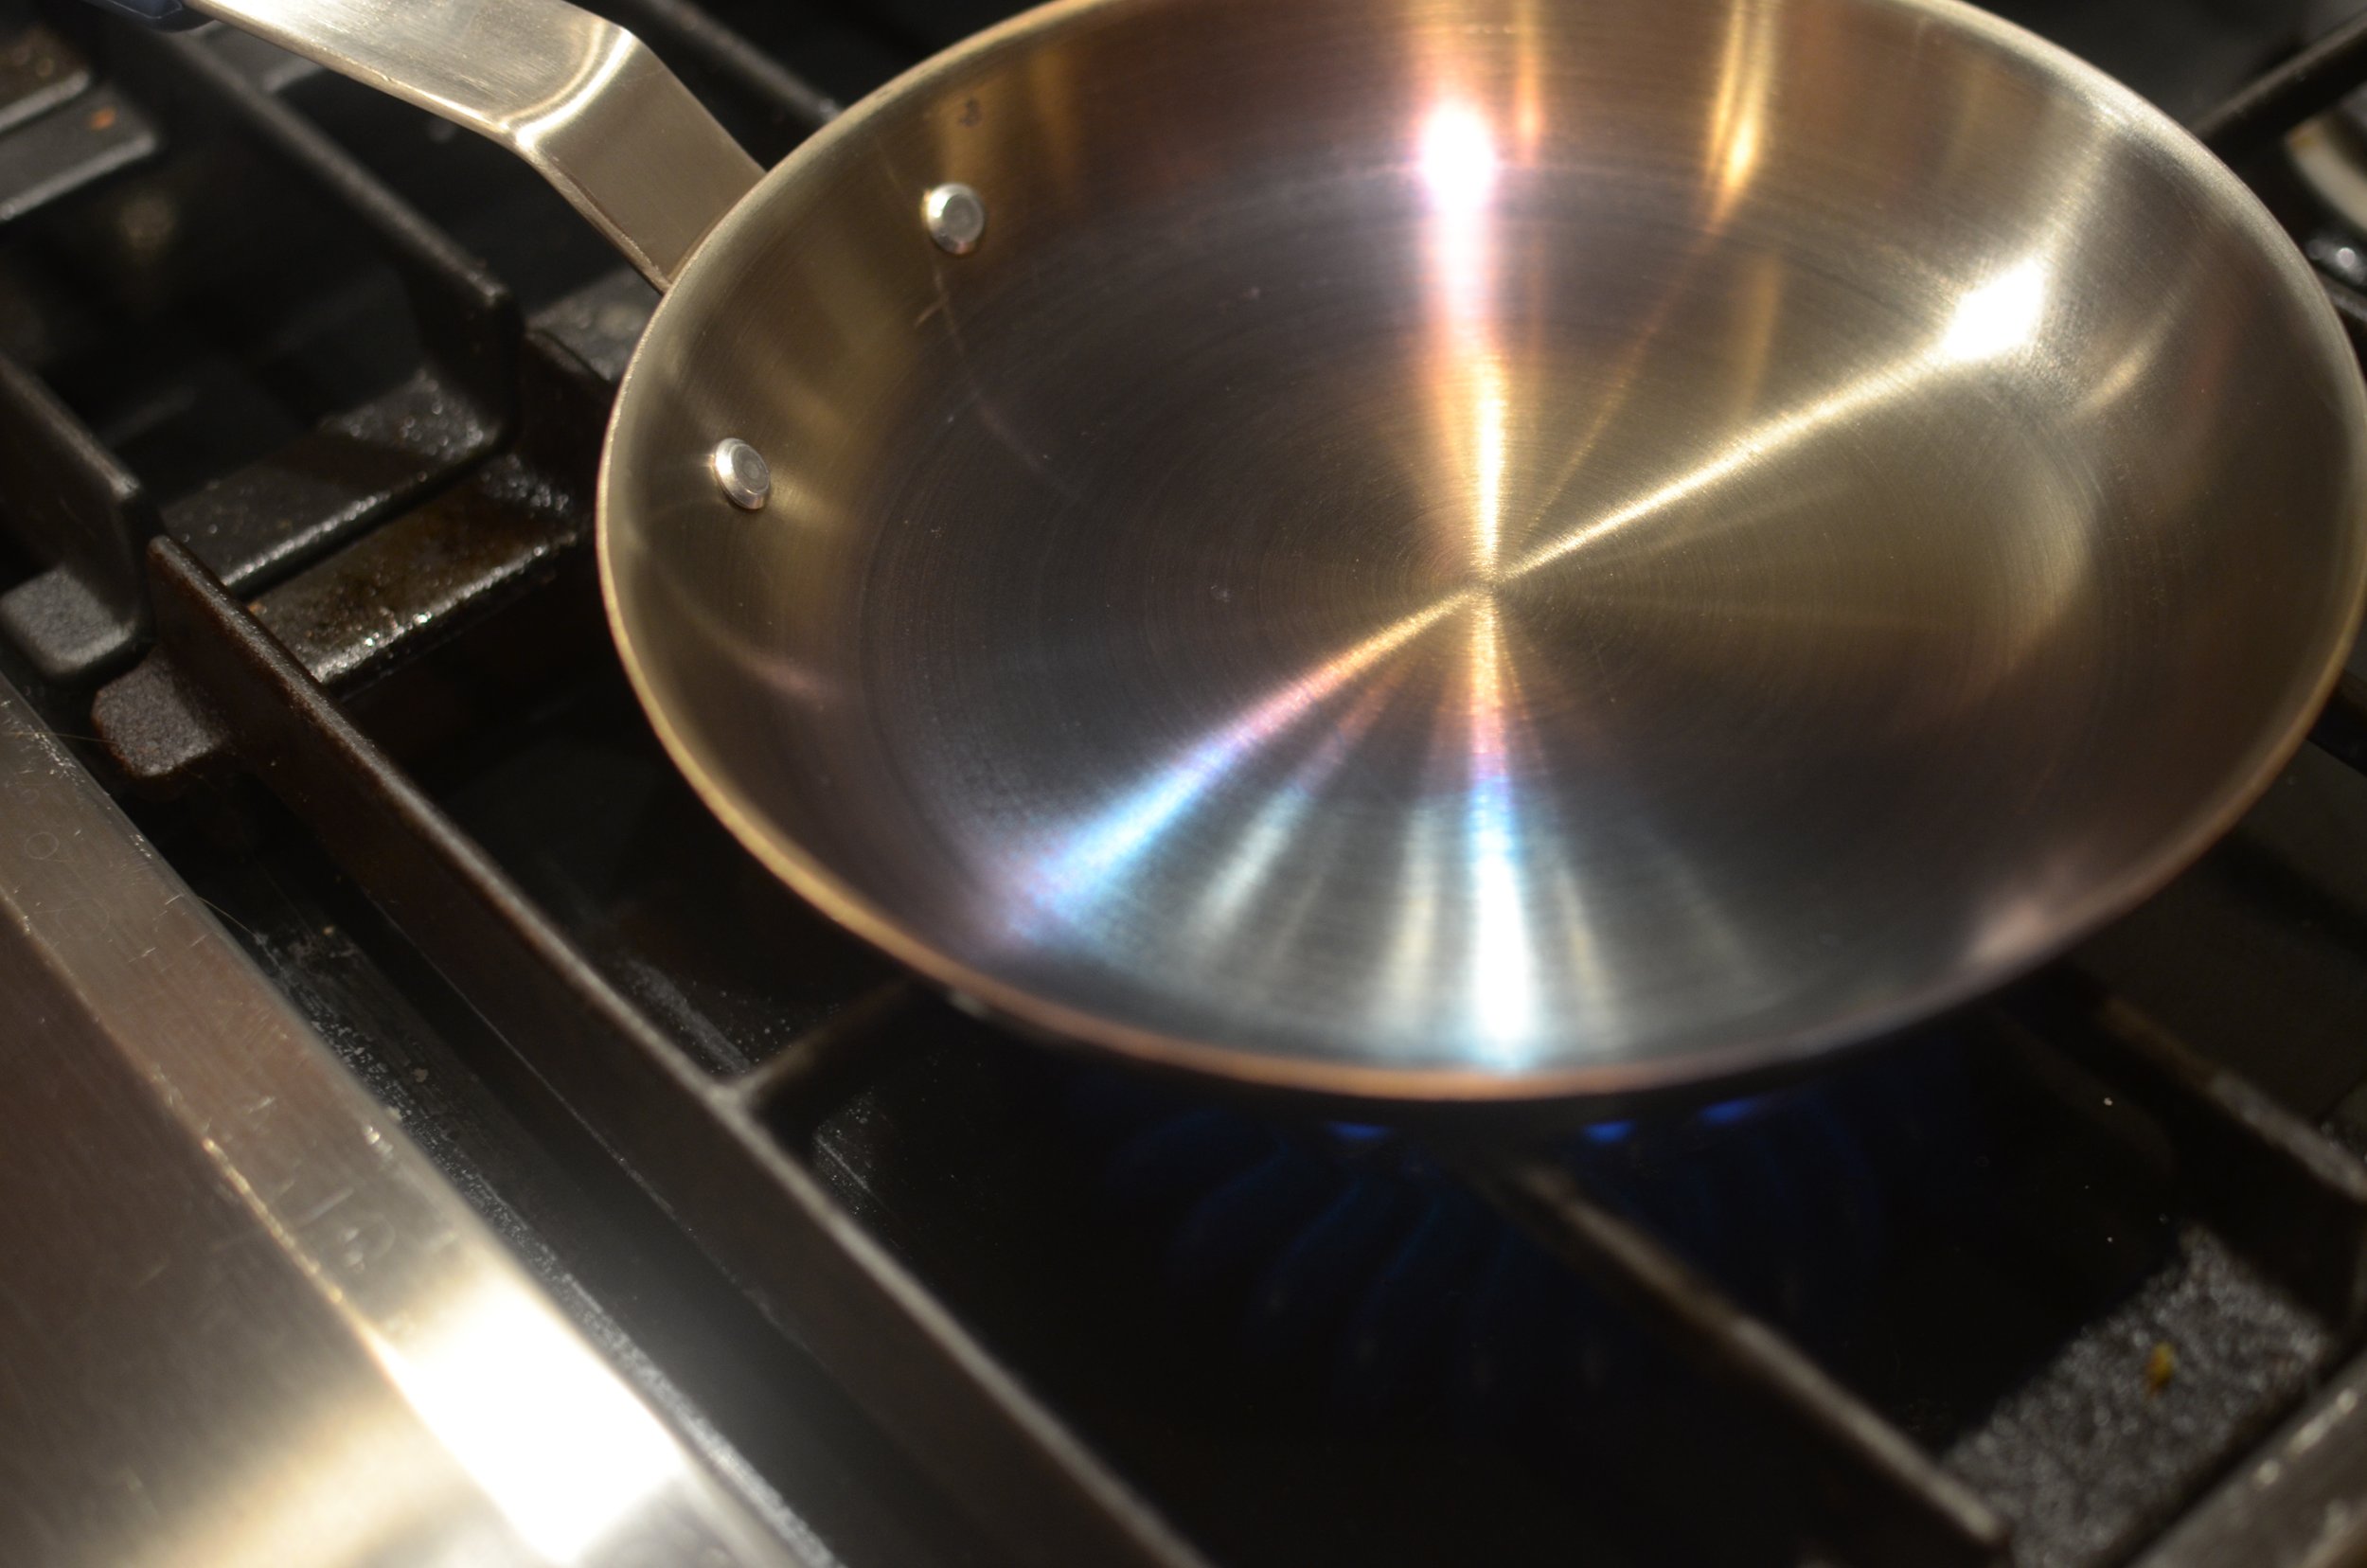
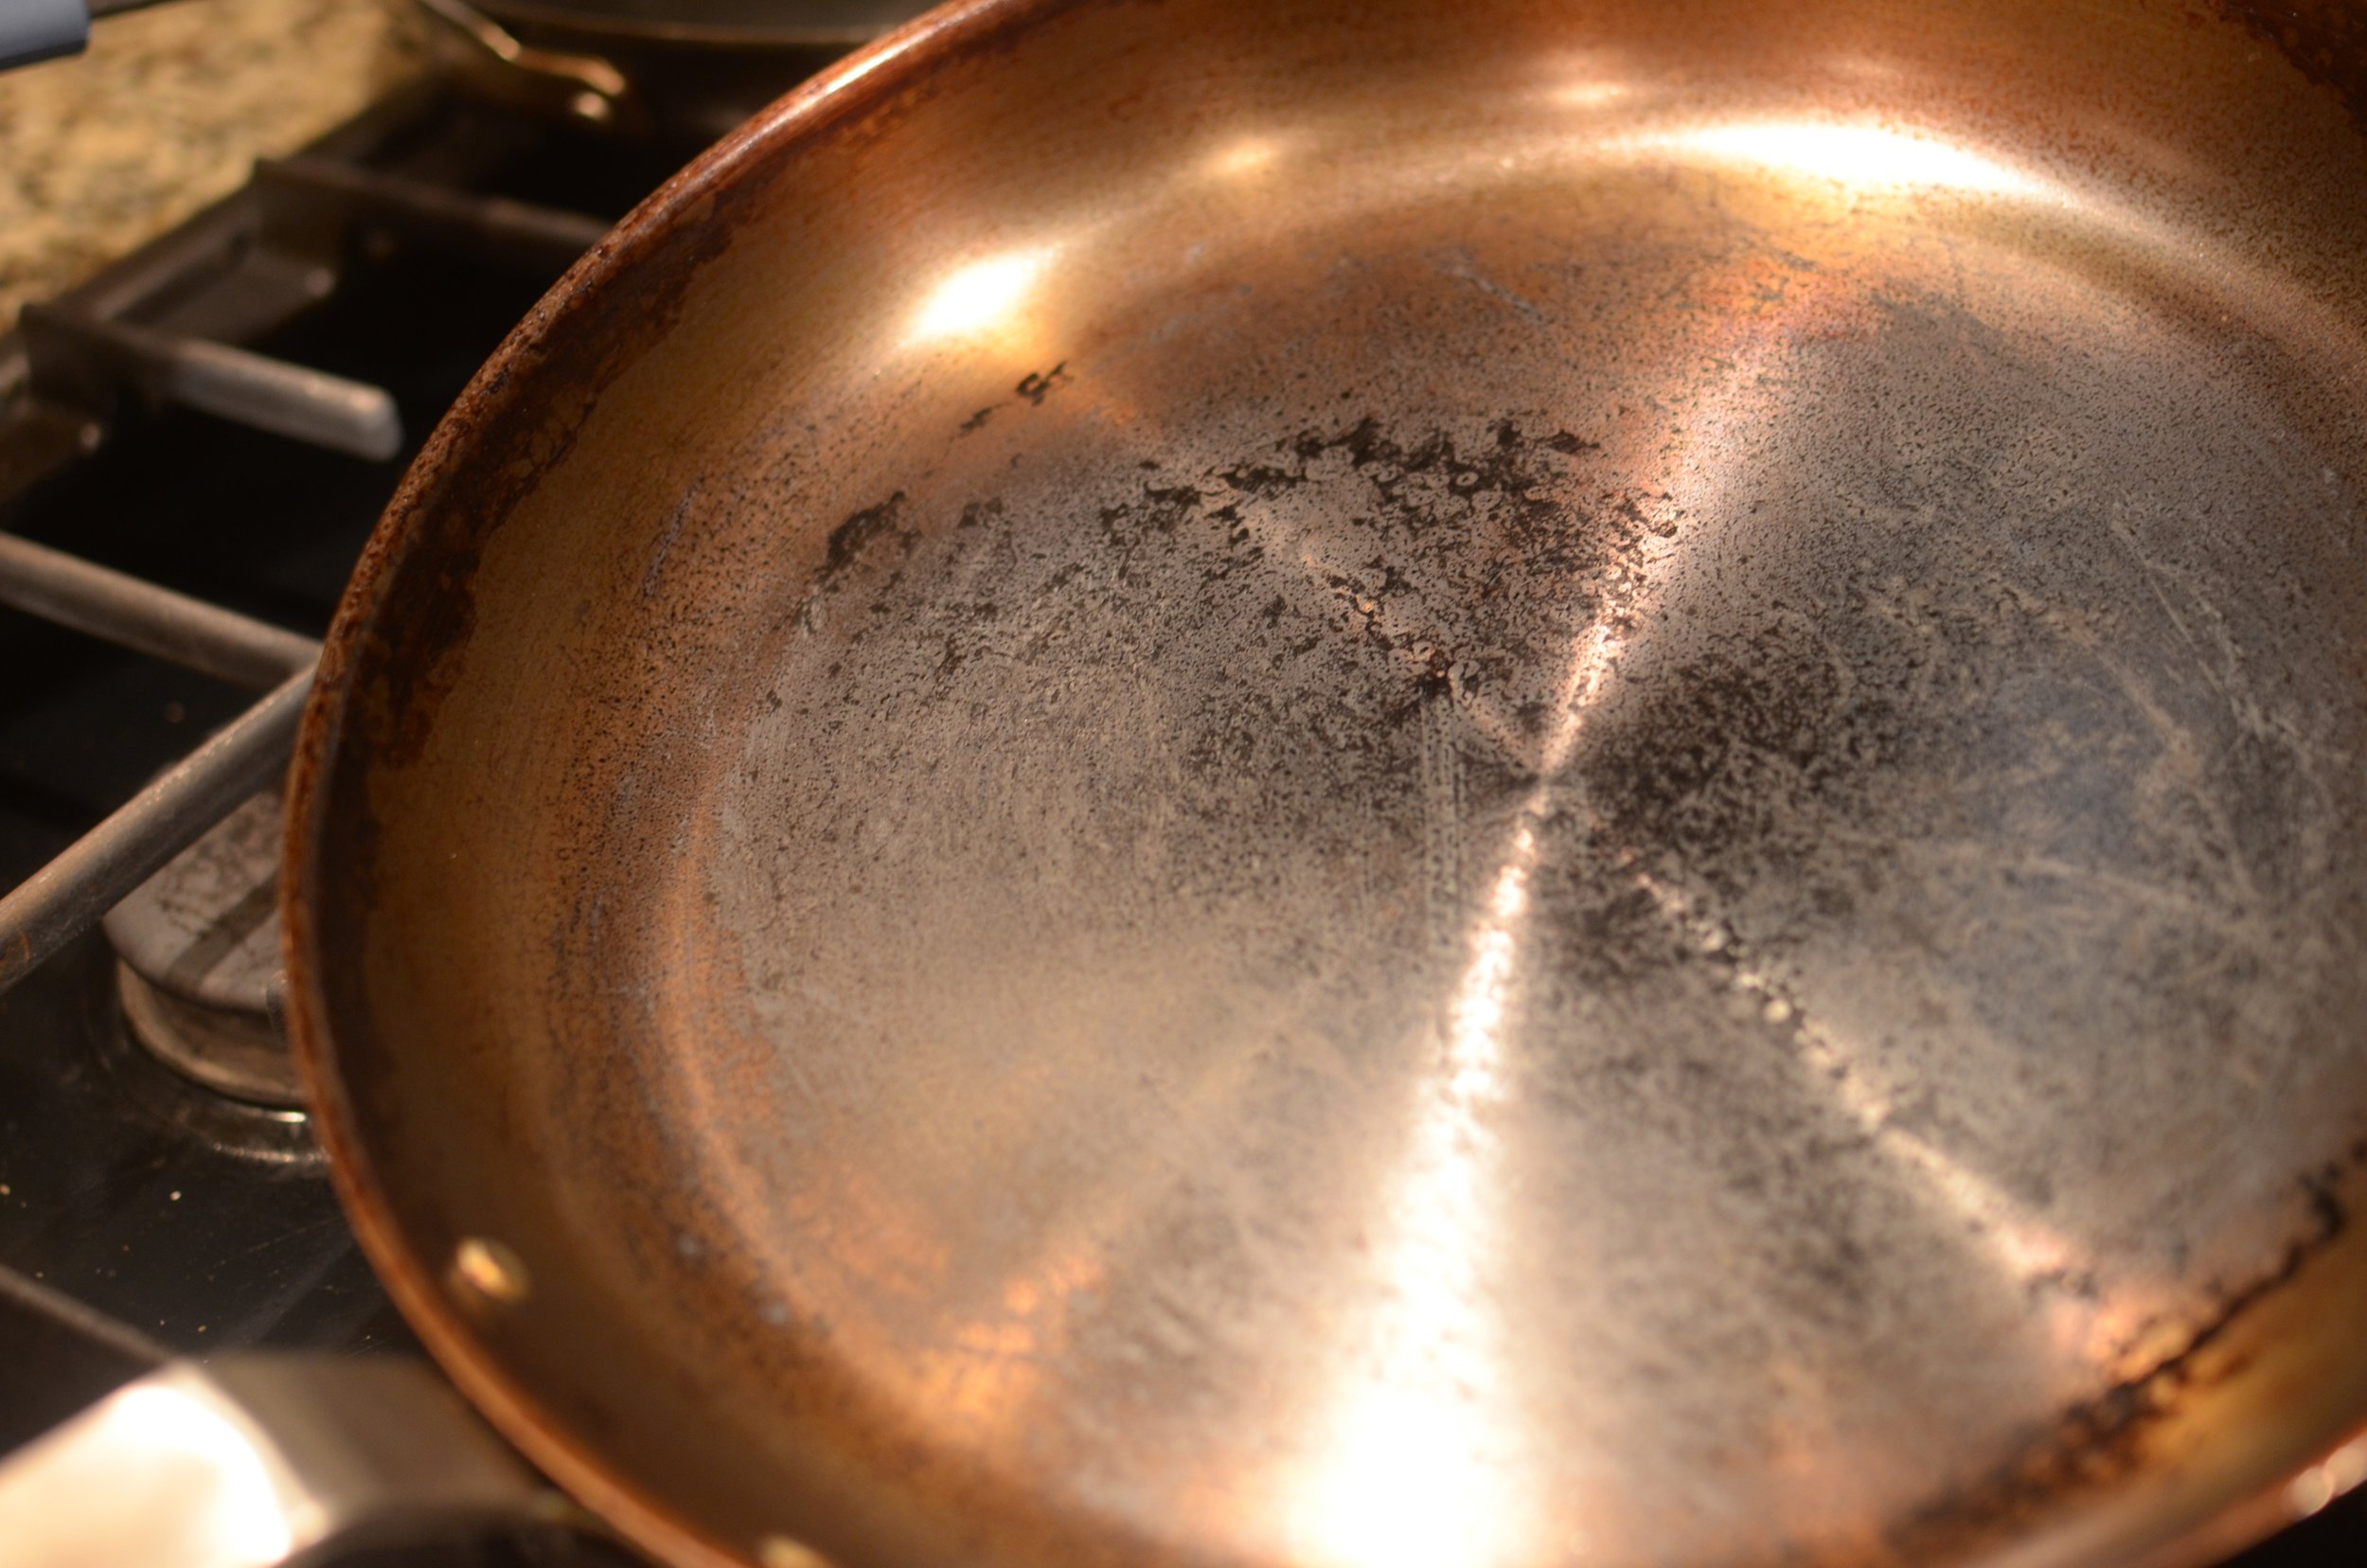
Method #1 - Dry High Heat
The easiest of the methods tested, this is one typically used to season large carbon steel woks. It requires nothing more than direct heat and time. You really need a gas cooktop for this one. Simply place the skillet over high heat and wait until the entire pan turns a lovely shade of blue. As you can see in the photos below, you’ll first notice a rainbow-like coloration develop, but that rainbow will eventually turn solid blue… the transformation will begin where the pan is hotest, and will slowly spread until the entire pan is a single shade of blue. The whole process took about 20-25 minutes on my stovetop, but stove tops vary so be patient. After the pan cooled off, a protective coating of seasoning wax (which deepened the color slightly) was applied inside and out. A protective coating of oil could have been used as well.
FYI - That lovely blue color is short-lived as the pan turns dark brown and eventually black once you start cooking in it, but it’s pretty cool none the less.
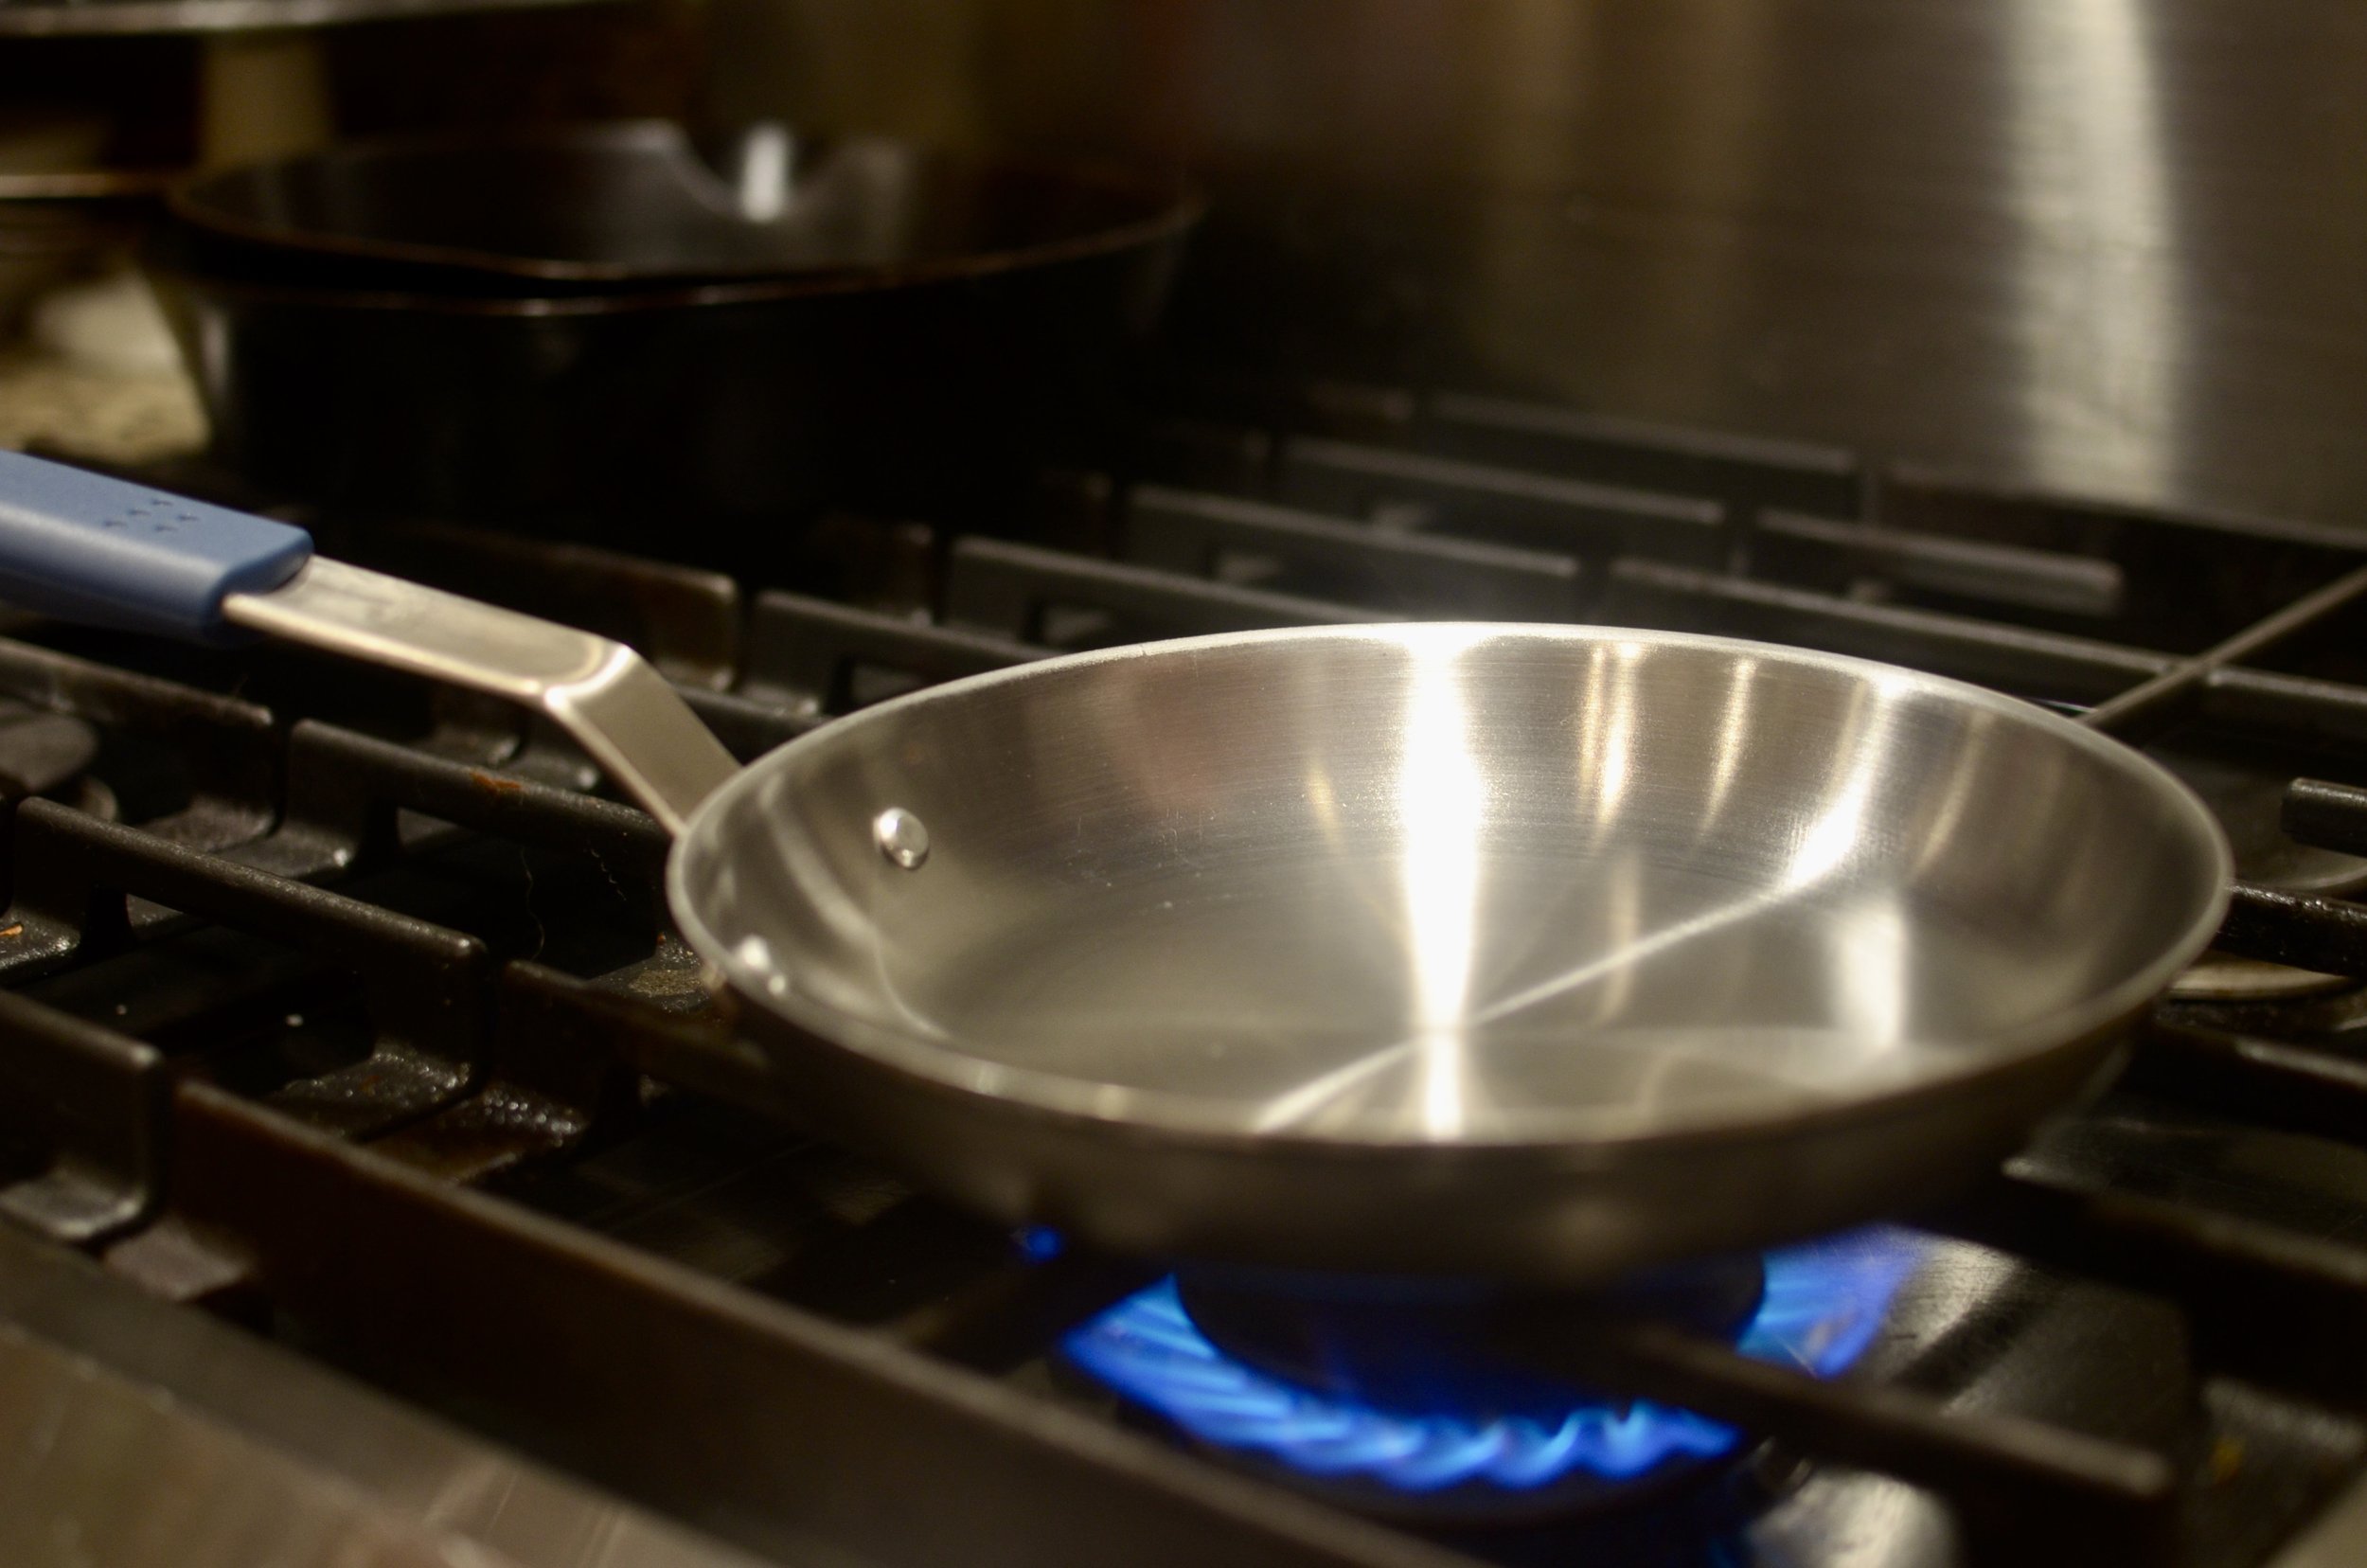
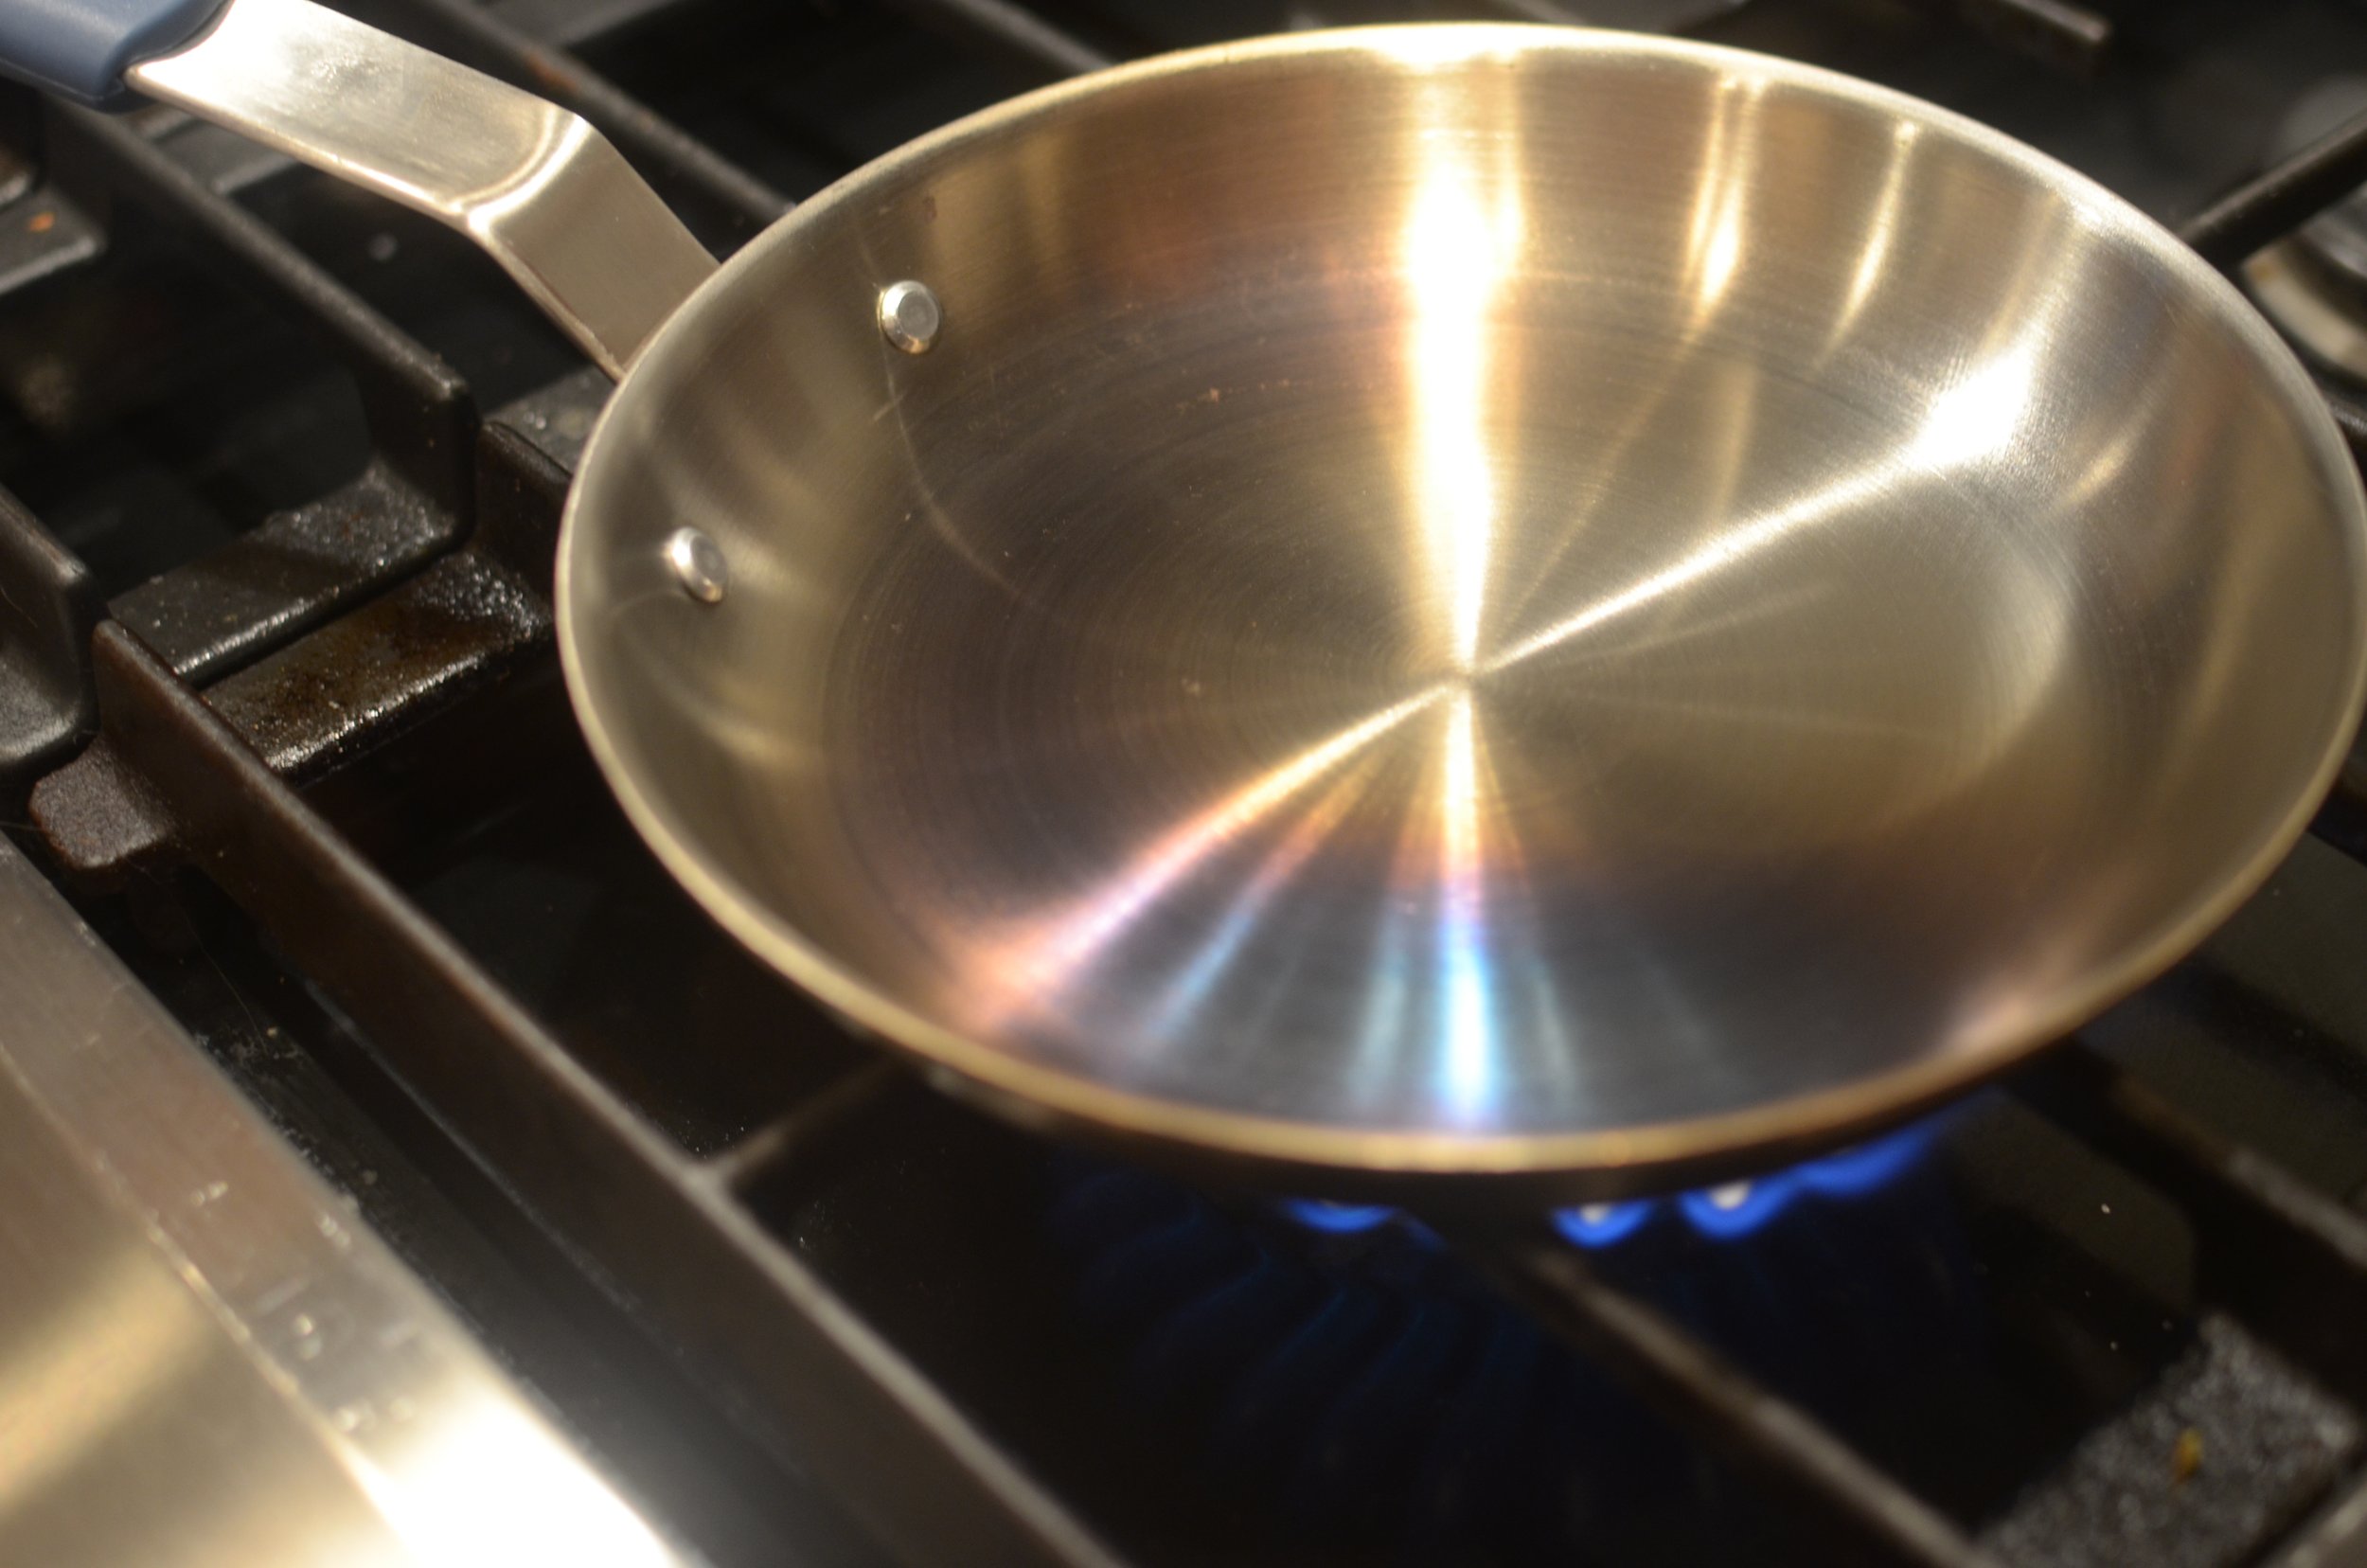
Seasoning Carbon Steel with Method #1 - Dry High Heat
Method #2 - High Heat with Oil or Wax
This method is the one most people associate with seasoning cast iron cookware. For this method, you spread a very, very, very thin layer of cooking oil or seasoning wax all over the inside and outside of the room temperature pan, then you wipe most of the oil away so that the pan looks like it’s clean and dry. Then the pan is heated over nigh heat until the oil smokes. Be sure to have your fume hood turned on or open a window. When the smoke stops, allow the pan to cool completely. Then repeat this process at least 3 more times (more is even better). Than pan will darken a little more each time. This method takes a bit longer than the last because there’s a lot of waiting time as the pan repeatedly heats and cools. When done, apply a protective coating of oil or seasoning wax to the inside and outside of the pan.
Note: Seasoning wax is a beeswax/oil combo. It works well and smells divine when heating. As for cooking oils, there are as many opinions about which oils are best as there are oils - just use something neutrally flavored and you’ll be fine. Also, some people suggest heating the pan before coating with oil, but you run the risk of the oil carbonizing in a haphazard, patchy pattern and/or burning your fingers. For the most even seasoning, wait for the pan to cool before coating with oil or wax.
Seasoning Carbon Steel with Method #2 - High Heat with Oil or Wax
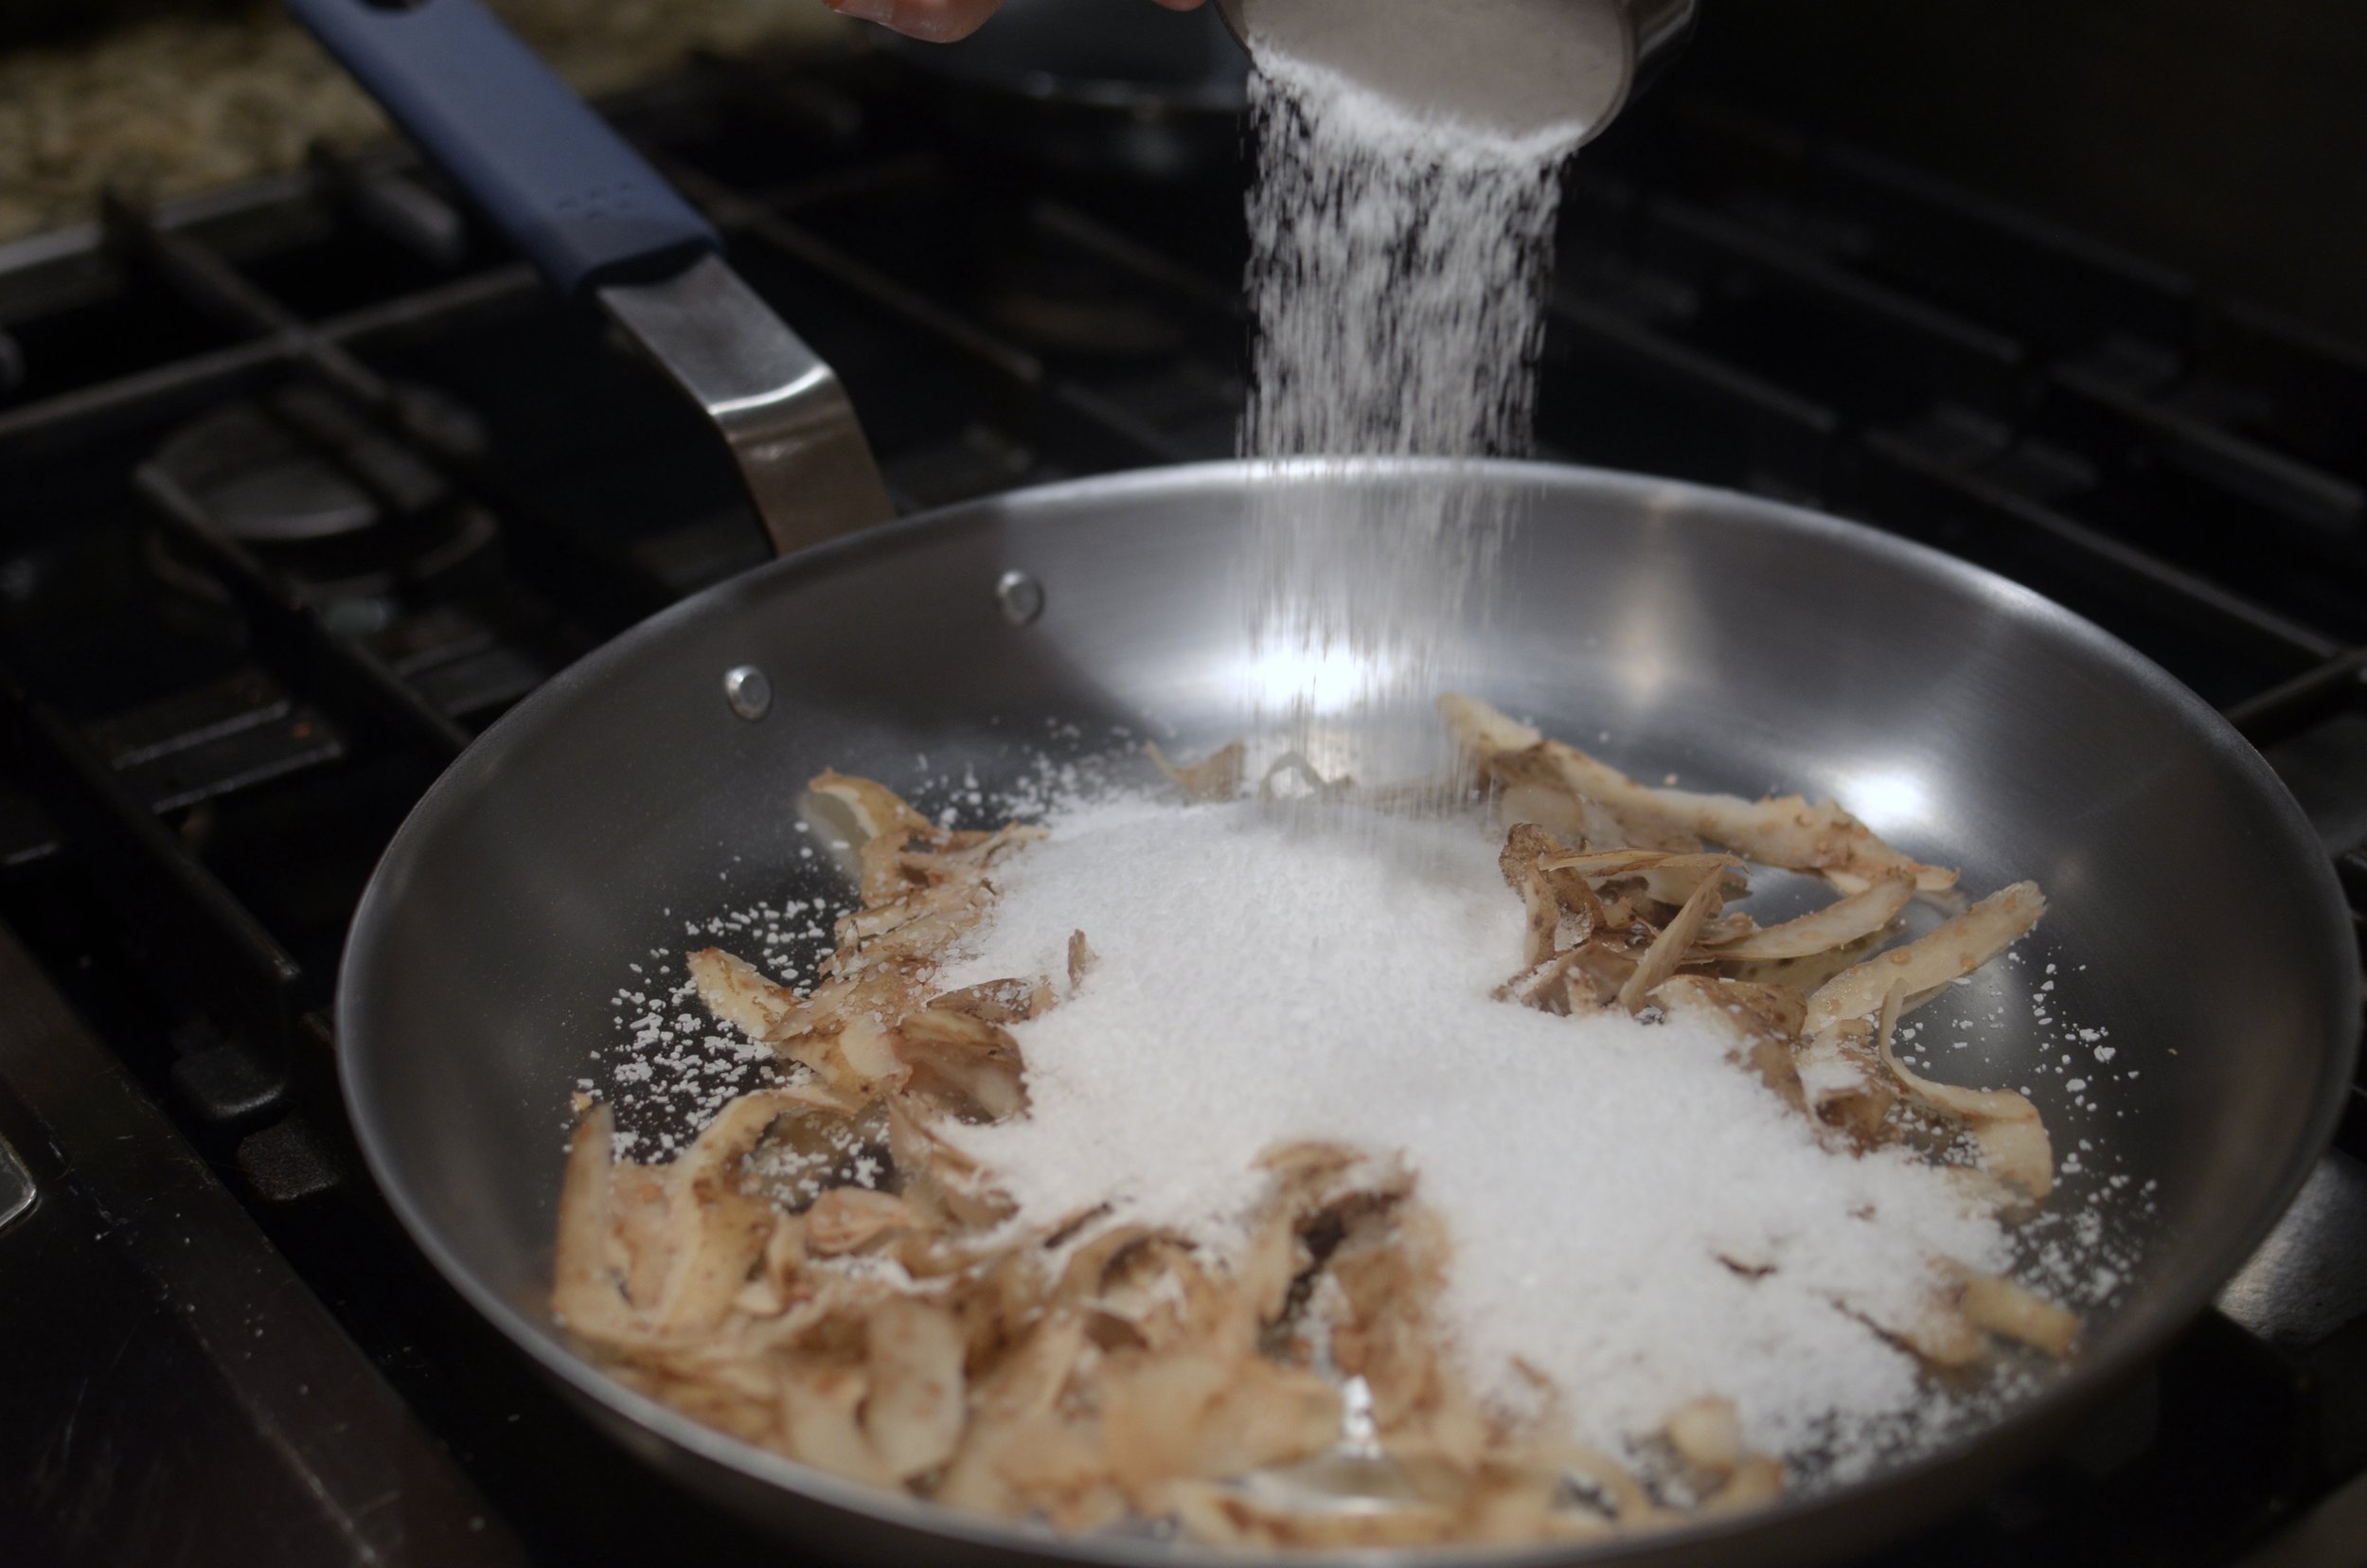
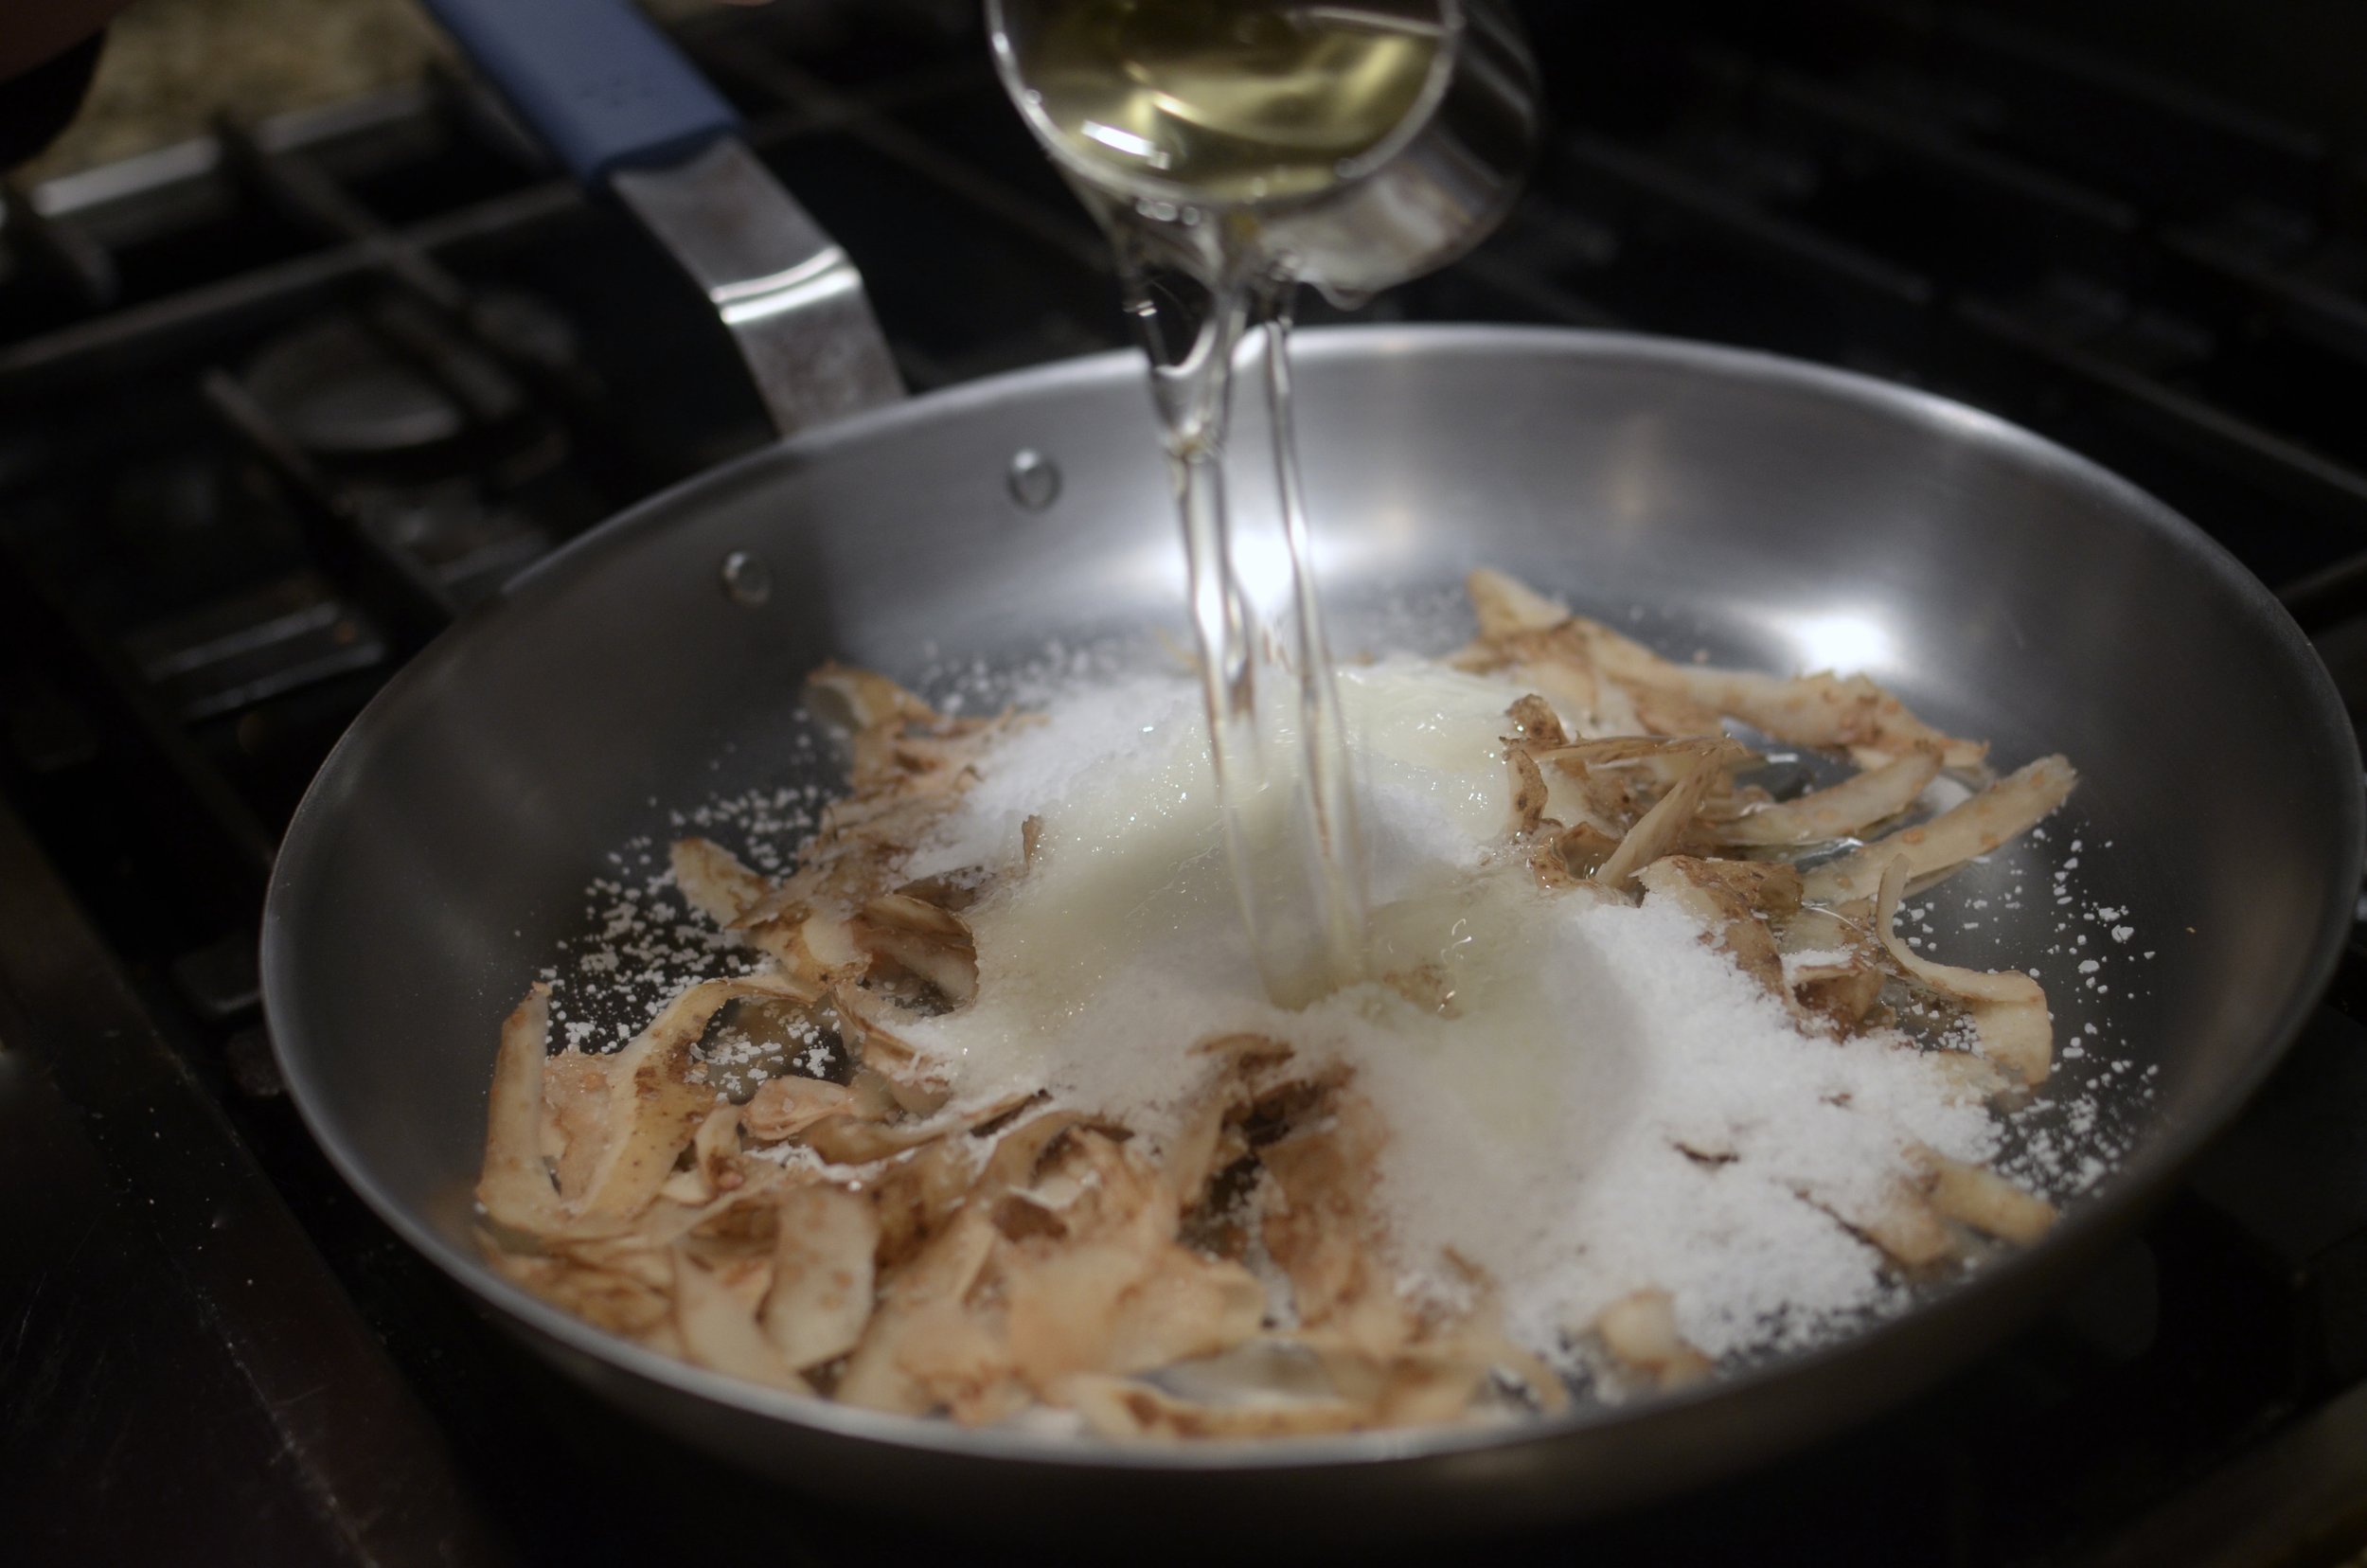
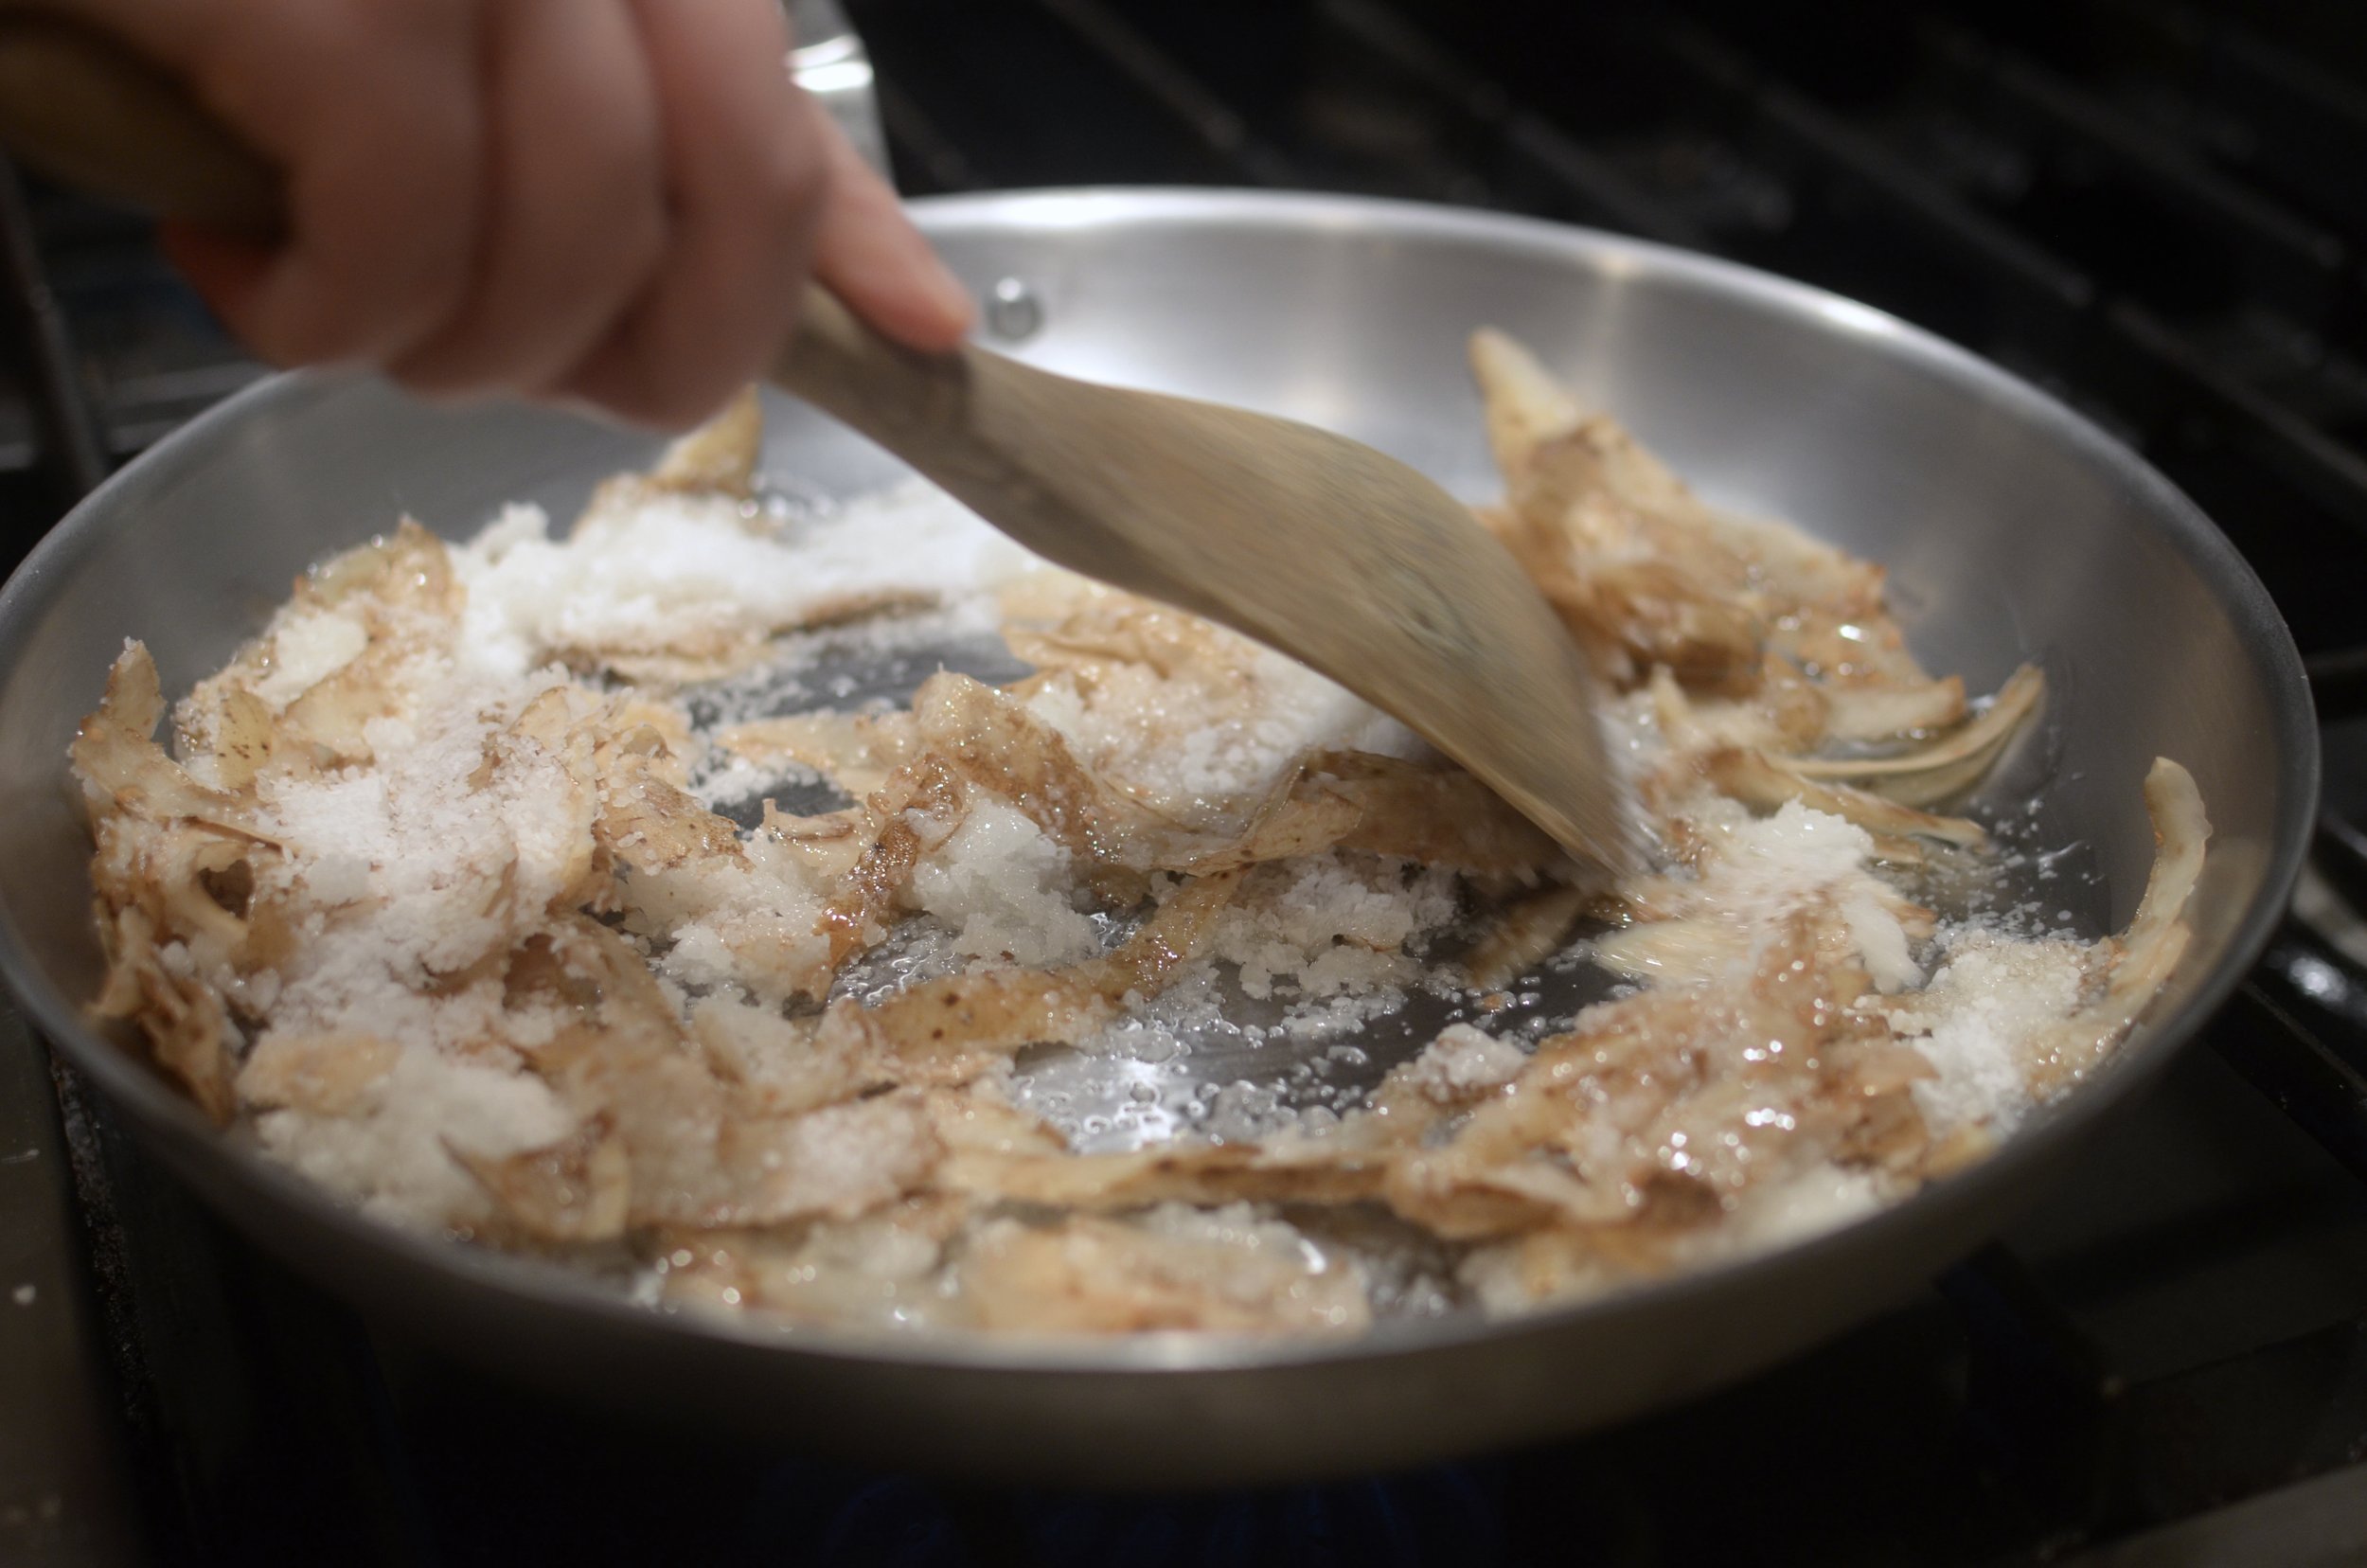
Method #3 - Salt, Oil, and Potato Peels
Lastly, we tested this method by Cook’s Illustrated where you combine kosher salt, cooking oil, and potato peels over high heat, stirring frequently, until the potato peels are crispy and brown. After the pan cools off, apply a protective coating of oil or seasoning wax inside and out.
I had never heard of this method before, but it piqued my curiosity and I was eager to give it a go.
Seasoning Carbon Steel with Method #3 - Salt, Oil, and Potato Peels
So How do I Rate the Results?
Method #1 - Dry High Heat
Super easy and super cool blue color. I would definitely recommend this method for seasoning carbon steel. It produced an extremely well-seasoned skillet with a superior nonstick finish.
Method #2 - High Heat with Oil or Wax
Another easy method which produces excellent results as long as you take care to wipe away as much of the excess cooking oil or wax as possible before heating. If any puddles or spots of oil or wax remain during the heating process, they’ll carbonize into black bumps. If this happens, you can use steel wool to grind down the bumps and start over again. This method takes a bit longer as you have to wait for the cookware to cool and reheat several times before the pan is well seasoned.
Method #3 - Salt, Oil, and Potato Peels
This was the messiest of all the methods and I wouldn’t recommend it to anyone. The top edges of the skillet got all gummy and the bottom of the pan developed patchy, dark brown bumps where the oil burned. I have to say, it was a great way to put potato peels to good use, but it was a terrible waste of kosher salt and oil. Of all the methods tested, this one produced the least nonstick pan, even after re-seasoning a number of times.
So there you go… 3 methods for seasoning carbon steel. Take my advice and go with the dry high heat or high heat with oil methods. Save your potato peels for the compost bin.
Happy Cooking!


