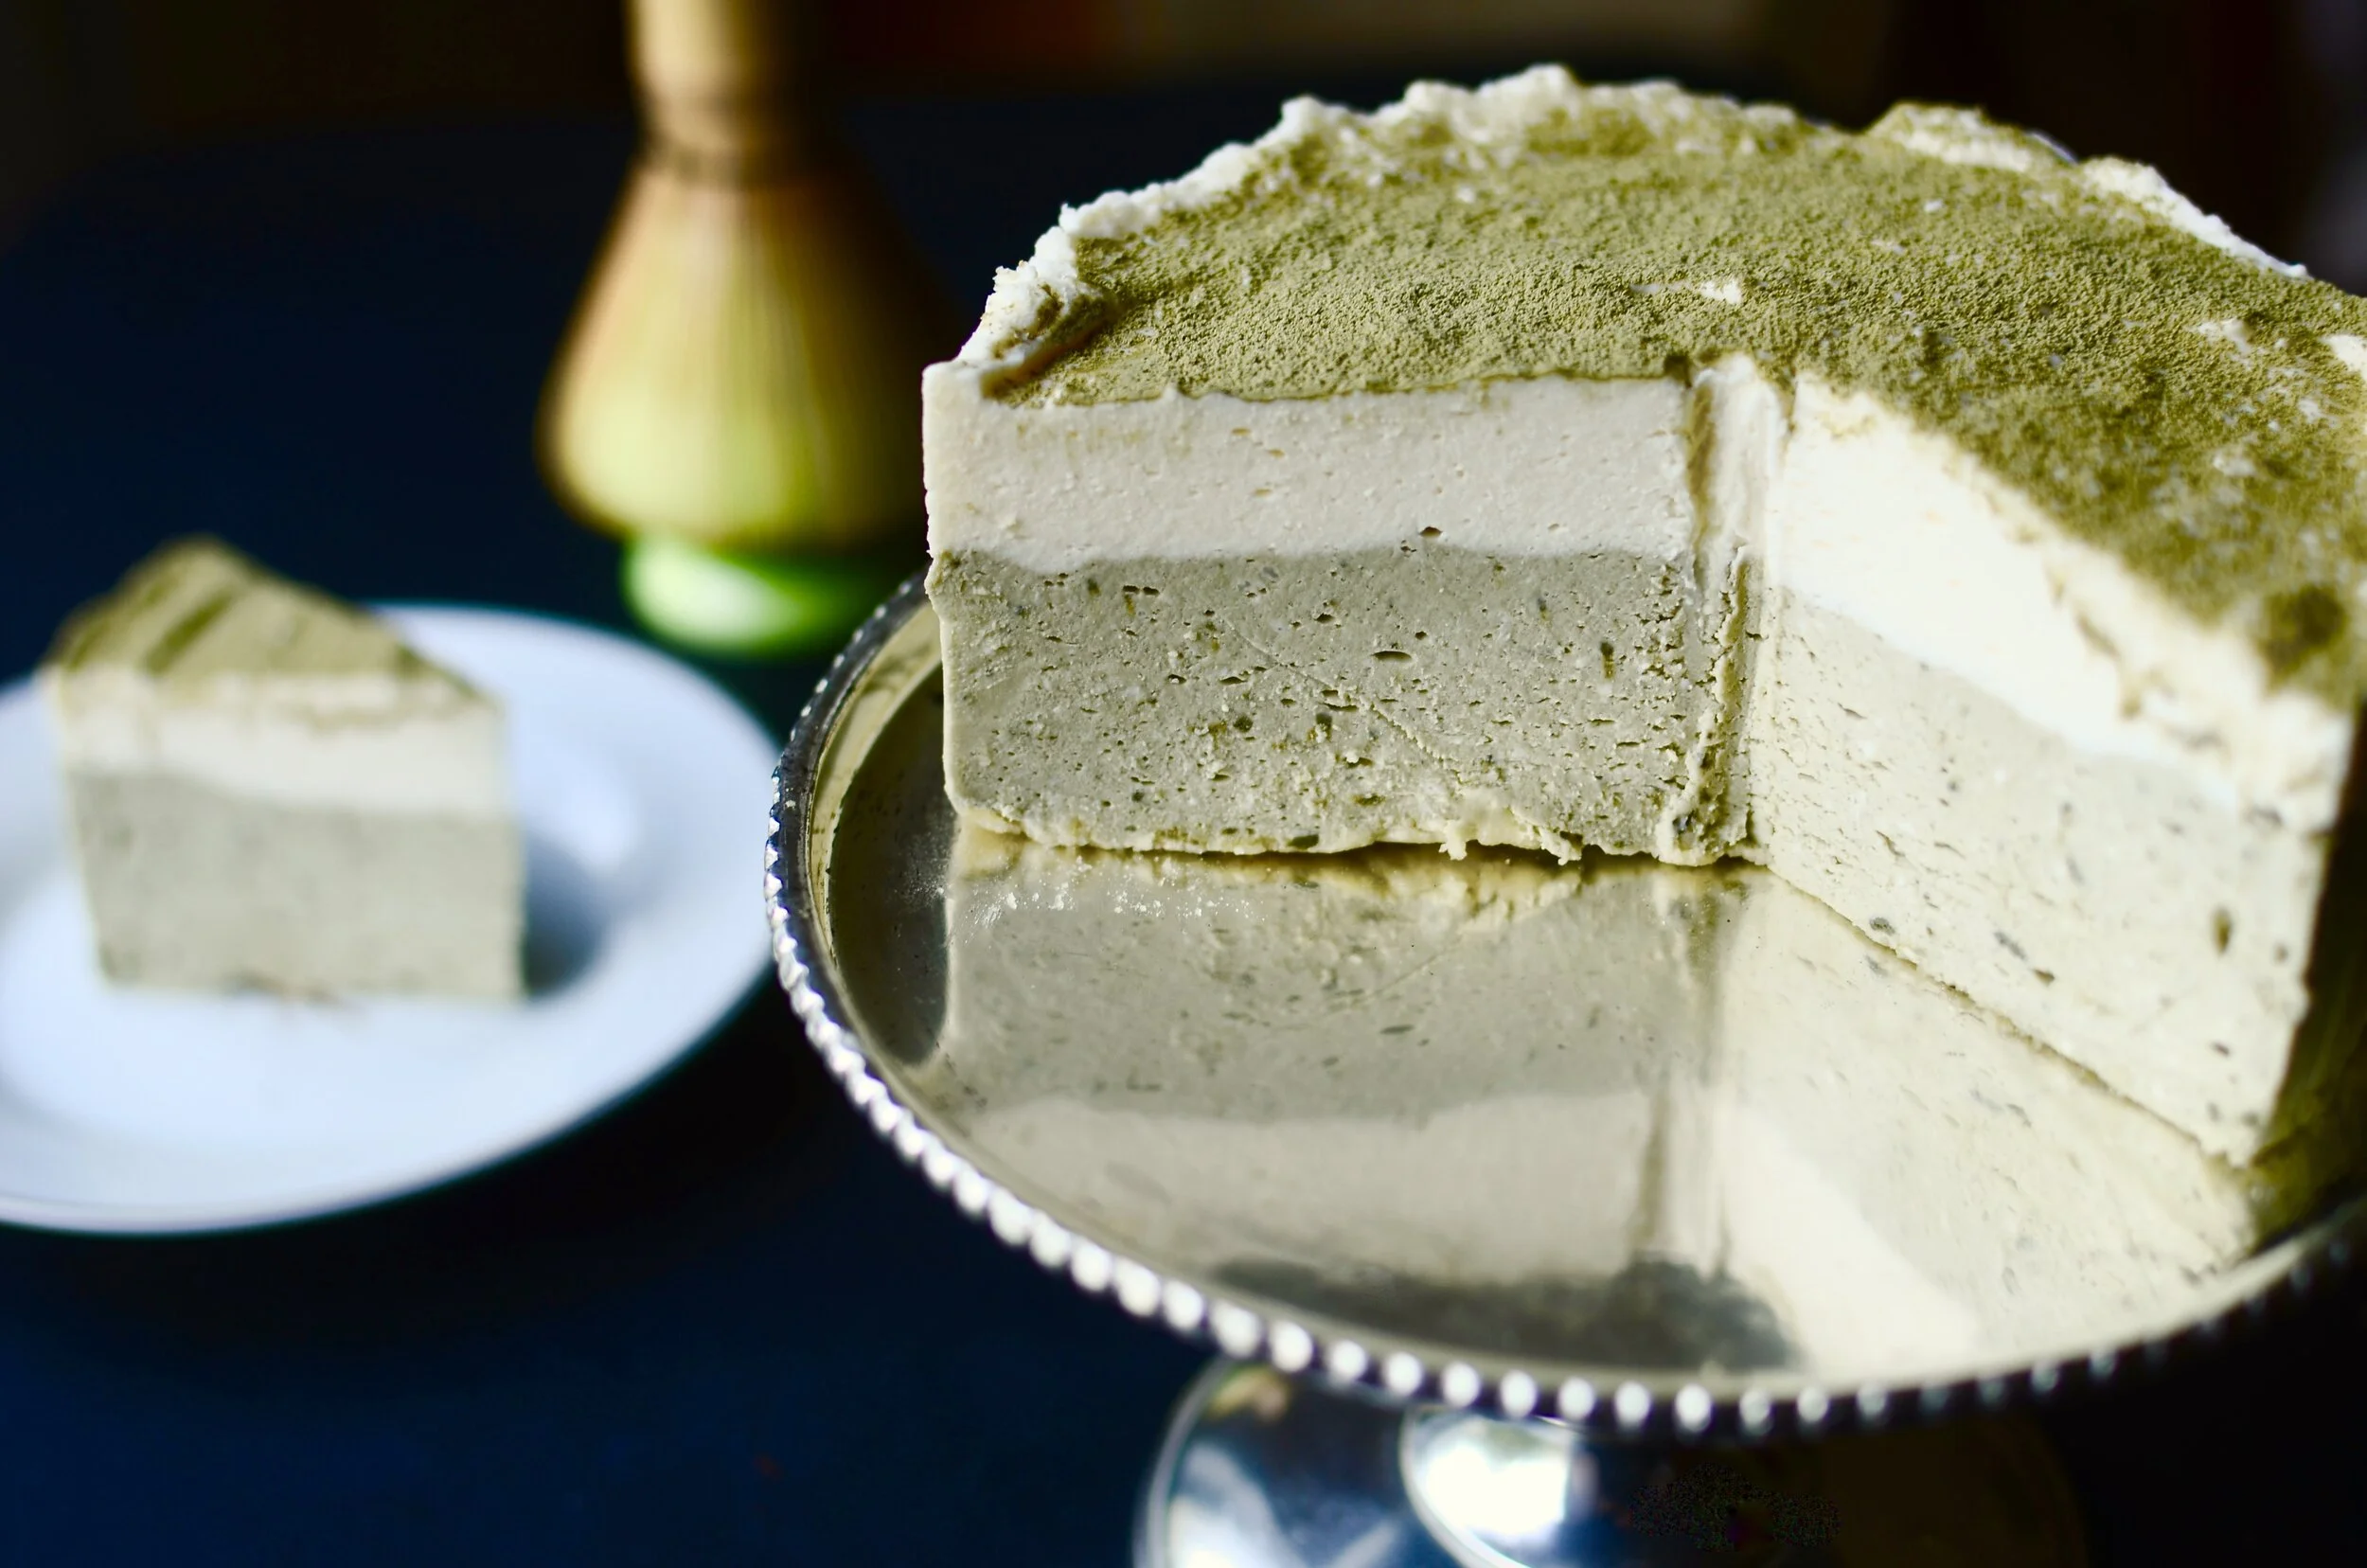
No-Bake Matcha Cheesecake
Patricia @ ButterYum

College girl spotted a no-bake matcha cheesecake recipe on a Japanese youtube channel and she asked me to make it for her. She absolutely loves matcha so I was more than happy to fulfill her request. The texture of this cheesecake is quite different than American-style cheesecake. One of my tasters commented, “it’s kind of… ‘bouncy’, but I like it!” I attribute that ‘bouncy’ texture to the addition of unflavored gelatin. It’s also not an overly sweet dessert which allows the delicate matcha flavor to shine though.


Items used to make this recipe:
(affiliate links)
my favorite digital scale https://amzn.to/3EHZkHL
high quality culinary matcha powder https://amzn.to/2Kzq5oc
6-inch springform pan https://amzn.to/2N9tCv1
parchment paper https://amzn.to/3I1TuTr
unflavored gelatin https://amzn.to/2Z6O7uw
hand mixer https://amzn.to/2Tz7Odv
No-Bake Matcha Cheesecake
makes one 6-inch cheesecake (about 8 servings)
Ingredients
400g cream cheese, room temperature
80g granulated sugar
60g whole milk, room temperature
10g unflavored gelatin (powder or granules)
250g heavy whipping cream, room temperature
15g high quality matcha powder
100g heavy whipping cream, room temperature
50/50 mix of confectioners sugar and matcha powder for dusting
Directions
Prepare a 6-inch springform pan by lining the bottom with parchment paper, then use your fingers to spread a thin layer of oil (like nonstick cooking spray) on the sides of the pan; set aside.
In a small bowl, sprinkle gelatin evenly over milk, being sure no dry clumps of gelatin remain (stir to wet all gelatin if necessary); set aside.
In a large mixing bowl, use a hand mixer to combine room temperature cream cheese and sugar until smooth and creamy; set aside.
In a medium glass or microwave-safe bowl, gently heat white chocolate until melted (10-15 second bursts), then add the reserved milk/gelatin mixture (from step 2) and stir until smooth (if gelatin granules don’t melt fully, gently warm mixture in microwave for 10 second bursts, stirring, and repeating until smooth); slowly stir in 250g heavy cream (start slowly and stir until smooth before adding more - repeat until all cream is added), place bowl in a large bowl that contains ice water and use handheld mixer to whip mixture until thickened.
To make the cheesecake base, fold the whipped heavy cream mixture (step 4) into the cream cheese mixture (step 3); reserve 150g of this cheesecake base to use as the top white layer.
In a small bowl, use a rubber or silicone spatula to combine 15g matcha with 100g heavy cream (again, start by adding a little cream at a time and stir until smooth before continuing)l stir matcha paste into cheesecake base (step 5) until fully incorporated; pour into prepared springform pan and spread into an even layer.
Top with the white top layer (150g reserved in step 5), spread into an even layer.
Cover pan with plastic wrap and chill for at least 6 hours or overnight.
To serve, wrap sides of pan with warm towel for a few minutes, then release springform (the parchment should peel off easily.
Dust top of cheesecake with 50/50 mixture of confectioner’s sugar and matcha powder and place on serving plate.
To slice, dip thin, sharp knife in hot water and wipe dry before each cut.
adapted from HidaMari Cooking
Notes
If separating the layers is too fussy for you, feel free to combine them - we’ve enjoyed this cheesecake that was as well.
I don’t like to wrap the sides of the springform pan with parchment because it tends to buckle after being exposed to the cheesecake mixture. You’ll get a smoother finished cheesecake if you simply spread a thin layer of oil on the sides of the pan.