Instant Pot Easy-Peel Hard Cooked Eggs
Patricia @ ButterYum

A couple of years ago I shared a technique for steaming hard-cooked eggs that allowed the shells to slip off almost effortlessly (you can read about it here). If I were to rate that technique, I'd give it 9 out of 10 stars, but today I'm going to share an even better technique. This one earns 10+ stars. I've cooked about 6 dozen farm-fresh eggs using this new method and haven't had a single shell stick. I hope you’ll give it a try.
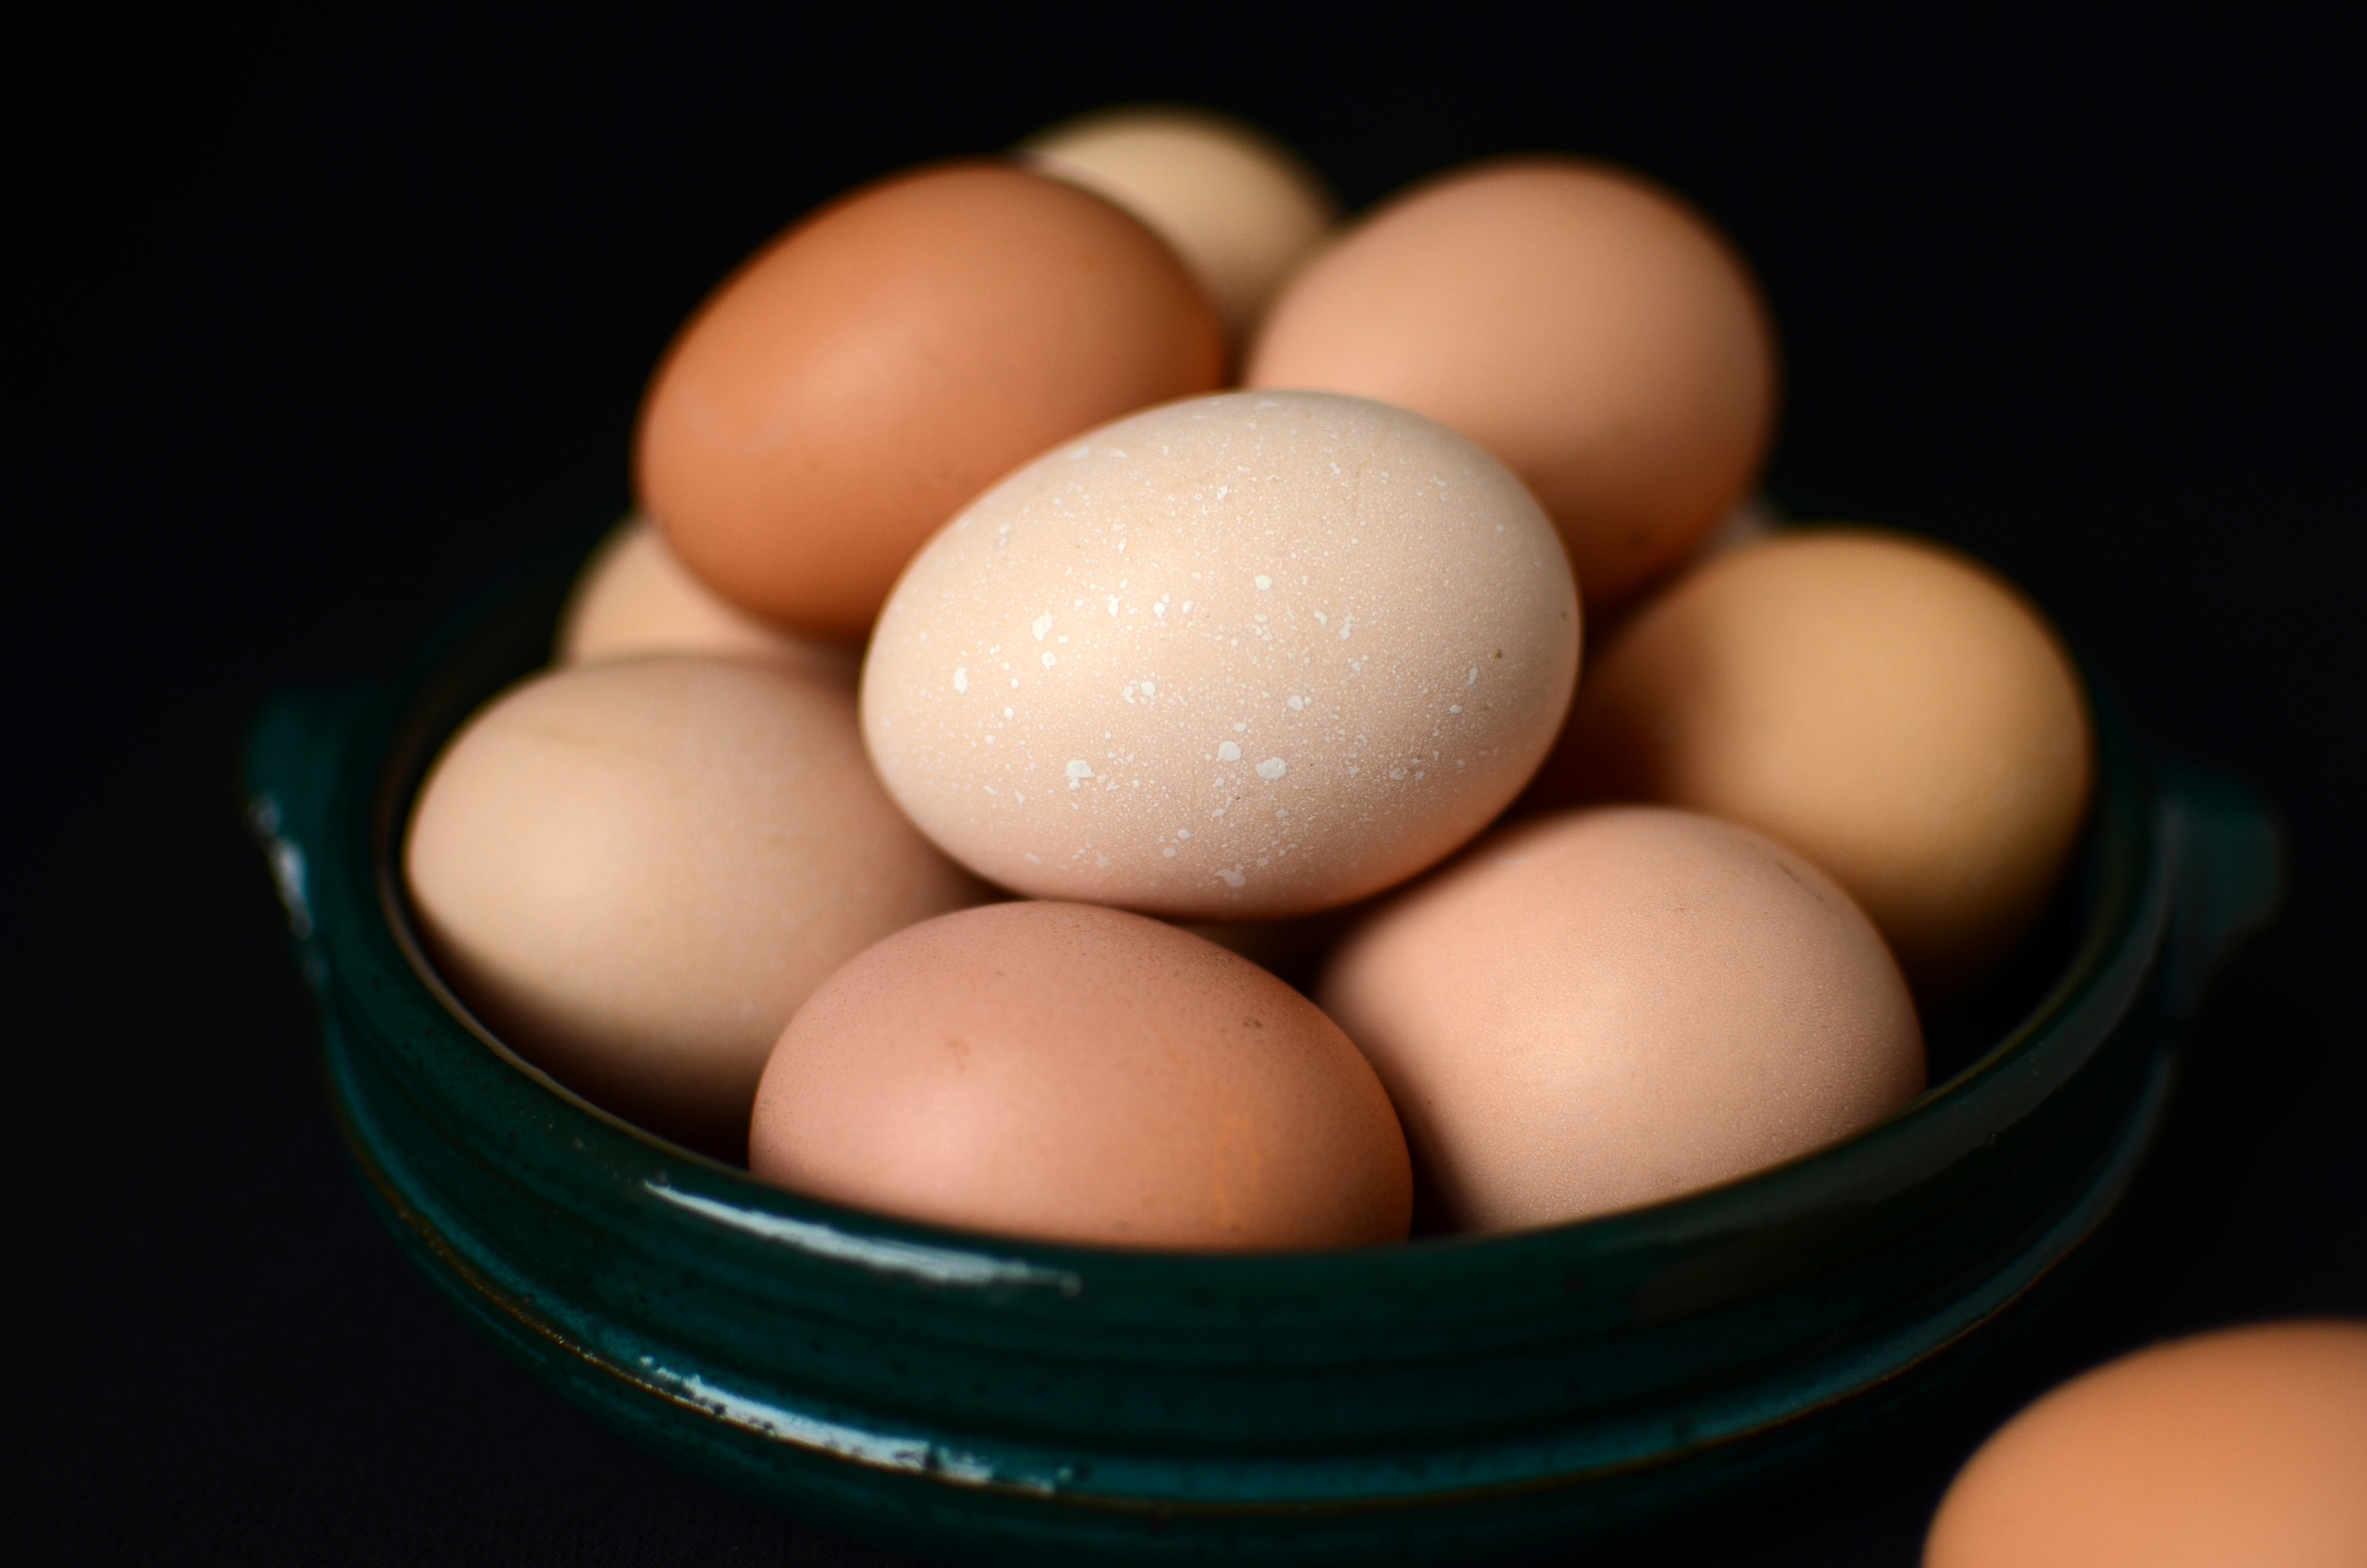
Whether you use the old steaming method, or this new and improved electric pressure cooker method, the only ingredients needed are eggs and water. I'm using farm-fresh eggs, but older eggs from the grocery store will work too.

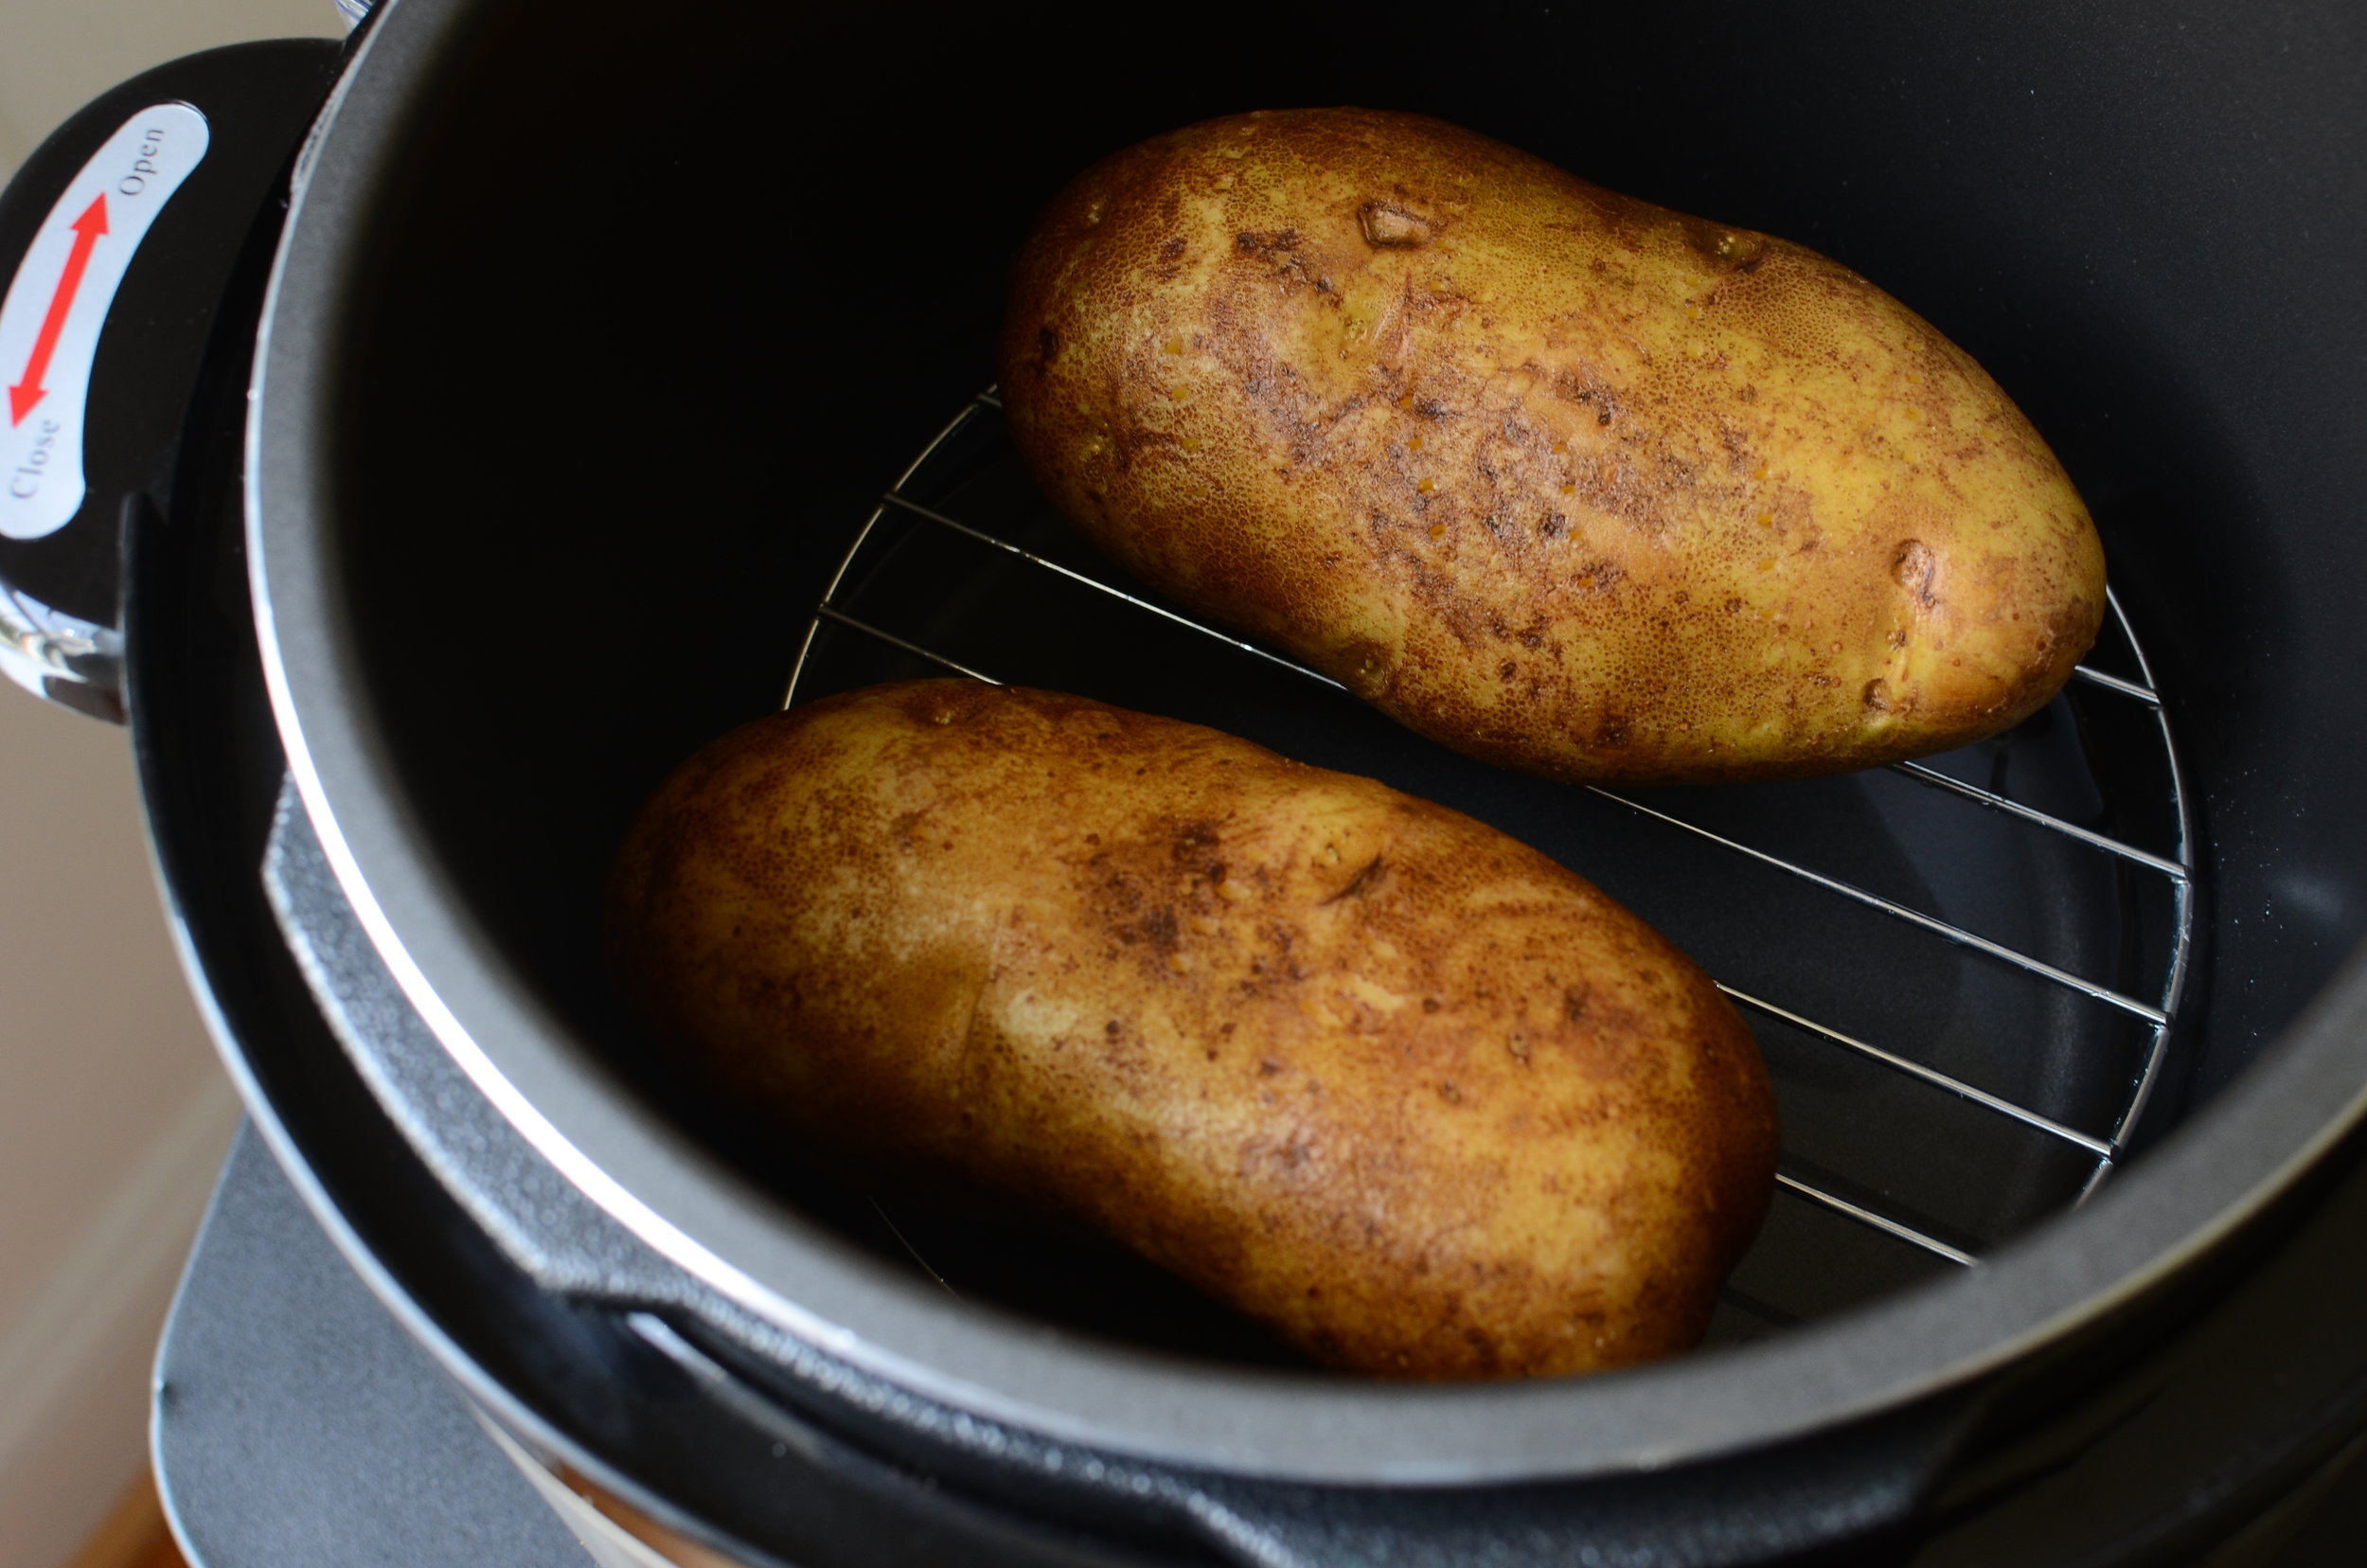
Place about 1/2-inch of water in the inner pot of an instant pot or any brand of electric pressure cooker; add a rack (stainless or this silicone one with handles that I love).
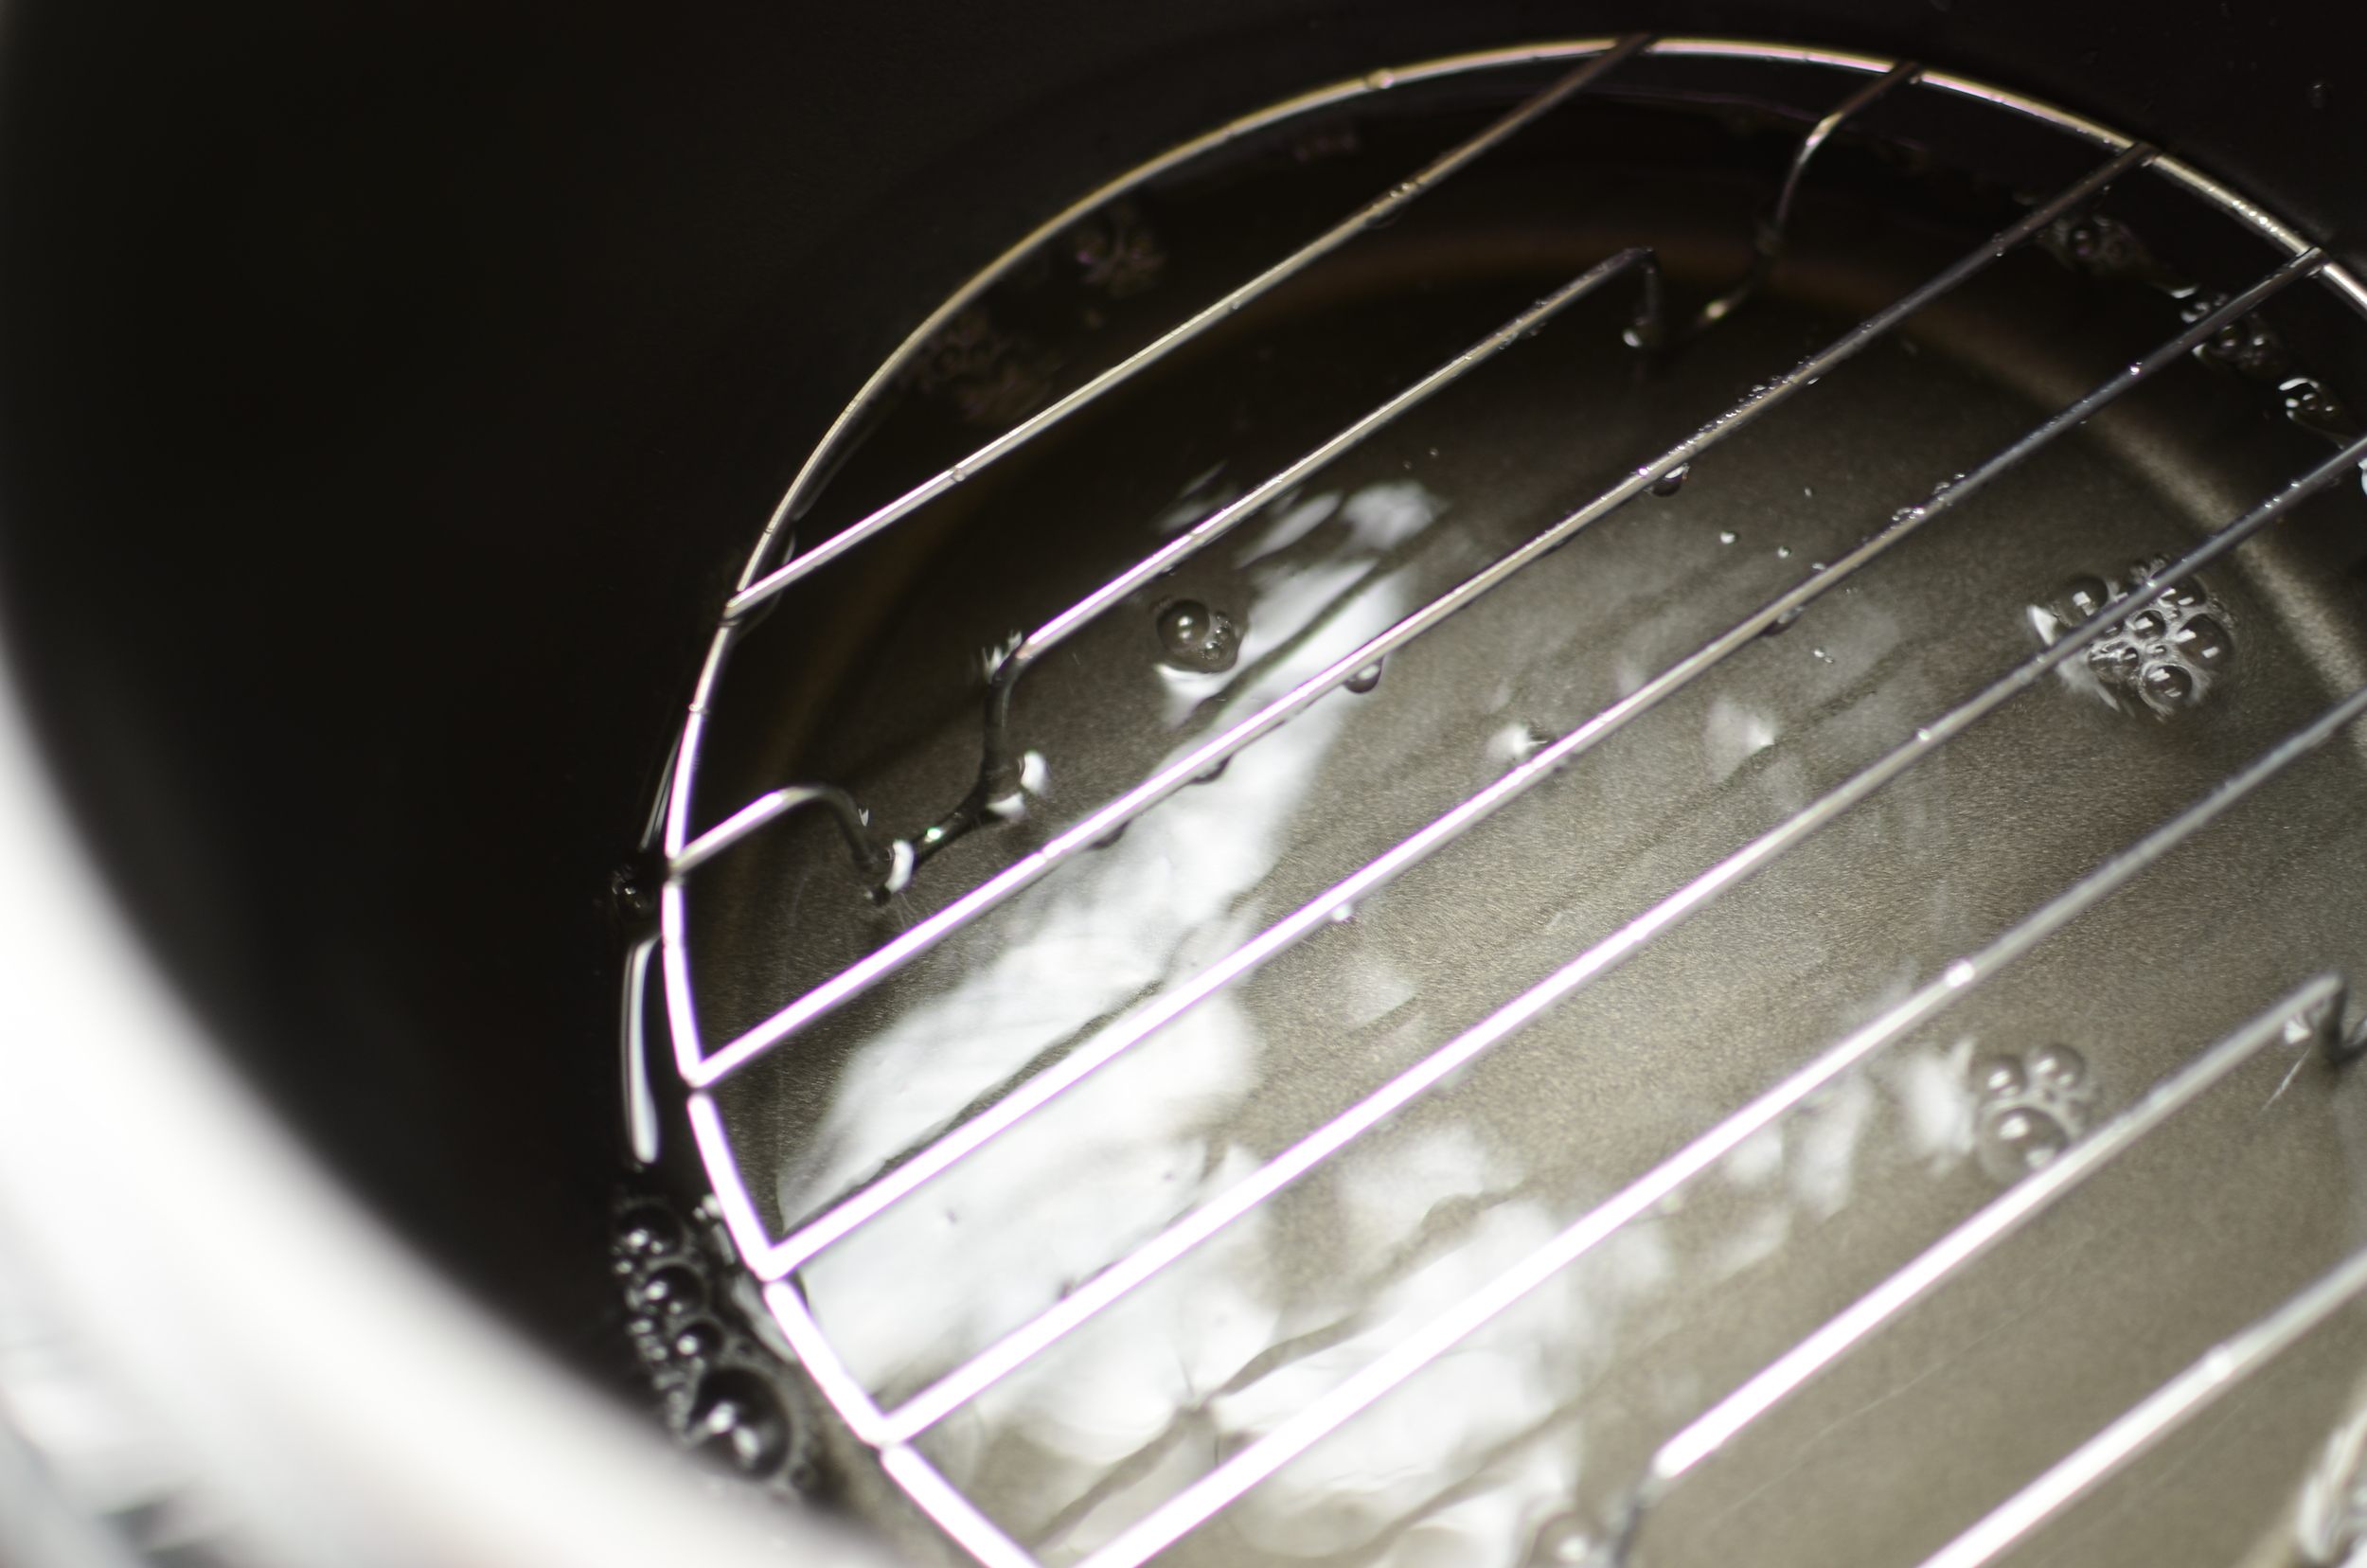
The eggs should hover over the water so be sure the top surface of the rack sits above the water.

Place eggs on the rack. I've spaced these apart for a pretty photo, but I usually squeeze as many eggs into a single layer as I can. I find they don’t always cook through if you stack them on top of each other, but they’ll turn out perfectly as long as you keep them in a single layer.

Put the lid on the pressure cooker and lock it closed. Also check to be sure the steam vent is closed.

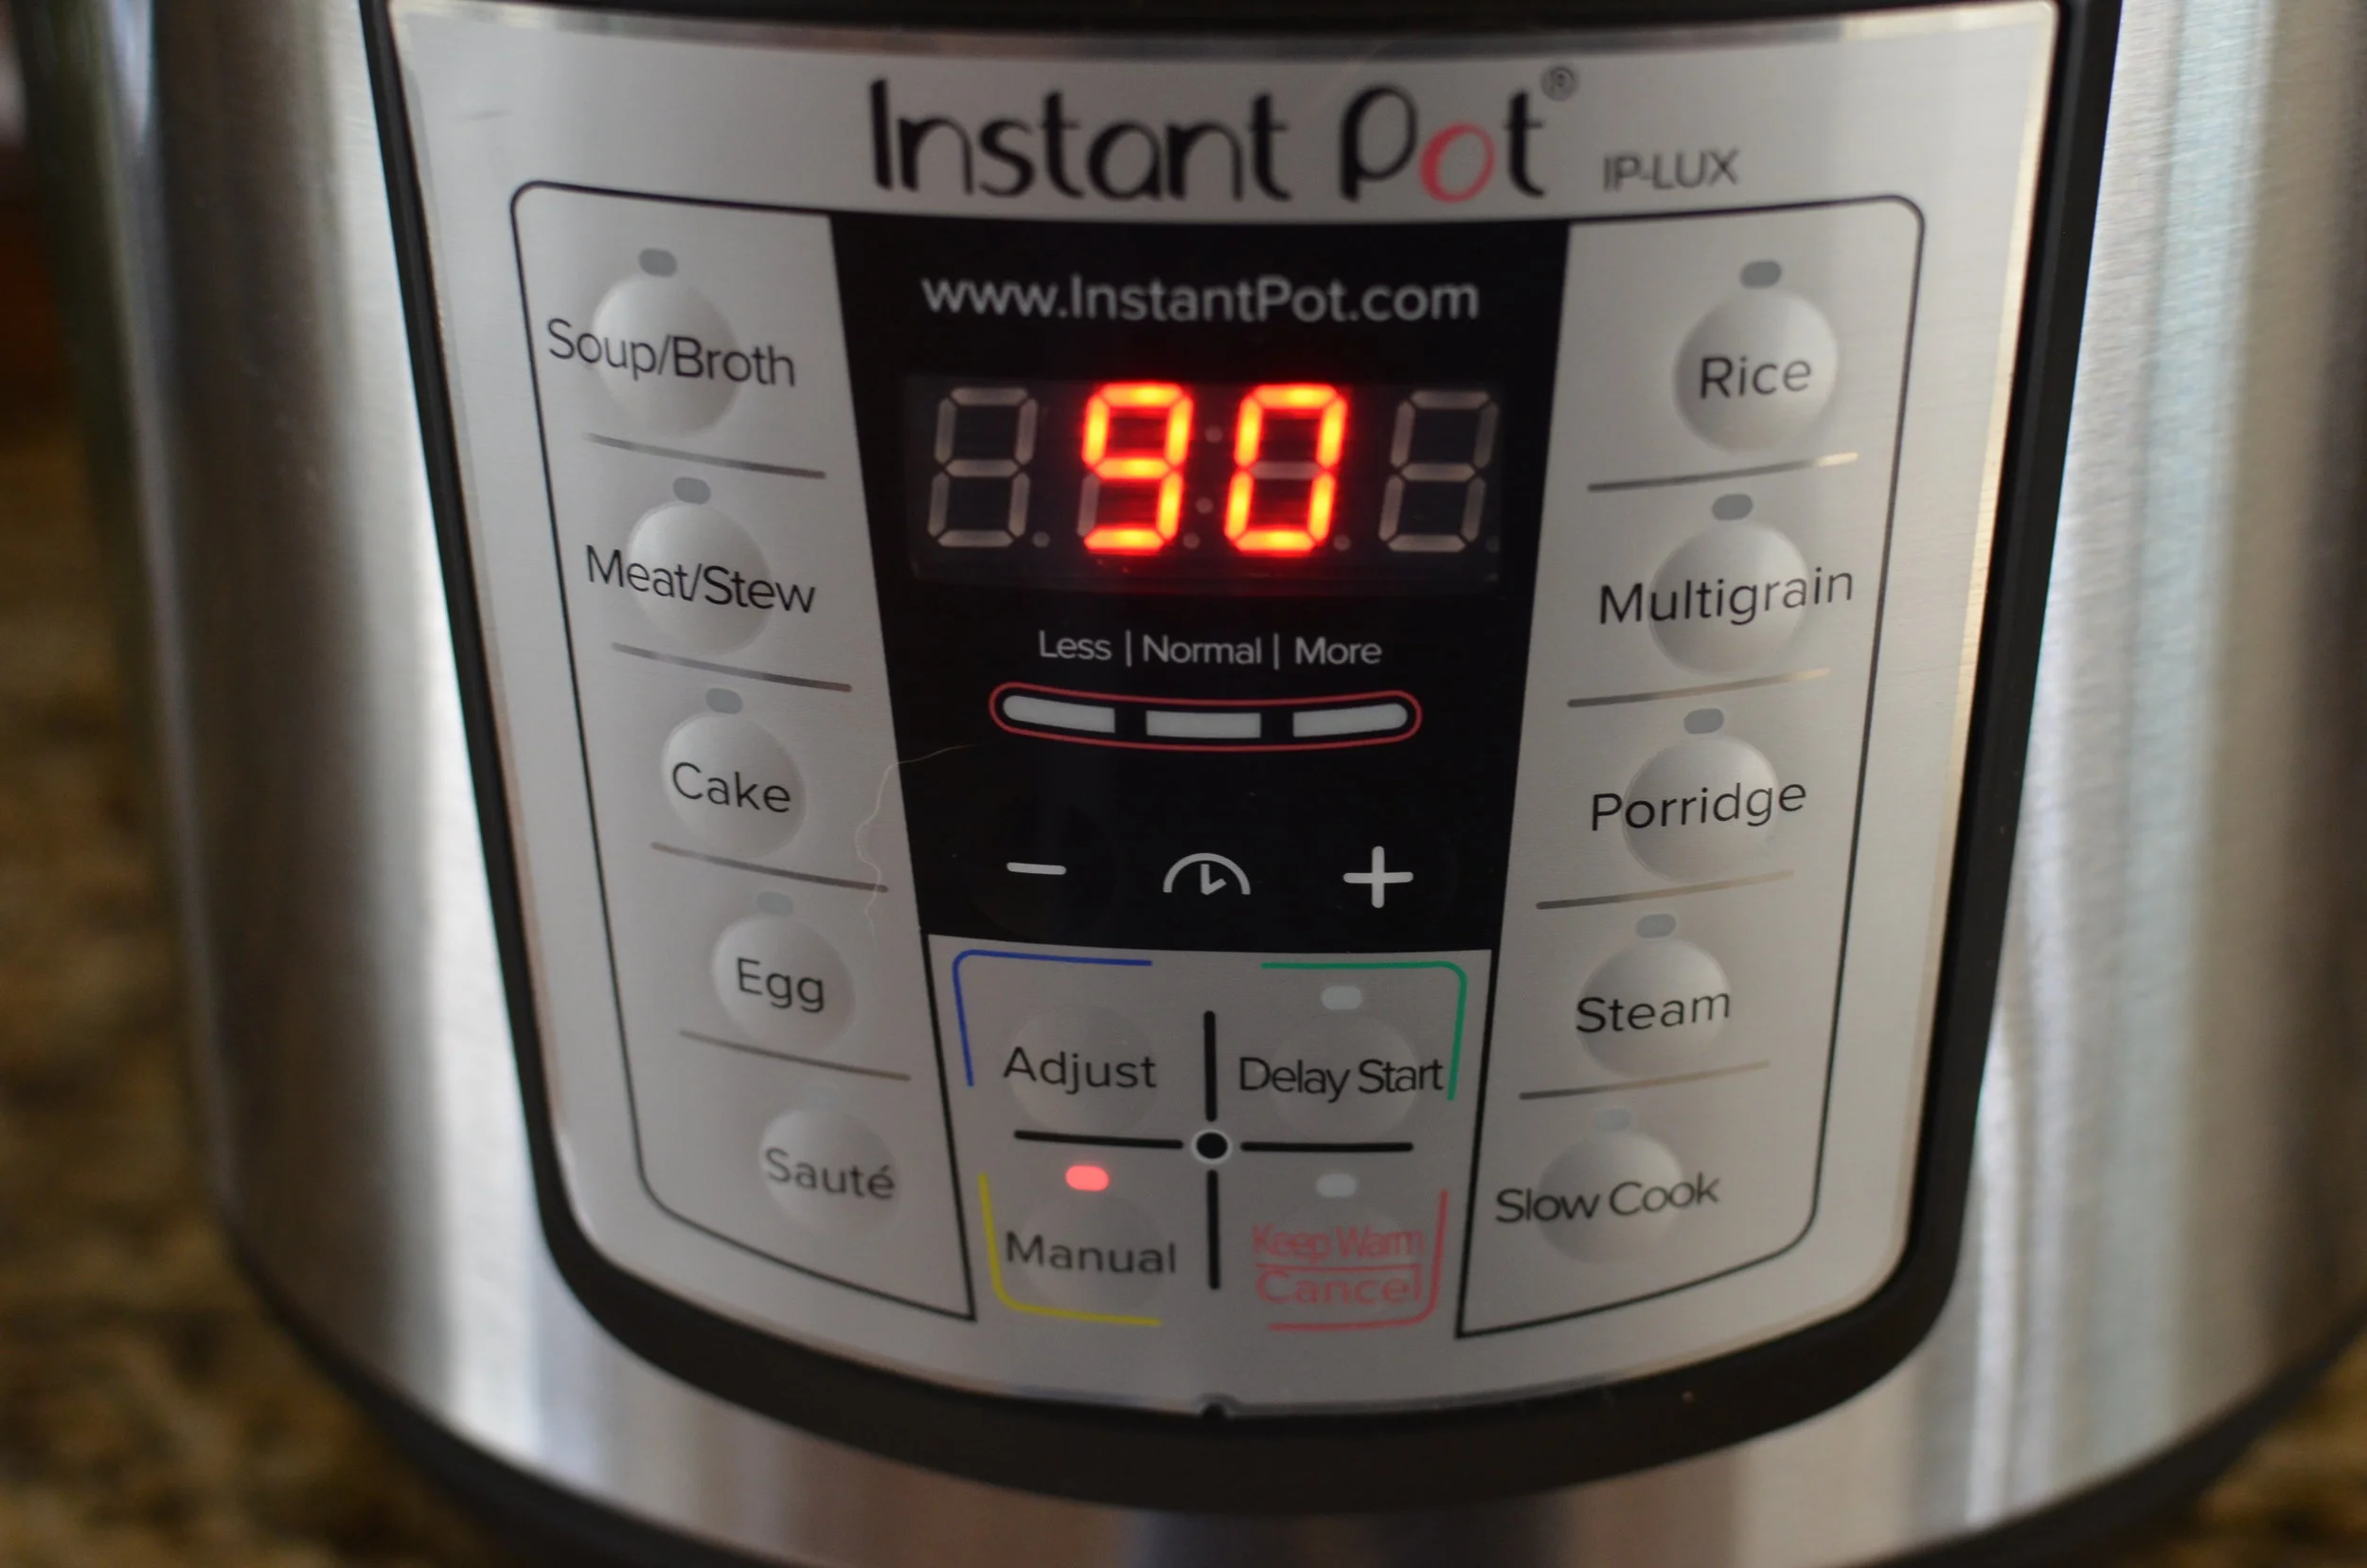
Okay, set the pressure cooker for 5 minutes on the rice cycle. The cooker will heat the water and come to pressure before the timer starts counting down so the total time in my cooker is actually about 10 minutes from start to finish.
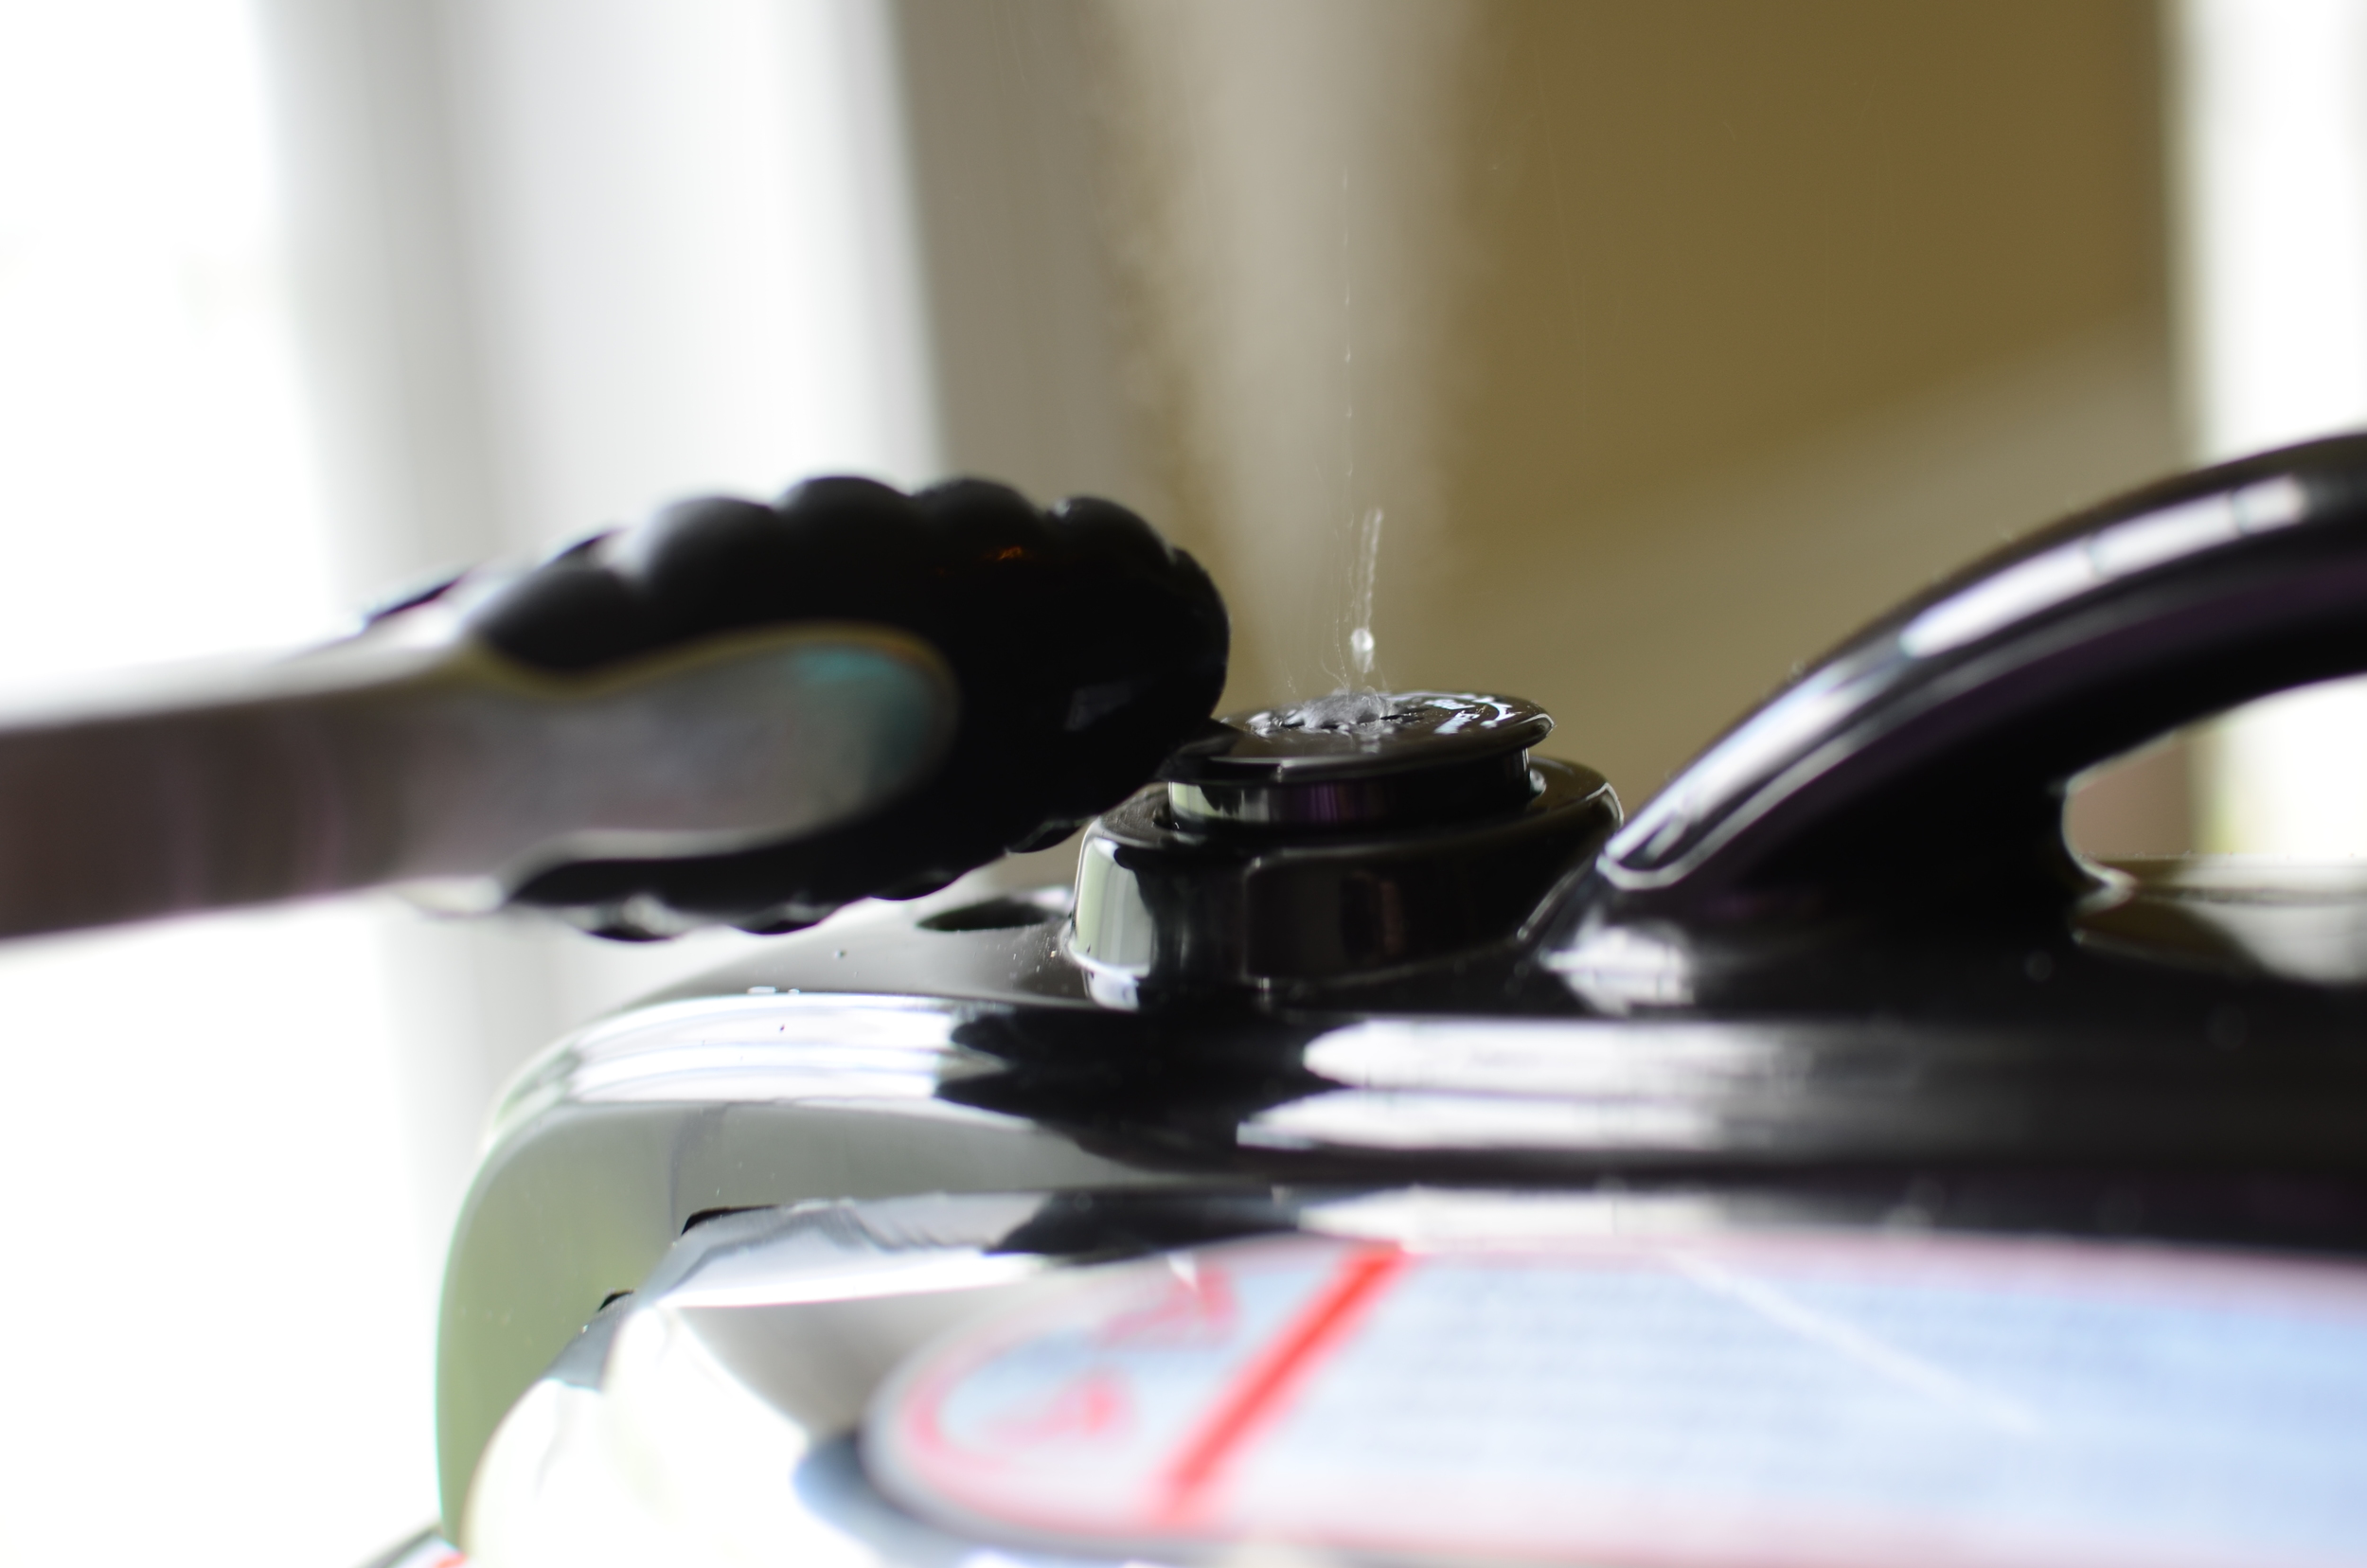
When the timer alerts you that 5 minutes have passed, allow the pressure to release naturally for an additional 5 minutes. Manually release any remaining pressure - careful, there may bee some spitting and spurting.

Almost done....

Alrighty, as soon as all the pressure is released, you can open the lid and remove the eggs.

To help prevent the yolks from developing the ugly green layer, immediately submerge the hot eggs in a large bowl of ice water and allow the eggs to cool for 5 minutes before peeling.

To recap, that’s 5 minutes of cooking under high pressure, 5 minutes of resting, and 5 minutes in an ice bath - 5/5/5. Easy! For extra large eggs, I increase each step to 6 minutes.
As soon as the eggs are done resting in the ice bath, you can start peeling.

Egg peeling perfection. Perfection, perfection, perfection.... no sticking shells, no ugly peeled eggs, just perfectly peeled eggs every single time. I LOVE THIS TECHNIQUE!!!

And just look at those yolks, would you? I can’t wait for you to try.


Items used to make this recipe:
(affiliate links)
instant pot https://amzn.to/30K6S9z
silicone rack https://amzn.to/37gVcOi
silicone tongs https://amzn.to/2TMta9A
PERFECT EASY-PEEL EGGS
Ingredients
large eggs (farm fresh or from the grocery store)
water
Directions
In the cookwell of an electric pressure cooker fitted with a rack, place 1/2-inch of water, being sure the top of the rack is not submerged under the water.
Place a single layer of eggs on top of the rack.
Seal the pressure cooker and set for 5 minutes on the high pressure (or rice) cycle.
Allow pressure to naturally release for 5 minutes before manually releasing any remaining pressure.
Immediately remove the eggs and place in a large bowl of ice water to cool for 5 minutes
When eggs are cool, the shells should come off the eggs with minimal effort.