TBB - Blu-Rhu Mini Pies
Patricia @ ButterYum
Welcome to the Alpha Bakers bake-a-long, an online project where a group of food bloggers bake our way through The Baking Bible by Rose Levy Beranbaum. Most of the recipes made during this project will not be shared, but I will post my commentary followed by a full photo tutorial.
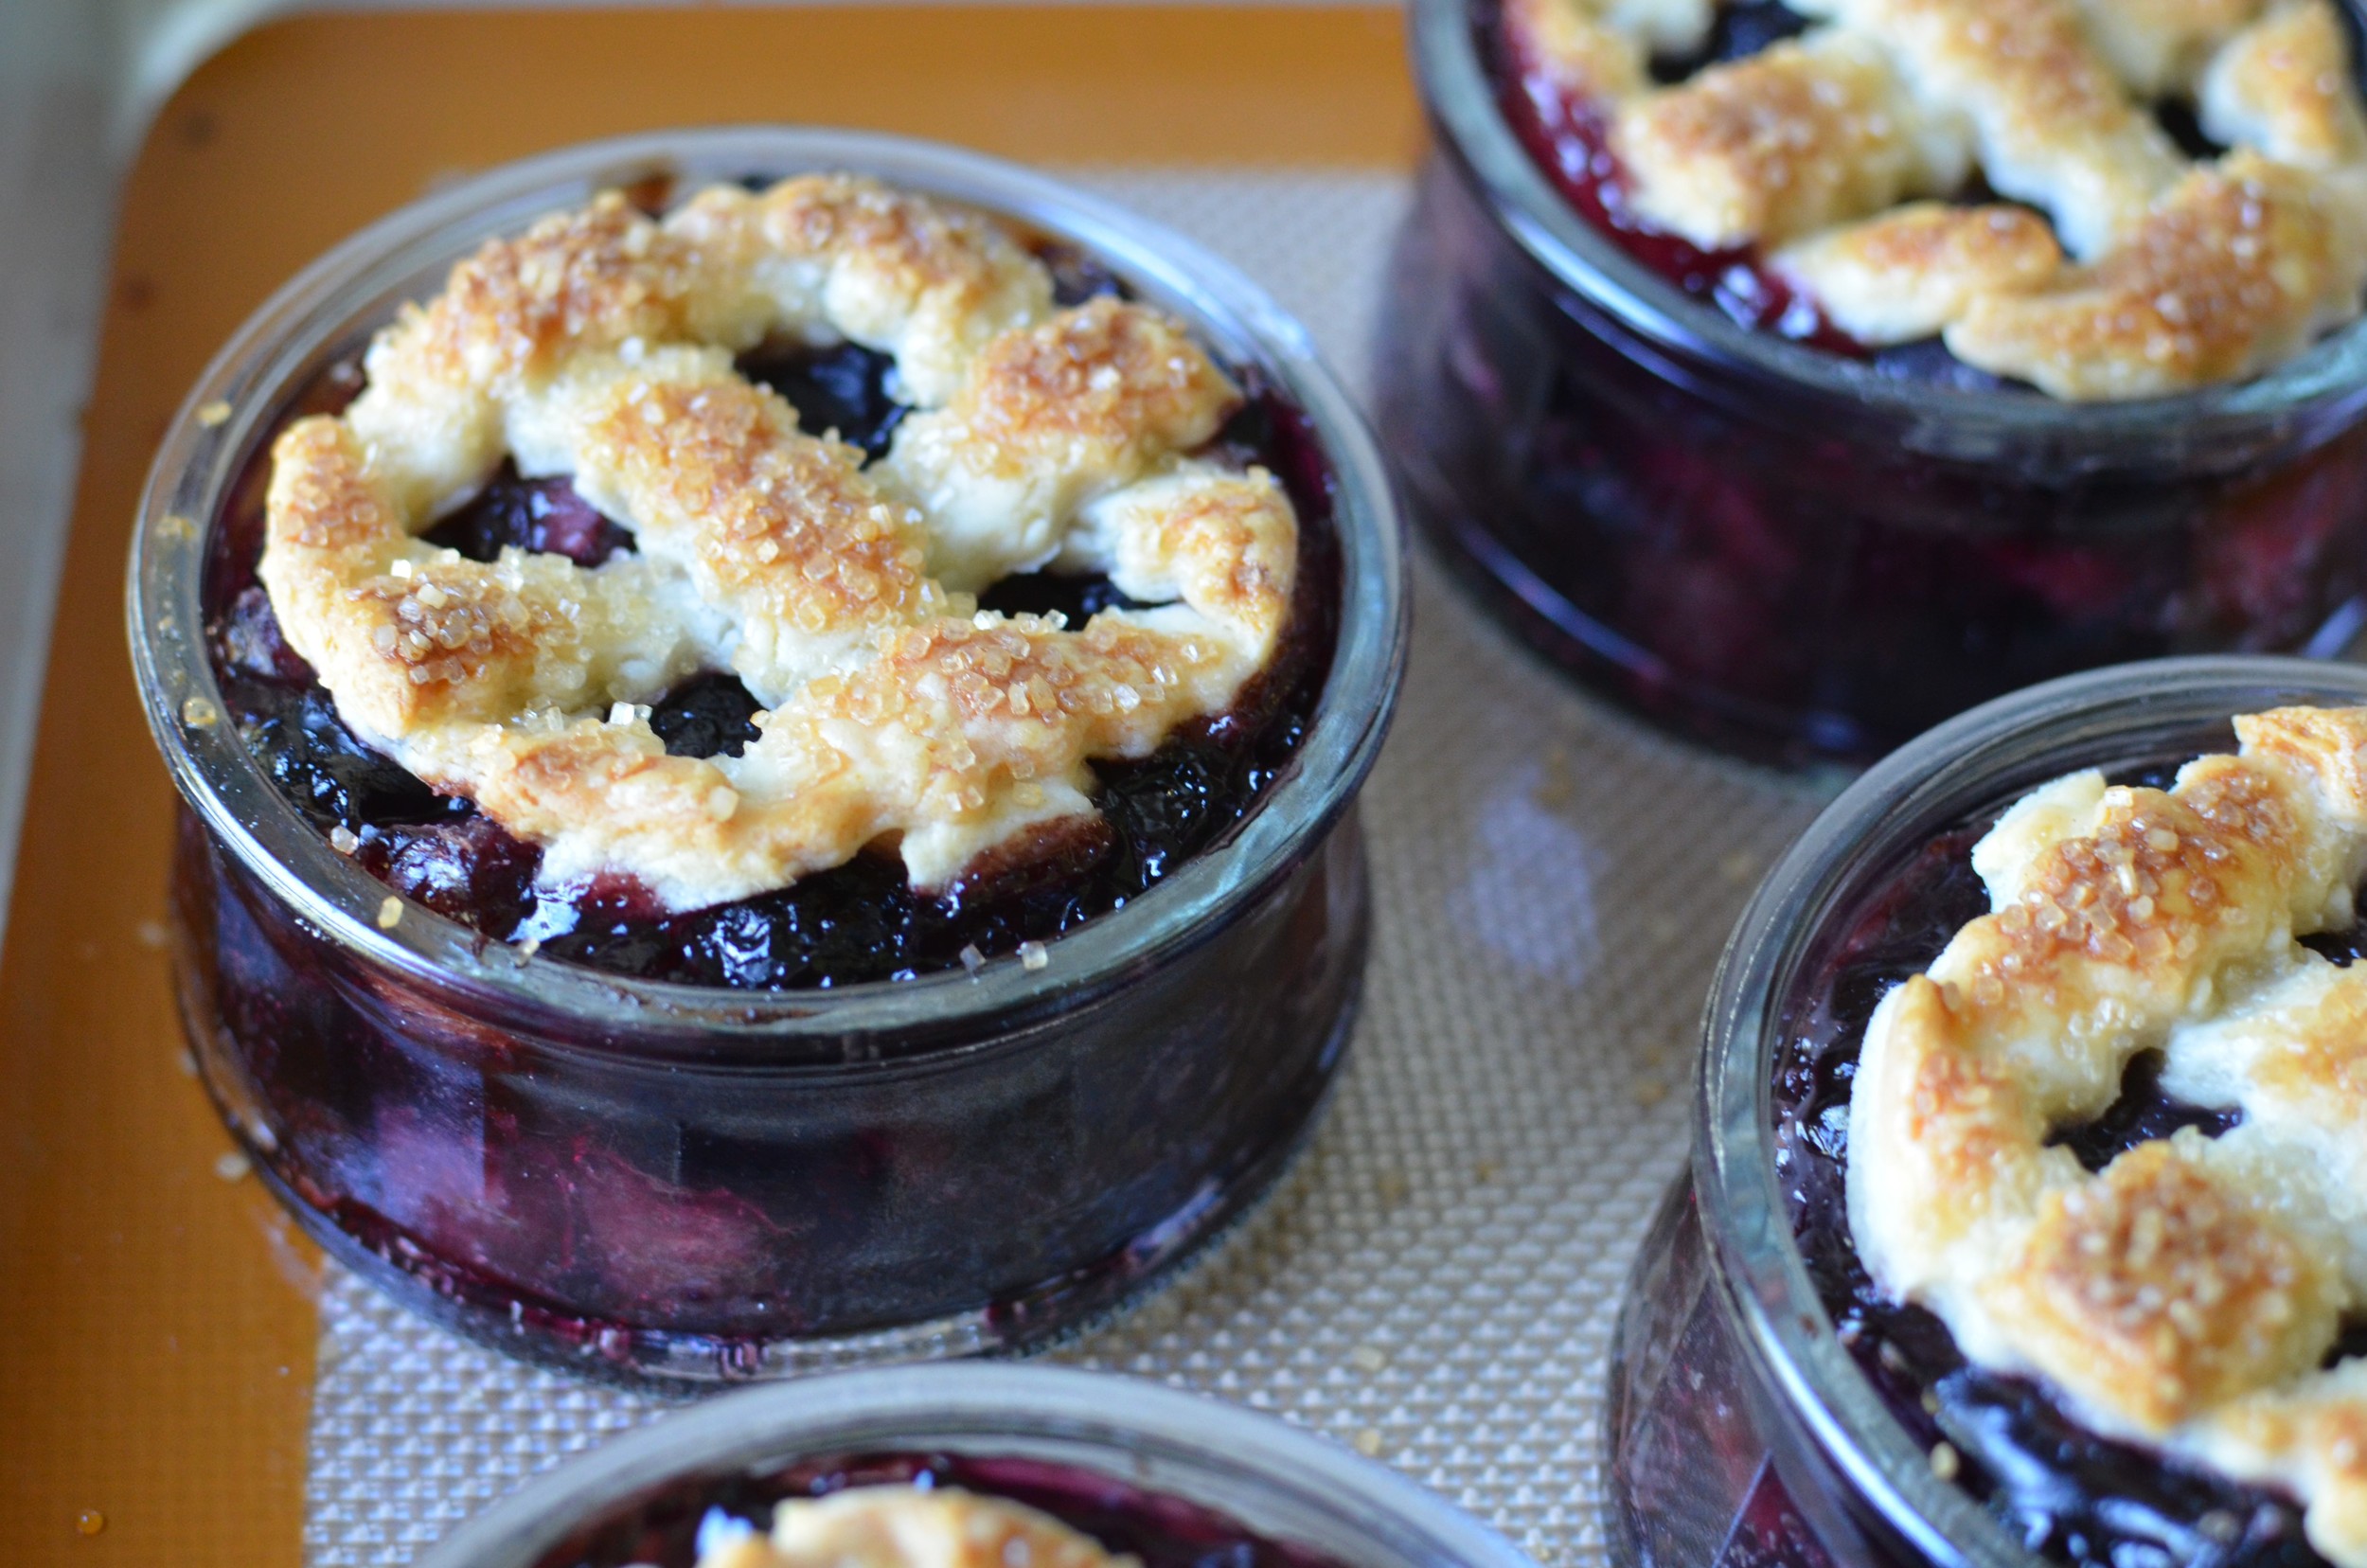
This week's selection - BluRhu Pie, a lattice topped pie filled with a mixture of blueberries and rhubarb. I opted to make 4 mini pies that only have crust on top.
Special ingredients and/or equipment needed - 9-inch pie plate (or four 6-ounce ramekins), digital scale.
Optional ingredients and/or equipment suggested - round cutters, silpat silicone liner, round plain cutters, pastry cloth, and optional rolling guides.
How did it taste - Surprisingly good. I'm not a fan of rhubarb, but blueberry is my favorite pie filling so that certainly helped.
How does it look - Doesn't everything topped with lattice look amazing? I think so.
Level of difficulty - Filling: easy. Crust: easy. Weaving the lattice: I think it's easy, but I know some people disagree. As a matter of fact, I have personally witnessed a pastry school graduate struggle to weave a lattice crust in a commercial kitchen! Just take your time and follow my photos if you're worried about it.
Were the directions clear - Yes.
What would I do differently next time - I'd cut the rhubarb into smaller pieces. Note: I didn't bake a full pie, but the Alpha Bakers who did almost unanimously said they'd double the filling next time they baked a 9-inch pie.
Next up - Touch of Grace Biscuits.
Okay, here's my photo tutorial.
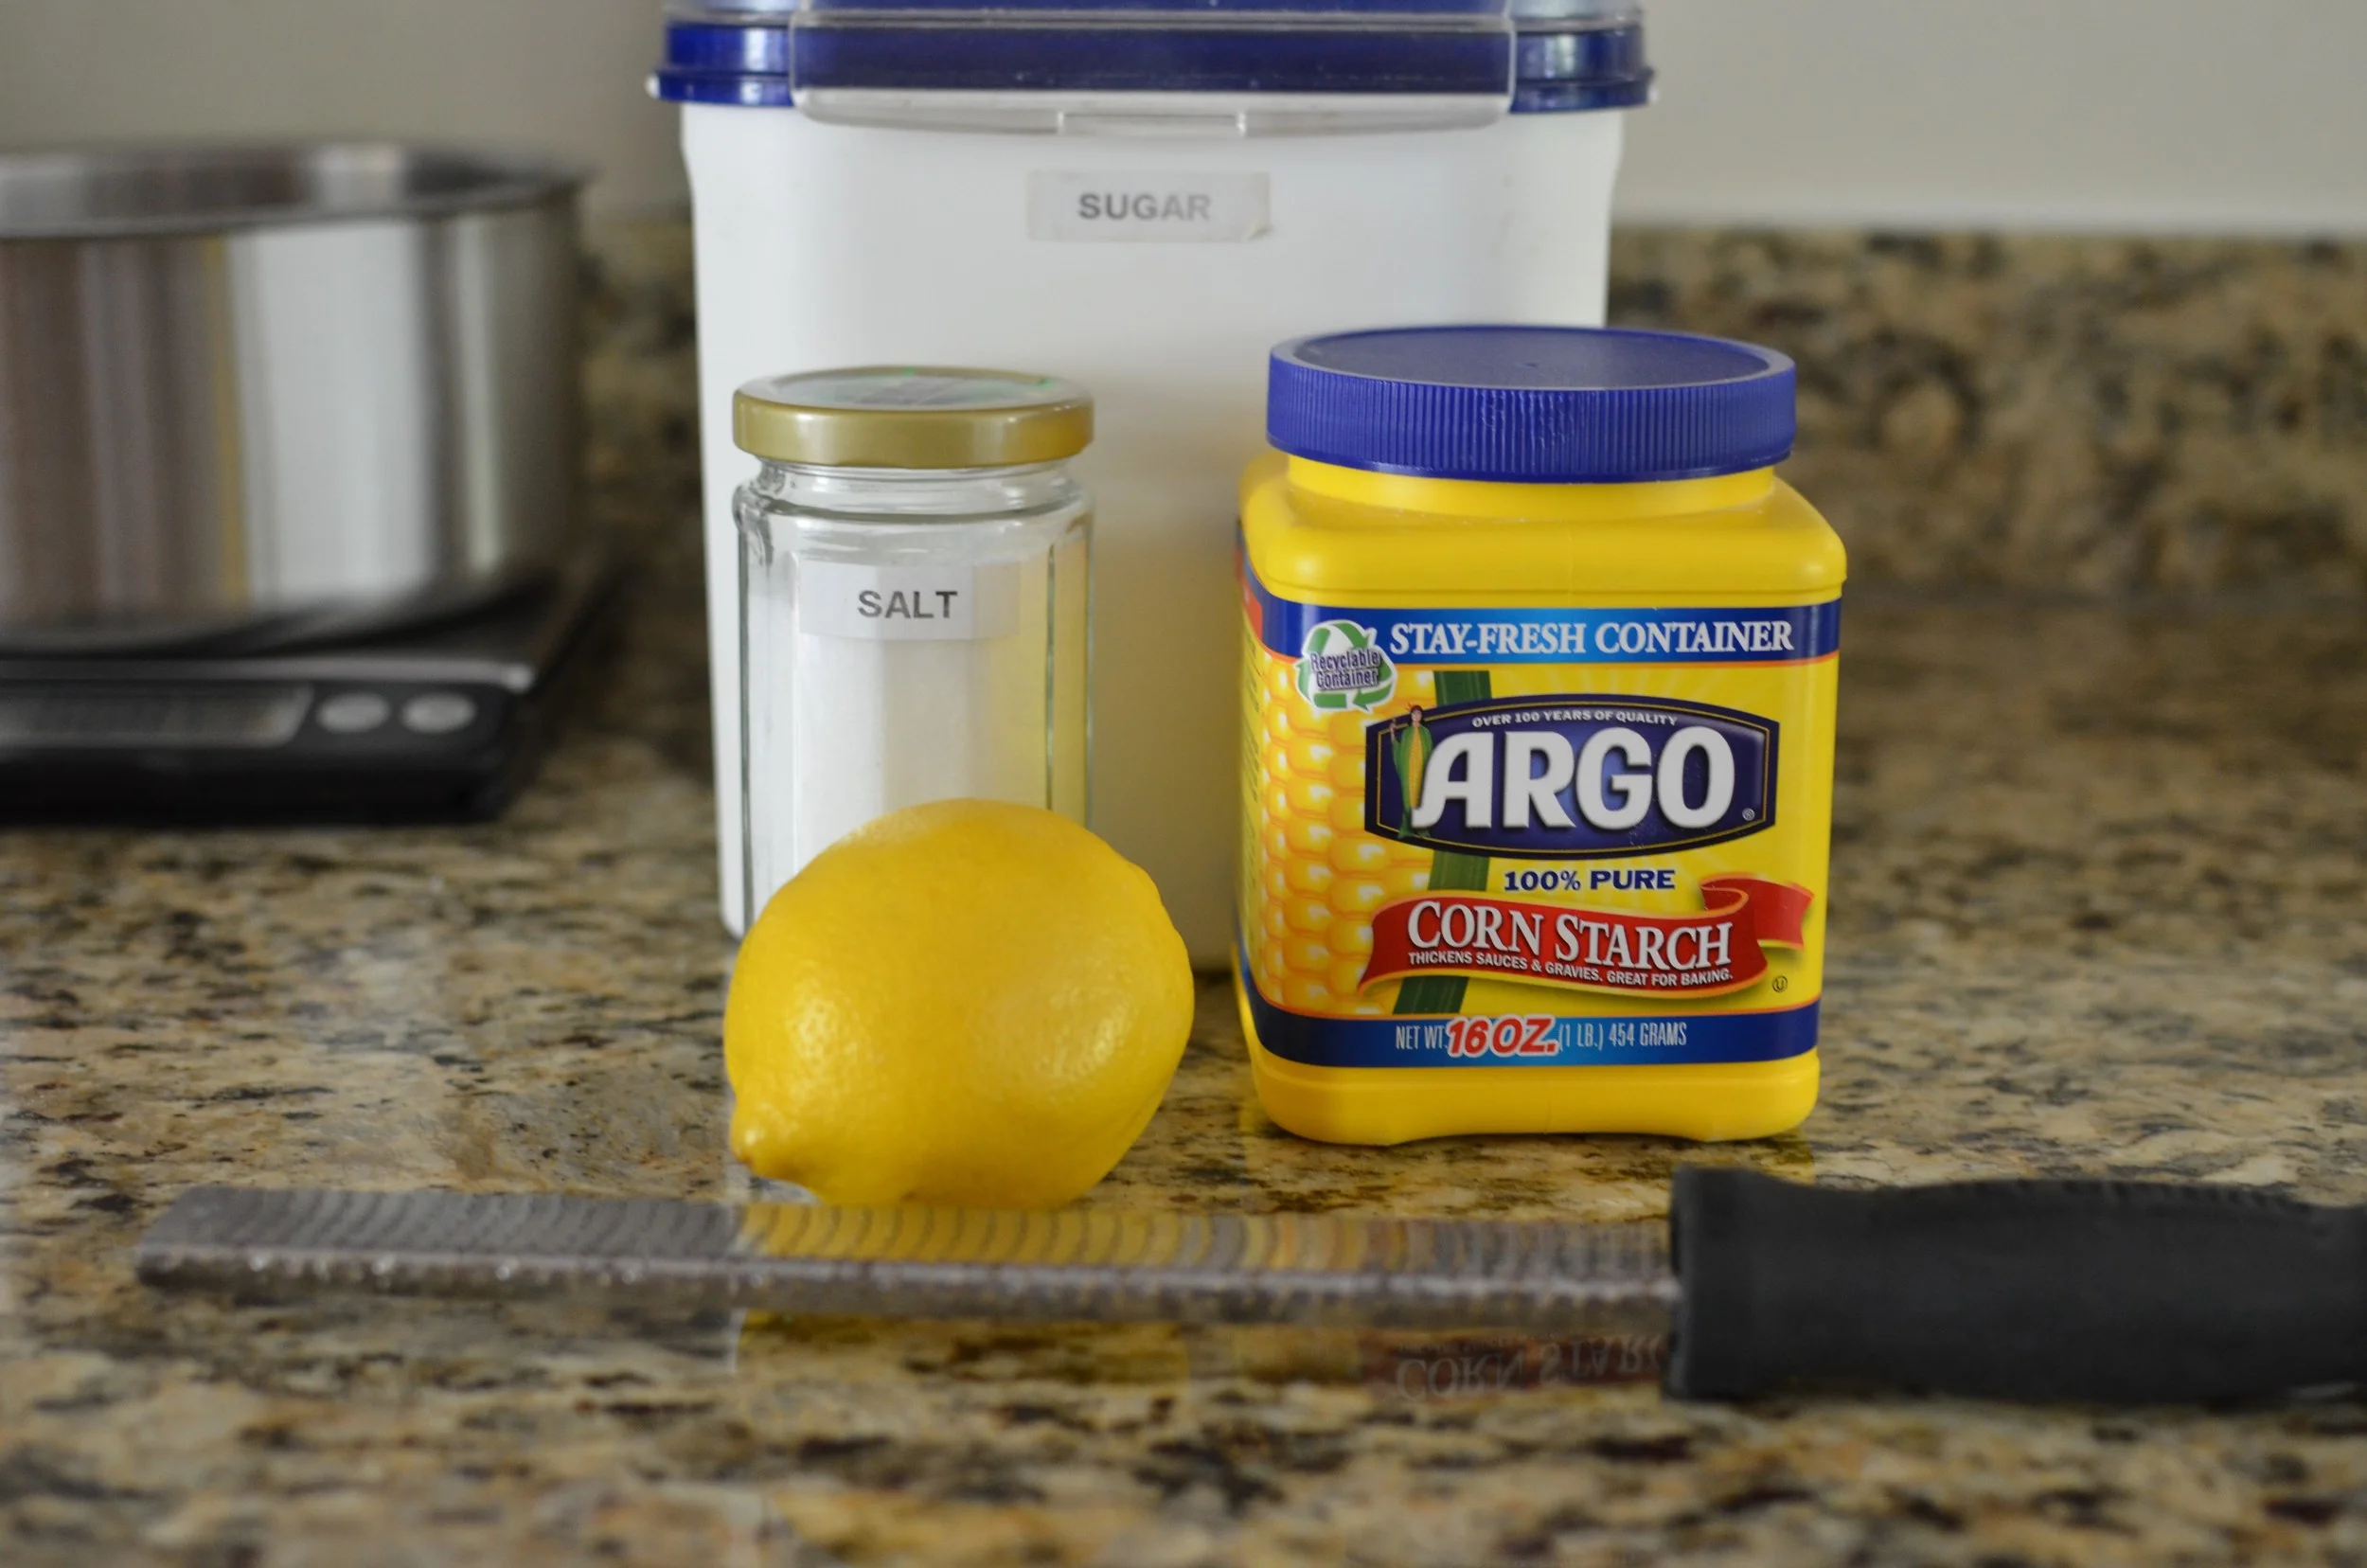
To make the blueberry-rhubarb filling, you'll need sugar, salt, cornstarch, and lemon zest.
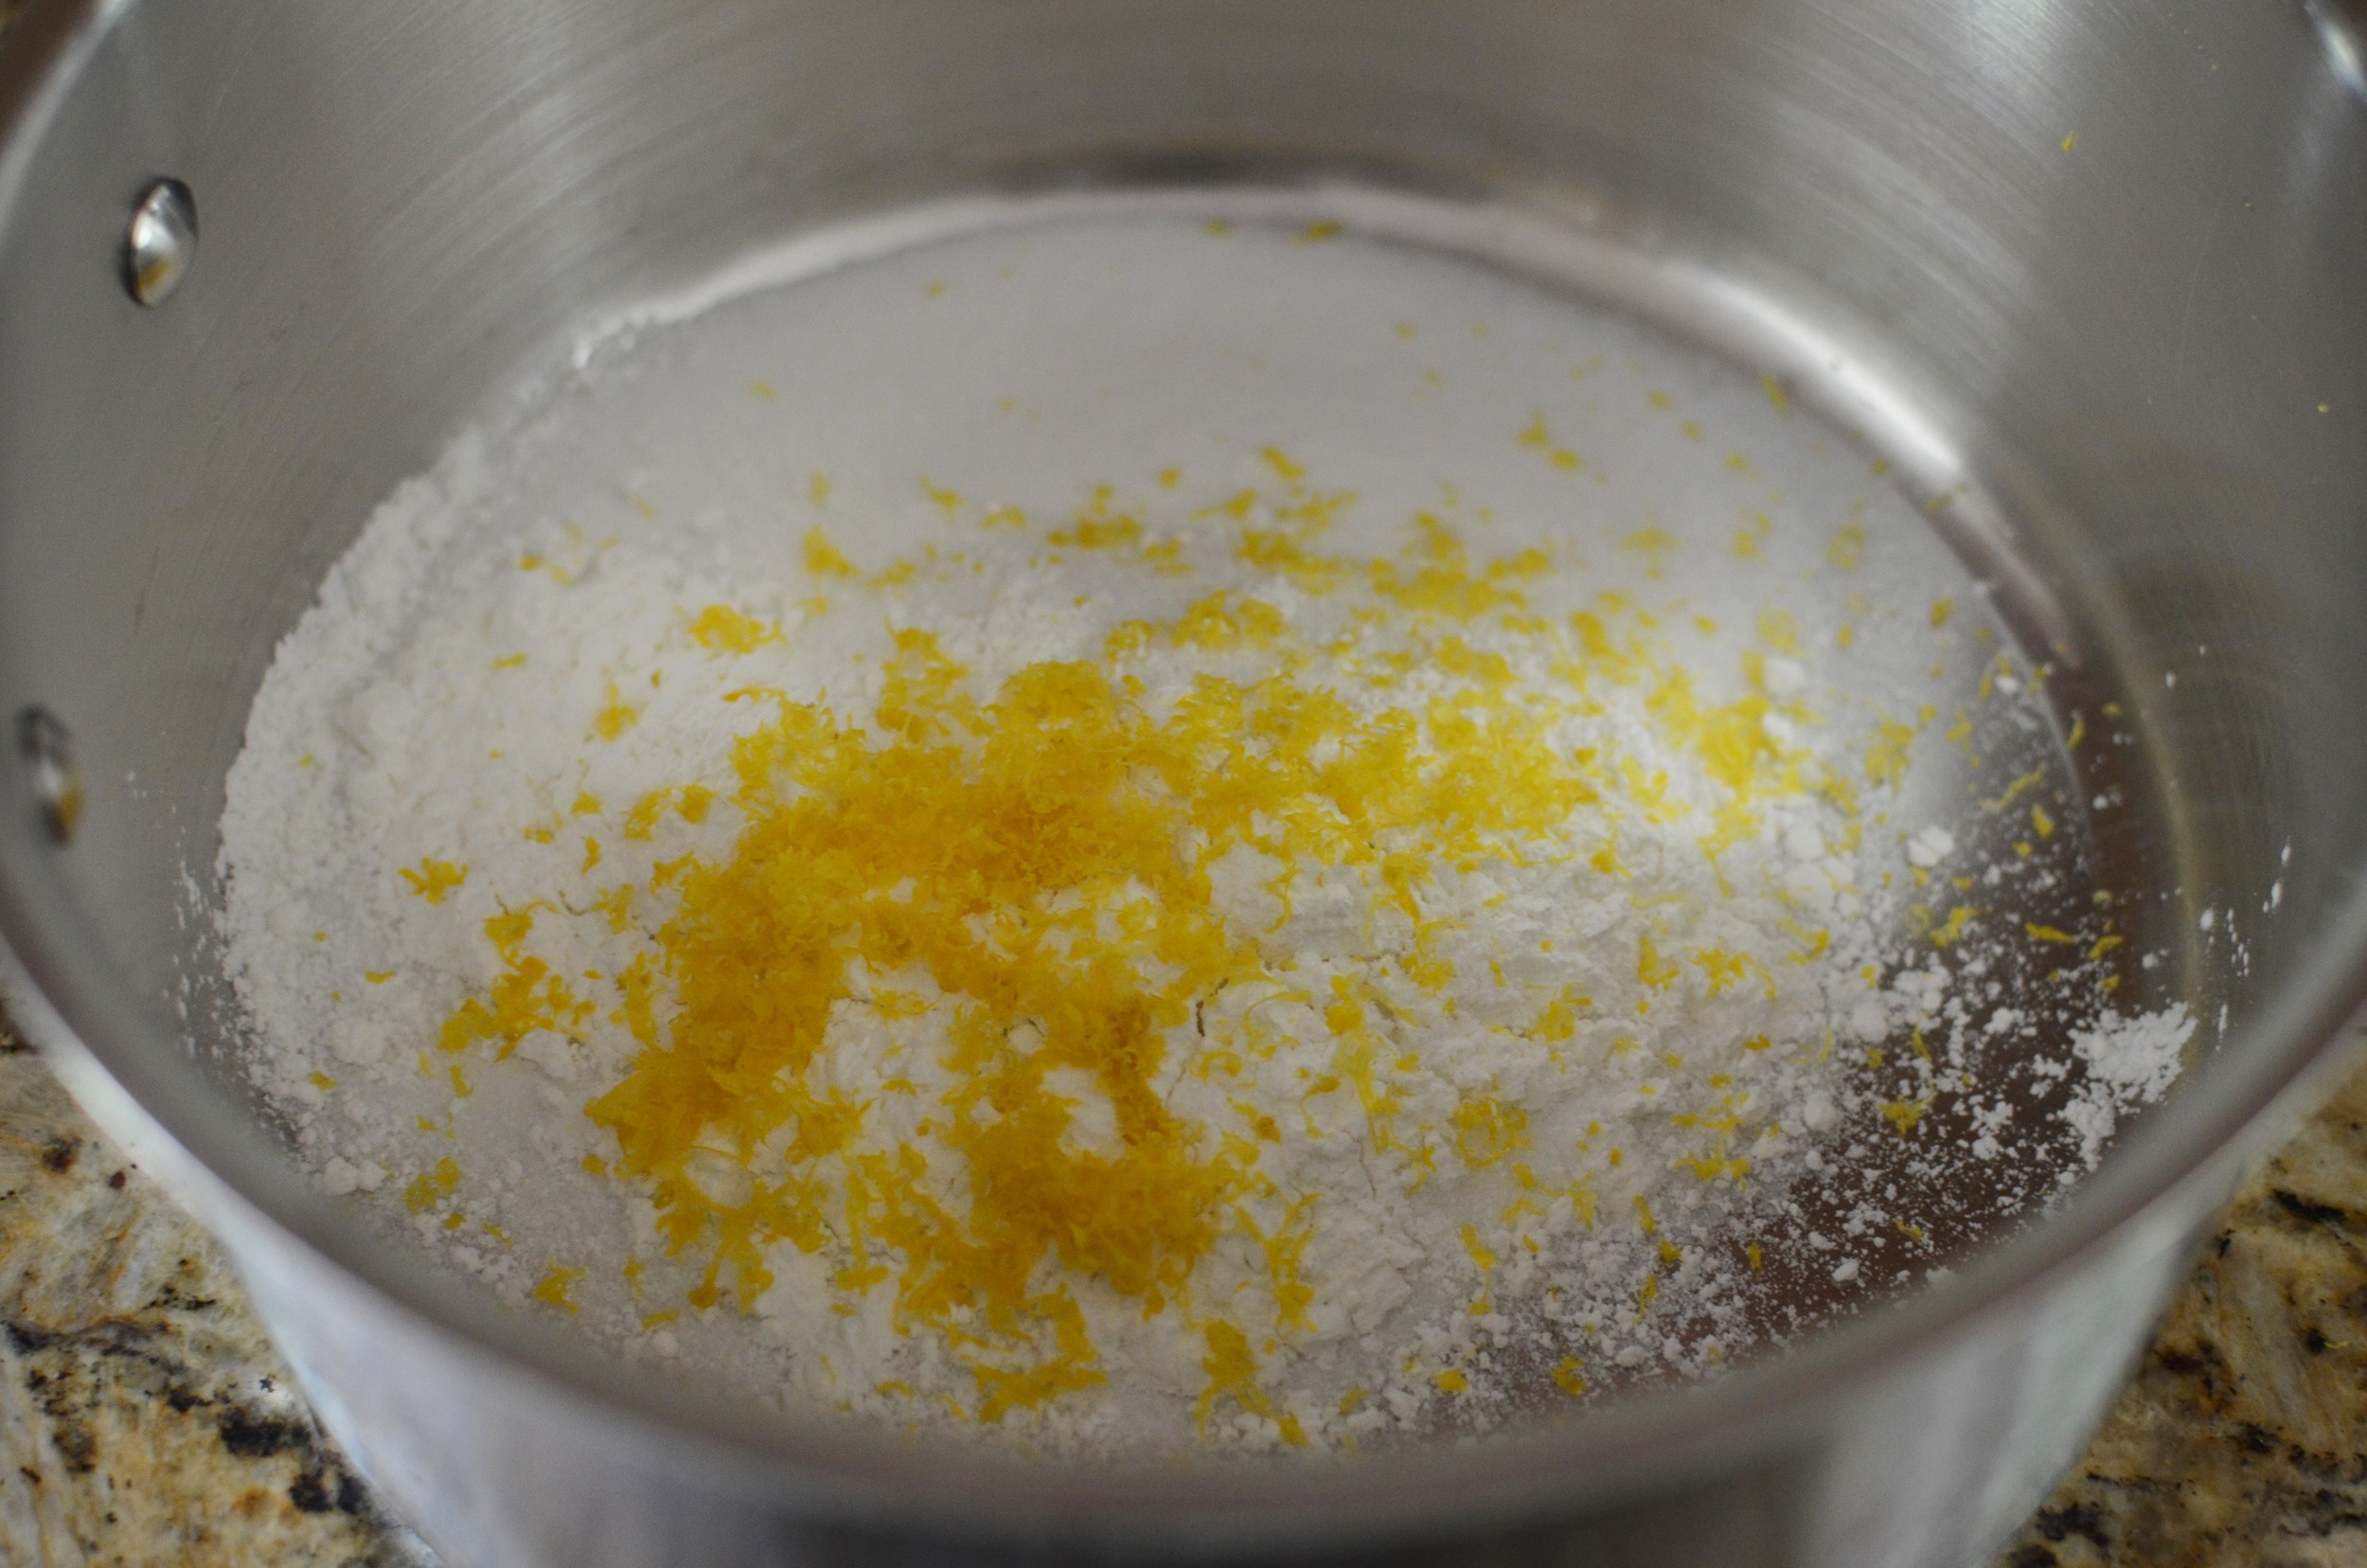
Place the sugar, salt, cornstarch, and lemon zest in a medium heavy-bottom sauce pan.

Whisk together and set aside.

Add the blueberries and rhubarb to the sugar mixture. The blueberries can be added whole, but the rhubarb needs to be cut into 1/2-inch pieces. If I had to do it all over again, I'd cut them even smaller, maybe 1/4-inch pieces.

Mix the blueberries and rhubarb with the sugar mixture and allow it to sit for 20 minutes until the fruit starts releasing their juices.

See how much juice has been released? Don't worry that the juices are cloudy at this point. They're turn clear during the cooking process.

The filling will thicken very quickly; be sure to stir constantly. As soon as the mixture thickens, turn off the heat and allow it to cool. When cool, pour filling into prepared pie plate (as shown here).

Or, if you'd like to make mini pies like I did, just pour the filling into four 4-ounce ramekins before topping with pie crust.
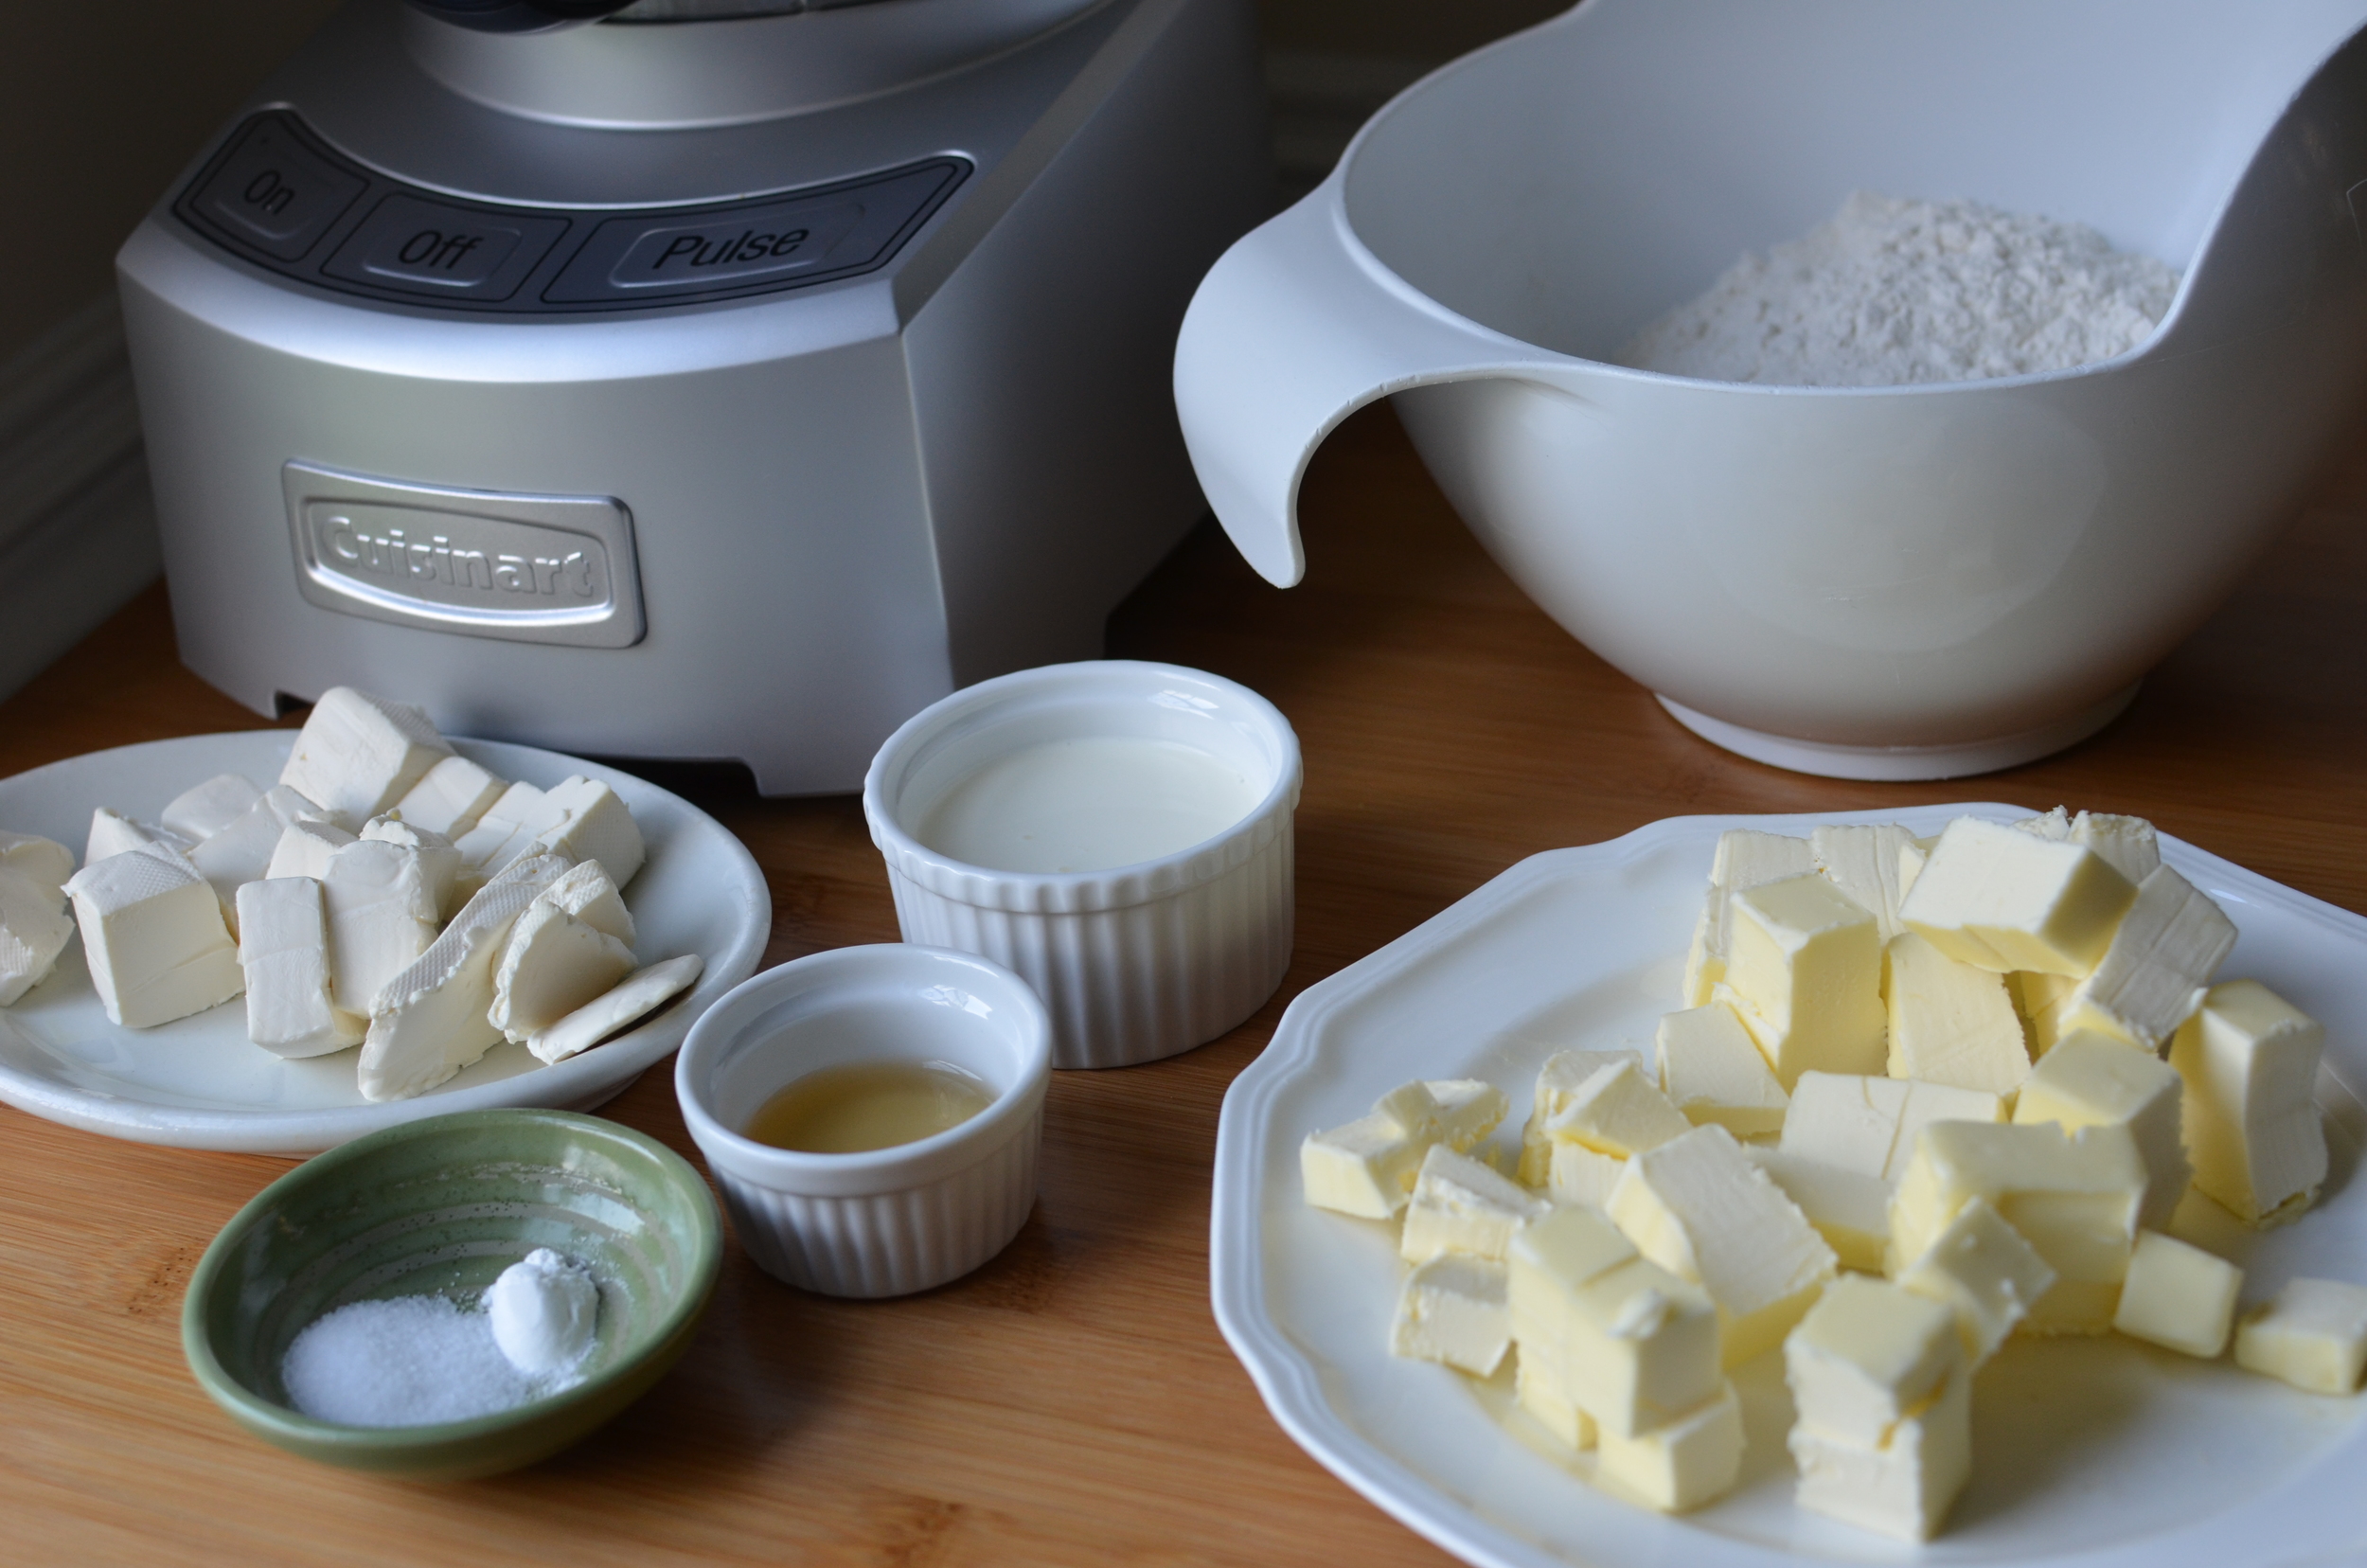
To make the crust, gather chilled cream cheese, frozen butter, flour, cream, apple cider vinegar, salt, and baking powder.

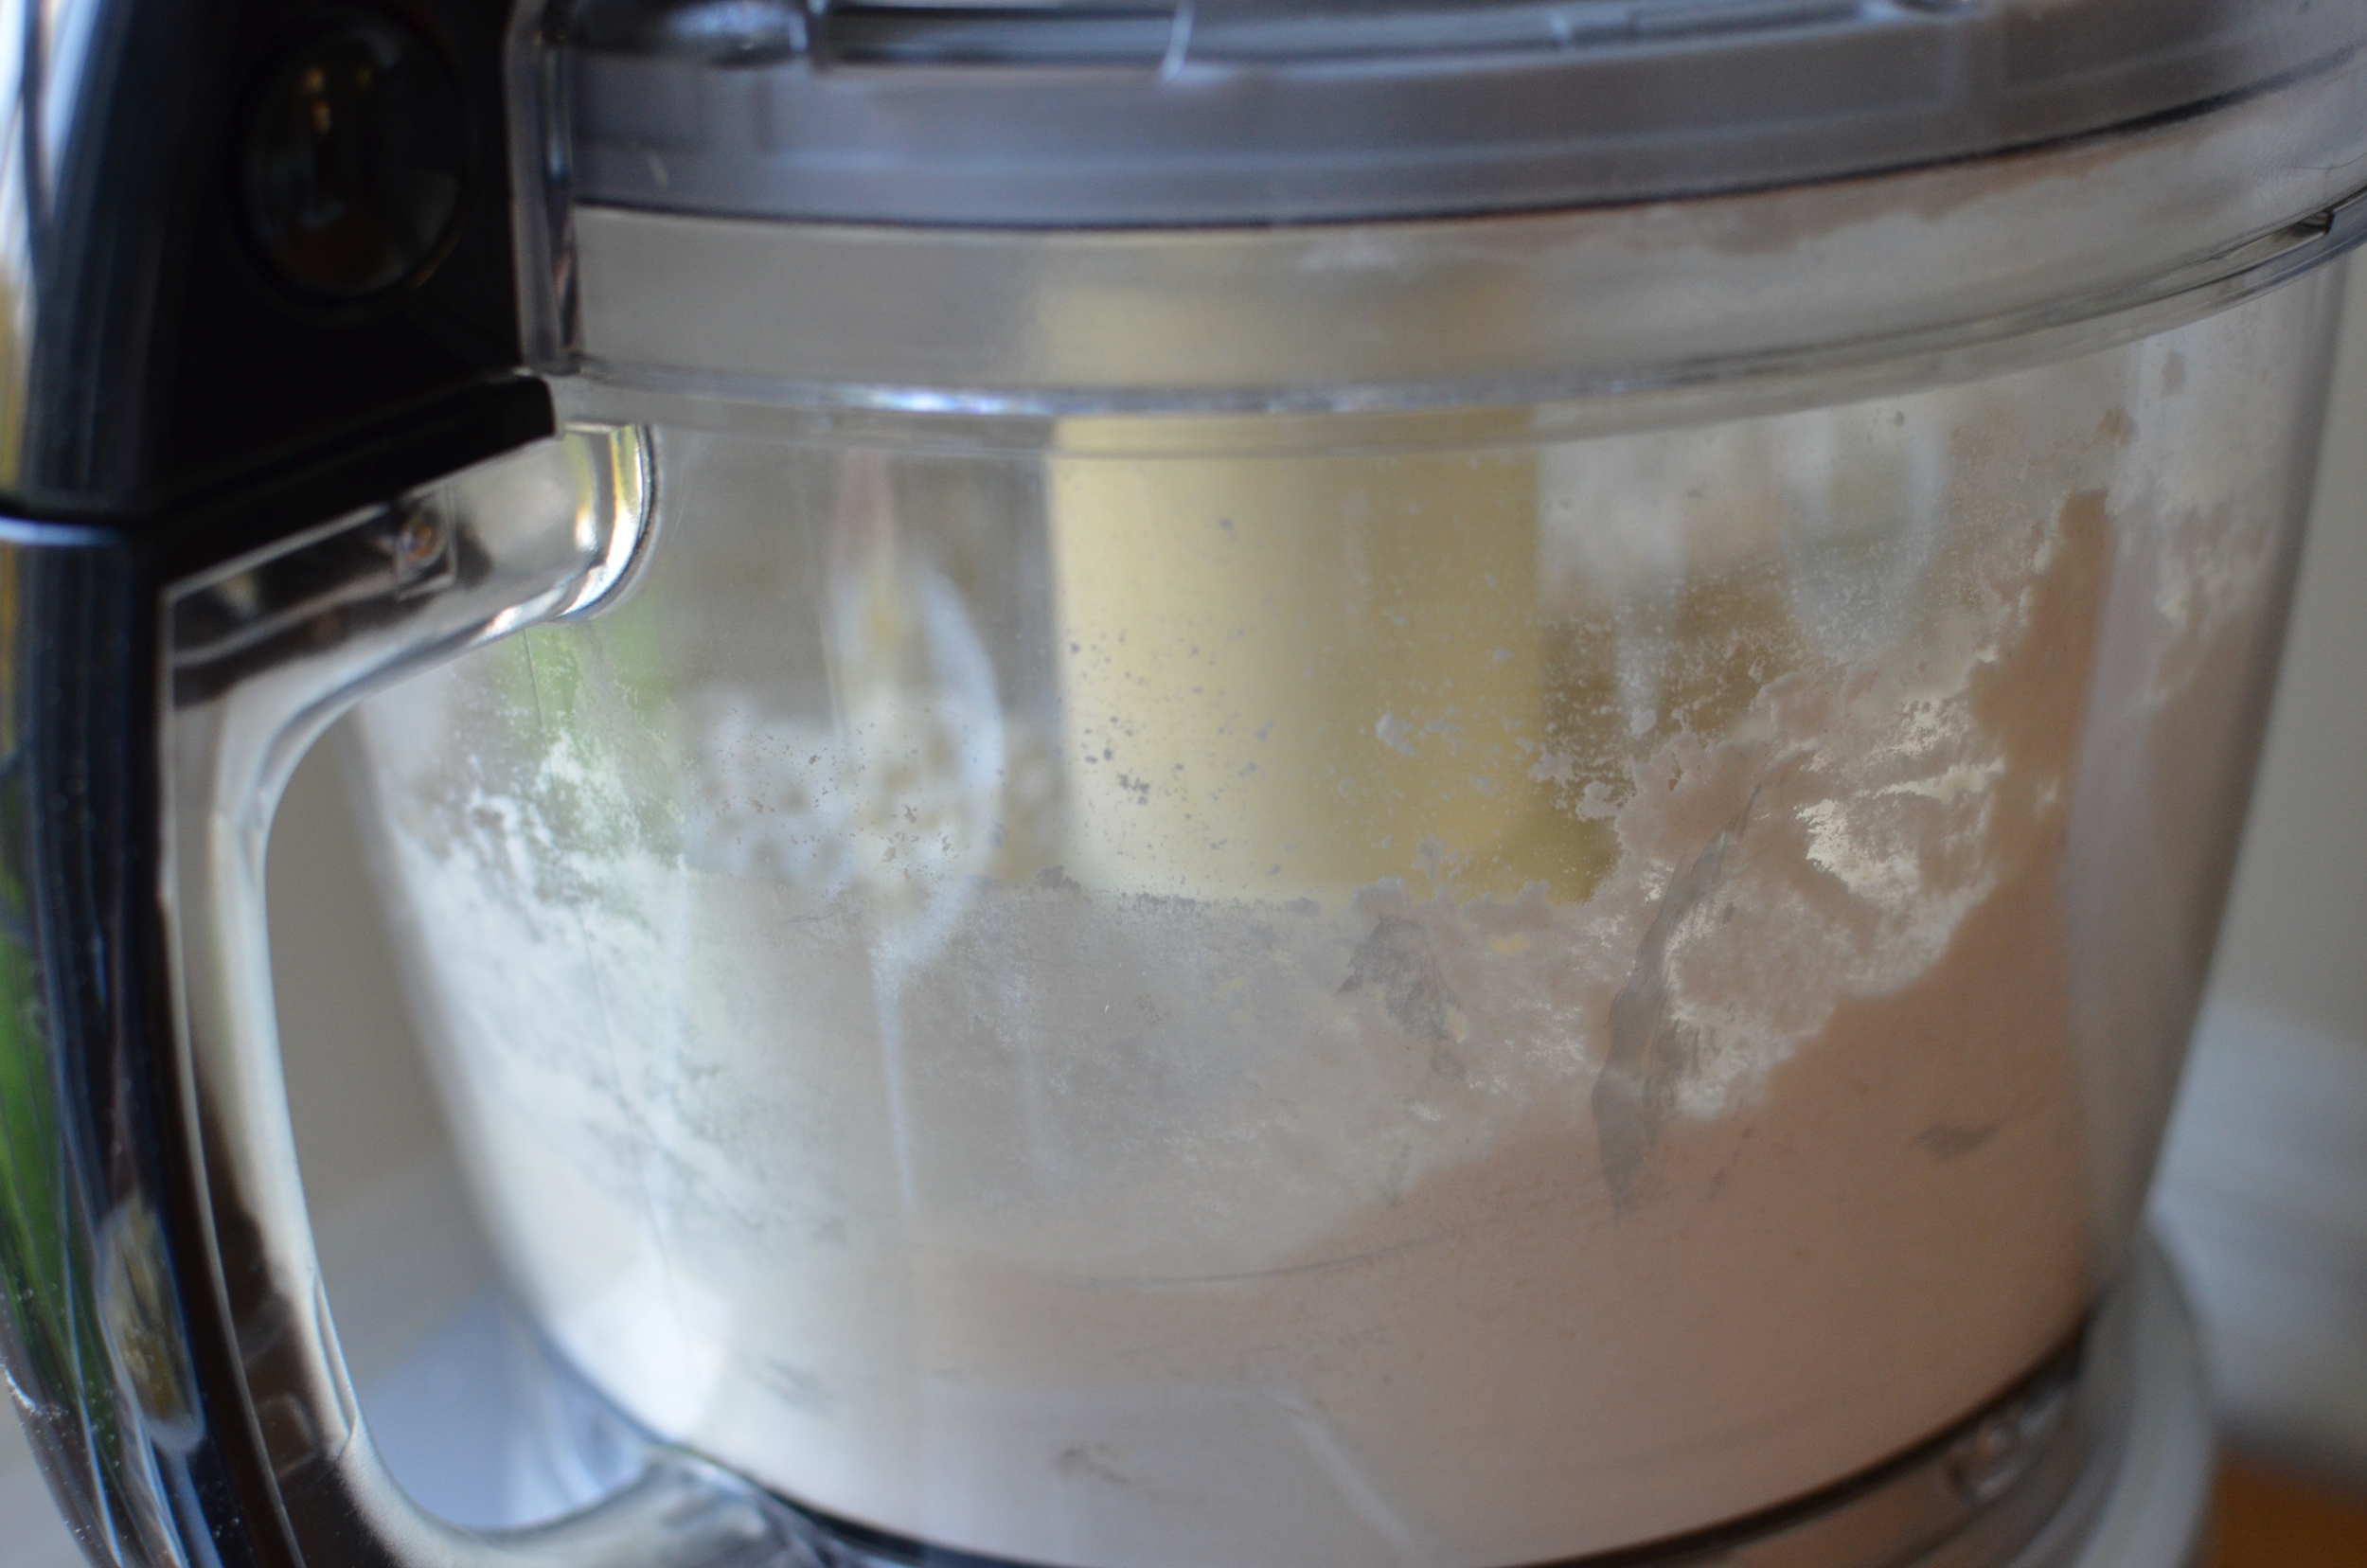
To make the crust in a food processor, place the flour, salt, and baking powder in the work bowl.

Pulse a few times to blend the dry ingredients together.
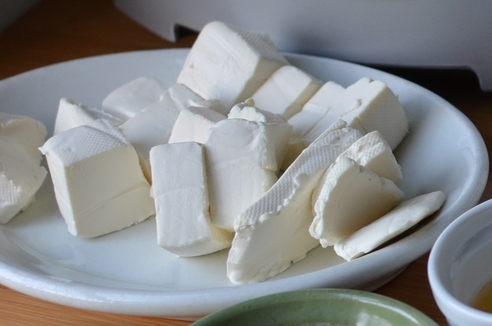
Next, add the cold cream cheese.
Pulse, pulse, pulse.
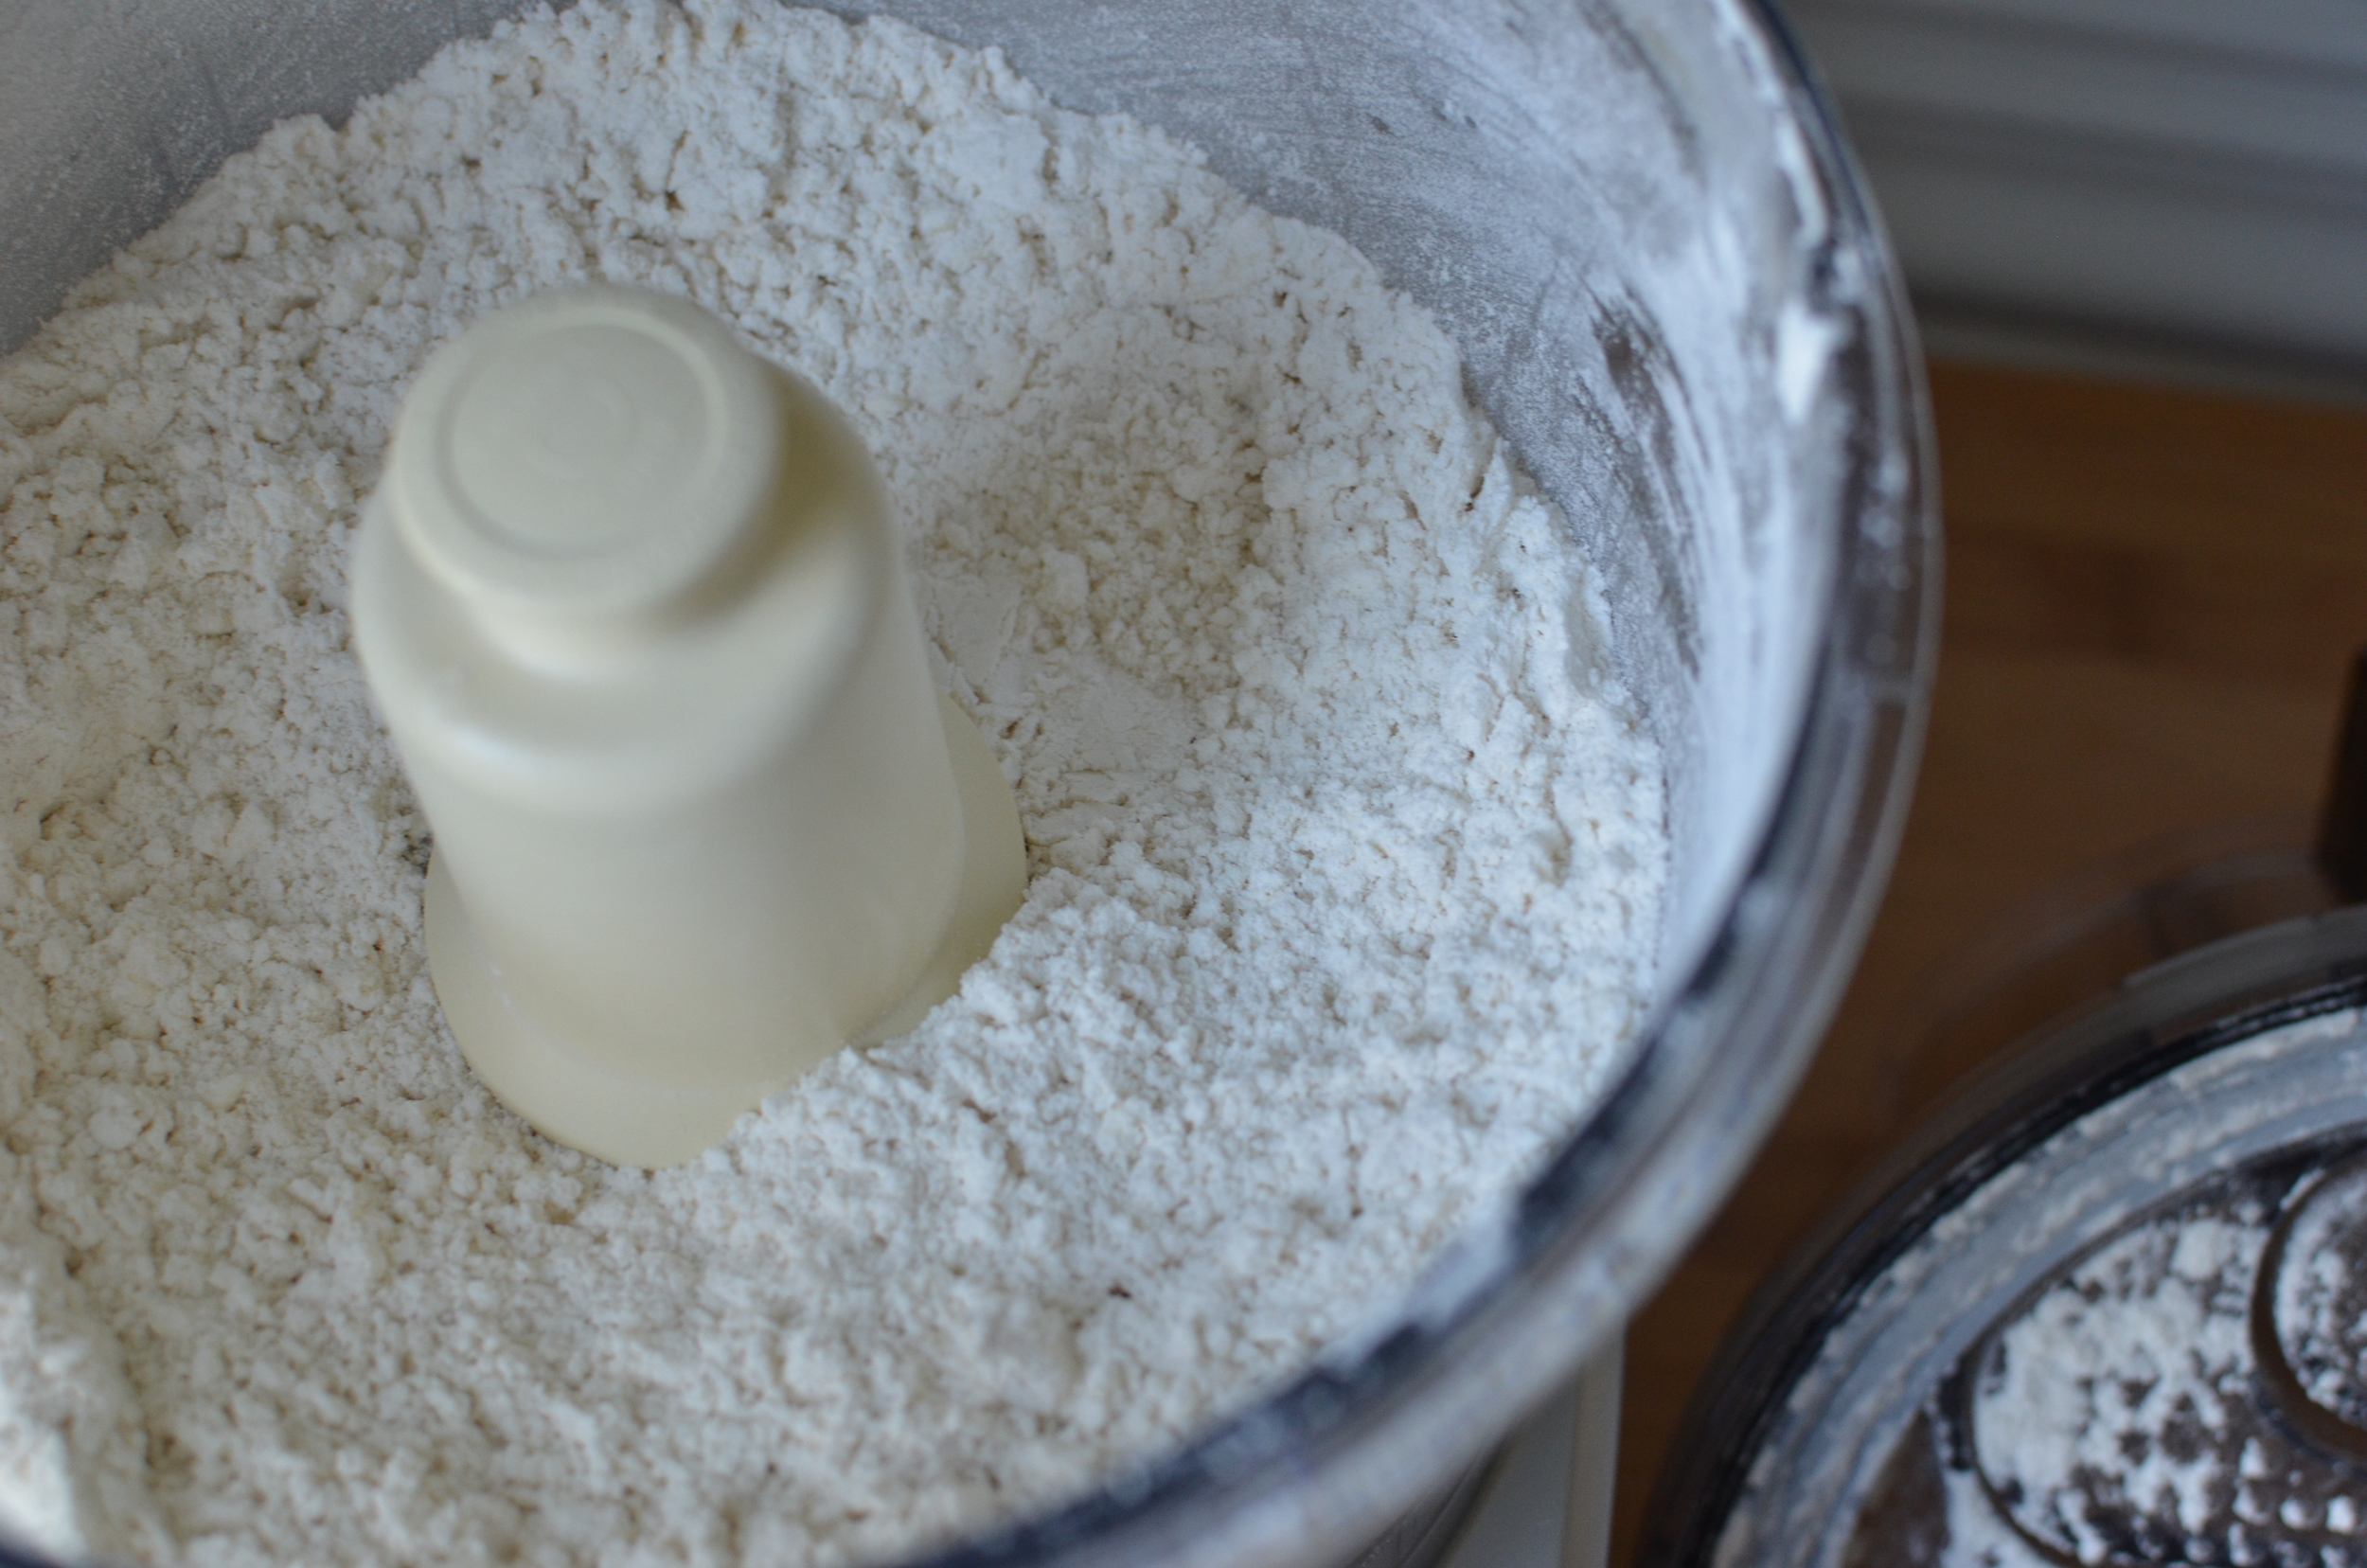
Here's what it looks like after the cream cheese is incorporated. You can barely see the bits of cream cheese.

Now it's time to add the frozen butter.
Pulse, pulse, pulse again.

This time the butter chunks are left slightly larger.

Lastly we'll add the cream and apple cider vinegar.
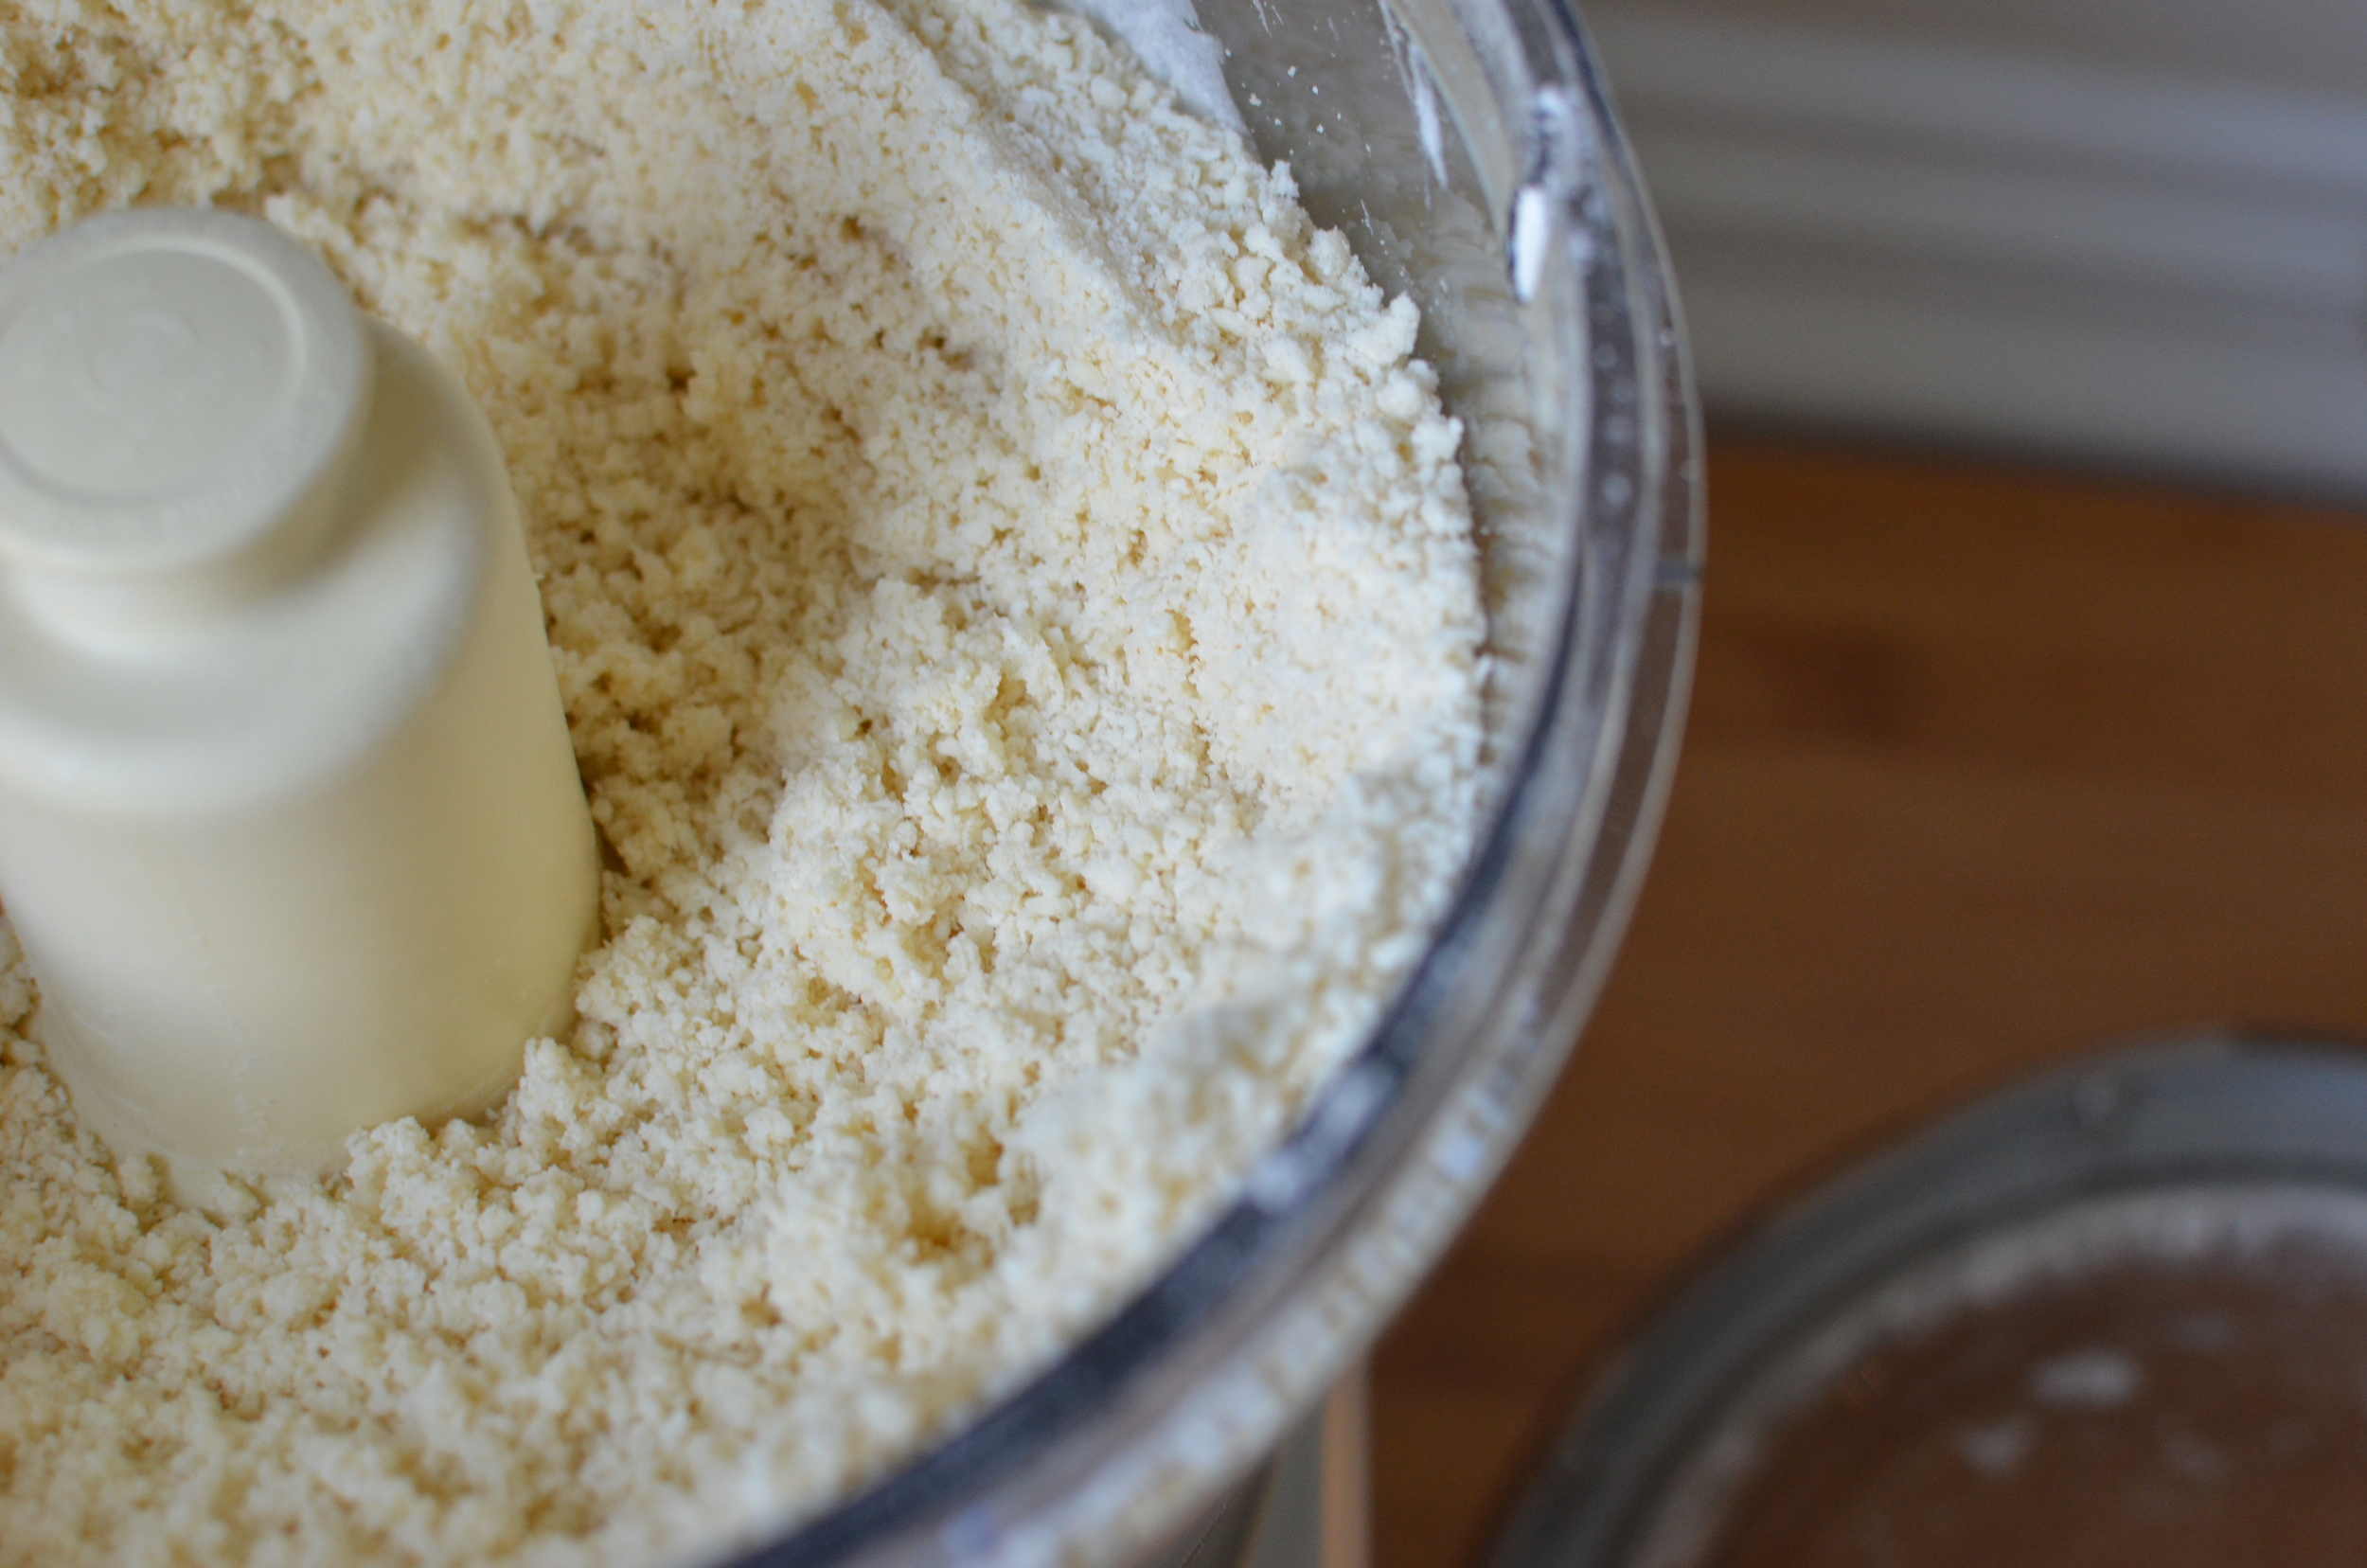
Pulse a few more times until the mixture looks like this.

It'll look like it's too dry, but it isn't. Here's how you can tell.

Gently squeeze some in the palm of your hand. If it holds together, it's good to go. Pour the mixture into two large zipper bags and press the crumbs into a flat round shapes. Seal the bags well and chill for at least 30 minutes.

When it's time to roll out the dough, sprinkle lightly with flour. I like to roll on a pastry cloth.

If your dough is too cold to roll, let it sit for a few minutes. You'll be able to tell when it's ready to be rolled.

Cut strips using a pastry wheel. If you're covering an entire pie, weave the lattice strips on the pie, but if you want to top mini pies like I did, weave 9 short strips together on a work surface.
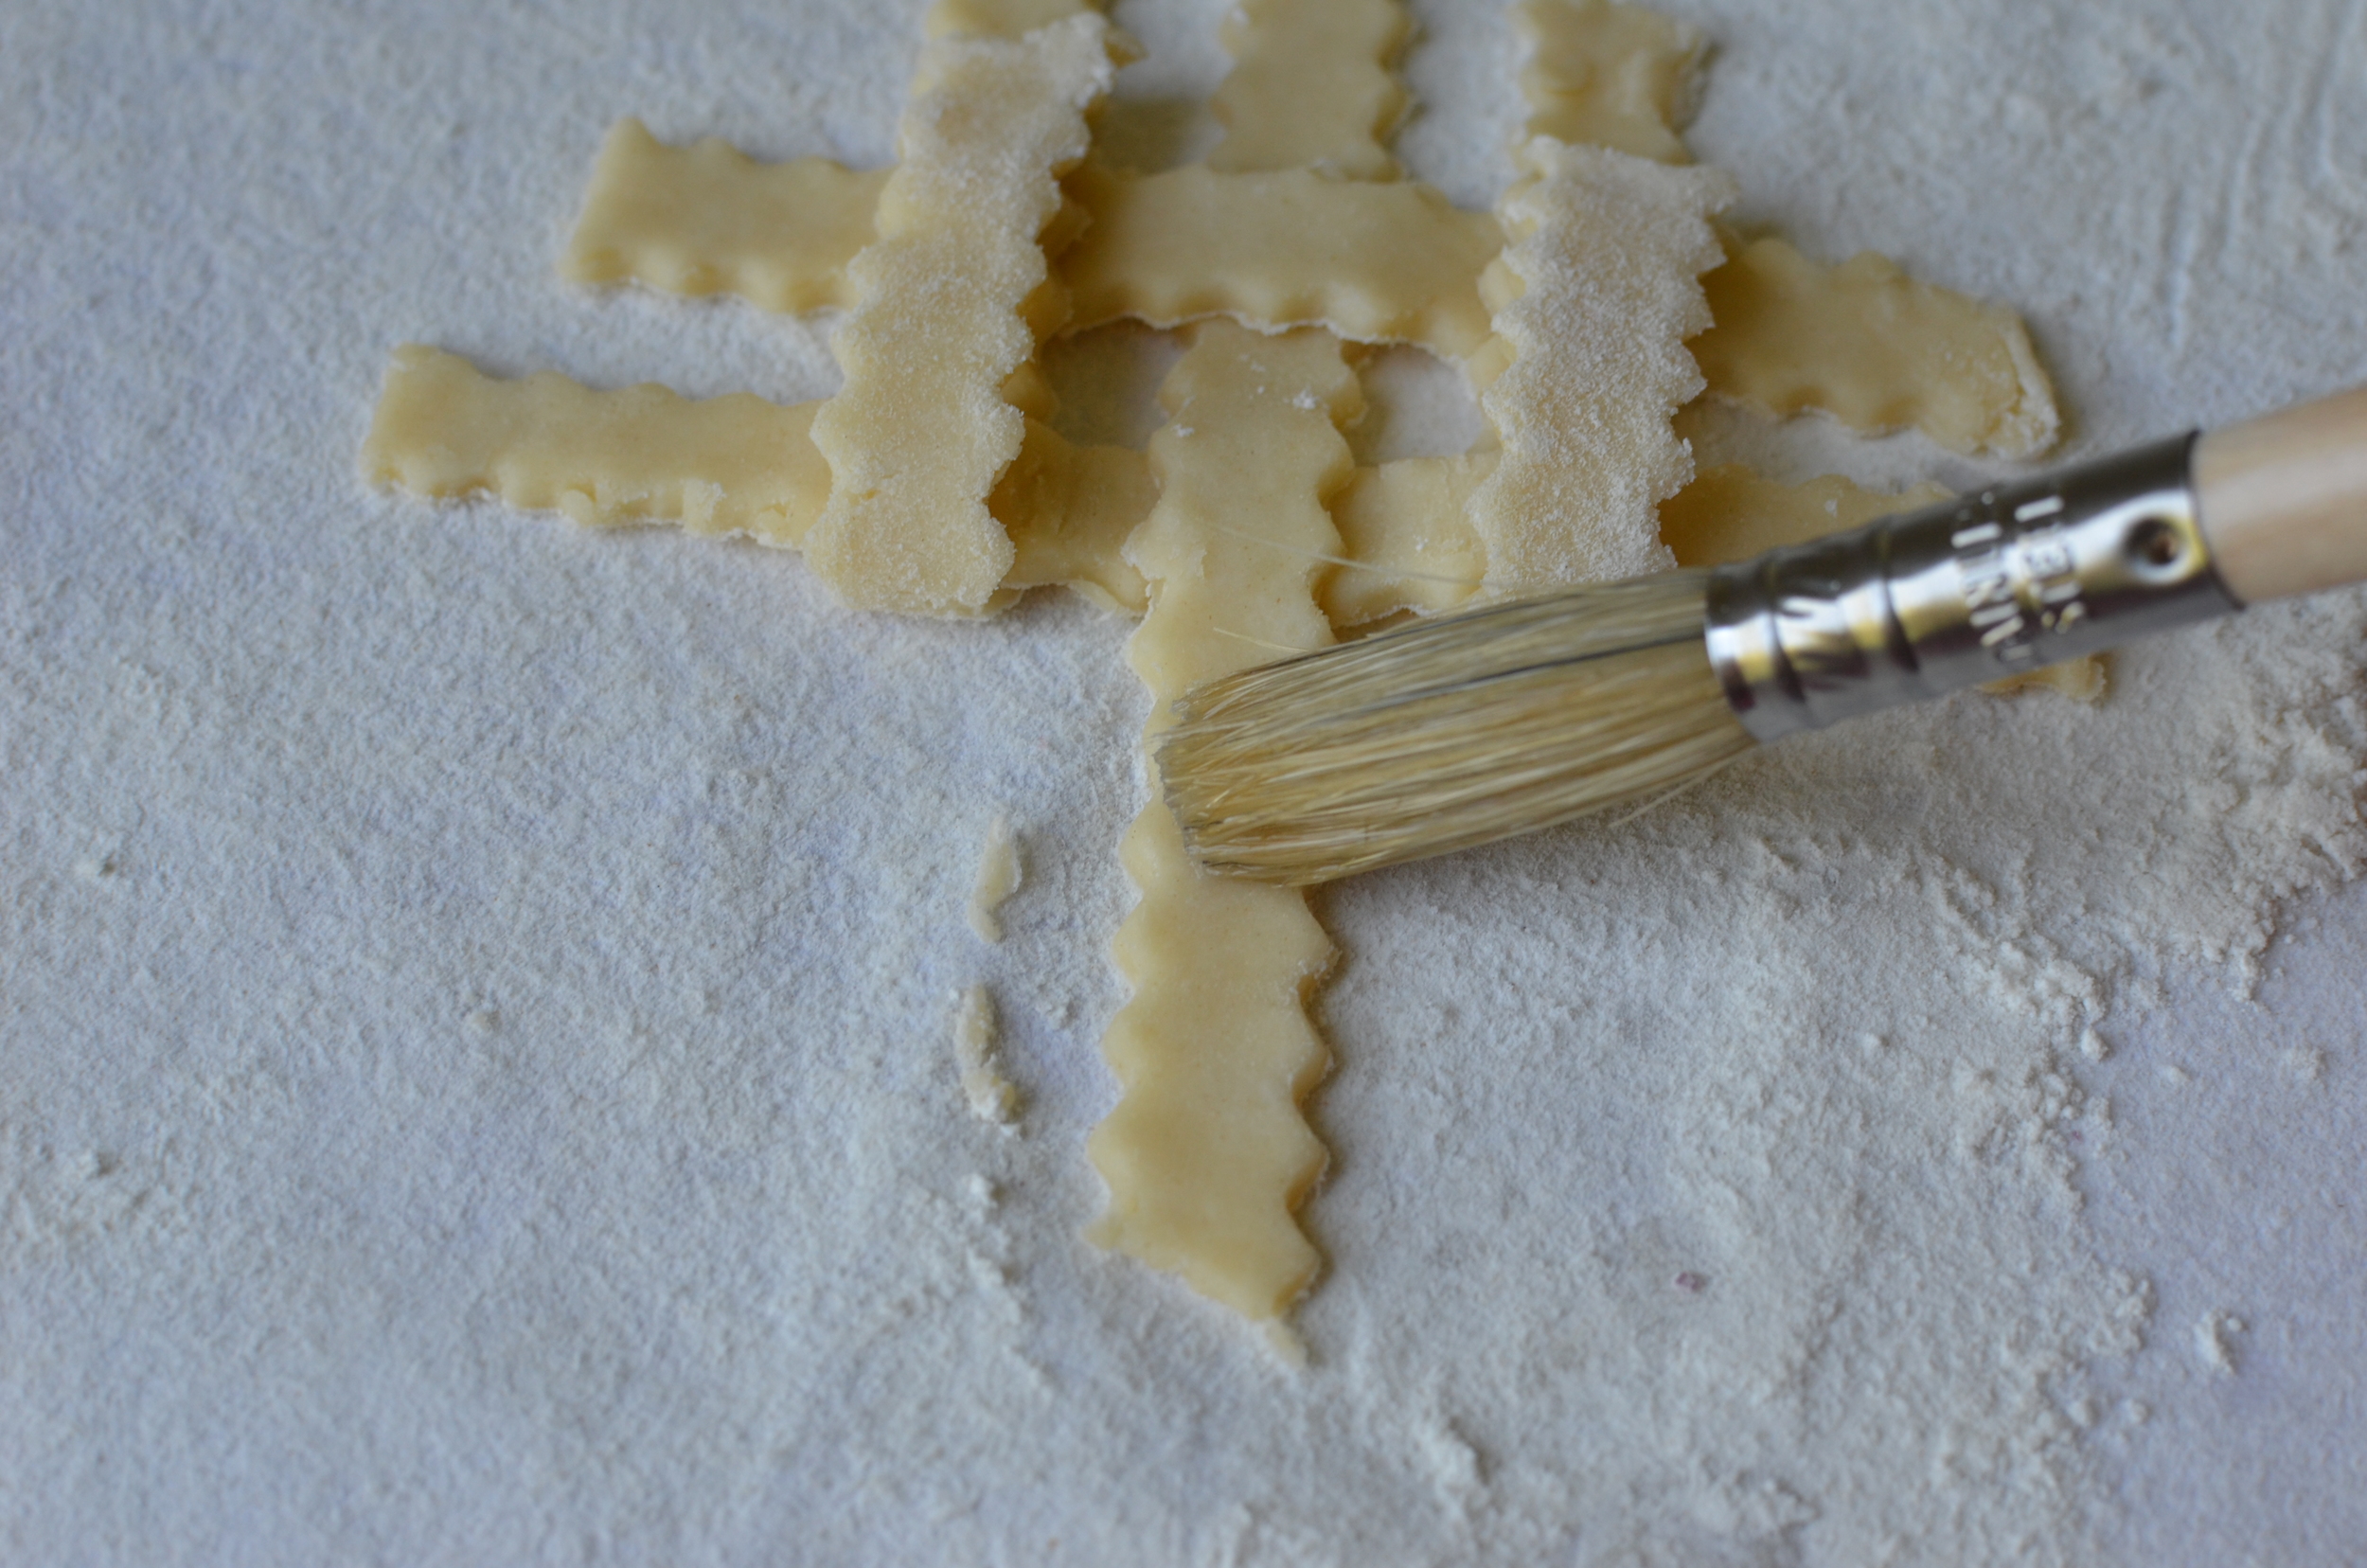
Use a little water to glue the strips together where they overlap.

Wait a minute or so to let the joints fuse before cutting.

Use a round cutter that's slightly smaller than the opening of the ramekins to cut the crust design.
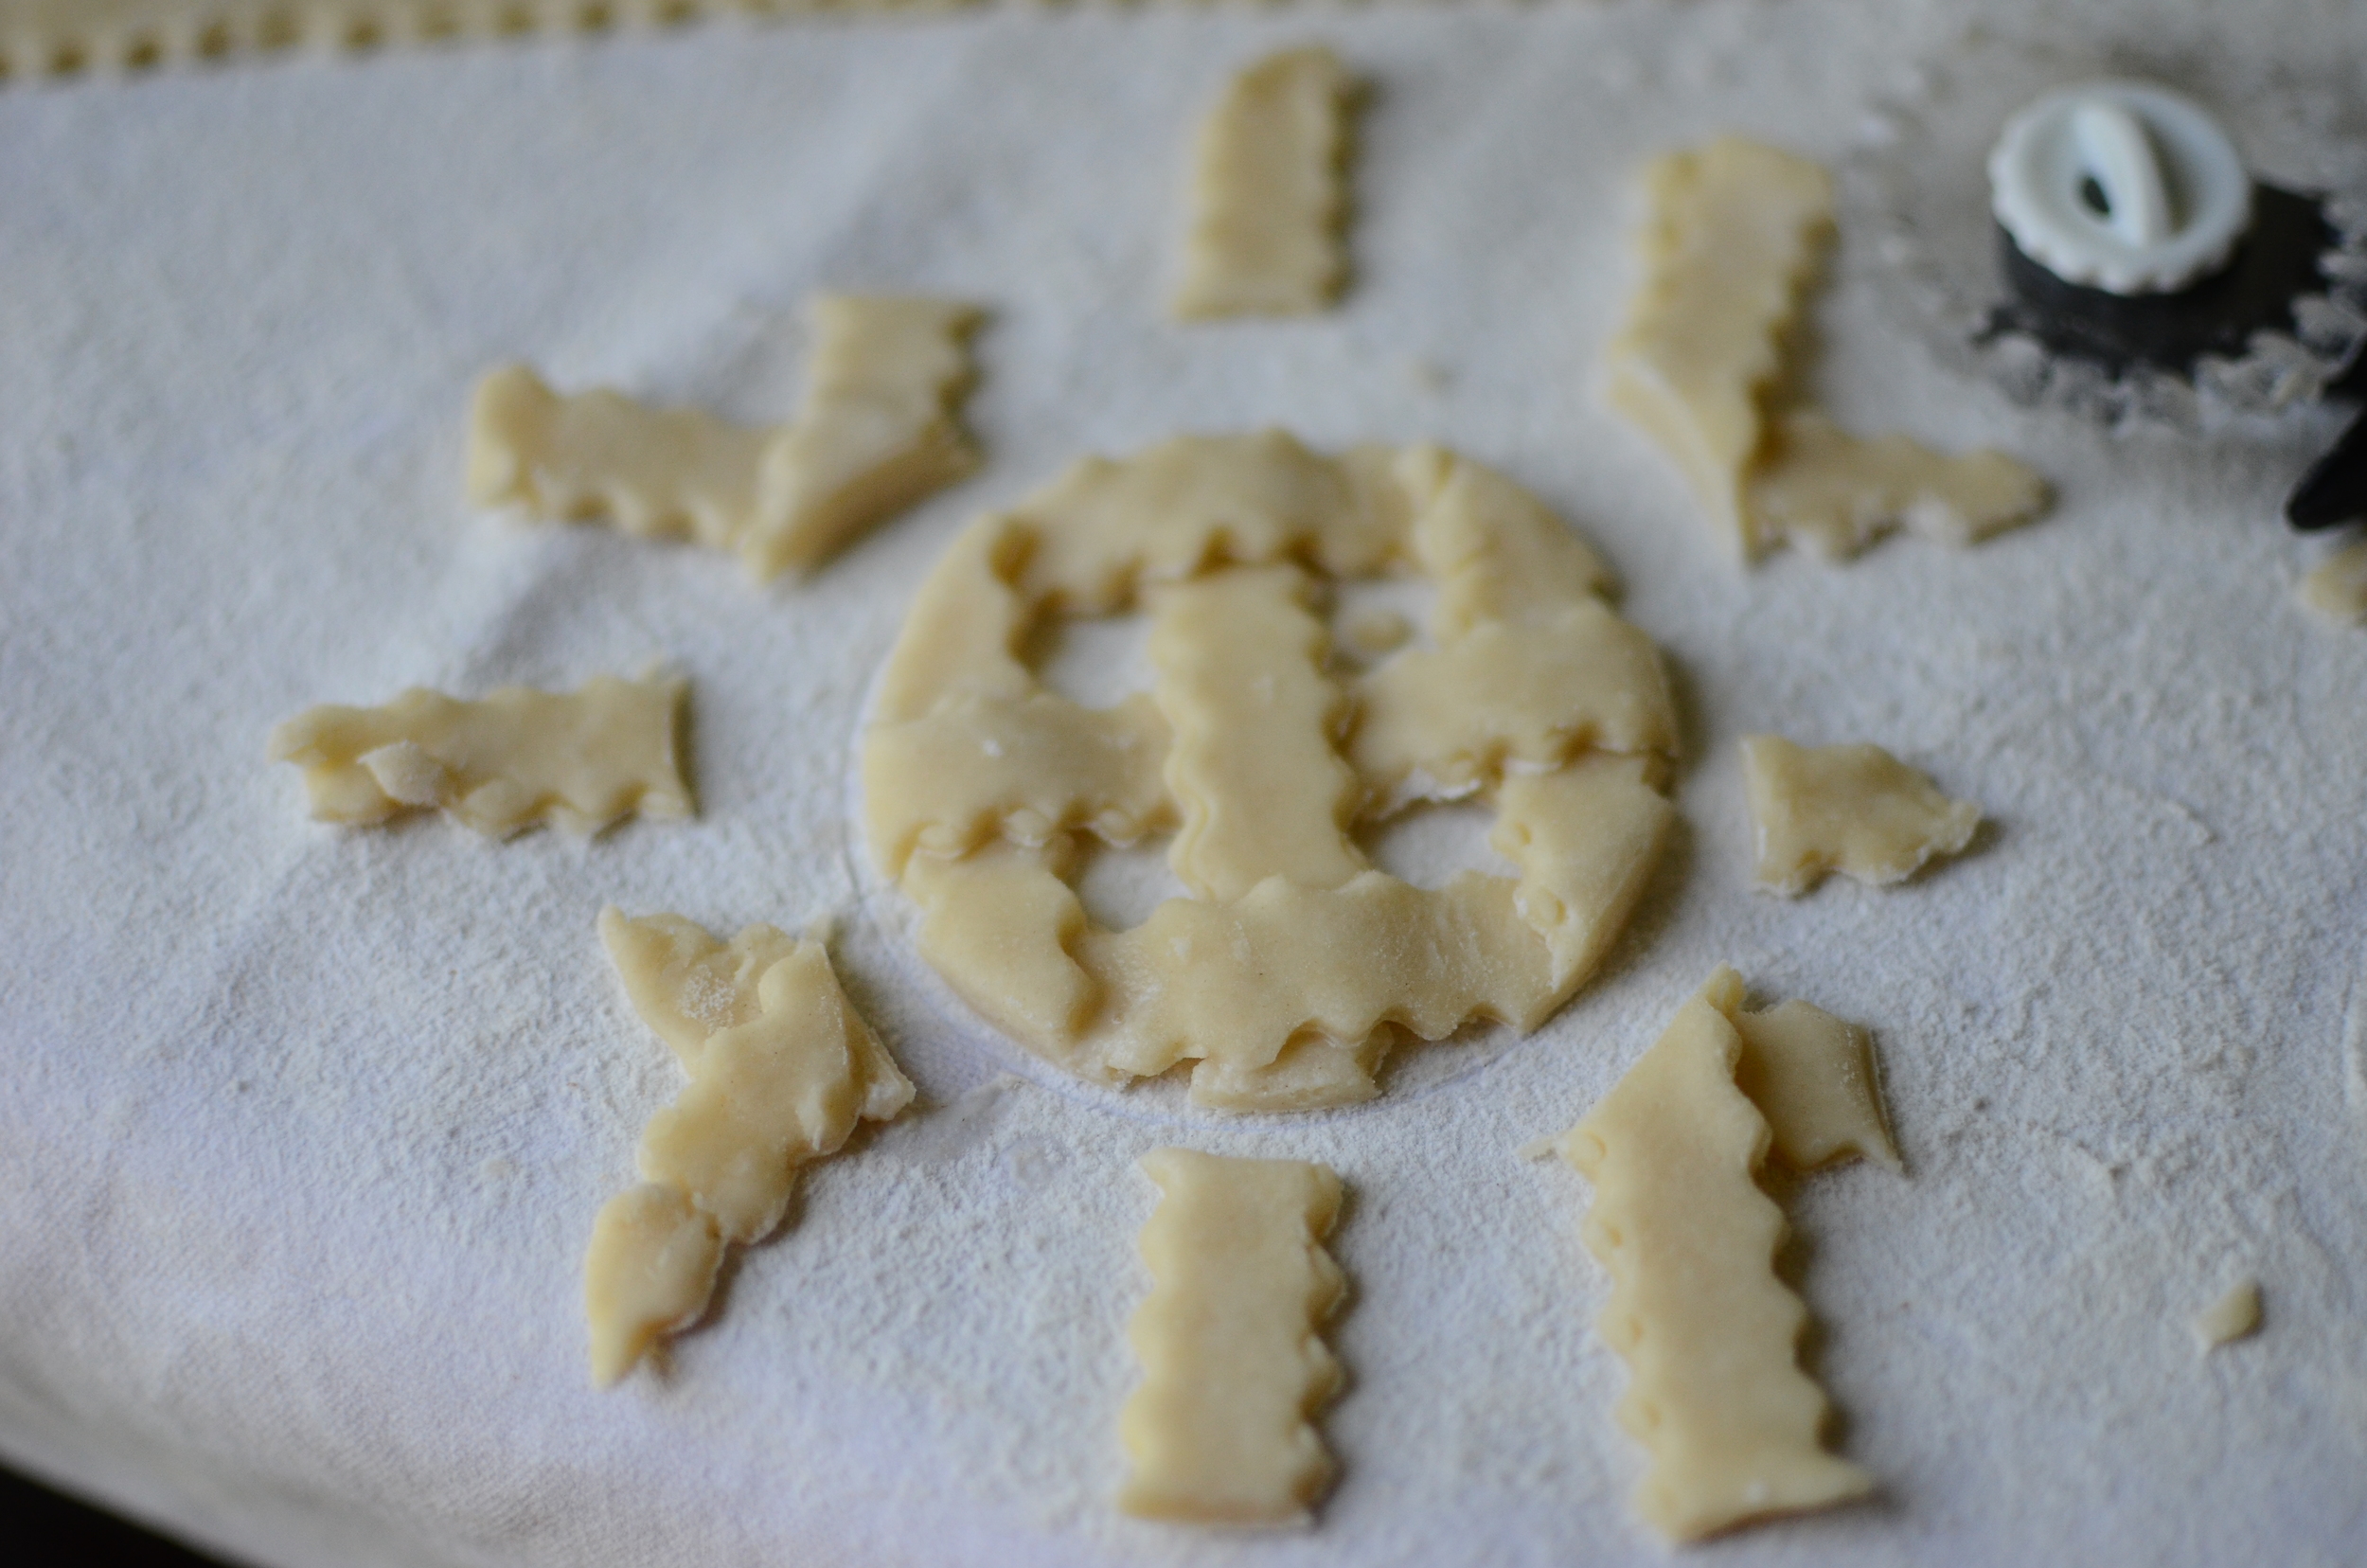
Pretty.

Carefully transfer the crust to the ramekin.
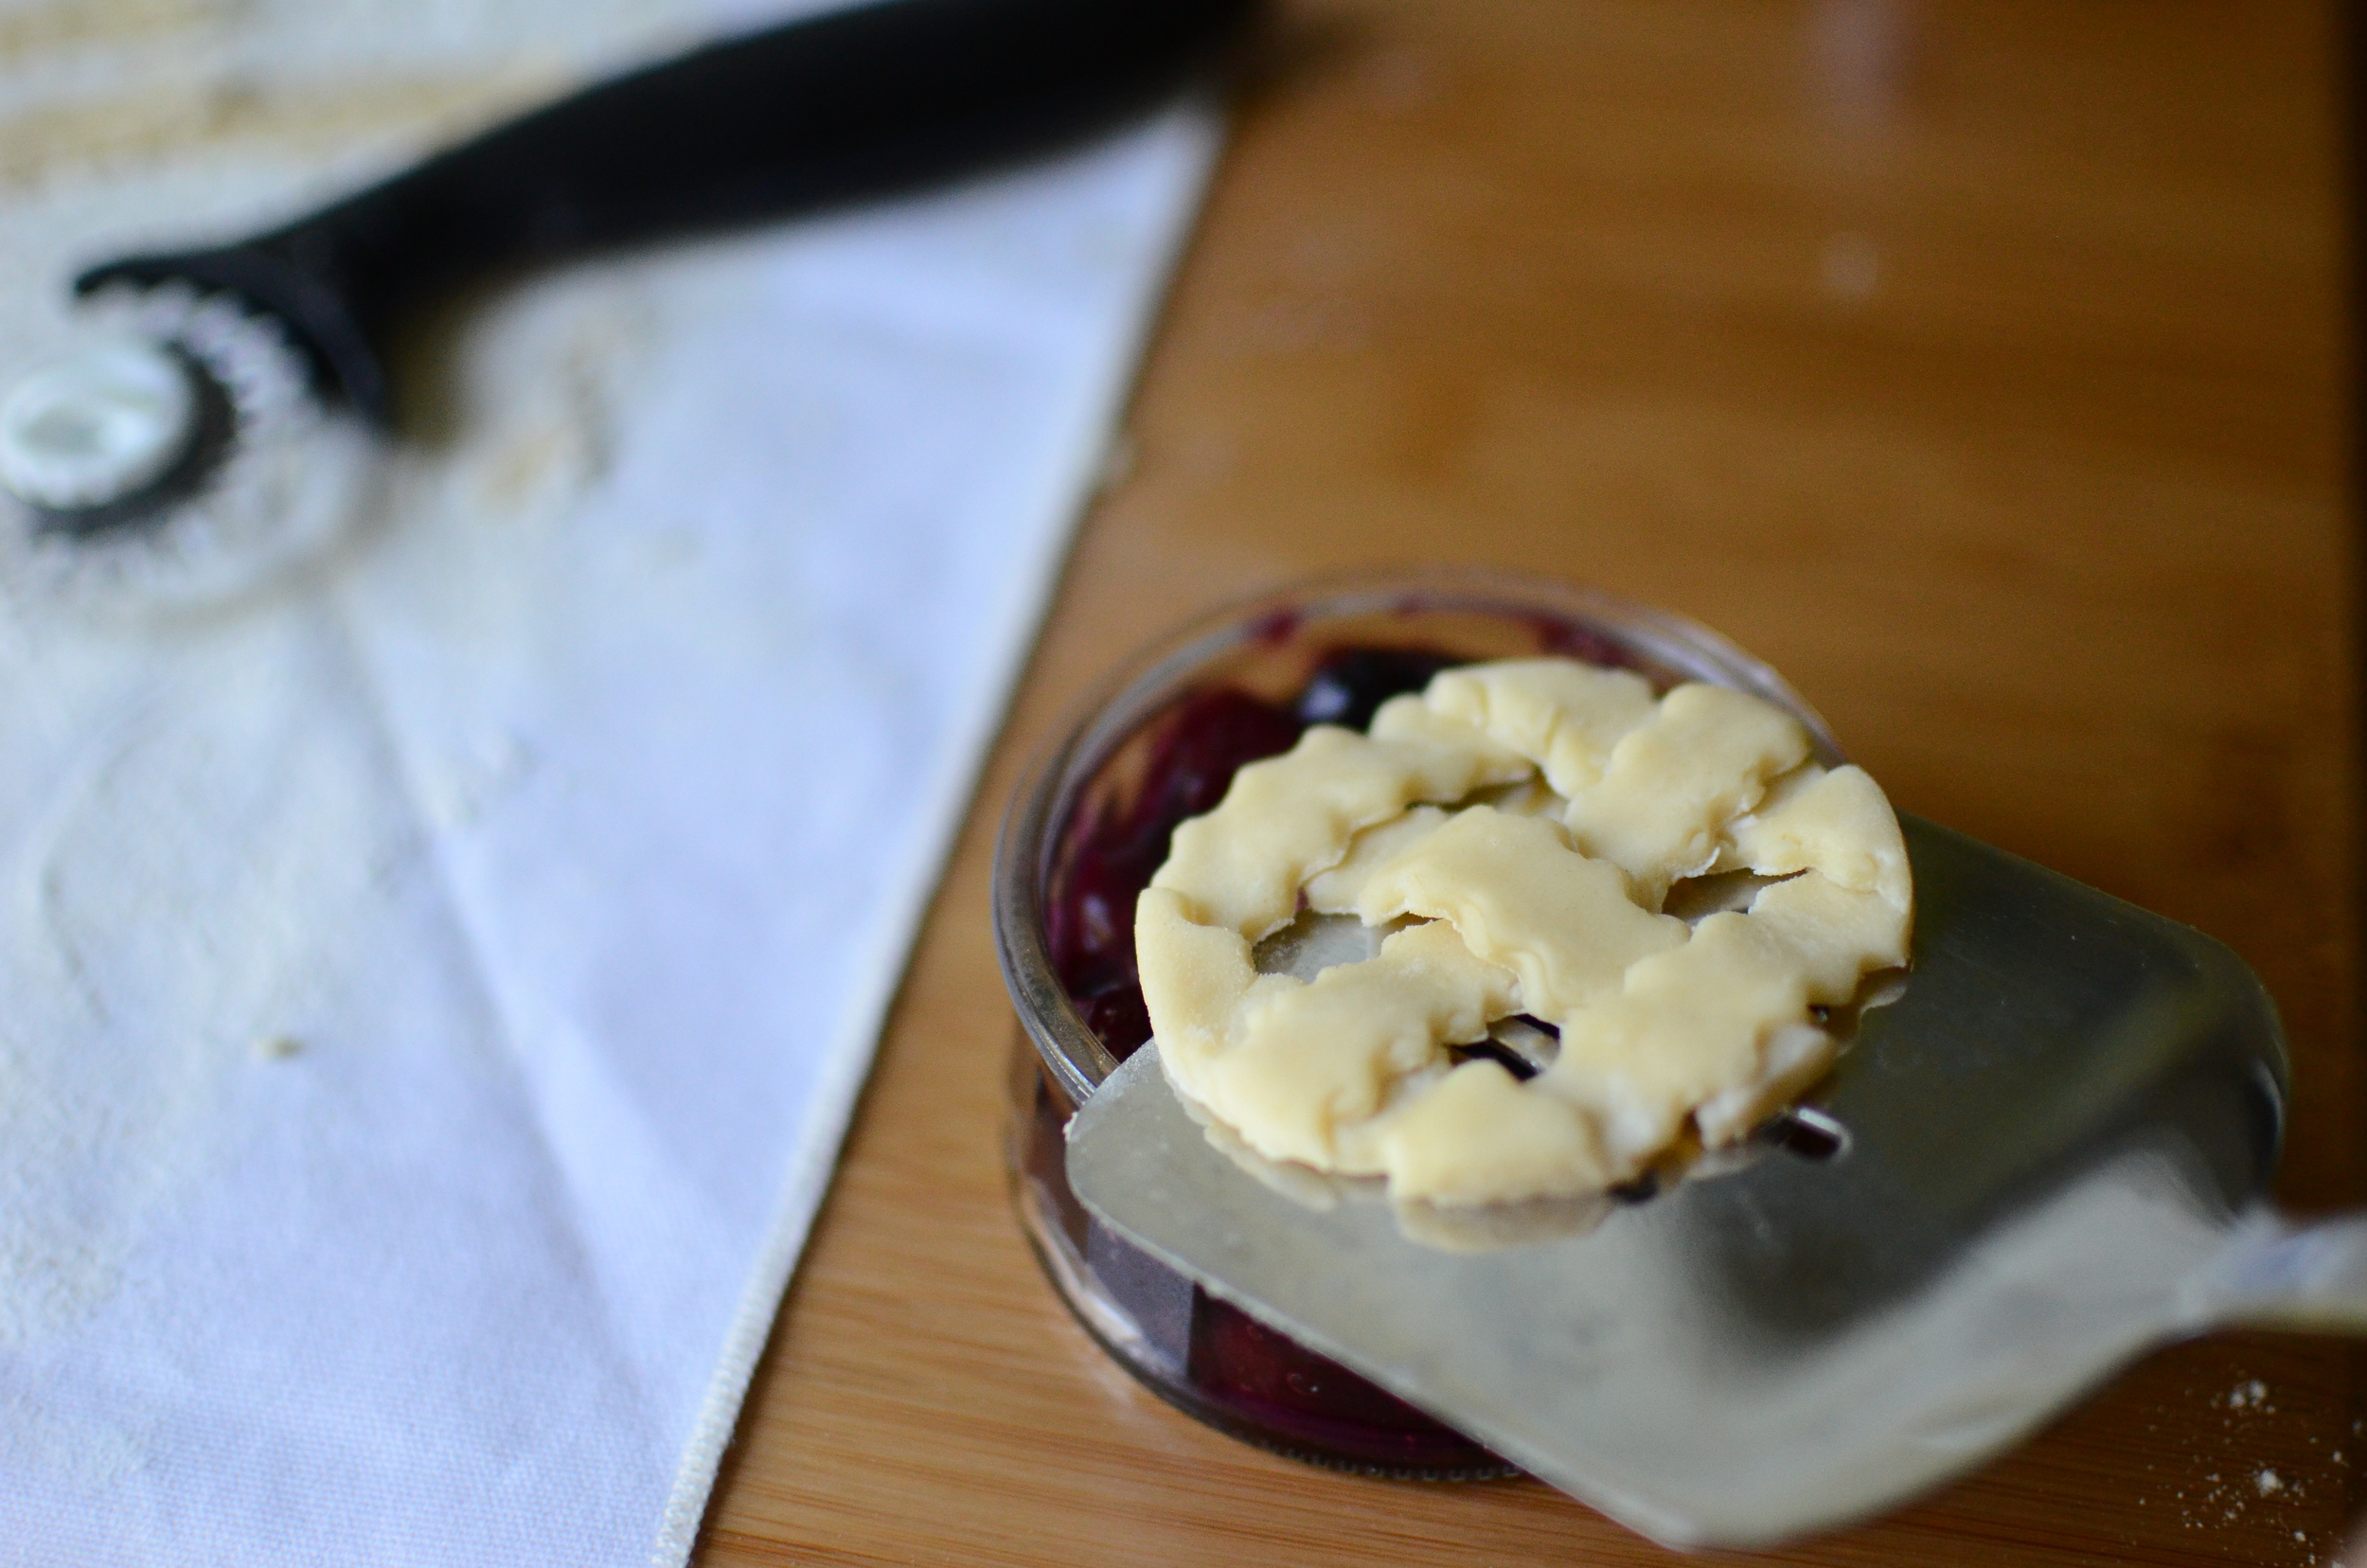
Center it on top of the filling.

Oooo.

Now this isn't in Rose's directions, but I like to brush all my sweet pie crusts with cream followed with a sprinkling of Turbinado sugar. It looks so pretty and adds a wonderful crunchy texture.

I keep my Turbinado sugar in an airtight container.

Sprinkle the sugar on the cream brushed strips of pie crust.

Bake the pie as directed. If making these mini pies that only have crust on top, bake them for about 20 minutes.
links for more alpha baker photo tutorials
-
2016
- Dec 7, 2016 TBB - Luxury Chocolate Buttercrunch Toffee
- Sep 26, 2016 TBB - Bourbon (Whiskey) Pecan Butter Balls
- May 11, 2016 TBB - Blueberry Buckle
- Apr 5, 2016 TBB - Meringue Birch Twigs
- Jan 26, 2016 TBB - Lemon Almond Cheesecake
-
2015
- Nov 19, 2015 The Hazelnut Praline Cookies that Never Were
- Sep 1, 2015 TBB - Flaky Cream Cheese Scones
- Aug 23, 2015 TBB - Woody's Black and White Brownies
- Jul 1, 2015 TBB - Praline Meringue Ice Cream Sandwiches
- Jun 23, 2015 Ricotta Loaf - The Bread Bible
- Jun 4, 2015 TBB - French Orange Cream Tart
- May 19, 2015 TBB - Double Chocolate Oriolos
- May 15, 2015 Touch of Grace Biscuits - The Bread Bible
- May 7, 2015 TBB - Blu-Rhu Mini Pies
- Apr 27, 2015 TBB - Lemon Jammies
- Apr 2, 2015 Pita Pizzas - The Bread Bible
- Mar 22, 2015 TBB - Luxury Oatmeal Cookies
- Mar 15, 2015 TBB - Sour Cherry Pie (Pi Day)
- Mar 9, 2015 TBB - Caramel Buns
- Mar 4, 2015 TBB - Hamantaschen (Purim)
- Feb 23, 2015 TBB - Lemon Posset Alma
- Feb 15, 2015 TBB - Chocolate Pavarotti with Wicked Good Ganache
- Feb 11, 2015 TBB - Golden Orange Panettone with Chocolate Sauce
- Feb 9, 2015 Panettone Delay
- Feb 2, 2015 TBB - Swedish Apricot Walnut Bread
- Jan 26, 2015 TBB - Gingersnaps
- Jan 19, 2015 Biga Fail
- Jan 12, 2015 TBB - Black and Blueberry Pie
- Jan 5, 2015 TBB - Chocolate Cuddle Cake
-
2014
- Dec 29, 2014 TBB - Frozen Pecan Tart
- Dec 22, 2014 TBB - Almond Coffee Crisps
- Dec 15, 2014 TBB - The Ischler
- Dec 8, 2014 TBB - English Dried Fruit Cake
- Dec 1, 2014 TBB - Kouigns Amann (kween ah-mahn)
- Nov 5, 2014 Rose's Alpha Bakers - Intro