Keto Cheddar Bay Biscuits (Low-Carb and Gluten-Free)
Patricia @ ButterYum

Always on the lookout for low-carb recipes, I stumbled upon an interesting version for the ever popular Cheddar Bay Biscuits, a national restaurant chain favorite. I made the recipe as written and I have to say, they weren’t that great - not enough cheese, not enough garlic, and basically, not enough flavor! So I tweaked, and tweaked, until I came up with this version which is full of cheesy-garlicky flavor. And check out these nutritional stats: each of my biscuits contain 9 whole grams of protein and only 2 net carbs! Compare that to the traditional version which contain only 3 grams of protein and a whopping 16 carbs. Is my version exactly like the original? Obviously not (although my husband says he likes mine better!), but this healthier version is surprisingly similar. If you're looking for a low-carb, keto, or gluten-free version to try, I think you'll be very pleased with this recipe.
Note: because my biscuits contain no gluten, they bake up a little flatter than the original, but baking them in a commercial quality pan like this one will produce fluffier biscuits.
Alternatively, you bake these biscuits in a professional quality muffin pan lined with these perfect silicone cupcake liners. You don’t have to spray them and they peel away perfectly every time. Also, they’re easy to clean and you can reuse them thousands of times.
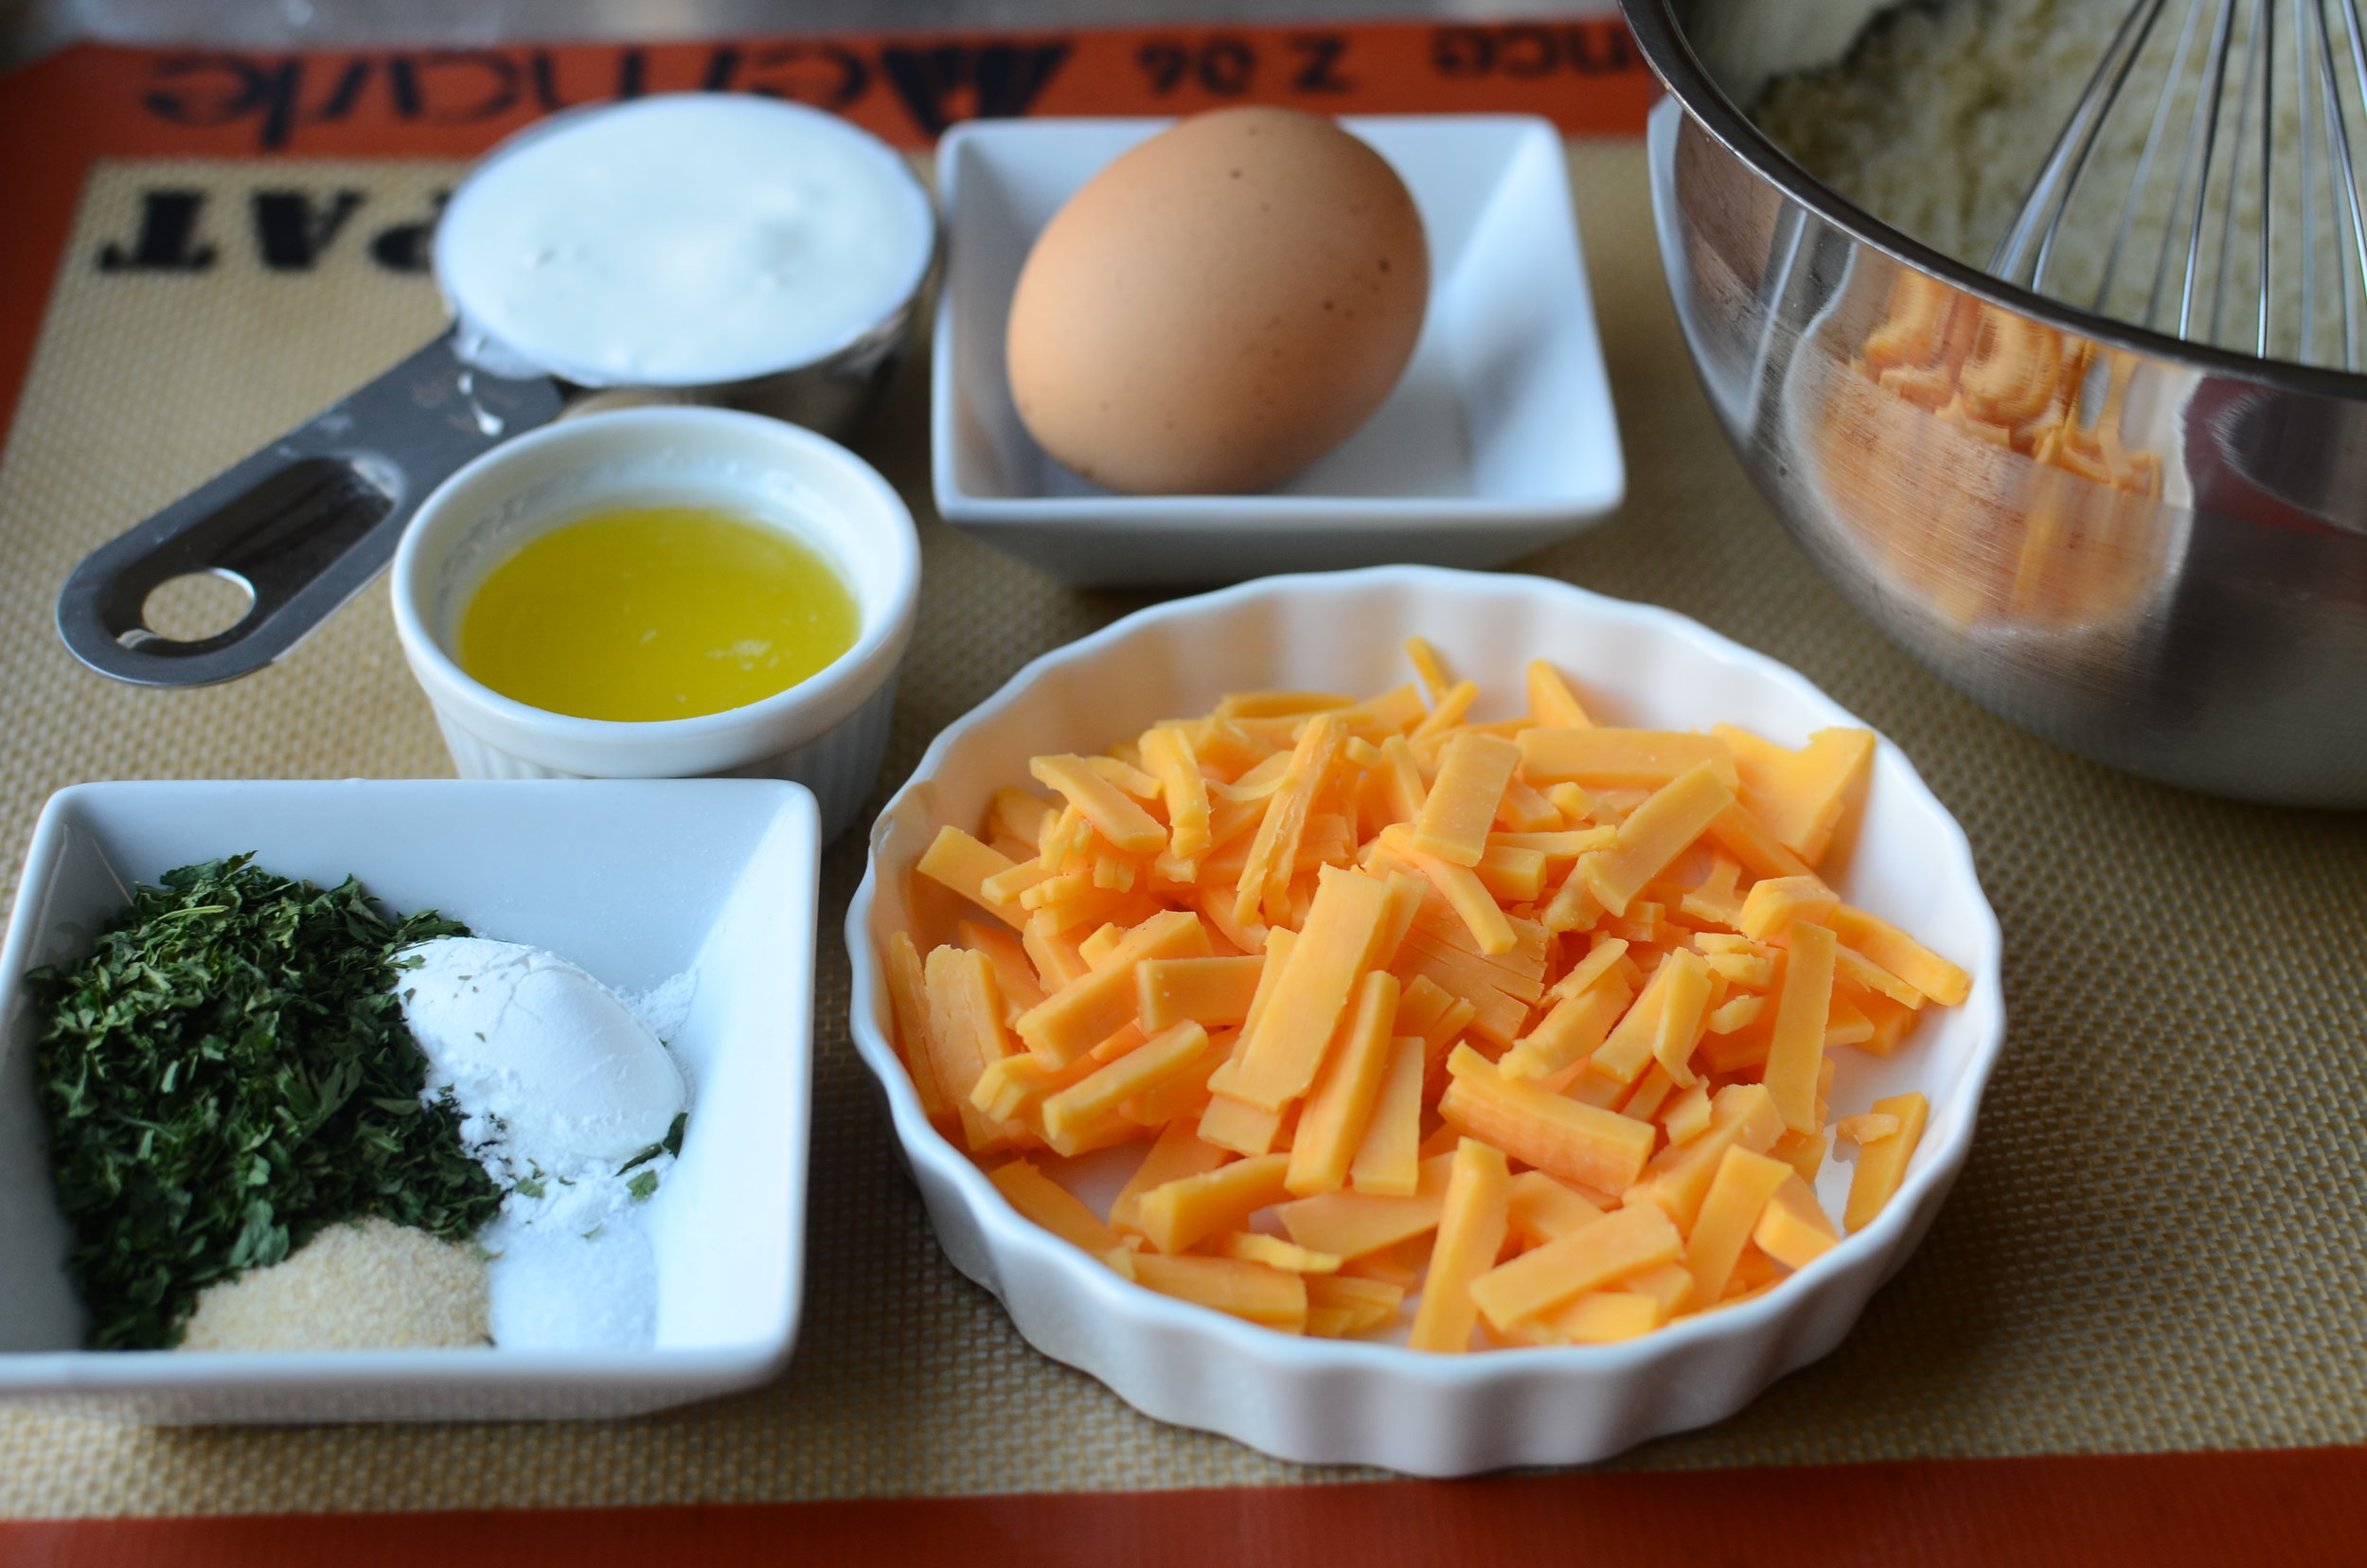
The ingredients (clockwise from the top) - sour cream, an egg, almond flour (aka almond meal), sharp cheddar cheese, baking powder, salt, garlic powder (or granulated garlic), dried parsley, and melted butter.

Start by whisking the almond flour, baking powder, salt, garlic powder, and parsley together. The almond flour has a tendency to clump so use that whisk to break the clumps up.
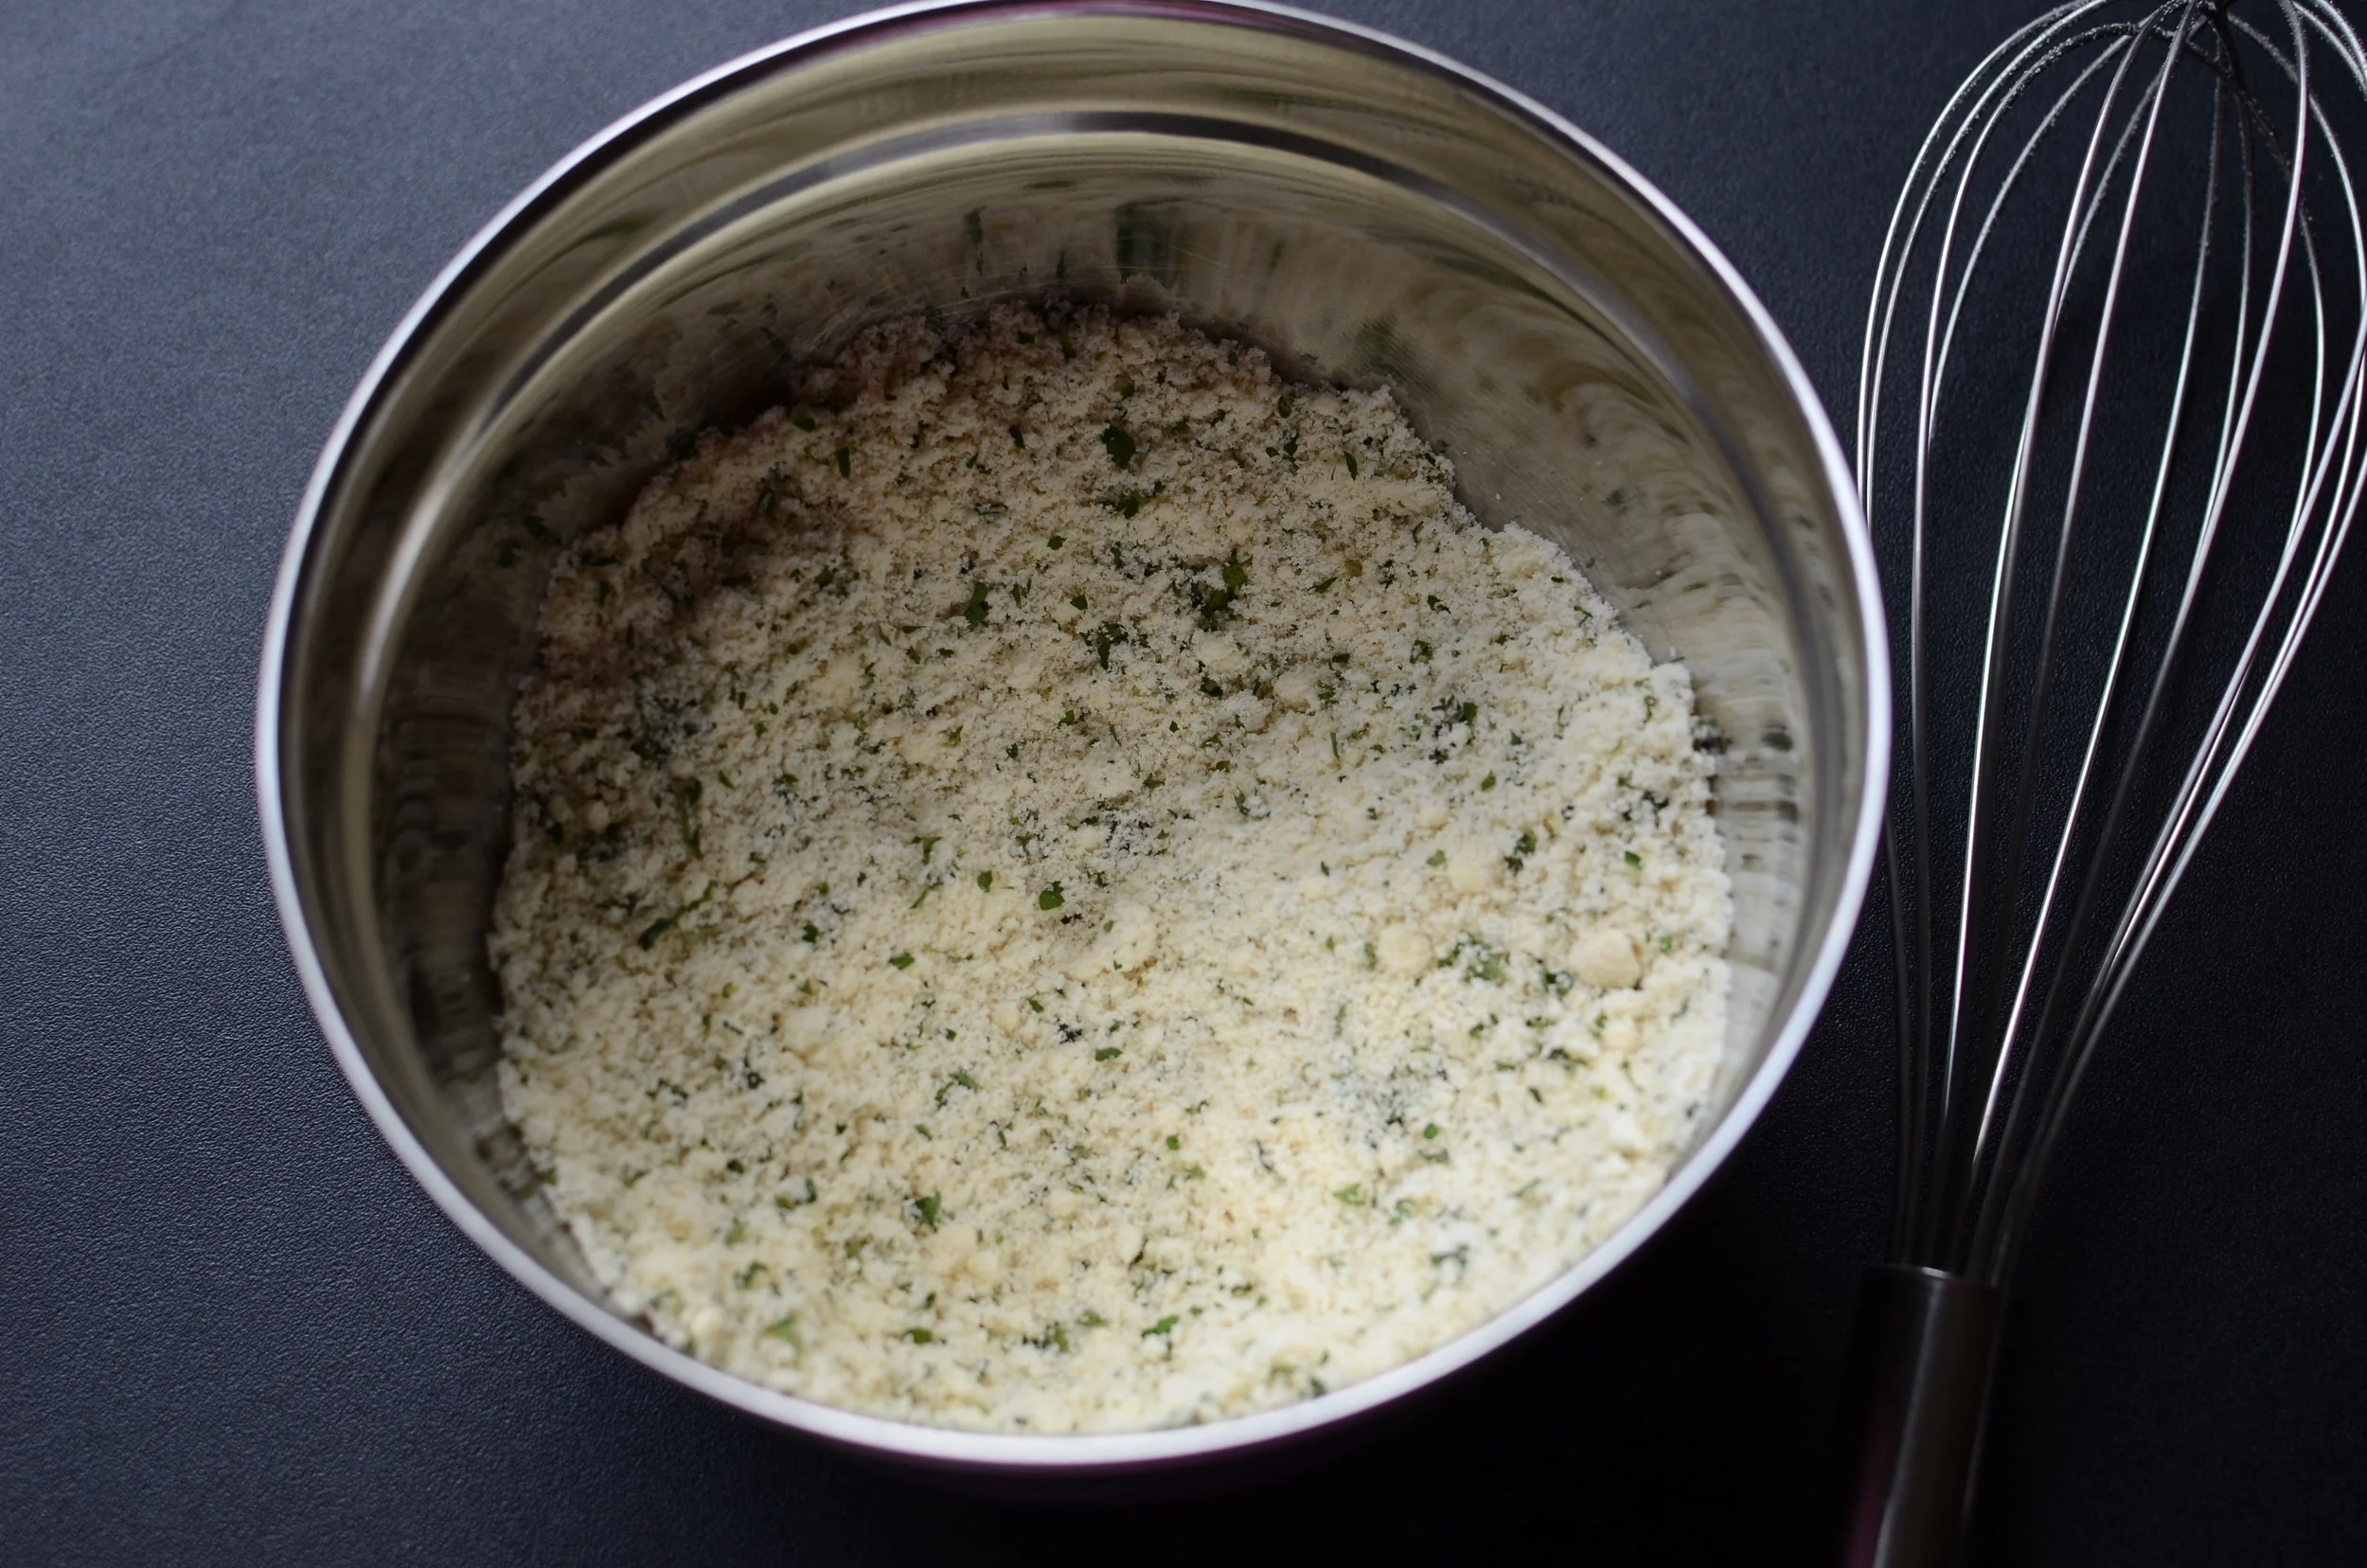
That was easy.

Next toss the cheddar cheese into the almond flour mixture - this will keep all the bits of cheddar cheese separate when we add the wet ingredients.
Here's a thought, I bet these would be good made with pepper jack cheese! I'll have to give that a try.

Switch to a spatula and stir in the sour cream, egg, and melted butter.
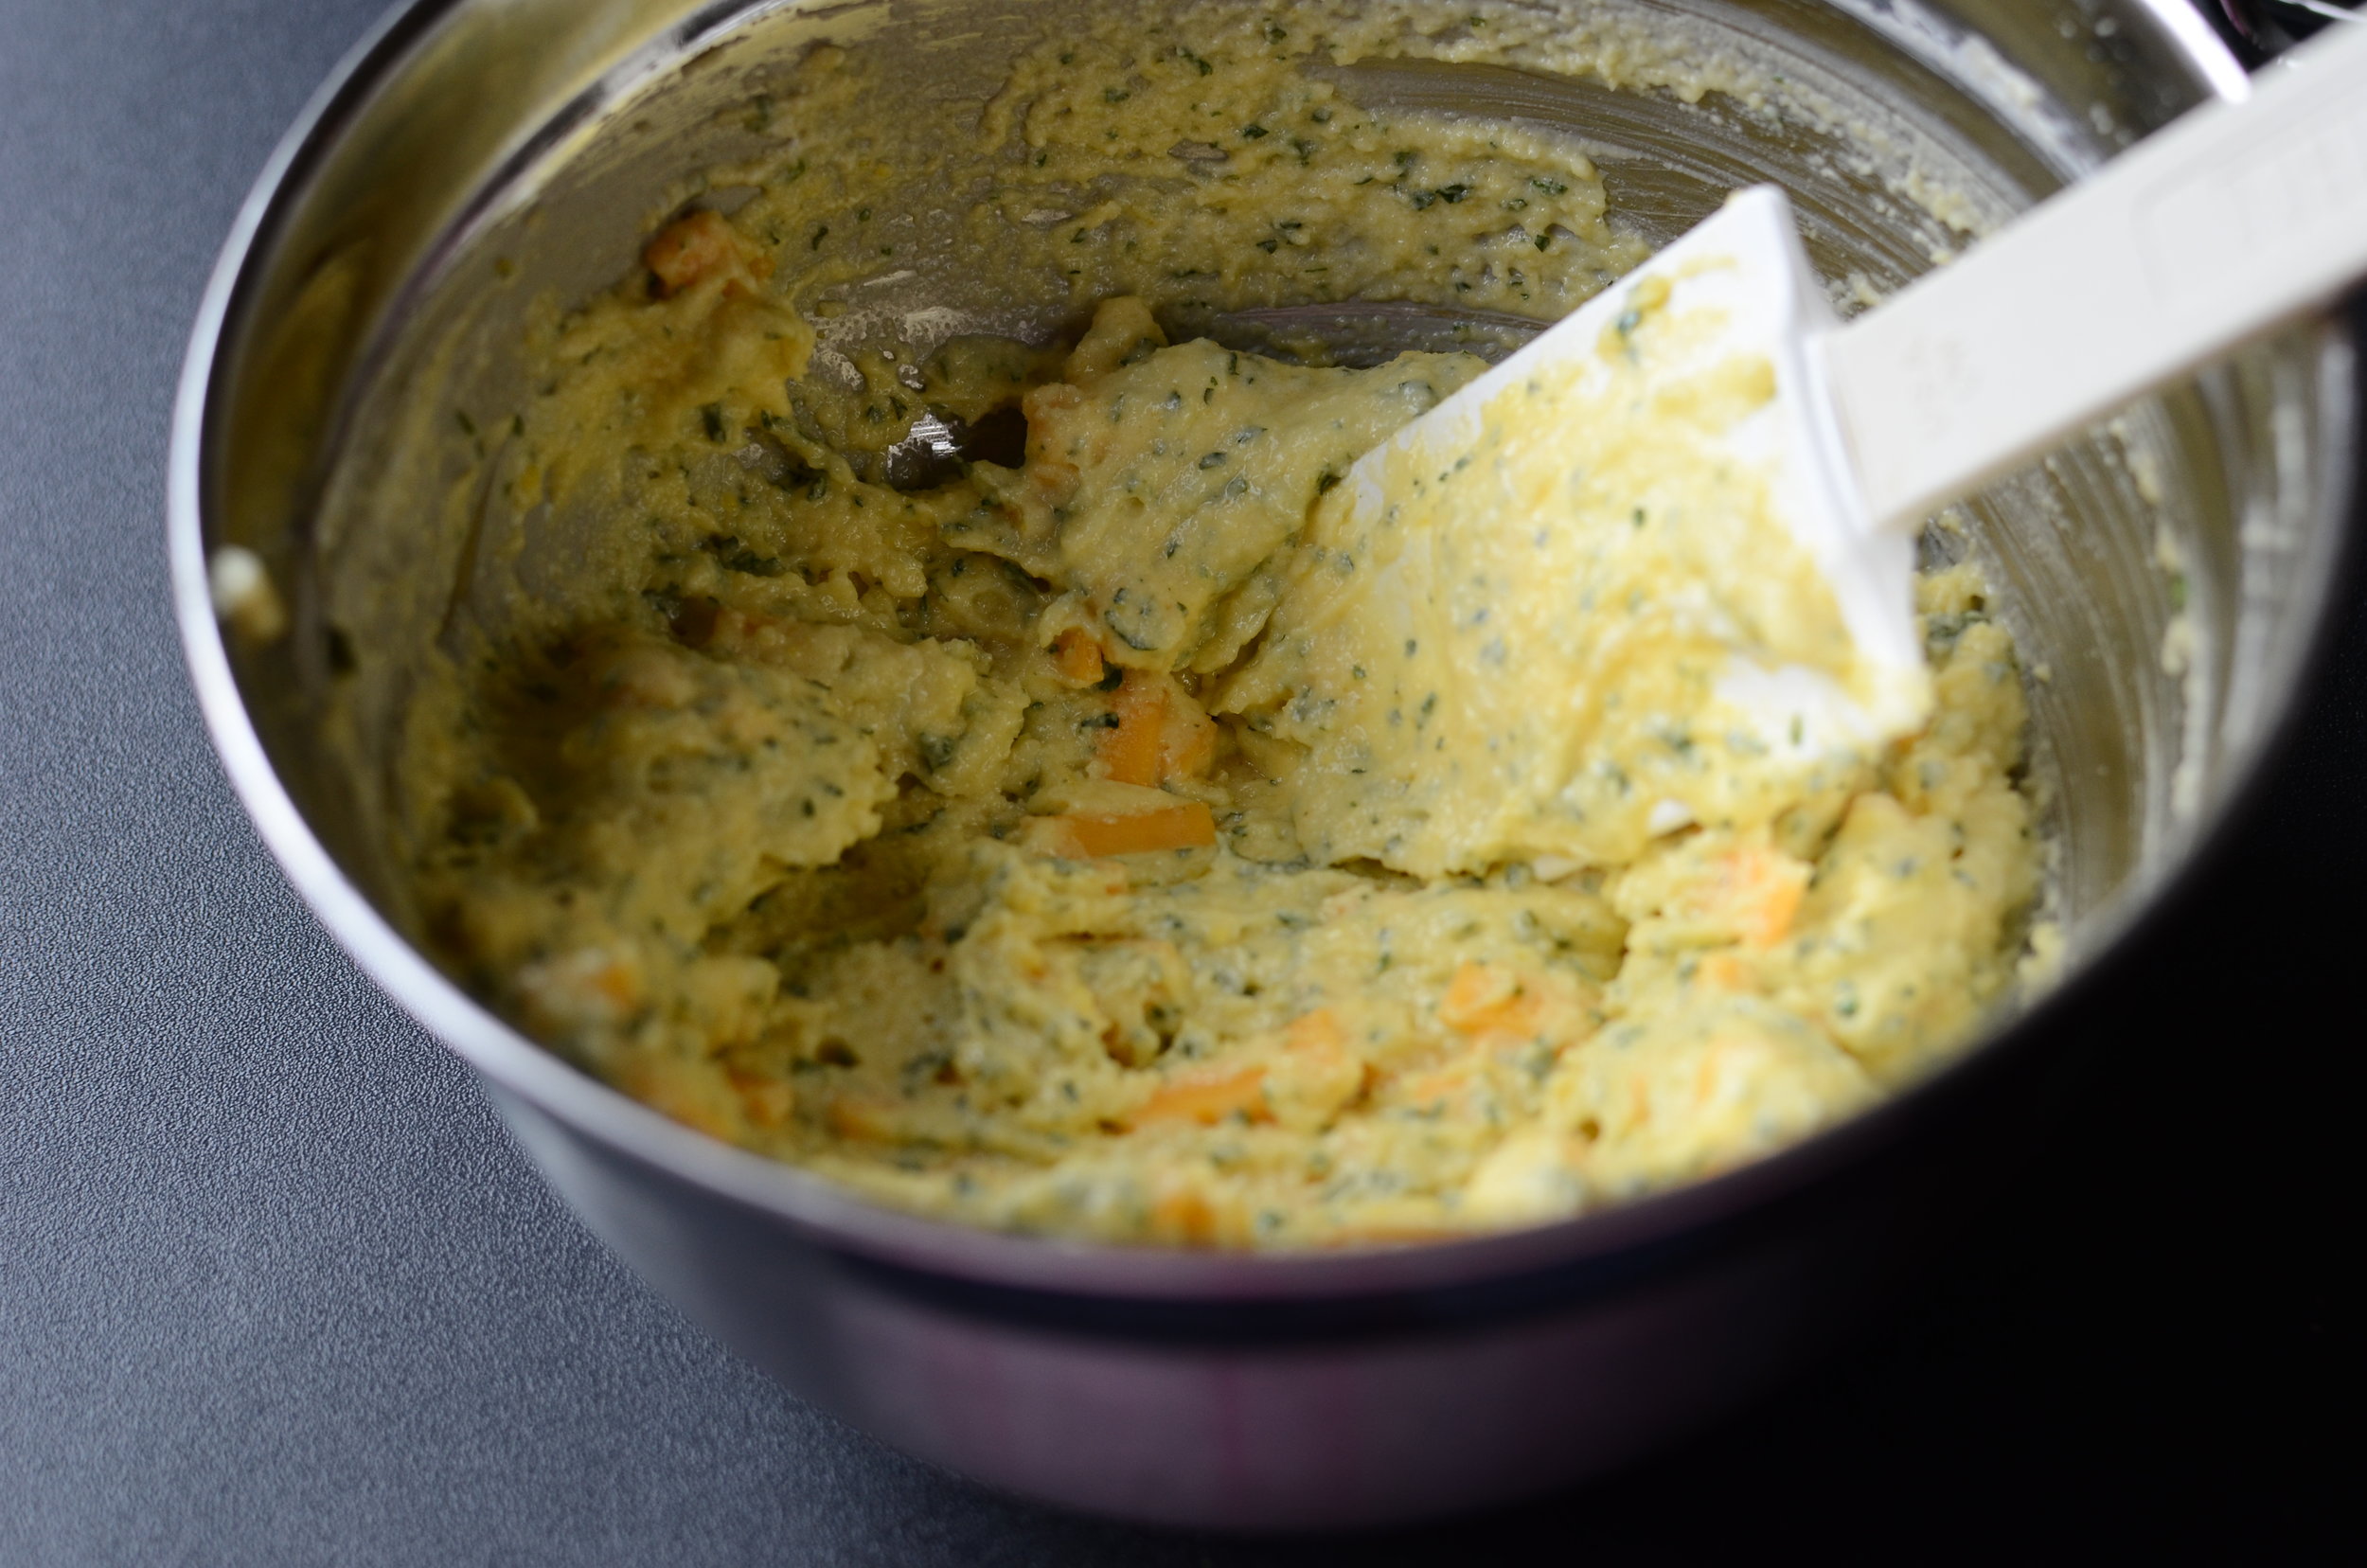
I don't know.... this is such a complicated recipe... JOKING!

Divide the batter into 6 equal portions (about 3 tablespoons each) and space evenly on a silpat-lined half sheet pan.

This recipe will make exactly 6 biscuits if you portion the batter with a #20 scoop (and it's a great size for dishing ice cream too!). By the way, did you know the sweeper arm of most portion scoops will have a number which indicates the size of the scoop? The #20 here means this scoop will measure 20 portions per quart. Likewise, a #30 will portion 30 scoops per quart, and so on. Who says food blogs aren't educational?
Ok, back to the biscuits… bake for 10-13 minutes or until golden brown all over. The cheese will be as hot as lava so allow the biscuits to cool for a couple of minutes before serving.

Oh my... I wish you could smell my kitchen right now!

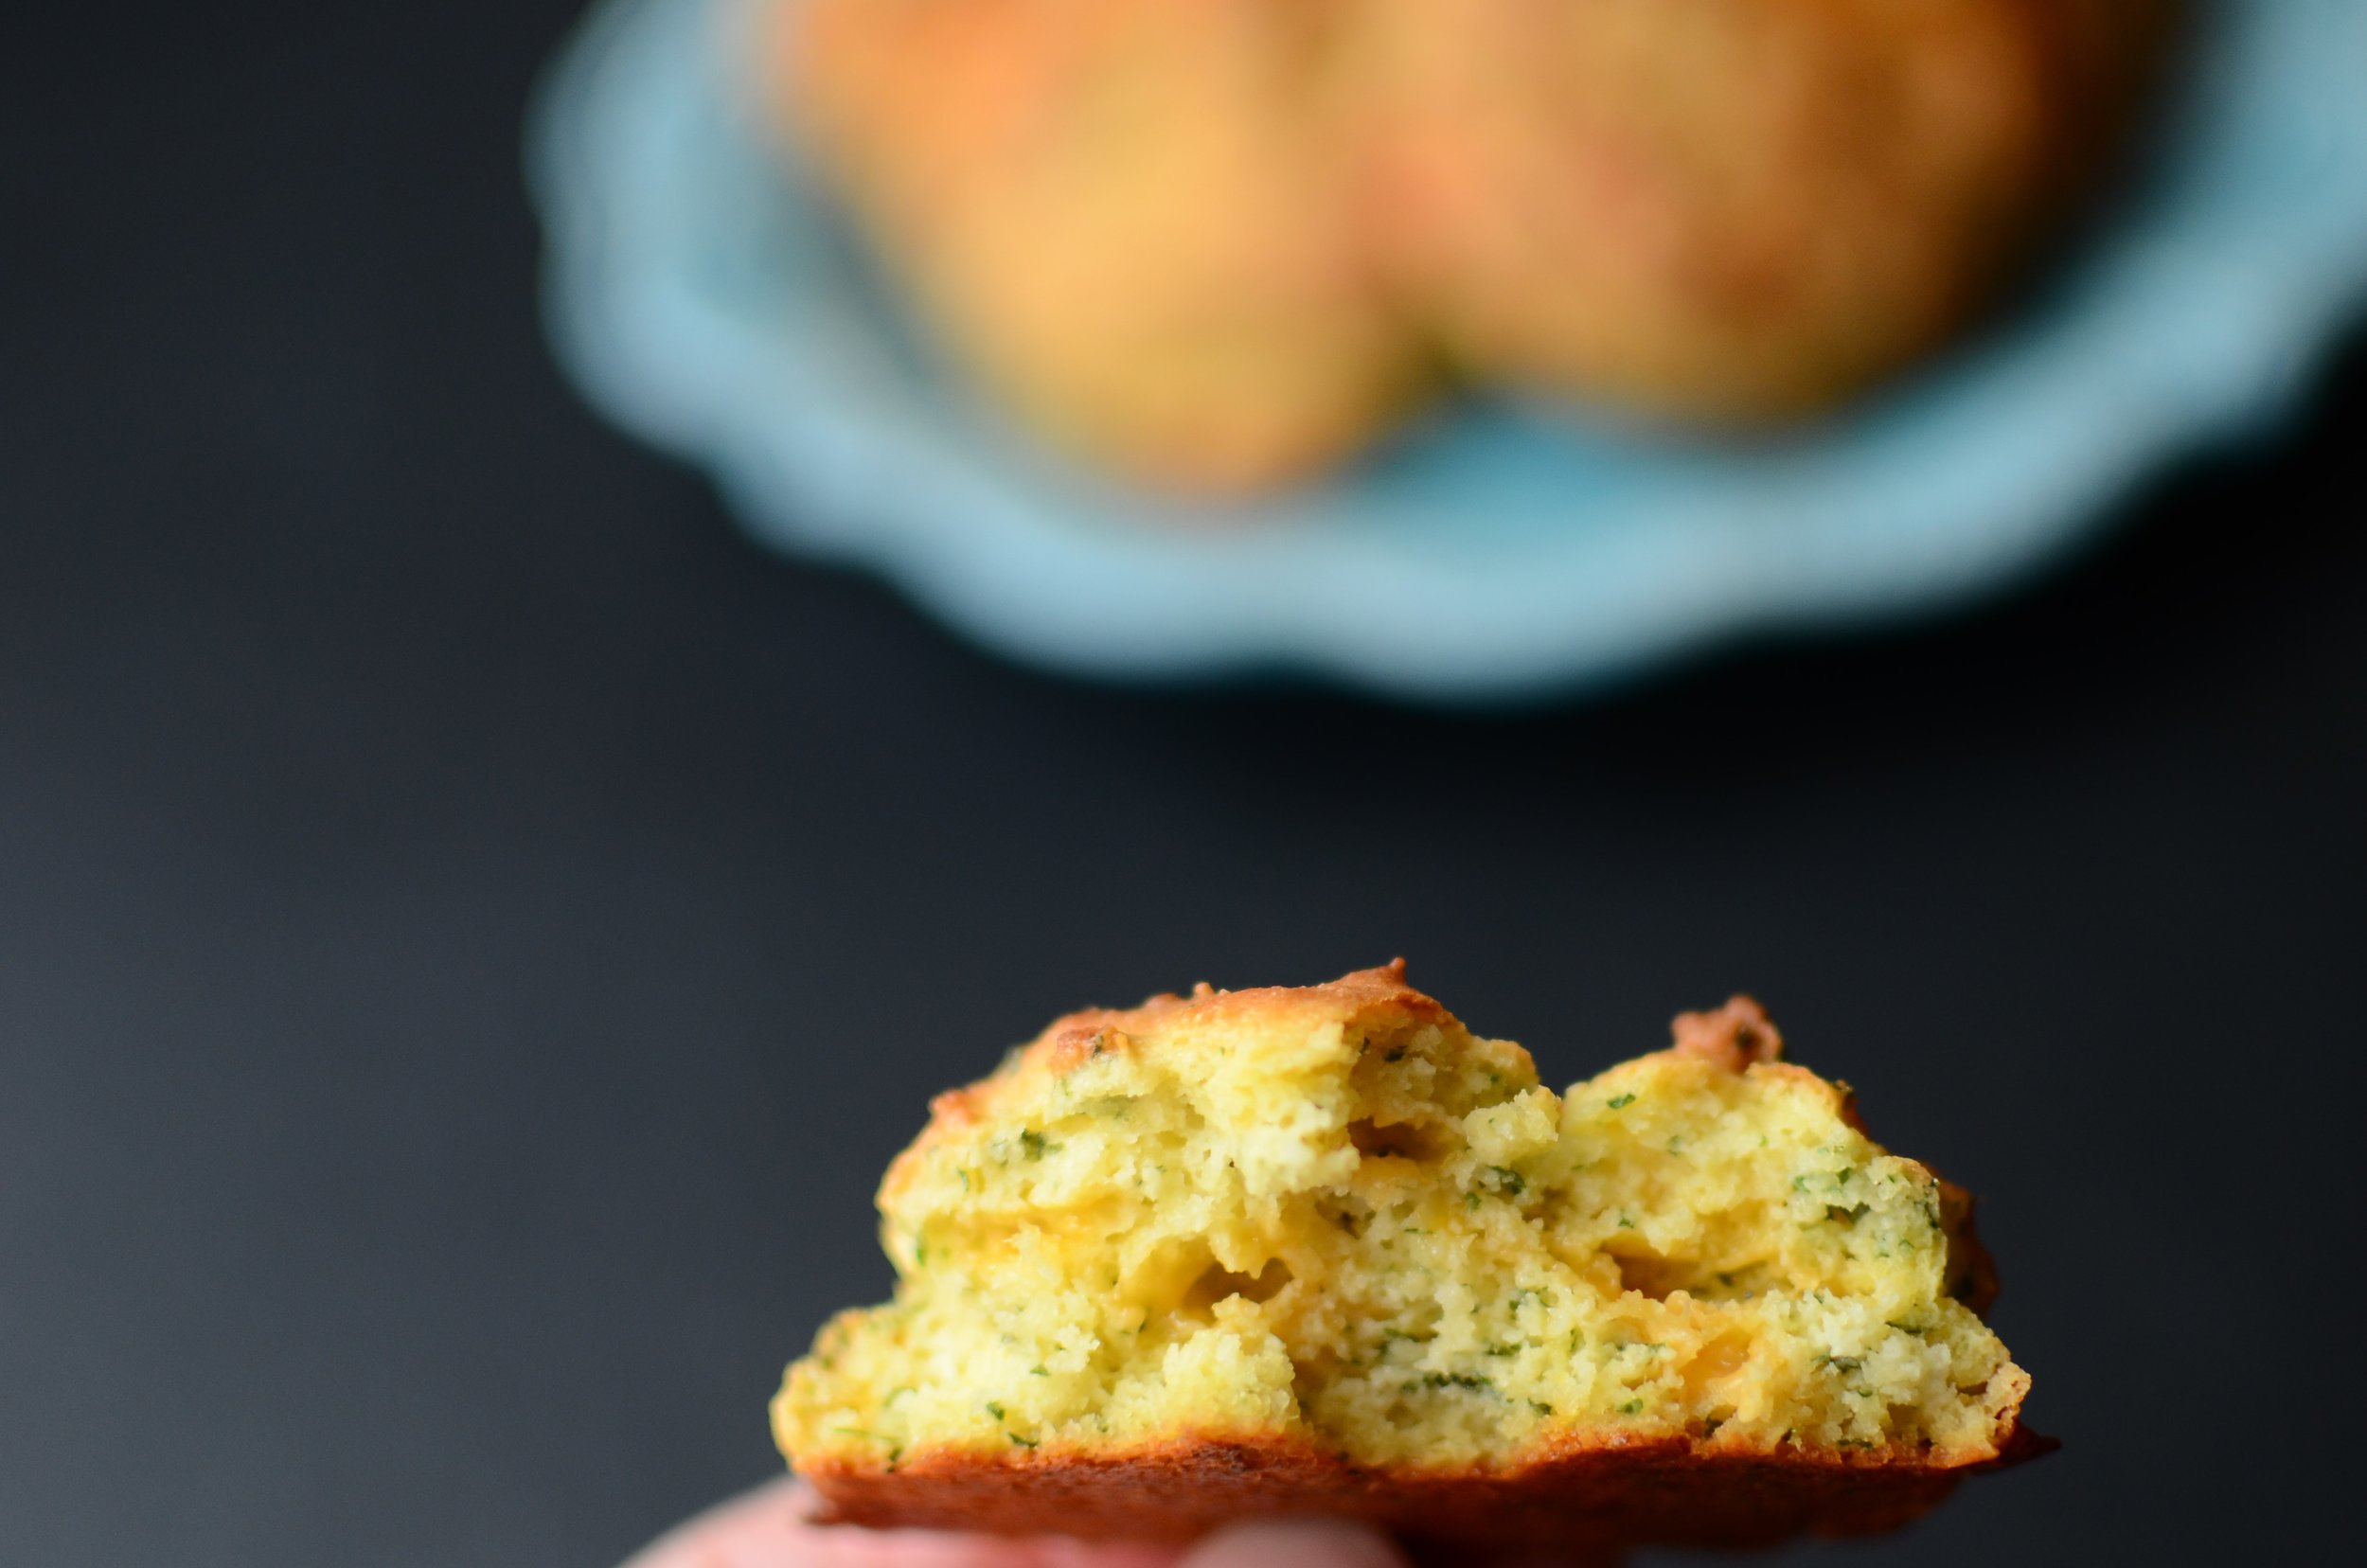
Enjoy these biscuits while they're warm and the cheese is all melty. That’s all there is to it.
Alright, I can’t stand it… I'm totally dying here so I gotta go… Come to Mamma!!
Mmmmmmm... I really, really, really, really, hope you'll give this recipe a try. Oh, and don’t miss more of my keto recipes below. Happy Baking!


Items used to make this recipe:
(affiliate links)
almond flour (aka almond meal) https://amzn.to/3NuagOm
#20 portion scoop https://amzn.to/3Jf65T8
my favorite silicone baking mat https://amzn.to/3LjM8fM
half sheet pan https://amzn.to/3ouO63l
silpat liner https://amzn.to/3hattc1
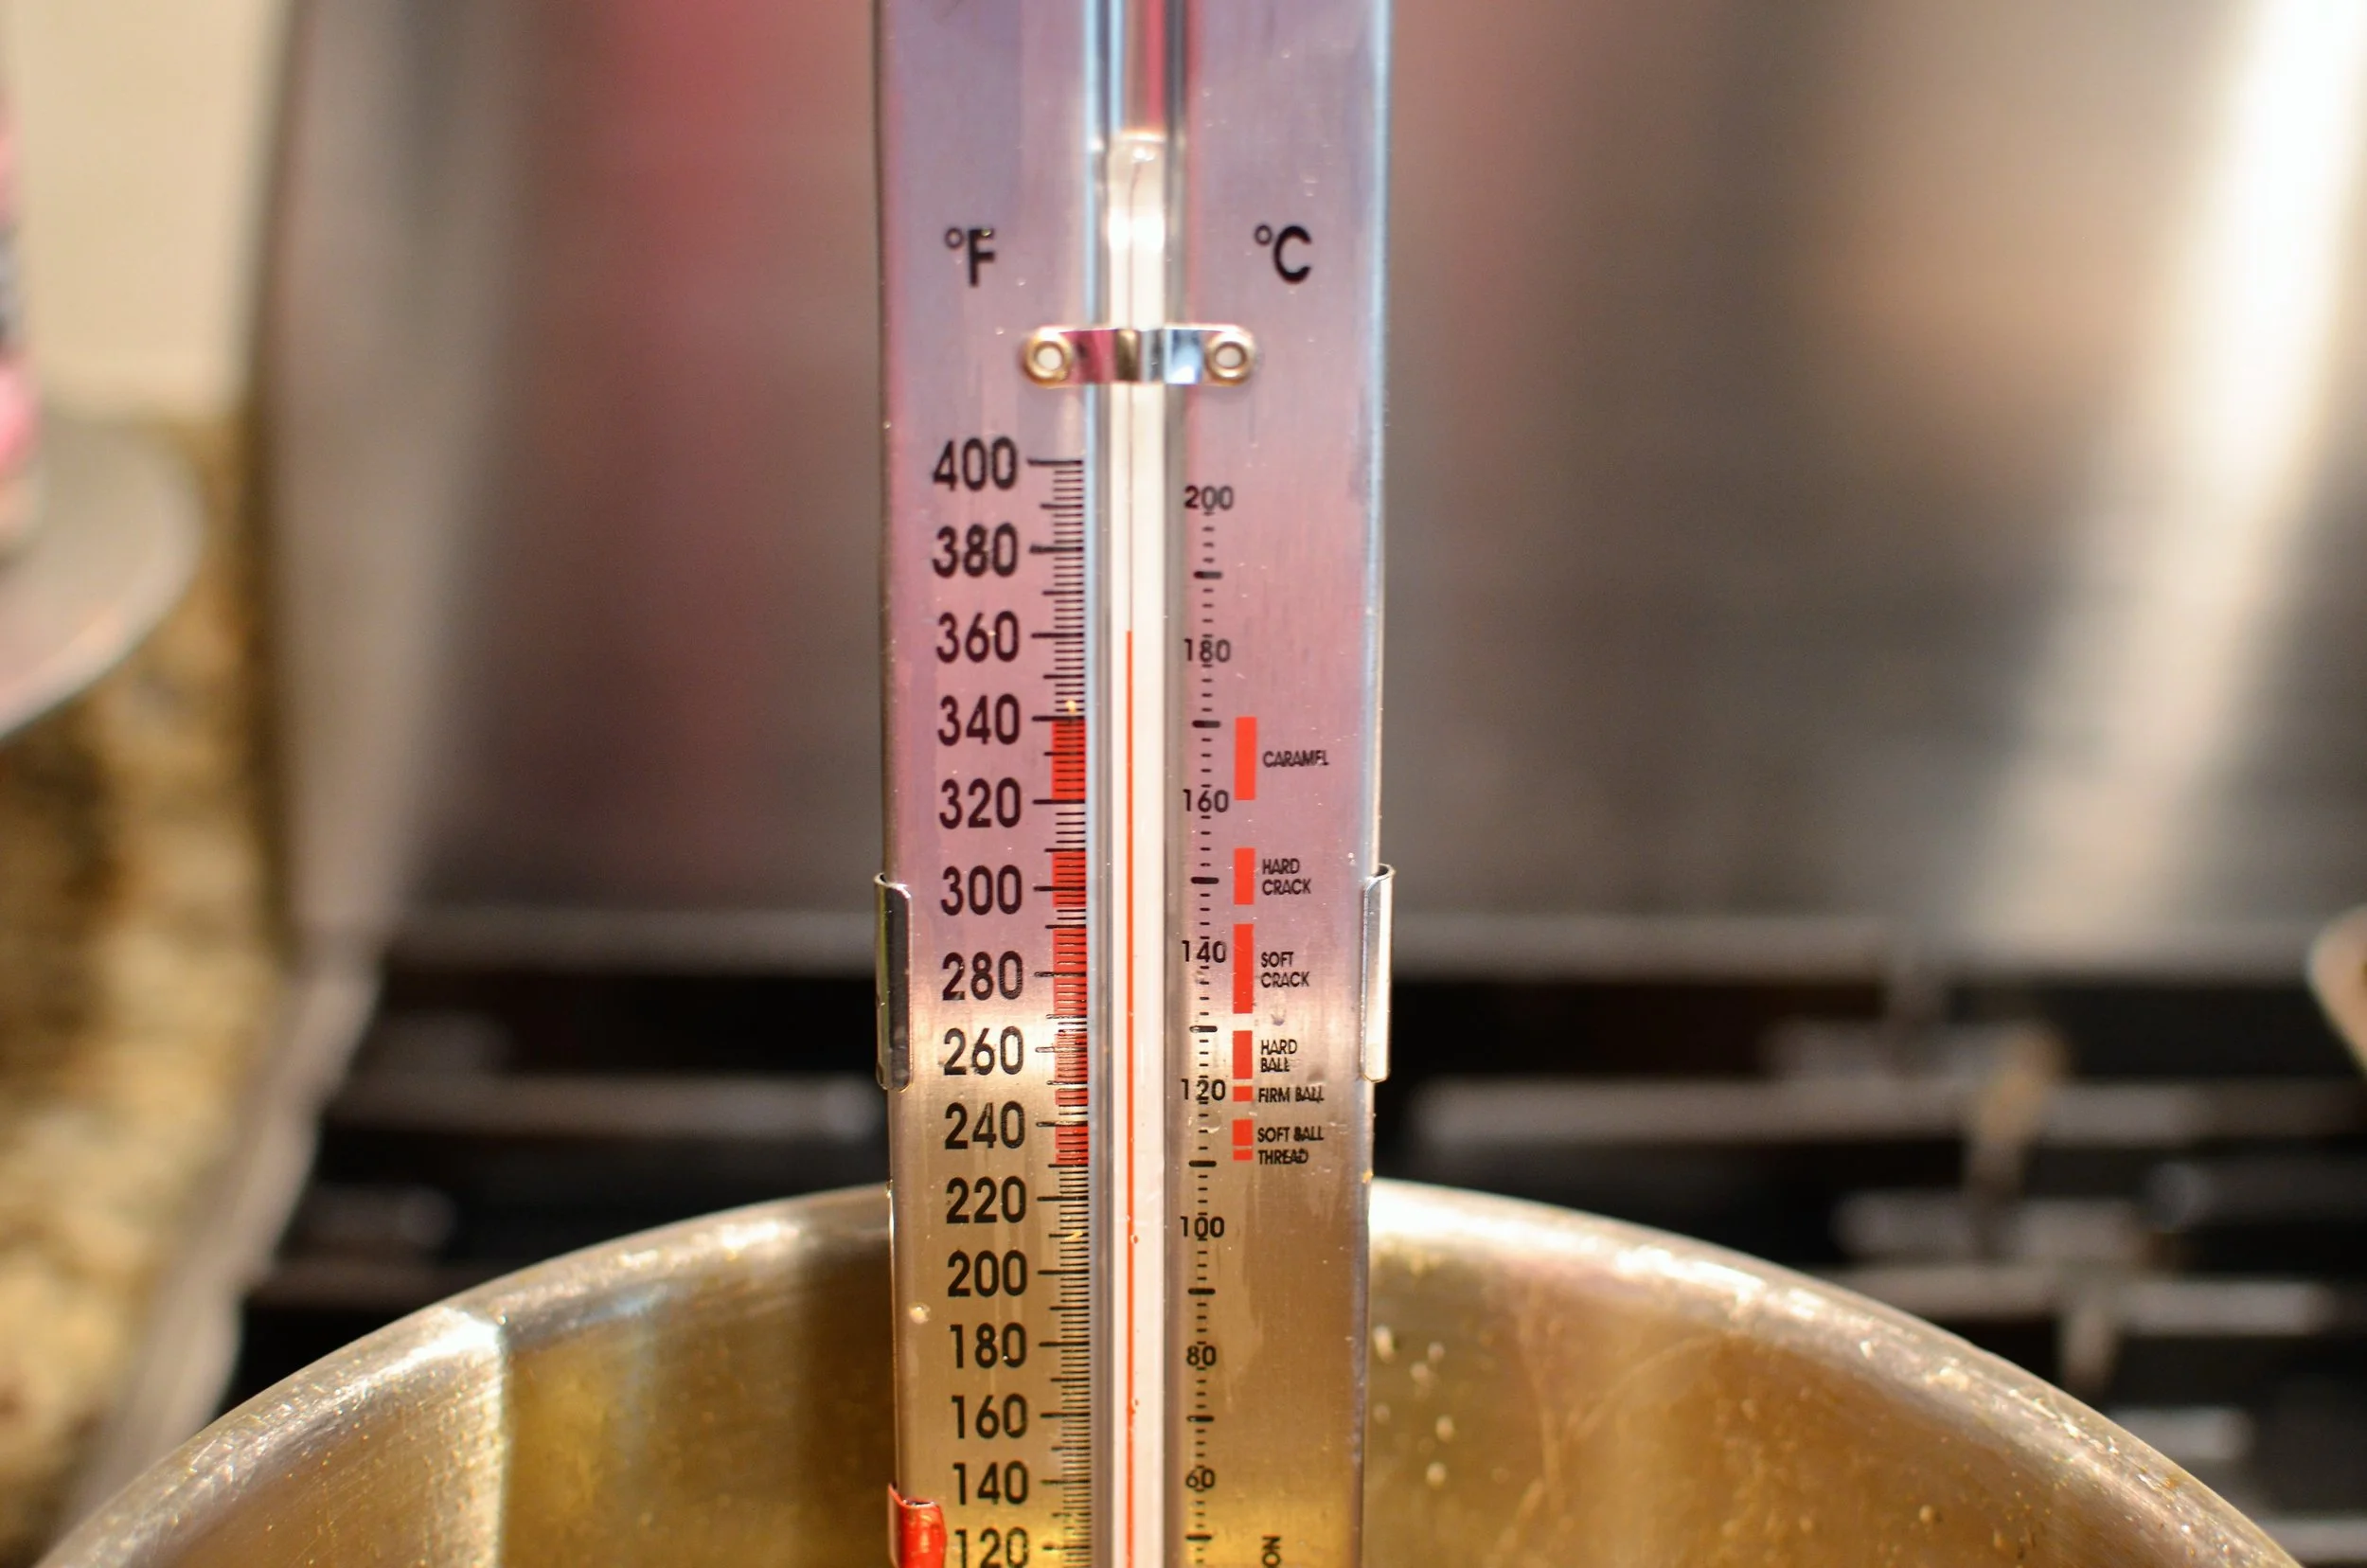
oven thermometer (don't trust your oven!!) https://amzn.to/3WtpIOY
optional commercial quality pan (for fluffier biscuits) https://amzn.to/3T1JwGd
perfect release silicone cupcake liners https://amzn.to/3sRMJxk
Keto Cheddar Bay Biscuits (Low-Carb and Gluten-Free)
makes 6 biscuits
Ingredients
3/4 cup finely ground almond flour (or meal), sifted
1 tablespoon dried parsley flakes
1 1/2 teaspoon baking powder (see notes below to be sure your baking powder is still active)
1/2 teaspoon garlic powder (or granulated garlic)
1/2 teaspoon fine salt
3 ounces sharp cheddar cheese, shredded
1/4 cup sour cream
1 large egg
2 tablespoons unsalted butter, melted
Directions
Preheat oven to 400F and place rack in center position.
In medium mixing bowl, whisk together almond flour, dried parsley, baking powder, garlic powder, and salt, being sure to break up any clumps.
Add shredded cheese and toss well to coat.
Add sour cream, egg, and melted butter, mixing well with a spatula until well combined.
Use a #20 scoop to divide batter into 6 equal portions and place on silpat-lined half sheet pan.
Bake for 10-13 minutes or until golden brown all over.
Allow to cool for a few minutes before serving - these are best served warm.
Notes
This recipe doubles well (and all 12 can be placed on the same sheet pan).
Be sure your baking powder is active by testing its effectiveness. To do this, stir 1/4 teaspoon baking powder into 1/4 cup hot tap water. If the baking powder fizzes, good. If not, discard and replace with a fresh container.
Keto stats for each biscuit: 9g protein, 4g carbs, 2g fiber.